If you’re a photographer, then you know that photo editing is an essential part of the process. But what do all those terms mean? And what tools do you need to edit your photos like a pro? Read on for a comprehensive list of photo editing terms and definitions. You’ll be surprised at how much you didn’t know!
Introduction to Post-Processing and Photo Editing Terms
I’ve stated before on multiple occasions that I don’t use Photoshop to process my images. I do use Apple’s Aperture to make some minor adjustments to them.
It took me a while to really get to grips with and fully understand how to use the software and to work out what all the major settings did.
Hopefully, with the help of this tutorial, you’ll learn exactly what each step does and how to use them to your advantage.
Walk-through
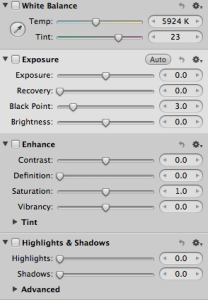
First off, let’s have a look at what Aperture look like when we open it up – notice the order in the image below.
The order that the settings are listed in is not random. They’re set out this way because certain adjustments will affect others. You’ll find that other software such as Adobe Lightroom use a similar order.
If I were to change the brightness first, that would make it harder for me to adjust the exposure. It’s best to stick to the order that they’re listed in – the order in which we’ll be learning about them.
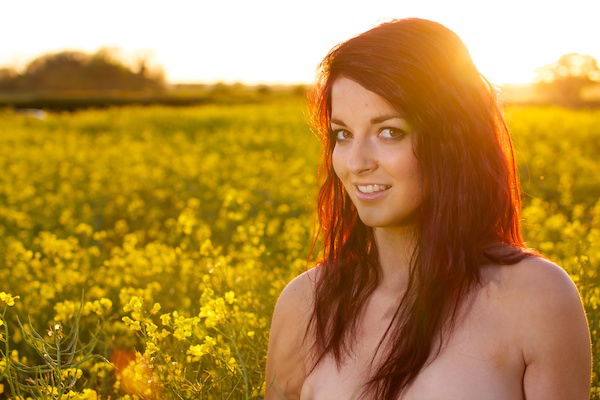
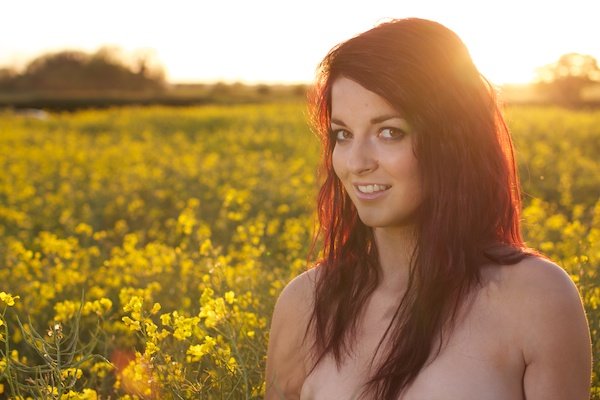
Before we look at what each setting does, have a look at my original photo below as a point of comparison for each adjustment.
I undo each adjustment after each step so that you can clearly see what happens to the photo.

White Balance
I’ve spoken about white balance in great detail, which can be found by clicking on this link.
This is first on the list because it changes the overall color of the image.
You’re given a temperature gauge to work with. You can make the photo hotter (yellow/orange) or colder (blue) depending on how you want the photo to look. In this situation, I might want to make the photo slightly warmer, although I did a pretty good job in the camera.
This is what the photo looks like if you turn up the heat. You’re also given a “tint” tool which tints the color from green to pink for smaller adjustments.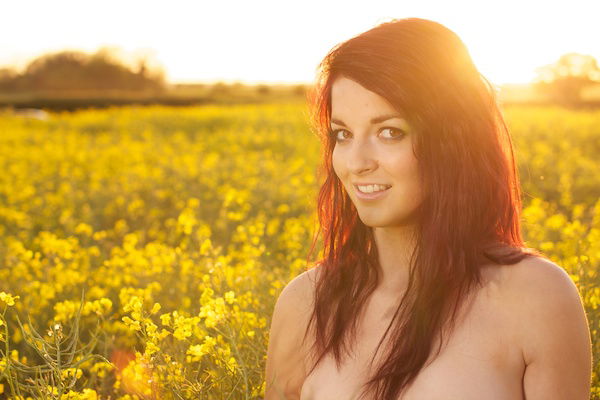
Exposure
This will have the same effect as exposing your photo for a longer or shorter length of time.
It’s similar to changing the brightness, only it does so in a much more intelligent way. It treats the whole photo as though it were equal. Turning up the exposure lightens the photo.
I’ve actually turned down the exposure on this photo, which you’ll find is common when shooting with an off camera flash into the sun.
Recovery
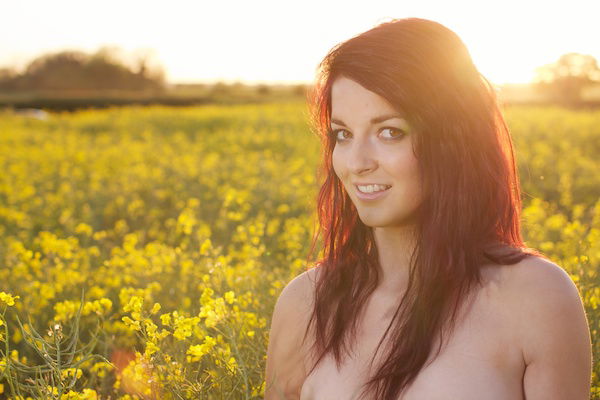
This is a useful tool if you’ve got some overexposed areas of a photo that you want to repair, like the sun in the sky.
It’s pretty good at recognising which parts are blown out but I don’t tend to need to use it too much. You can see that it hasn’t made a huge difference to the photo below.
You may notice that the highlights of the sun behind the model’s head and the lighter areas of her have been turned down.
Black Point
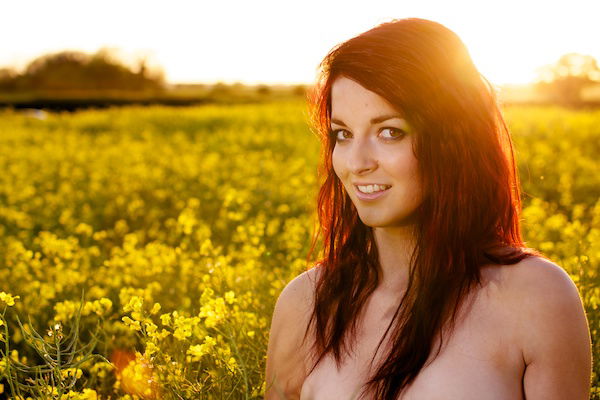
When you raise the black point, you’re effectively making the dark parts of the photo even darker.
You can turn this the other way but I very rarely use that.
If you pay attention to your histogram, you’ll notice that the graph is moving towards the dark (left) side. Be careful not to let it go the whole way or you’ll start to lose definition. I use this function quite often because it’s a lot more subtle than the contrast tool.
Brightness
This takes the brighter regions of a photo and makes them even brighter, much like what black point does for the darker regions.
Again, you need to watch your histogram to make sure that you’re not losing details but you should be able to do this without looking really. Turning up the brightness and the black point effectively turns up the contrast.
Contrast
I do use contrast but in very small doses. It tends to be very obvious when it’s used and I prefer my processing to be subtle.
The photo should stand up on it’s own elements, not the post-processing.
Contrast will make the darker areas of your photo darker and the brighter parts lighter.
This is very handy if you want your photos to be more punchy but watch that you don’t overdo it – it can start to look unrealistic.
Overall though, a very nice effect.
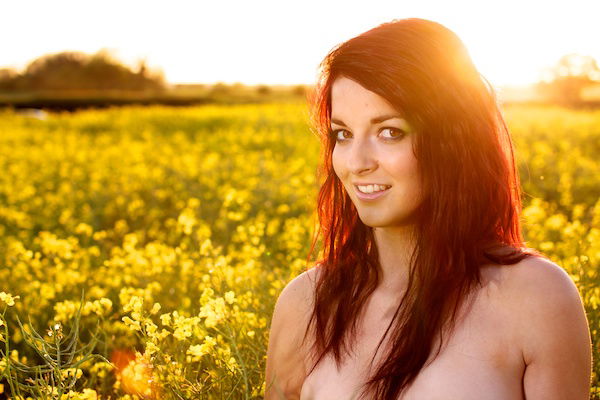
Definition
This does exactly what it says on the tin, only I’ve overdone it in the photo below to help demonstrate what I’m talking about.
It defines some of the details in a similar way to sharpening, only it tends to work best on underexposed parts of the photo, bringing them out more. I don’t tend to use this tool to be honest. I prefer to brush on sharpness where I need it.

Saturation
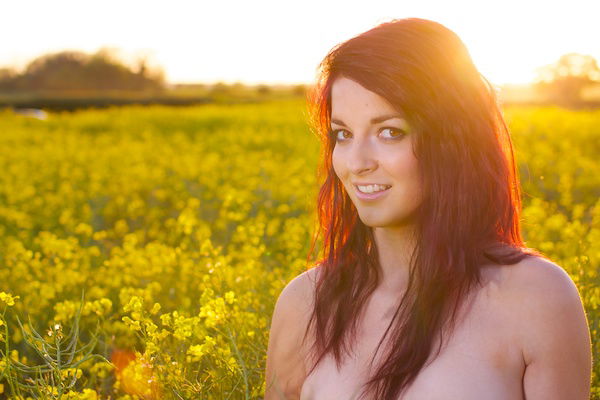
This is actually a very useful tool as it has the ability to make the colors much more punchy and, although I’ve purposely overdone it in the photo below, it can look really good.
The photo that I’m using didn’t really need much done to the saturation as the colors were already pretty good. On overcast days, however, this tool can prove invaluable as you turn drab and uninteresting photos into something much more visually appealing.
Vibrancy
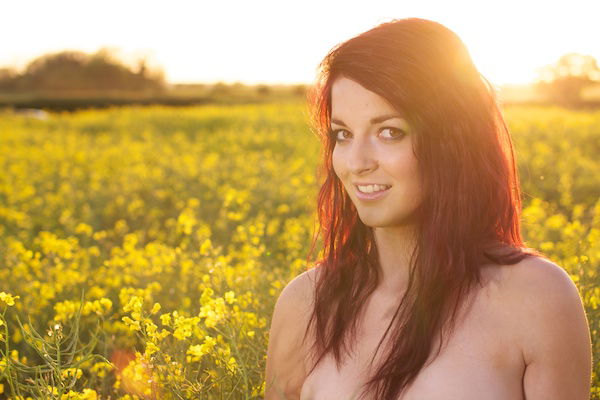
This is another form of saturation which helps to make the colors more interesting and punchy. I tend to use this when making minor adjustments; the effect is much more subtle than using the saturation slider and the photos end up looking more natural.
Highlights
This is found in the Highlights and Shadows section. It’s a good way of recovering overexposed regions of a photo, bringing them back into detail.
The only problem with this tool is that I tend to only want to use it on a certain part of a photo like just the facial features, rather than on the whole image – I’m left trying to find a middle ground. Still though, it’s a very powerful tool to have at your disposal.
Shadows
This is the same as highlights, only the complete opposite.
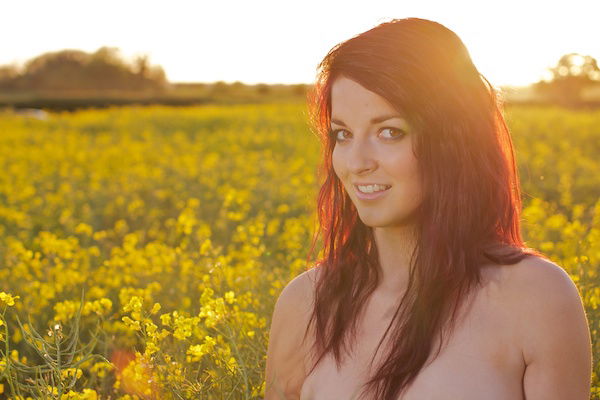
It will take the shadows of the photo and make them brighter, providing more detail. A good tool but to be used sparingly in my opinion.
When you over use it, as I’ve done in the photo below, it has a tendency to look too much like an overdone HDR photo with all of the highlights lost. I use this very rarely when I need to fix a photo that I didn’t get right in the camera.
My Processing
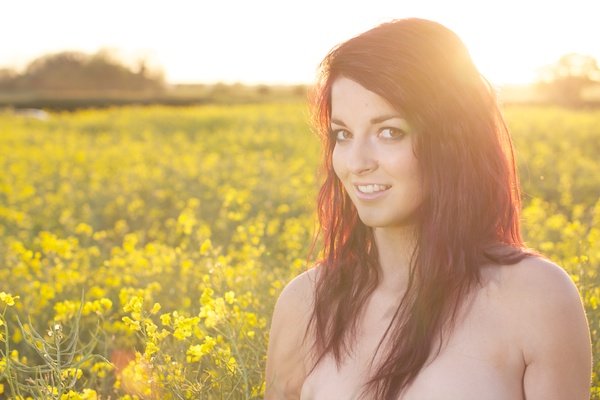
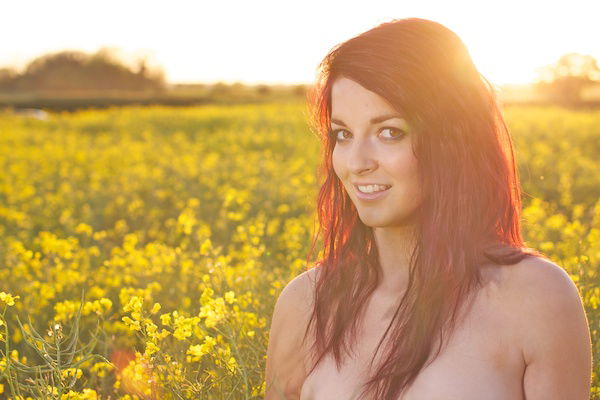
Here’s my processing of the photo that we’ve been using – you’ll see that I’ve made only very small changes.
I make the photo slightly warmer with the white balance, slightly darker with the exposure and bring in the black point and a small bit of brightness. The contrast and saturation were turned up only a tiny amount; these helped to make the photo to “pop out” a little bit more.
As you can (hopefully) see, small, subtle changes are key to excellent post-processing.
