From a cold one shared with friends on a night out, to a cozy date at a local brewery — beer is everything. And beer photography is growing increasingly popular these days.
Beer photography tends to be quite in demand for advertising and promotional gigs, especially in America and Europe.
With microbreweries showing up everywhere, and bars needing to showcase their stock, learning how to photograph beer is great for your food or product photography portfolio.
Here is our handy guide to photographing beer!
Camera and Lens Choice for Beer Photography
Most DSLRs and mirrorless cameras work great for beer photography. That’s because bottles and glass are still life.
Depending on whether or not your photo shoot is for print or online if it’s outdoors or indoors at a studio. Or what your client’s needs are – you will likely be able to get away with a mid-level camera.
Unless the images are being blown up onto a billboard, in which case the megapixel count will matter significantly.
The larger the number of megapixels, the bigger and higher quality the print will be. Some photographers have even gotten away with using point-and-shoot or compact cameras.
We don’t suggest this if you want to do professional work.
The camera body itself may not be as significant. But the lens will either make or break your beer photography! Generally, you will need a lens free of distortion.
When you photograph a product of any kind, your key objective should be keeping it as true to life as possible.
Even in editorial photography where there is more leeway on being creative, you want to ensure that your Corona shots continue to remain true to life.
Usually, you’ll want to go for a standard lens. Also known as normal lenses, standard lenses produce an image that roughly matches what the human eye sees. The image looks natural to the viewer.
Standard lenses have an angle of view of around 50 to 55 degrees diagonally. They are some of the easiest lenses to use. You don’t have to factor in any form of distortion. When you can take a picture of something exactly as your eye sees it, the composition becomes easier as well.
A very popular choice are lenses with a very wide aperture (f/2.8 or lower f-number). A shallow depth of field is also a very popular and trendy stylistic choice.
You’ll find these very wide apertures with fixed millimeter lenses. A fixed lens is known to be much sharper and generally higher quality than a zoom lens. A 50mm such as the Nifty Fifty is a great choice.
Lighting for Beer Photos
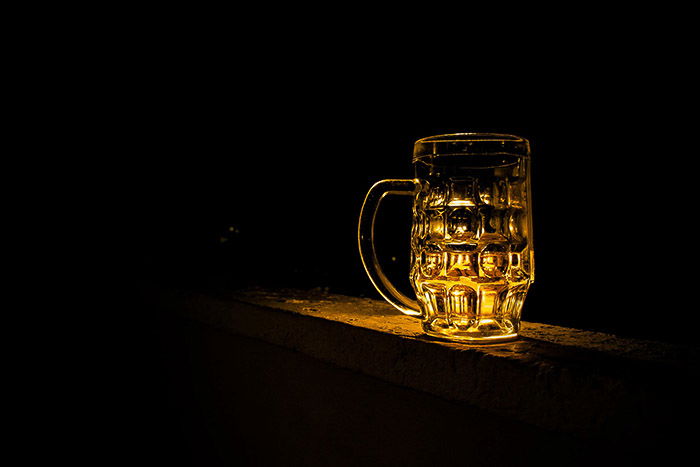
When photographing beer for promotion, I prefer to use natural or available light. This is because the vibe I get beer drinkers is a more organic setting.
Whether it’s a night out with your friends at a brewery, opening a cold one while camping in the woods, or just enjoying an evening in, all of these scenarios are better expressed using an available location and available lighting.
Because beer is also naturally warm in color, the warmth from natural lighting will enhance your shot.
However, sometimes beer companies want a clean studio shot. If you’re finding yourself needing to use artificial light or a studio setting, keep this nifty information in mind.
There are three main types of studio lights: Florescent, LED and Tungsten.
I prefer a ring light or a continuous light soft box for photographing beer in an advertising setting. I like seeing the lighting as I set it up rather than having to continuously flash.
You can also figure out how to eliminate reflections easier this way.
If you’re looking for more than just a ring light, you’ll want an average of three soft box lights. One overhead light and two lights you can use on the side, as a minimum.
My favorite shapes include squares or rectangles for lights that will hit the subject at the subject’s height level. I prefer an octagonal light for overhead arrangements.
Settings for Beer Photography
Much like any still life or simple candid moment, the settings you’ll want to use are fairly simple in comparison to, say, animal photography or sports. The subject isn’t moving!
Focus mode: Since beer doesn’t tend to move, you can set your camera to One Shot mode instead of the usual AI Servo that I often recommend. One Shot allows you to set up your images and focus without fear of the focus shifting.
ISO + Shutter Speed: Generally, you want to ensure there is as little noise as possible. Add a tripod, and you can afford to use a lower ISO number and shutter speed number to reduce noise.
For editorial photography, the settings will range depending on what exactly you are shooting. With a model, you will likely keep in tune with the requirements for portrait photography!
How to Photograph Cans, Bottles, and Glass
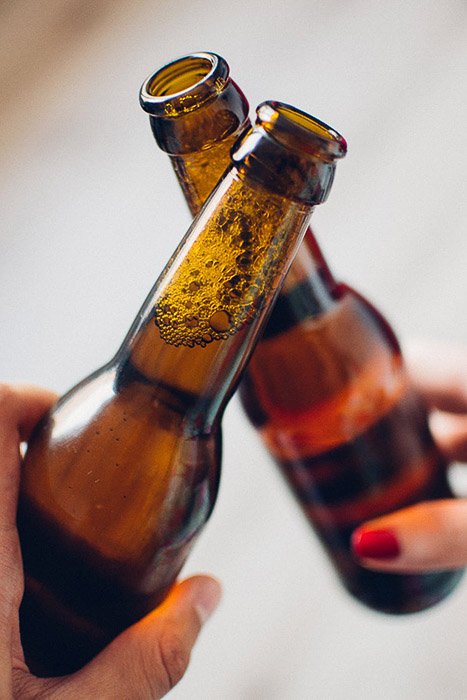
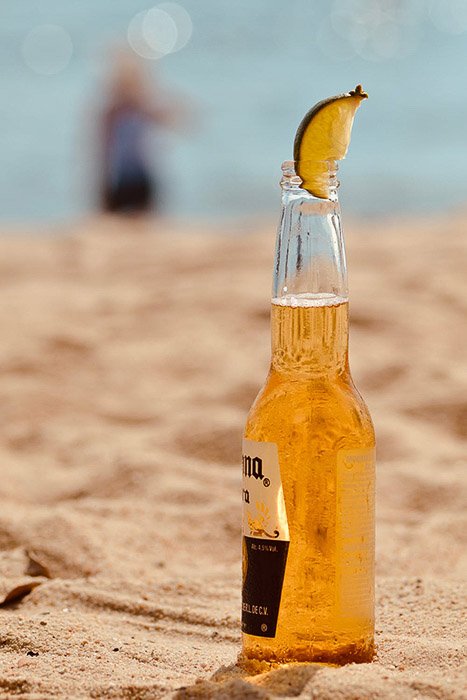
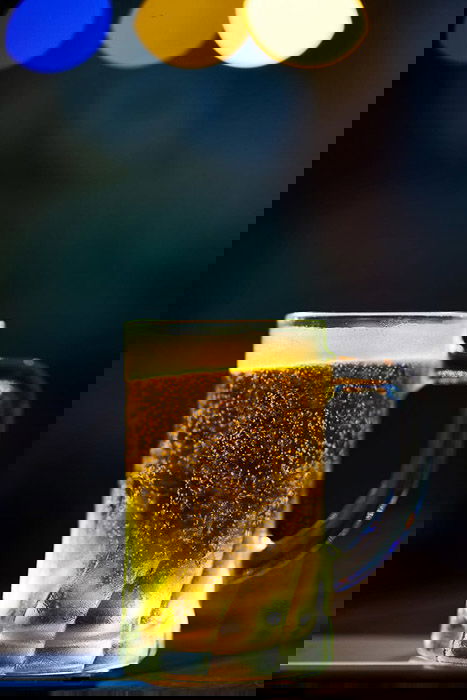
Beer tends to come in three different forms, in a can, a bottle or poured into a glass. However, you prefer to enjoy your alcoholic beverage, how you photograph whatever it is poured in will change!
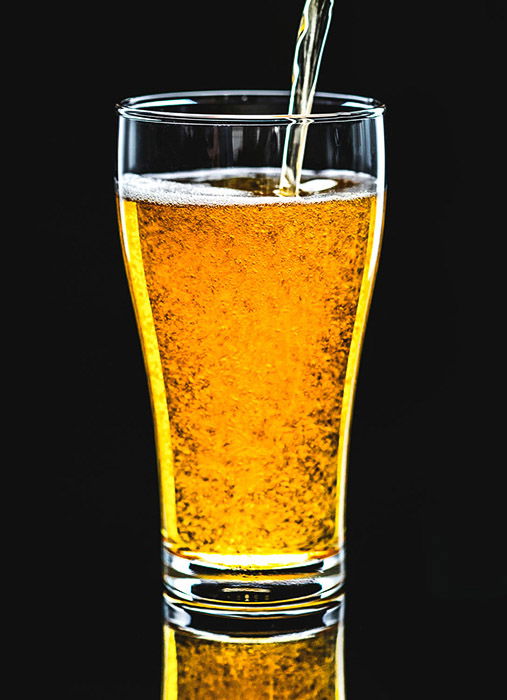
Bottles and glass are amongst the most difficult to capture. Reflective surfaces will bounce light around in annoying ways, mess with your lighting setup, and cause reflections.
You don’t want a reflection of your gear or lights as a distraction!
Pay attention to reflections and prepare to move lights around a hundred ways until you find the perfect configuration. Otherwise, you’ll be sitting in the editing room removing all those pesky reflections.
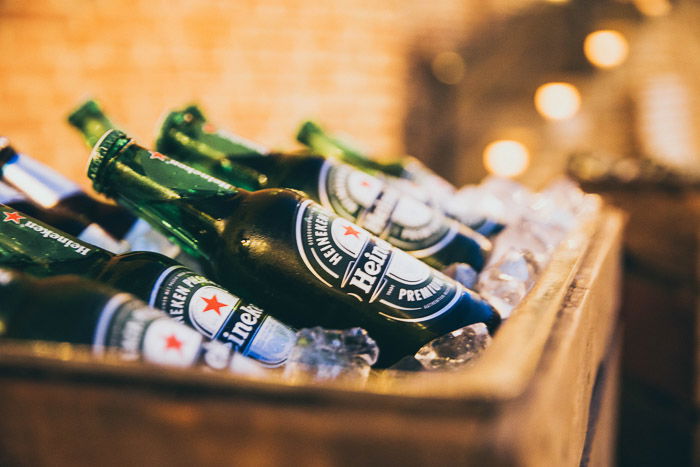
Generally, cans are considered easier to photograph than bottles or glass because you won’t have to fight with pesky reflections as much. Yes, cans are still generally reflective, but not to the same degree as bottles.
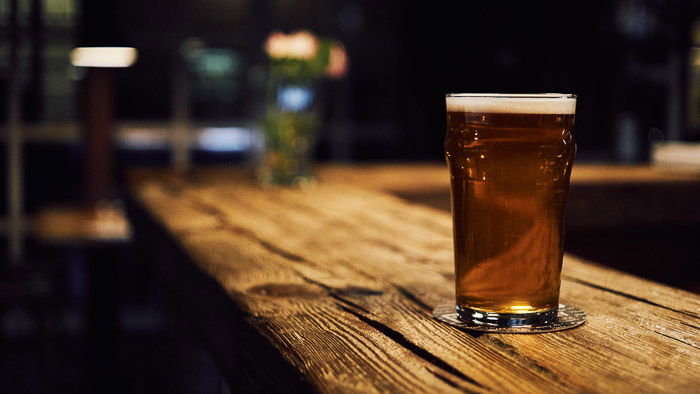
If you’re photographing a poured drink, a lot of the appeal of beer is also its color. From dark stouts to light IPAs, ensuring that the colors of your product are true is important.
Make sure that you use bulbs and flashes/strobes that have a true white light exuding from them. Usually, this is labeled as ‘photography toned bulb’.
True white light will not cause any sort of color cast, such as the blue or green of a fluorescent or the orange of a warm light. The result will be more correct colors.
Use the Location to Highlight Your Product
The location of your advertising beer photography is dependent on your client’s desires.
If they want something more lifestyle-oriented, shooting inside of a brewery or at a fun vacation destination will be your go to. If they want clean and simple lines, a studio would likely be the best bet.

The key is to make sure that the location compliments the beer, but does not overpower it. Use shallow depths of field to ensure that the beer is the focus. And make sure the background does not have too many distractions in it.
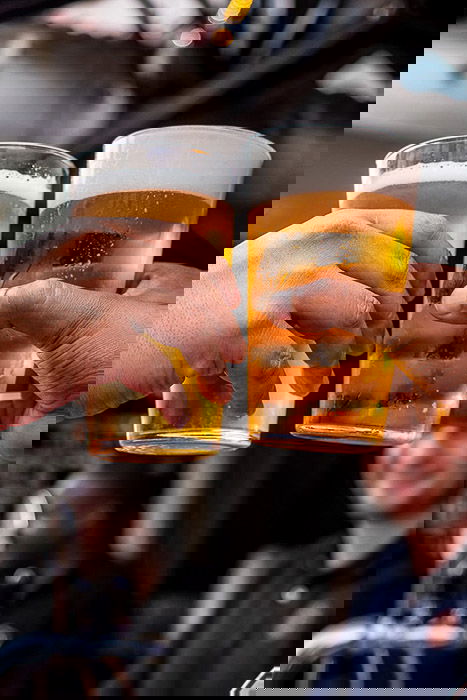
Lifestyle Images That Tell a Story Sell Better
An effective advertising image will always tell a story within its static shot. Remember that the idea is what sells the product! Most marketers will tell you that the key to selling a product is selling the idea of the product.
Whether it be tying Blue Moon to an appealing lifestyle, showcasing how much more exciting life can be with a Bud Light, or how significant some exclusive beer brands are to a specific interest – the story of the beer will sell it better than anything.
As photographers, we are tasked with creating the story, the ambience, and the world in which the product will reside. As such, try to capture as much of a tale in your shot as possible.
This is where your creativity and vision will really shine.

Get Creative to Make Your Photos Stand Out
A significant perk in photographing alcoholic beverages is the freedom to be creative. Drinking is advertised as a social endeavor, centered on fun, excitement, and having a good time.
These societal norms allow photographers, marketers, and advertisers a lot more freedom for being creative with the content they produce!
In order to attract beer clients, whether they be breweries or company owners, showcase your distinct voice. Don’t be afraid to let yourself shine through your work.
No one wants the same image as someone else. And this can ring true with commercial photography.
That being said, make sure you listen to your client’s needs, wants, and aspirations. You don’t want to go too overboard. Know when moderation is necessary.

Bonus Tip: How to Find Beer Photography Clients
This article likely reads like an assumption that you already have a client needing some beer promotion done. But what if you’re just looking for that client?
A good tip I have is to take beer photography as if you have a client and then pitch them to the owner of the company or brewery!
I landed an advertising campaign with a local brewery in Los Angeles by simply taking some shots at their location and showing the owner of the brewery the final result.
Being assertive and professional is the key to success.
Next time you go out for a drink with your buddies, bring the camera along and snap some awesome beer photography!