If you’re looking to capture the beauty and majesty of birds in your photos, then you need to use the right camera settings. In this article, we’ll discuss the best camera settings for bird photography. We’ll provide tips on how to use each setting effectively, and we’ll show you some stunning examples of photos that were taken with these settings.
Camera Settings For Bird Photography
There aren’t any bird photography camera settings that work in every situation. Also, each camera system has its own features and menu items.
We are going to guide you through your options. But you’ll have to adjust them to your current environment and lighting conditions. It’s probably going to require some time to get used to your camera.
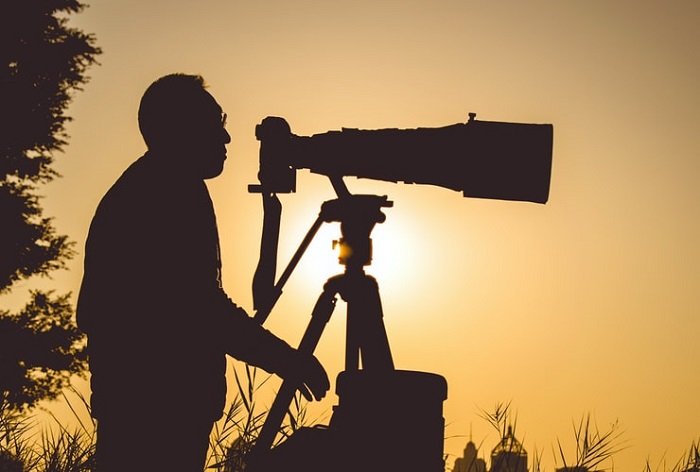
When photographing birds and wildlife, I have a “home base” on my camera. It’s settings that I start with, and I tweak them if it’s necessary.
Therefore, when I turn the camera on, I know where I am. And it’s this: Aperture Priority mode, ISO 800, f/5.6, and continuous autofocus.
With a little practice, you’ll be able to set your own home base.
Which Camera Mode Should You Choose
If you want to control each of the settings, you should choose the manual mode. Here you can set all the important things for yourself and adjust them just as you wish.
But if you want to have an easier job, choose a semi-automatic mode. They make your workflow faster, and you’ll have more time to concentrate on your composition.
Aperture priority mode lets you decide how much light do you let into the sensor, thus how blurred you want the background to be. If you set the aperture, the camera decides the others.
Shutter priority mode does the same, but with shutter speed. If you choose this, you can avoid motion blur more easily. This is optimal especially when you are photographing birds in flight.
We wouldn’t recommend the fully-automatic modes as they don’t know that you are aiming for photographing birds. You need more control over the settings than that.
How to Choose the Aperture Value
You usually want a shallow depth of field in bird photography. It’s because having a nicely blurred background enhances and separates the bird from its surroundings.
For this reason, you should go with a wide aperture. Lenses produce the sharpest images one or two stops before the widest value. So if you have an f/2.8 lens, you most likely will have the sharpest image at f/5.6.
Of course, if you’d like to include more of the environment, showing the plants or other animals near your bird, you can use smaller apertures, such as f/11.
How to Set Your Shutter Speed for Bird Photography
Bird photography requires fast shutter speeds. This is obviously because you would like to freeze movements.
Following the golden rule, you should operate with a shutter speed as fast as the focal length of your lens. So if you have a 300mm telephoto lens, set at least a 1/300 value. But, given that you shoot birds in motion, there is a high chance that you’ll need to be faster than that, like 1/1000.
If you use a slower shutter speed, your images can easily get blurred. Telephoto lenses are sensitive even to the smallest movements of your hand. If you are not handholding the camera, you can go slower, but then motion blur can occur.
You can use motion blur creatively to beautifully visualise the bird’s flying patterns. But it’s more for artistic purposes than documenting wildlife.

How to Choose the ISO for Bird Photography
A higher ISO lets you use faster shutter speeds and higher aperture values while keeping your images correctly exposed.
But it can cause a lot of digital noise and grain in your photos.
It’s important to find the balance between the ISO and other camera settings. For instance, you can start with ISO 800 and only increase the value if your images are too dark.

Which Focus Mode Should You Choose
The autofocus can keep the bird sharply in focus even while flying.
We recommend continuous autofocus as it is probably better at tracking the birds and keeping them in focus than you.
Tips for Different Types of Bird Photography
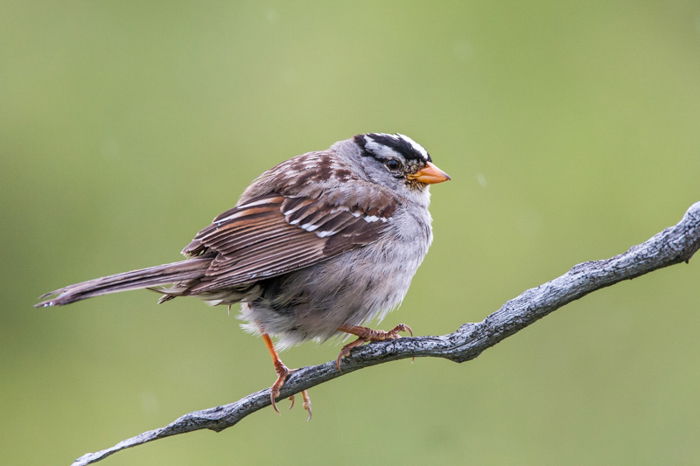
How to Take Bird Portraits
I refer to fairly close up images of still birds as “portraits”.
Just like when you are photographing humans, your focus is on your subject, and the background is for framing it. Your goal is to make the bird stand out from the background.
In a portrait, our entry point is the eyes, because it will give the viewer the feeling that the whole image is in focus. So focus on the eyes. If they’re not sharp, then you’ve probably missed the shot.
I favour Aperture Priority for most cases. It gives you the freedom to quickly adjust your depth of field. Go for a shallow depth of field to get a blurred background.
If your lens is high quality, you should be able to shoot wide open without a substantial loss in sharpness. Lower quality lenses may need to be stopped down a bit to achieve a sharp image.
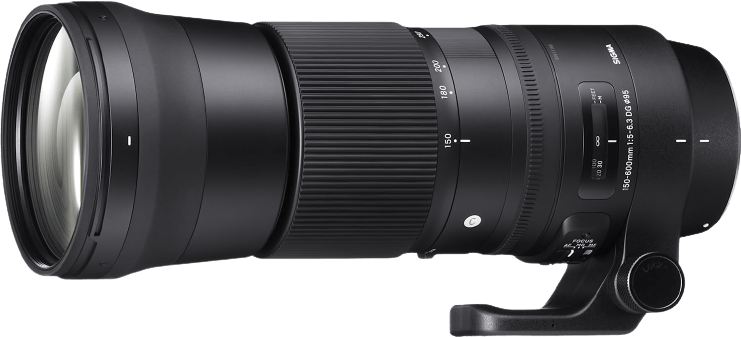
Use a long lens in the 300-600mm range set to an aperture of f/2.8, f/4, or even f/5.6 in the long-range.
Of course, the shutter speed and the ISO matter as well, but in this mode, your camera decides these other bird photography camera settings.
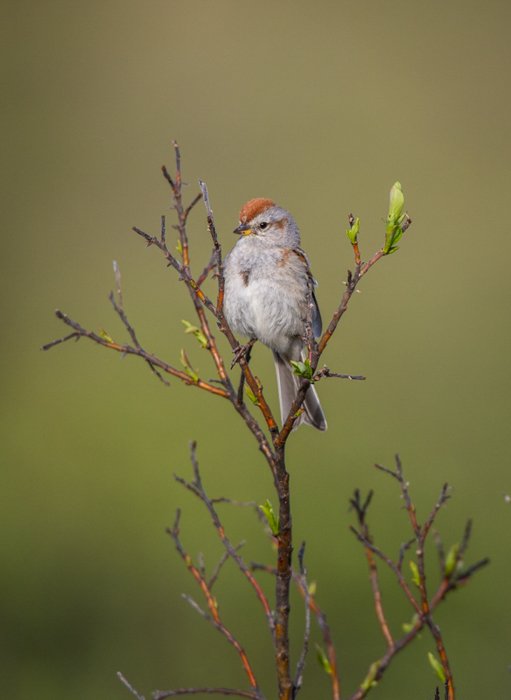
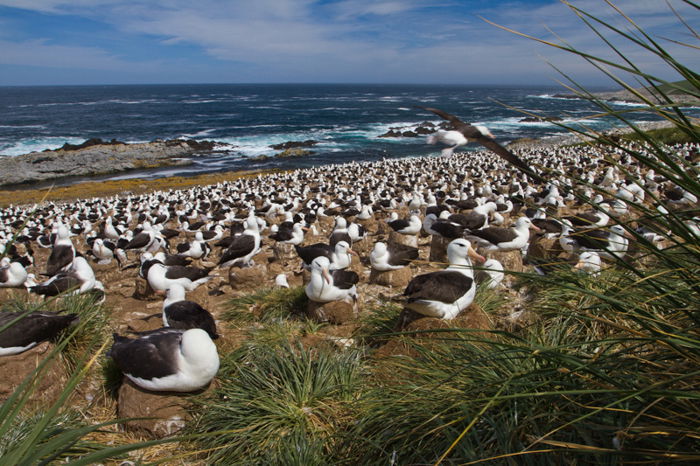
How to Take Environmental Bird Portraits
Step back a bit from a traditional portrait and start showing off the surroundings, the habitat, and the environment in which the bird lives.
Now you’re creating an environmental portrait. This is one of my favourite forms of bird photography because in this kind of image, stories appear.
You can learn a little about the bird and where it lives by looking at the image.
Compositionally, they are challenging to create. Settings, however, are more straightforward.

For this, a lens with a focal length somewhere between 85 and 300 millimetres is going to be better. But of course, it depends on how close you can get to the birds. There is a chance that you will need longer focal lengths.
Aperture priority mode is advisable here too. A deeper depth of field is appropriate in this kind of images.
Drift the aperture upward toward f/8 – f/11. This will put more of the frame in focus, allowing more details of the surroundings to emerge.
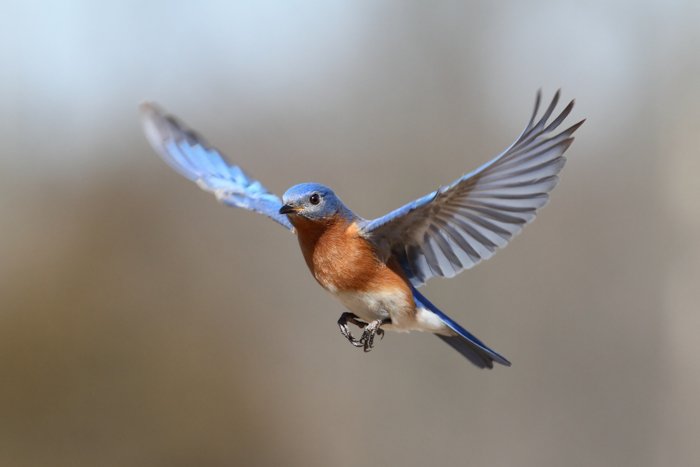
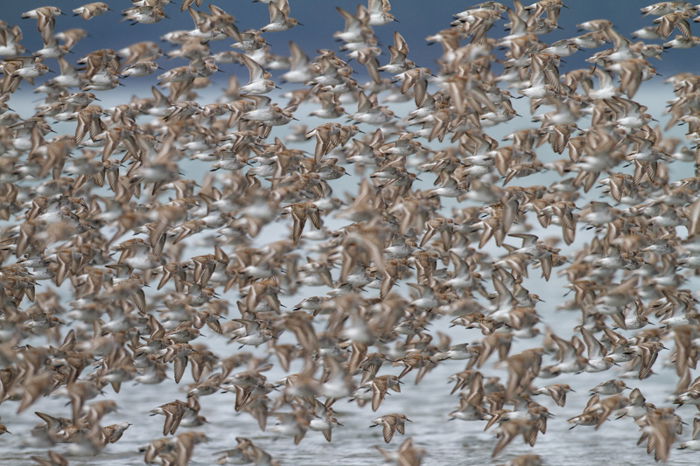
How to Capture Birds in Flight
Images of flying birds are hard to carry out. Focus, depth of field, and changing light all conspire to create situations that are very difficult to photograph.
Sometimes you can only get one in 500 images that work.
Be prepared to go through a lot of useless photos and a lot of memory space before you get some images you are happy with.
Pictures of birds flying or other quick behaviours mean a having to make a greater number of creative decisions. You’re also constantly shifting camera settings that affect the exposure.
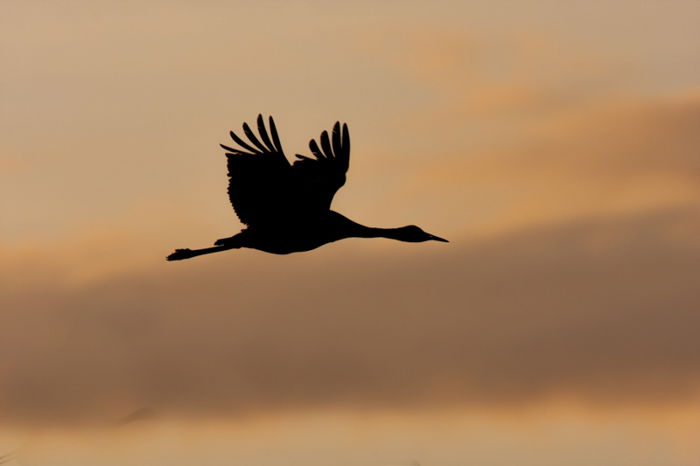
Blurs, sharp stop-action shots, or something in-between might all be acceptable results. But you should be purposeful with your image, knowing what you are trying to do.
For sharp action shots, use the continuous focus mode. Here both aperture priority or shutter priority work well, but you can experiment with manual mode too.
Your shutter can be wide or smaller, the emphasis is more on the shutter speed. Use a fast shutter speed, such as 1/1000 or faster. You should set your ISO high enough to support the fast shutter. Also, a wise choice is to adjust your burst speed (frames per second rate) to the maximum. This capability differs in every camera model.
For creative flight blurs, the main change you have to make is to set a slower shutter speed.
Shutter Priority is the best mode to choose here. Set it anywhere from 1/15th to 1/100th. But you can also choose Bulb Mode to capture the whole range of motions of a bird.
Here, when you are shooting with a long shutter speed, so you can lower the ISO.
Conclusion
There is amazing potential for image-making in bird photography.
I find taking photos of birds entertaining, partly because of the many variables. From dealing with awkward lighting conditions to creating blurs, flight shots, and telling stories through environmental portraiture, the photography opportunities are endless.
Although this niche is fun, it requires technical knowledge from every photographer. Go out and practice. Get familiar with your camera, and play with the camera settings for bird photography.
Our tips will probably work for you too. Use them as a starting point, but don’t be afraid to tweak them as you wish!