We go through seven steps with a still-life example where I make smoke for photography. I use a still-life example. But you can apply the smoky effect to different situations.
Smoke is a powerful photography tool. It can add drama, atmosphere, and tension to an image. But getting the smoke just right can be tricky. Follow the steps below for the composition, or jump to step two for details on how to make smoke for photography.


How to Make Smoke for Photography
Sure, you can always add a smoky effect later in post-processing. But it’s so much fun creating it on set! This is especially true if you combine smoke photography with silhouettes and use it to tell a story.
It can be a dark and spooky story, with vampires, bats, and graveyard tombs. Or, it can be a charming story with unicorns, dragons, and fairies.
Either way, smoke in photography brings magic or mystery to any scene! Let’s see how to add real smoky effects for pictures. In your next still-life photography experiment, you can tell a dark fairy tale or an exciting Halloween story.
7 Steps for Still-Life Smoke Photography
We go through everything you need to create a still-life composition with smoke.
Step 1: Gather Props and Photo Gear
The list of props and gear for this project is pretty simple. You need these items:
- A glass jar or bottle without a wide neck
- Incense sticks to make smoke (or other means we discuss)
- Paper silhouettes (we’ll talk about them in more detail)
- Dark or black background
- Items for your still-life setup
- A light source (like a flash) and equipment (see step five)
- A camera and a tripod
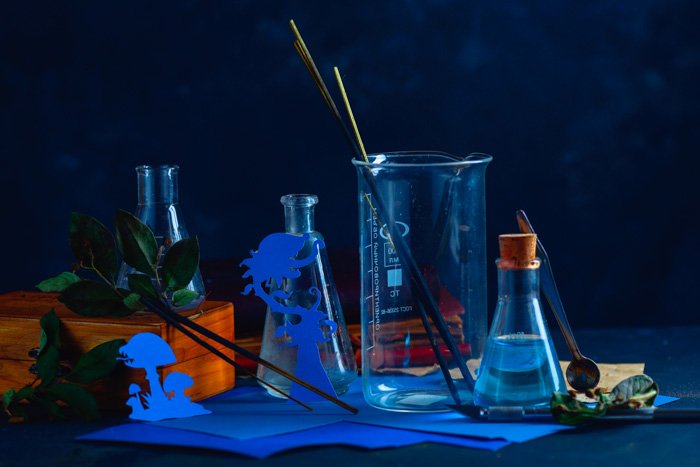
Find something suitable for your visual narrative. I’m happy to use tiny pumpkins or persimmons and maple leaves for Halloween scenes. You can use autumn leaves, crooked tree branches, wooden boxes, scrolls, and dark magic props as complementary still-life items.
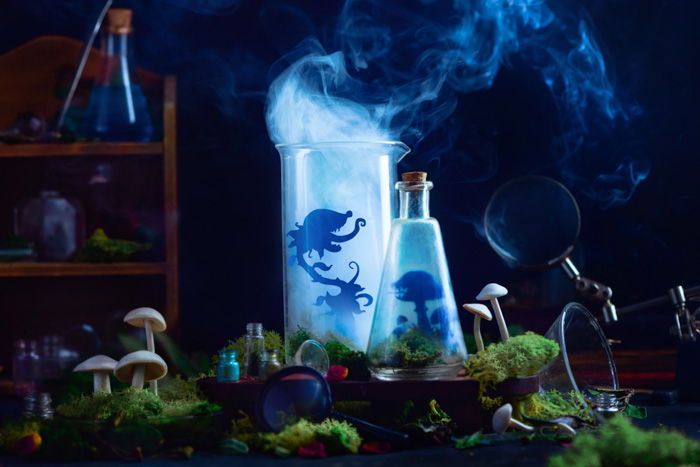
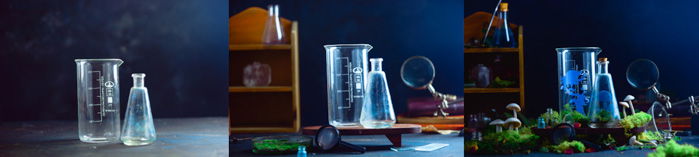
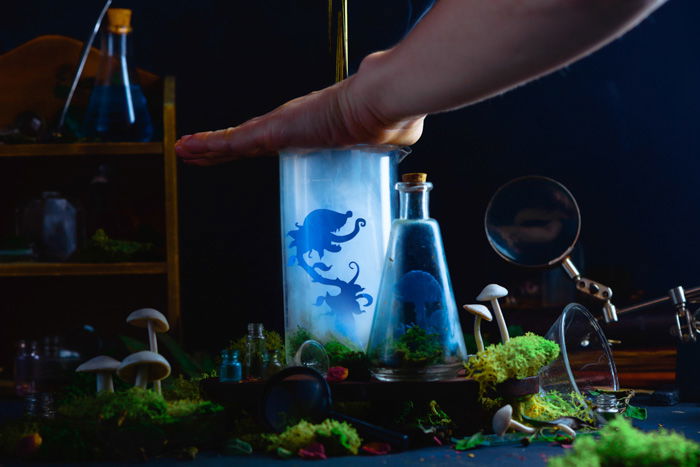
I created a picture of carnivorous plants and a gardener’s nightmares. I made mushrooms from polymer clay and gathered potion bottles, moss, and dried leaves.
Also, make sure you have objects of different scale. For instance, you could take a couple of large objects, like bottles with smoke and silhouettes. You could then add some relatively small objects like scattered dried berries.
Those differences in scale help create a diverse look. It makes the image look more lively and natural.
Step 2: Add Some Smoke for Mysterious Results
First, we need to add some smoke or steam. There are plenty of ways to achieve smoke for photography. My favorite way is using a simple incense stick.
Smoke machines are expensive and produce too much smoke for a small scene. Liquid nitrogen is practically impossible to find if you live in a small town, like I do. Besides, liquid nitrogen must be stored in special containers. If you pour it into a thermos—it can burst!
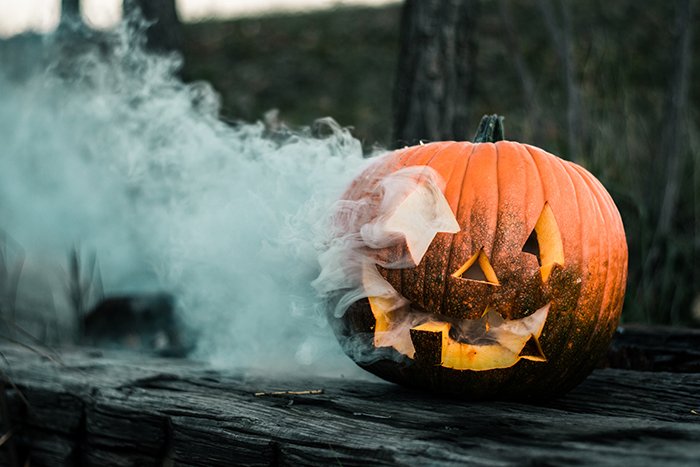
Dry ice is a pretty good solution. If you manage to get some, that’s great! There are also a variety of aerosols like the “Smoke Detector Tester Can” that might work. I know a couple of photographers who use a hand steamer (usually used for clothes) for this purpose.
But to begin with, a bundle of common incense sticks is the best choice. They are cheaper than a fog machine, more accessible than dry ice, and more stable than an open flame. You only have to be careful with the ashes.
Last but not least, incense sticks are relatively safe to use indoors. Still, ensure you work in a well-ventilated room and don’t wear any easily flammable clothes.
Step 3: Use Silhouettes to Tell a Story
Another important feature is silhouetting. It’s best to decide what story you’re telling.
Is it about All Hallows’ Eve? If so, you need silhouettes of witches, bats, haunted castles, or spiders. Is it a classic “Sealed Evil in a Can” trope? Well, you need a monster, of course!
More lighthearted stuff works, too. Windmills and country landscapes in a jar surrounded by daisies and strawberries may look charming.
I usually cut the silhouettes for my stories myself. Dark, thick silhouette paper, a precision knife, and patience are needed. If you’re not used to cutting tiny figures out of paper, buy some pre-cut paper silhouettes in a local scrapbook store.
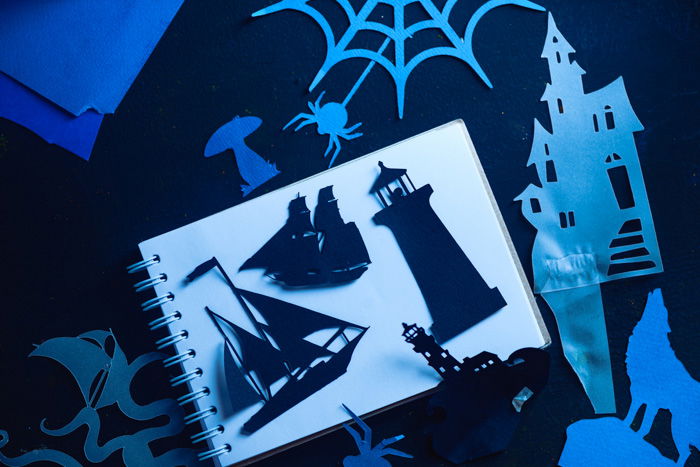
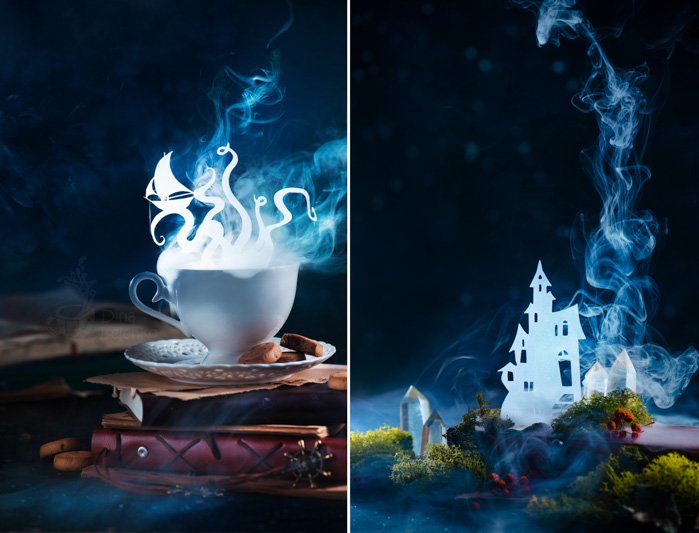
If you want to try something different, use thick tracing paper or vellum to create silhouettes. This method produces a shape brighter than the smoke and glows in your images.
Of course, glowing zombies or a haunted mansion would look out of place. But a shining white dragon or unicorn is perfect. These shapes will look like you have captured glowing creatures in your jar!
Step 4: Experiment to Get the Right Composition
Start with the largest objects and move on to little details when arranging your still life. Keep the scene simple but add details to create a mystical atmosphere. A minimalist approach is good. But a lonely jar looks quite boring, even with a zombie inside.
Add some scattered leaves here and there. Draw runes on craft paper and use it like a scroll. Pour some colored liquid into a small bottle and call it a potion. There are endless ideas. Make the viewer stay with your image a bit longer.
I started with two lab bottles and then moved on to creating a background. I put a wooden case with “potions” in the background and added moss and mushrooms to the scene.
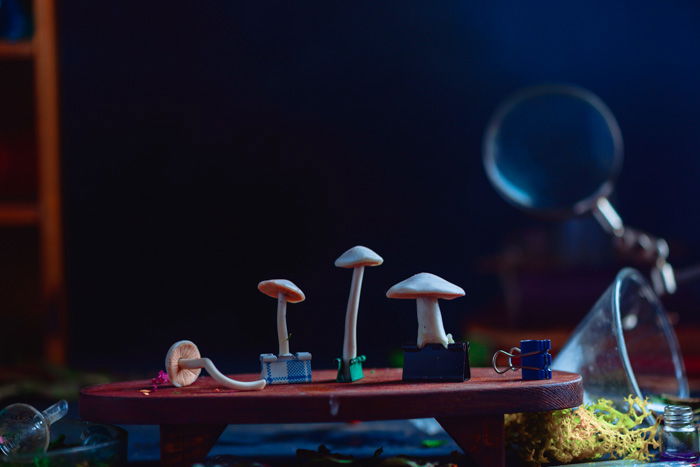
I bought the moss at the same local craft store and made mushrooms myself from polymer clay, thanks to one of many tutorials on YouTube. (Try it sometime. It’s very easy.)
I wished my carnivorous plants were a couple of tones darker and stood out more. But they got darker in the backlight, so they were fine. Consider your jars and bottles a central element of the composition. Put paper figures in jars. If they don’t stand alone, fix them with double-sided tape.
If you have a flying figure inside a jar (like a dragon or a fairy), fix it steadily with transparent Scotch tape. The tape will be visible, but it won’t be hard to fix in post-processing.
Step 5: Set Up the Perfect Lighting
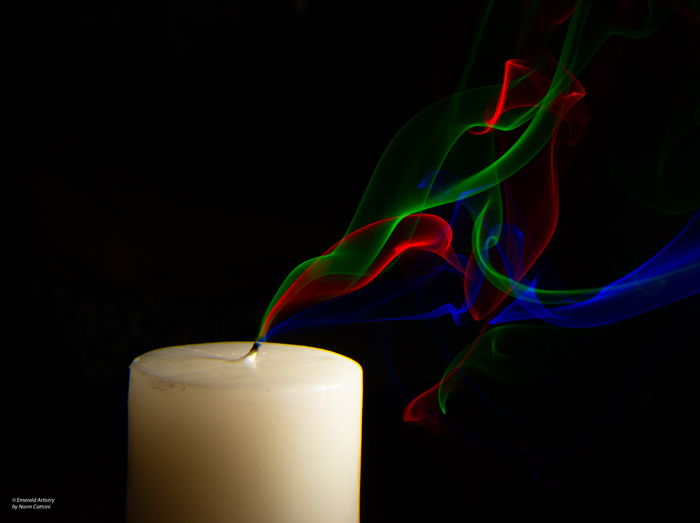
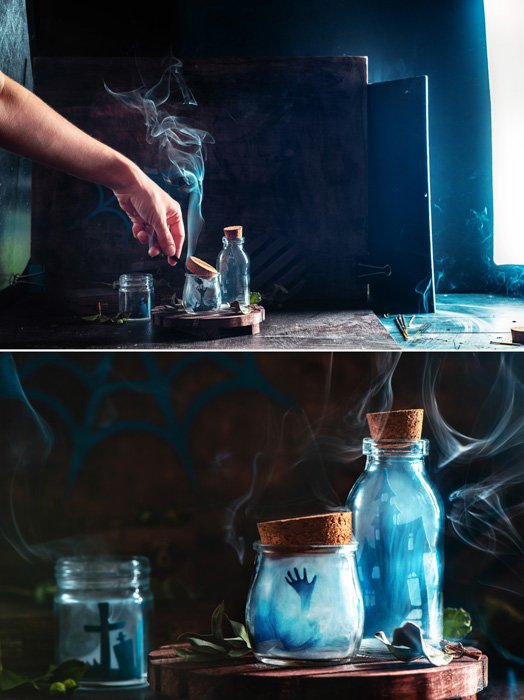
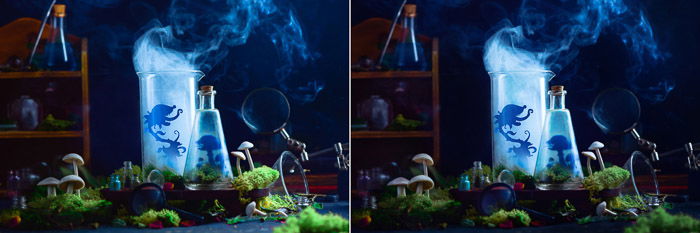
The secret to photographing smoke is the backlight. From behind, the light makes the smoke effects visible to the camera practically glow. (You can use DIY lighting techniques instead of buying lighting gear.)
There is no glow without a backlight, and the smoke trail looks dull and barely noticeable. The backlight also outlines dark paper silhouettes, making them more prominent.
This light shouldn’t be too soft. Use a narrow strip softbox or photo snoot on your main light source to center the light on the jars. Aside from that, you can use any lighting scheme you like.
In my case, the scene was lit with two speedlights. I set the first flash, my key light (main light), in a small strip box behind the scene and adjusted it slightly to the right.
I placed another flash behind a large diffuser on the left side. This one functioned as a fill light. You can use a reflector instead of this second flash.
Use a black flag to cut some light from the background and make it darker if needed. I put a piece of black cardboard between my strip box and the scene to cast a shadow on the boxes and books in my background. Making these items darker concentrates our attention on the bottles.
If you’re using a flash, set it on low power. This lets you use an open aperture and keeps the background a bit blurry. Set your synchronization shutter speed (about 1/125 s). Adjust the ISO to get a well-exposed image.
If you’re using natural light and no flash, a longer shutter speed (about 1/60 s) blurs the smoke. But it still looks beautiful. A faster shutter speed (about 1/400 s) makes swirls more prominent. The flash helps you freeze the motion of the smoky curls.
Choose the camera settings you like best. Then, take a few test shots to see if you want to change the setup.
Step 6: Add Some Smoke Action
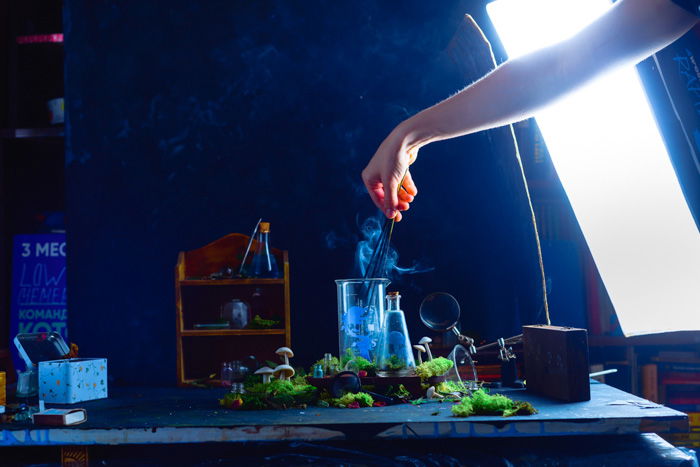
It’s time to set something on fire! Don’t worry—it’s only for the smoke! Light the incense sticks and put them in a jar. Let the smoke condense at the bottom. If you want the fire to burn stronger, blow on the tip of the incense stick.
If your bottle’s neck is narrow, plug it with a cork. The neck of my first lab jar was too wide. I had to cover it with my hand to let it condense. Fill the jars individually and take a sequence of shots with the smoky swirls and curls.
You can also move one incense stick along the lower parts of the scene. This way, your foreground areas get smoky, too. After all, this is smoke photography! Let the smoky swirls spread around the frame.
Since your camera is fixed on a tripod, you can try different approaches and see what works best for your dark, magical, still life.
Remember that glowing jars can be much brighter than the rest of the scene. So, it’s easy to overexpose them. That’s why you may want to underexpose the image a bit. Details in the dark parts are easier to recover in post-processing.
Step: 7. Enhance Your Images in Post-Processing
Pick the shot that looks the most spooky and magical to your taste, and give it a little polish. I adjusted the contrast a bit and made my predatory plants even darker. I added a green tinge to my too-yellow moss. Plus, I made the smoke a bit bluer.
Add some contrast to make jars glow even more. Delete all annoying dust and ash particles. And enjoy your spooky image!
As you can see, there’s not much post-processing involved. That’s why I love creating this effect on the set. The editing is quick, and setting up the scene is fun.
Conclusion: How to Make Smoke for Photography
I hope you enjoyed the process of how to make smoke for photography and are ready to try it with your own story. Experiment with materials, creating glowing shapes, not only dark ones.
Gather a collection of ships and lighthouses for a seascape. Or dream up a distant fantasy land. Tell your own stories and have fun with it!
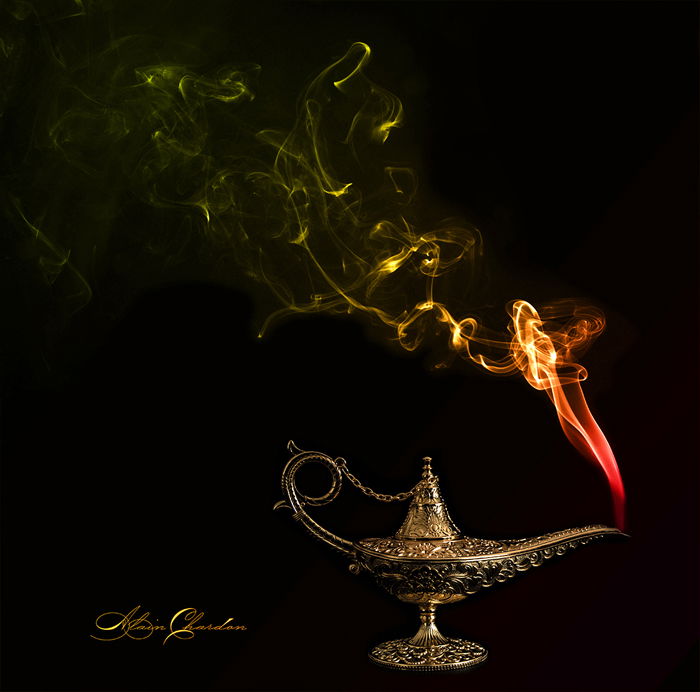
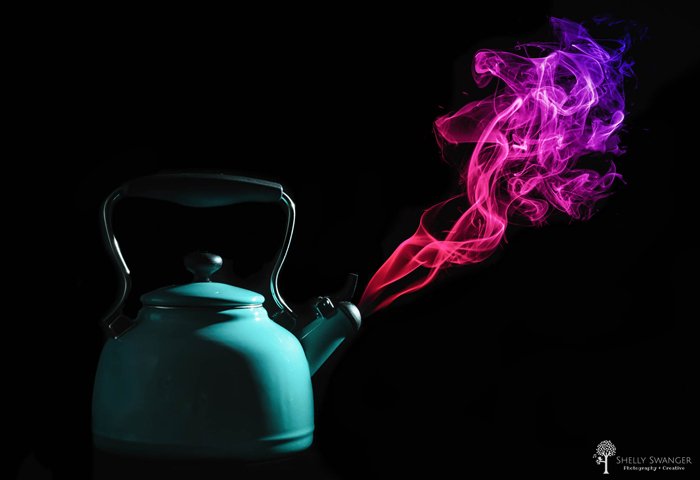
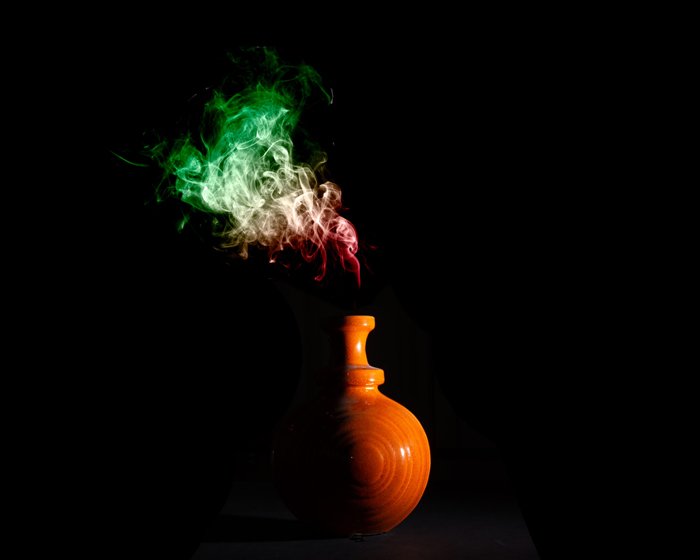
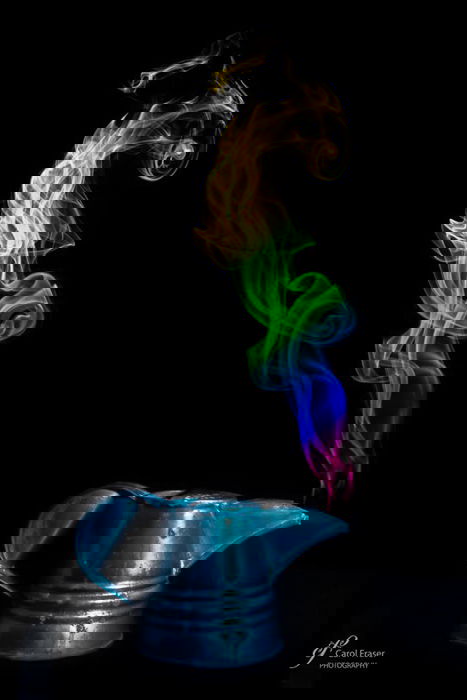
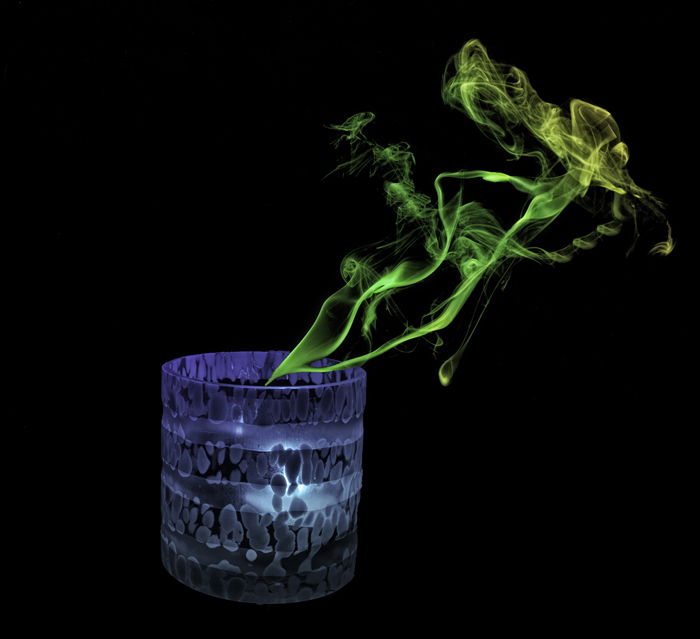
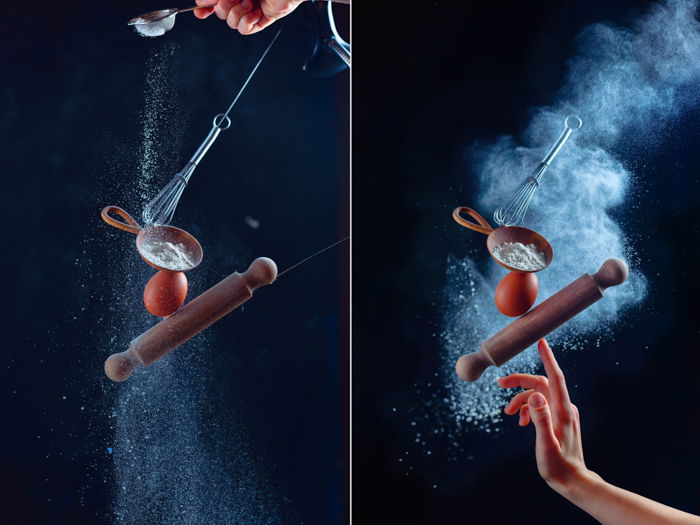
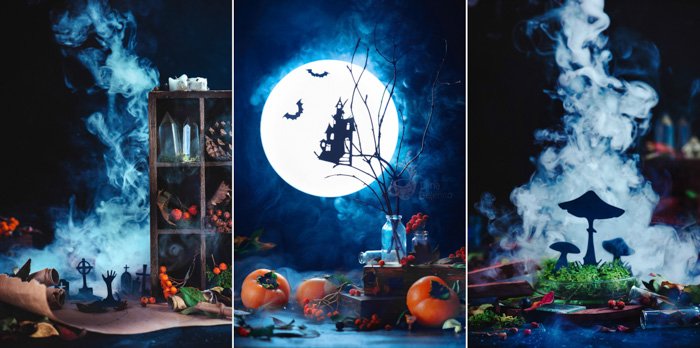
Examples of Smoke Photography
Smoke photography is one of the topics we cover in our creative photography course, Wow Factor Photography. Below are some of the photos taken by our students.