
Light creates a mood in an image. But with dramatic lighting, photography jumps off the page.
Dramatic lighting makes the image stand out by creating contrast, interest, and mood. It will also help you shoot attention-grabbing photography.
Here’s our list of dramatic lighting tips you can start using today!
Creating Dramatic Lighting: Understanding What Makes a Light Dramatic
Dramatic light has three main features.
- Hard light. This means a little transition between the bright and dark areas of the photo. The highlight areas transition into the shadow areas, with a little gradient between them.
- Focused or patterned light. A picture where every pixel is lit isn’t very emotional. An image with dramatic lighting has light focused on one area of the photo, but it’s not focused on the other parts. You can focus the light source on one small area or you can create a pattern in the photograph.
- Full of contrast. Powerful photos tend to have both bright and dark areas. Think about dramatic black and white images! But even in color, the image contains both dark and light tones.
It’s crucial that you understand each element of dramatic light. It can help you build in the perfect amount of drama into the shot. Whether it’s a portrait or a landscape image.
Creating Hard Light
Hard light has a little transition between highlight and shadow. The abrupt change tends to feel more dramatic than soft light. Soft light has a gradual transition.
Hard light is created from small or distant light sources. Or, in some cases, from both. So finding hard light is as simple as going outside on a sunny day.
Note, though, that clouds can soften brilliance. And you will also experience soft light during the golden hour.
You can also recreate these conditions indoors. A window with the sun directly outside will also create hard light. If the sun is on a different side of the building, window light is soft.
Creating hard light is also quite simple. Most artificial light sources are small – strobe lights, continuous lights, and flash heads are tiny and create hard light.
Without a modifier, the light from those sources will be hard and it will spill everywhere. This is why learning how to create focused or patterned light is also important.
Creating Focused and Patterned Light
An unmodified flash creates hard light. But the light from a flash will also spill out over the entire scene without adjustments.
Creating light that’s only on a small area of the image adds more drama to a photograph. Using a lighting modifier can help create a focused or patterned light.
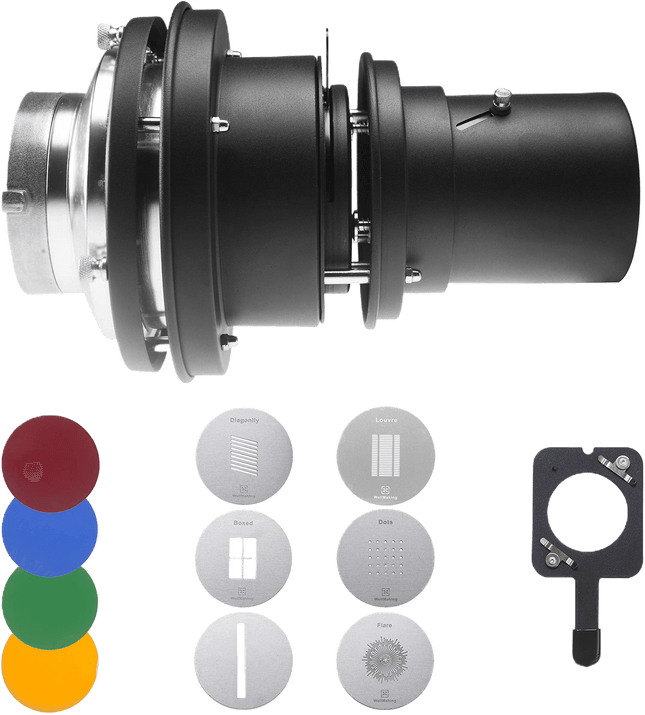
A grid, snoot, or barn doors will focus the widespread of the light from a strobe or flash. It will create a narrow beam of brightness that’s closer to a spotlight.
You can use each of them to prevent the light from hitting the background and creating more contrast. Or you can use it to draw attention to a specific part of the image.
While each accessory can focus the light, they are used in a different way. If you want to create light with a limited spread, but still want some softness, consider trying a beauty dish modifier.
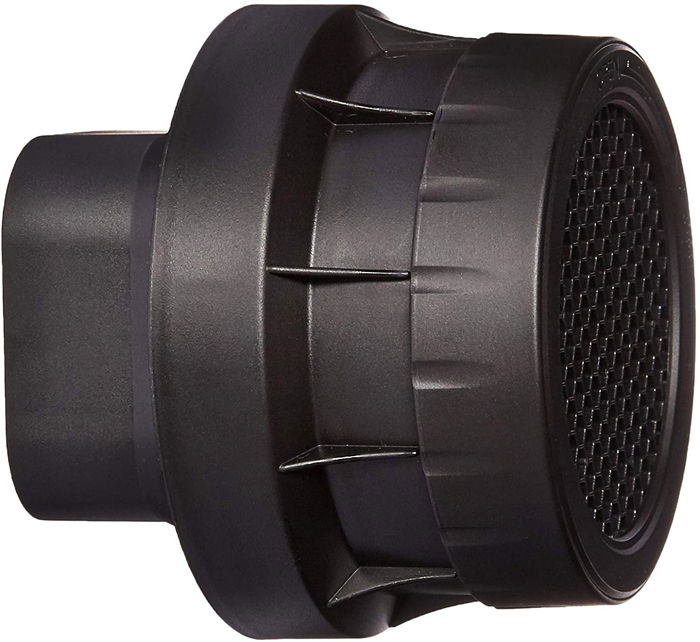
Grid
A grid looks much like the name suggests. It’s a grid or honeycomb pattern that you place directly over the light. The pattern restricts the light, creating a narrower beam.
Grids are measured in degrees. A 10-degree grid will create a much tighter spot of light while a 40-degree grid will have a wider spread.
Place and then position the light. Make sure you get the right position since that restricted beam leaves less room for error.
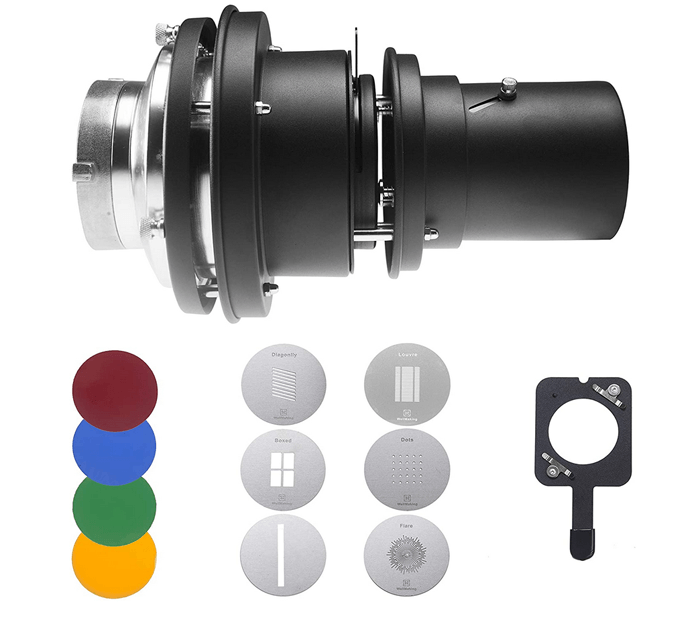
Snoot
A snoot is a collapsible cylinder. It’s placed over the light to create an even smaller circle of light.
Think of a snoot as a spotlight effect. They are available in different sizes based on the size of the opening for the light.
Barn Door
Barn doors work to create a narrower beam of light, too. But they are more customizable than grids and snoots. This light modifier places four ‘doors’ on each side of the light. You can open or close them to adjust the shape and size of the light.
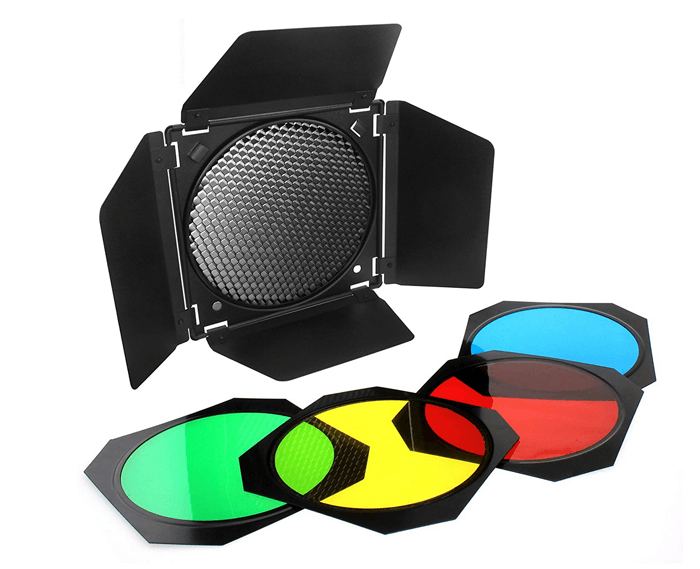
With all four doors closed, the light is narrow like a snoot. But you can also close just two doors for a thin strip of light. Or you can adjust each one individually to add more variety.
The zoom setting on your flash can also play a role in how the light spreads. A higher zoom, like 105mm, creates a narrower spread of light than a lower setting, like 24mm.
In portrait photography, creating patterned light is done by placing the key light so that it creates a specific pattern on the face.
But, that’s not the only way to create patterned light.
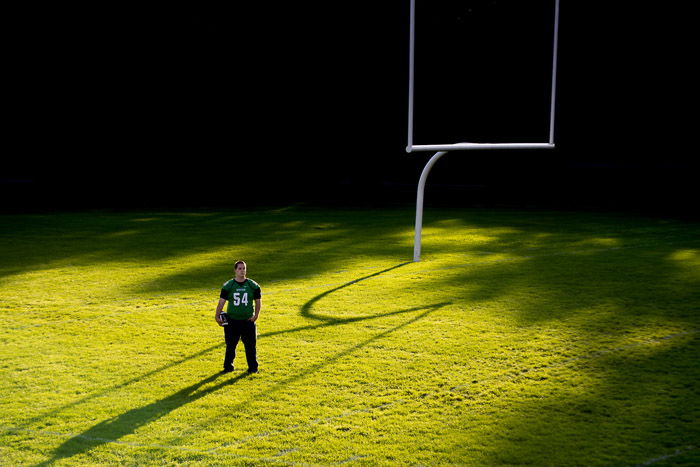
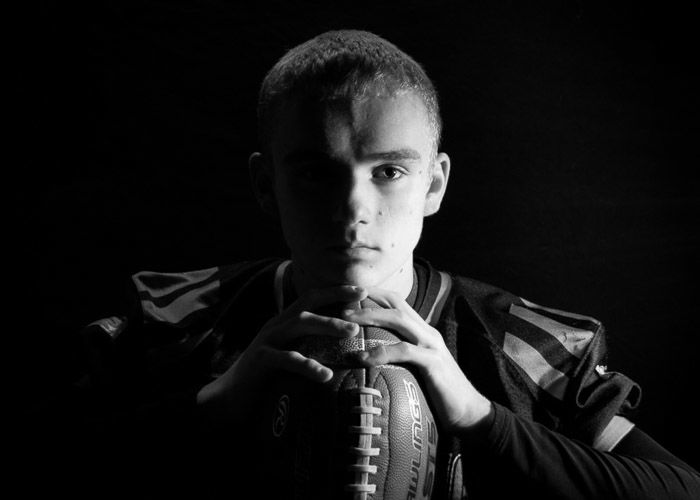
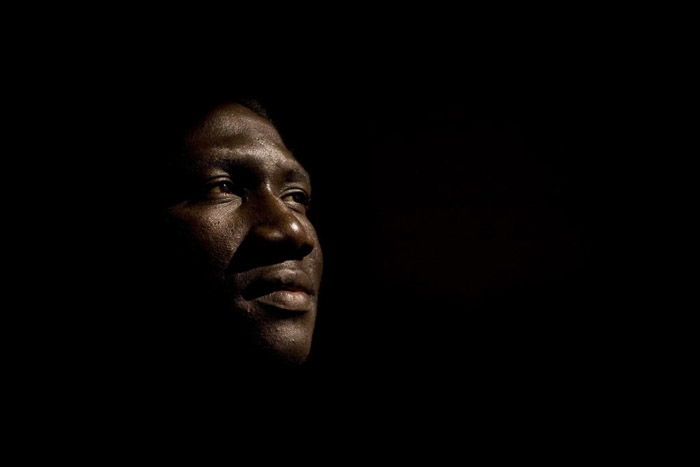
You can also find patterned light in natural conditions. Look for the pattern created by the light and shadows in the scene around you. See the shadows created by the goalposts in the football image above.
Hard sunlight streaming through window blinds also creates an interesting pattern that can lead to great photos.
Photographers can also mimic the effect by creating a DIY cardboard cutout or adding gaffers tape over a softbox. There are unlimited possibilities for creating a custom shape with DIY photography.

Creating Contrast
Contrast refers to the difference between the darkest and lightest areas of the image. You can use hard light and a modifier to prevent the light from also hitting the background. This helps to create contrast.
But there are also additional ways to create contrast in a photo.
First, skip the fill light. Filling in the shadows creates less contrast and less drama.
You can also deepen the shadows by using a negative fill. Placing a black reflector on the shadow side of a portrait will increase the shadows. That’s what the black side in the 5-in-one reflectors are for.
This technique is like using a reflector. Instead of adding a fill light, you use the black side to make sure no additional light is spilling into those shadows.
You can also increase contrast in post-processing. Brightening the highlights and darkening the shadows will create more contrast. It tends to work better than only using the contrast slider.
Using the HSL panel to lighten specific colors can also create a bit more contrast. Dodging and burning is another technique you can try.
Experimenting With the Position of Your Light Source
To create a sense of drama for your portrait photography, you also have to consider the position of your light. You can be creative and experiment as you like or you can choose popular portrait lighting techniques that help you achieve that dramatic effect.
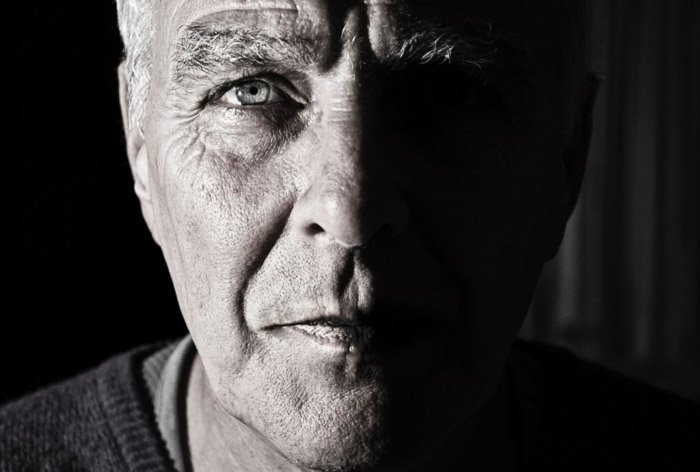
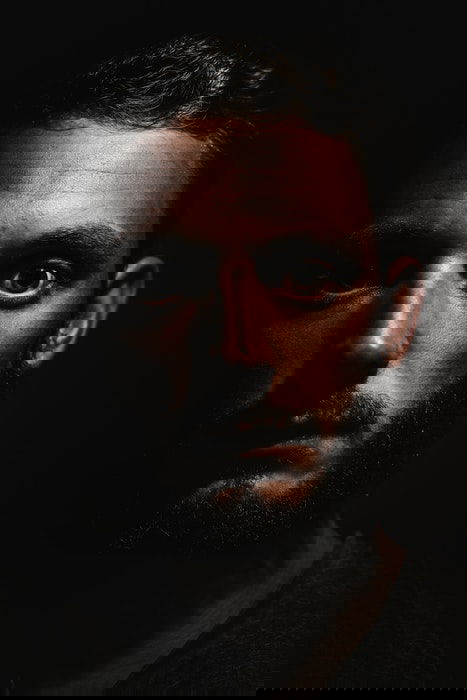
Split lighting is a popular method to create emotional portraits. If you choose this technique, one half of your subject’s face is lit. The other half is left in the dark. This method highlights the details of the face and the texture of the skin. To learn how to set up this technique, read our article about split lighting.
Rembrandt lighting is another effective method for adding a sense of drama to your portraits. With this type of lighting, the subject has an iconic small triangle of light on one of their cheeks and the rest of the same cheek is in shadow.
This method is a bit more difficult to achieve but the results are worth the efforts. Check out our complete guide for this set up here.
If you have more experience with different lighting settings, you can also get creative and try to place your lights in different ways. Play around with their positions until you get the result you aim for.
Conclusion
Creating dramatic light involves mixing hard, focused or patterned light with contrast. Dramatic images should have at least one of those elements.
Remember, you can add even more drama if you use more than one of the mentioned lighting techniques!
Do you sometimes wish you had all of the basic lighting guidelines with you on the go? Why not check out our Photography Quick Capture Cheat Sheets next!