Product photography is very important these days.
Every ecommerce business relies on beautiful product photos to make sales.
In this article, I’ll show you the basic steps to edit product photos in Photoshop.
How to Edit Product Photos for Product Photography
Product photography is a genre of photography, which represents a product in advertising. The photos should be accurate and attractive. The purpose, after all, is to increase sales.
Product photography can make a major improvement in your e-commerce business. Use correct lighting, nice backgrounds and camera techniques. This will make your products stand out.
Some product photography requires a specialist. Taking product photos of cars or jewellery has become a genre on its own. The right equipment is very important.
Equipment
The equipment makes the difference in quality and end result. For most products, the set up is a light tent, a cove, a camera with macro lens, a tripod and some studio lights.
Even with the right equipment, you’ll always have to edit product photography.
How to Edit Product Photography With Adobe Photoshop
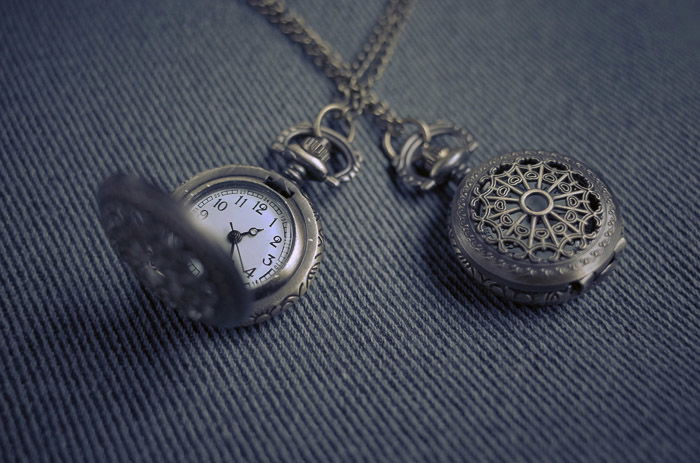
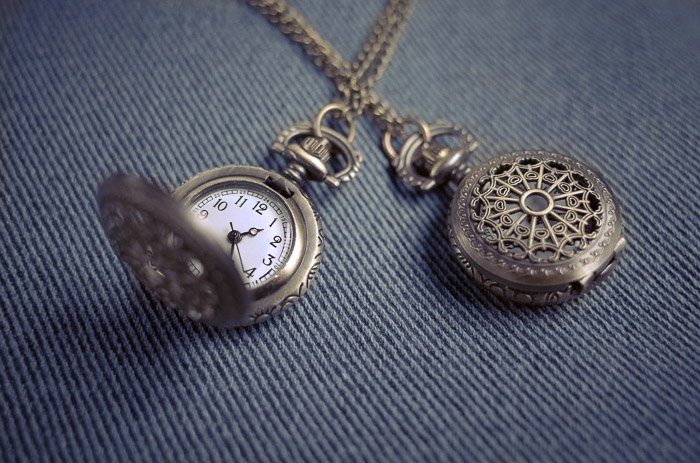
Here are the basic steps to edit product photos. I’ll use this photo of a pocket watch.
1. Clean Up a Product Photo
All the dust particles, scratches and spots have to be removed. The Clone Stamp tool is perfect to clean up the product.
Step 1: Use the Clone Stamp Tool
First, duplicate the background layer. This way, you can always go back to the original photo.
Right click on the background layer and select ‘Duplicate Layer…’.
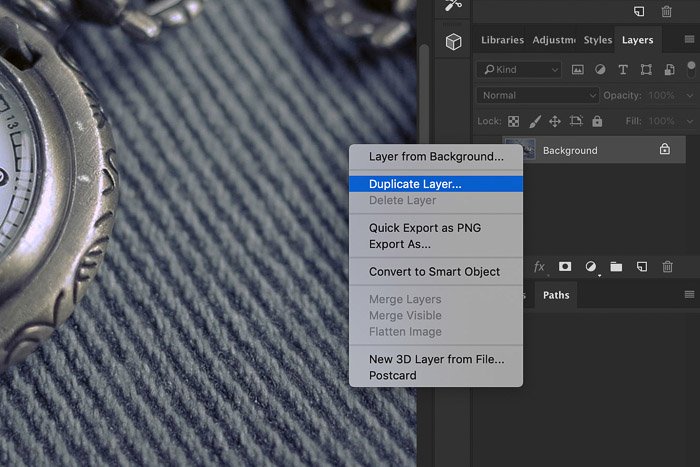
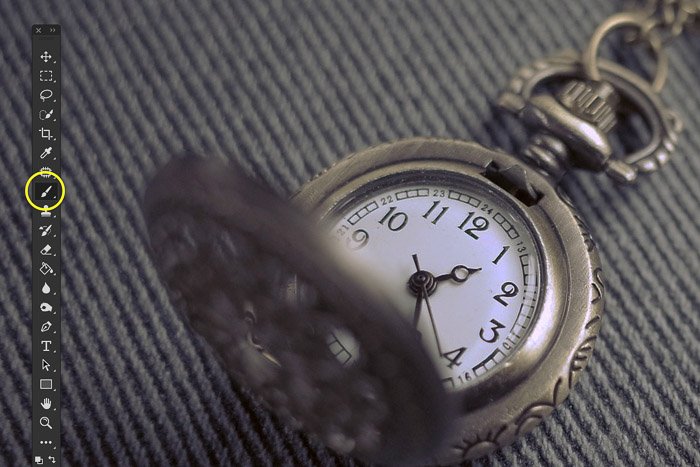
Select the Clone Stamp from the tool bar on the left. Pick a soft brush.
Step 2: Select a Clone Source
In my example, I want to remove the white spots on the metal of the watch.
Of course, only do this if the product you’re selling doesn’t have the spots.
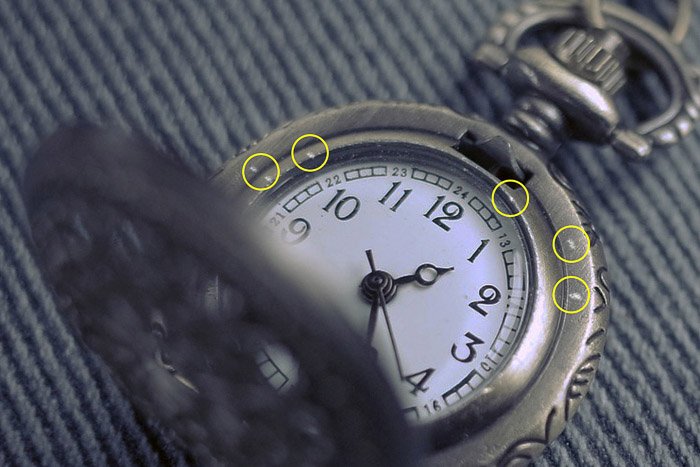
Move the cursor right next to a spot you want to remove and Alt-Click. Paint over the spots or dust particles you want to remove.
Photoshop will use pixels from the area next to the spot to cover it.
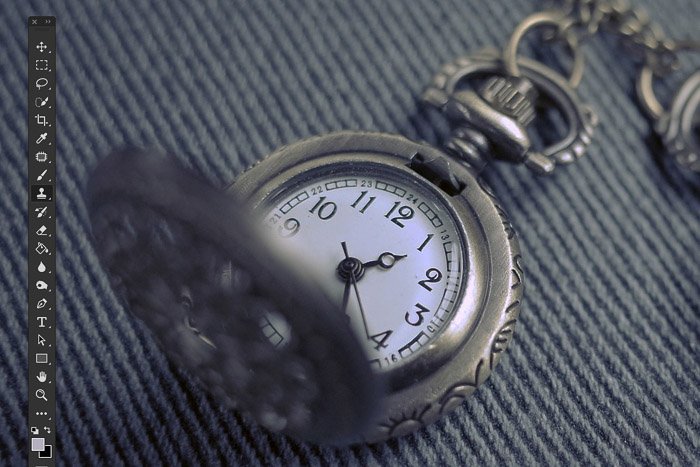
Repeat this until the image is clean.
2. Color and Contrast Correction
The colors of the product in the photo have to match the product in real life. When people order something, they want to receive the product from the photo.
They will be disappointed if it doesn’t look the same.
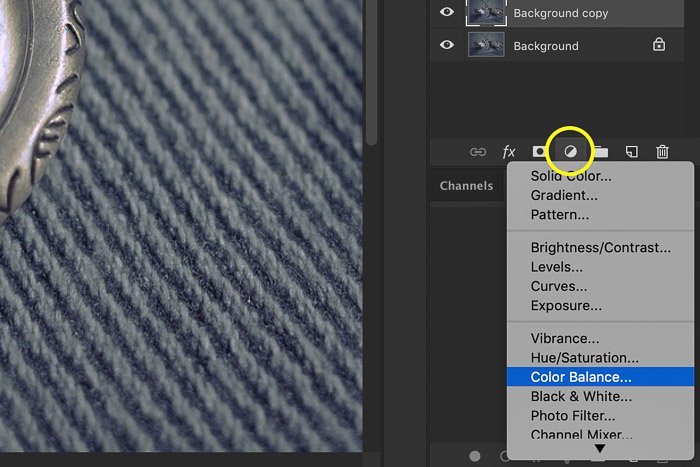
Step 1: Color balance
My example looks too blue. The metal should look warmer. I’m going to fix it with Color Balance.
Click on ‘New fill or adjustment layer…’ on the bottom of the Layers window and select ‘Color Balance…’.
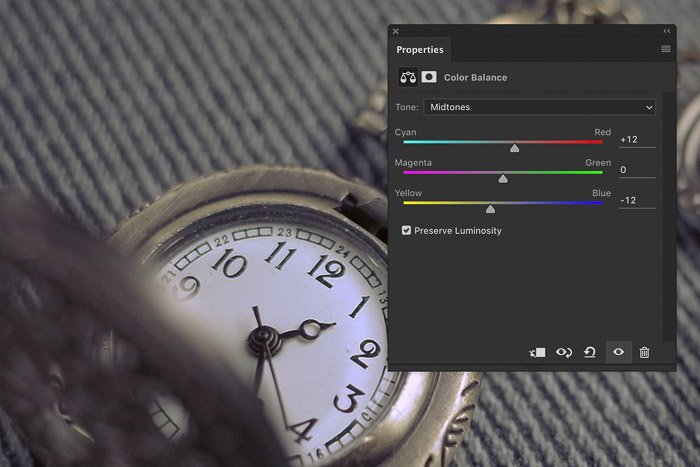
Drag the sliders towards the Red and Yellow to make the image warmer.
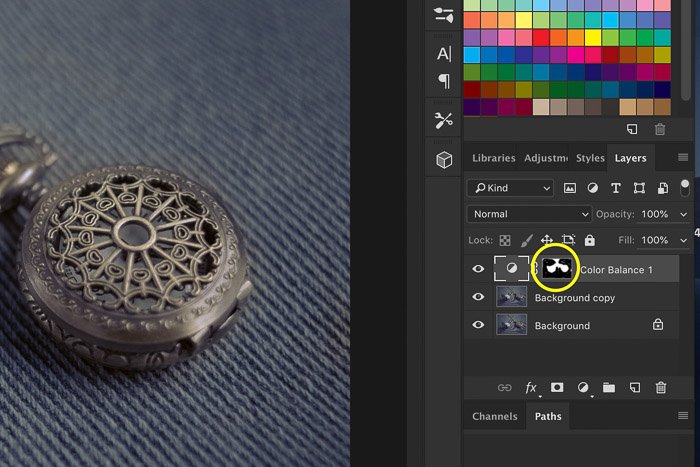
Step 2: Layer mask
The image is warmer now but I only wanted to make the metal warmer and not the background. Masking will solve this.
Select the Paint Brush from the tool bar. Make sure to select the layer mask thumbnail. Paint with black over all the areas of the photo you don’t want to make warmer.
You can see the layer mask thumbnail change. Only white areas are affected by the Color Balance layer.
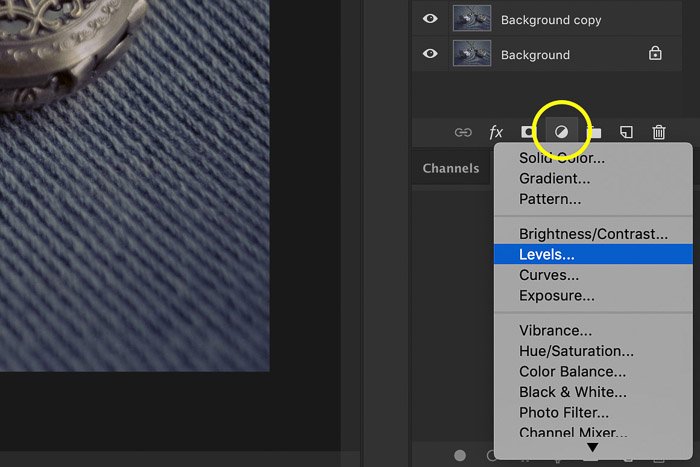
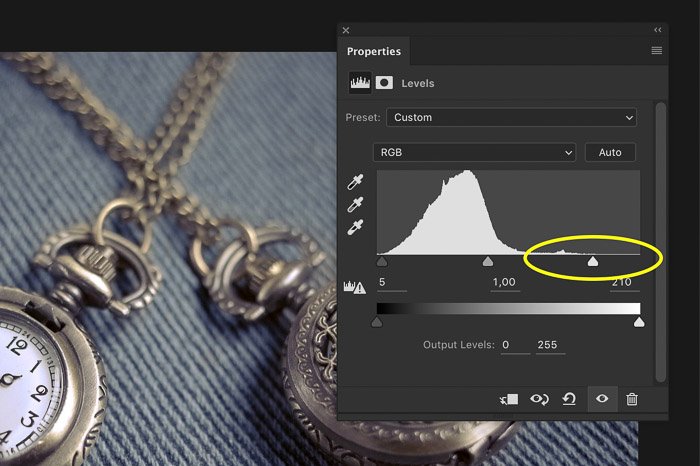
Step 3: Levels
The last step is to bring some life into the image. Product photography should be accurate but also attractive.
My watch looks dull and needs more contrast. Click on ‘New fill or adjustment layer…’ and select ‘Levels…’.
The Levels window will pop up.
My example has a flat line on the right. This means the image is too dark. Drag the white triangular slider to increase brightness.
Drag the black slider to the right to add a bit more contrast in the dark parts.
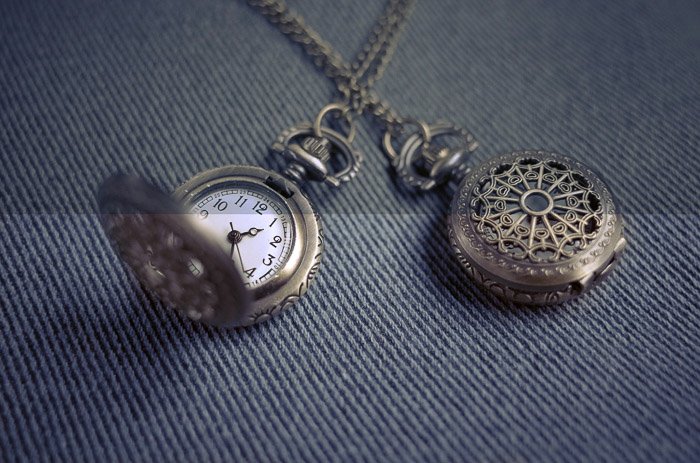
Here’s the result and a before and after comparison.
Conclusion
Product photography is about making a product look as attractive as possible. The difficult part is that the photo has to be an accurate representation of that product.
It’s key to have the right equipment and skills to make great product photos. But even then, editing product photography is necessary to make them stand out.