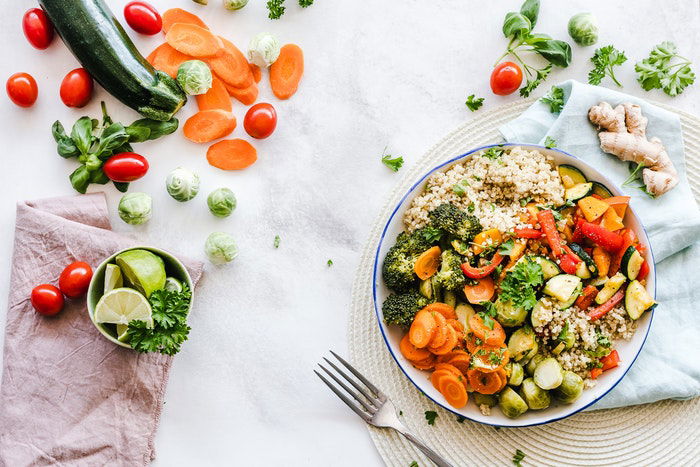
DIY food photography backdrops are perfect for creating unique looks for your pictures. Not only do they elevate the quality of your work, but they’re also quite affordable or even free!
So, how do you make a background for food photography? We’ll show you 12 DIY ways to expand your collection!
12 Easy DIY Food Photography Backdrops
Try these 12 easy DIY food photography backdrops to spice up your images.
1. Painted Canvas Backdrop
One of my favorite DIY food photography backdrops for a magazine-quality look is a painted canvas. Painted backgrounds on canvas have beautiful textures that create a rustic vibe. They may have an organic look, but they feel elegant at the same time.
Luckily, they’re quite easy to make, and we’ll show you how to make them step by step. First, buy a canvas dropcloth for painting at your local hardware store. These are large pieces of canvas you use to protect your floor while painting.
Canvas drop cloths are ordinarily quite large. But you can cut them up to get four food backgrounds out of one length of fabric. You can even get eight if you paint the other side, too!
Buy paint samples at the hardware store. You can get two or three examples in a similar tone for each backdrop. That way, you get different shades that match any food you photograph.
Note that you may also want to purchase a primer. The canvas soaks up a lot of the paint, and you may need to buy more than anticipated.
Layer the paint on the canvas with a small roller. Make sure you move it in different directions to cover all angles. If you want more texture, use a scrunched-up rag or large sea sponge and dip it into the paints. Randomly press the cloth onto the canvas.
When you finish, let your canvas background dry. You can roll it neatly and unravel it when it’s time to take photos.
2. Porcelain or Ceramic Tile Backdrop
Another beautiful yet simple DIY photography backdrop is porcelain or ceramic tile. You can get it from local home improvement stores like Home Depot or Homebase.
Ceramic tiles are inexpensive and look great. Also, they are easily wipeable, a bonus in food photography when dealing with drips and spills.
It will help if the tile you choose isn’t shiny. Backgrounds for food photography that create too much glare can be too distracting.
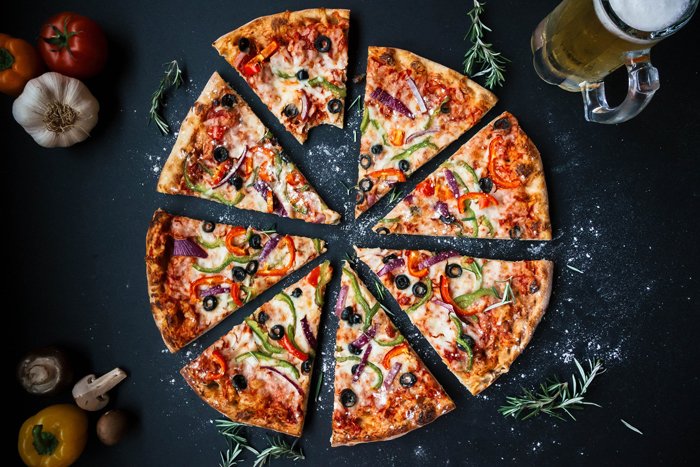
Also, choose a neutral color and avoid backdrops that are orange-toned. These can be unflattering to food. The perfect colors to choose from are grey, black, and white. But you can also try brown tones like chestnut or taupe.
Food is often warm in tone. Shooting on a neutral or more cool-toned photography background enhances the food subject. Warm tones tend to compete with the subject.
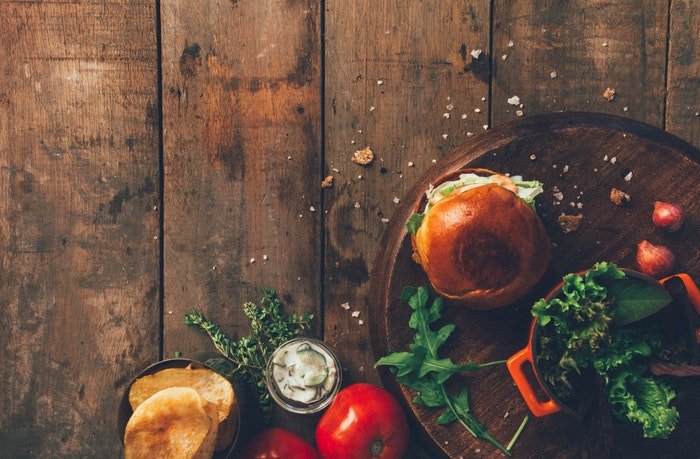
3. Paint Wooden Backdrops
Painting your own wooden DIY food photography backdrops can be much less costly than purchasing them.
Buy some thin plywood sheets at the home improvement store. The bigger stores can also cut larger pieces into smaller ones so that you can get more mileage out of them. But ensure the pieces are at least 2 x 3 feet (60 x 90 cm) to accommodate most of your set-ups.
You can purchase paint samples, but craft paint will also do. Make sure that whichever option you choose is water-based.
Select three or four colors in a similar family and pour them into the middle of the board. Take a large sea sponge and dab the paint all over the board to create a blended and subtle mottled effect.
Finish with a thin coat of matte, water-resistant sealer. Doing so prevents wear and tear. It also ensures the food will not stain the backdrop after repeated use.
The beautiful thing about plywood is that it is lighter and easier to store. Other types of wood used for food photography backgrounds, like pine or spruce, are quite heavy in comparison.
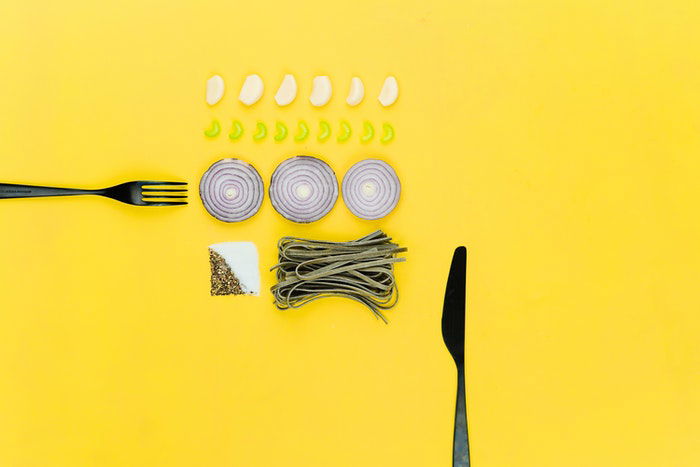
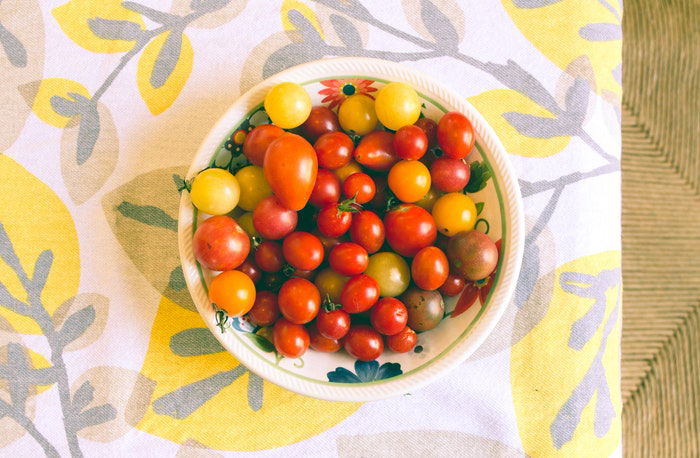
4. Craft or Construction Paper
Colored or textured craft or construction paper can make pretty food photography backgrounds. They are also low-cost. If you enjoy colorful food photography, using craft paper can be a great option.
You can source large pieces of craft paper or construction paper at your local craft supply store. But you can also check out sites like Amazon for packages of paper offering a variety of colors. In the image below, I used a large piece of yellow construction paper as my food photography background.
5. Used Baking Paper
Food bloggers and photographers also love using old baking paper for food photography. They are perfect for adding an attractive background and texture to overhead food shots.
It’s such a fashionable look that you can buy backdrops that mimic the unique, textured look of old baking paper.
If your baking paper looks too new or you want to rough it up a bit further, coat it with butter or oil. Then, bake on high heat until it is brown. Repeat this process until you get the look that you want.
6. Vintage Tray Backdrop
Don’t throw out any old or vintage trays you may have kicking around. They make fabulous food photography backgrounds.
Depending on the metal, these trays often have a lovely patina that adds interest to your food photography. But what makes them great is that they don’t have the dense textures that can be distracting.
As a photography background, trays look great close up or at a distance. But you can also use them as props in telling your food story.
You can often find vintage trays at an excellent price at secondhand or antique stores. Online sites like Etsy and eBay can also be a great place to look. As with any backdrop, it should not be reflective. In the images below, the tray doesn’t look overly shiny, even though I backlit my subject.
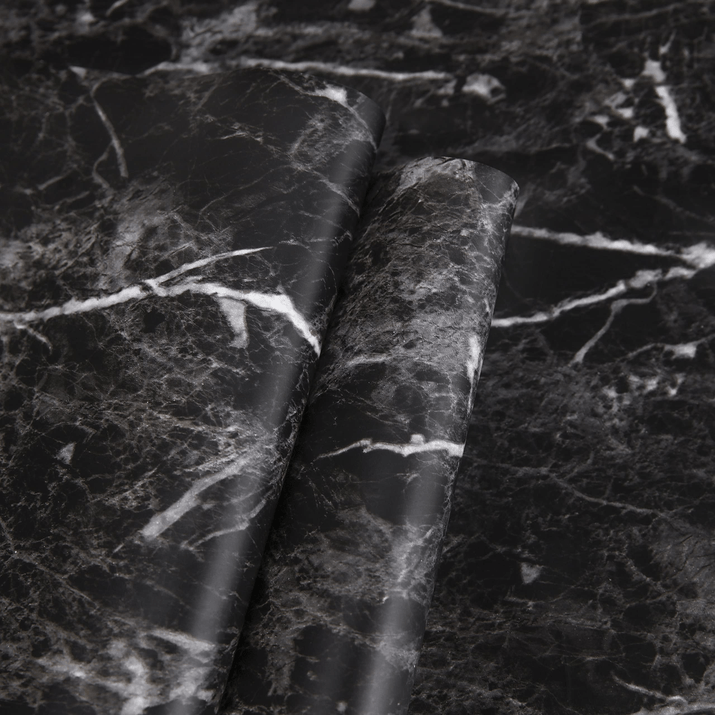
7. Vinyl Contact Paper
Vinyl contact paper sheets, which people use to line kitchen shelves, can be a great stand-in for expensive and massive marble slabs. Look for paper that is cool in tone and not shiny.
There are a lot of variations, so choose carefully to get the most realistic-looking faux marble. Amazon is a good source. You can also check out your local hardware store for an up-close look.
Glue the contact paper to a thin piece of plywood or foam core to create a solid background. Just beware that vinyl is often glossy. So, you need to be creative with your camera angles to avoid any glare.
8. Paper Grocery Bag Food Backdrop
The next time a grocery bagger asks you if you like paper or plastic, choose the paper bag. You may not know it, but a paper bag is an excellent addition to your food photography arsenal.
Crumpled-up paper grocery bags make attractive backdrops for various foods with their natural color. Simply cut the bag on the sides and flatten it for an instant DIY photography backdrop.
Of course, paper bags stain easily and are usually only suitable for single use. Since they cost almost nothing, they make a super cheap and recyclable surface for capturing your delicious creations.

9. Burlap DIY Food Photography Backdrop
Burlap can function as a backdrop or be the perfect layering piece in rustic and earthy images. You can purchase burlap at some craft supply stores or fabric stores and cut it into the dimensions you need.
As with any DIY food photography backdrop, think about how it complements your food and other elements in your scene. Of course, you should also consider how it can help tell a story in your images.
Burlap may not be the best choice alongside a delicate cake. But it can look perfect with some root vegetables or in a farmhouse scene.
10. DIY Linen Backdrop
Having a variety of linens on hand is a must for every food photographer and blogger. There are so many types of linens.
You can get anything from natural fabric-like linen to lightly patterned damask tablecloths. I have a stack of linen napkins purchased from my local home store and use them often in my food photography.
Generally, I recommend sticking to neutral colors or shades of blue. But you can also choose a brighter color or something with a pattern. Of course, it all depends on the aesthetic you desire.
The key is that you don’t want your food photography backgrounds competing with and drawing the eye away from your main subjects. You can use your linen as the backdrop or cover just a portion of another neutral photography backdrop.
One tip when covering your entire surface with a piece of linen or a tablecloth is to place another layer of fabric underneath. Doing so plumps up the linen and makes it look more attractive.
11. Wooden Cutting Boards
Depending on the size, a wooden board can function as an excellent DIY food photography backdrop or layering piece.
Look for boards with a coarse grain. And be careful about purchasing any with a warm, orange, or yellowish tinge, as I mentioned above. These wood tones are unflattering to foods, and the color is nearly impossible to fix in post-processing.
What looks a bit warm to the eye may end up looking downright orange to your camera. So I suggest you avoid this look altogether.
If you can score one, an old French cutting board is a perfect choice. You can find a cutting board on Etsy. But the price might be higher than you might want to spend.
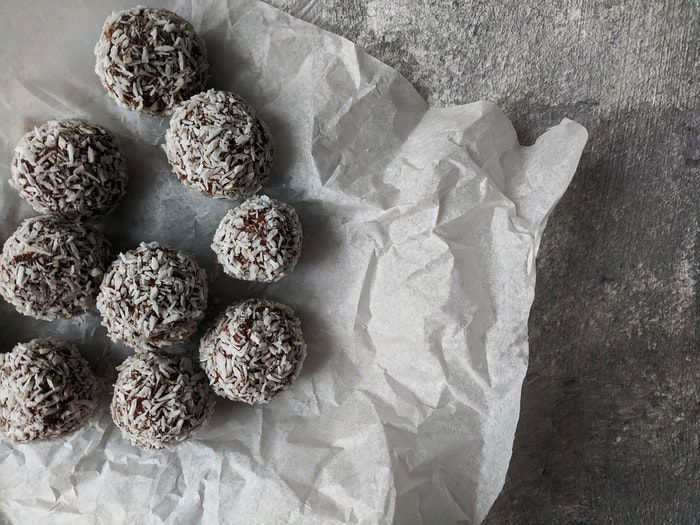
12. New Parchment Paper
Parchment paper can also be another inexpensive way to add interest to your food photography. You can use natural parchment or white parchment, depending on the look that you want. White parchment looks great in bright and airy food imagery.
Parchment can be a perfect choice for photographing baked goods. But it also works well with other foods. For instance, natural parchment can look great with meat.
You can choose to crumple it up for added texture. But you can also lay it smooth and flat and layer it with other backdrops of your choice.
I sometimes also cut parchment into squares and use it under foods or in between stacks of cookies or slices. I save these pieces in a plastic sandwich bag to reuse them later.
Conclusion: DIY Food Photography Backdrops
There are so many different ways to create stunning DIY food photography backdrops. You can avoid the expense of buying and shipping from specialized suppliers.
Take the time to experiment with the items you already have at home. You may be surprised and pleased with the results, and your wallet will thank you.
Are you looking for more inspiration? Check out our post about food photography examples next! For all the best food photography tips, don’t miss out on our eBook, Edible Images!