A hand painted photography backdrop can add an extra layer of interest and intrigue to your photos. Not only are they a beautiful addition to any photo, but they can also be a great way to show off your personality and style. Plus, they’re really easy to make!
In this tutorial, I’ll show you how to create a simple hand painted backdrop using just some paint and paper. So gather your supplies and let’s get started!
Creating a Painted Photography Backdrop: A Top Tip for Durability Using Acrylic Paint
Acrylic paint is a true marvel. First of all, you can use it on almost any surface. Wood, hardboard, plastic, cloth, glass, you name it.
Second, it has an incomparable covering power. You can paint it on top of another paint without worrying too much about preparing the surface.
Third, acrylic paints are water-soluble. Different oil-based paints involve the use of powerful solvents. But with acrylic, you can clean your hands and paintbrushes with any soap. To thin out the acrylic paint, add some water.
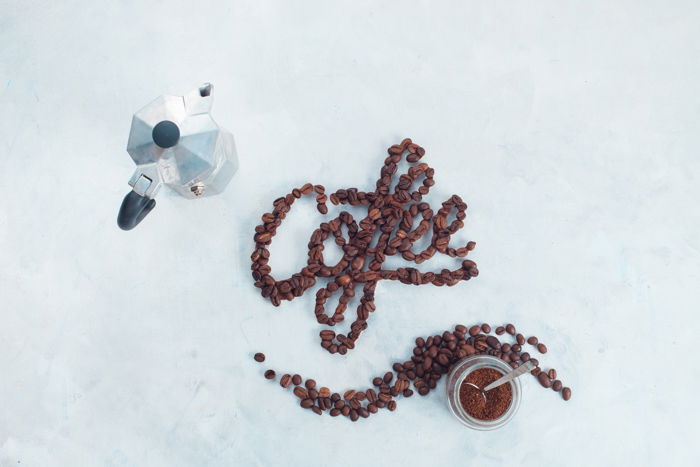
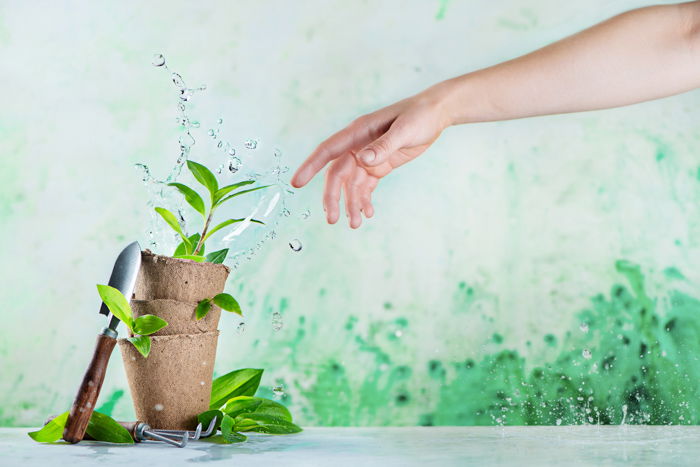
Acrylic paint also becomes water-resistant when dry. I love to shoot tea and coffee splashes. To do that, I need a background that can survive litres and litres of spilt liquid.
I took a sheet of hardboard, painted it with acrylic paint. And I didn’t even bother with a topcoat. The only background I’ve ever ruined during my work was one I bought from a ‘professional’.
When drying, acrylic paint forms a film. This is water-resistant and quite durable.
The only thing you should be careful with are fresh and frozen berries.
Their juice may leave unpleasant spots on a white surface. It’s easier to repaint than remove. But in a majority of cases, acrylic paint is resistant to stains. Even if you do not use any topcoat.
Another great thing about acrylic paint is that it comes in a variety of shades and tones. You can mix any colors you want!
You can also create smooth gradients from one color to another with incredible ease. Or merge two colors, creating a natural-looking texture.
How to Paint a Light DIY Background
One of my favourite examples of the latter is adding a bit of grey to my white background. Shooting on a pure white background (like a large sheet of paper, for example) can be quite tricky. Especially if you are working with natural light and don’t have complete control of your lighting.
Having a bit of texture will improve your background. It conceals small flaws of lighting, giving you more time to work on your composition.
How to Paint a Dark DIY Photography Background
I often add some lighter spots to my dark backgrounds. For example, shades of blue on a black surface. This gives the finished image a very natural feeling.
Even the empty areas have an interesting texture. This keeps the viewer engaged while their eyes move from one point of interest to another.
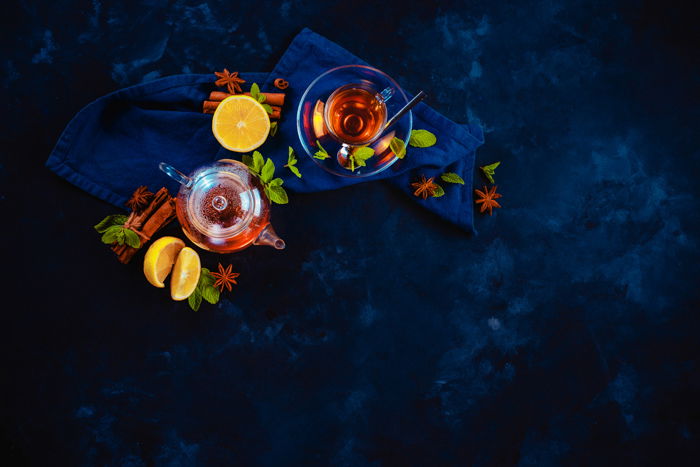
To do that, paint your background with a color you like. For example, take black as a base color. While it’s still wet, add some spots of another, lighter color. I prefer dark shades of blue.
Place some color spots here and there. Merge the colors together, trying to retouch the edges. Don’t mix them into a uniform color.
I recommend using sponges for that instead of paintbrushes. This way, you won’t get the typical texture with stripes that paintbrushes produce.
It’s also much easier to control the process of merging colors together. Make sure you wear gloves. That way, you won’t have to wash the paint from your hands and nails.
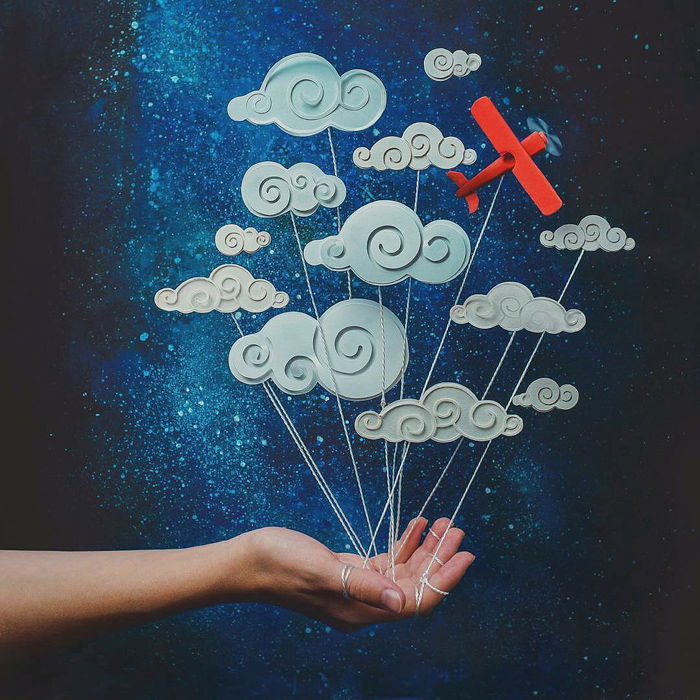
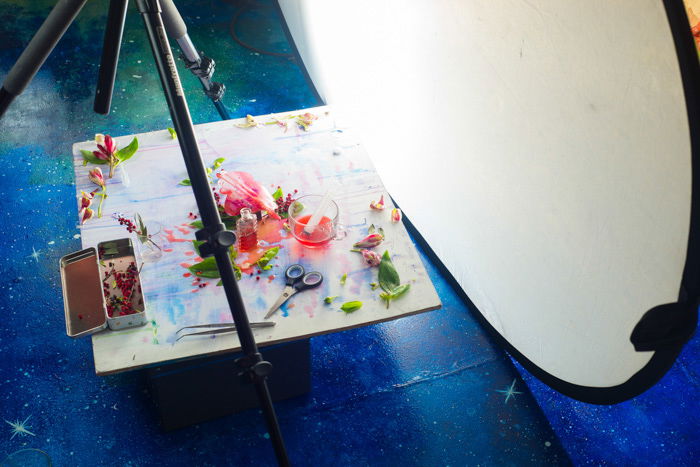
Create an Outer Space Background Theme
To create a starry background, use black as a base color and add spots of blue, purple and red.
Blend the colors together. Let it dry. Then add some splatters of pure white.
It’s an easy way to create a fantastic space background!

It may look a bit boring in the process. But as soon as you add ‘stars’, it’ll pop.
Imitate the Texture of Concrete With Hand Painted Backgrounds
Concrete textures are beautiful. Especially if you pair them with something tender like flowers or desserts.
Real concrete is cheap, but a pain to work with. Many of us don’t have the strength or desire to lift a surface that heavy.
A lightweight surface with the texture of concrete is a dream come true. It’s one of my most favourite backdrops to work with!
It looks gorgeous in photos, and it’s easy to make.
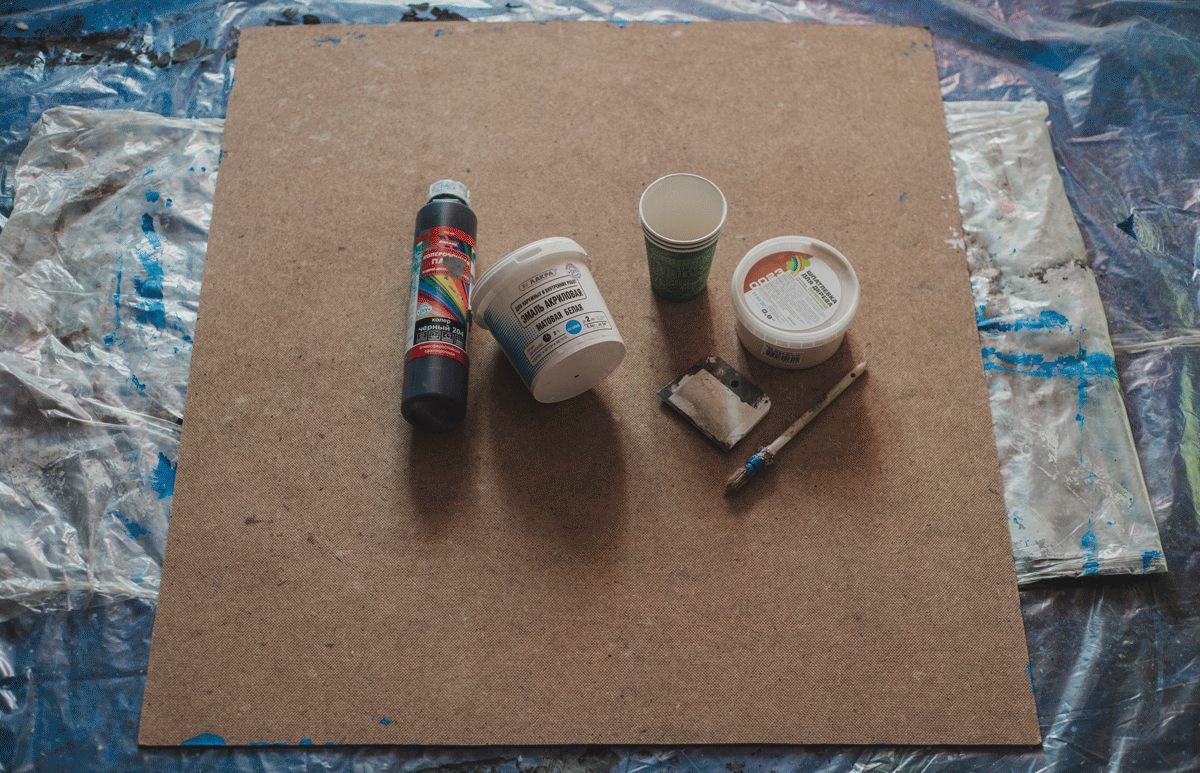
Get some acrylic paint, hardboard, disposable gloves and wood putty with a putty knife. Mix different shades of the same color and pour a small amount of each one in the middle of the surface.
For a concrete imitation, I prefer to use white acrylic paint as a base. I mix it in several different cups with black toner to get different shades of grey.
You can use the same approach and create a darker or more vibrant version.
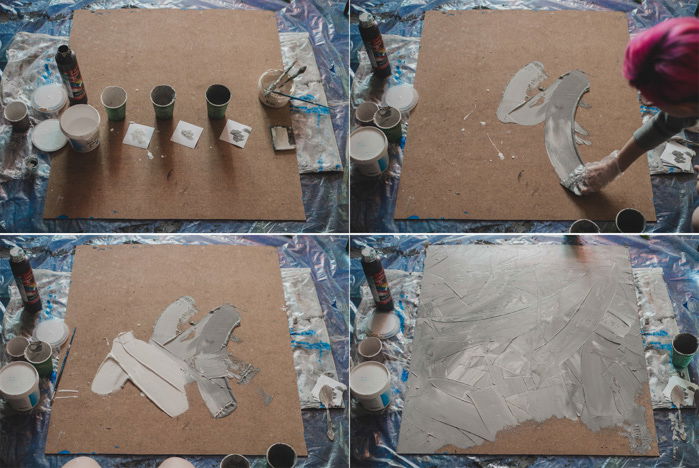
To add extra texture, mix some wood putty (plastic wood) into each cup of paint. Place different greys on the hardboard. Then mix it with a putty knife to cover the entire background.
Distribute the paint over the hardboard and create tangible texture. Adjust pressure to control texture depth.
You can make this background almost smooth. Or you can add visible roughness. Once you have a result you like, let it dry.
Cover your new background with an extra layer of matte finishing. This is great if you work with messy foods like berries or spices. I often skip this step.
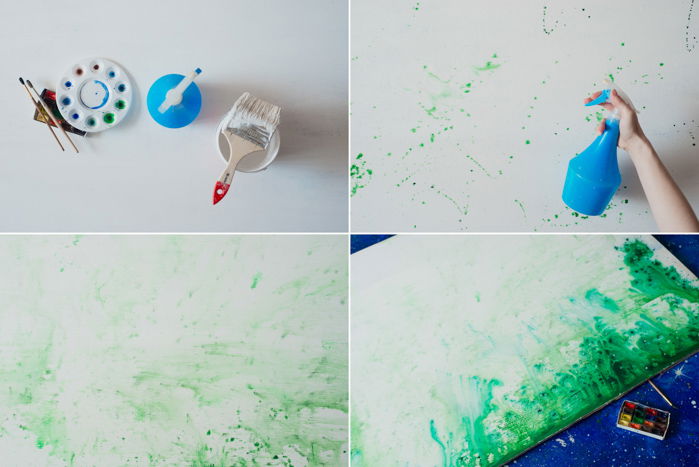
Add Watercolors to Your Acrylic Backgrounds for a Subtle Pop of Color
If you want something subtle and tender but still colorful, try adding a bit of watercolor to your acrylic painted background.
It takes more time than painting a surface in one color. But it’s worth it for sure.
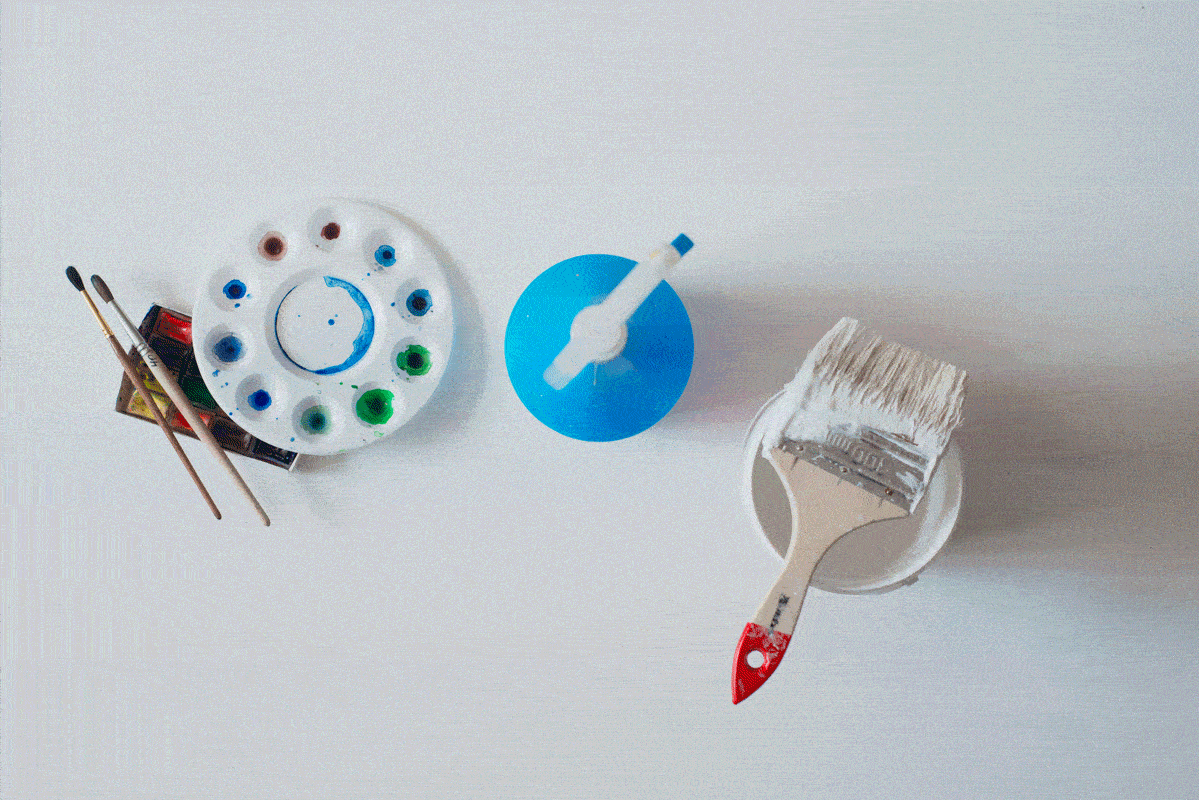
What You Need to Add Watercolor Paints
All you need is acrylic paint, watercolor, spray bottle with water and a surface of your background.
If your original background isn’t white, put a layer of white acrylic paint and let it dry. My background was initially white.
I added an extra layer of white paint. But didn’t wait for it to dry.
Pick a Colorful Palette That Complements Your Scene
After that, choose which watercolors you want to use. Don’t pick colors that don’t mix well.
Red and blue combined would make a beautiful violet. But red and green together would make something muddy and unpleasant.
I prefer to use analogous colors or something close to them. Different shades of green work great together. You can also use green with blue or shades of pink and purple.
Complementary colors are dangerous here. A monochromatic or analogous palette is perfect.
Spray the Watercolors Over Your Background for a Smooth Look
This next step is a bit repetitive. Scatter some watercolor on a white surface. Then spray it with water to transform the watercolor drops into blurry spots.
Add some more watercolor drops. Repeat. Repeat again.
You can move the background. This lets the watercolor form natural drips of color.
If you want to have a soft vignette, put more paint on the edges. This will make them a bit darker than the middle.
The process is a lot like an abstract painting. Try not to overdo it and have fun.
Then scatter a few watercolor drops of a dark and deep shade. Don’t blur them. Take a look at your masterpiece and let it dry.
Use Wooden Backgrounds for Warm and Cosy Photography
Wooden backgrounds never go out of fashion. They have an earthy, natural appeal. This gives your photos a feeling of warmth and cosiness.
These DIY backgrounds can be smooth and polished or rough and shabby. Let’s concentrate on two key parameters: texture and finishing coat.
Add Character With Texture
You can add texture to make your background more lively and charismatic. There are special tools for that.
If you don’t want to produce photo backgrounds on an industrial scale, a wire brush is enough. It wears off softer parts of the wood grain while leaving the denser wood behind. It’s perfect for revealing stronger texture.
First, you need to protect your eyes from flying sawdust. So put on safety glasses. Second, use clamps or any other means to prevent your future background from shifting. Now you can apply the wire brush.
Work in the same direction as the wood grain. Use repeated strokes until the wood displays the level of texture you like.
You can also use a wire brush to distress the wood, giving it a time-worn appearance.

After that, you can use fine-grain sandpaper to remove any burs or splinters left behind. It’ll make your background smooth and polished.
Now it’s ready for staining and painting.
How to Paint a Wooden Background
The most popular way to paint wood is to use a wood stain. It’s affordable and easy to find. Its main advantage is the ability to reveal and emphasise the texture of wood.
But I always find it a bit non-convenient to apply. Most of the time, the wood stain has such a dramatic color that you wish you could apply it layer by layer. But you can’t. If you make a mistake, the only thing you can do is to make the paint thicker.
That’s why I can recommend using water-based lasur. It is a transparent wood coat, non-toxic, without strong aromatic content. You can apply it layer by layer, controlling the intensity of the color.
In any case, try to choose a neutral shade like a coffee tree or black wood. Avoid strong yellow and red undertones. It can make the surface look distracting, especially for food photography.
Conclusion
Hand-painted backgrounds are an excellent choice for photographers who like customisation. They’ll help to explore another artistic side of you, which is great for the creative process.
Best of luck with your experiments!
We have a great creative photography tutorial on using the paint in water technique to check out next!
For a whole bunch of incredible still life photography tips and ideas, check out our Creative Photography Cookbook!