A powerful but underutilized feature in Lightroom is the Lightroom Book Module.
Using the Lightroom Book Module, you can design photo books and magazines. You can also upload them to the website Blurb.com, to have them professionally printed for you.
You may choose to save them as an Adobe PDF file or JPGs, which you can use electronically or decide to have printed.
Print may seem like a thing of the past. But people still love having something tangible, like a photo book, because it allows them to experience beautiful imagery directly.
Read on for our step-by-step guide on how to use this powerful Lightroom Book Module feature.
About the Lightroom Book Module
Adobe Lightroom is one of the most popular post-processing software available. It comes with a lot of image organization and optimization features.
Adobe and Blurb partnered up to create a bookmaking module into Lightroom. It’s available in both Lightroom Classic and CC.
Blurb offers excellent print quality and is available in many countries. If it’s not accessible to you, you can still use the Book Module to save your books as an Adobe PDF. Then you can have them printed by the printer of your choice.
A photo book can make a great portfolio piece to share with clients. You can also create magazines and other types of marketing collateral.
Books and “magazines” can make a great promotional piece to give to clients. Or you can create them for your wedding or portrait clients.

The Library Module: The First Step
The making of photo books starts in the Library Module. This module is where you organize the images you want to appear in your book and put them in a sequence.
You can also add copyright information and captions to your book images via the metadata.
While in the Library Module in Grid View, start by creating a Collection of images for your book. You do this by first selecting the photos you want while in Grid View.
Hold down the Command/Ctrl + N key to select non-consecutive images.
Once selected, click on the plus (+) sign. You’ll find it next to collections in the left-hand panel of the Lightroom interface.
You can add or remove images at any time in the process, and change the sequencing of your images as well.
Settings in The Lightroom Book Module
When you have your images ready in the Collection, it’s time to enter the Book Module.
Highlight the Collection containing the images for your book by clicking on it. Then click on the Book Module in the top right-hand corner of the screen.

All your images should populate the spreads of the book. If this doesn’t happen, click on the “Auto Layout” tab under Auto Layout.

There are two options found below the Lightroom Book Module menu.
The first is Create Saved Book. In this case, you start with a default design that you can tailor to suit your needs.
The other option is to use the Clear Book function. Here you design your book from the beginning, by choosing from a variety of available templates.
Before you get started, you need to choose your Book Settings from the first pull-down menu.
Decide on the format and size of your book. For my book, I decided on the “Large Landscape”.
Make this decision before starting your layout process. The size will affect the layout of your images, as well as any captions or other text.
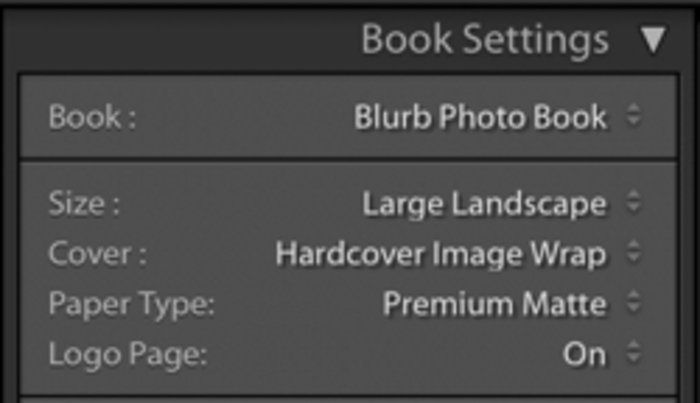
In this menu, you can choose to print a Blurb book. You can also generate a PDF or series of JPG files for output through another printing service.
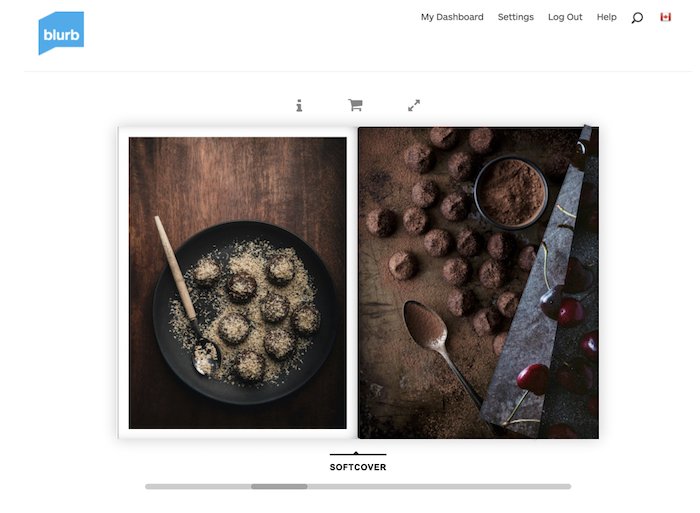
You can also select from three cover types for a print version of your book. These choices are a Hardcover Image Wrap, Softcover book, and Hardcover Dust Jacket.
If you’re creating a PDF or JPGs, there is a “No Cover” option available.
You’ll also need to decide on your paper type.
This is a personal choice. It can be influenced by the genre of photography you shoot, and the purposes of your photo book. You can order samples to help you decide which will suit your needs.
You can choose to create a PDF or JPG. If you want JPG, the Book Settings menu will allow you to choose the level of image quality.
It will also give you various other choices for optimization. These include color profiling and sharpening.
For printing with Blurb, there is an option to create a logo page. This has nothing to do with your own company logo. It means the Blurb logo will be printed on the back of your book.
Although this will lower your overall cost by a margin, it’s not ideal if you’re creating a portfolio or magazine for commercial use.
You’ll also see a feature at the bottom of the Book Settings menu for Estimated Price. This feature calculates your price per book. You can preview how much your design will cost you at checkout.
You can choose to pay from several different currencies.
Book Layout Options
When you start to build out your book, you’ll need to choose your layout from the Auto Layout menu. You can find all your options by clicking on the arrow beside the preset options in the Page panel.
Scroll down to choose how many photographs you want in the spread. You can also find all the options for the custom templates here. This tab will allow you to design your book page by page.
The Lightroom Book Module also offers templates based on the content of your book. You can find these under the options and include the choices Portfolio, Travel, or Wedding.
The Favorites category allow you to save the templates you may want to use again and again.
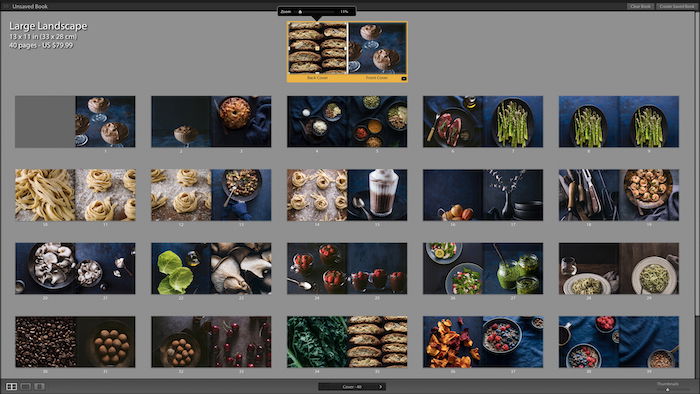
Image Sizing
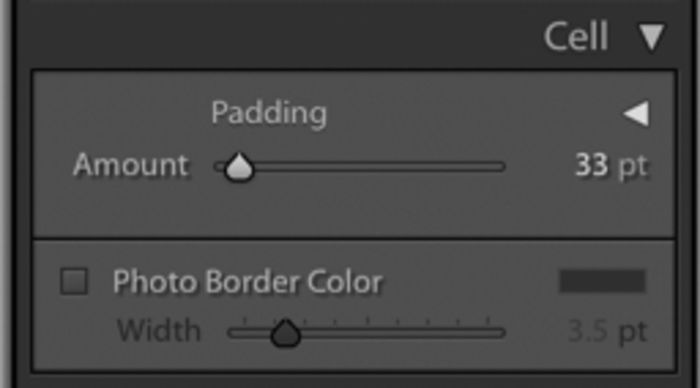
The Cell menu allows you to size individual images with the Padding slider.
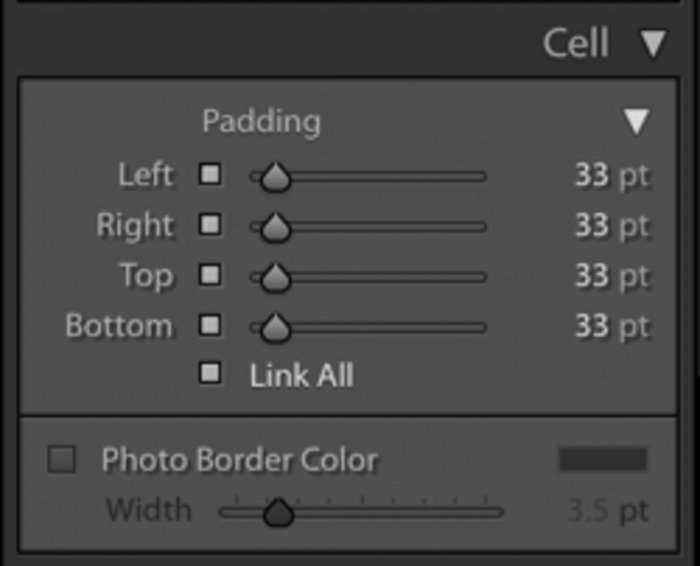
If you click on the triangle icon next to Cell, you can find the Padding adjustments and dial in exact numbers rather than just using the slider.
Click Link All to apply the padding.
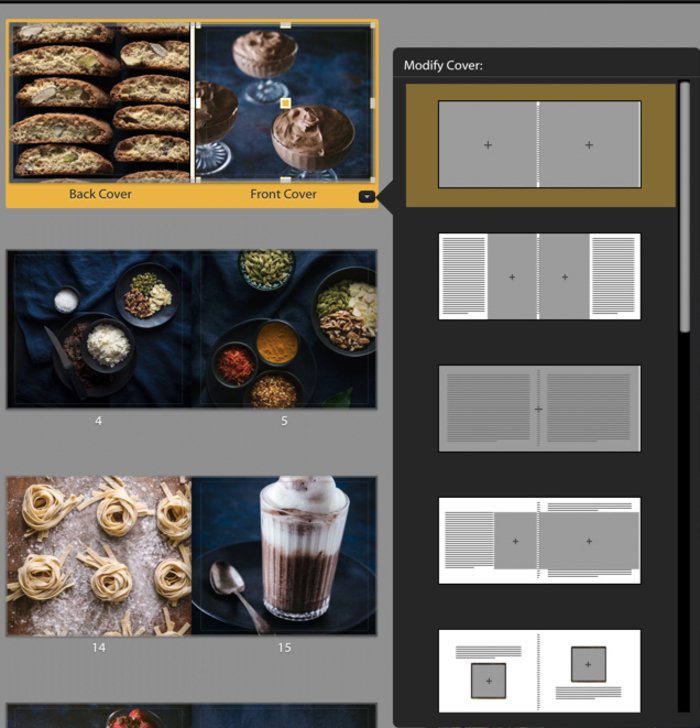
Covers and Backgrounds in Lightroom Book Module
The Lightroom Book Module offers you several choices for cover designs. You can access 12 template options for your front and back covers. Click on the black triangle at the bottom right of the highlighted cover cell.
You can find the Background panel at the bottom of the panel menu. It allows you to add color and graphic elements to your layout.
Select the triangle in the middle.
This will reveal a range of graphics for travel and wedding subject categories. You can also choose your own photo with Photos.
You can use any of these images as your background and decide how much transparent you want it to be with the Opacity Slider.
Select Background Color to access the color picker, which will allow you to add the color of your choice.
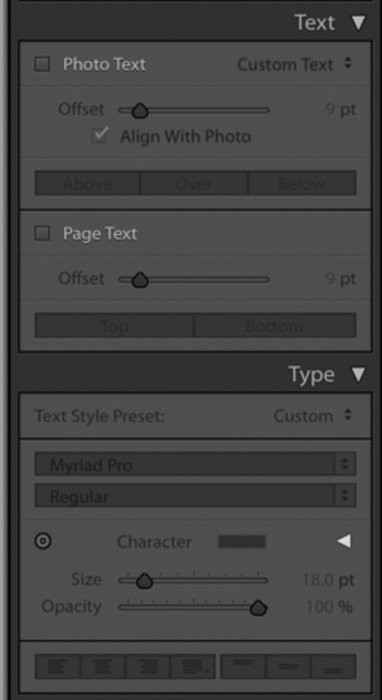
Text and Type
The Text and Type menus will help you to add captions or other texts to your book.
You can find tools for both “Photo Text” and “Page Text” in the Text menu.
A pull-down menu with text options can be found on the right of the Photo Text box. These can be taken from your metadata and used for captions.
You can move a text box up and down the page with the Offset slider. The Top and Bottom buttons can be used to place text automatically.
To choose a font for your text, click on the Type Menu. This will display the many available typefaces and other customizing options.
Once you have finalized all of your creative decision and apply them to your document:
Click on > Edit in the Menu bar of the Lightroom interface
Choose > Select All Text Cells
Making Corrections
While working on your book, you might realize some of the images need further retouching. Or you may also want to make changes to all of the images, like increase the amount of sharpening.
This is easy to solve by navigating back to the Develop Module. You can make individual or universal image adjustments. Then, you can navigate back to the Book Module to finish laying out your book.
The changes you’ve made will be automatically applied. You can also rearrange your images by dragging and dropping them onto pages.
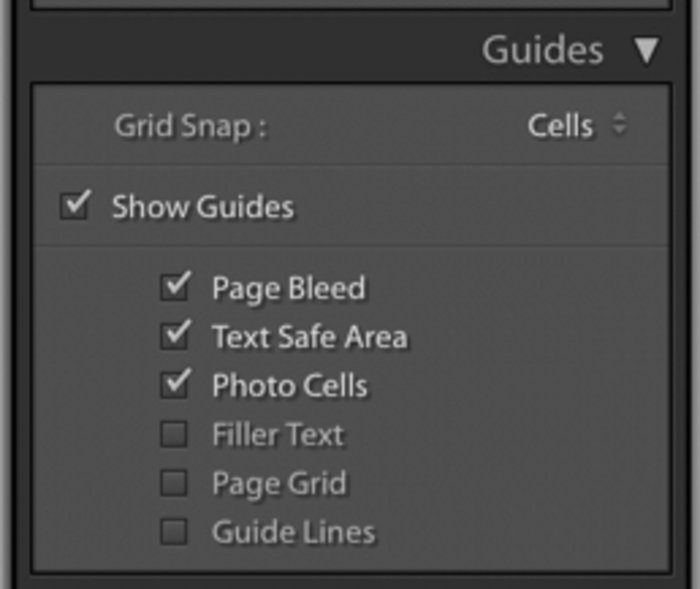
Check and Proof Your Book Before Printing
Print production guides are represented by the black lines and grey edges that appear close to the borders of each page.
Note that there is a Guides Menu which allows you to control the amount of bleed around your photographs and any text you have inserted. It’s a good idea to have these displayed while you’re designing your book to ensure your layout will work.
However, you can turn these guides off if you’re distracted by them while creating your layout. Turn them back on and check for errors before you send to print.
Print a copy to review before sending it off, especially if you’re using Blurb to print magazines or promotional pieces.
Mistakes in retouching are more evident in print and easier to pick up on than they are on the screen.
Note that the cost of shipping a single item may be almost as much as the book. But it’s not as costly as ordering many that you end up not using because they’re faulty somehow.
Click the Send Book to Blurb button to send it to be printed. You can find it in the lower right corner of your screen above the filmstrip.
To save your document as a PDF or JPG, select Export Book to PDF/JPG button. Make sure you have selected either of those options in Book Settings first.
Conclusion: Lightroom Book Module
And there you have it! Lightroom makes it easier than ever to create stunning photo books and magazines. You can give them to clients, or even to friends and family as gifts.
With Blurb, you have commercial quality printing at an affordable price. But you might want to print on your own with your preferred printer. You can still design the book using Lightroom’s Book Module. Save it as a PDF/JPG, and you’re good to go.
Read how to move a photo library to an external hard drive, or how to edit with Capture One next!