Motorcycles are the epitome of cool, rugged, and edgy from the beautiful paint jobs to the unique construction.
Bikes grant photographers the opportunity for one-of-a-kind imagery with a fresh aesthetic. Here is our guide on how to bring out the best in your motorcycle photography!
Equipment for Motorcycle Photography
What Kind of Camera Do You Need for Motorcycle Photography?
You want a fast camera, with reliable focus, and a decent number of megapixels.
A camera that has a speedy fps (frames-per-second) is best. For indoor work, cameras that have low light capability are essential. These cameras have less noise and better focusing at higher ISO levels.
Cameras with higher megapixels tend to have a lot more detail in the image. This detail can make a difference when you look at the finished photo. As you can likely imagine, the more megapixels a photograph has, the larger the file size is. It is good to look at large SD or compact flash cards.
DSLRs and mirrorless cameras are popular choices for motorcycle photography.
Which Lens Will Give You the Best Bike Shots?
How a picture looks, in the end, is determined by the quality of the lens.
For motorcycle photography, you’ll want to look at lenses with a much wider aperture, such as an f/2.8 or lower number.
Even if wide apertures aren’t your thing, it is better to have the option of narrowing the aperture. The aperture is the direct pathway for light to the camera’s sensor. The wider the aperture, the more light can come in.
This allows you to capture lower light shots because you are taking full advantage of the available light.
As well as this, the wider the aperture setting, the shallower the depth of field.
Shallow depth of field refers to the subject being in focus and the rest blurring out into a creamy bokeh. This blur allows the subject to be very individualized from its surroundings. You can work with locations that may be a bit too cluttered if in focus.
Generally speaking, fixed lenses are of higher quality sharpness than variable focal lengths. Fixed lenses are built to take full advantage of their design. These lenses do not have to account for moving components. A lens that cannot zoom requires the photographer to move to achieve the desired composition.
The most used lenses for motorcycle photography are standard lenses or telephoto lenses. Wide angles are not ideal because of the perspective distortion.
Standard lenses are very similar to what the human eye can see, and as such, the photos look very natural. These lenses are pretty easy to learn on because what you see is what you get!
With telephoto lenses or long lenses, you can photograph distant subjects. This is due to how long their focal length is. Even when zoomed in entirely, the subject is not distorted. This is great for racing shots!
What Lens Accessories Do You Need
Did you think that all you needed was a lens and camera? Think again! Accessories aid in your photography endeavour as well.
For motorcycle photography, you’ll probably want a filter on your lens. Filters are panes of glass that you can attach to the existing glass on your lens.
The best use is to protect your expensive lens. Filters absorb the shock of a drop or smack to the glass and can save your valuable equipment!
Some filters have specific purposes. Polarising filters reduce the glare from reflected surfaces, excellent for shiny motorcycles!
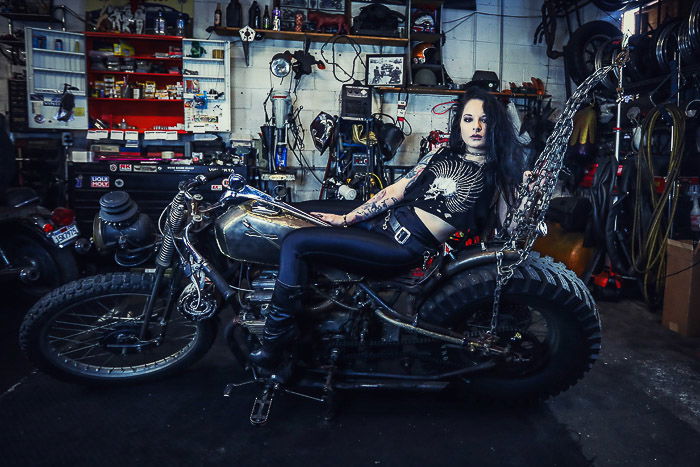
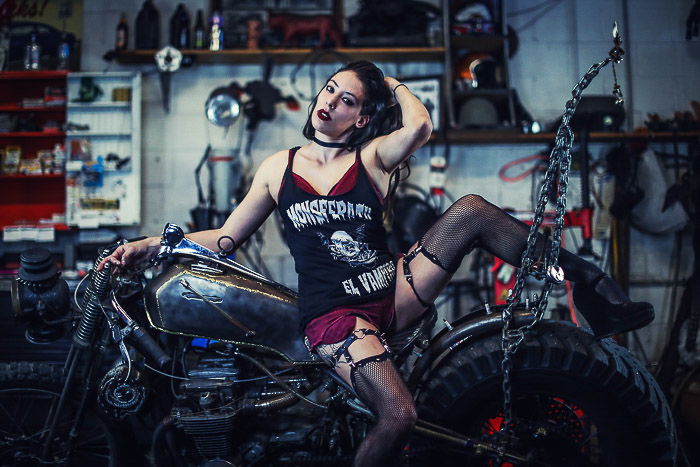
Shooting Motorcycles in a Studio Setting
Photographing motorcycles in a studio or controlled environment gives you control over lighting and time constraints.
You should use continuous lighting and softboxes, due to the chrome and reflective surfaces of a motorcycle.
You can use any shape softbox for your arrangements.
My suggestion would be a three to five light setup, but it is possible to use one studio light.
These are the two arrangements I use the most for studio motorcycle photography. You can adjust these for your own use.
The one light that is unanimous with both of the below setups is the overhead light. Pair that with a tall tripod, and you have an overhead lighting arrangement.
1. The three-light setup: Position one softbox overhead and two softboxes on either side of the bike.
You may place the two side softboxes at either a three-quarter position or to the side of the bike. It depends on the look you want.
2. The five-light set up: This is exactly like the three light setups. Add an extra two lights to the sides behind the bike to add a rim light. And that’s it!
Be mindful of shiny surfaces. The simplest solution is to adjust your position until you limit the number of reflections!
You can adjust as necessary. You can see in real life how the lighting looks due to the bulbs being continuous. When using a flash or strobe, try to aim it at the ceiling rather than directly at your subject. This will limit shine.
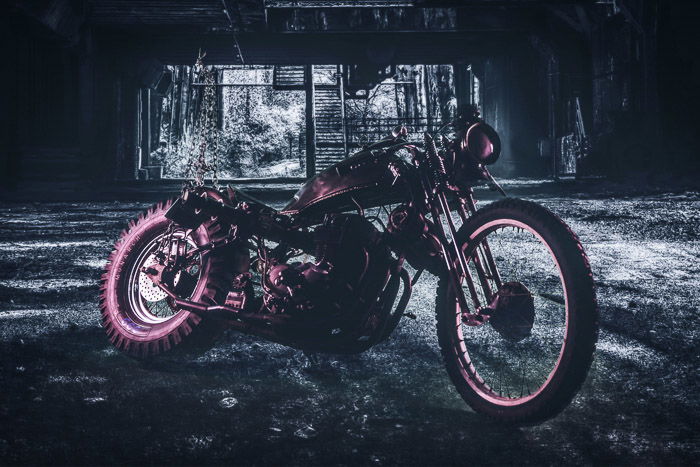
Photographing Motorcycles in an Outdoor or Organic Setting
Shooting outdoors provides you with an endless array of unique backgrounds. Outdoor photography includes motorcycle racing and in-action shots. But you have to contend with the sun and weather.
When photographing anything outside, picking out the time of day is a big factor in your photo shoot’s success.
You are always better off photographing when the sun isn’t directly above you. This tends to happen during the sunrise or the sunset.
Make sure you have enough time to accomplish your shot list. If you must shoot with a high sun, try using a reflector or an umbrella, find shade, or snap on a nice ND filter.
You can add control with a reflector. Not everyone can have a reflector with them, and that’s okay! If you find yourself in a situation without one, you can still get great shots. Try to shoot in the shadows, whether that be under a tree or behind a building.
A neutral density filter (ND) is a popular choice. This filter aids in limiting how much light is entering the camera sensor. You can shoot at wider apertures. During high sun you don’t need to worry about everything being too bright or overexposed.
6 Tips for Motorcycle Photography
Here are some useful tips and tricks to keep in mind when taking motorcycle pictures.
6. Use a Shot List
A shot list is a written guide that features a checklist of photographs you want to capture. The photographer or client write this list.
Make sure that your list includes all the basics: Left, Right, Front, Back. Then start going for the details. Often it is great to ask the bike owner or builder for specific detailed shot requests.
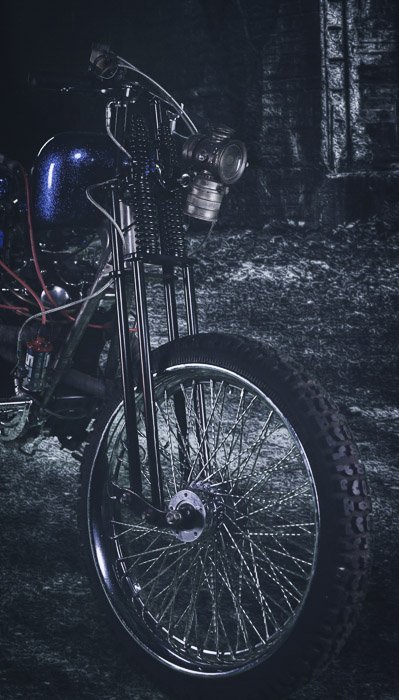
5. Composition and Perspective
Knowledge of composition and perspective separates a professional photographer from a hobbyist. Your subject is a bike, and you need to show it in the best possible way!
Break out those knee pads and get down low to the ground! This often means squatting down or sinking to your knees to get a great shot of your motorcycle. Pretend the bike has eyes and shoot from eye level.
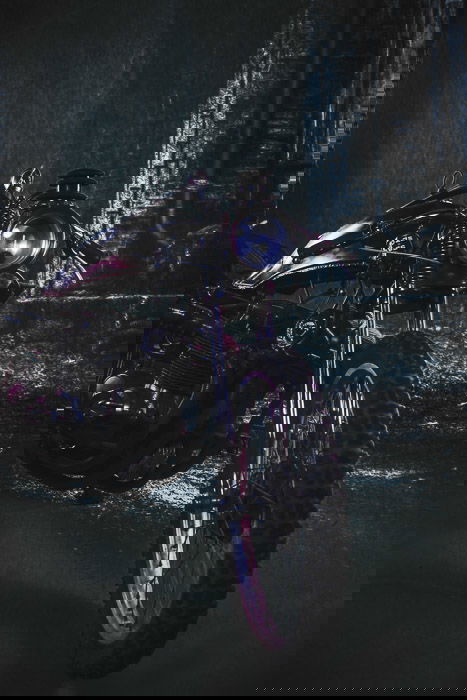
4. How to Shoot Matte Bikes
If you’ve ever tried to photograph a matte texture, you’ve encountered the frustrations.
If a matte bike comes into your studio, you’ll be letting out a gasp! Matte texture diffuses light. Cameras rely on light to bring out details, focus, and exposure.
The trick here is to play with lighting and contrast as much as you can. Do what you need to ensure that the bike doesn’t get too dark/light, or get lost in the background. Use reflectors or diffusers to bounce the light how you want to highlight the surface as best you can!
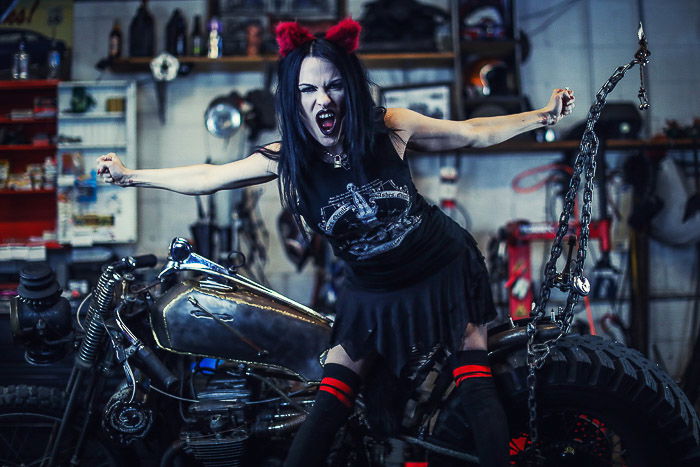
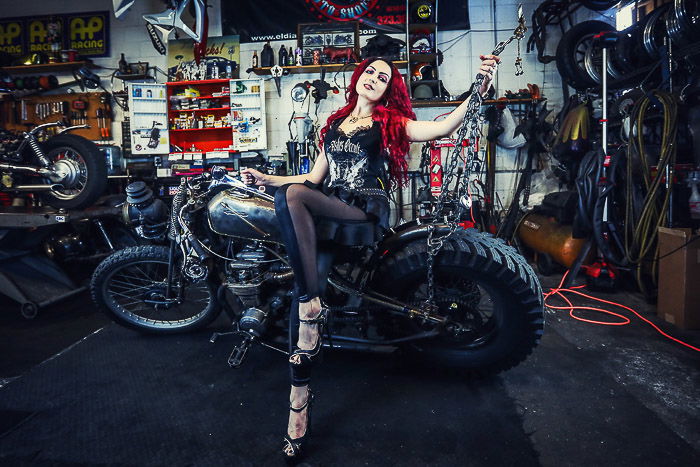
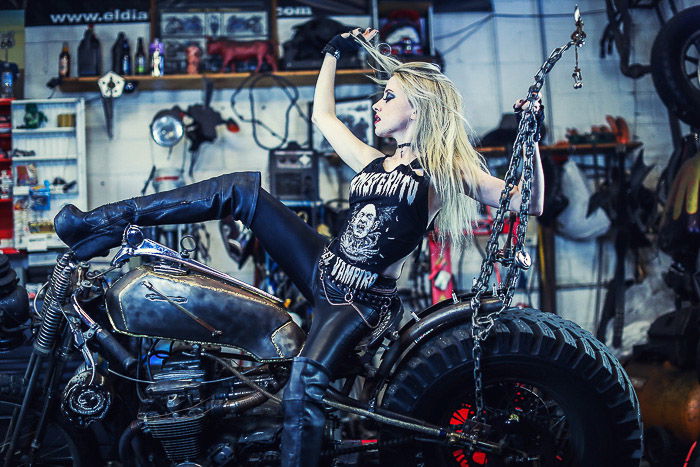
3. Express the Bike’s Personality
Our machines are as unique as we are. Ask any bike owner, and they’ll tell you the same, their motorcycle has personality. As such, you want to focus on capturing that individualized spirit!
Bikes are representative of the person who built them. Each bike model appears to its own type of rider, so you need to capture a picture of a motorcycle that reflects this.
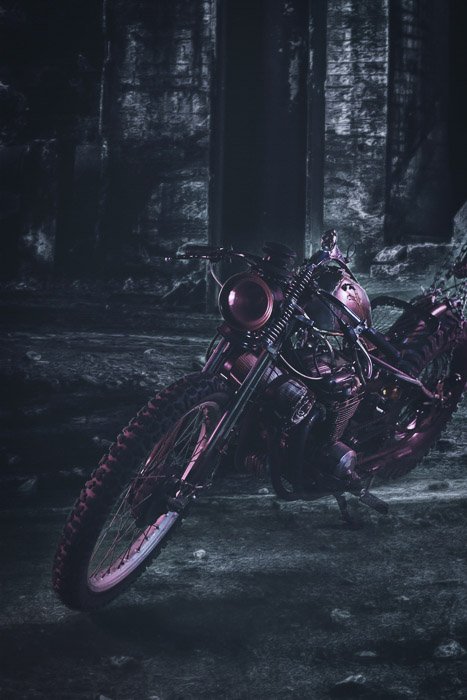
2. Shoot Motorbikes in an Appropriate Background
Bikes are also specific in purpose. You need to know what this purpose is and ensure your images reflect that (or it’ll just look odd!).
If you are unfamiliar with motorcycles, have a conversation with the owner. Ask the owner where the bike performs best or is intended to be used, such as the street or off-road. You don’t want to misrepresent the build.
Because motorcycles have so much going on already, try to find backgrounds that aren’t super busy. Be mindful of the positioning of elements of your frame. For example, trees can look like they are sprouting out of the bike.
You can also use a lens with a wide, open aperture. This will give the motorcycle some separation from the background.
1. High-Speed Action Shots
High-speed racing photography is an exciting part of taking pictures of motorcycles. You need to shoot with a breakneck shutter speed to freeze the action (1/1000th at least. I like to shoot at 1/3000th and faster). There are a few other things you can do to get sharp images as well.
First, change your focus mode to Continuous Focus Mode (AI Servo for Canon users or AF-C for Nikon users). This mode allows your camera to lock onto your subject and follow the bike as it moves.
You can ensure that you get the right shot by setting your camera to burst mode. This is where you take several photographs in a row while pressing down on the shutter.
Shoot with a fast shutter speed to freeze the action. The only way to get cool sequences is by shooting in burst mode!
Check out our full shutter speed article for more info!
Conclusion
Motorcycles are a whole lot of fun to photograph! Take these tips with you to your next motorcycle photography shoot and make some chrome magic happen.
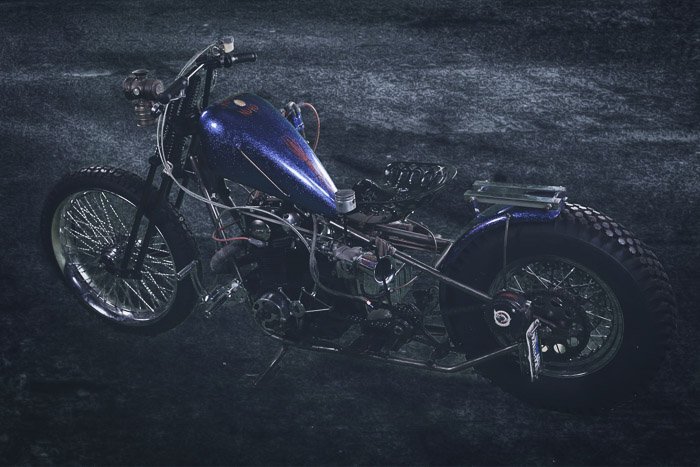
Special note: All of the motorcycles featured are from El Diablo Moto Shop in Eagle Rock, California.