It is normal at the wedding for the bride to have butterflies. But it also happens with the first-time wedding photographer. Their stomach is also aflutter from the pressure of getting that great shot. Or risk ruining a wedding day.
A wedding photography checklist can be a lifesaver.
How to Make the Most of a Wedding Photography Checklist
Wedding photography is the marathon of the photography world. This can often mean a 12-hour day full of endless must-have shots and split-second memories.
Because of this, it’s easy to lose track and forget about a few essential wedding photos. This is why photographers have checklists for the big day.
A wedding photography checklist can prevent those missed moments. Here I created one I wish I had before I started.
This wedding photography checklist is a starting point. New photographers shouldn’t feel like they can’t go above and beyond the wedding photos on the list.
Otherwise, the tool can become stifling.
For more tips on wedding photography, check out our Complete Guide to Wedding Photography.
Once you have a solid understanding of your camera and gear, here’s what new photographers need to do before and during the wedding.
Before the Wedding
Meet With the Bride and Groom
If an in-person meeting or consultation isn’t possible, have a detailed phone call instead. Discuss the bride and groom’s plans for the day and the style of their wedding.
Also, make sure you know what wedding traditions the couple is following. These vary by location, culture, and religion.
Discuss anything that might be outside the typical wedding. Add it to the wedding photo checklist pdf that you have.
Maybe the couple made their own ceremony decor. Or maybe there’s a family friend who’s not a blood relative but is essential to get them in those family photos.
Ask if the couple would like to do a first look shoot, or if they want the traditional first look walking down the aisle.
During this discussion, it’s best to tell the couple how much time to plan for photos. Do this before the final schedule is ready.
I recommend at least an hour for formals between the ceremony and reception. And you’ll need a few hours before the ceremony, excluding any travel and time for the receiving line.
After you take the photos would be an excellent time to use your wedding photo checklist. Cross off the shot you have done.
Get a Timeline
You don’t need an exact timeline when you book the wedding months out. About a week before the wedding, make sure you have a detailed schedule to work from.
The timeline should include everything. From when the wedding party starts getting ready for the last event of the reception.
Communicate with the couple to let them know when you will arrive. And make sure the schedule includes enough time for formal photos.

Shoot the Engagements
Engagement photos aren’t necessary for every wedding. But I recommend them, especially for new photographers. Engagement photos allow you to practice couple posing.
And you’ll also learn what poses work best for that particular couple. Think about adding these new poses for a future wedding photo checklist.
The engagement session also helps the couple learn to relax in front of your camera. And it gives them an idea of what to expect on the wedding day.
I include engagement photos in my full wedding package. This is because they are so helpful in prepping for the big day.
Get a Contract
Even if you are shooting a wedding for a close friend, get everything down on paper. This includes dates, times and addresses of the ceremony, reception and any other locations.
Be clear on exactly what the clients will receive. Whether that’s prints or digital files. This is why having a wedding photographer‘s checklist is advisable.
What Gear Do You Need
If this is your first wedding, make sure you have the appropriate gear. You don’t need a ten lens kit starting out. You do need a camera body, a bright zoom lens or a few prime lenses and a flash.
Make sure you also have a back-up, so that if your camera breaks or malfunctions, you can still shoot the wedding.
Renting is an affordable option for newbies. You can get a backup camera for the wedding day or a better lens than the one you already own.
Check our article on the best lens for wedding photography for more information.
Also, make sure you own at least one extra battery. If you are shooting a mirrorless camera with a lower shot battery life, get at least two extras.
Make sure accessories such as the flash have extra batteries too.

Understand the Venues
Know ahead of time what kind of conditions you’ll be shooting in. Is it an outdoor wedding at noon? A dimly lit church?
Some places of worship do not allow pictures at wedding ceremonies. Others don’t like it when the wedding photographer uses a flashlight. Respect whatever rules the venue has.

Working With an Assistant
You might have an assistant, covering the shots that you can’t get to. Ensure that you have a wedding photo checklist pdf, printed out, so you both have a copy.
Ensure both sides know what they are photographing. This way, both photographers are not taking photos of the same thing. Having a wedding photography checklist that’s printable is the best solution.
The Day Before the Big Event
- Confirm the time you’ll arrive with the bride.
- Charge all your batteries. This includes the backups and the battery inside the backup camera body.
- Clean your lenses, so lens spots aren’t creating extra hours of editing later.
- Confirm that you have all your gear packed. Include plenty of memory cards that are already formatted and ready for shooting.
- If this is your first wedding, shoot the rehearsal too. The only rehearsal I shot was before my first wedding. That helped me know where I should stand for what part of the ceremony. And what settings to use to get the best exposure inside the church. Once you’ve gotten the hang of shooting weddings, shooting the rehearsal isn’t necessary. But it makes a big difference before your first wedding.
The Shot List
The wedding day is here – a wedding photography checklist can help make sure you don’t forget any must-have shots. This includes the best man, the first dance and table settings, to name a few.
Remember to add any shots the couple requests. And anything that’s outside the usual wedding traditions.
Note that different cultural celebrations may not follow this list exactly.
Pre-Wedding
The time between the ceremony and reception is usually a rush. Photograph as much as possible before the wedding.
The order of these shots will vary. This is because of the schedule and how the day unfolds.
I usually shoot the detail shots when I have a few moments between the getting ready shots.
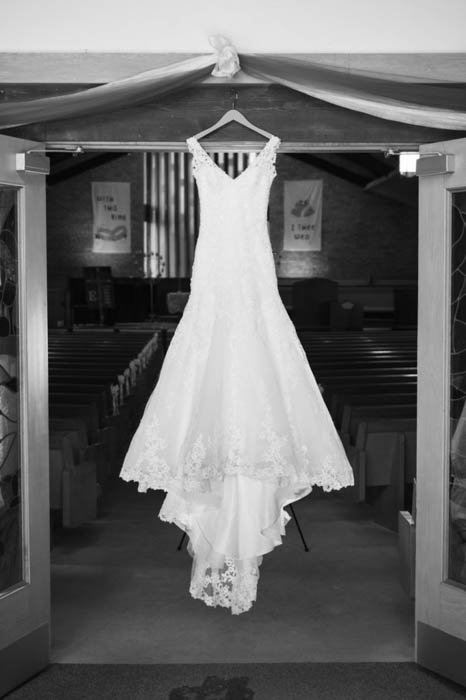
- The dress. Before the bride gets dressed, photograph the dress by itself. Look for a scenic spot in the venue, but remember the groom shouldn’t see the dress.
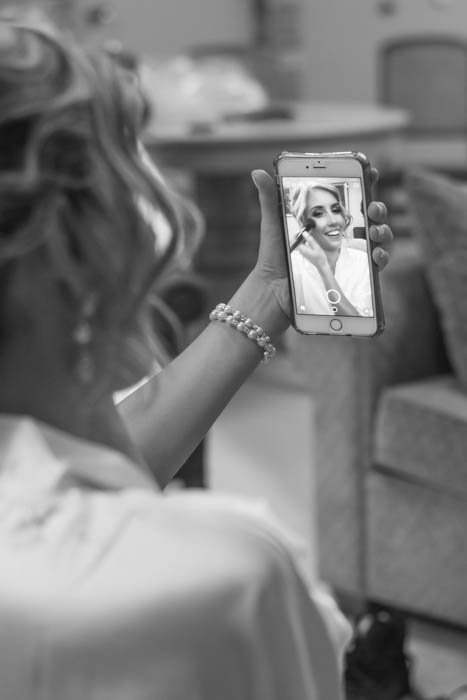
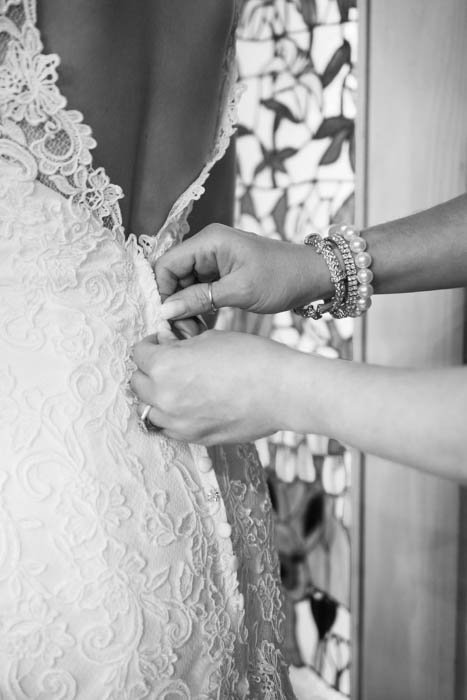
- The bride and bridesmaids getting ready. Some traditional shots include the finishing touches on hair and makeup. Or the bride being zipped into her dress, the bride putting on her shoes, and the bride putting on the garter.
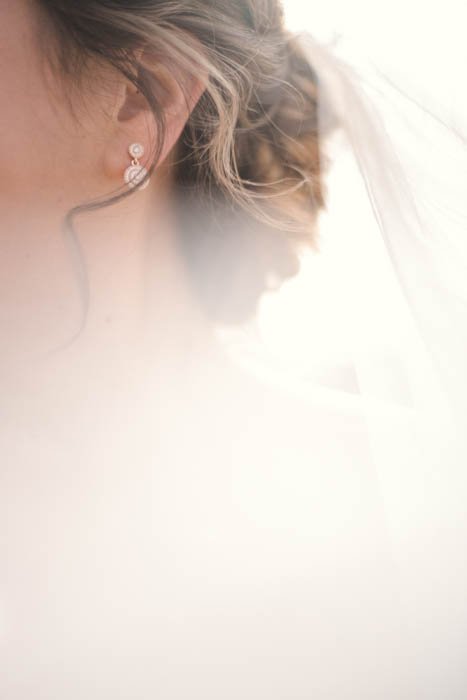
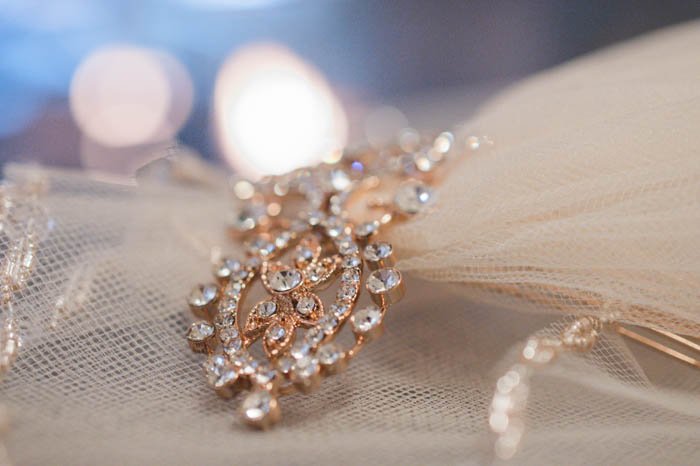
- Placing the veil or jewellery. Ask someone important to the bride, such as a mom, to place the veil or help with jewellery.
- Any bridal first looks. Once the bride is dressed, photograph the first time her parents see her dressed. Or the first time her bridesmaids do.
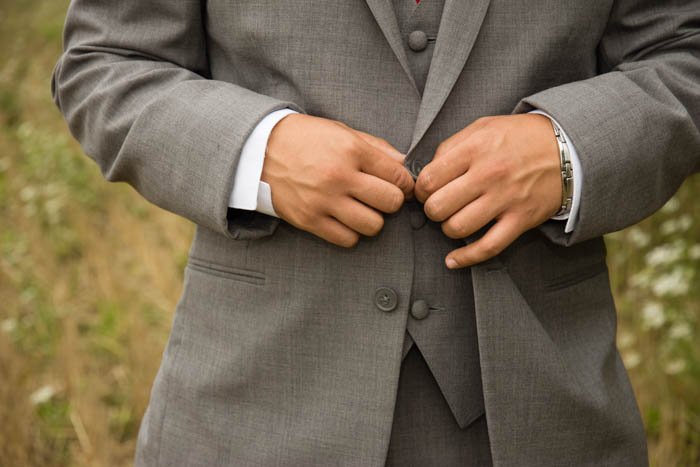
- The groom and groomsmen getting ready. A few traditional shots are putting the tie on, adjusting cuff links and putting shoes on.
- Pinning on the boutonniere.
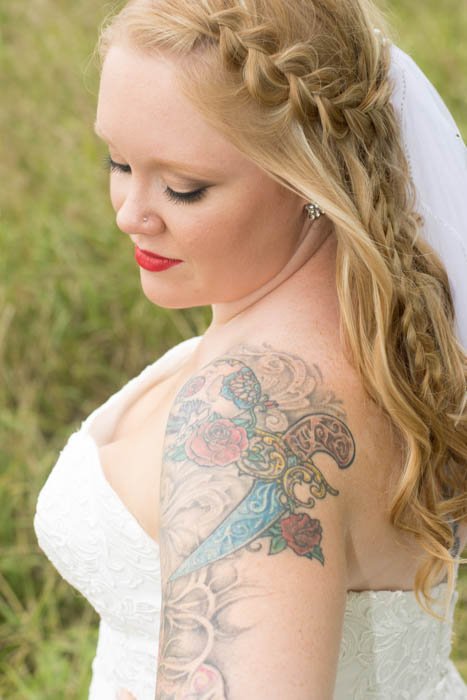
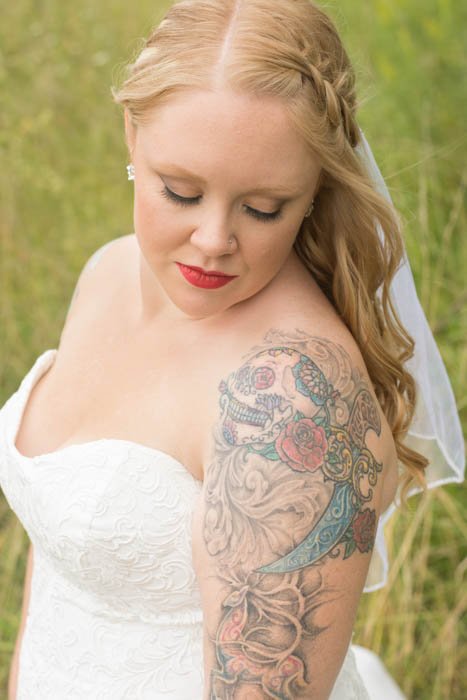
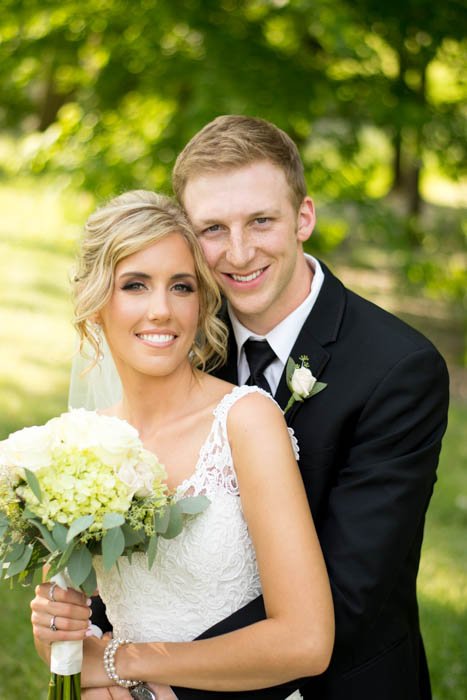
- The bridal portraits. Photograph the bride by herself. Remember to use a variety of poses, some full length, some close-up, some with the bouquet and some without. Include at least one shot that shows the back of the dress.
- The bride with her bridesmaids. Photograph the bride’s side together, in several different poses. Again, include variation for both full length and closer crops. If there’s a flower girl and/or junior bridesmaids, be sure to include them in some of the group shots. Photograph all the girls together. And the bride with each bridesmaid on their own.
- The groom. Photograph the groom by himself. Get a few different poses and vary the crops from full length to closer portraits.
- The groom and groomsmen. Photograph the guys together as a large group. Get different poses and different compositions. Also, photograph the groom with each groomsman.
- The bride and groom with their parents. Photograph the bride with her parents, and the groom with his. If there isn’t enough time, do these after the ceremony with the family shots.
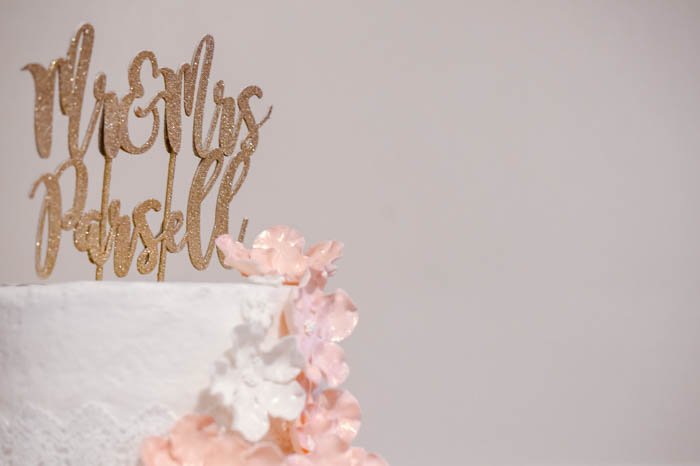
- The detail shots. The couple put months of work into their wedding day. Be sure to photograph the smaller details of the day. These shots can be the items on their own or worn by the parties. These include:
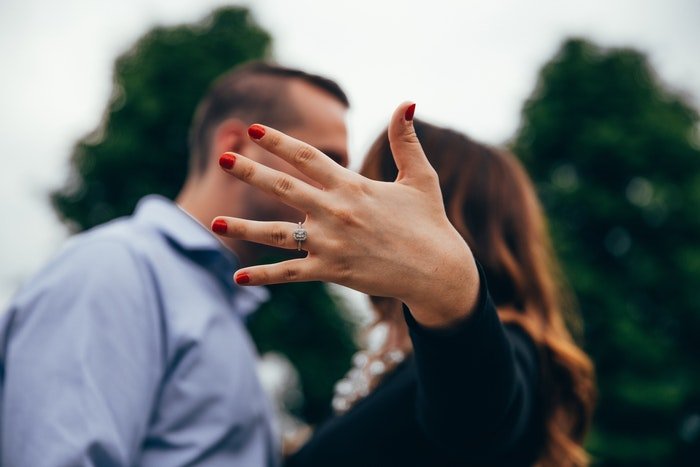
- The rings;
- The bride’s shoes;
- The veil;
- Bridal jewellery;
- Anything borrowed, blue or old;
- The bouquet;
- The Boutonniere;
- The wedding invitations or programs;
- The getaway car, if decorated;
- Any other small details the bride and groom worked on.
- If the couple has opted for a first look, you’ll be photographing couples portraits before the ceremony too. Photograph the first time the groom sees his love. Then photograph a variety of formal poses of the two together.
At the Ceremony
I don’t work from a ceremony wedding photo checklist. I use the schedule to know where I should be standing and when. Then I photograph everything, getting several angles and compositions.
Looking at a wedding photo checklist takes my eyes away from the candid moments I should be shooting.
That said, I still work with a mental must-haves list I have memorised from so many weddings:
- Parents and grandparents entering. Don’t forget to shoot the mothers lighting the unity candles, if that’s part of the ceremony;
- The groom and groomsmen entering;
- The wedding party processional, including each member of the bridal party;
- A close-up of the ring bearer;
- The bride walking down the aisle.
- The groom’s reaction, as the bride enters. This needs quick reflexes! I usually position myself about three-quarters down the aisle and use a zoom lens to photograph the bride first entering. I turn to photograph the groom, then turn back to the bride;
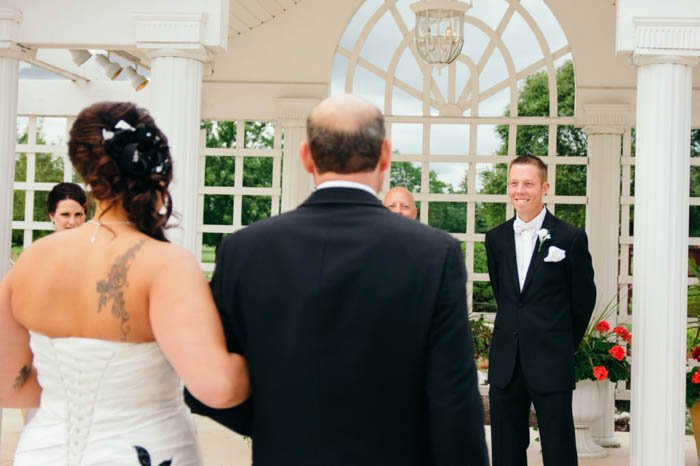
- Giving the bride away;
- Each ceremony item on the schedule. This differs with each couple – ensure to have that schedule to know what’s happening when;
- Any musicians or speakers;
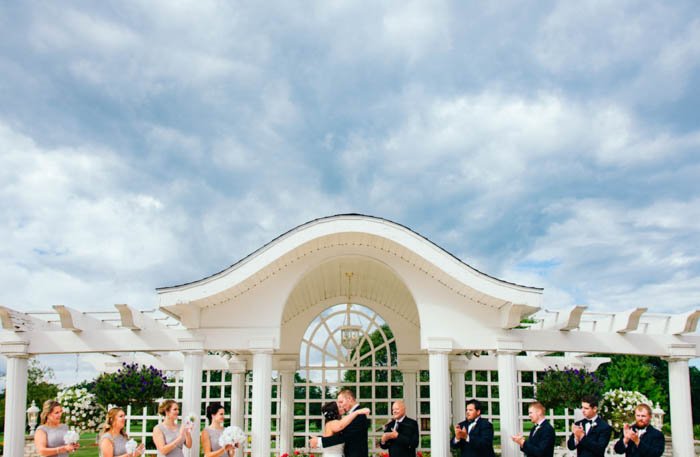
- A wide-angle shot of the entire ceremony venue, including the entire audience;
- Watch the audience for potential reaction shots, particularly the family at the front laughing or wiping tears;
- The ring exchange. Try to use the time as the bride and groom recite the “I give you this ring…” to get multiple perspectives. Include a close-up of the hands and one that includes both the bride and groom;
- The kiss. For this essential shot, plan ahead to determine your composition. And shoot that image first. Then if the kiss is a long one, use the zoom to vary the composition;
- The recessional as the bridal party exits;
- The receiving line. Catch a few hugs with family members at the beginning of the receiving line. Then go set up any necessary lights for the formals as the receiving line finishes;
- The bubbles, birdseed, confetti if the couple chooses to have a dramatic exit.
After the Ceremony
- Family poses, on each side. Try to get a list from the clients. This is because every family is different, and there may be step-relatives. Ask the couple ahead of time to designate a family member to assist you in finding each group. They’ll make sure no one is left out since you don’t know the family. Start with the whole family. The grandparents, parents, siblings, aunts, uncles cousins. Then remove people from the pose to do only parents and siblings, then only the parents.
- The bride and groom with the officiant.
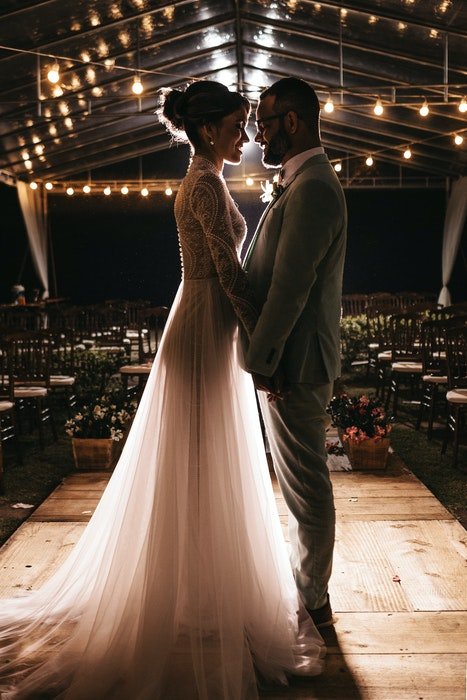
- The couple together in the ceremony venue.
- The couple with the bridal party.
- The wedding party at the ceremony venue.
- The bride and groom with the flower girl and ring bearer.
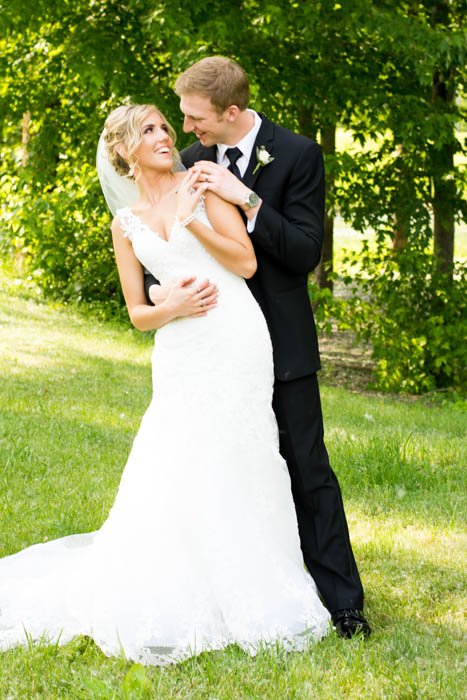
- The married couple outdoors or in the secondary photo location. These are the shots most likely to end up blown up on the bride and groom’s walls. Therefore, get a variety of different poses and leave the most time for them. Get full length and close-ups of each pose for variety. Include both still poses and action poses, such as the couple walking together or kissing.
- The wedding party outdoors in the second location.
- Watch for candid moments of the couple, bridal party and wedding guests interacting while working on setting up the formal poses, such as walking to the next spot.
- A close-up of the rings on the bride and groom’s hands.
- Signing the wedding license.
At the Reception
At the reception, be sure to introduce yourself to the DJ. Then ask for a few minutes’ warning before transitioning from dinner to any of the major events.
This is to make sure you’re not taking a bathroom break when the post-dinner activities start. You don’t want to miss out the first dance because of some silly break.
If the ceremony and reception are at the same location and you have a few minutes, slip in to photograph the centrepieces and cake before the guests arrive.
- The cake, before it’s cut, including full shots and up-close details.
- The centrepieces
- The wedding party walking in
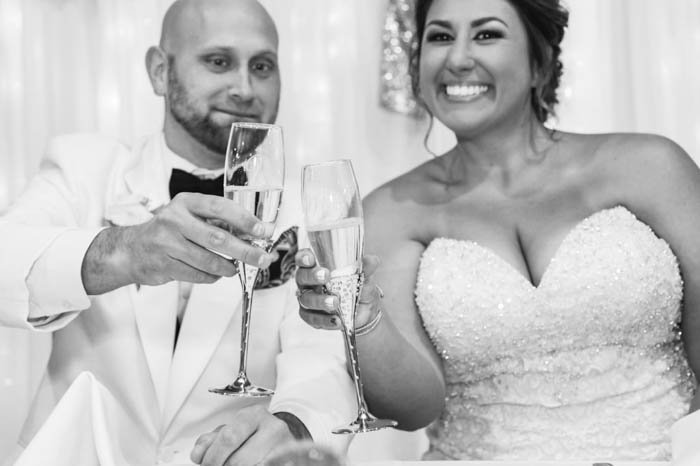
- Any toasts
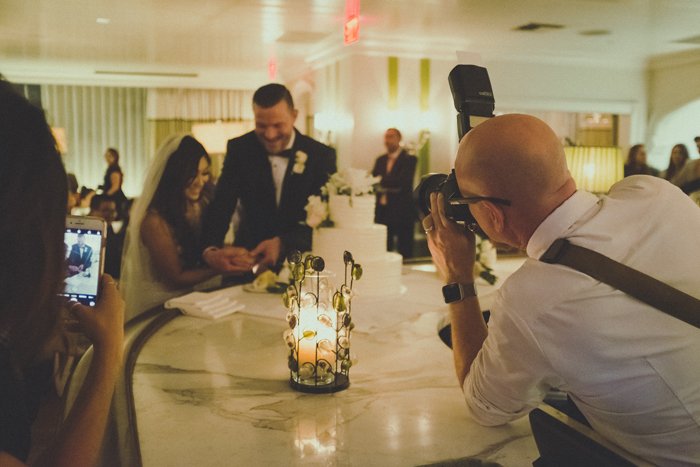
- Cake cutting
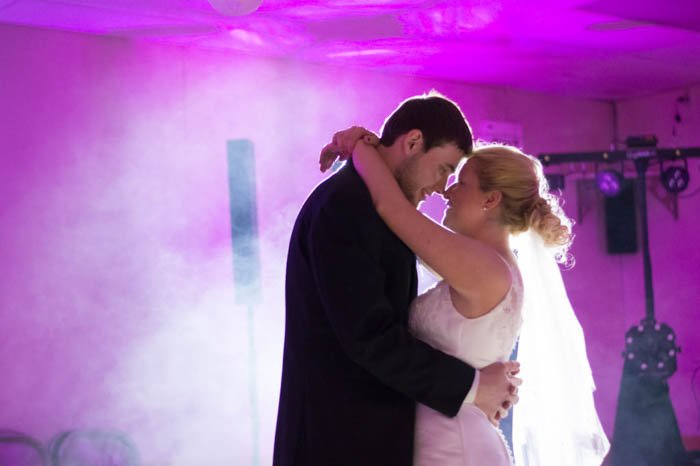
- The first dance
- The bridal party dance
- The father-daughter dance
- The mother-son dance
- Retrieving and tossing the garter, and a shot of the groom with the guest that caught the garter
- The bouquet toss and a shot of the wife with the guest that caught the bouquet.
- Any other special events or games the couple planned.
- The dance floor.
- Watch for candid moments from both guests and the wedding party throughout the night.
- The exit, if anything like bubbles or confetti is planned.
After the wedding
Wedding done? Whew! That doesn’t mean the work is done, though.
Here is a list of things you need to do after the big day:
- Back-up the files in at least two locations.
- Start editing.
- Keep the married couple updated on your editing process.
- Deliver the final images.
- Ask the couple for an online review and encourage them to recommend you to their friends.
- Add the best shots to your portfolio.
Conclusion
Shooting your first wedding is nerve-wracking. Proper preparation can both calm those nerves and help you get enough shots to fill an entire wedding album.
Use a list to become a real expert in wedding photography.
Read our eBook, Profit from Portraits to get all the best tips for a portrait business!