How to Crop a Layer in Photoshop

Struggling to crop a layer in Photoshop? This concise guide will help you master the process, enhancing your image editing skills and ultimately improving the quality of your work. Let’s dive in.
Step 1. Select the Layer to be Cropped
To begin, you must first select the layer you want to crop. In the Layers panel, click on the layer you want to modify. It will become highlighted, indicating it is the active layer.
Step 2. Choose the Crop Tool
The Crop Tool is your next step. This tool allows you to define the area to be cropped out.
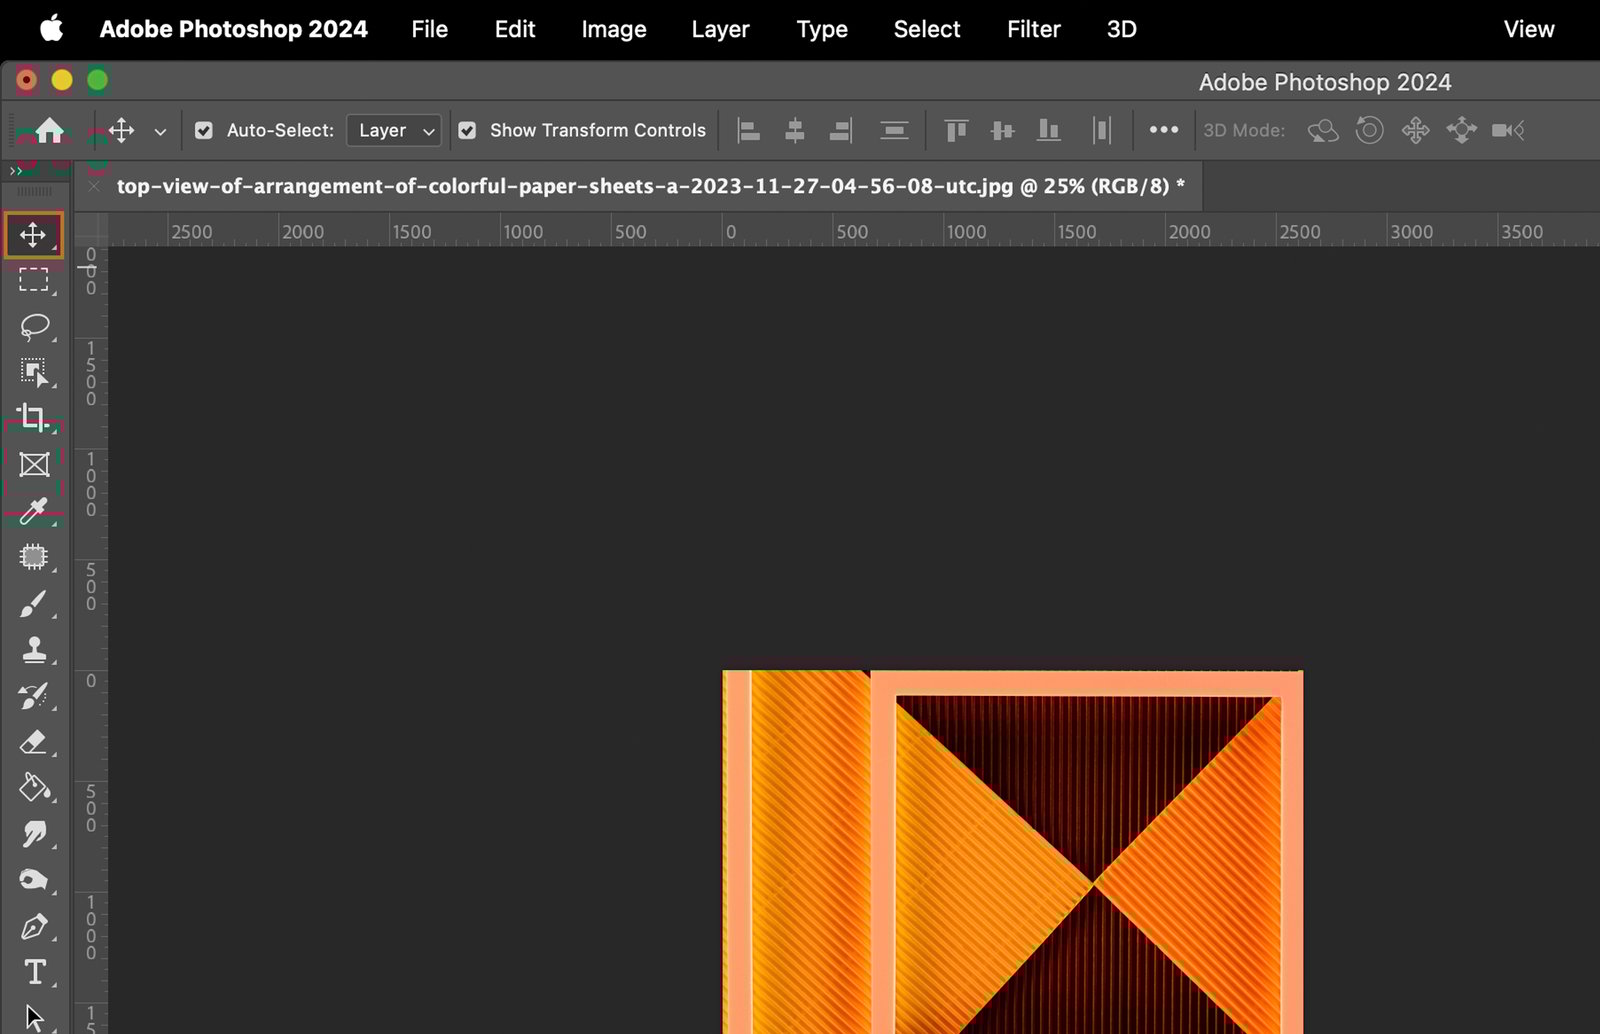
Step 2.1 Using the Toolbar
Locate the toolbar on the left of your screen. The Crop Tool symbol resembles a pair of overlapping right angles. Click on this symbol to activate the tool.
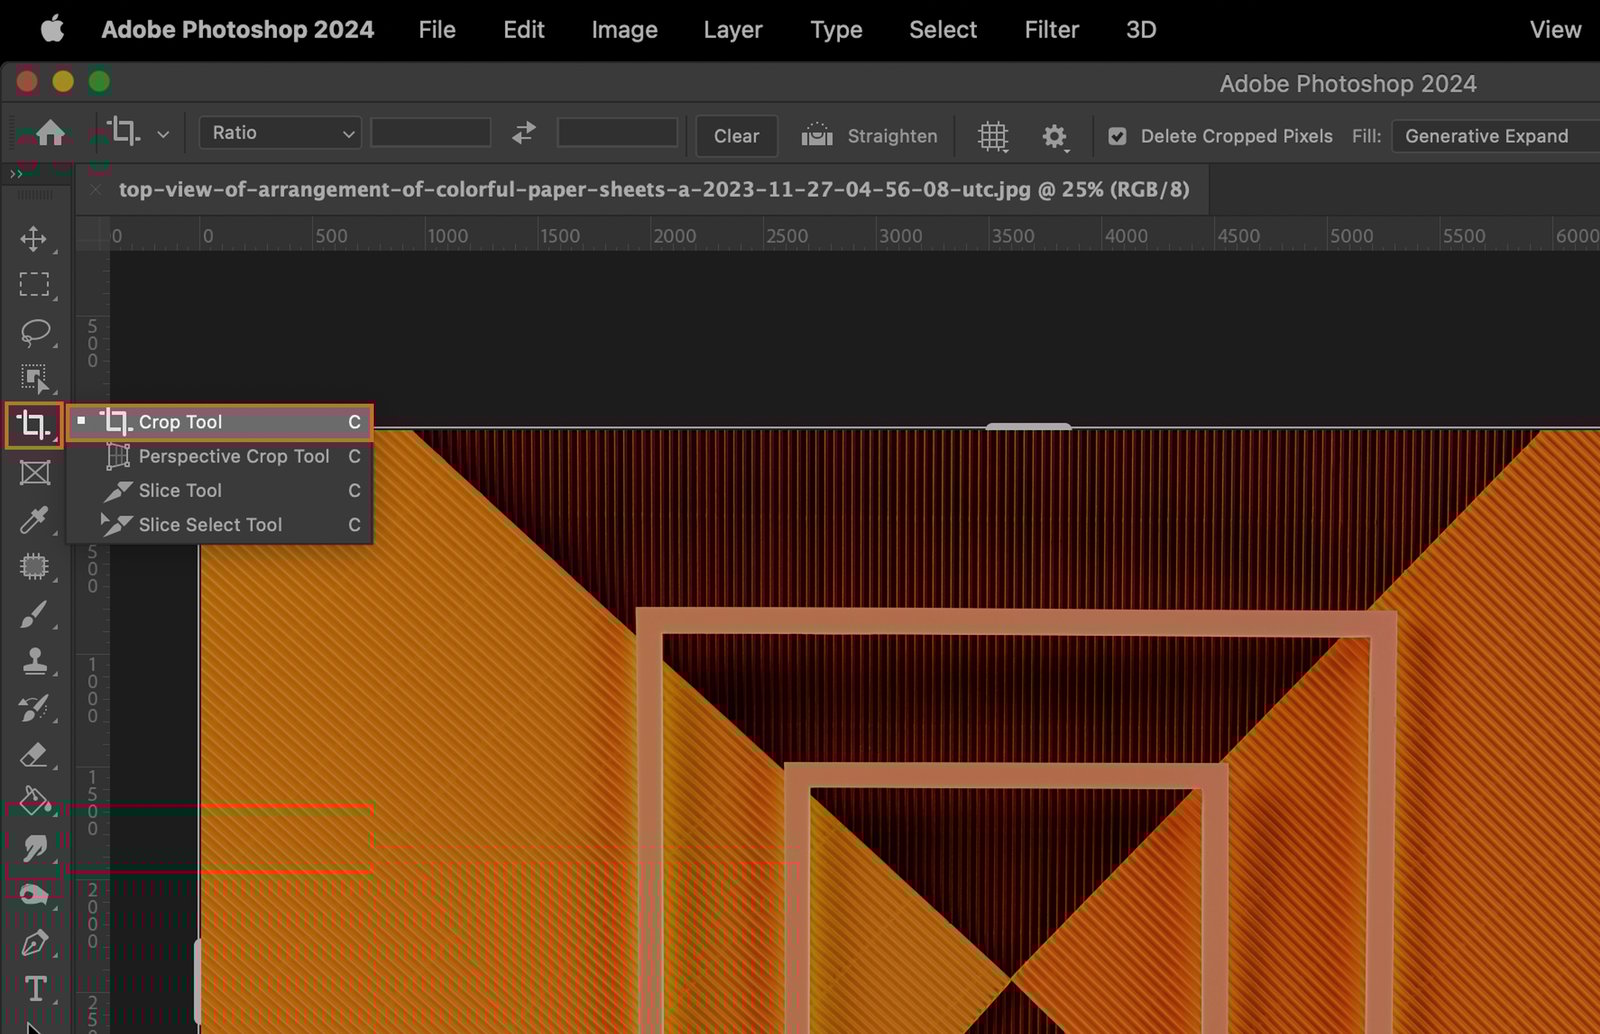
Step 2.2 Using the Keyboard Shortcut
Alternatively, you can access the Crop Tool by using the keyboard shortcut. Simply press ‘C’ on your keyboard.
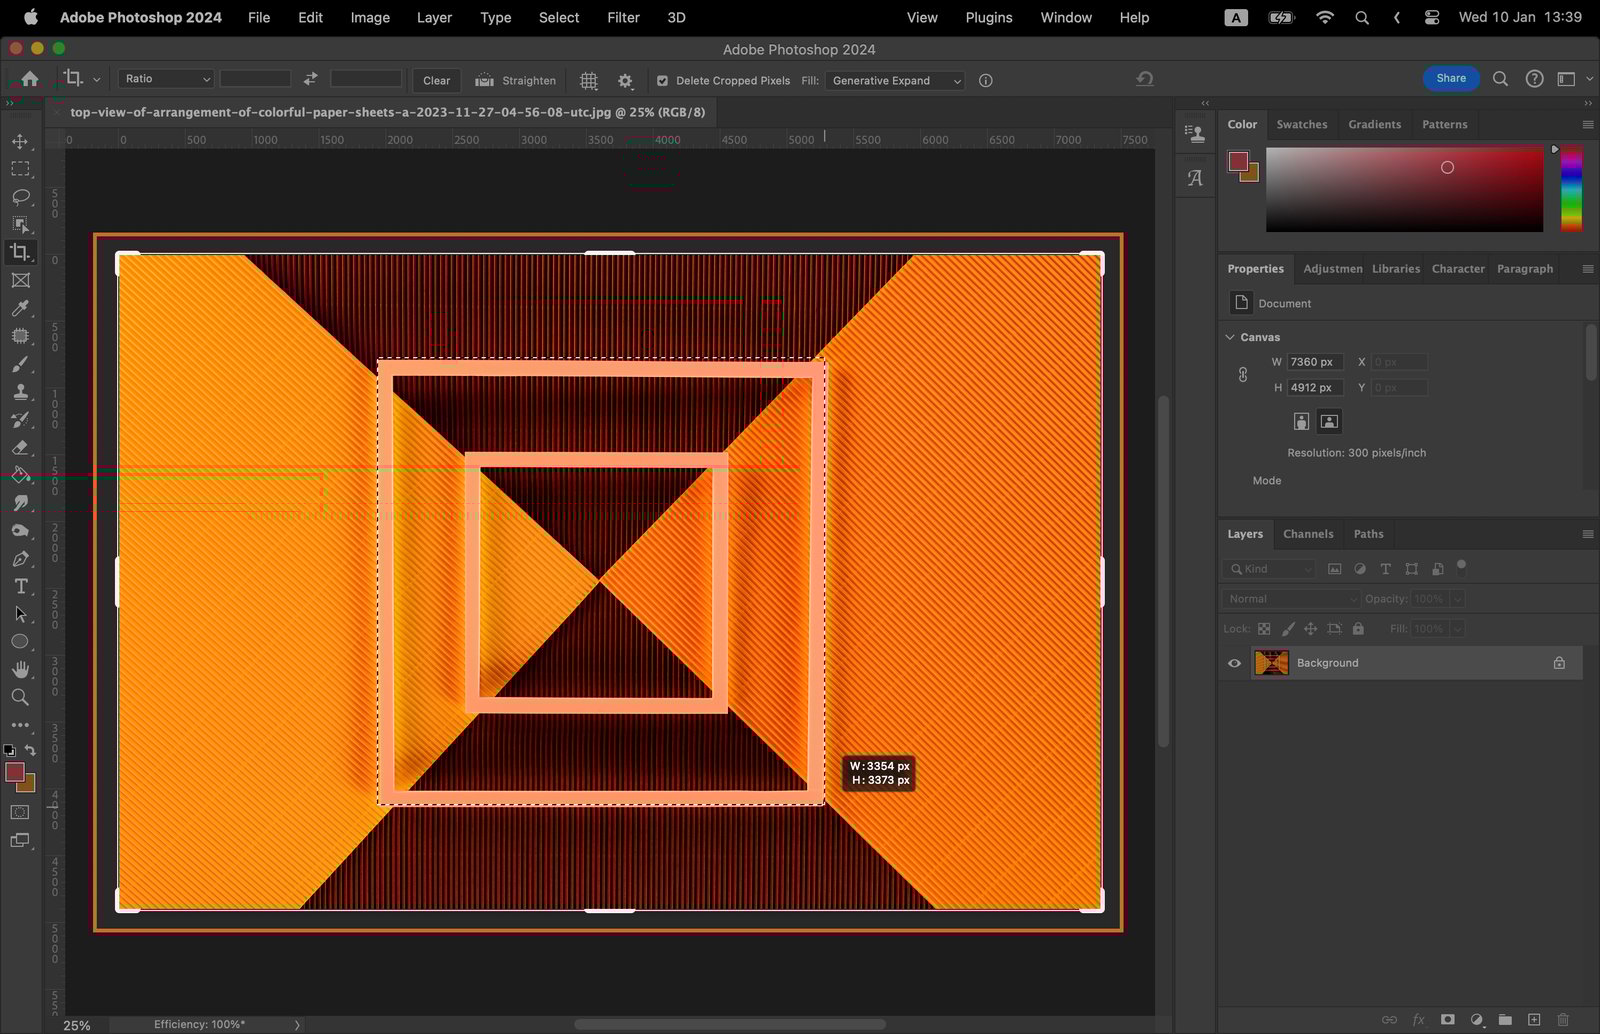
Step 3. Set Crop Boundaries
To set your crop boundaries, click and drag your mouse across the area of the layer you want to keep. Release the mouse to set the boundaries.
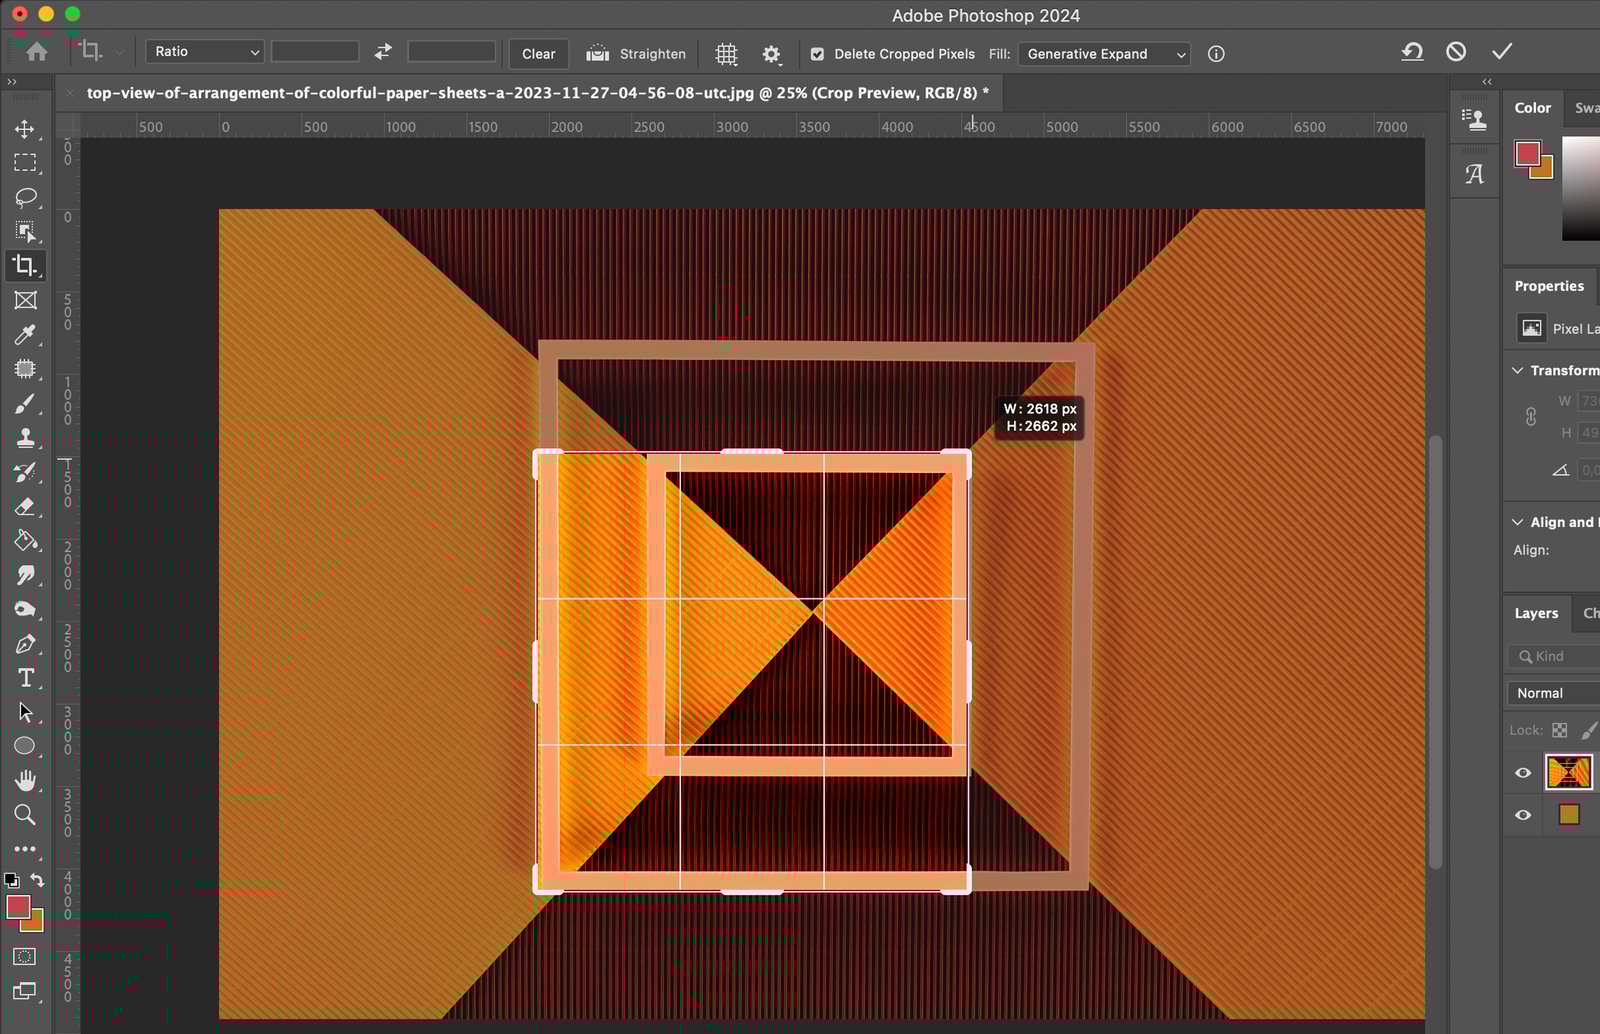
Step 4. Adjust the Crop Box
If you’re not satisfied with your initial selection, you can adjust the crop box. Click and drag the handles on the corners or edges of the crop box to resize it.
Step 5. Crop the Layer
Once you’re satisfied with the crop boundaries, it’s time to crop the layer.
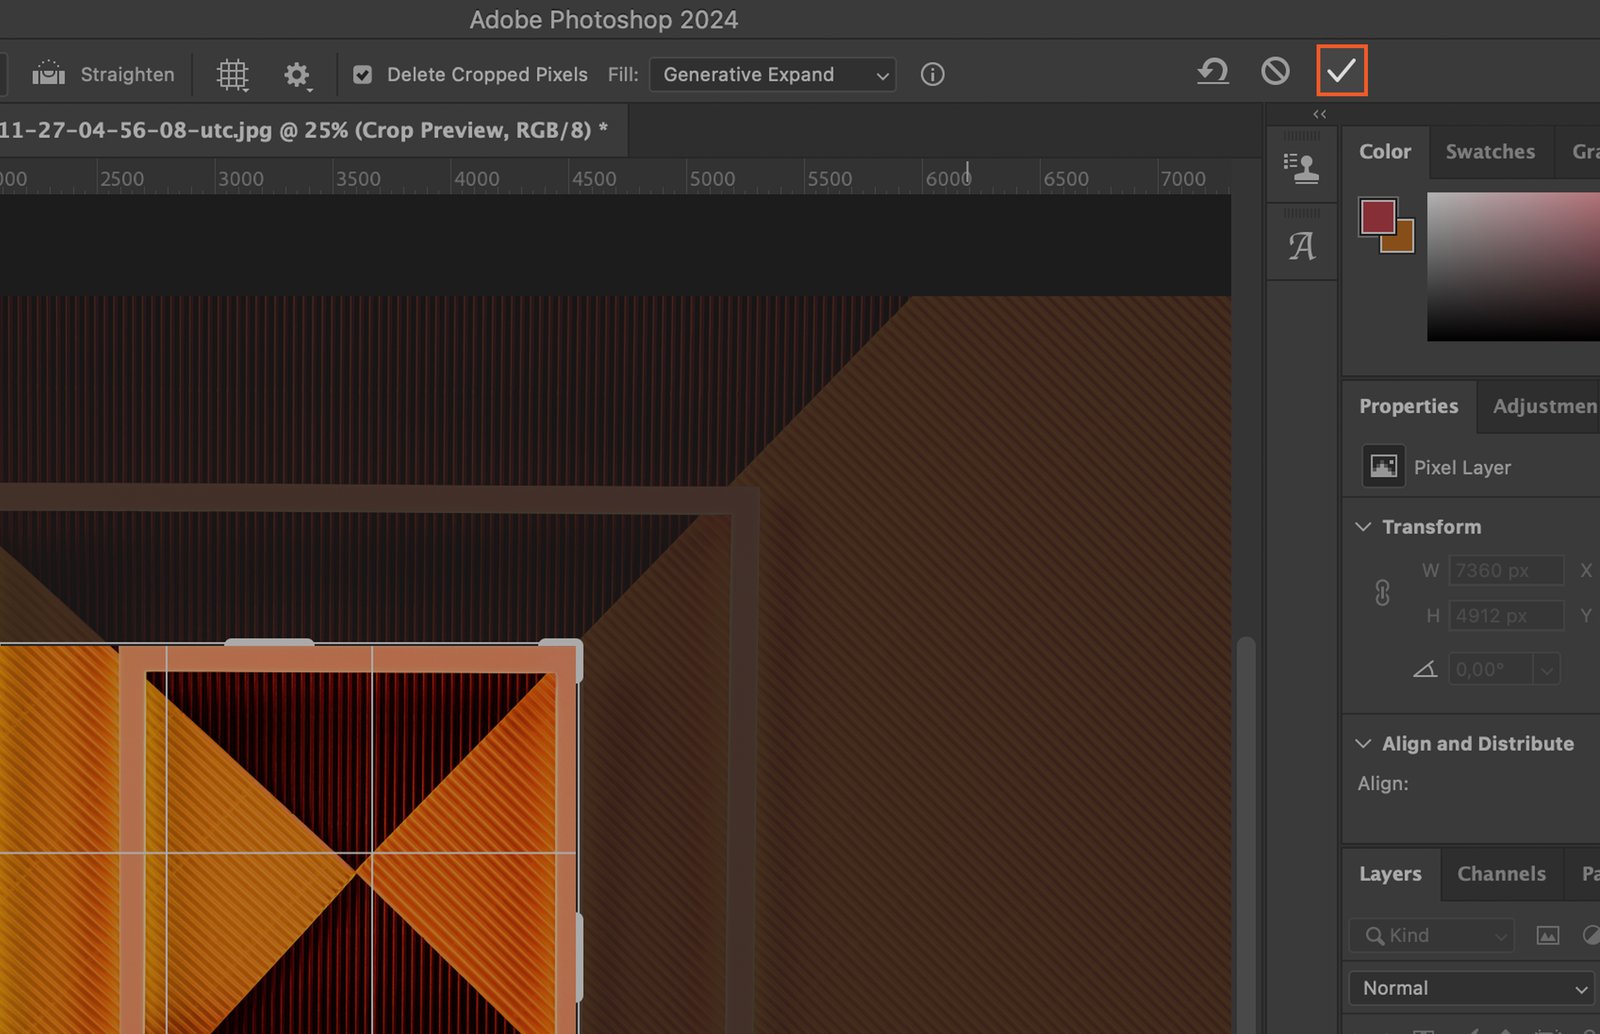
Step 5.1 Using the Toolbar
Go to the toolbar at the top of your screen and click on the checkmark icon. This will apply the crop.
Step 5.2 Using the Keyboard Shortcut
Alternatively, you can use the keyboard shortcut ‘Enter’ to crop the layer.
Step 6. Deselect the Crop Tool
After cropping, deselect the Crop Tool. This can be done by simply selecting another tool from the toolbar or pressing ‘V’ on your keyboard to select the Move Tool.
Step 7. Save the Cropped Layer
Finally, save your work. Go to ‘File’ in the top menu, then select ‘Save’. Ensure you save your work frequently to prevent any loss of progress.