Prism photography is a fun way to add some creative effects to your photos. From rainbow effect colors, to dreamy looks and reflections, prisms’ ability to bend light result in stunning results. You can even use it to take out unwanted elements from your photograph.
What is great about prisms is that all this can be done without Photoshop or post-processing. Another advantage is that prisms are affordable and they fit in almost any bag.
Here’s our guide on how to use a prism for best results!
What Do You Need for Prism Photography?
One of the best parts of prism photography is that you do not need much extra equipment. All you need to start off for taking cool prism pictures is a prism and any camera. You can even use your smartphone for this type of photography. If you are using a DSLR, you can choose your lens. A lens with big apertures will result in smoother effects. Try 24mm, 35mm and 50mm lenses.
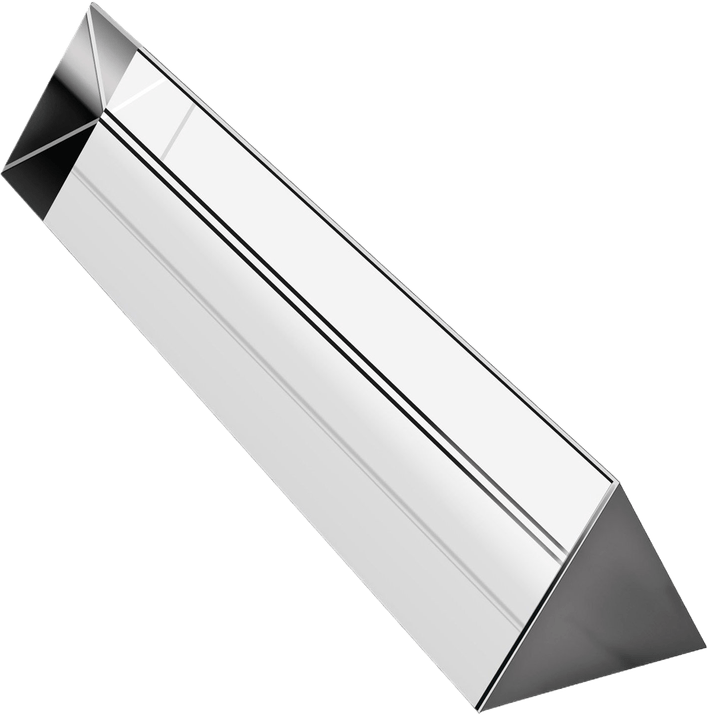
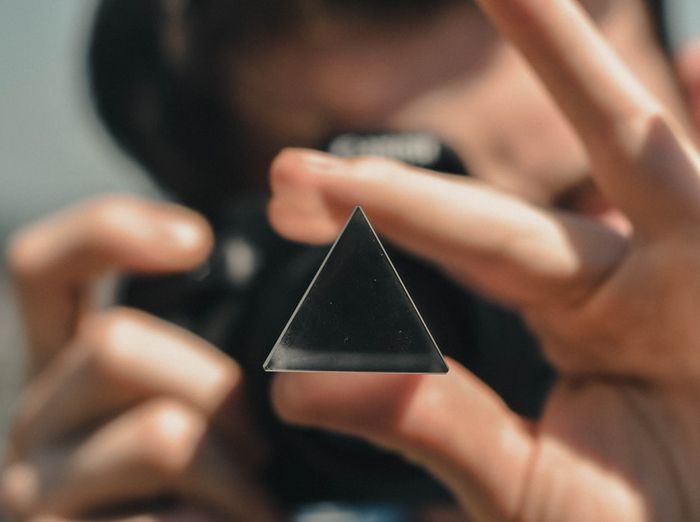
You are probably wondering what can be used as a prism. The best is to start off with a glass triangular prism. Do not worry, it will not cost you much. You can start off with any size. I used a simple 15cm prism (you can also hold onto the longer ones more easily).
The great thing is you can easily fit this little piece of equipment in your bag anytime you want, making it easy to always take cool photos. Make sure you have a cloth nearby to clean any fingerprints on your prism.
How Do You Use Prism in Photography?
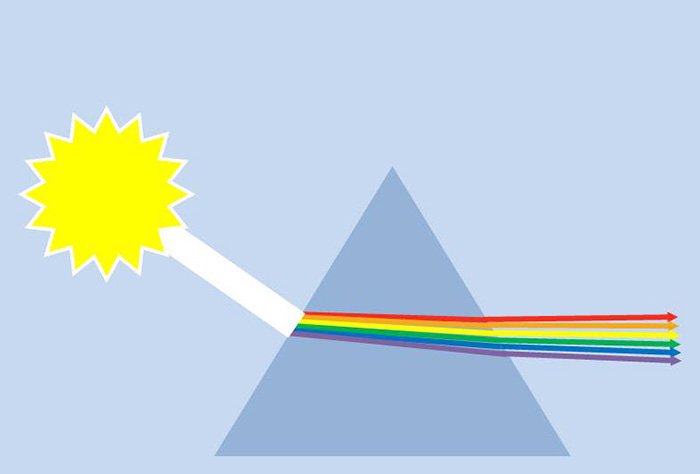
A prism is a transparent object that refracts light and at least two of its sides has an angle between them. When light moves from one medium into another (in our case from the air into the glass), it causes refraction. Refraction is when light bends or changes its direction.
A ray of light is made up of light in many wavelengths. Each wavelength creates a different color, and each of those passes through the prism with more or less resistance than the other light waves. So, the different wavelengths that normally travel together get dispersed. And we see them separately, as a rainbow.
How Do You Make a Prism Effect?
Working with prism photography requires learning by trial and error. There are many changing factors that affect the end result. These include the size and shape of the prism, the angle of the light, the angle you hold the prism, etc.
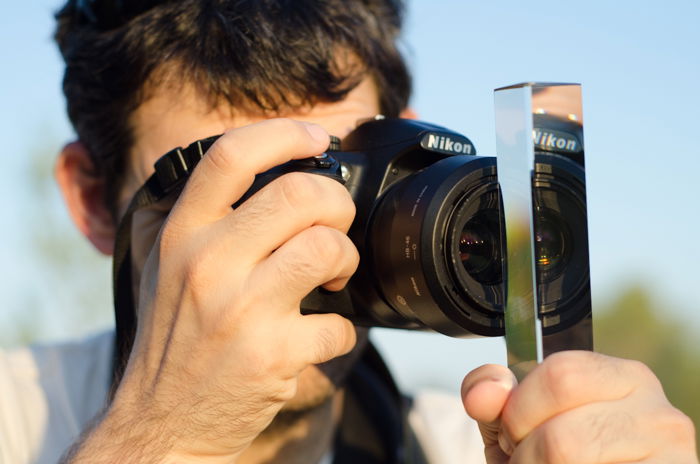
Every time you want to work with the prism you need to place it up close to the lens in the area of the frame where you want the effect to be. Then move and rotate the prism slowly to investigate the effects you can create and how to get them.
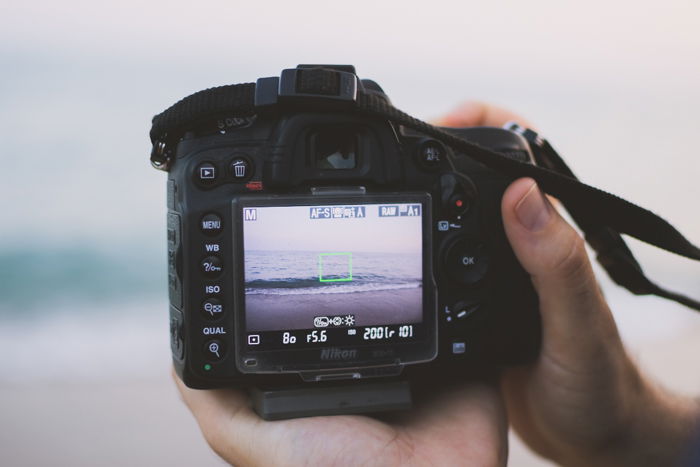
It can get difficult trying to hold the prism and take your shot at the same time. To help you out, try using a tripod. Use Live View on your camera. This way you can easily make adjustments in the position of the prism in order to create the effect you want, without struggling with all the equipment in your hands.
Switch to Manual Mode to Find a Focus Point
Have you ever tried to take a photo through a glass using autofocus? The camera is unable to find a focus point. It ends up refocusing continuously without getting anything sharp in the frame.
This is because autofocus uses visual cues based on light contrast to sense where to focus. When shooting through glass, in addition to our subject, the camera sees many other elements. Reflections, fingerprints, and other imperfections appear in the foreground and the camera tries to focus on them.
Even if you are not covering the whole lens with the prism, your camera might struggle to find a focus point. This is why you should switch to manual focus for prism photography.
You can also first use autofocus without the prism. While maintaining the focus point, switch to manual. Position the prism in front of your camera, and then take the shot.
Set a Small Aperture to Make the Prism Effect Smoother
You can do prism photography with any lens you have. But, there are a few things you should take into account.
Small apertures between f/1.8 to f/3.5 will make the transition between the prism covered part of the lens and the uncovered part a lot smoother.
This is a matter of taste. If you like to have a stronger contrast between the two parts, you can use bigger f-values. This will also affect your depth of field.
If you use a bigger f-value you will have a larger depth of field, so the background will be sharper. This could be good or bad. It just depends on what kind of effect you want the prism photograph to have.
Use the Live View Display to Protect Your Eyes
When taking photos and playing around with the prism, it is easy to forget that we are redirecting light directly into our lens.
This light can get really intense. If you are looking through the eyepiece, it can have the same effect as looking directly at the sun. Be on the safe side and switch to Live View.
How to Create a Rainbow Prism Effect
To create rainbow prism photography you need to place one of the prism’s edges towards the camera. Move and rotate the prism to explore the distortions until the rainbows appear.
In my explorations, I saw you can create two effects. You can take a photo through the prism. Rainbows will appear along the borders of objects in your image.
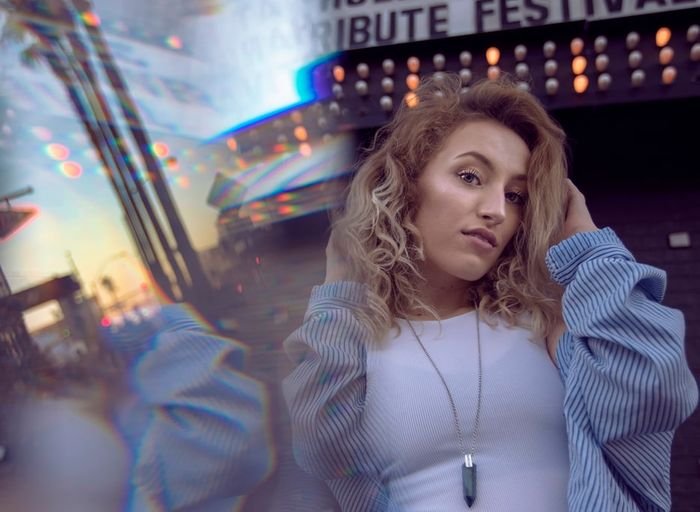
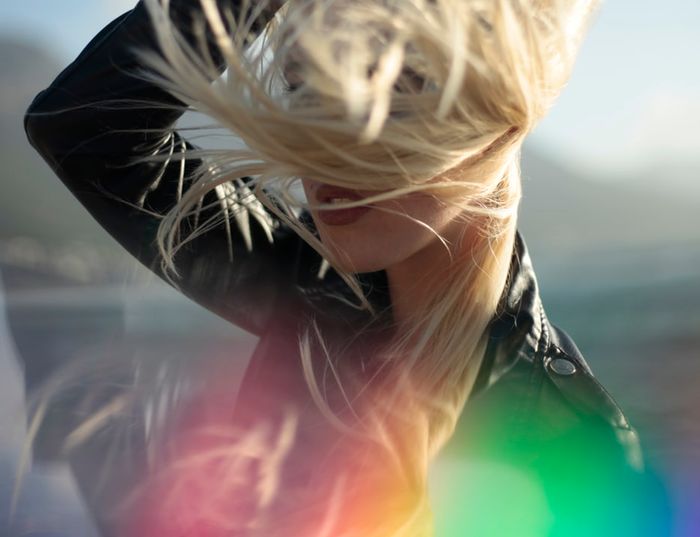
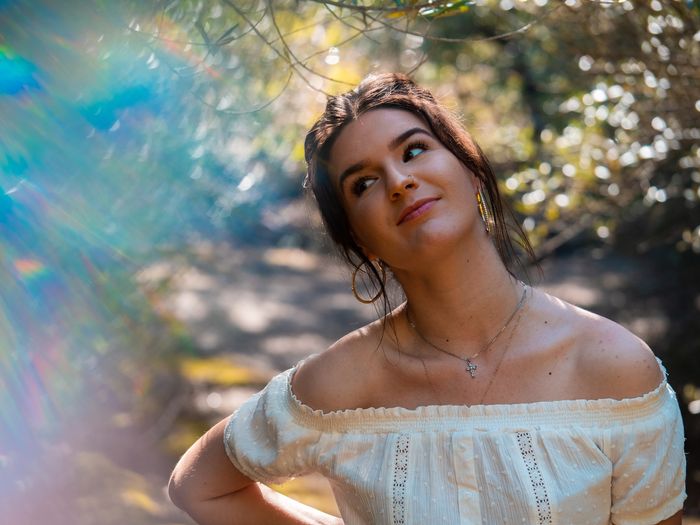
Or you can use the prism to cast a rainbow upon your subject. You can either opt for a dreamier, surreal look or more subtle style. Both can work well, depending on what your aim is.
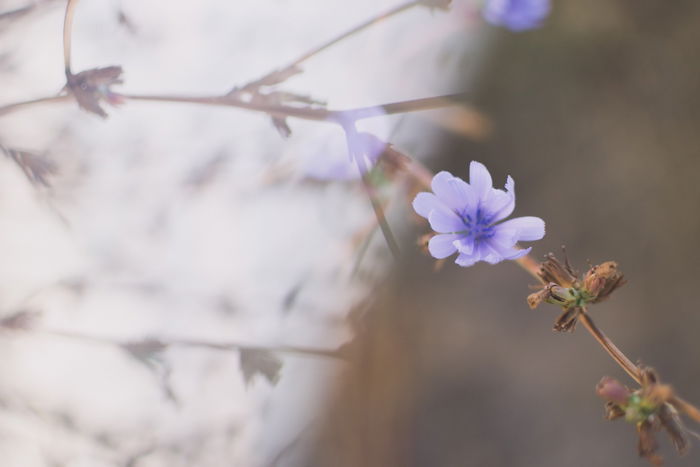
Another way to incorporate a rainbow in your image is by projecting it onto a plain surface. Playing with the shapes created by the light, shadows, and colors can result in a very interesting and abstract image.
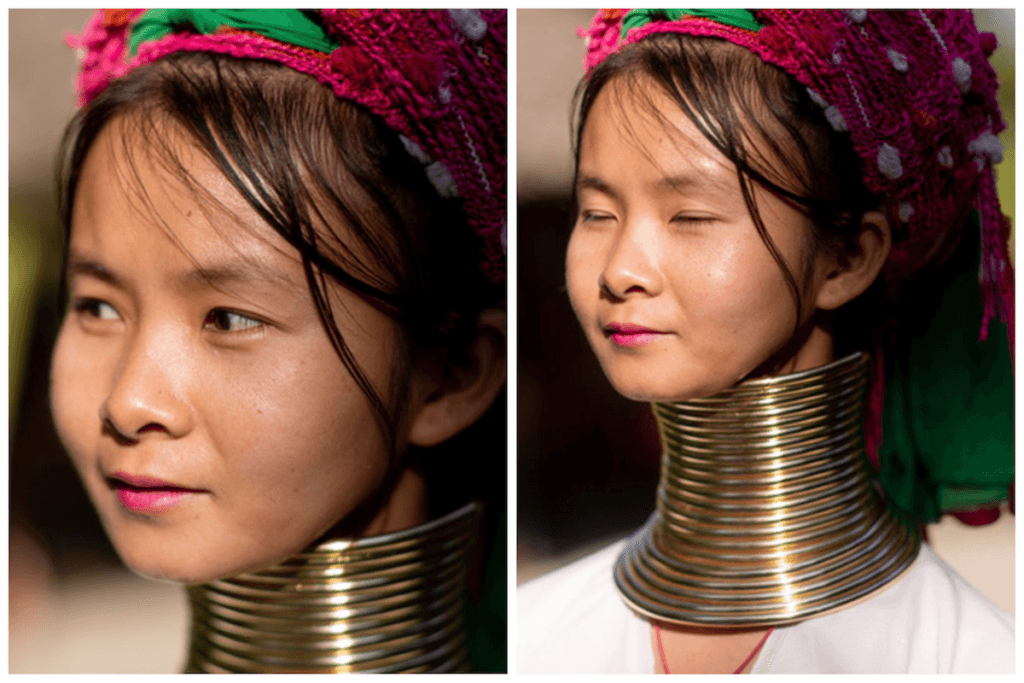
You can also try creating rainbows in portrait photos. The rainbow effect on a person’s face or skin can create very interesting images.
The size of the rainbow depends on the size of the prism you are using. If your prism is larger, the rainbow will be bigger too. The size of the rainbow also depends on the distance between the prism and the surface onto which the rainbow is reflected. The farther the prism, the larger the rainbow. But, remember this will also decrease the intensity of the rainbow and make it duller.
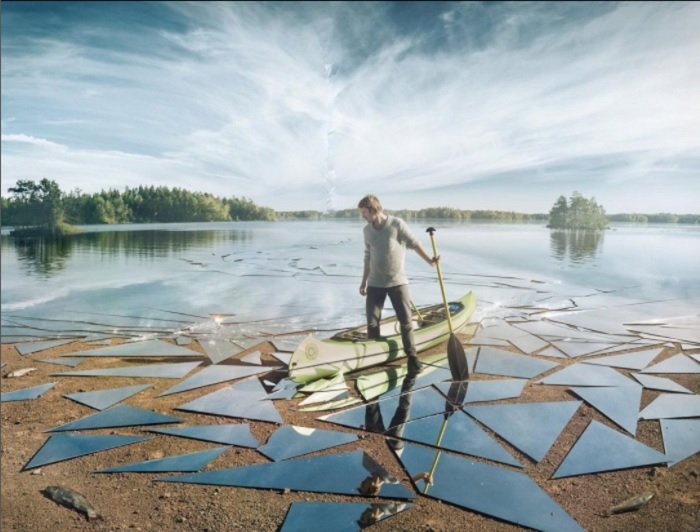
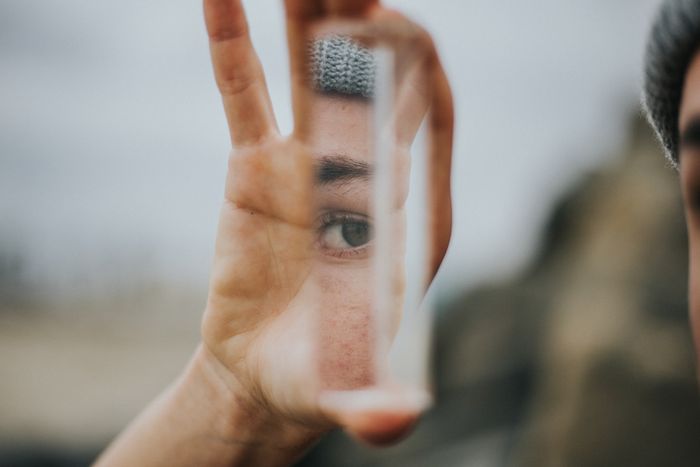
How to Create Mirror Images Using Reflections
One neat effect you can add with a prism is reflections. Position the prism in front of your camera lens and move it until the reflections come to view.
You might need to try different reflections. Try placing the prism on different areas of the lens or change its orientation and angle.
You can even create doubles of your models – this works great for kids, as it makes them laugh a lot.
Or you can try to create a partial reflection that might look like water or glass reflections or ghosts. These are great for abstract or conceptual shoots.
Add Extra Light for Even More Creative Results
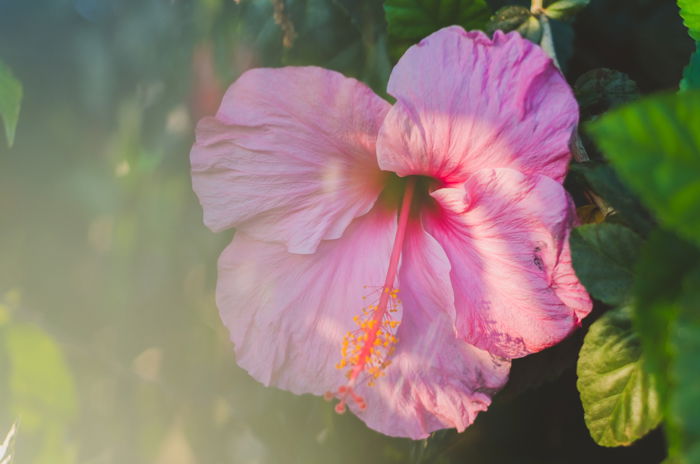
One of my favourite things to do with a photography prism is to add some extra light to the image.
I placed the prism at one side or corner of the lens and twisted it until the frame got more light.
The problem here is that it’s easy to overdo it and overexpose your image or even burn it. To avoid that, be sure you’re not covering too much of your lens with the prism.
How to Use a Prism to Hide Clutter From the Background
When you’re taking a portrait, you should avoid any possible distracting elements. Either you can remove them or you can change your position to avoid them. Or, you can adjust your composition and tighten the frame. But what about the times you cannot do so? If you have a photography prism, you can use it in this case!
Take a prism and place it on the lens. Move it around until the reflection, rainbow, or extra light manages to hide the unwanted element. This way you are not only hiding the undesired element from the background but you are also adding a creative prism effect to your portrait.
You can also use a prism to focus attention on the main subject. This is especially useful in portrait photos. Placing the prism horizontally and creating a horizontal line under the main subject will direct the viewer’s attention to the subject.
Add a Dreamy Prism Photography Effect
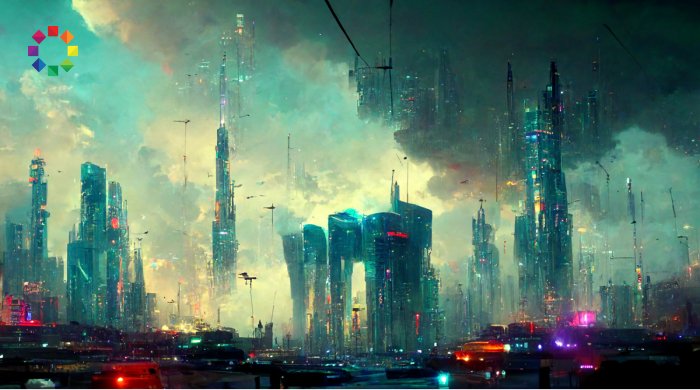
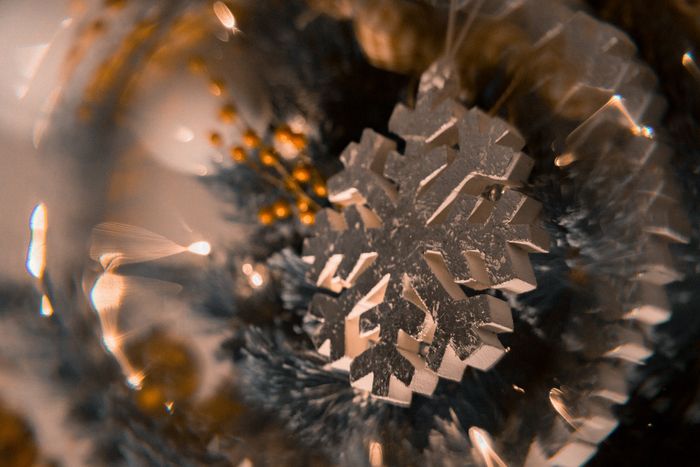
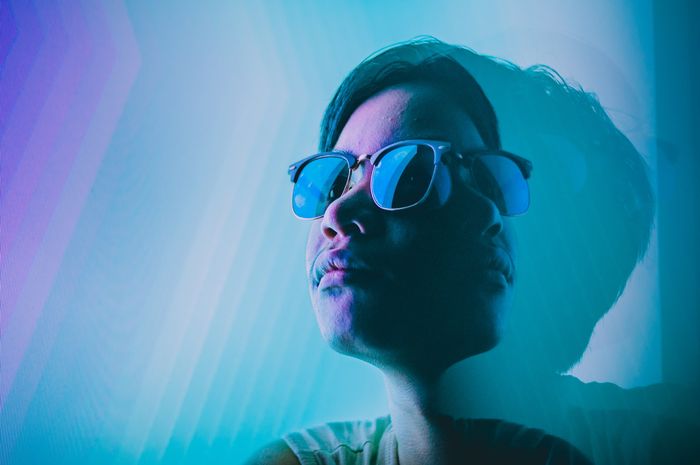
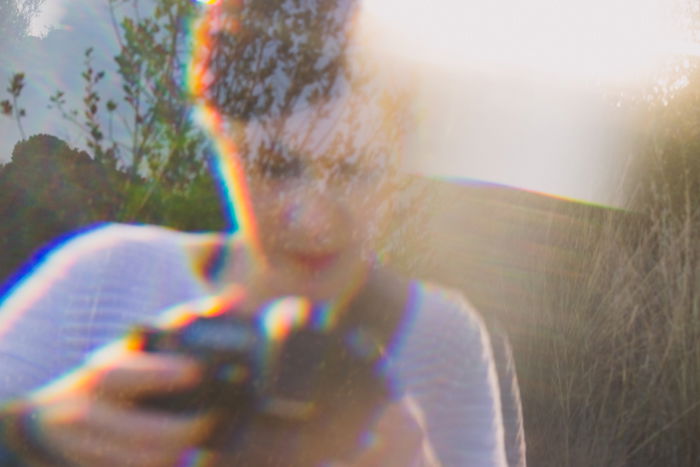
Prism photography is perfect for creating dreamy looking photos. The distortions, light spots, and rainbow effects help give a photo a unique mood.
Exaggerate the creative effects to make the image look more surrealistic. You can even place the prism so that it crosses the center of the lens instead of the side. This will make your photo look blurry and with strange colors, kind of like a dream.
The best way to do this is to experiment with different kinds of light. Go out in the sunlight, or at night into the city. Try different variations to create cool images.
How to Blend Objects Together
I used to think that you have to use Photoshop to blend two images. But I was happy to discover that you can blend elements on the spot using a photography prism.
I know it is not the same as doing it in post-processing, but it is good practice. It allows you to experiment and see what will blend together well and what won’t. And above all, it is really fun!
For blending, you need to do the same as for creating mirror reflections.
Don’t catch your subject’s reflection. Instead, try to catch the reflections of other elements you have around. This can be a tree, the clouds, a building, or any other interesting element.
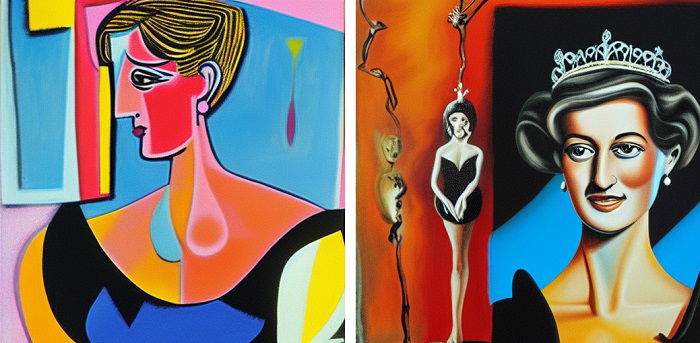
How to Create a Kaleidoscope Effect
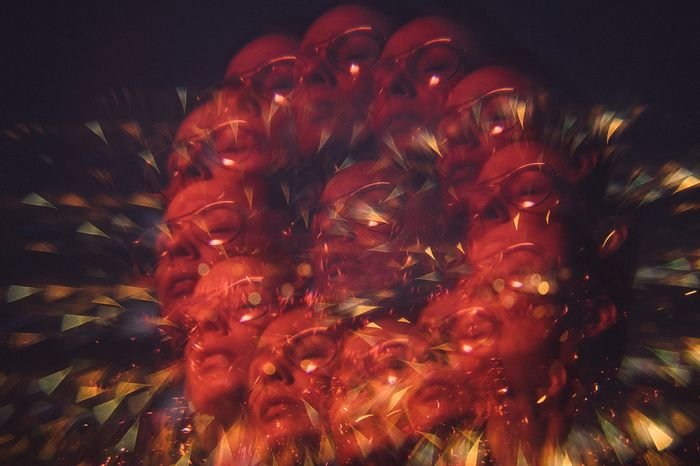
If you want to play around even more, you can use the photography prism to create a kaleidoscope effect!
To do so, you need to place the prism so that one of its bases faces the lens. Now just find something interesting to shoot. You can shoot portraits or any interesting object. This effect also gives the illusion of movement in a static image.
For best results, make sure the prism covers as much of the lens as possible.
My DSLR with a 35mm lens was unable to focus through the glass. It kept refocusing on spots that weren’t covered by the photography prism. So, I used my phone’s camera instead.
It might be a bit challenging to hold both the prism and the phone at the same time. But with a bit of patience, you will manage!
Conclusion
Prism photography is a great way to add cool effects and create interesting images. The best part is, you don’t even need to use Photoshop or any other post-processing tool.
Prism photography allows you to create dreamy images with some distortions, reflections, and even rainbows. You can also use it to add a bit more light to a dark image or get rid of unwanted elements from the background!
Getting the effects takes a little bit of trial and error, which makes the whole process playful and fun. Experiment with different aperture values until you get the effects you like. And remember, there is no rule or correct setting in prism photography!
Want to learn more about how to make your photography stand out? Check out our course Wow Factor Photography next!