Product photography is a profitable, fun, and in-demand photography niche. Using a studio for product photography means you’re in full control of the lighting.
Here is our guide to product photography lighting!
Product Photography Lighting: Ensuring Realistic Colors and Minimizing Reflections
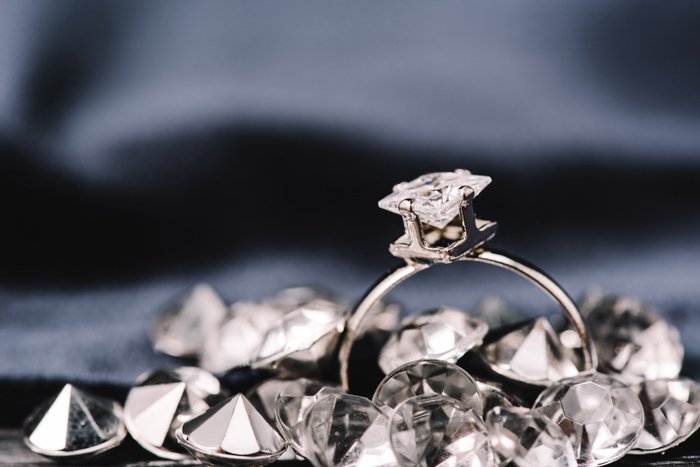
Many products in product photography happen to be very reflective. Jewellery, bottles, glass, and more are hard to photograph.
Reflective surfaces will bounce light around in annoying ways. They mess with your lighting setup and cause shadows. You don’t want a reflection of your gear or lights as a distraction! Nothing looks worse than a gorgeous emerald ring with a camera lens reflection in its center.
Pay attention to reflections! Get ready to move lights around a hundred ways until you find the perfect configuration. Otherwise, you’ll be sitting in the editing room, removing all those pesky details.
Another issue is ensuring that the colours of your product are realistic. Accurate colors are very important in any type of product photography.
Many customers buy products based on the colors showcased by your images. You don’t want disappointed clients if the product(s) they receive don’t match up.
Everyone’s screen has different color calibration. The colors differ on a phone, on TV or on a laptop. But there is still a baseline to follow.
Make sure that you use bulbs and flashes/strobes that have a true white hue exuding from them. In general, this is labelled as ‘photography toned bulb’. A true white light will not cause any sort of color casts. You won’t get shades like the blue or green of a fluorescent or the orange of warm light. The result will be more correct colors.
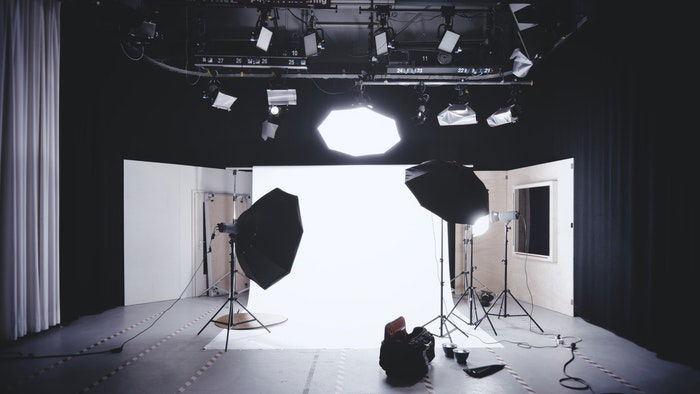
Use Proper Studio Lights
Lighting has the potential to make or break your product photos. There are three main types of studio lights: Fluorescent, LED and Tungsten.
Fluorescent lights are energy-efficient but have a low output of light. It’s usually around 60-100 watts. The bulbs are available, cheap and easy to replace. But they can tint in ways you may not like.
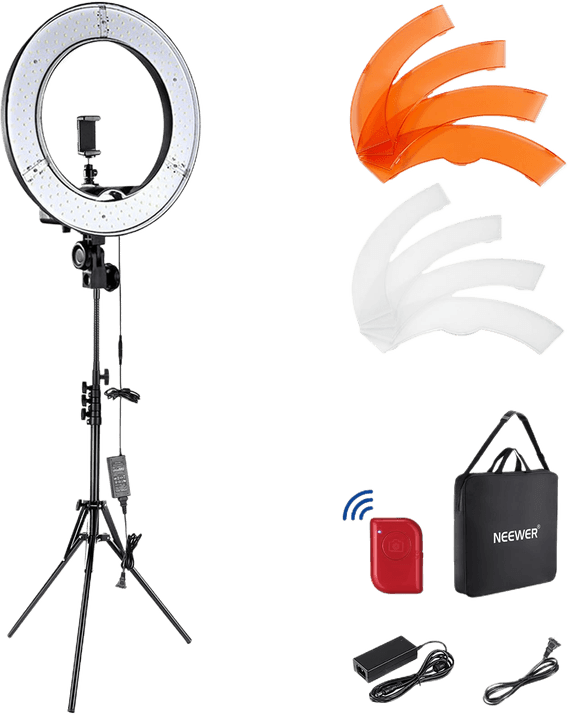
LED lights are very energy-efficient and produce very little heat. They are composed of lots of small “light-emitting diodes” (LEDs) and generally last a long time. My ring light is comprised of LEDs.
Tungsten lights offer the highest output levels but also generate a lot of heat. The bulbs are quite inexpensive to replace. They can change the color temperature if you adjust brightness levels. All my continuous light softboxes are tungsten.
I prefer a ring light or a continuous light softbox for e-commerce photography. This is because I like seeing the scene as I set it up rather than using continuous flash. You can also figure out how to cut reflections easier this way.
If you’re looking for more than a ring light, you’ll want an average of three softbox lights. One overhead light and two lights you can use on the side, as a minimum!
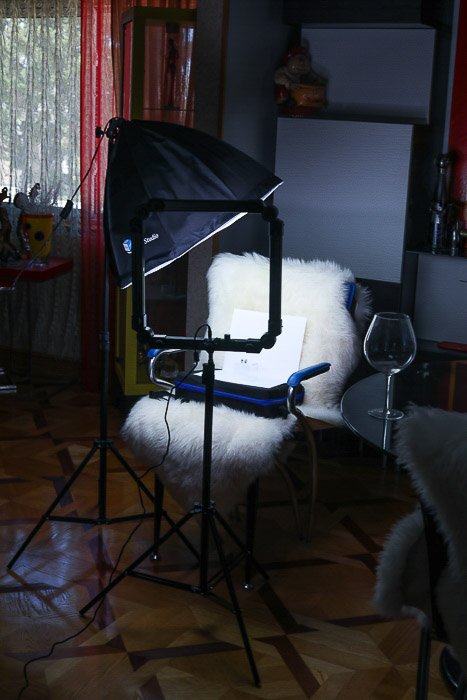
My favourite shapes are square or rectangles for lights that hit at the subject’s height level. I use octagonal light for overhead arrangements.
You’re always going to want to diffuse your studio light. This ensures that the light spreads across and around your product evenly. This is a good way to avoid hot spots (overexposed spots in an image). Hot spots are unflattering and a pain to retouch. Diffused lightings also work better for white balance than a spotlight.
The brands that are very popular for product studio lighting are Westcott Lighting and Neewer. There is a price discrepancy between the two. Westcott is higher-end than Neewer.
Neewer has broken more times than not in my experience. But they’re so inexpensive I tend to buy several in bulk. Westcott is more durable but can be a bit bulkier to handle.
Use Simple Tools to Make Your Product Photography Better
There are a few simple steps you can take to illuminate your products even better. You can use white plasterboard or cardboard to defuse some of the light and soften the shadows.
Don’t have a diffuser? A white sheet works pretty well.
Need to make a studio light on a tight deadline or budget? Take a regular lamp, add a tungsten bulb, and throw a sheet over the tip to diffuse!
Tripods aren’t only for lights – use one for your camera as well. This makes it easier to adjust the lighting setup. It also ensures that your photographs are always straight.
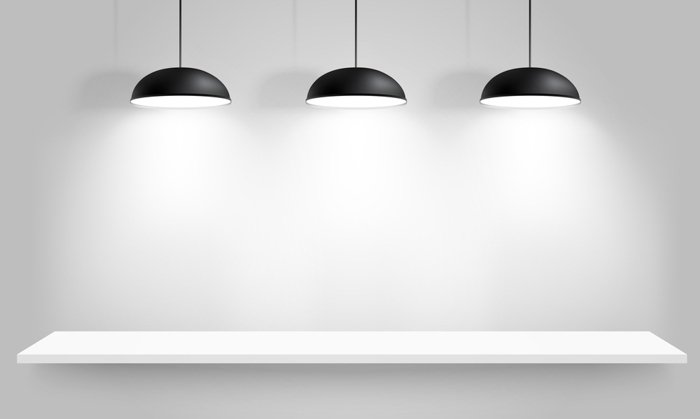
You don’t need a fancy studio to shoot with studio lights. Only a plain wall, a tabletop, or even paper clamped to a bar can all yield professional results.
Find the Ideal Lighting Arrangement
The key to product studio lighting is making sure that the object stands out from the background and is bright enough. You need to experiment and take time to find what works for your particular product.
The intentions of the studio shot differ. It can be for eCommerce like Amazon or eBay, or as an editorial for a website. Some parameters of the illumination will depend on the exhibiting platform. But there are general setups that always work well.
Here are several common lighting arrangements for photographing products. These also work well on human models.
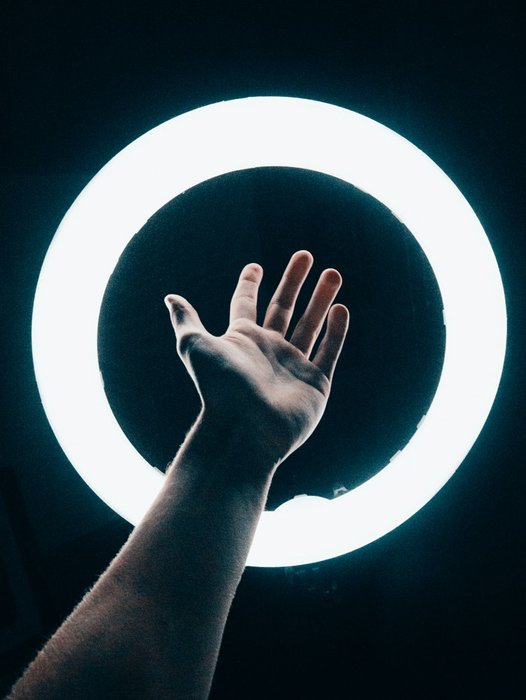
Ring Light (One Light) for Bright Front Lighting
Ring lights expose every part of the subject and separate them from the background. The go-to for most photographers is to set up lights in front of their subject. This always seems like the obvious choice.
For the most part, it is. But you have to remember that ring lights are very bright and tend to not have a diffuser.
The best in-front arrangement is to place your ring light a good distance away from your subject. The further back you go, the softer the light will become. It’ll be less harsh than a spotlight. Then you shoot through the center of the ring light.
Ring lights are good for product photography, but keep in mind that it is harder to take photos of a brightly colored product. This is because they can cause lots of blown-out highlights. Try to underexpose by a few notches.
If you’re finding that the ring light isn’t enough, you can use an overhead light for extra fill.
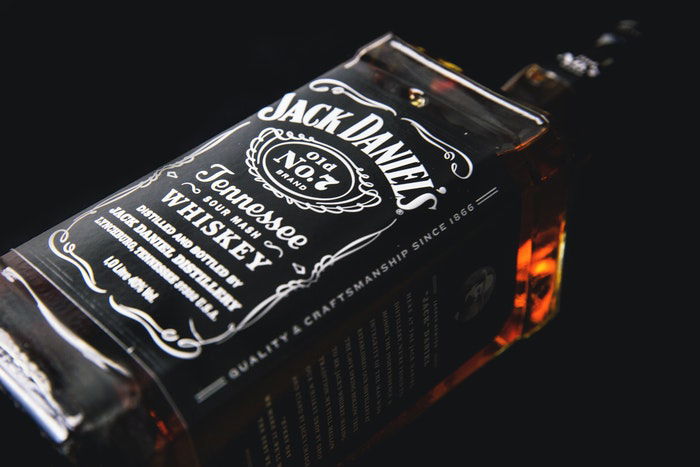
Overhead Light (One Light) for Moody Shots
Quite a few octagonal softboxes come with an adjustable head. They allow you to tilt the light downwards. Pair that with a tall tripod, and you have the overhead illumination setup.
This is great for moody shots of darker products. You can create an edgy and even an ambiguous look. I often see this arrangement used for high-end wine bottles.
Direct Front Light (One Light) – The Go-To Lighting Setup
Front lighting is the one light setup almost everyone tends to use. It can be very flattering when you do it right. But there are several things to keep in mind about this arrangement.
There will be little separation between your subject and the background. Make sure that your background isn’t too cluttered.
If you no control of your backdrop, try to use a fast lens and dropping it to a very low aperture number. I personally love the 1.8 aperture for this type of lighting.
When you set up the front light, make sure you keep it eye level with the subject you’re photographing. The lighting may be a bit bright.
Try dimming it and raising your exposure (ISO + shutter speed combination) up a notch or two.
If your product is reflective, this setup will not work for you. Unless you want to remove the light reflection during post-processing. A good solution for reflective products is to use the arrangements below.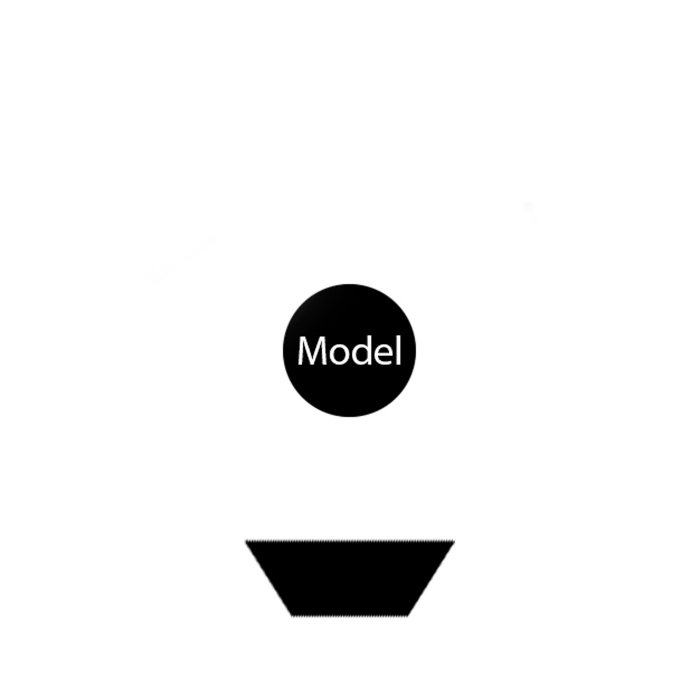
Even Light Setup for Reflective Products (Two Lights)
The center is where reflections can be problematic. Taking two lights and putting them at a front angle to your subject can fix this.
By using two lights, you get even lighting coverage of your subject. By placing them at an angle to the sides, you can eliminate pesky reflections.
This setup may need some tweaking here and there based on products’ size and shape. That is easy to do with continuous lighting in which you can see how movement affects your frame.
Full Coverage (Three Lights) to Capture all the Details
What if you have non-reflective products that need to be lit up from all sides? You might gravitate towards the full coverage arrangement.
This is a very logical use of three lights. It is ensuring that all angles of your photography subject are nicely lit. But be careful with this setup.
Some products can look very flat. Depending on the shape of your product, you’ll either want your lights positioned all in the front or two at the side.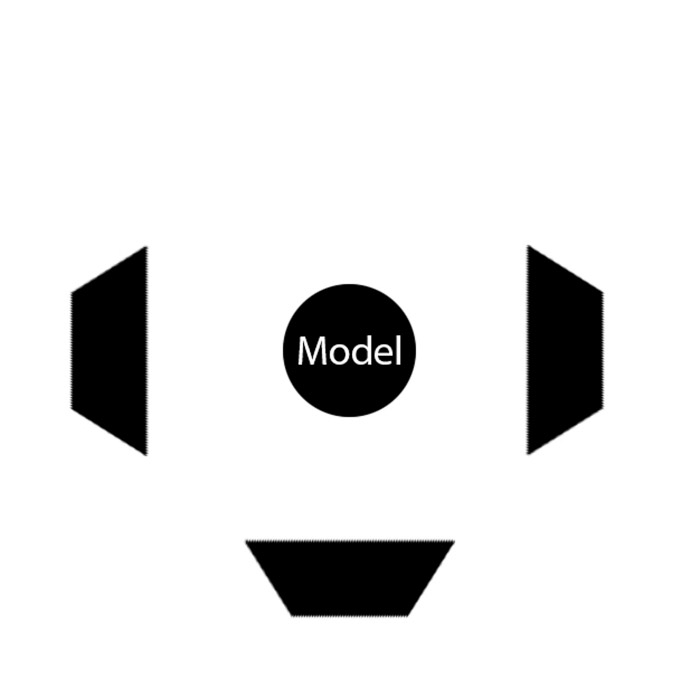
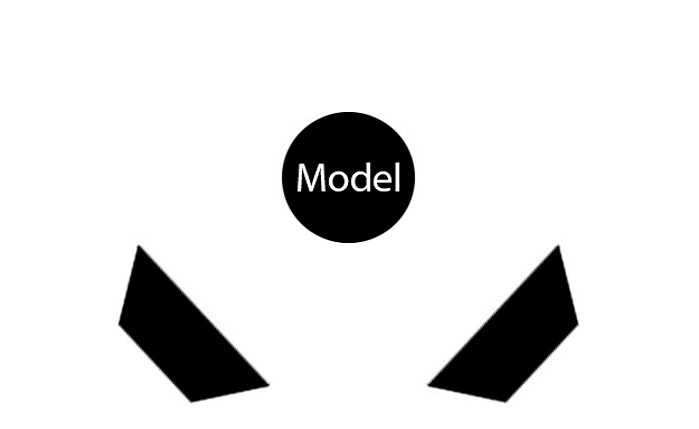
The Triangle Setup (Three Lights) to Emphasize Form
As the name implies, the triangle setup is arranged in the shape of a triangle. This type of illumination is very popular among portrait studio photographers.
It also works well for still life and product photos. You are lighting your product up evenly in the front.
Allow for a bit of backlight from the back angles to help isolate the subject from its background. This lets you create a very beautiful and prominent three-dimensional look.
The setup ensures that the products don’t look flat in any capacity. A very editorial arrangement, you’ll find this look applied to products of all kinds.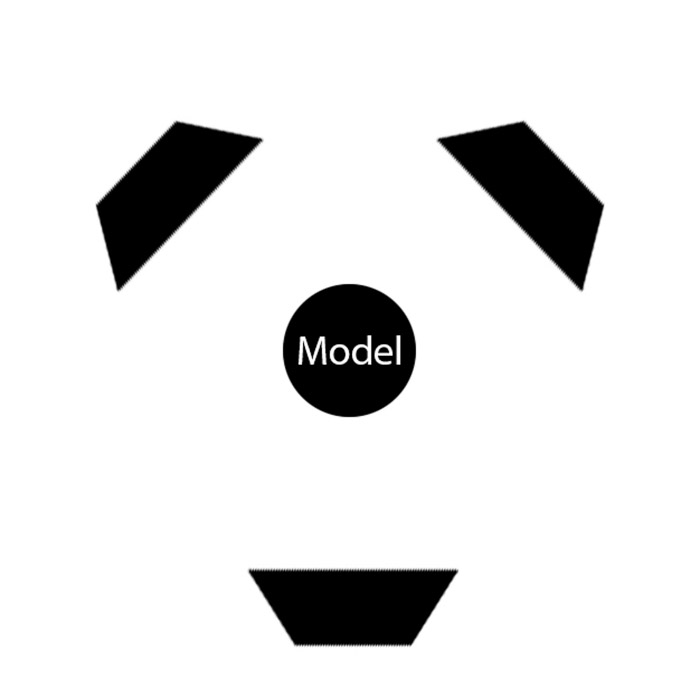
The Separation Setup (Three Lights) for Background Separation
Do you keep finding that the products are blending in with the background too much? You can do a twist on the triangle setup and create a different arrangement.
The only difference between the triangle and the separation is that the backlights aim at the wall rather than the back of your product. This creates a nice lighting cast that will bounce your subject to the front.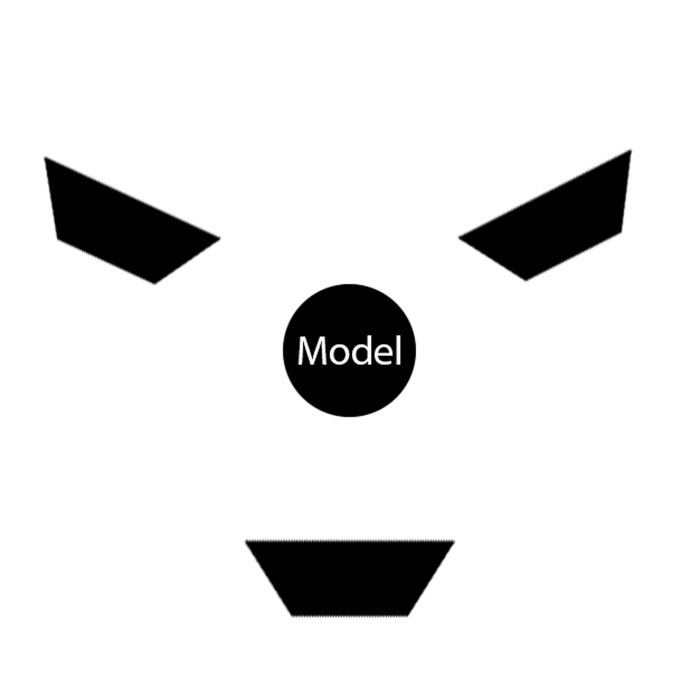
Bonus: Use Natural Light for Soft, Even Lighting
No studio light? No problem! Sometimes a window can result in great product photos too.
Use light curtains to diffuse the light. Take advantage of the softness that window light produces.
If you are planning on going this route, try not to shoot when the sun is too high up. It can make your photos look overexposed. Aim to photograph when the sun is lower or beginning to descend down. You’ll find that the lighting is much more even that way.
Conclusion
So, what lighting is best for product photography? To be honest with you, much of product lighting is experimentation. Different products will require different lighting. Get some studio lights, and start playing around with different arrangements! Take time to learn what works for your scenario.
Want to learn how to shoot jaw-dropping images? Try our Wow Factor Photography course today!