Product photography is one of the most reliable earners for photographers. And because there are many different types of product photography, you can specialize and carve out your own niche within the industry.
Whether you’re photographing artisan wares or products sold on Amazon, there’s a type of product photography you can get started with. You’ll be able to hone your skills, develop your style, and generate an income all at the same time.
This article covers all the main types of product photography you need to know. You can dive deeper into each type by clicking the link in the text, but we recommend looking at every section to see which one interests you.
Types of Product Photography
Product photography might be a simple genre to understand. It’s the art of taking pictures of products for sale purposes. But there are many different types of product photography within the wider field.
Photos are used to sell anything that can be sold, which means your subject can vary greatly from job to job. And different products require different techniques and procedures to get the best results. Many photographers specialize, but it’s important to remain versatile and open-minded. This widens your job prospects.
Now we look at some of the main types of product photography. You’ll be able to find a niche that suits you, and then you can explore others to branch out your business and widen your skills, knowledge, and income.
Product Photography on a Budget
You don’t need expensive gear to take great product photos. A simple setup with a few key items can help you capture professional-looking images on a budget.
Start with a white background, like a sheet or foam board, to make your products stand out. Use a tripod to keep your camera steady and shoot from the best angles. Natural light can work, but artificial light will give you more consistent results.
Limit yourself to just a few angles that showcase the product’s most important features. And always correct the white balance in post-processing to ensure whites look pure white. With these tips, you can create cheap product photography that looks anything but budget.
360-Degree
360 product photography involves taking a series of photos of a product from all angles. This creates a 360-degree view that lets customers rotate and examine the item on a website.
To do this, place the product on a turntable and rotate it in increments, taking a photo each time. You’ll need a camera, tripod, remote control, lighting equipment, and a turntable. A DIY option is to use a Lazy Susan with a measuring tape and platform on top.
Set up your product and lighting, then take photos as you rotate the turntable. Edit the images and upload them to a 360 viewer program to create the final interactive result.
360 product photography is a great way to showcase products online in a more detailed, engaging way.
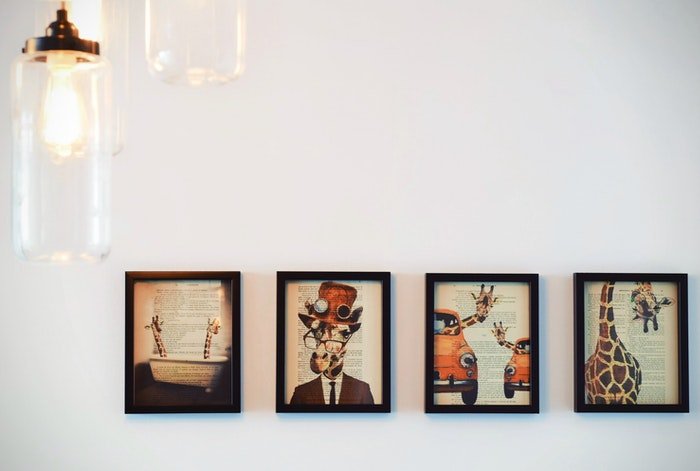
Flat Lay Photography
Flat lay photography is a popular style for showcasing products. To get the perfect shot, position your camera at a 90-degree angle above your subject. Use a tripod with a horizontal mount for stability and accuracy.
Choose a plain, flat background that won’t distract from your products. Experiment with different lighting setups to create the desired mood, whether it’s bright and vibrant or soft and painterly.
Arrange your products in an organized pattern or embrace a more chaotic, messy style. The key is to have a prominent “hero” product that anchors the image and tells a story. Compose your shot with the hero in mind, either centering it or using the rule of thirds for a balanced composition.
Flat lay product photography takes practice to master, but these tips will help you create stunning images that showcase your products effectively.
Amazon
Taking great Amazon product photos at home is simple and easy for any photographer. Use a white background and make sure the product fills at least 85% of the frame. Set up a shooting table with a white seamless paper roll.
Clean your product before the shoot. Use a flashgun with a wireless trigger and a softbox to get even lighting. Set your camera to manual mode, ISO 100, aperture between f/8 to f/16, and shutter speed to 1/200th of a second.
Place the light to the left of the product at a 45-degree angle to reduce shadows. Use an editing program like Photoshop to isolate the subject and place it on a pure white background. Remove any dust or scratches with the Spot Healing Brush or Patch tool. Make sure the colors match the real product.
Amazon product photography is easy to learn and these tips will help you take photos that stand out.
Artwork
Photographing artwork can be challenging without the right techniques. Use a DSLR or mirrorless camera for the best results. Even a high-end smartphone can work if you don’t need large file sizes.
To get the highest quality, use the lowest ISO setting and a narrow aperture like f/11 or f/16. This will minimize image noise and keep the details sharp. Use the custom white balance setting and a color checker for accurate colors.
The standard lighting setup uses two identical lights at 45-degree angles. This provides even, shadowless light. Avoid mixing light sources and use a sturdy tripod to keep the camera still.
When editing, use a program like Photoshop or GIMP to crop, remove distortion, and adjust colors. Save the final image as a high-quality JPEG.
If you want to learn more about photographing artwork, we have a detailed guide that covers everything you need to know.
Clothing
Conceptualizing your clothing photography shoot beforehand is crucial. Ask yourself why you need to take photos of the outfit. Knowing the purpose allows you to narrow down your requirements.
The type of backdrop you use depends on where you plan to use the images. For e-commerce, a white background is often the standard as it creates uniformity and makes the outfits stand out.
For lifestyle photos, use realistic settings that match the clothing style and don’t overpower the clothes.
Lighting doesn’t have to be a challenge when shooting clothing photography. Shoot beside a wide window during the daytime to diffuse the light and produce even lighting. At night, consider buying a small work light or softbox.
If you’d like to learn more about clothing photography, we have a comprehensive guide that covers everything from lighting and composition to editing techniques.

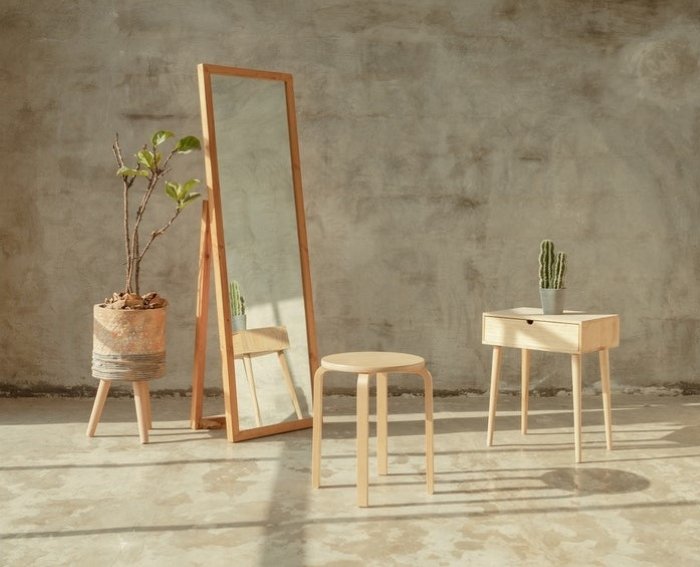
Furniture
Furniture photography is important for e-commerce and home staging. Clean and polish the furniture before shooting. Use an attractive backdrop if shooting in a studio.
Natural light near a window works well. Use reflectors or additional lights to fill in shadows. Shoot the furniture at an angle to show its best features.
A tripod is a must to keep the camera steady and the images sharp. Props can add interest but keep them minimal. Accurate white balance and some basic photo editing will make your furniture images look their best.
To learn more about furniture photography, check out our in-depth tutorial.
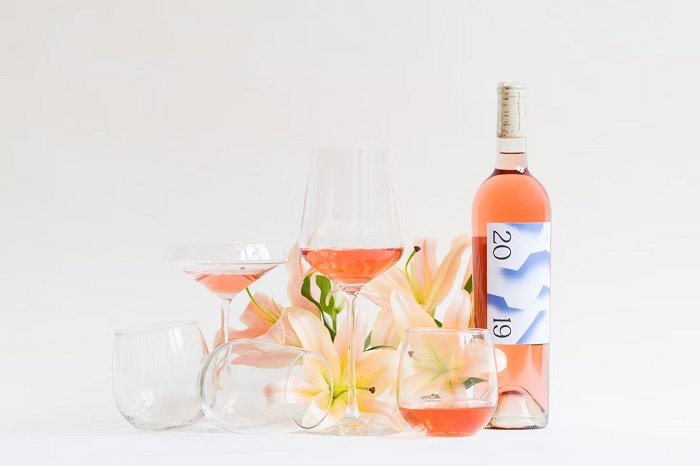
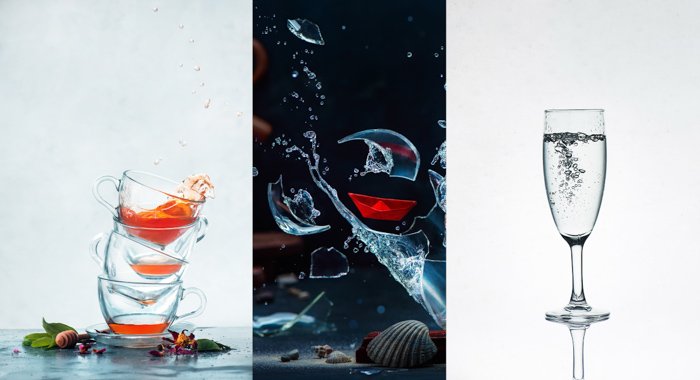
Glass
Glassware is one of the hardest subjects to photograph. Reflections and transparency make it tricky to capture great glass photos. But with the right techniques, you can take your glass photography to the next level.
Using backlight is a great way to reduce reflections and make the glass shine. You can create backlight with a simple setup, like using a white background lit by speedlights or a softbox. For a more dramatic look, photograph the glass on a black background.
Adding a second light source, like a strip box or reflector, can help add depth to your glass photos. A long focal length lens, like 105mm, can also make shooting easier by minimizing your own reflections and compressing the background. And don’t forget to clean the glass thoroughly to avoid smudges and smears.
For an even more creative glass photo, try adding some action, like pouring water or capturing bubbles and splashes. With a little practice and creativity, you can capture incredible glass photography.
We have a full article on glass photography, so click the link to learn more.
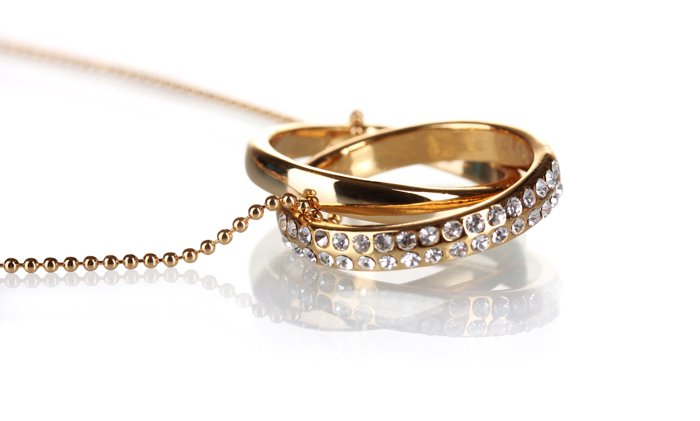
Jewelry
Jewelry photography can be challenging due to reflective surfaces and small details. Use a tripod to keep your camera steady and choose a standard lens to avoid distortion. A ring light or softbox will provide even, accurate lighting.
Keep your setup simple with a white background and avoid busy compositions. Pay attention to reflections and move lights as needed. Accurate white balance is crucial for showing true colors.
Use a deeper depth of field for full product shots and shallow DOF for detail images. Clean the jewelry before shooting and spend time in post-processing to ensure sharp, high-quality results.
Follow the link to learn more about capturing stunning jewelry photography.
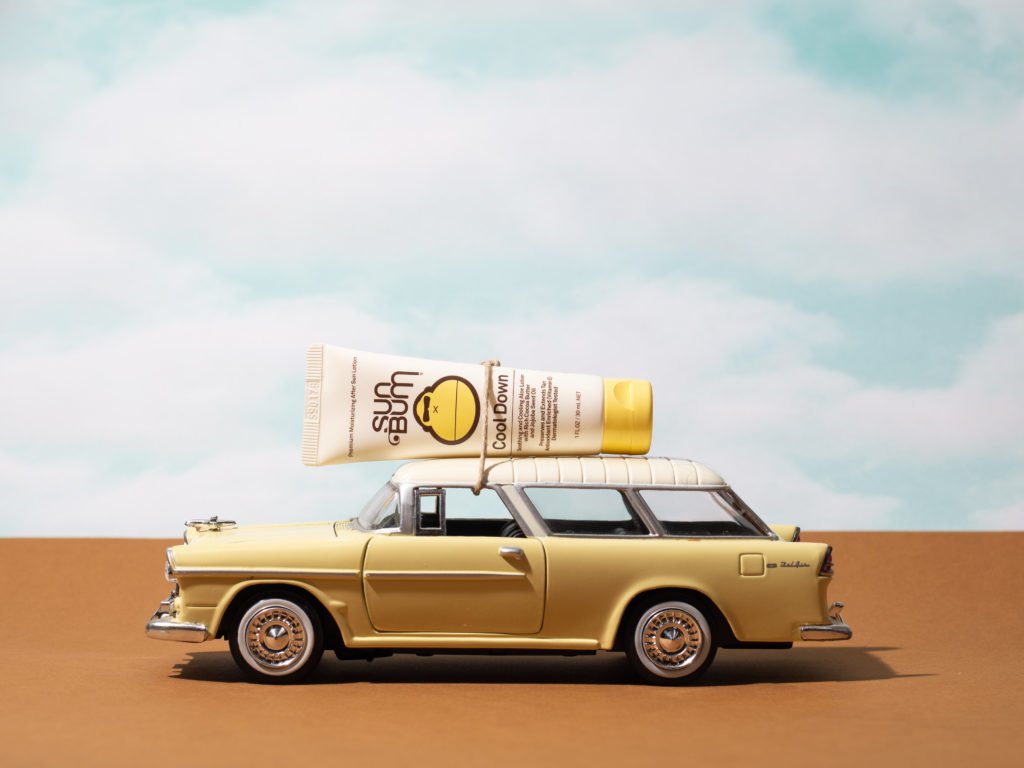
Lifestyle
Lifestyle product photography shows products in real-life scenarios. The goal is to create convincing imagery that makes consumers feel like they are living vicariously through your photos.
To take perfect lifestyle product shots, think about what the product does and who it’s for. Choose real locations when possible and use props that enhance the story. Avoid using too many props that may overwhelm the photo.
Lighting is crucial in product photography. Avoid direct light and shoot in the shade or beside a window. Use focus stacking to ensure the product is sharp from front to back. When editing, color correct your images and remove any dust or blemishes.
Lifestyle product photography lets people imagine how they can use an item, so create scenes that invite them to do just that.
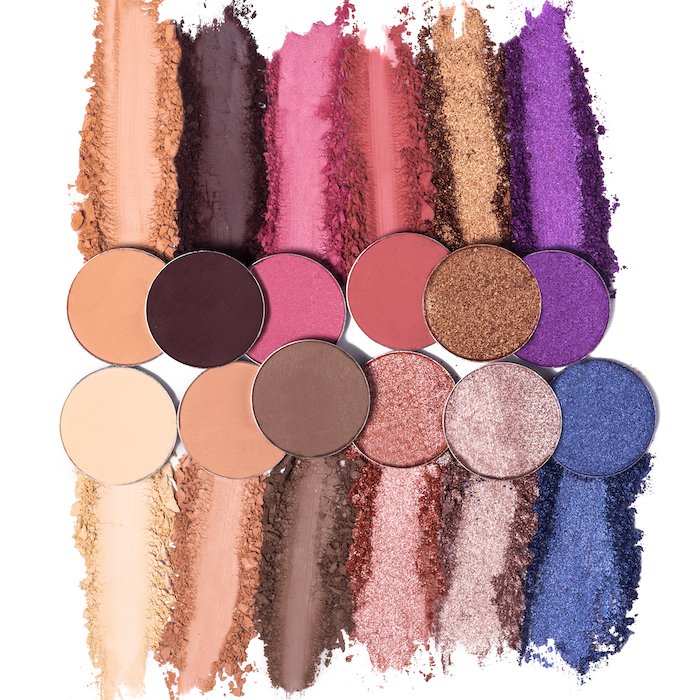
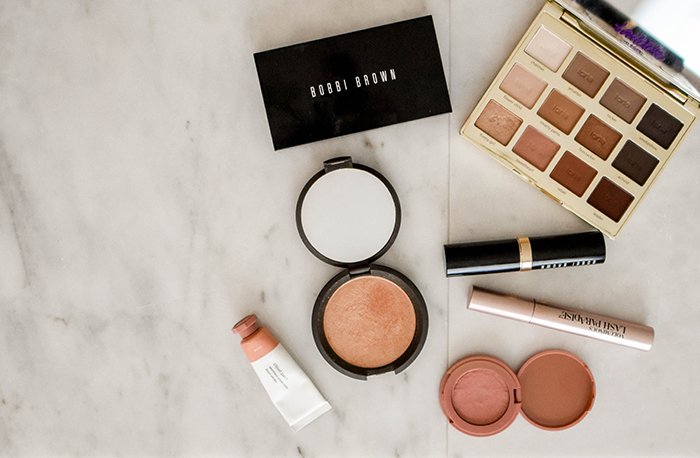
Makeup
Makeup looks different in photos than in real life. To make your makeup photography stand out, use natural light to enhance colors and make the model’s face glow. Avoid using too much foundation so the skin looks natural.
Bold lip colors and fake eyelashes can make the eyes and lips pop in photos. Emphasize the model’s natural features like freckles and birthmarks to create striking portraits. Use powder to avoid shine and a reflector to get rid of dark circles under the eyes.
Keep the model’s outfit simple so it doesn’t clash with the makeup. Take breaks to reapply makeup throughout the shoot to keep the photos looking fresh.
Makeup photography is a great way to express yourself and improve your skills with color and detail.
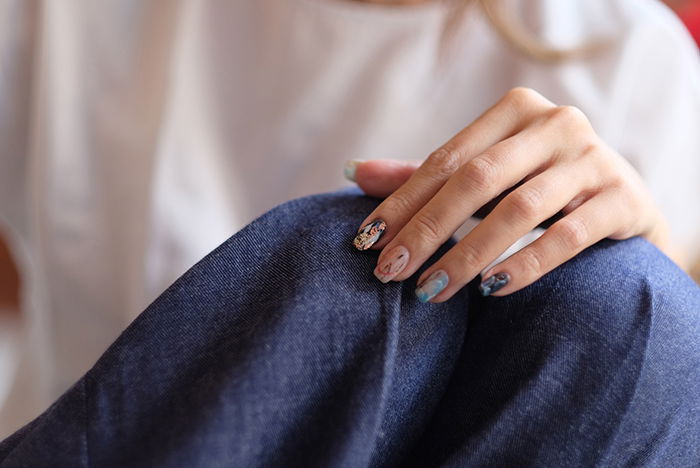
Nails
Nail photography is an important part of beauty and lifestyle photography. To take stunning pictures of nails, use professional equipment like a mirrorless camera and a prime lens with a large aperture.
This will give you more flexibility and allow you to capture close-ups with a soft-focus effect in the background.
Natural light is your best friend when photographing nails. Shoot indoors next to a large window or outdoors in an open space for the most flattering results. Make sure the light is even and soft to avoid unflattering shadows and wrinkles on the hands.
Use props to make hand poses look natural and show off the nail art. Choose backgrounds that complement the nail design and color, avoiding busy or clashing patterns.
With the right equipment, lighting, and composition, you can take your nail photography to the next level.
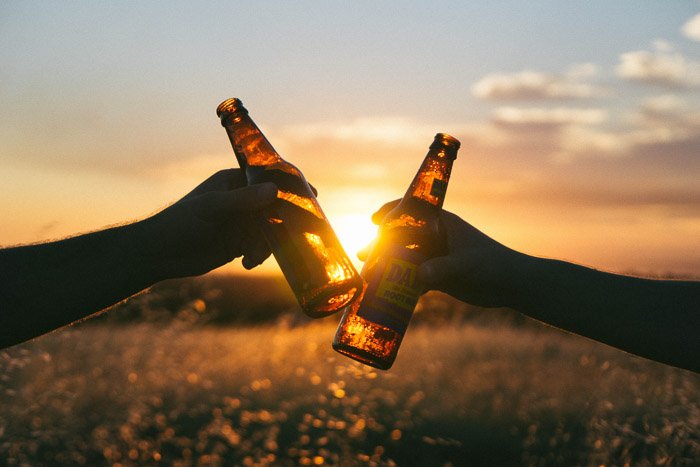
Beer Advertising
Beer photography is growing increasingly popular for advertising and promotion. Most DSLR and mirrorless cameras work great for beer photography since bottles and glass are still life subjects. The lens you choose will make or break your beer photos.
Generally, you’ll want a lens free of distortion that produces a natural-looking image. A standard lens with a very wide aperture, such as a 50mm f/2.8 or lower, is a popular choice for capturing beer with a shallow depth of field.
Lighting is key in beer photography. Natural light often works best to capture the warm, inviting colors of beer and create an organic setting. If you’re shooting in a studio, continuous light softboxes or a ring light can help you eliminate reflections on bottles and glassware.
To learn more about the art of beer photography, check out this in-depth guide.