
Mastering how to Center an Object in Photoshop can streamline your design process and enhance the visual appeal of your work. This article guides you through a step-by-step process to achieve perfectly centered objects, improving your design skills and Photoshop proficiency.
Step 1. Choose Your Object
Start by identifying the object you want to center. This can be any element within your image, such as a person, an object, or a particular area.
Step 2. Select the Object
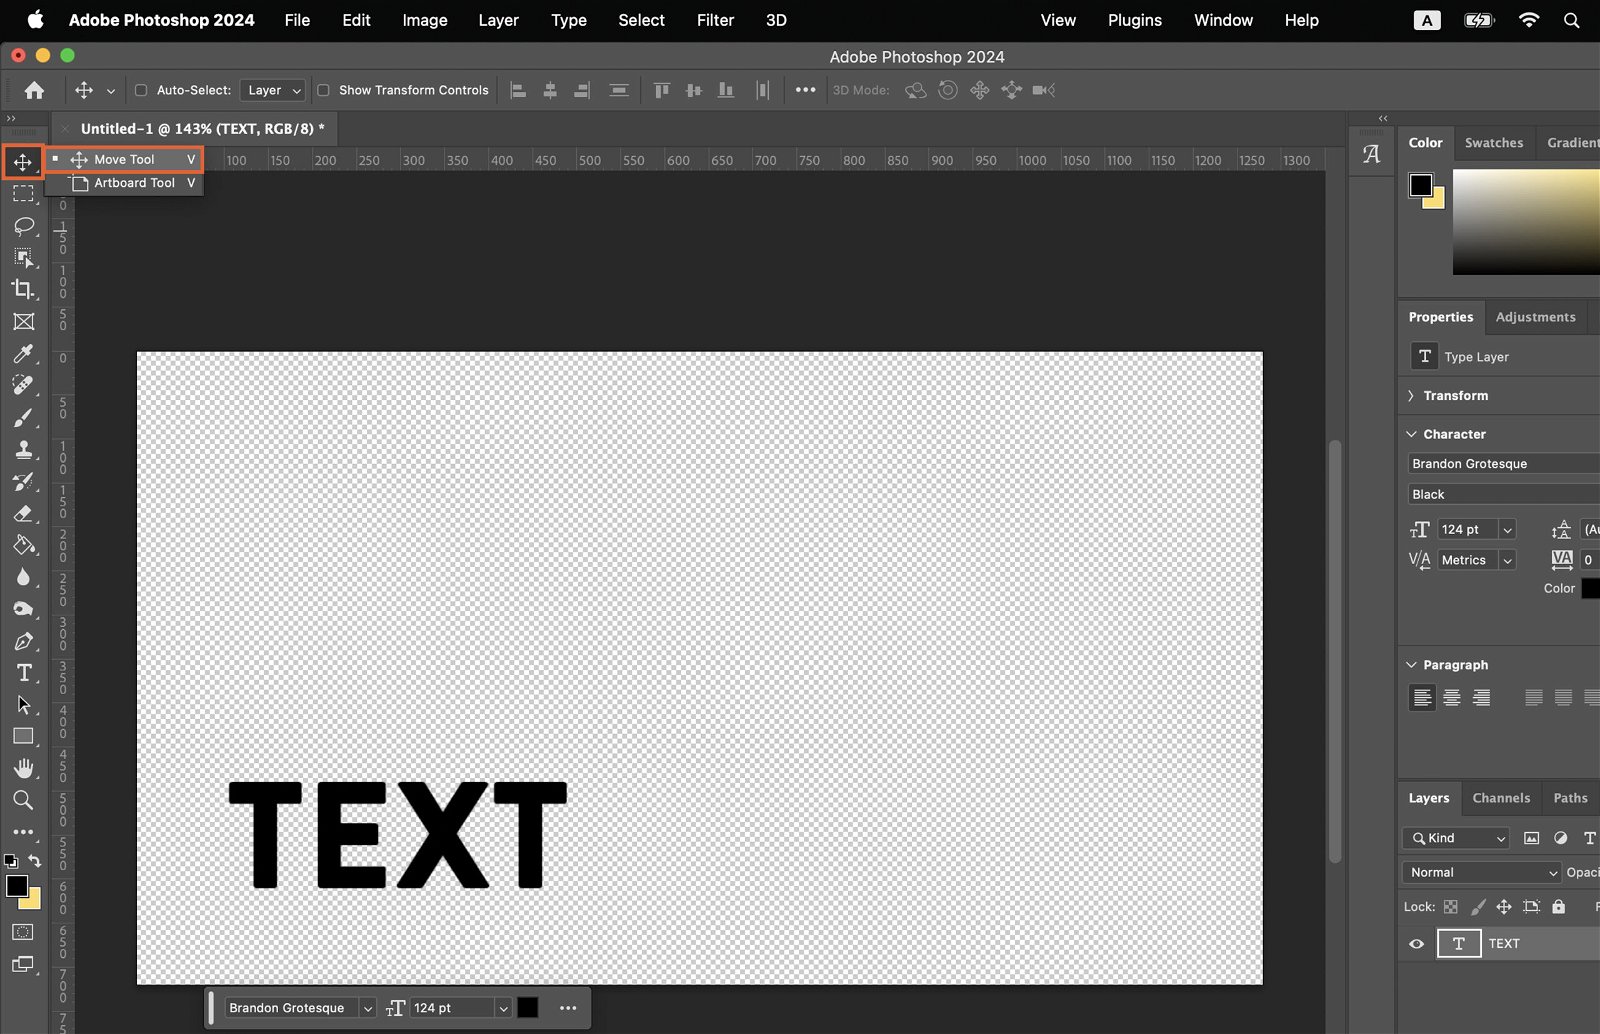
Click on the object you want to center. The Move Tool (shortcut V) allows you to adjust the position of your object. Click this tool to activate it.
Step 3. Select the entire canvas
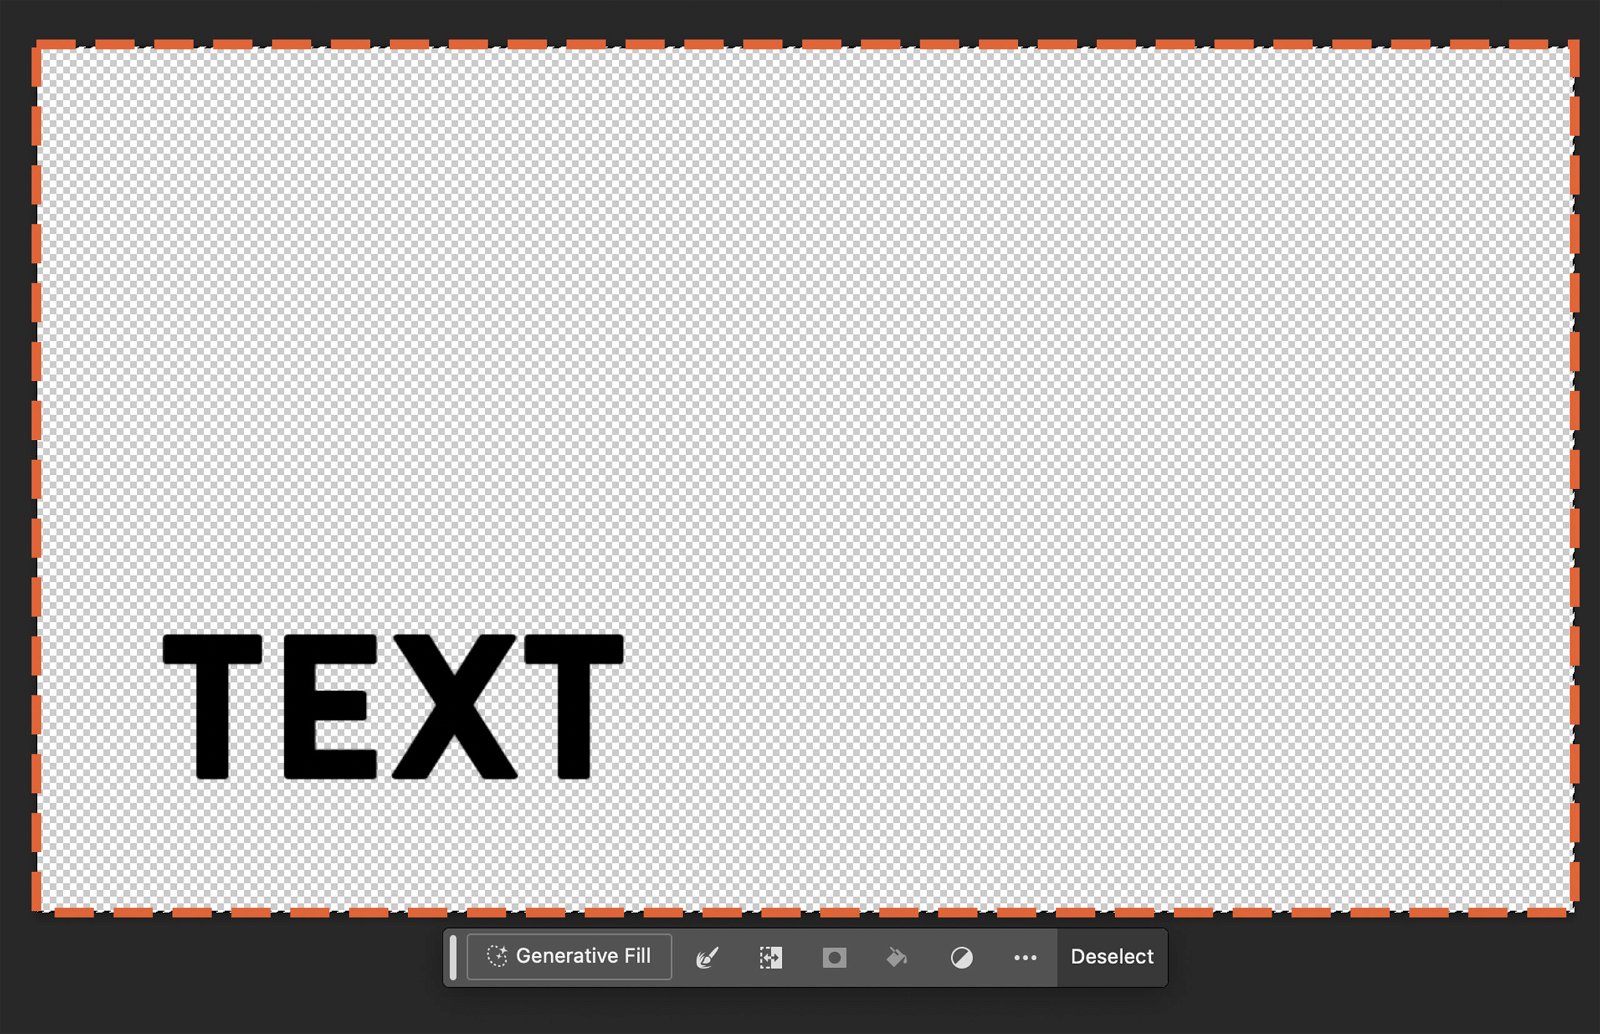
Push “CTRL + A” or “CMD + A” to select the entire canvas. Click on your object.
Step 4. Use the Alignment Options to Center the Object
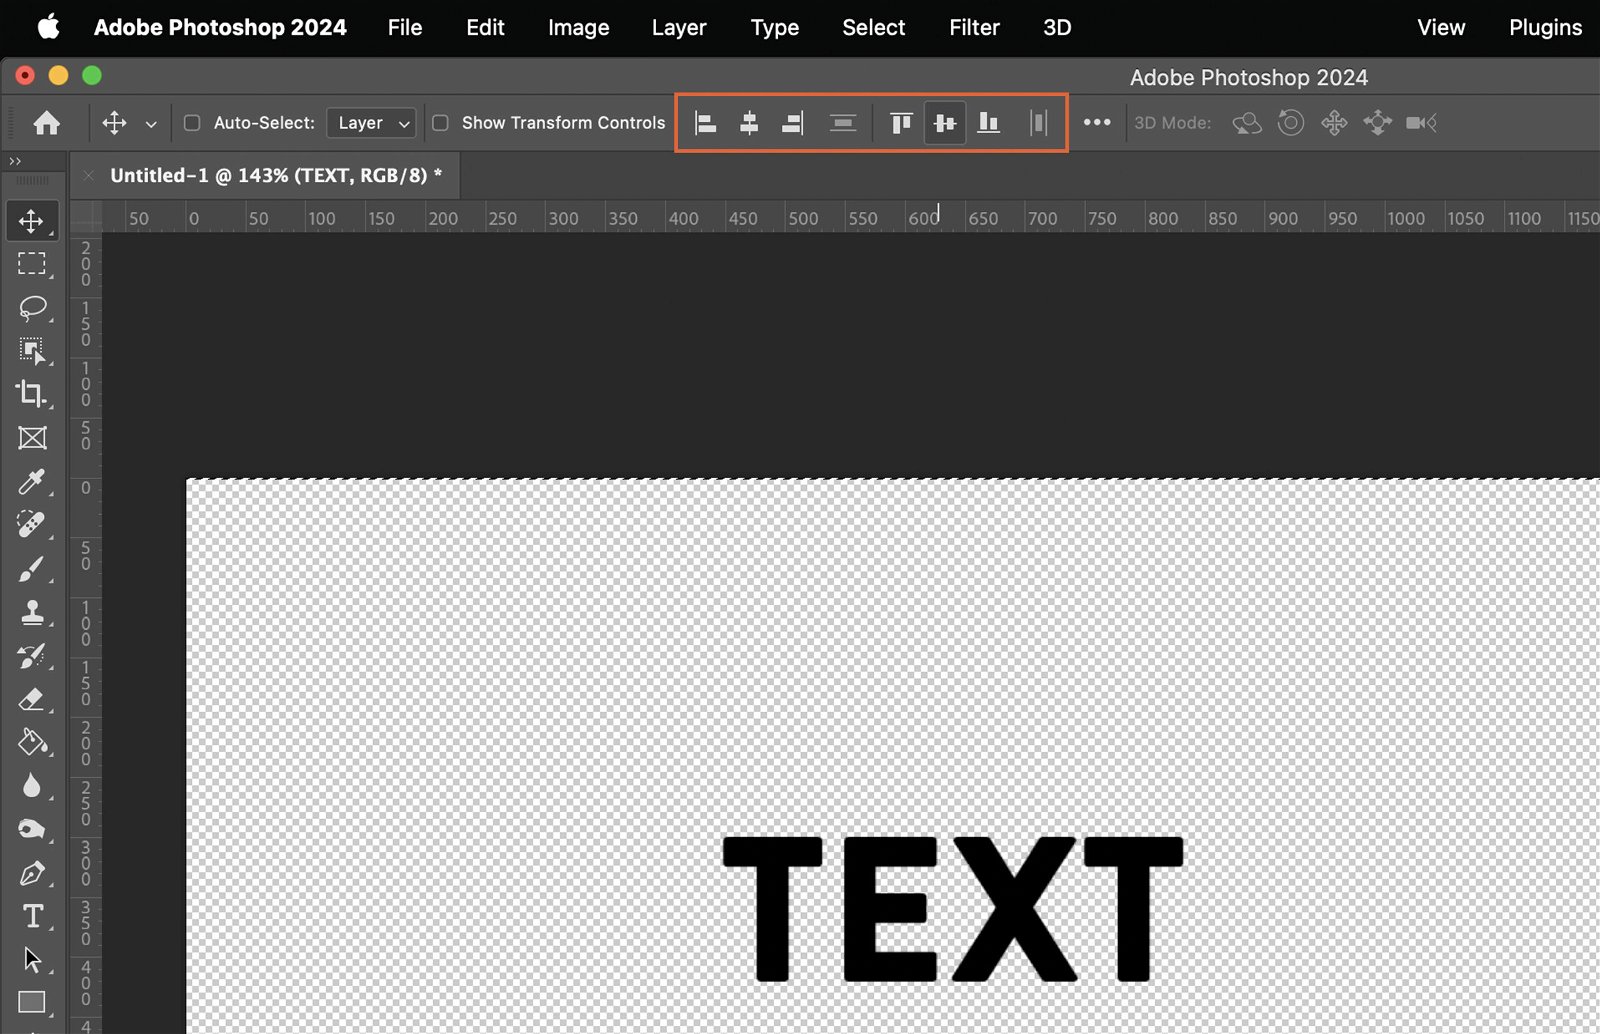
With the Move Tool active, use the alignment options at the top of the screen to center your object. You can align it both vertically and horizontally.
Step 5. Deselect the Object
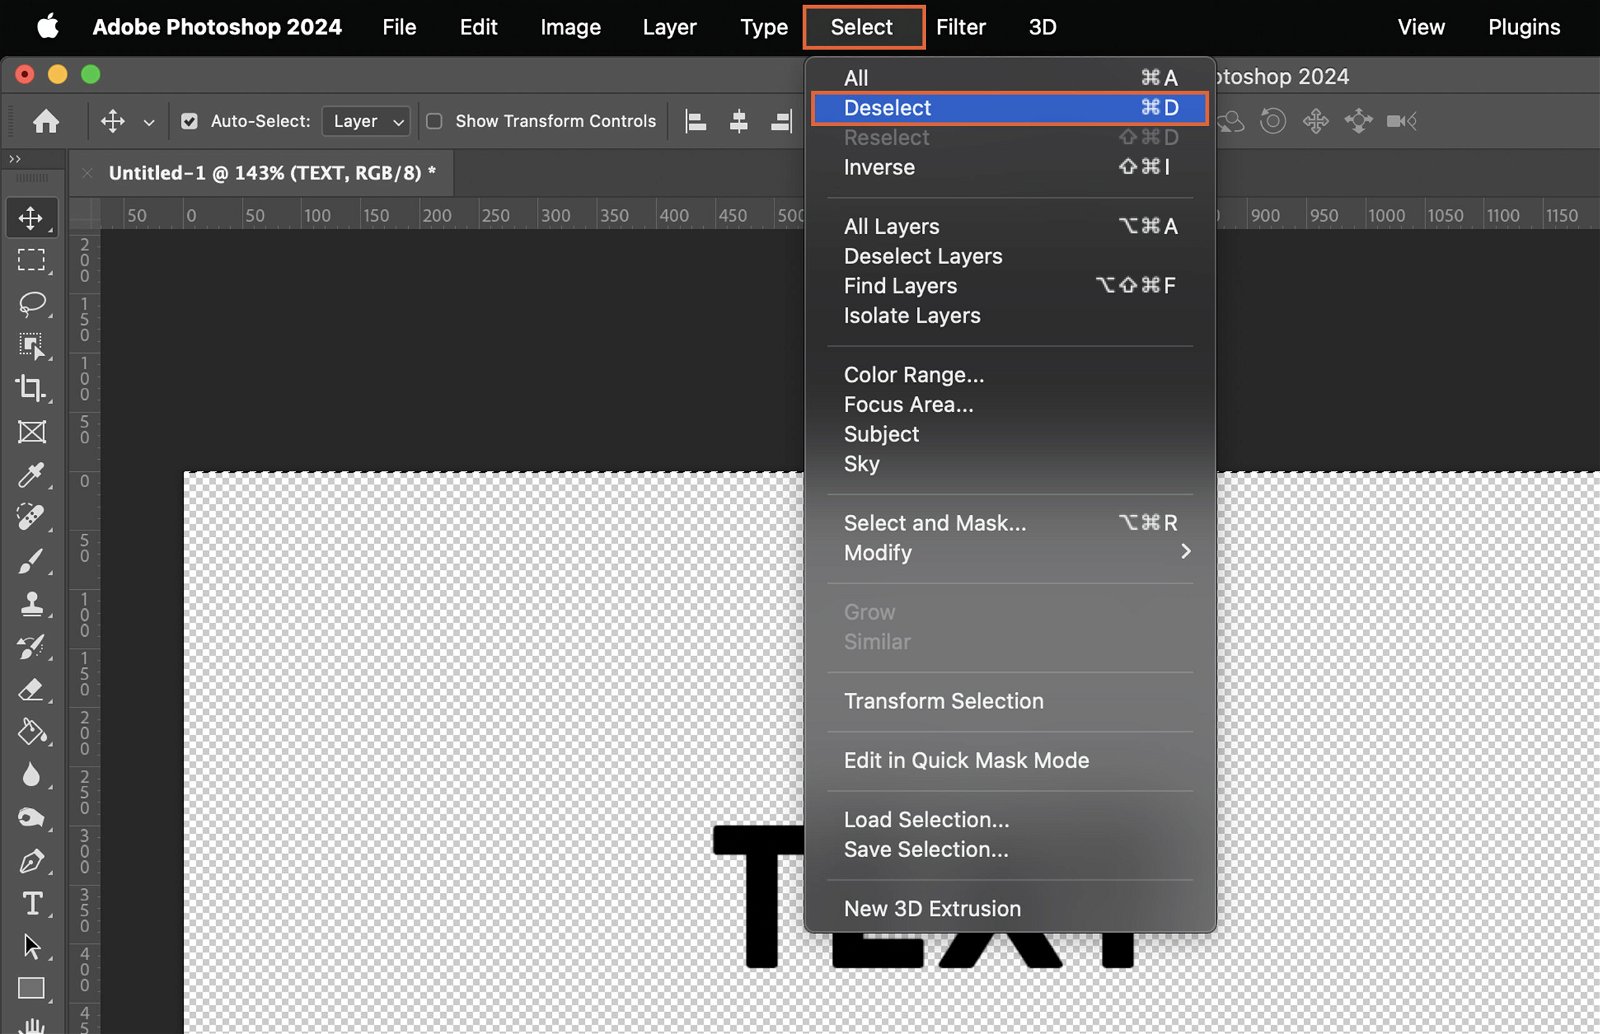
Once your object is centered, deselect it by clicking “Select” in the top menu, then “Deselect.”
Step 6. Finalize Your Object’s Position
Your object should now be centered. If you need to make minor adjustments, use the arrow keys for precise movement. Once you’re happy with the positioning, save your work.
