Struggling to add a font to Photoshop? This guide simplifies the process, enhancing your project’s aesthetic and giving your design a unique touch. Follow these easy steps to download, install, and apply your desired font, elevating your creative work.
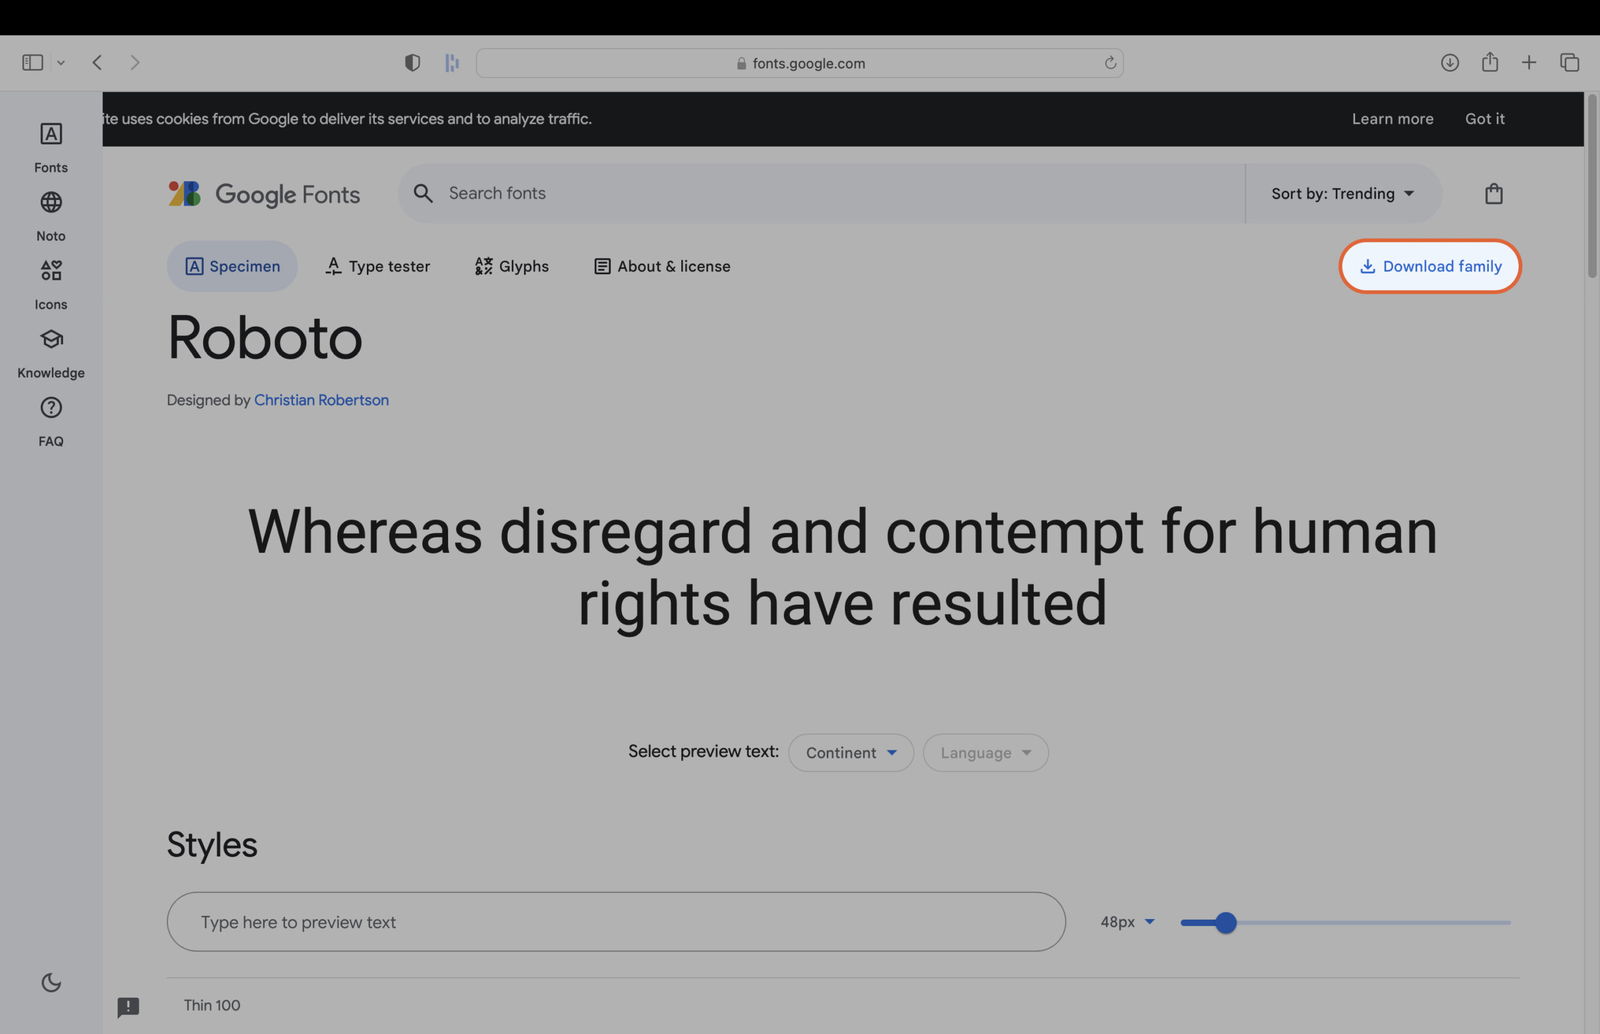
First things first. Find a font that suits your project’s aesthetic. Numerous websites offer free or paid fonts. Download the font file, typically in .ttf or .otf format, to your computer.
Once downloaded, you need to install the font on your computer. The process varies between Windows and Mac.
On Windows, double-click the font file to open the font preview window. Click the “Install” button at the top. Windows will do the rest.
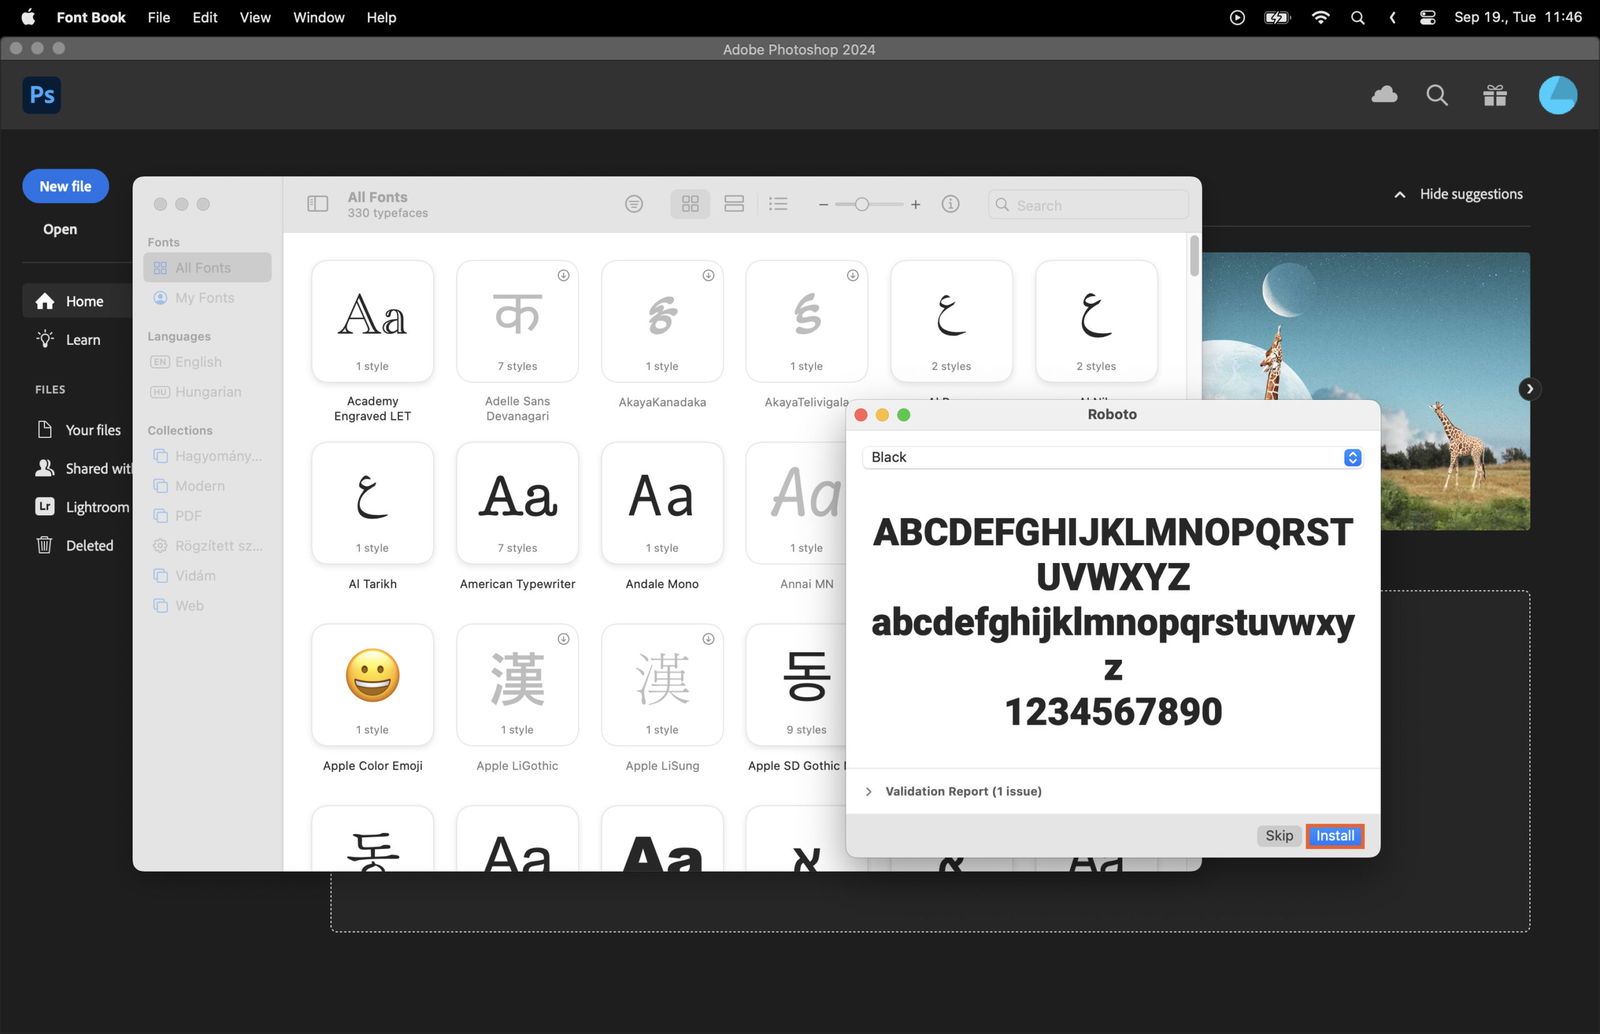
For Mac users, double-click the font file to open the Font Book. Click “Install Font” at the bottom of the preview window. Your Mac will take care of the rest.
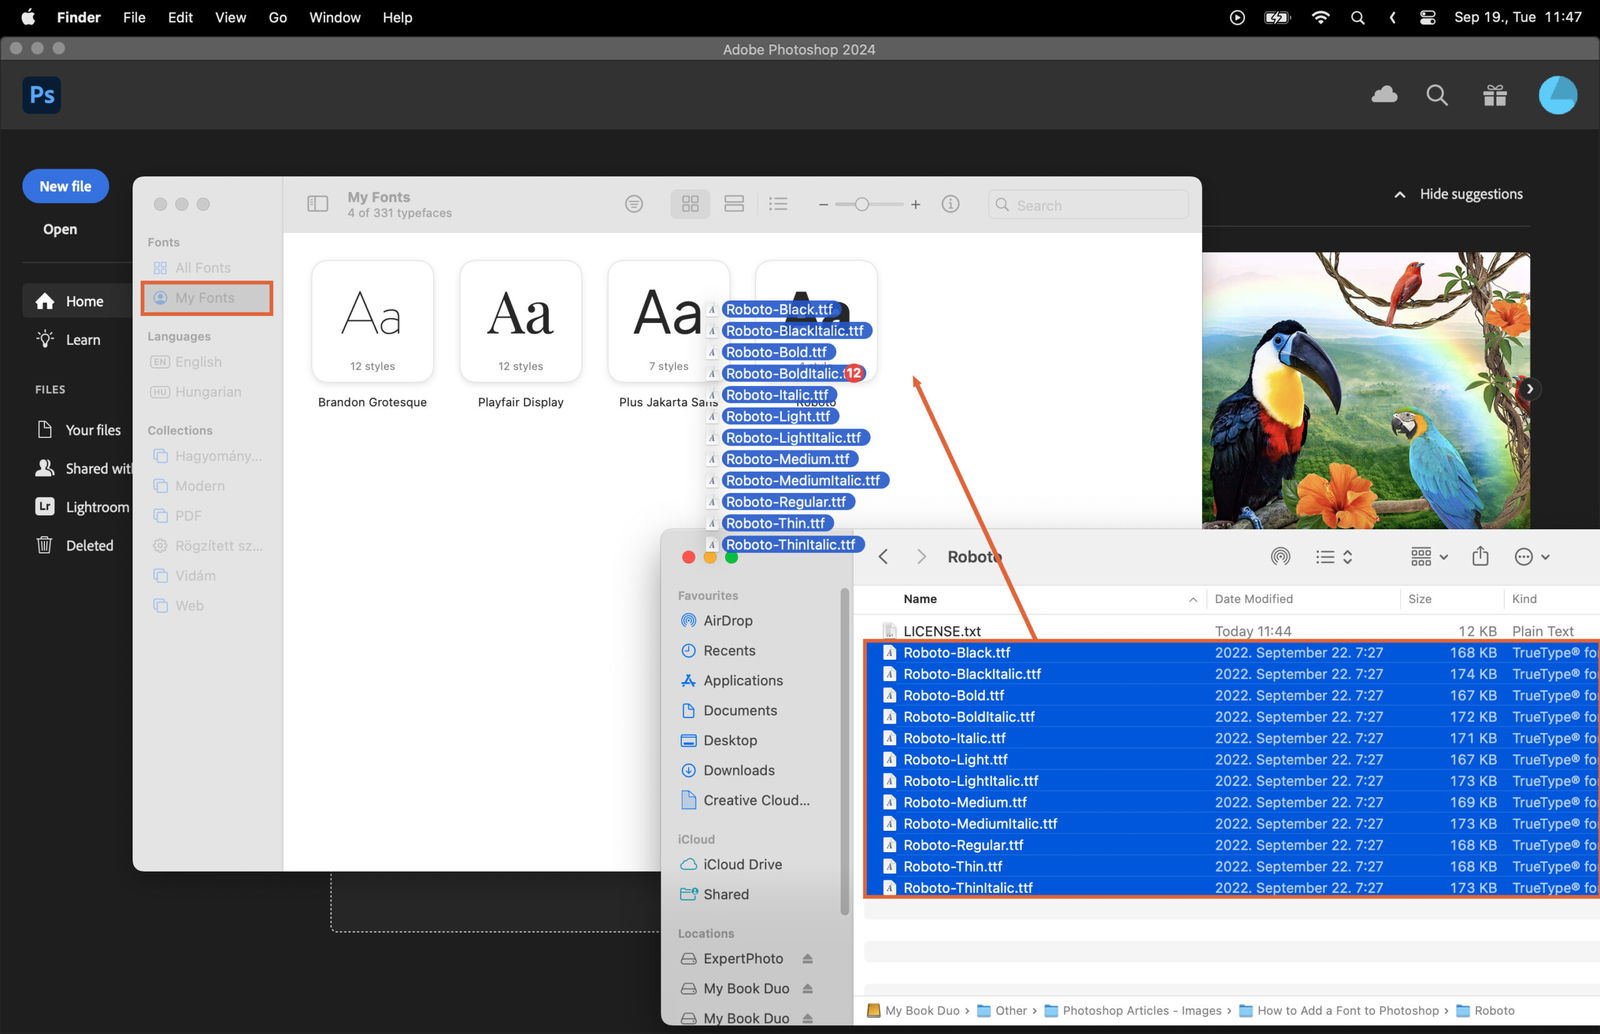
To install multiple font styles, simply drag and drop the fonts into the My Fonts section.
If Photoshop was open during the font installation, close it. This ensures Photoshop recognizes the new font when you reopen the program.
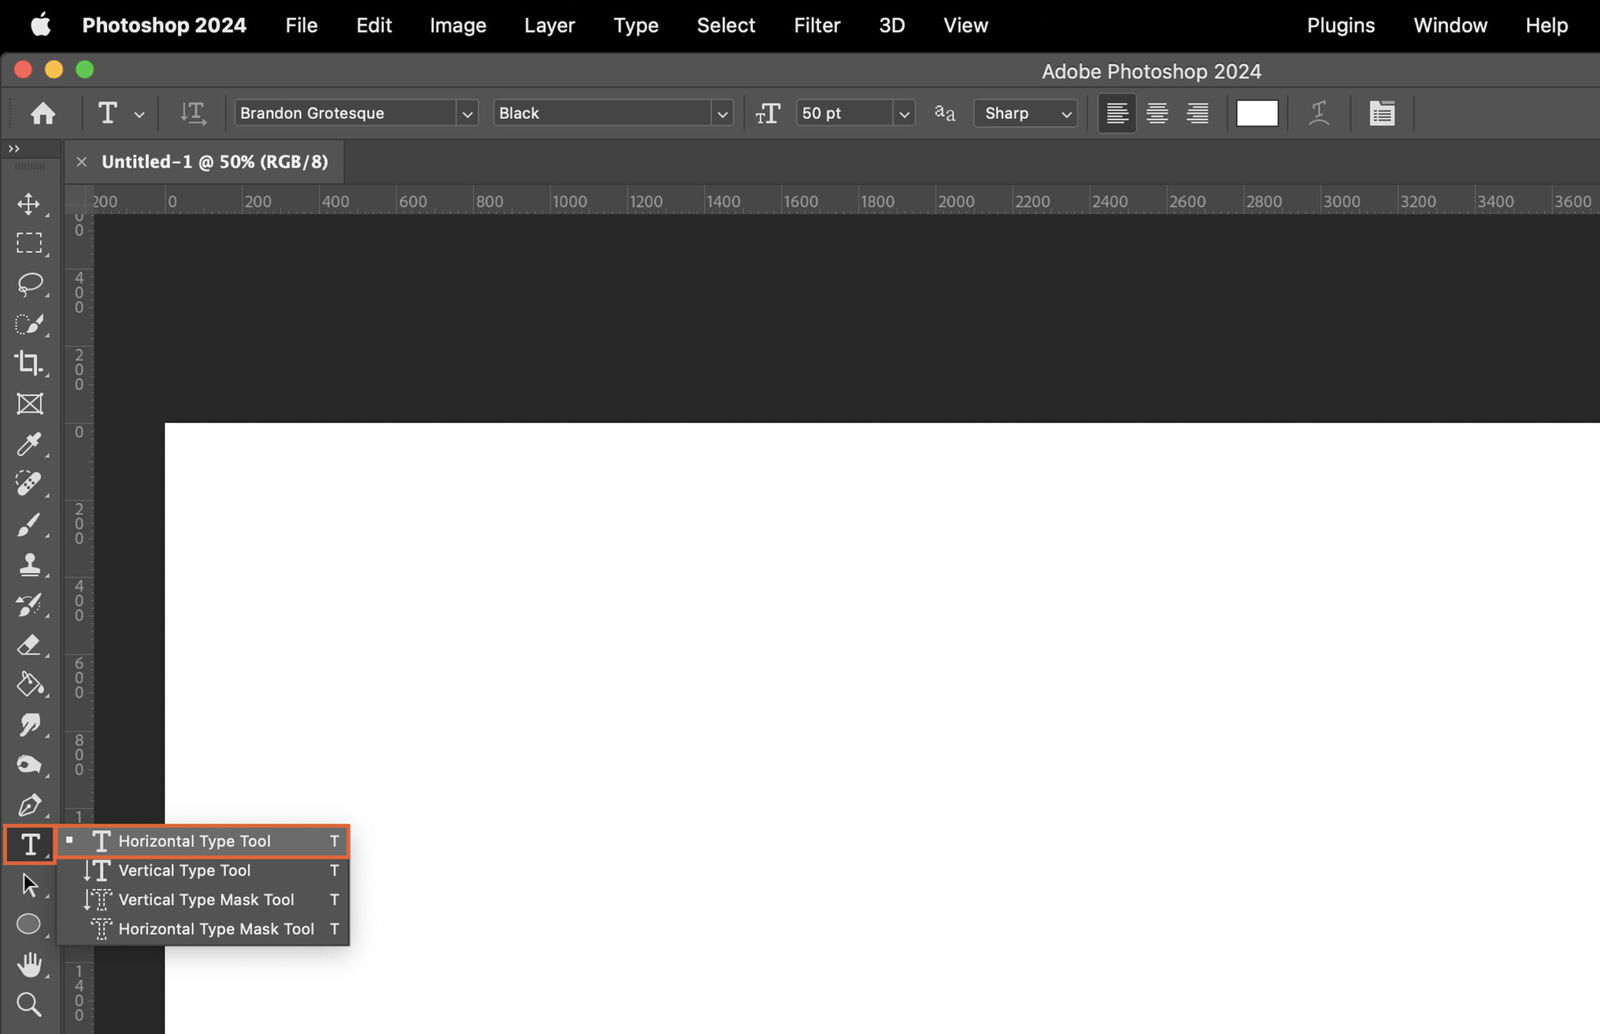
Launch Photoshop. In the toolbar on the left, click the “T” icon to select the Text Tool. This tool allows you to create and edit text layers.
With the Text Tool active, look at the options bar at the top of the screen. Click on the current font name to open the font dropdown menu.
Scroll through the font list in the dropdown menu to find your newly installed font. Fonts are listed alphabetically.
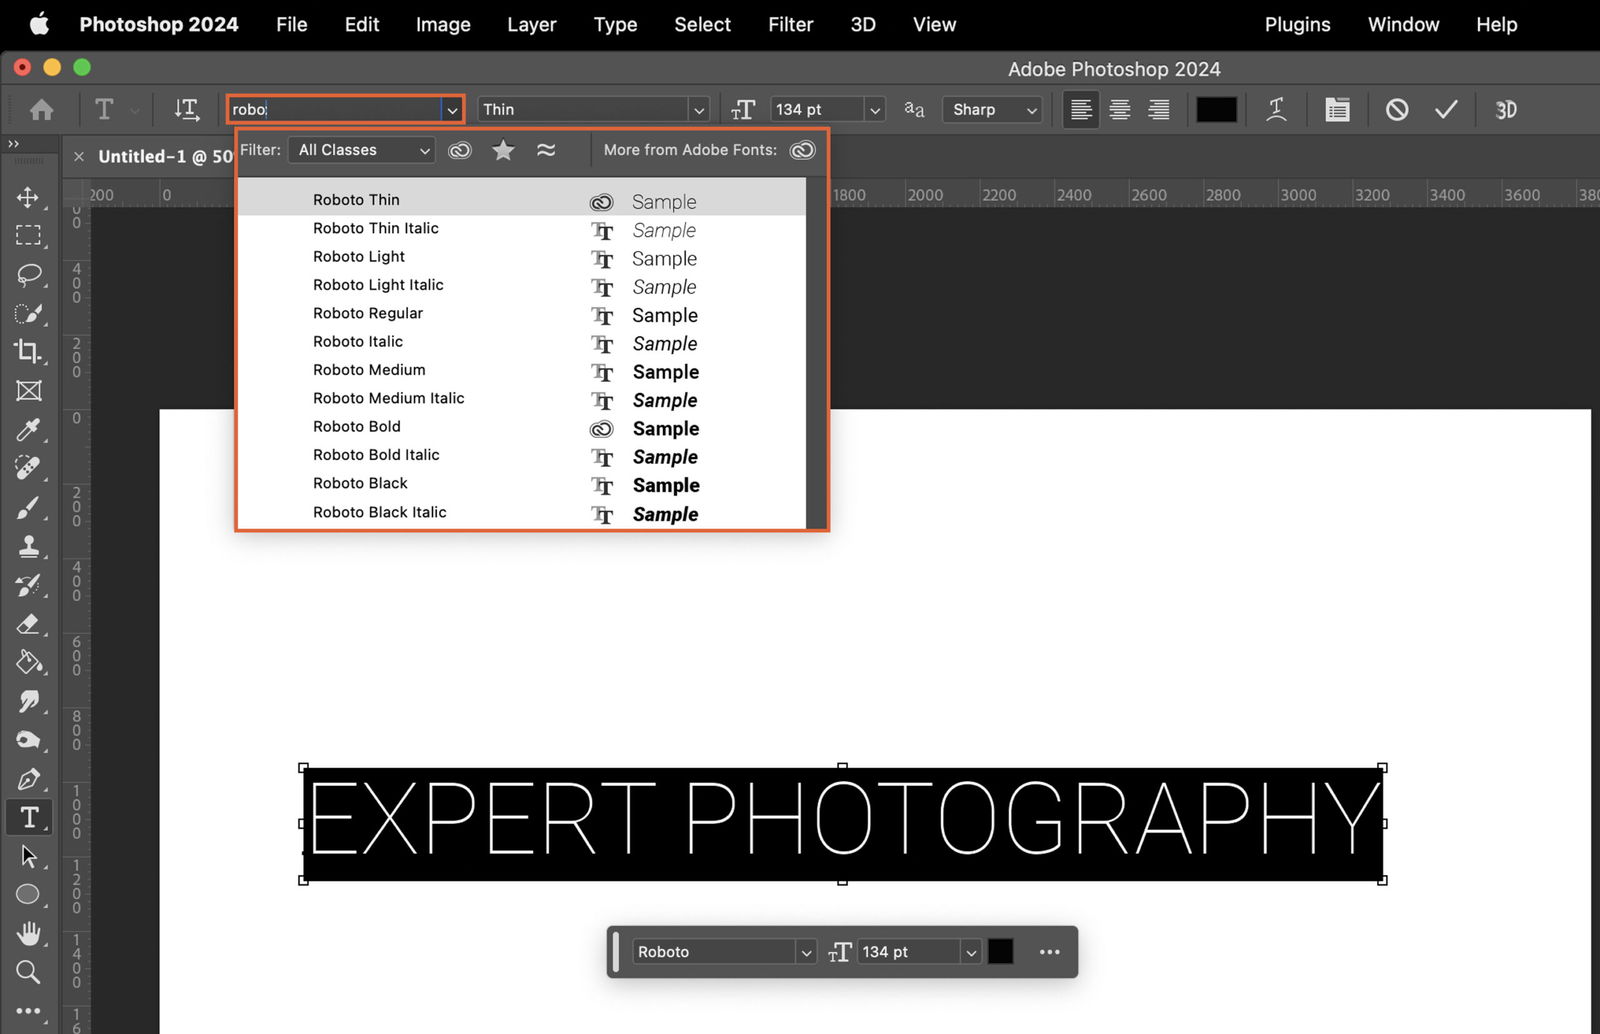
Click on your new font to select it. Now, create a new text layer or select an existing one. The new font will apply to the text you type or the text layer you selected.

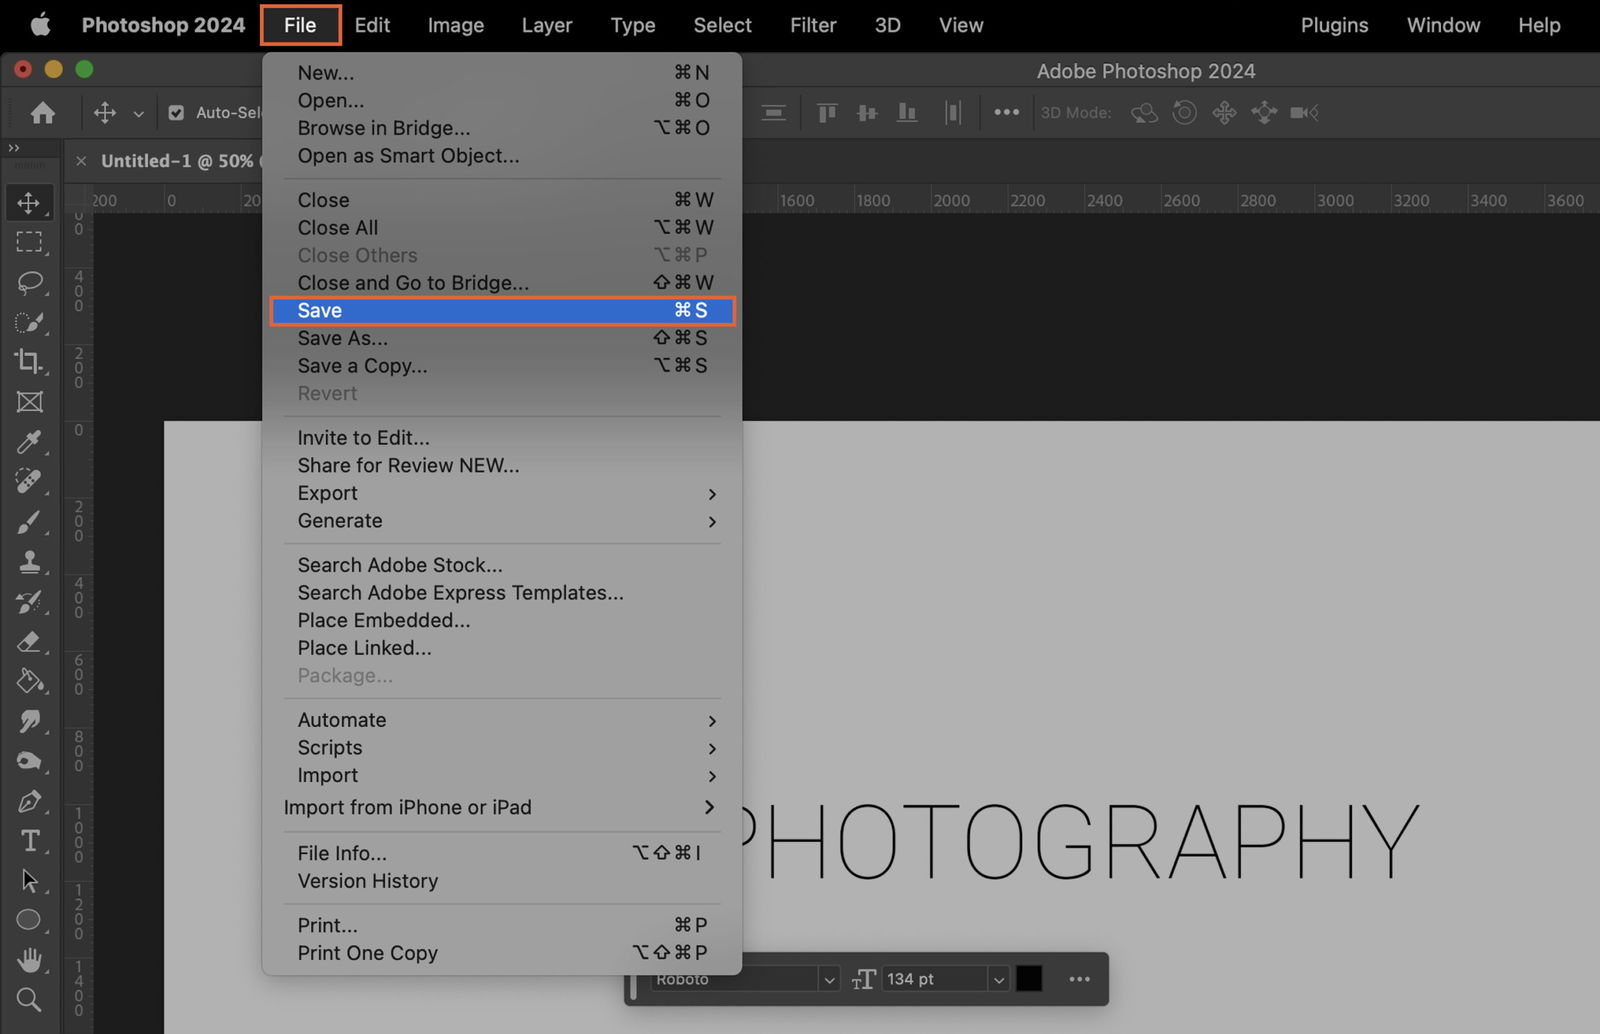
Once you’re satisfied with your text, remember to save your project. Go to “File” > “Save” and choose your preferred location and file format.