Struggling to add guides in Photoshop? This article provides a clear, step-by-step process to help you master this task. By understanding this process, you can improve your design precision and workflow efficiency.
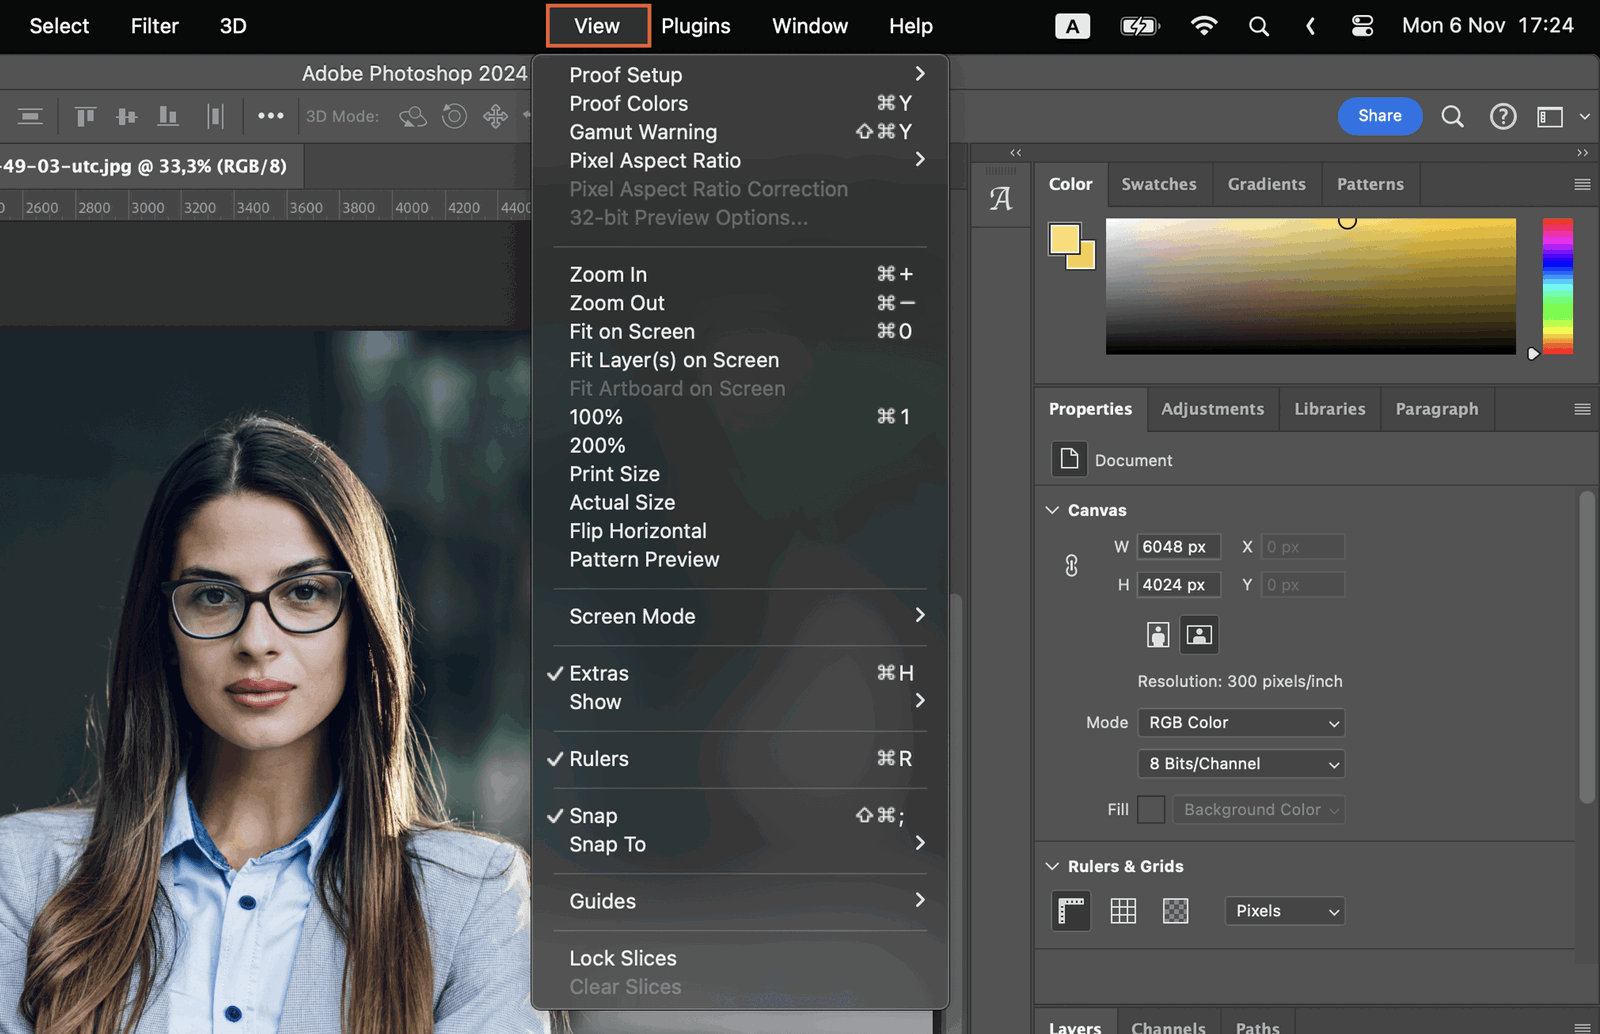
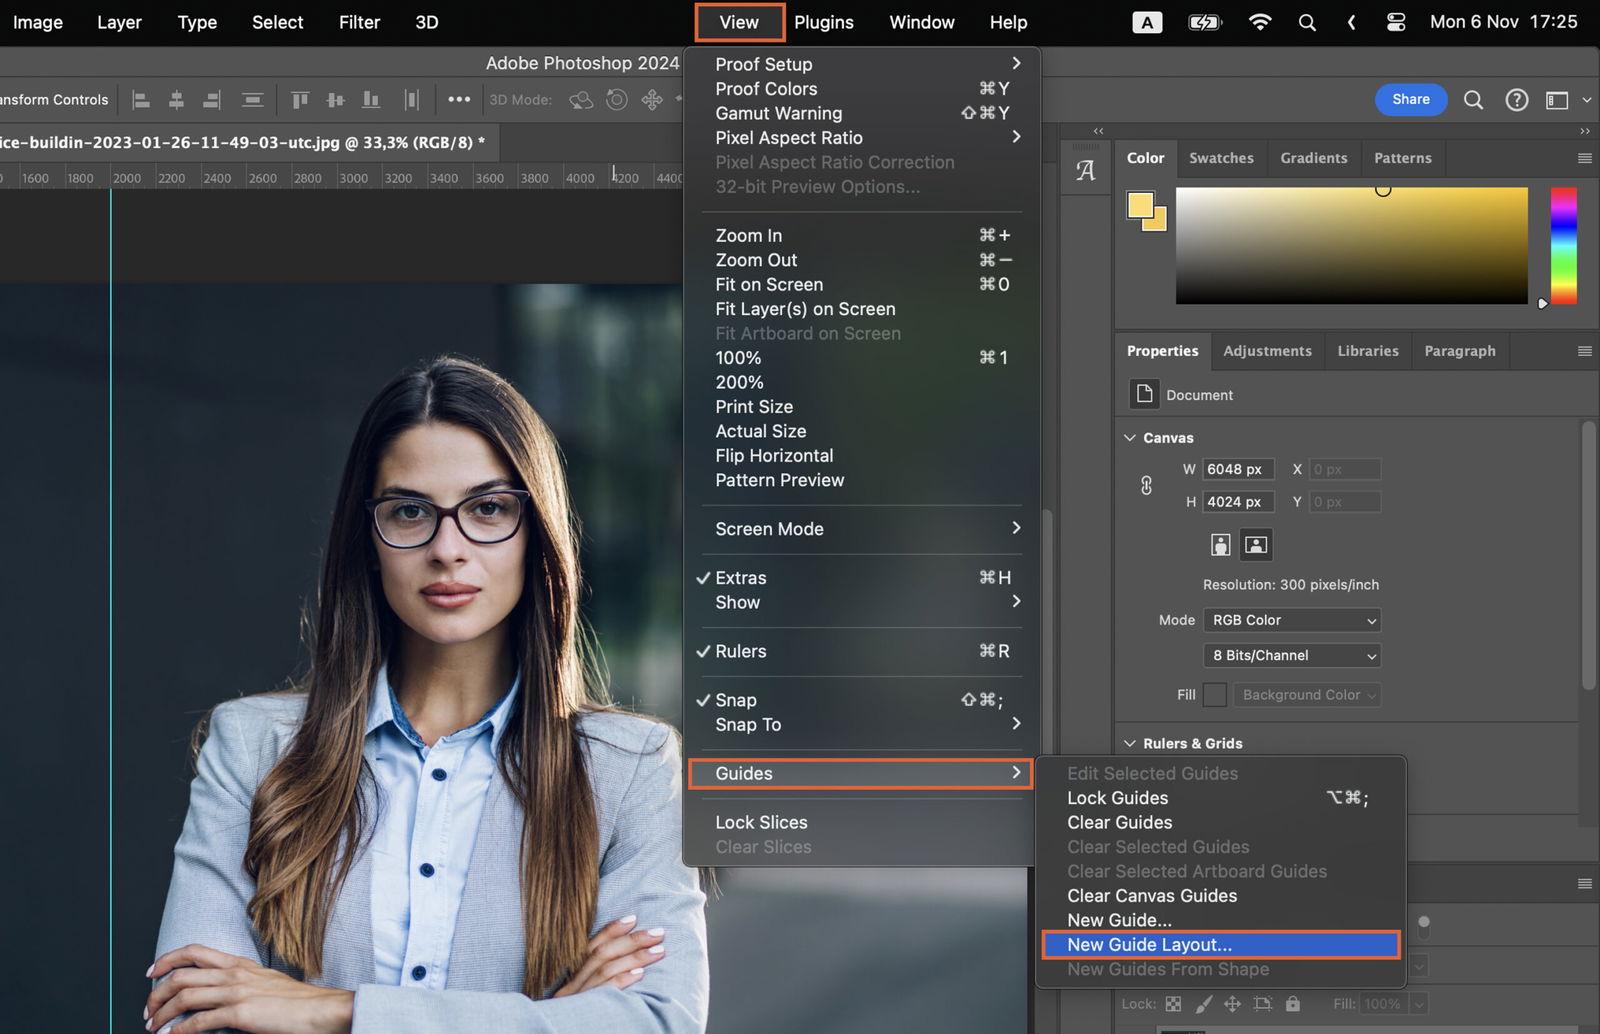
Start by launching Photoshop on your device. Open your desired image. Navigate to the top menu bar and click on ‘View’. This will drop down a menu list.
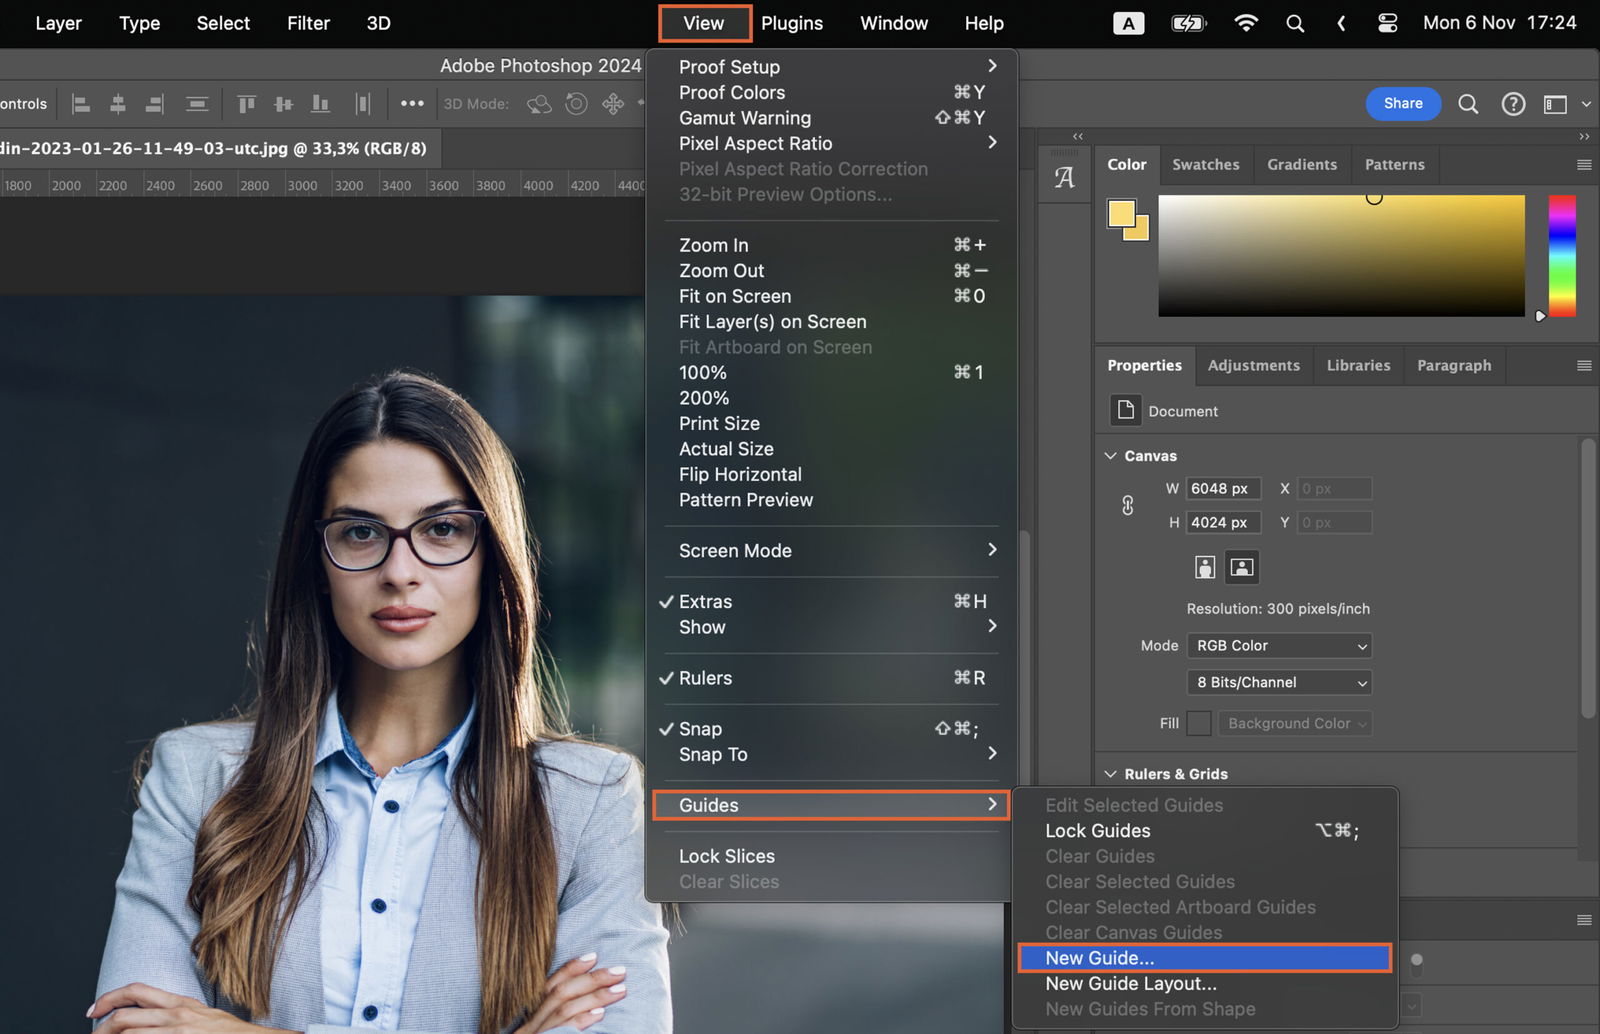
On the dropdown menu, find and click ‘New Guide’. This will open up a dialog box.
In the dialog box, you will find options to choose the guide’s orientation.
If you want your guide to be horizontal, select ‘Horizontal’.
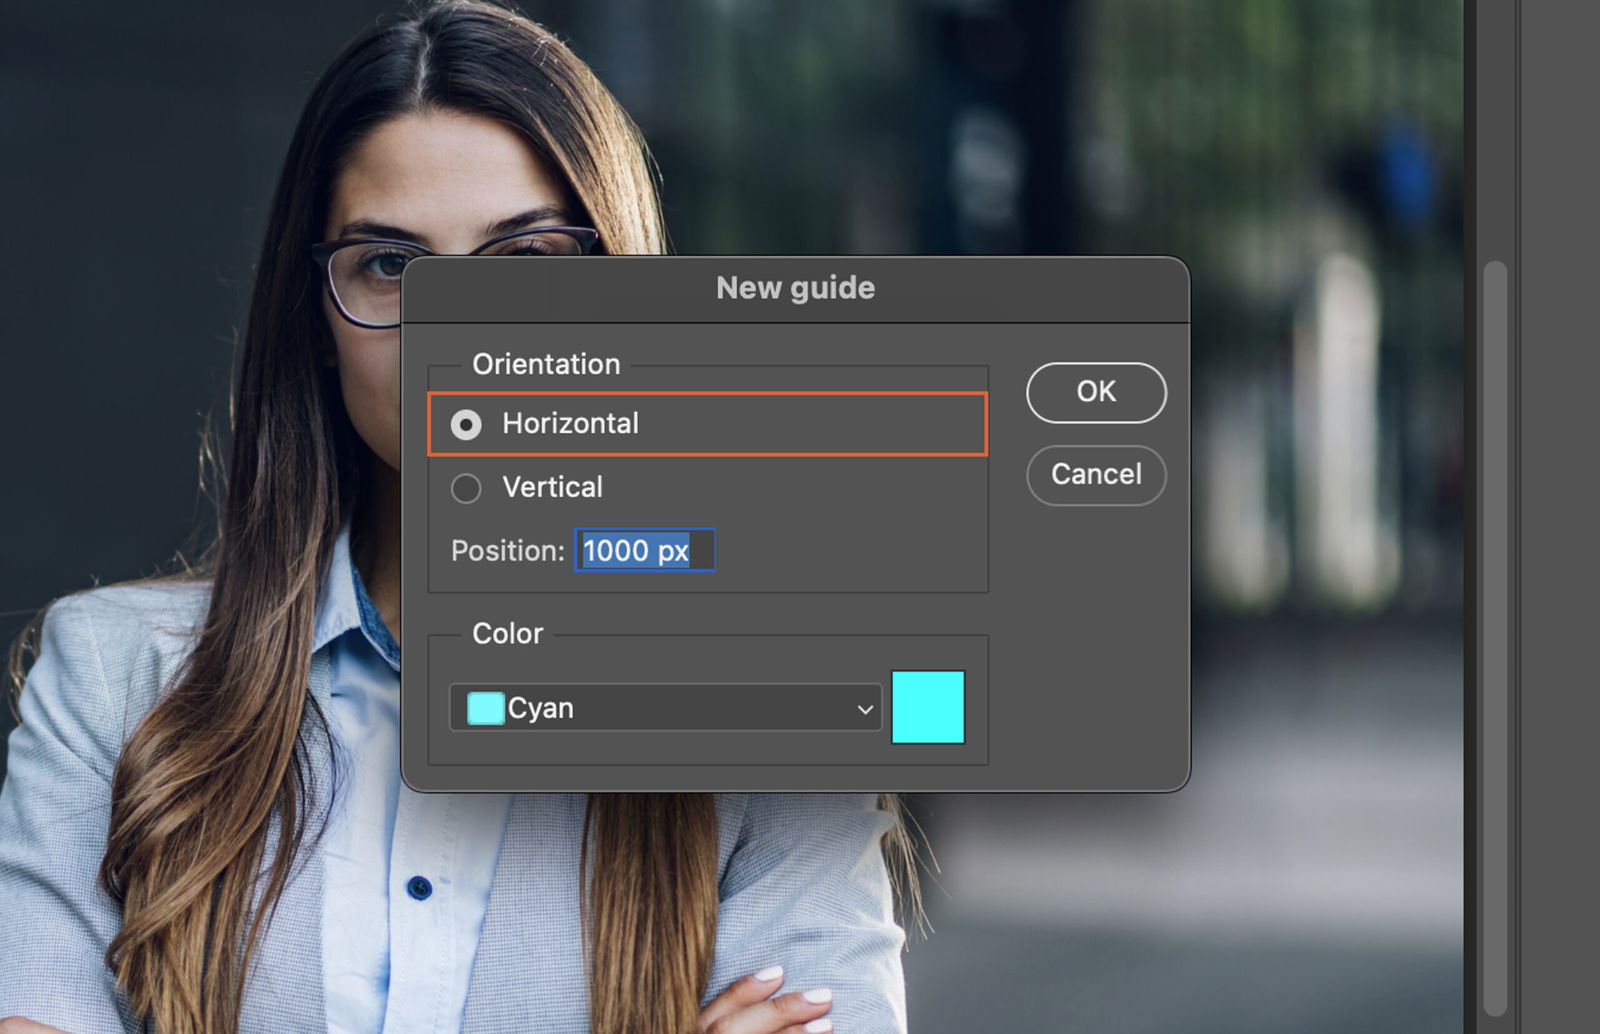
If you prefer the guide to be vertical, select ‘Vertical’.
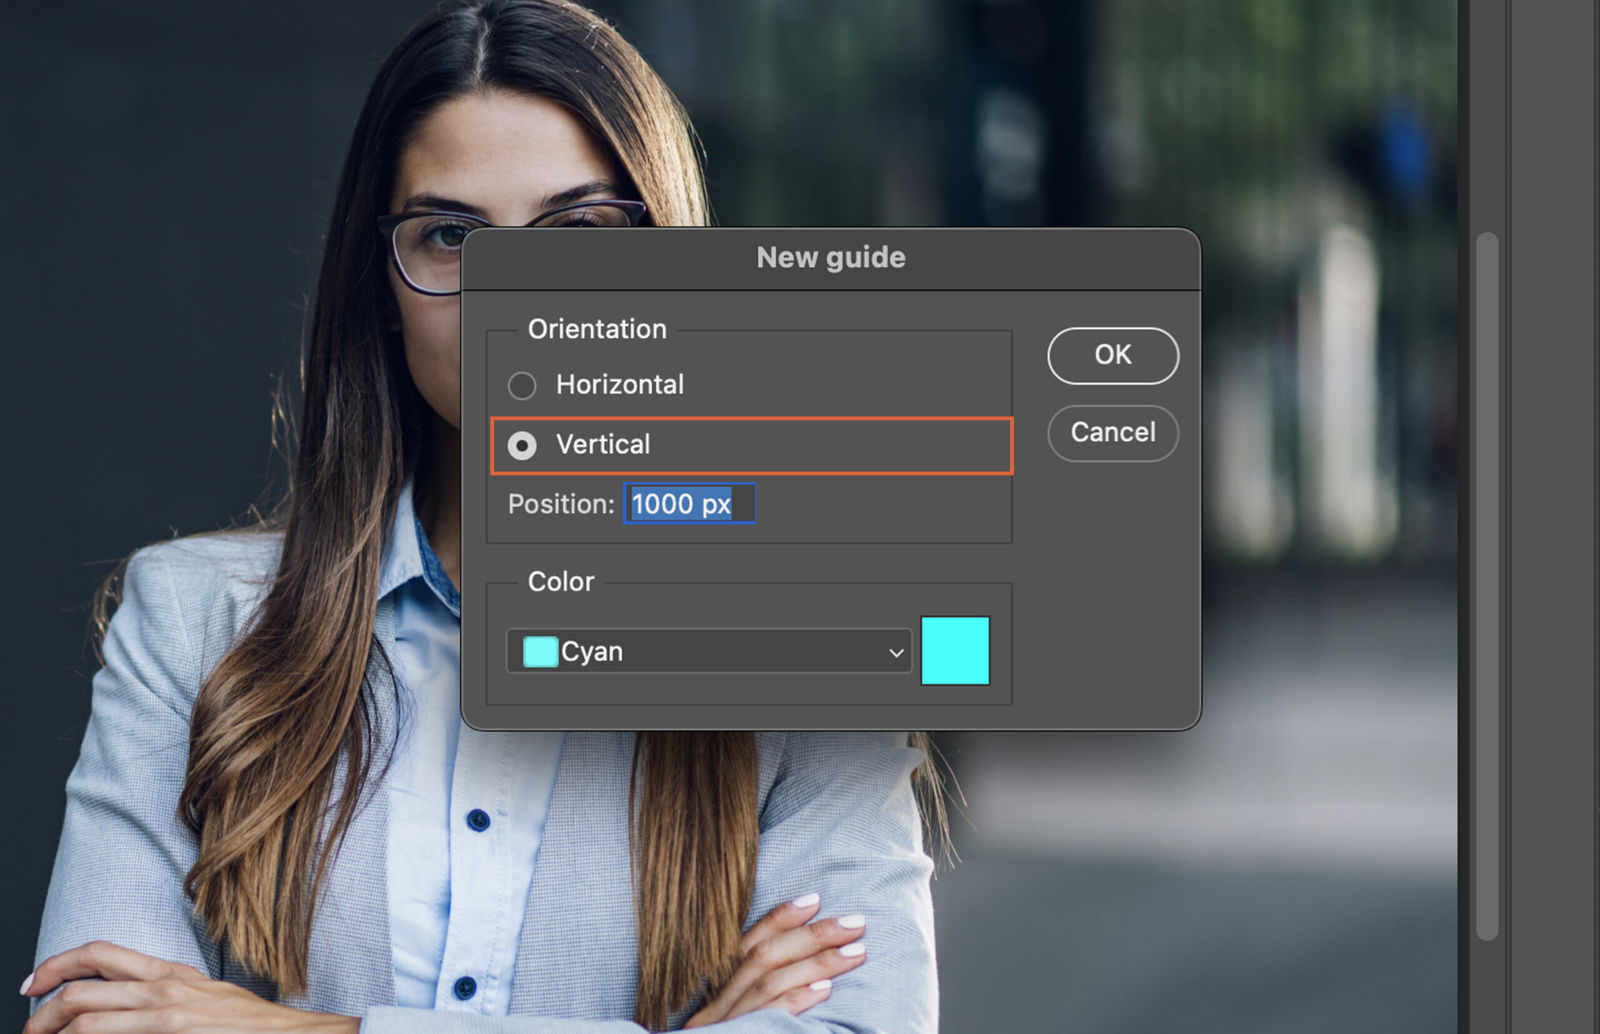
Enter a value in the ‘Position’ box to set your guide’s location. You can input the value in pixels, inches, centimeters, or percent of the image size, depending on your needs.

Repeat steps 2-4 to add more guides. You can add as many guides as you need for your project.
For multiple guides, use the ‘New Guide Layout’ option in the ‘View’ menu. This feature allows you to add rows, columns, and margins to your image.
In the ‘New Guide Layout’ dialog box, adjust the number of rows and columns, and set the width of the margins to suit your project needs.
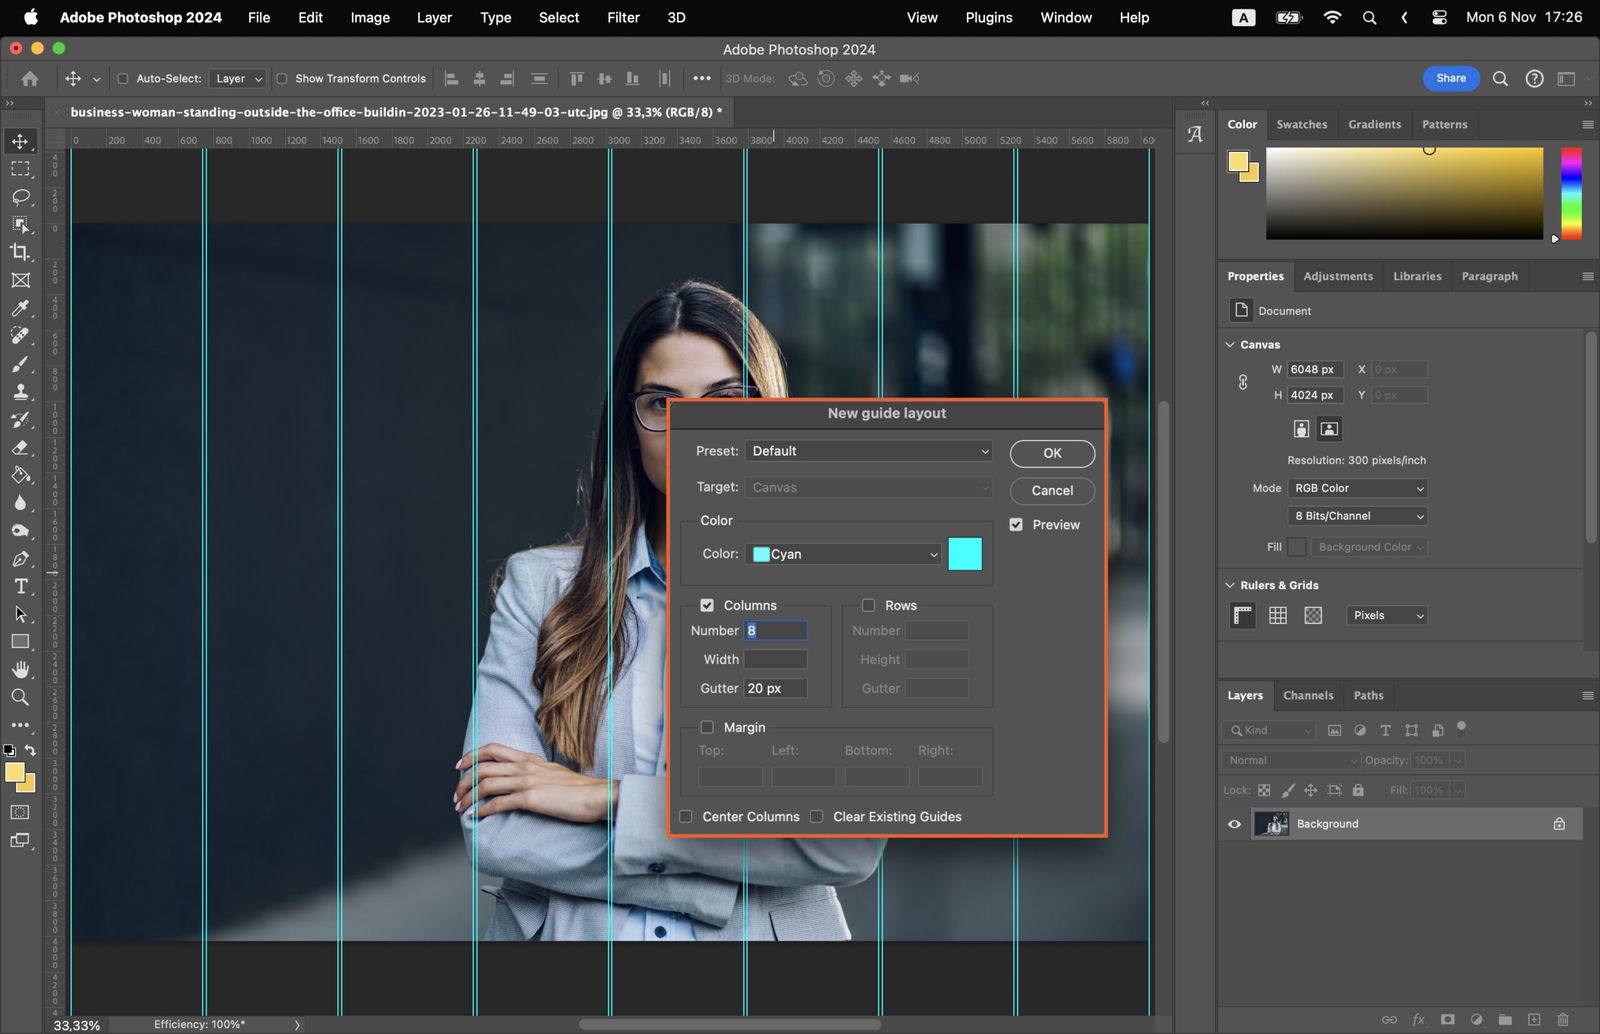
Click ‘OK’ to save your guide layout. Photoshop will remember your settings for future use.
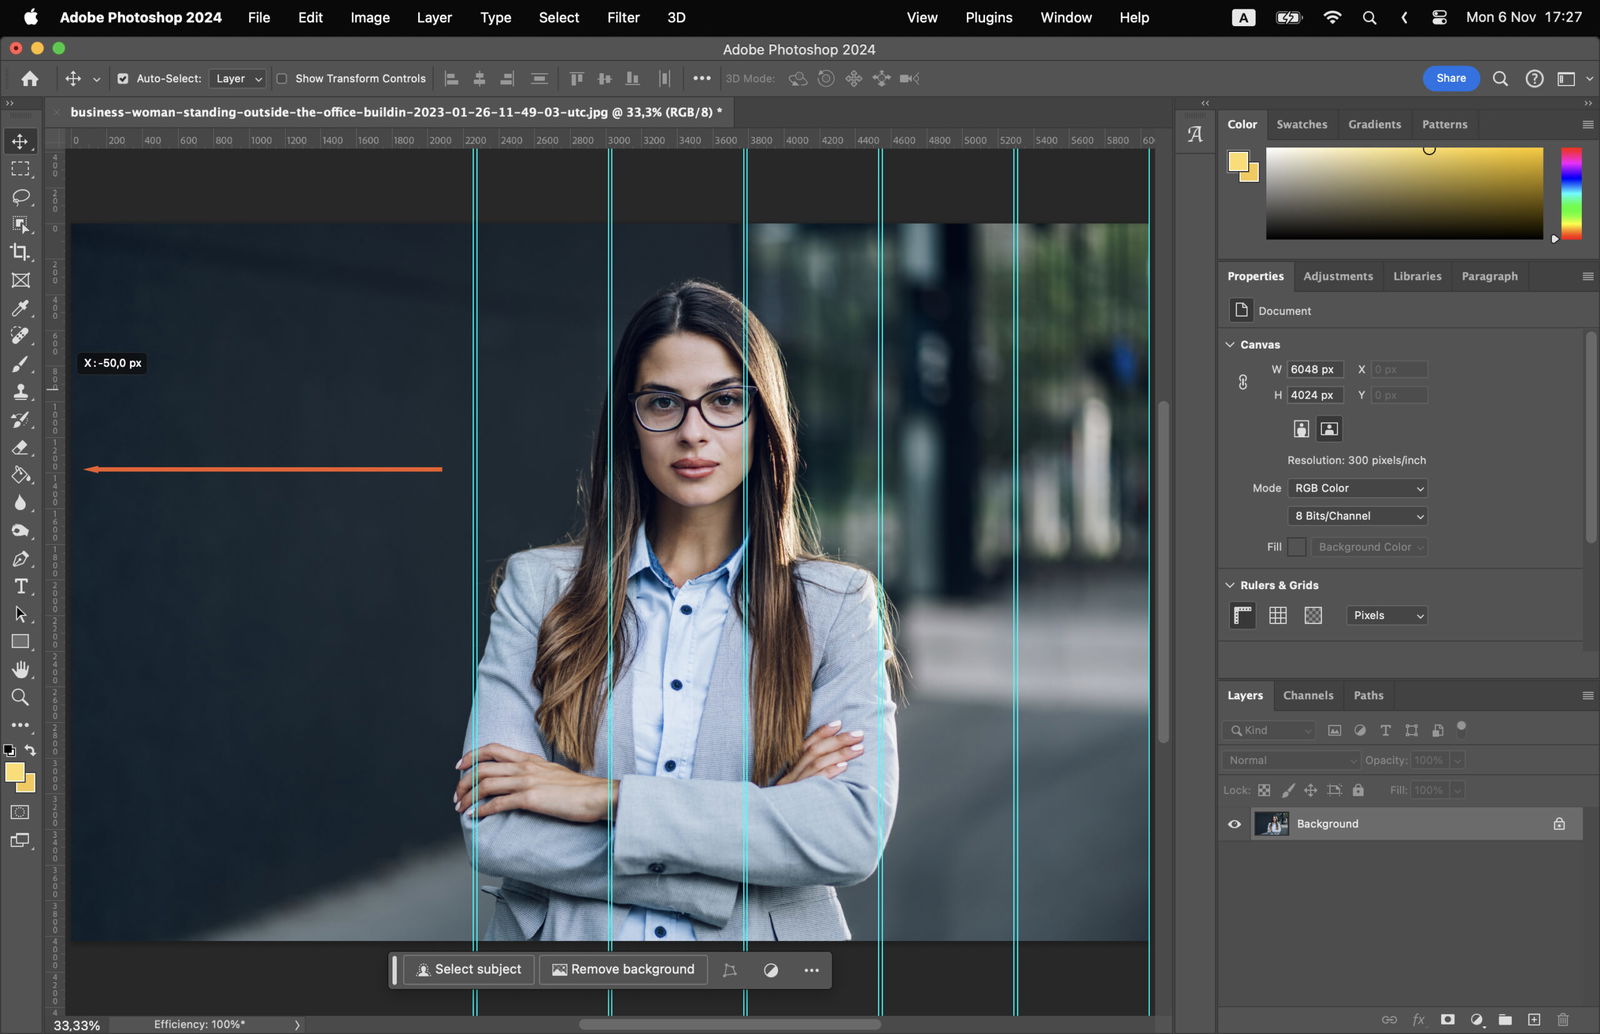
To delete a guide, click and drag it off your image. Photoshop removes it instantly.
You can hide or show guides, providing a clean workspace when needed.
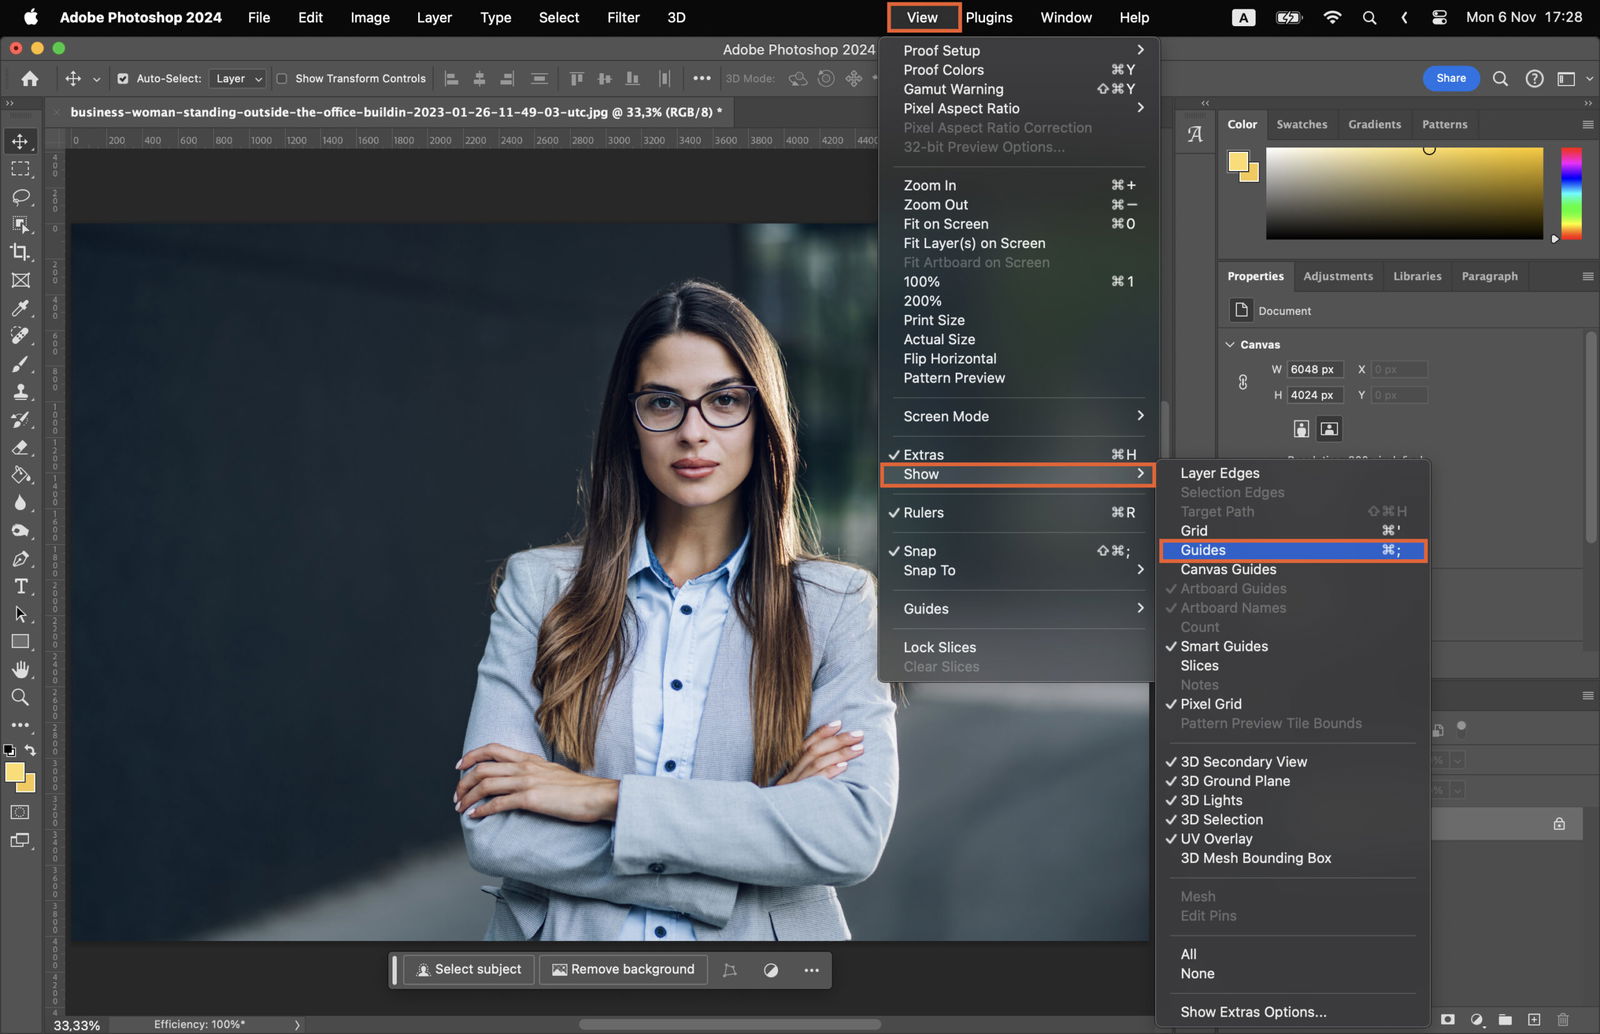
To hide guides, go to the ‘View’ menu and uncheck ‘Show Guides’.
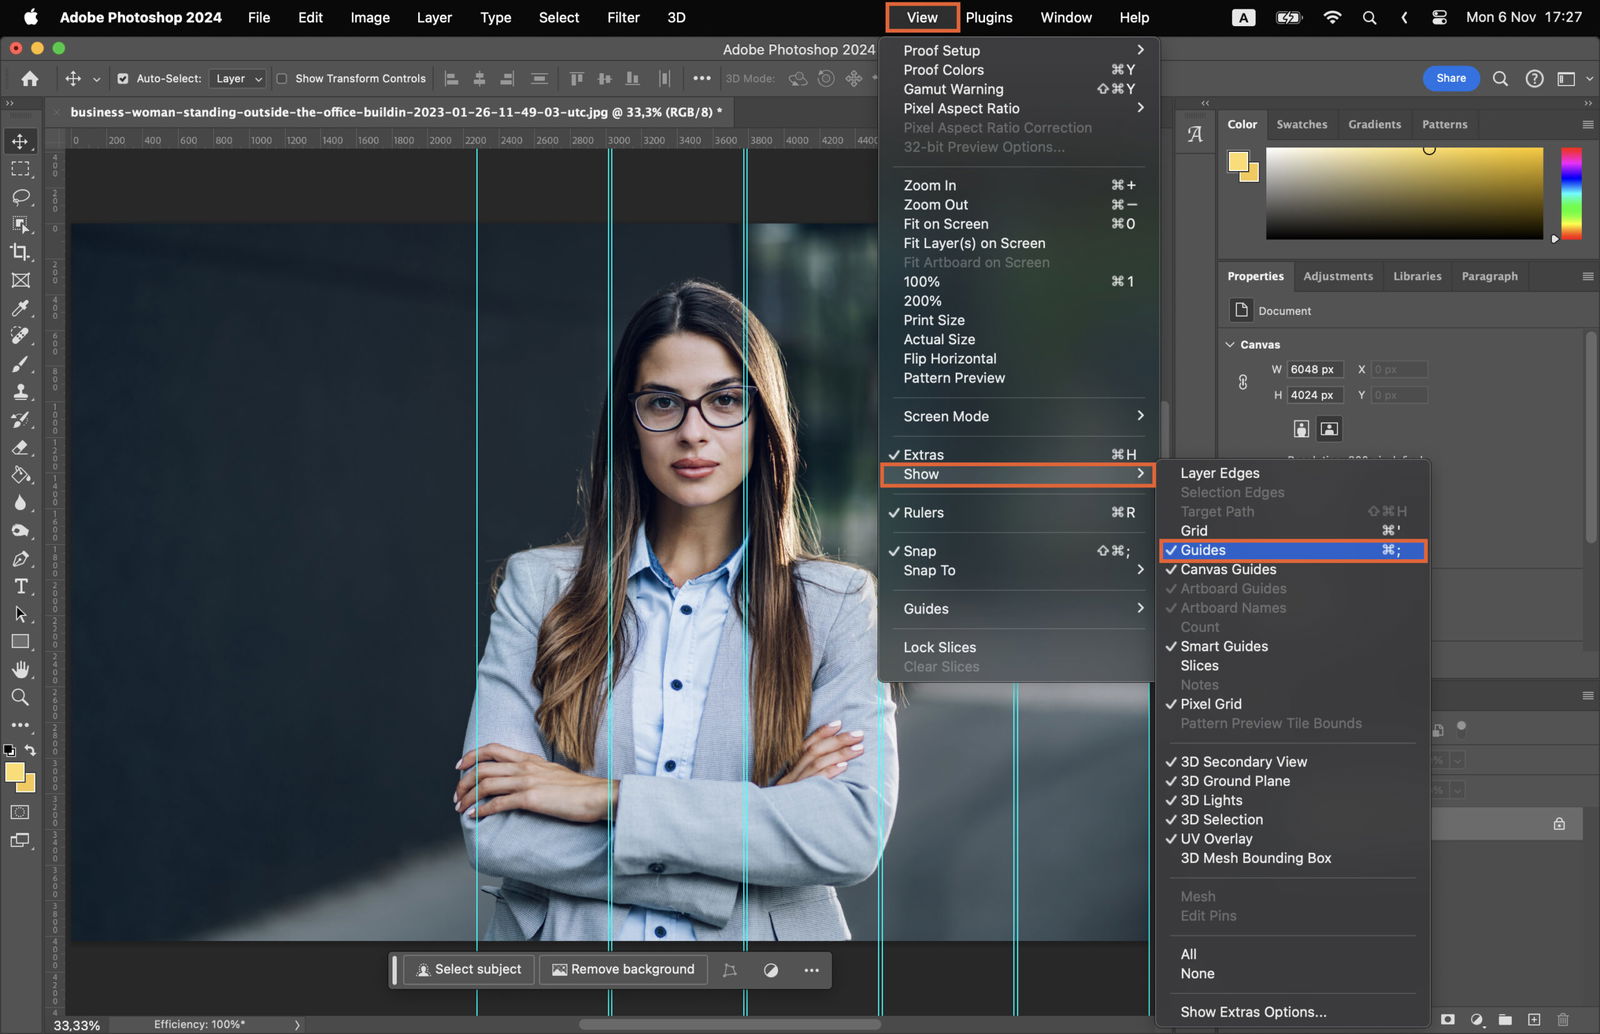
To show hidden guides, return to the ‘View’ menu and check ‘Show Guides’.
Locking guides prevents accidental movements.
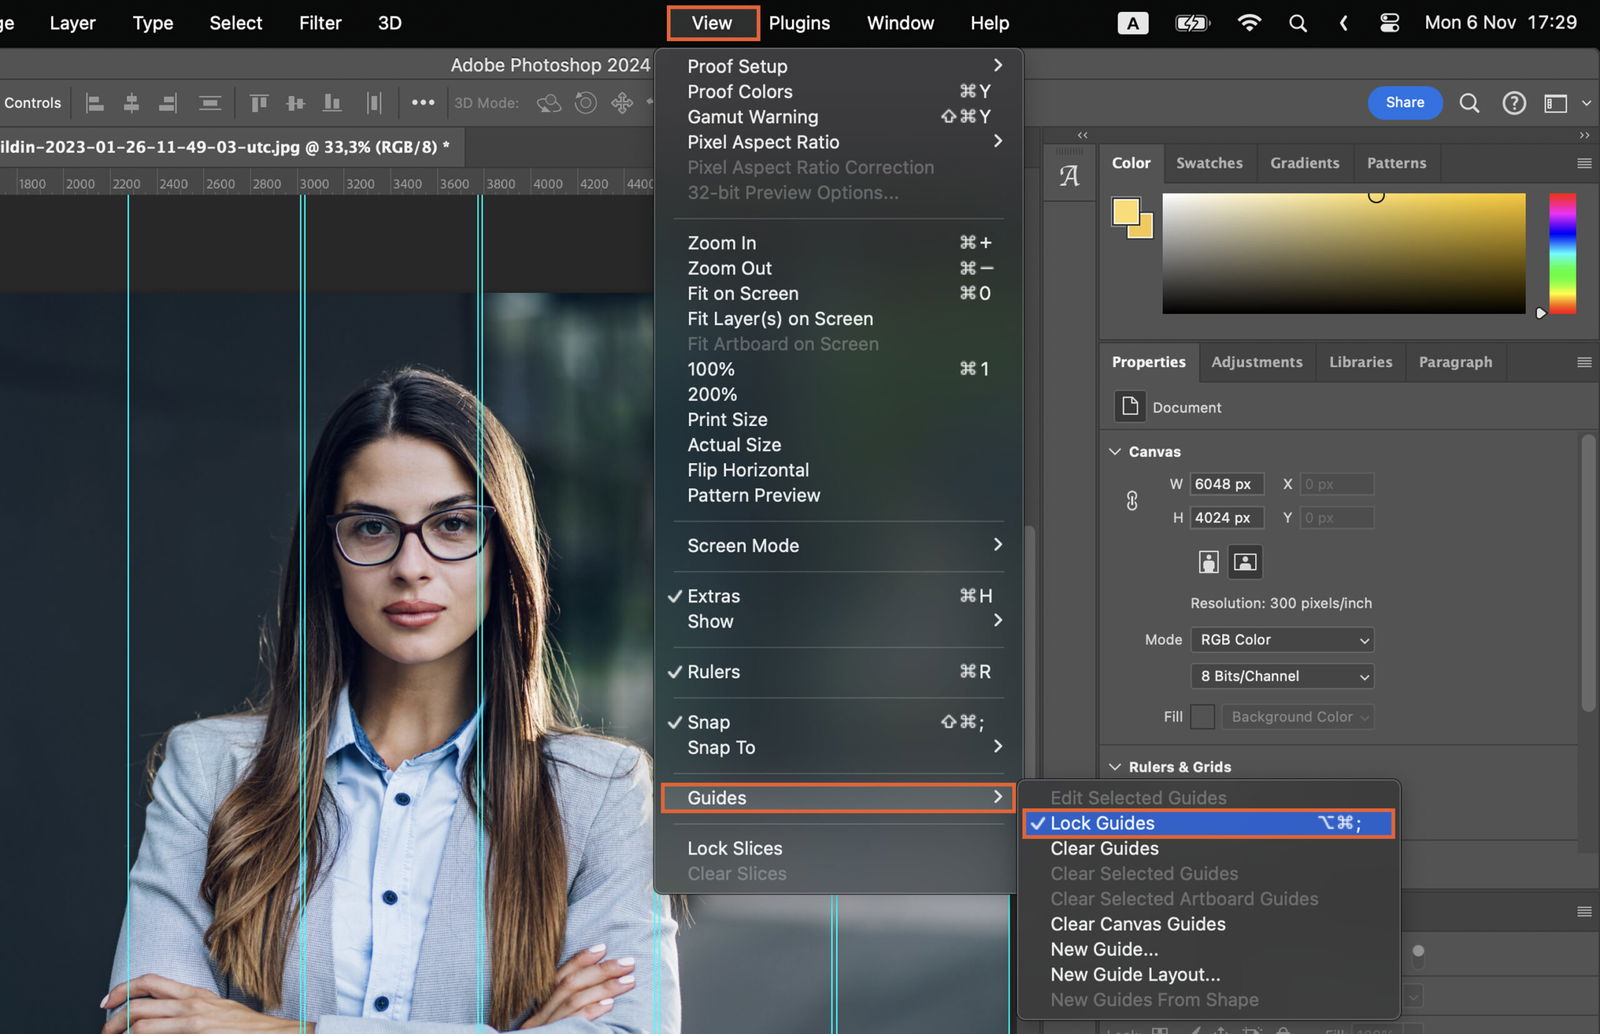
To lock guides, click ‘Lock Guides’ in the ‘View’ menu.
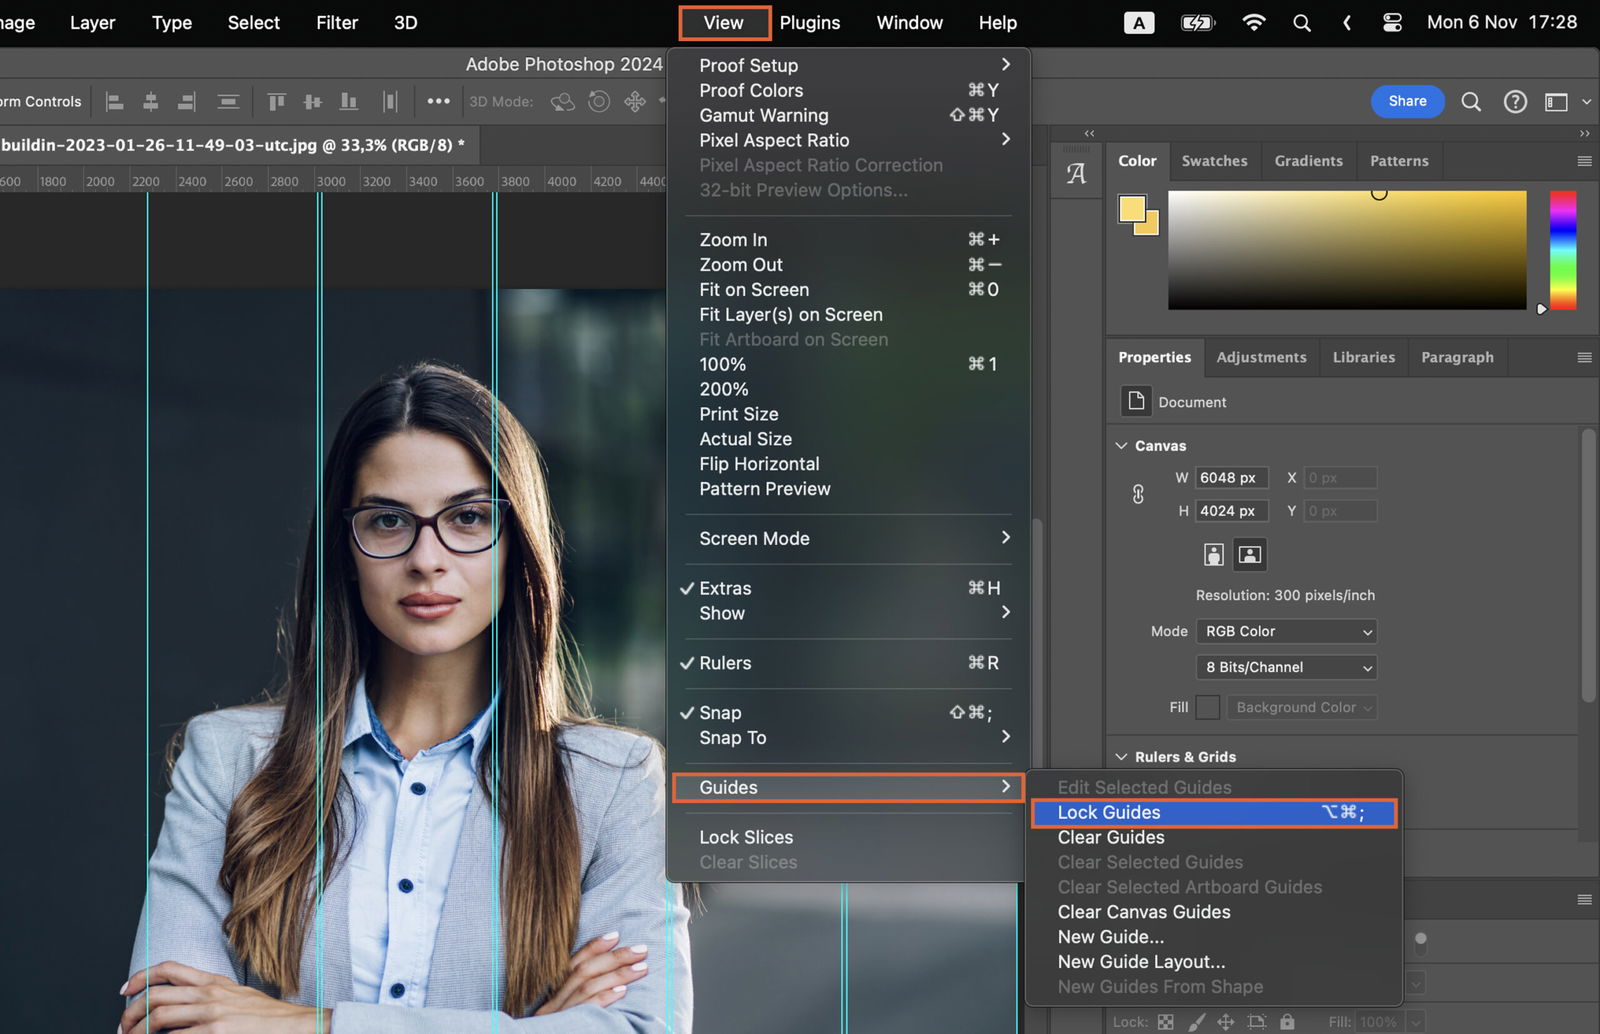
To unlock guides, uncheck ‘Lock Guides’ in the ‘View’ menu. Now you can move or delete guides as needed.