Learning how to add an image in Photoshop can greatly enhance your editing skills. This article provides a step-by-step guide to help you master this process, which can open up new avenues of creativity and improve the quality of your work.
Step 1. Opening the Photoshop Application
Start by launching Adobe Photoshop on your computer. You can do this by clicking on the Photoshop icon on your desktop or searching for it in the start menu.
Step 2. Importing the Image
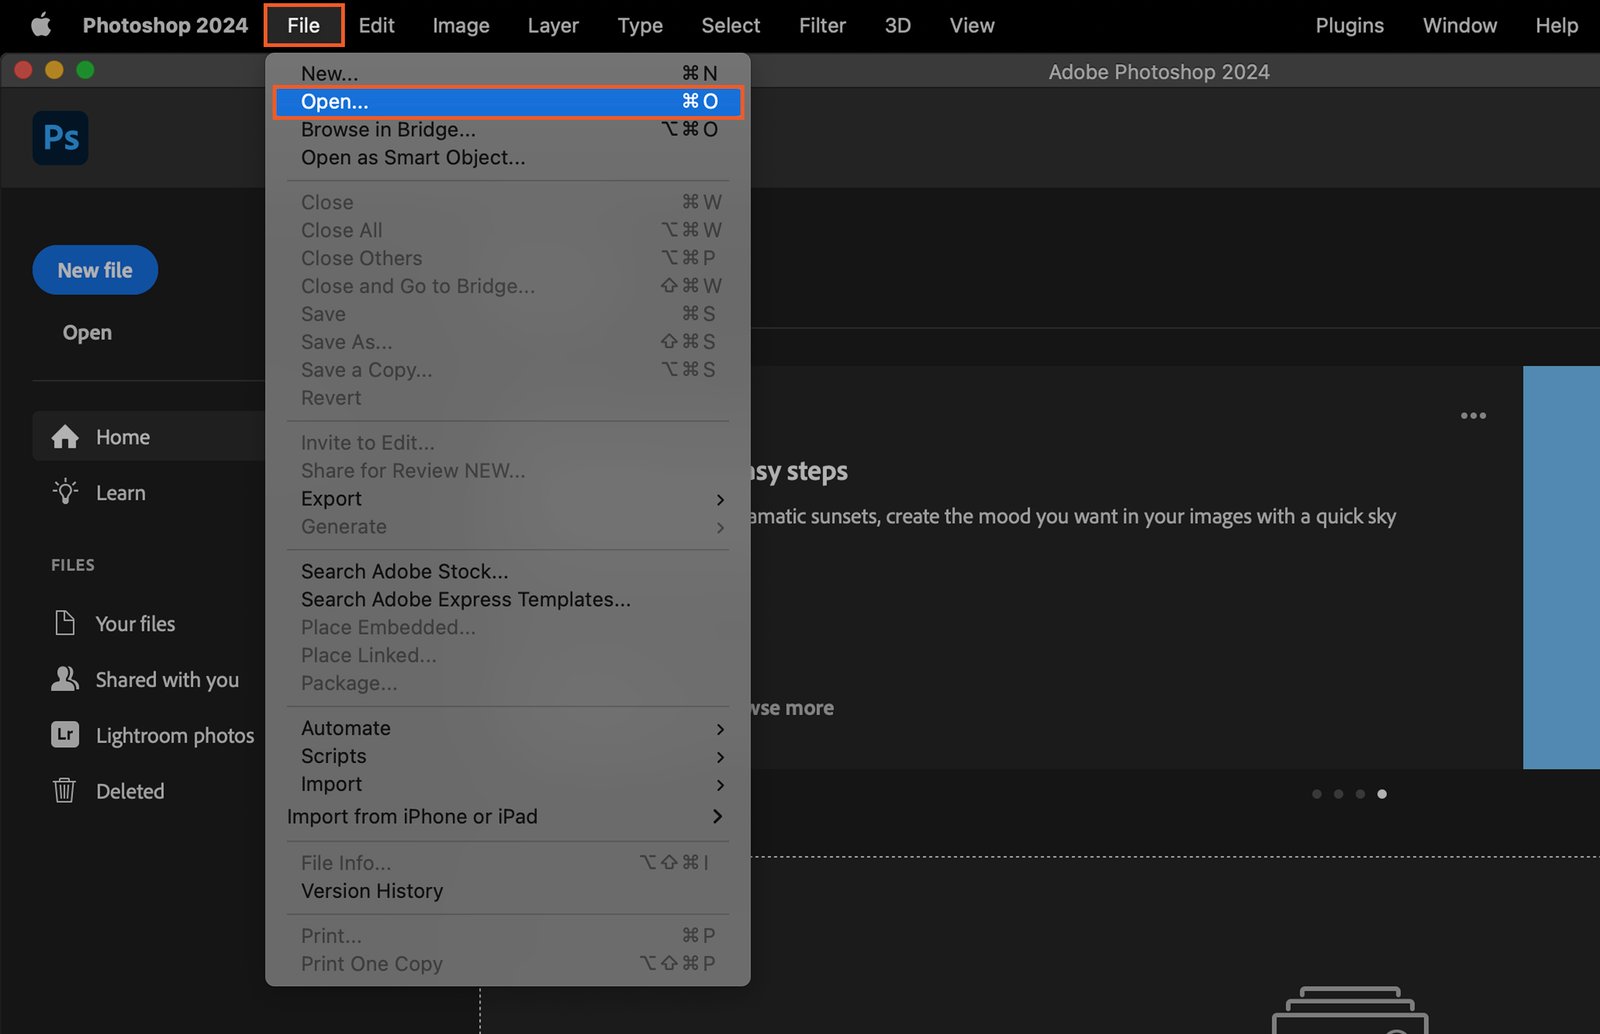
Navigate to “File” on the top menu and select “Open”. A dialogue box will appear. Find and select the image you want to edit, then click “Open”.
Step 3. Creating a New Layer
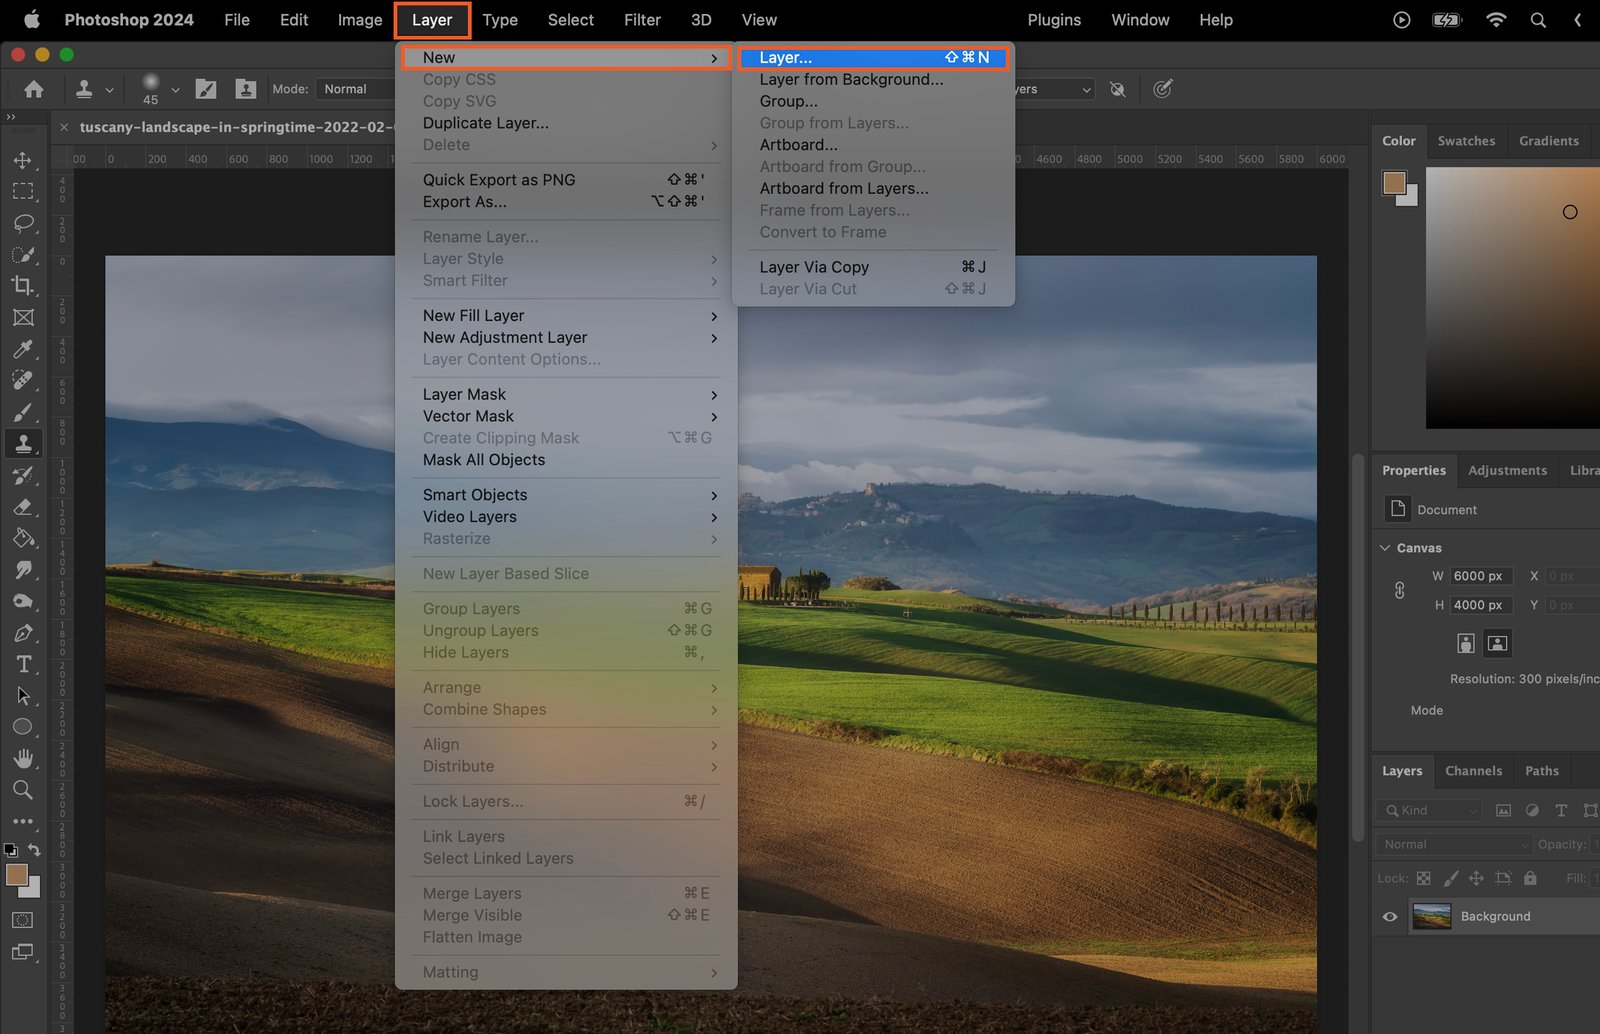
Creating a new layer will help preserve the original image. Go to the “Layers” panel on the right, click the “New Layer” icon at the bottom. A new layer will appear above the original image.
Step 4. Placing the Image on the Canvas
Step 4.1 Using the Place Embedded Function
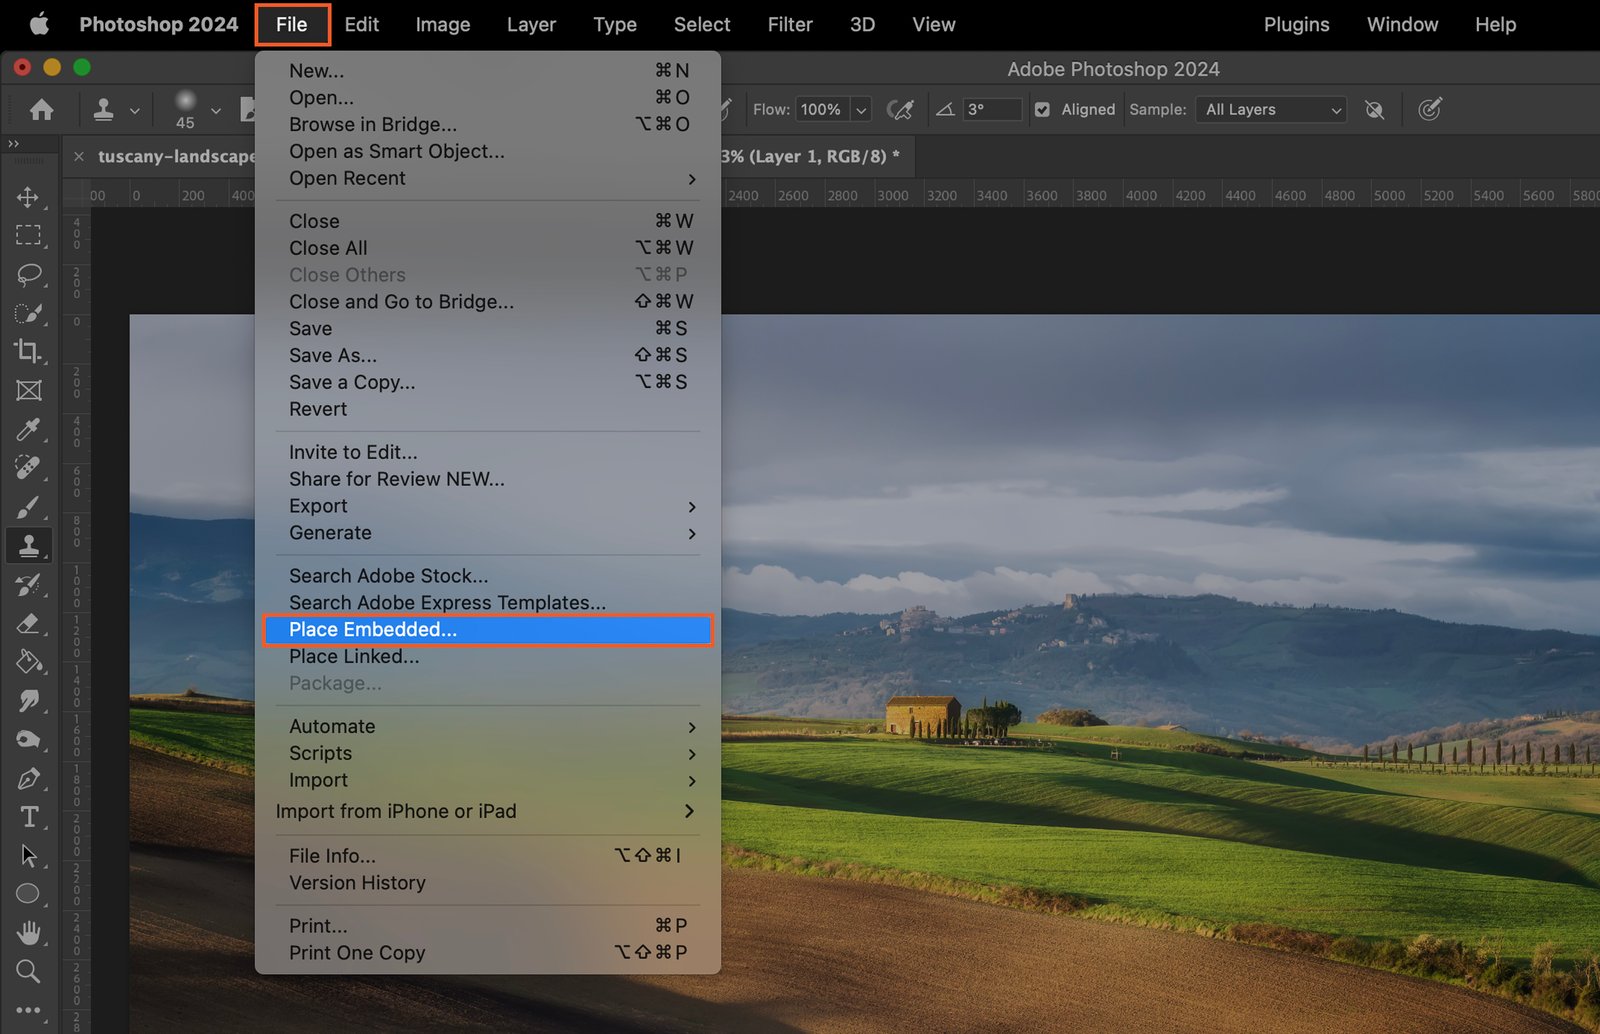
Go to the “File” menu, select “Place Embedded”. Select your image in the dialog box that appears and click “Place”. The image will appear on the new layer.
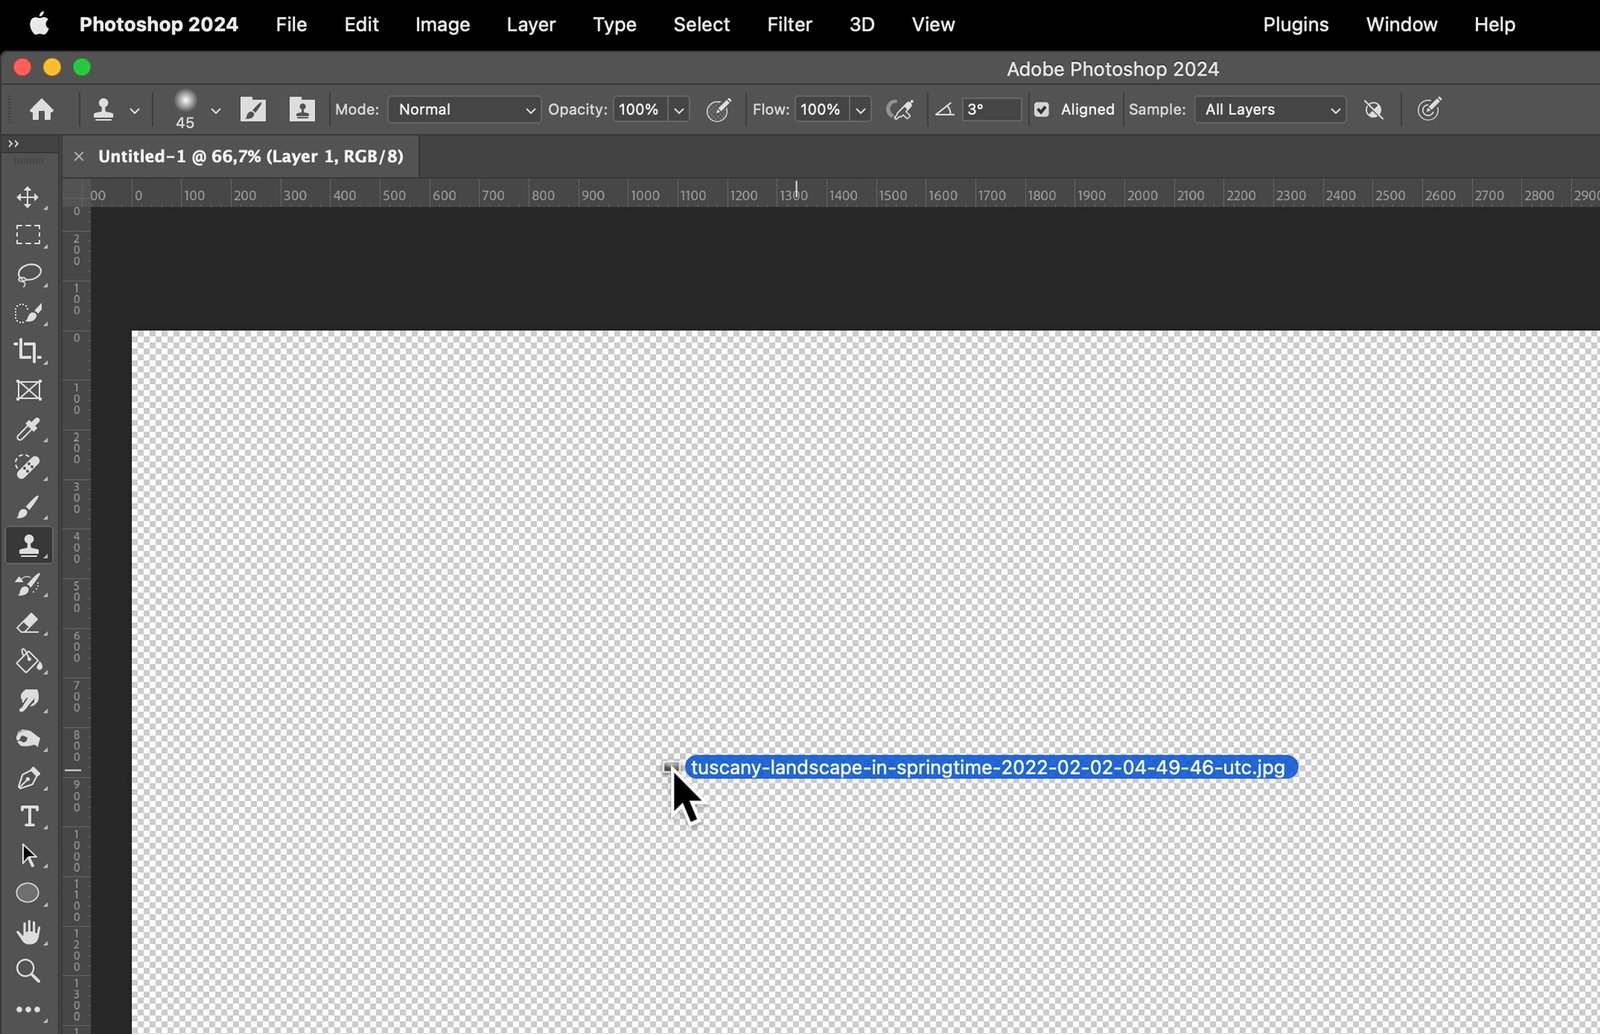
Step 4.2 Using the Drag and Drop Method
Alternatively, you can drag and drop the image file directly onto the Photoshop workspace. It will automatically create a new layer.
Step 5. Resizing and Positioning the Image
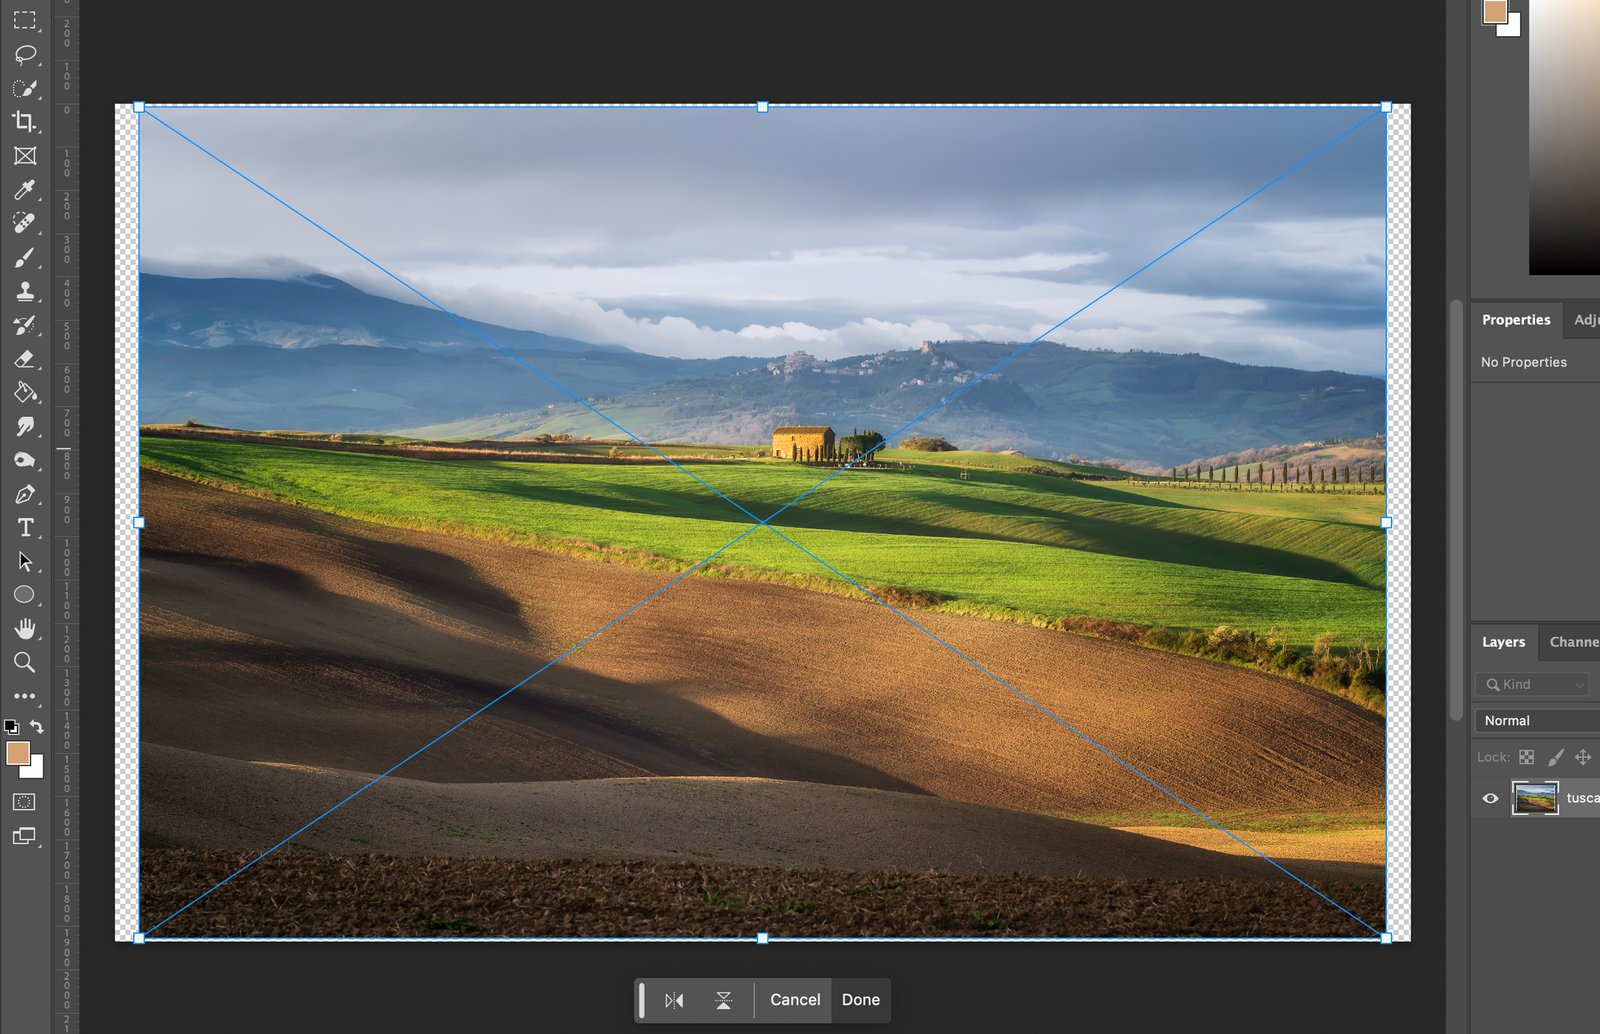
Step 5.1 Using the Free Transform Tool
Press Ctrl+T or Command+T on Mac to activate the “Free Transform” tool. Drag the corner handles to resize the image. Hold Shift while dragging to maintain proportions.
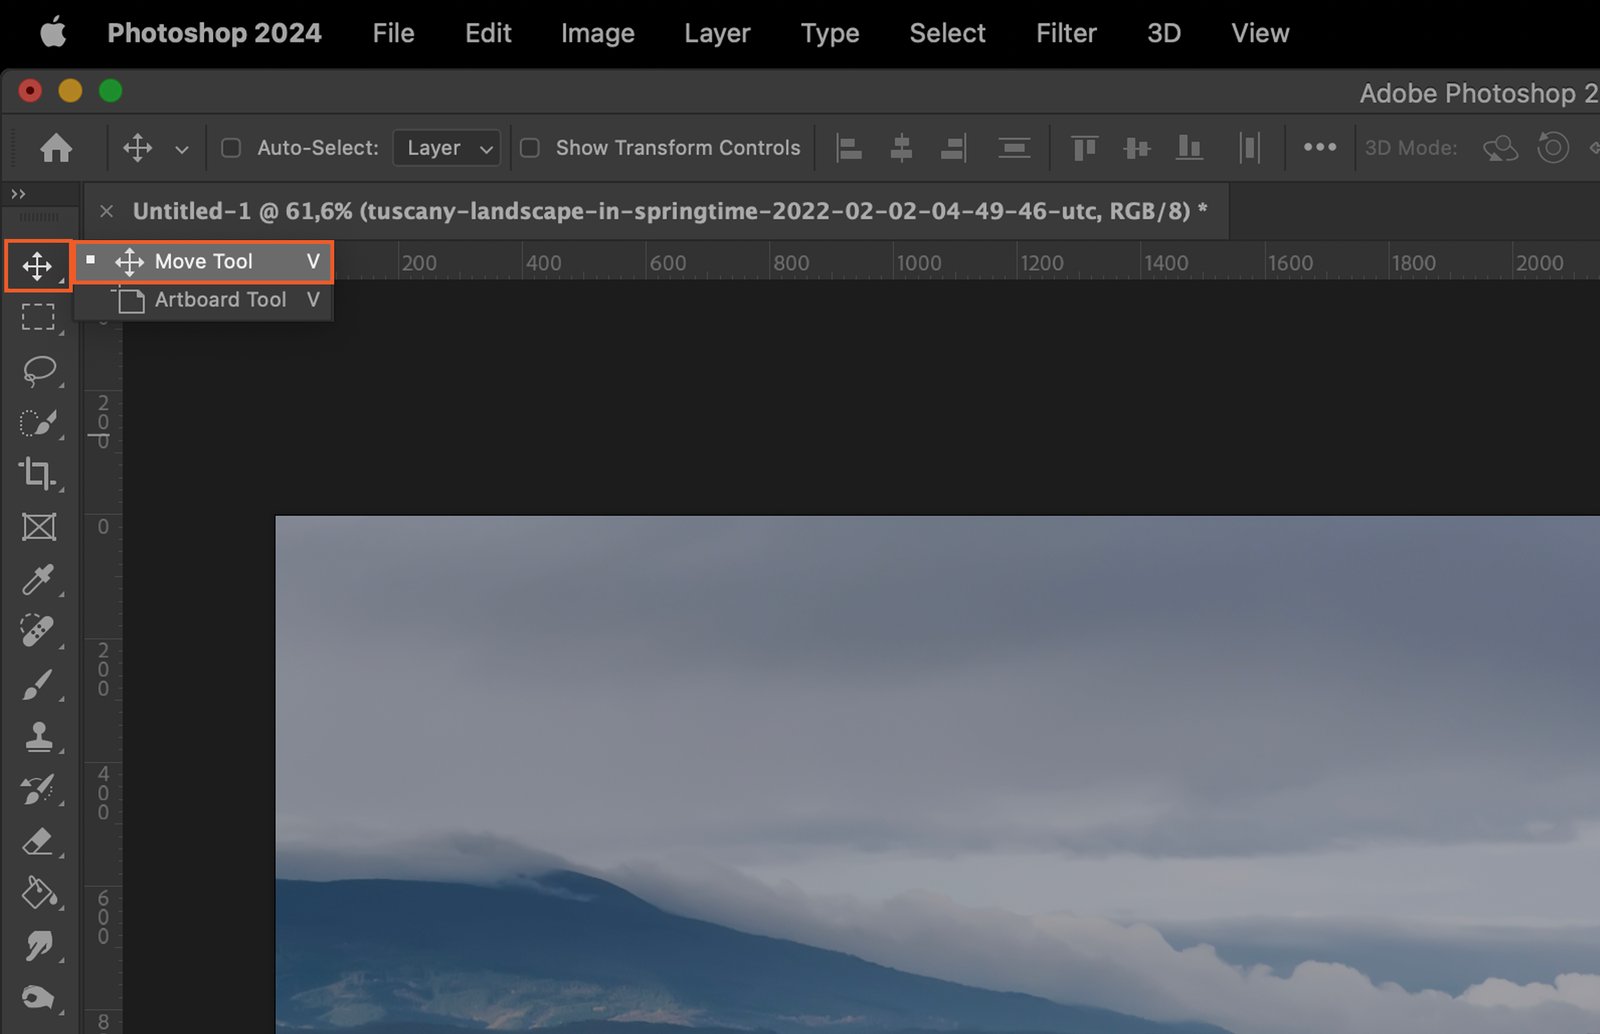
Step 5.2 Using the Move Tool
To move the image, select the “Move Tool” from the toolbar or press V. Click and drag the image to the desired position.