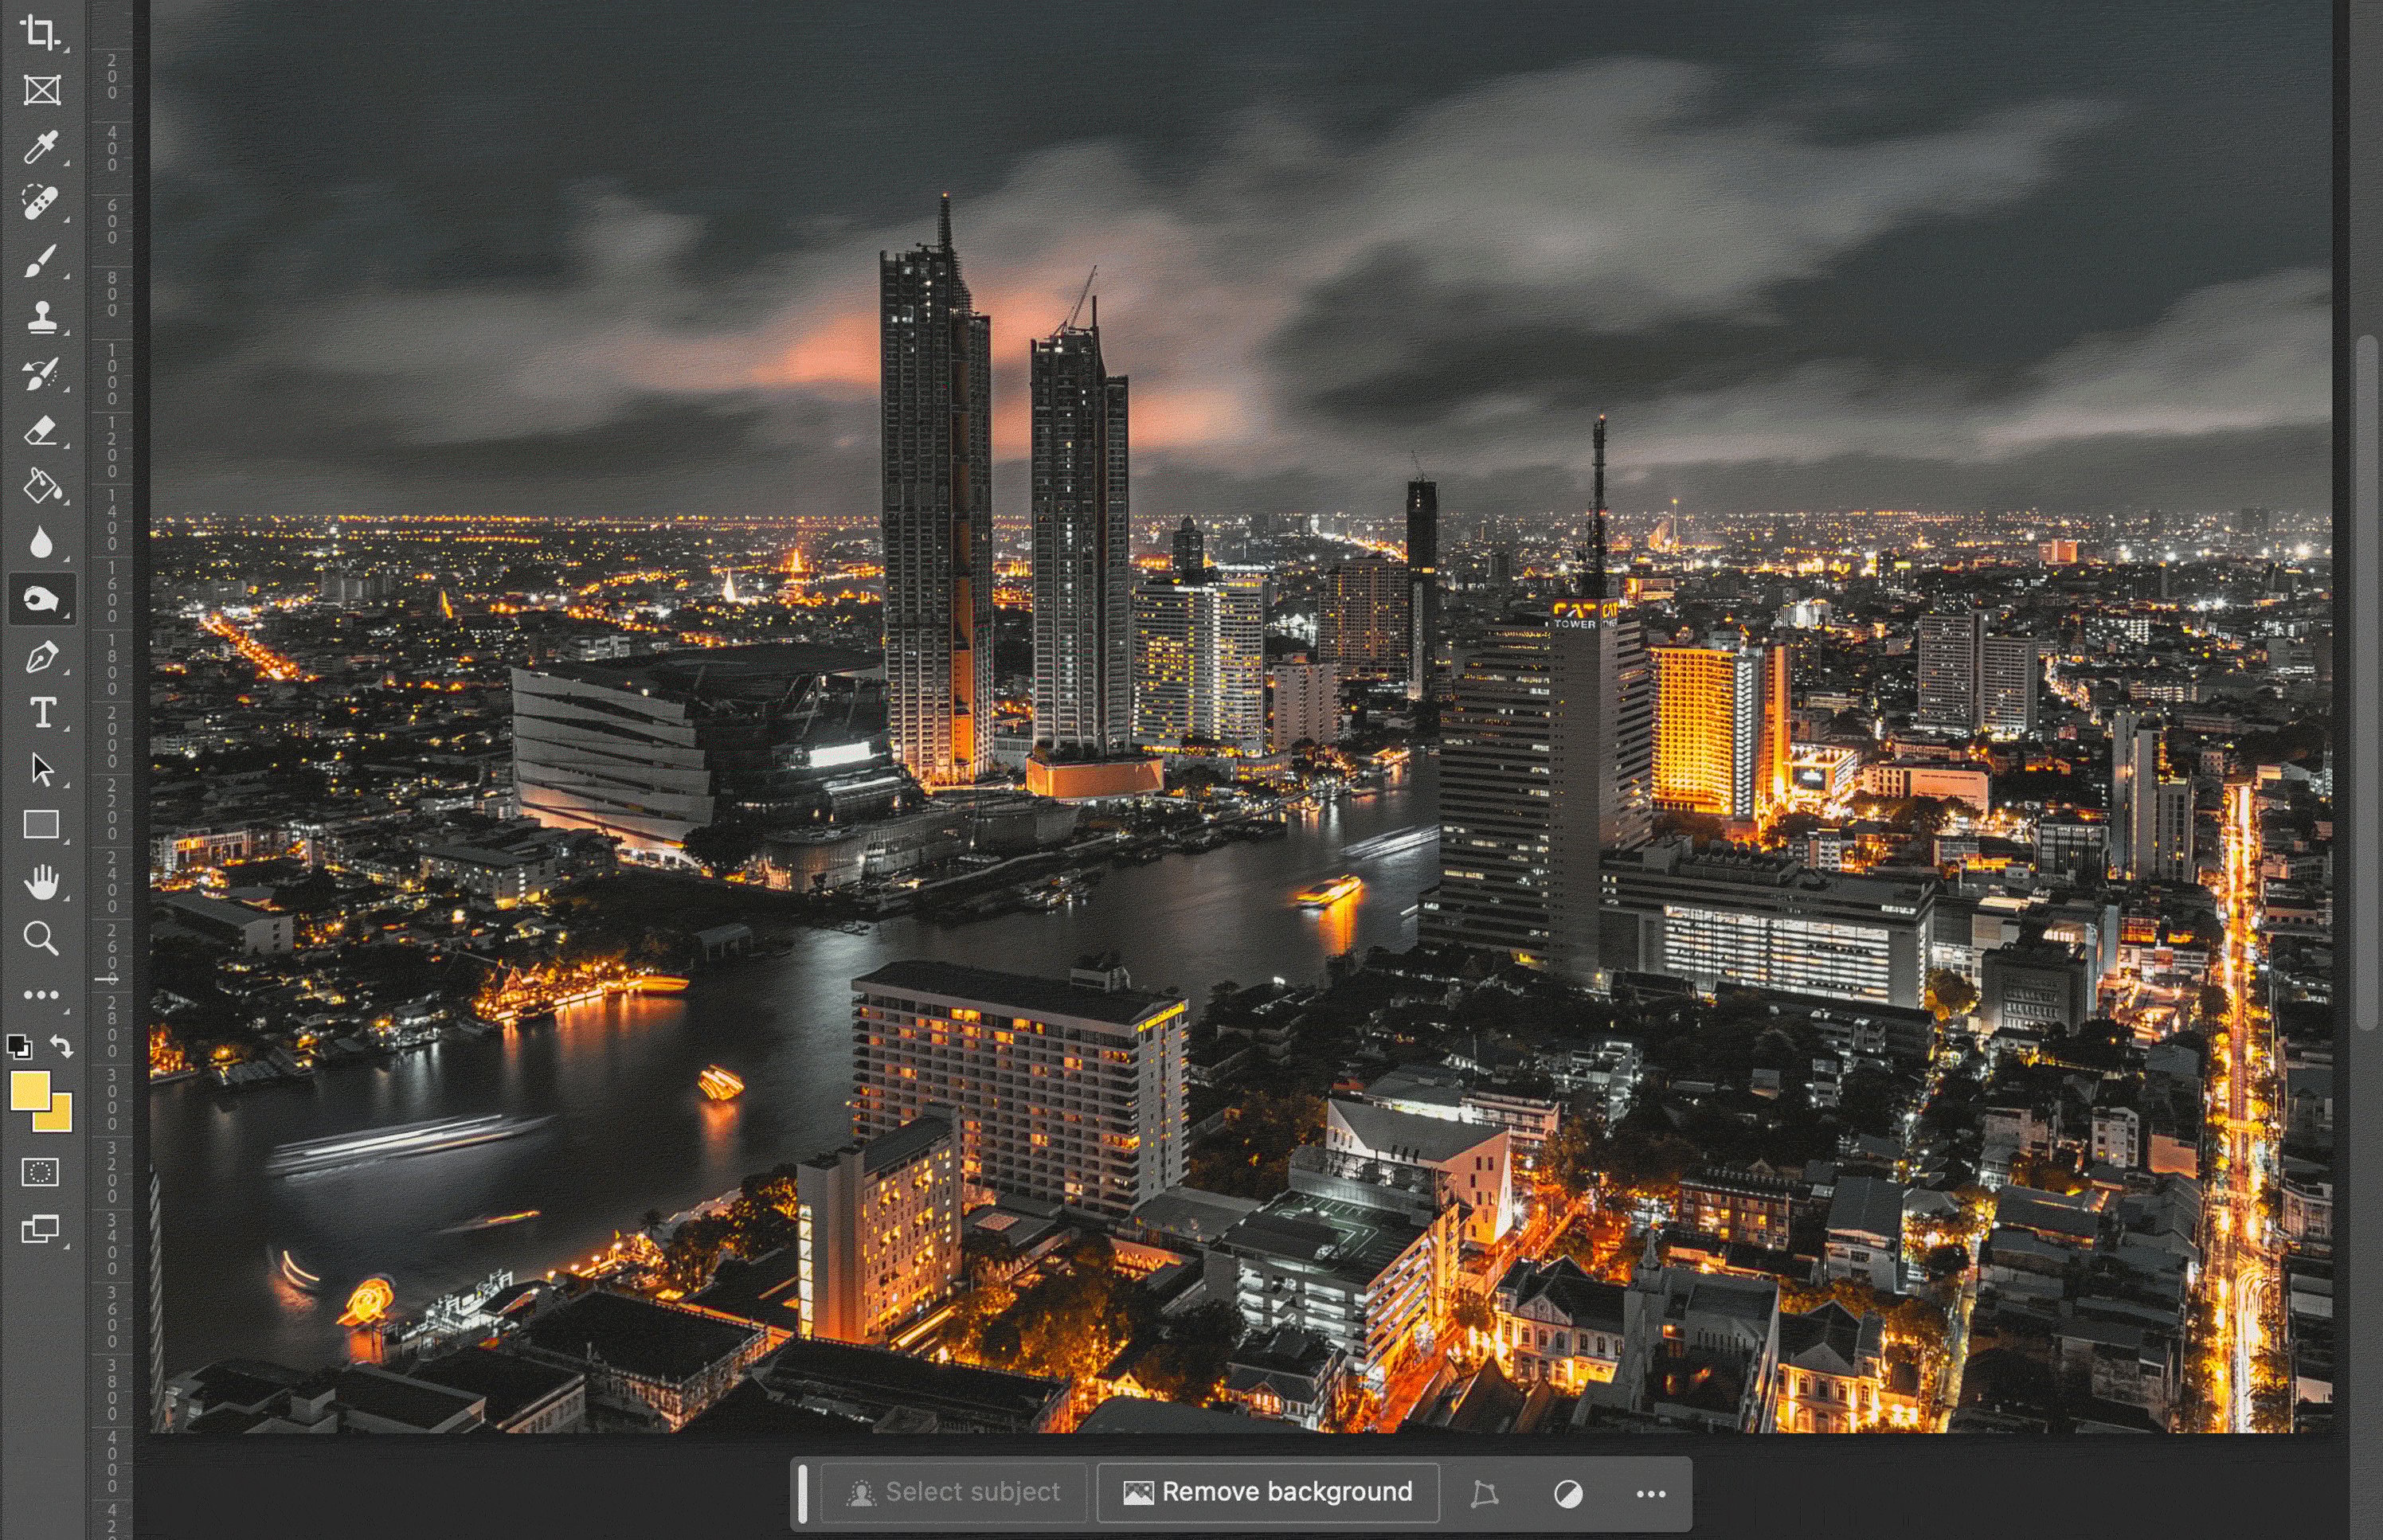
Understanding how to adjust lighting in Photoshop can transform your images from dull to dazzling. This article provides a step-by-step guide to enhance your photos, helping you master the process and save time in your future editing tasks.
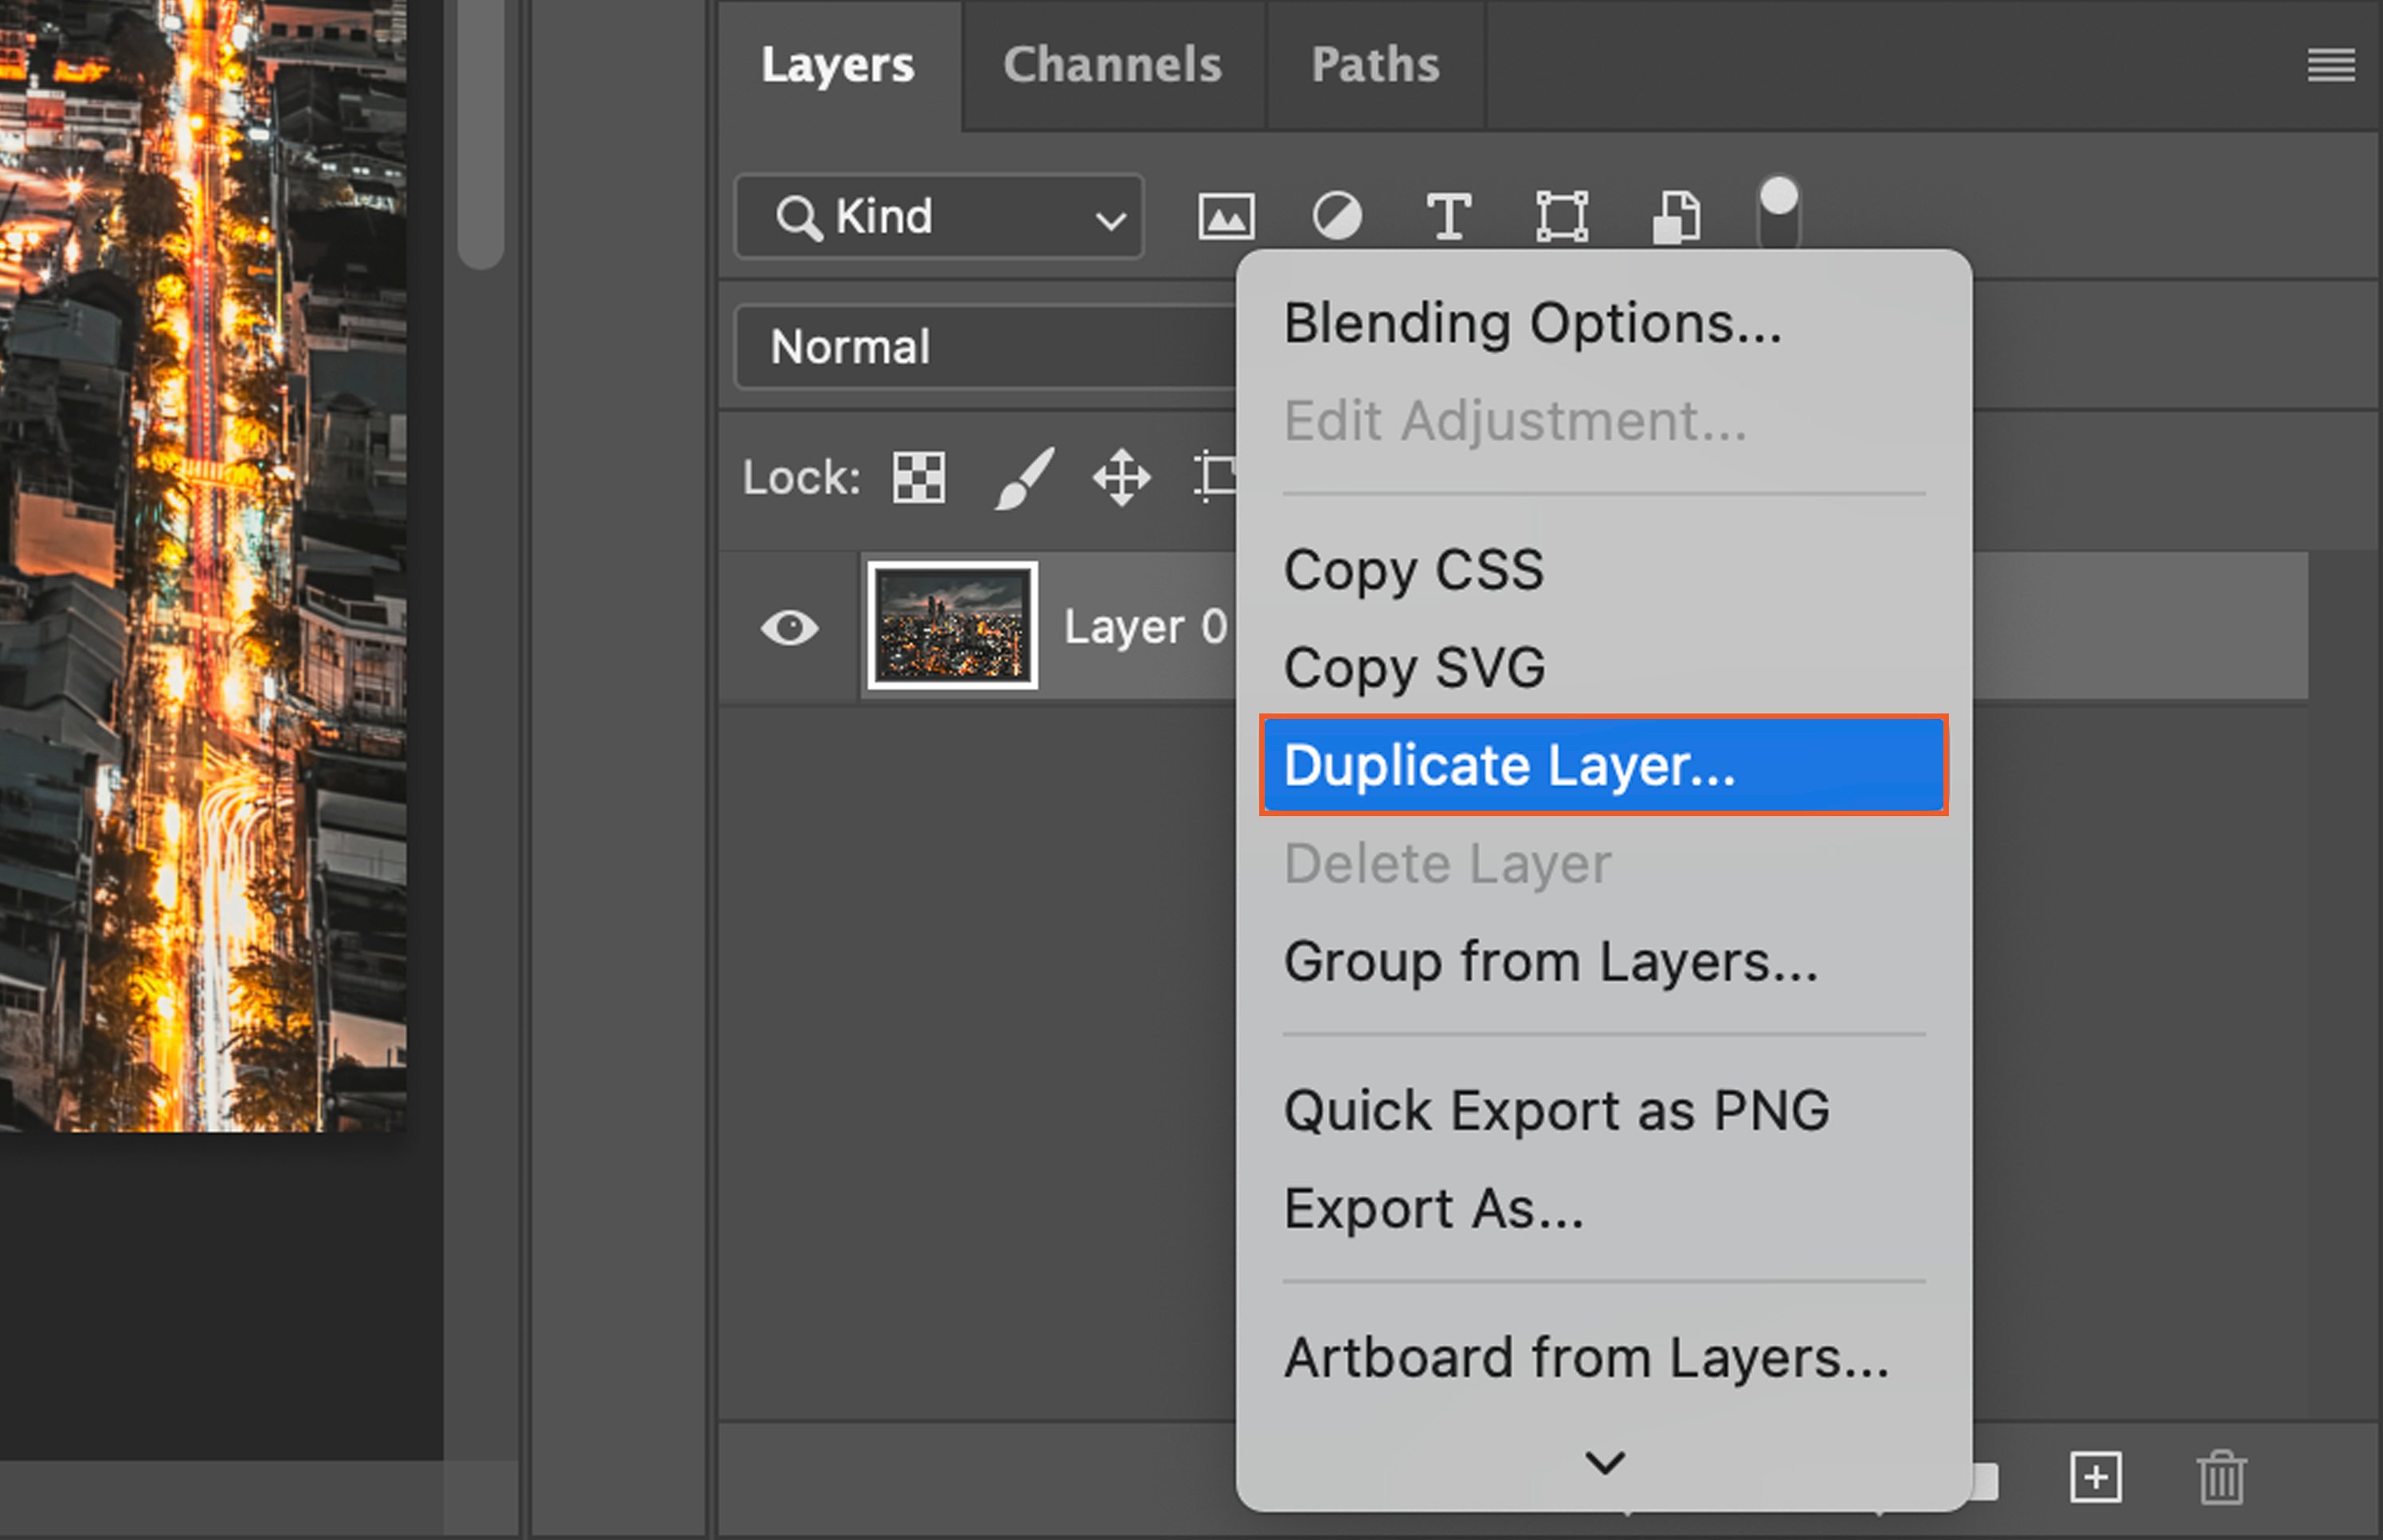
Step 1. Duplicate the Background Layer
Begin by duplicating the background layer. This ensures your original image remains unaltered. Right-click on the background layer in the Layers Panel and select “Duplicate Layer”. Rename it if you wish.
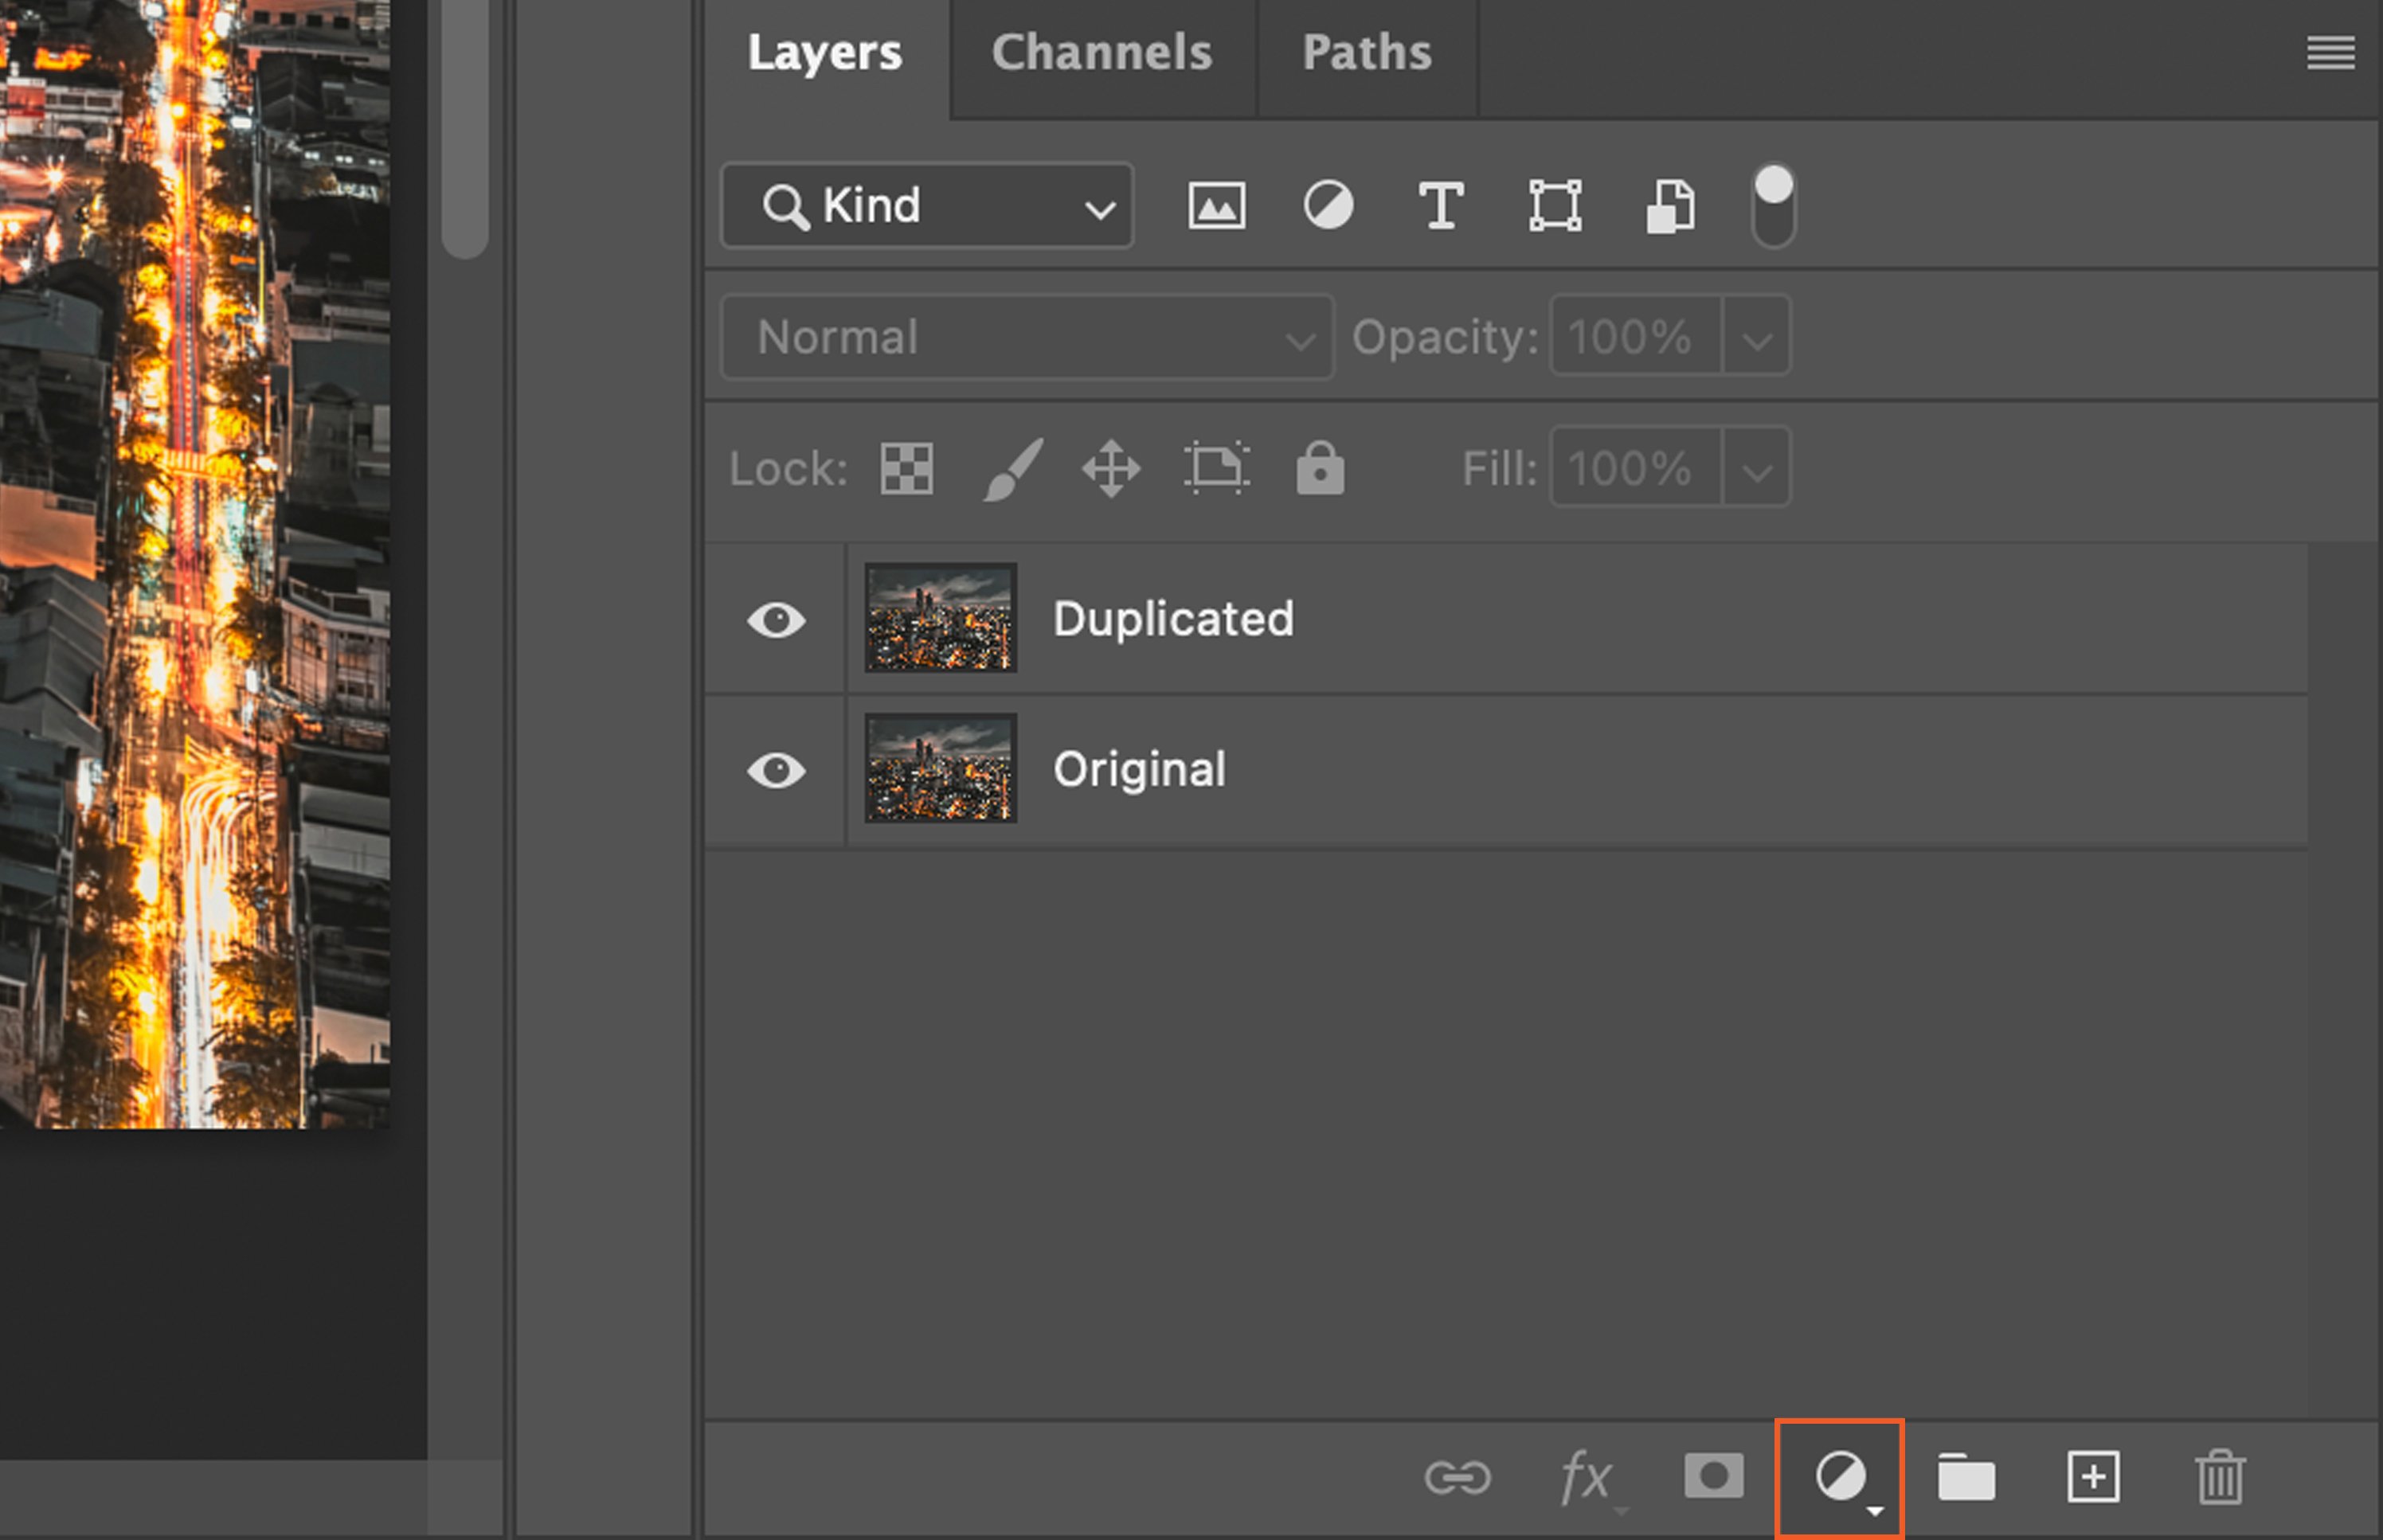
Step 2. Choose the Adjustment Layer
Next, select the Adjustment Layer. This is done by clicking on the half-filled circle at the bottom of the Layers Panel. A list of options will appear.
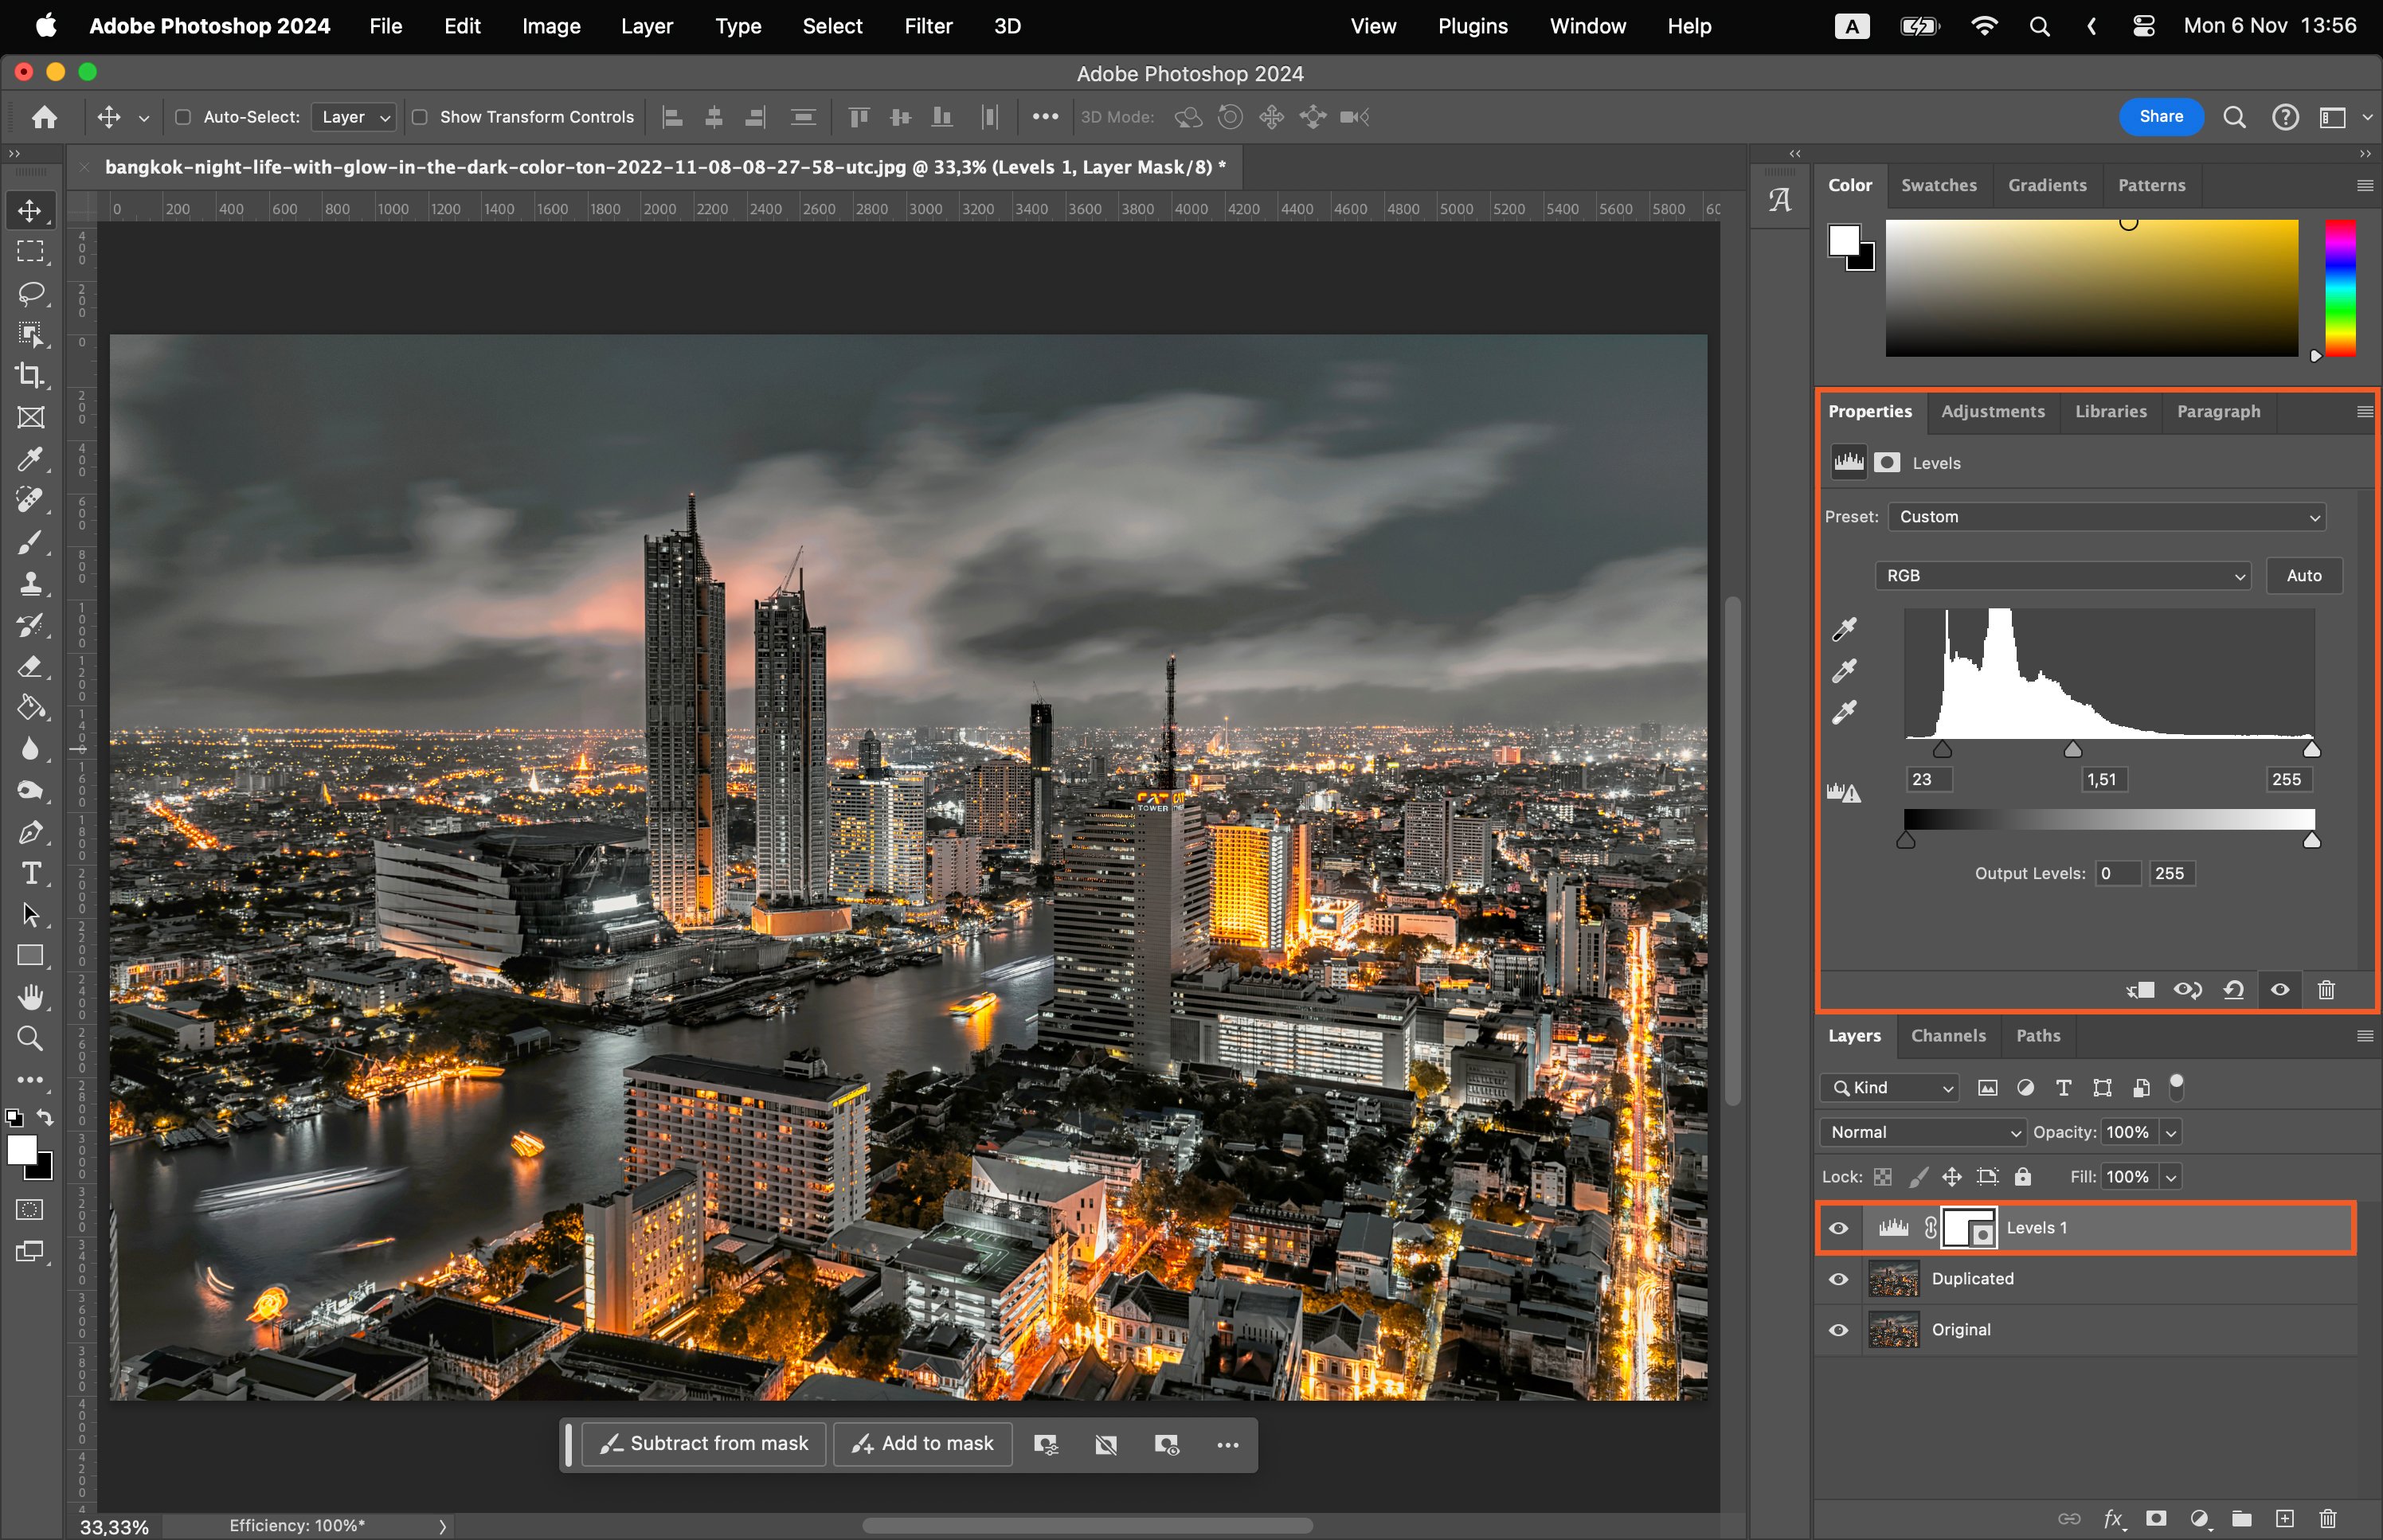
Step 2.1. Levels Adjustment Layer
Choose “Levels”. This will open a new panel where you can adjust the tonal range of your image.
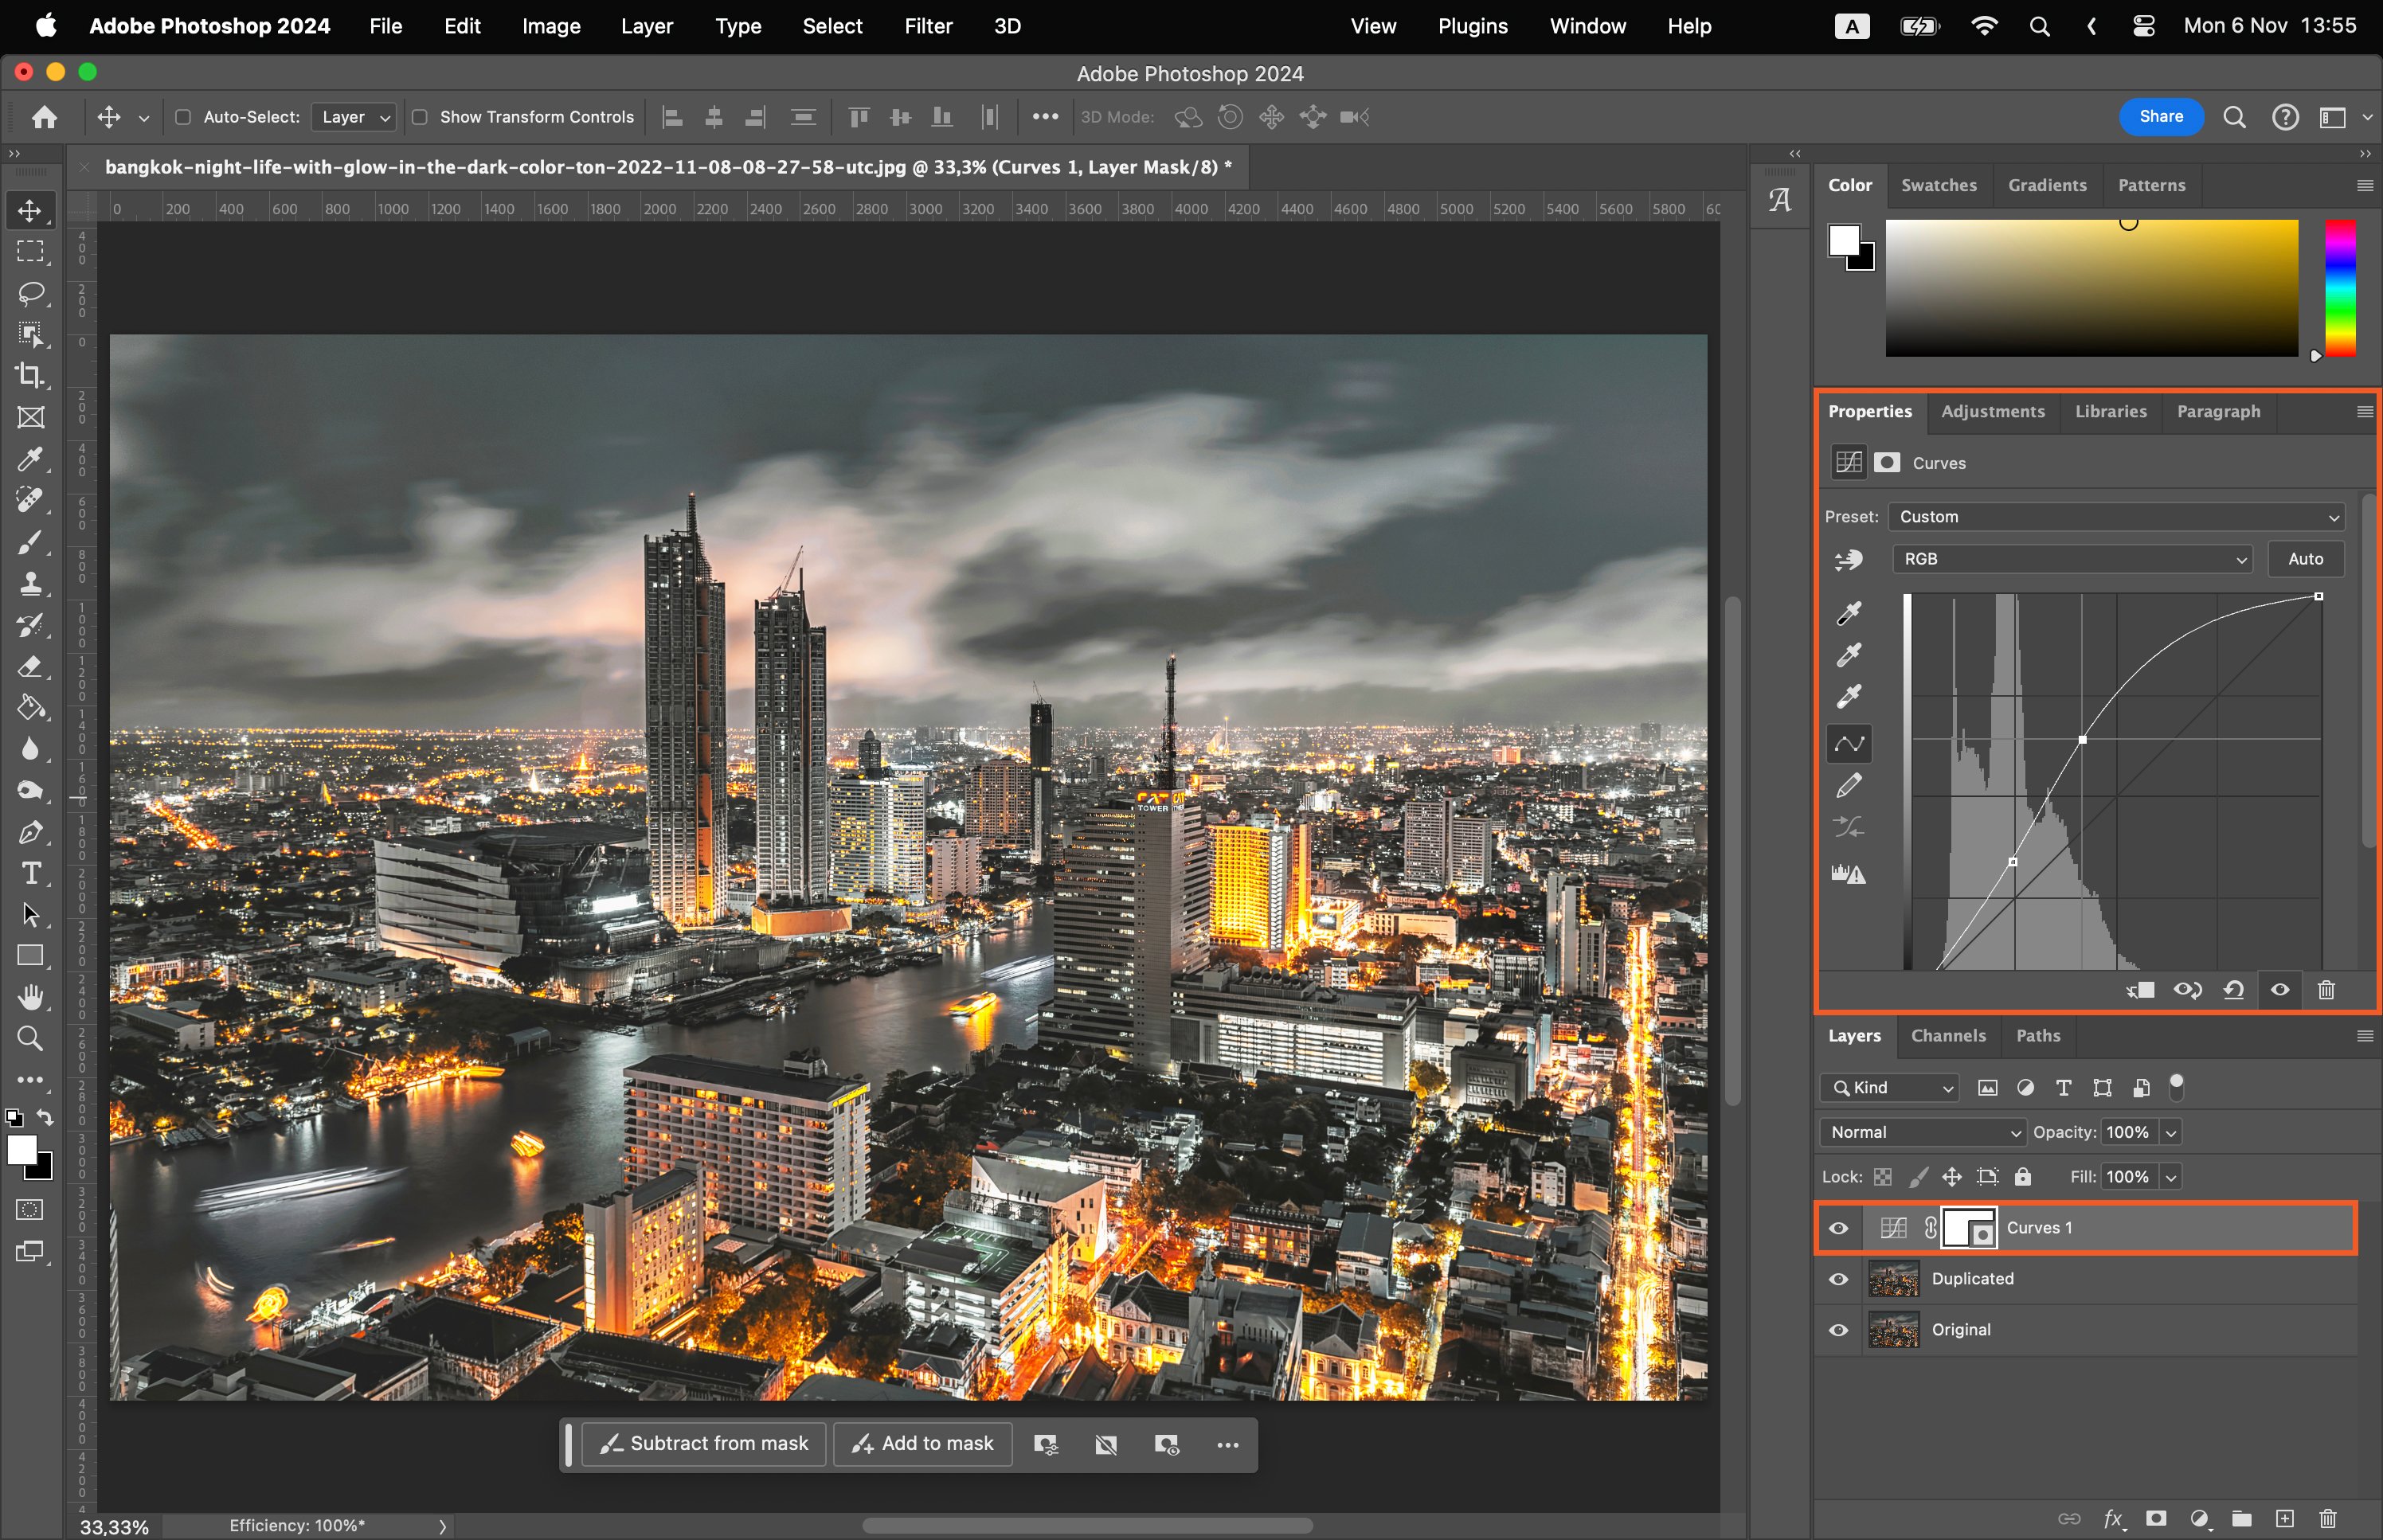
Step 2.2. Curves Adjustment Layer
Select “Curves” to adjust the brightness and contrast of your image. Use the curve graph to make adjustments.
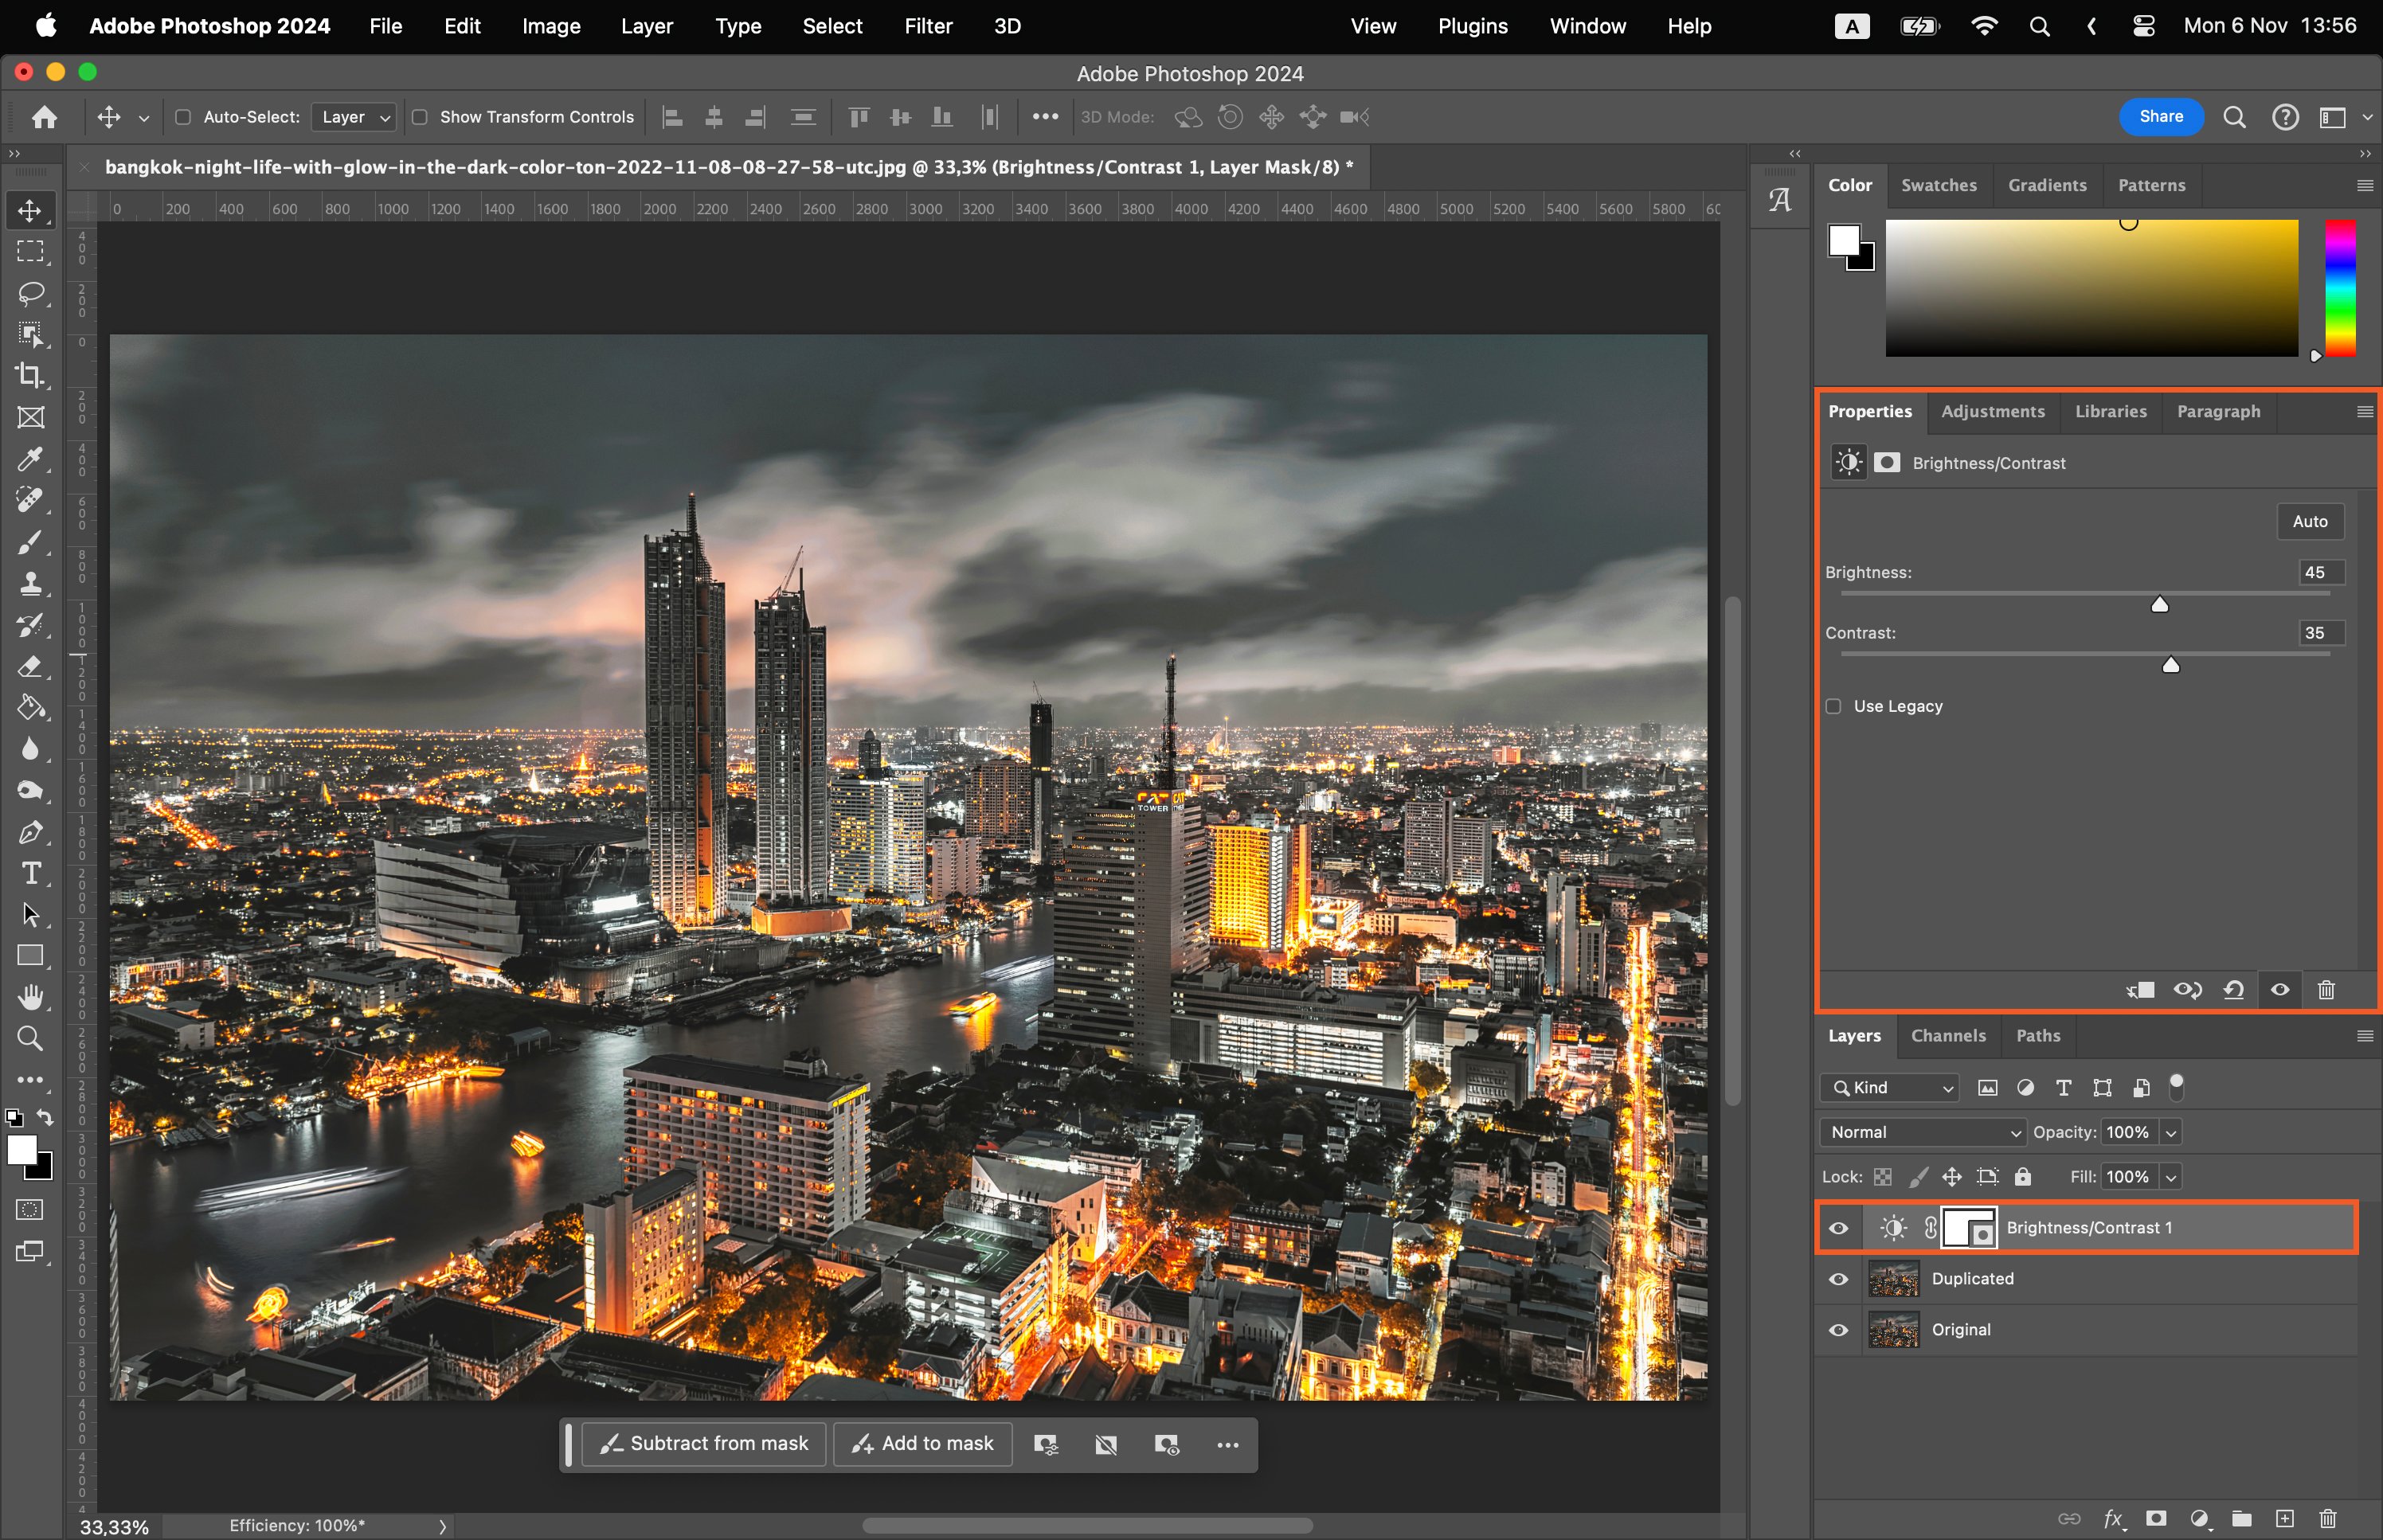
Step 2.3. Brightness/Contrast Adjustment Layer
Choose “Brightness/Contrast”. Adjust the sliders to control the light and dark areas of your image.
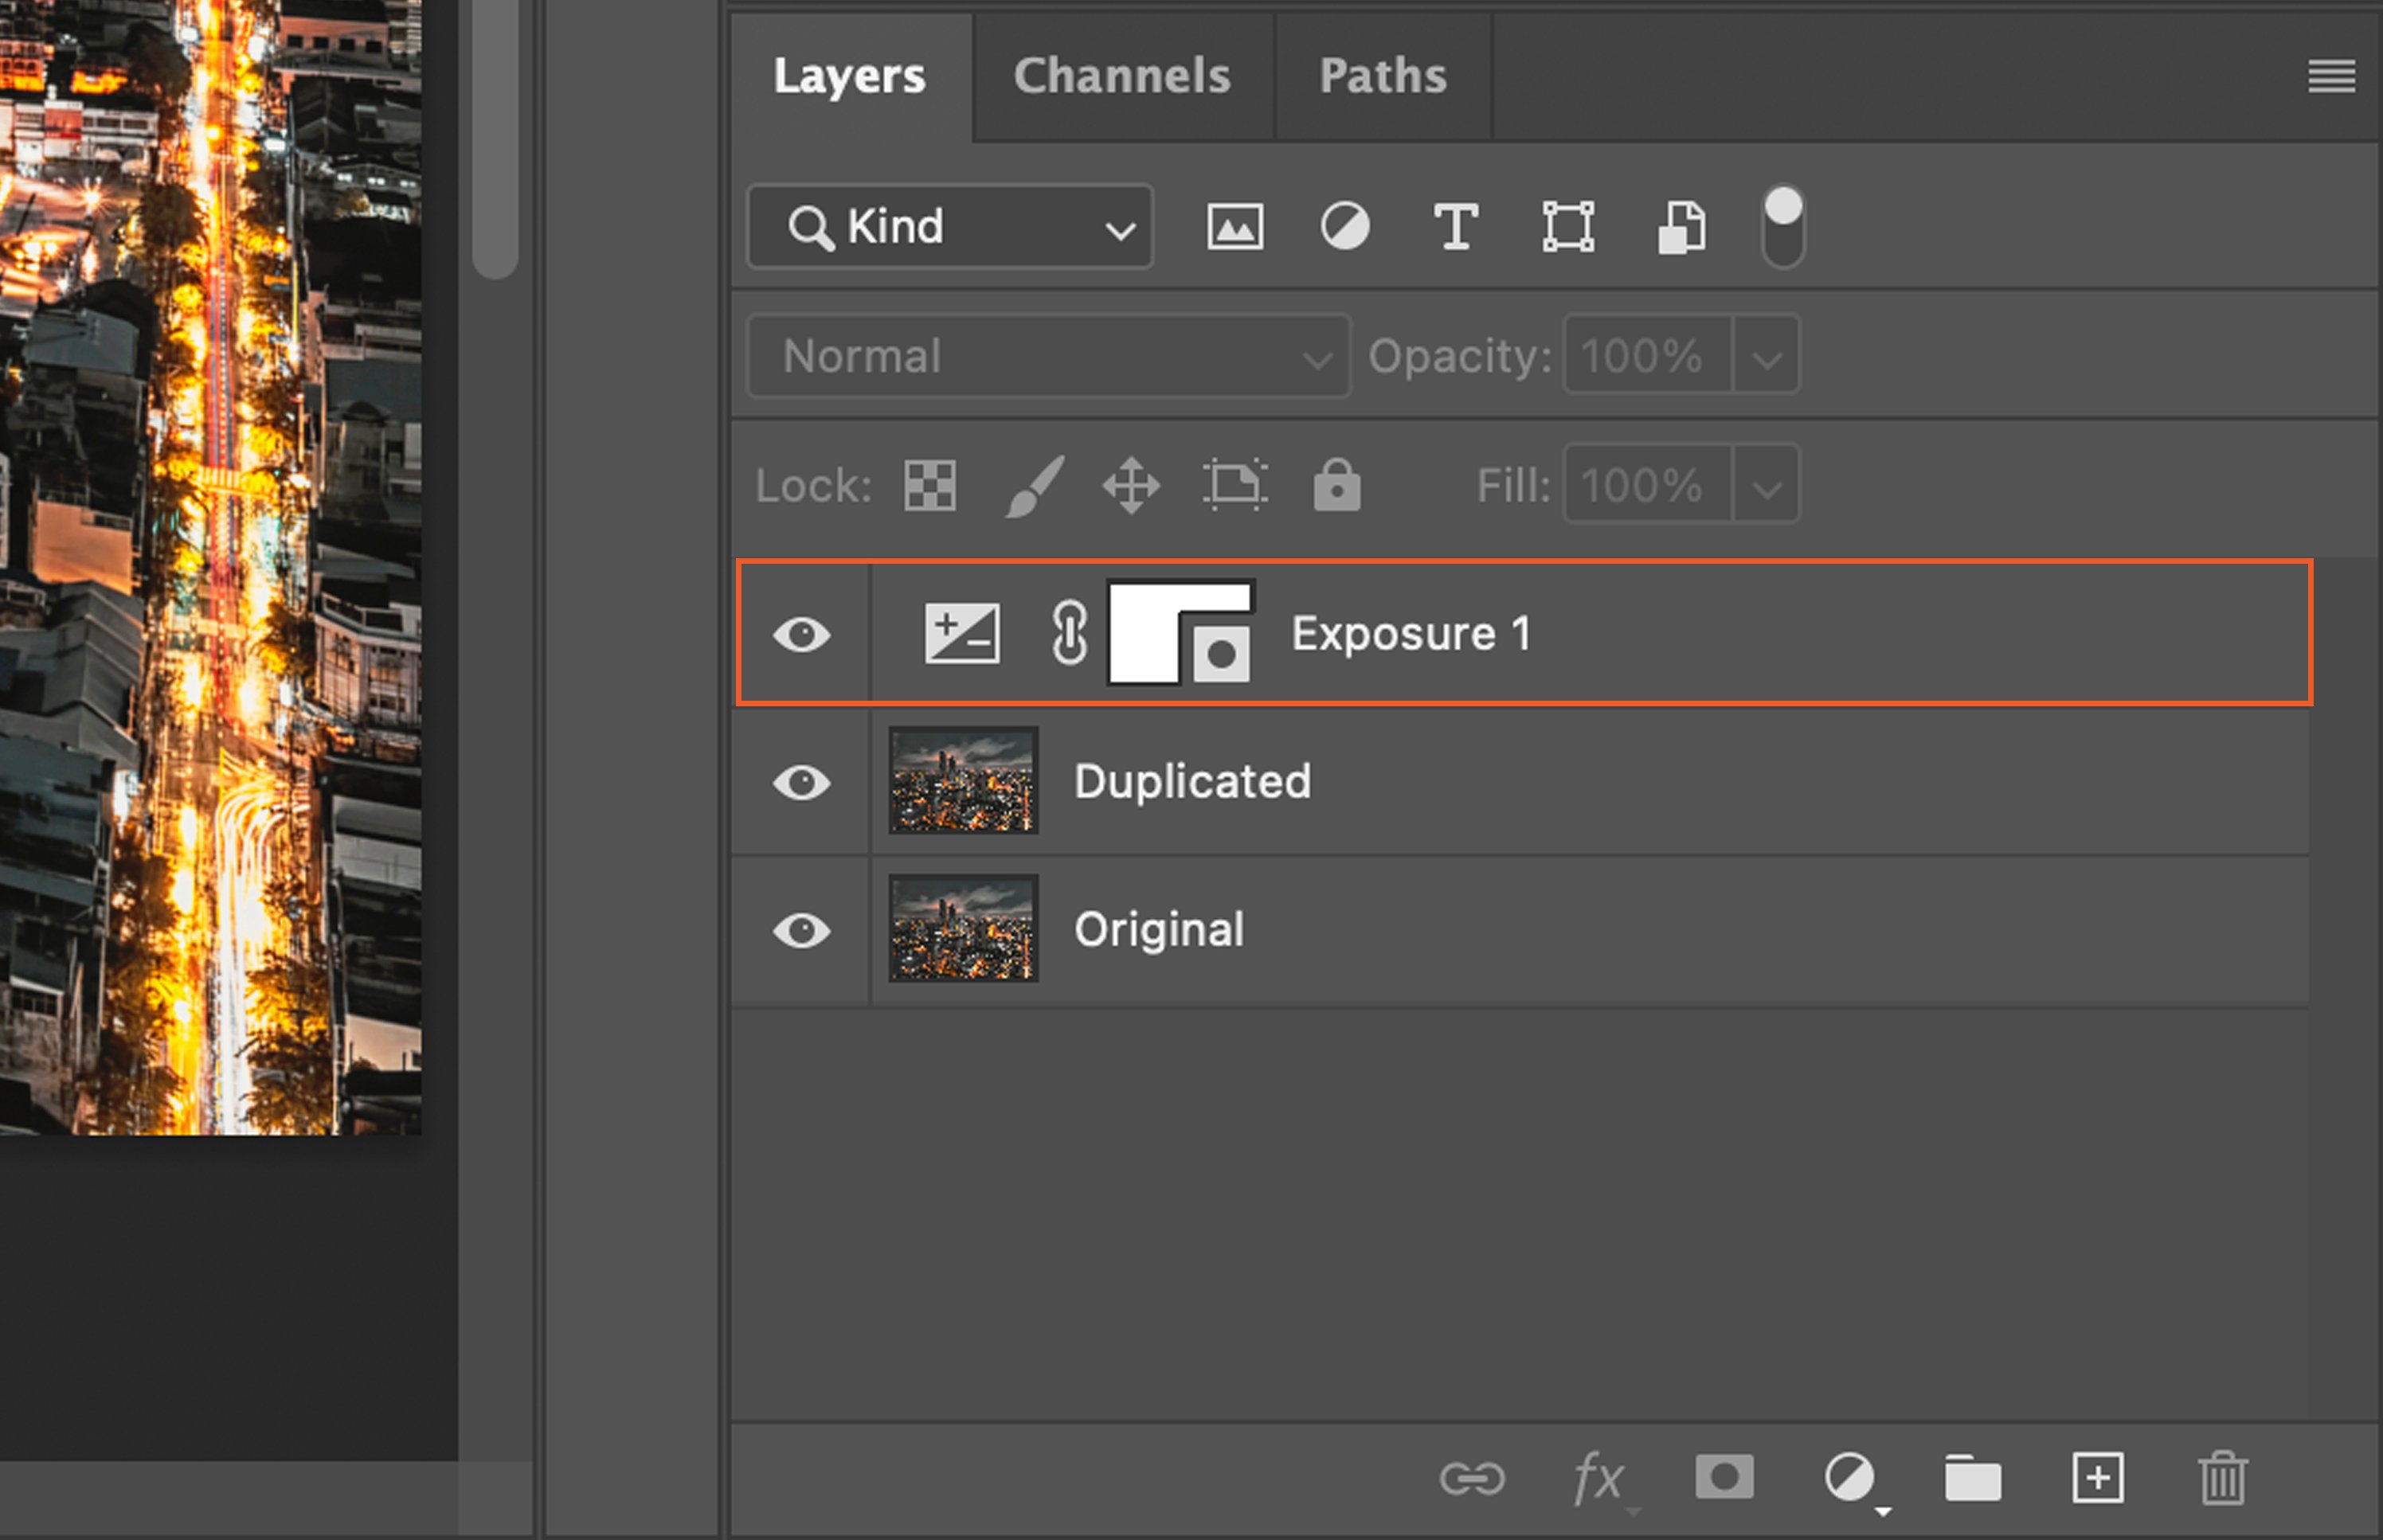
Step 2.4. Exposure Adjustment Layer
Select “Exposure” to control the lightness or darkness of your image. Use the sliders to adjust.
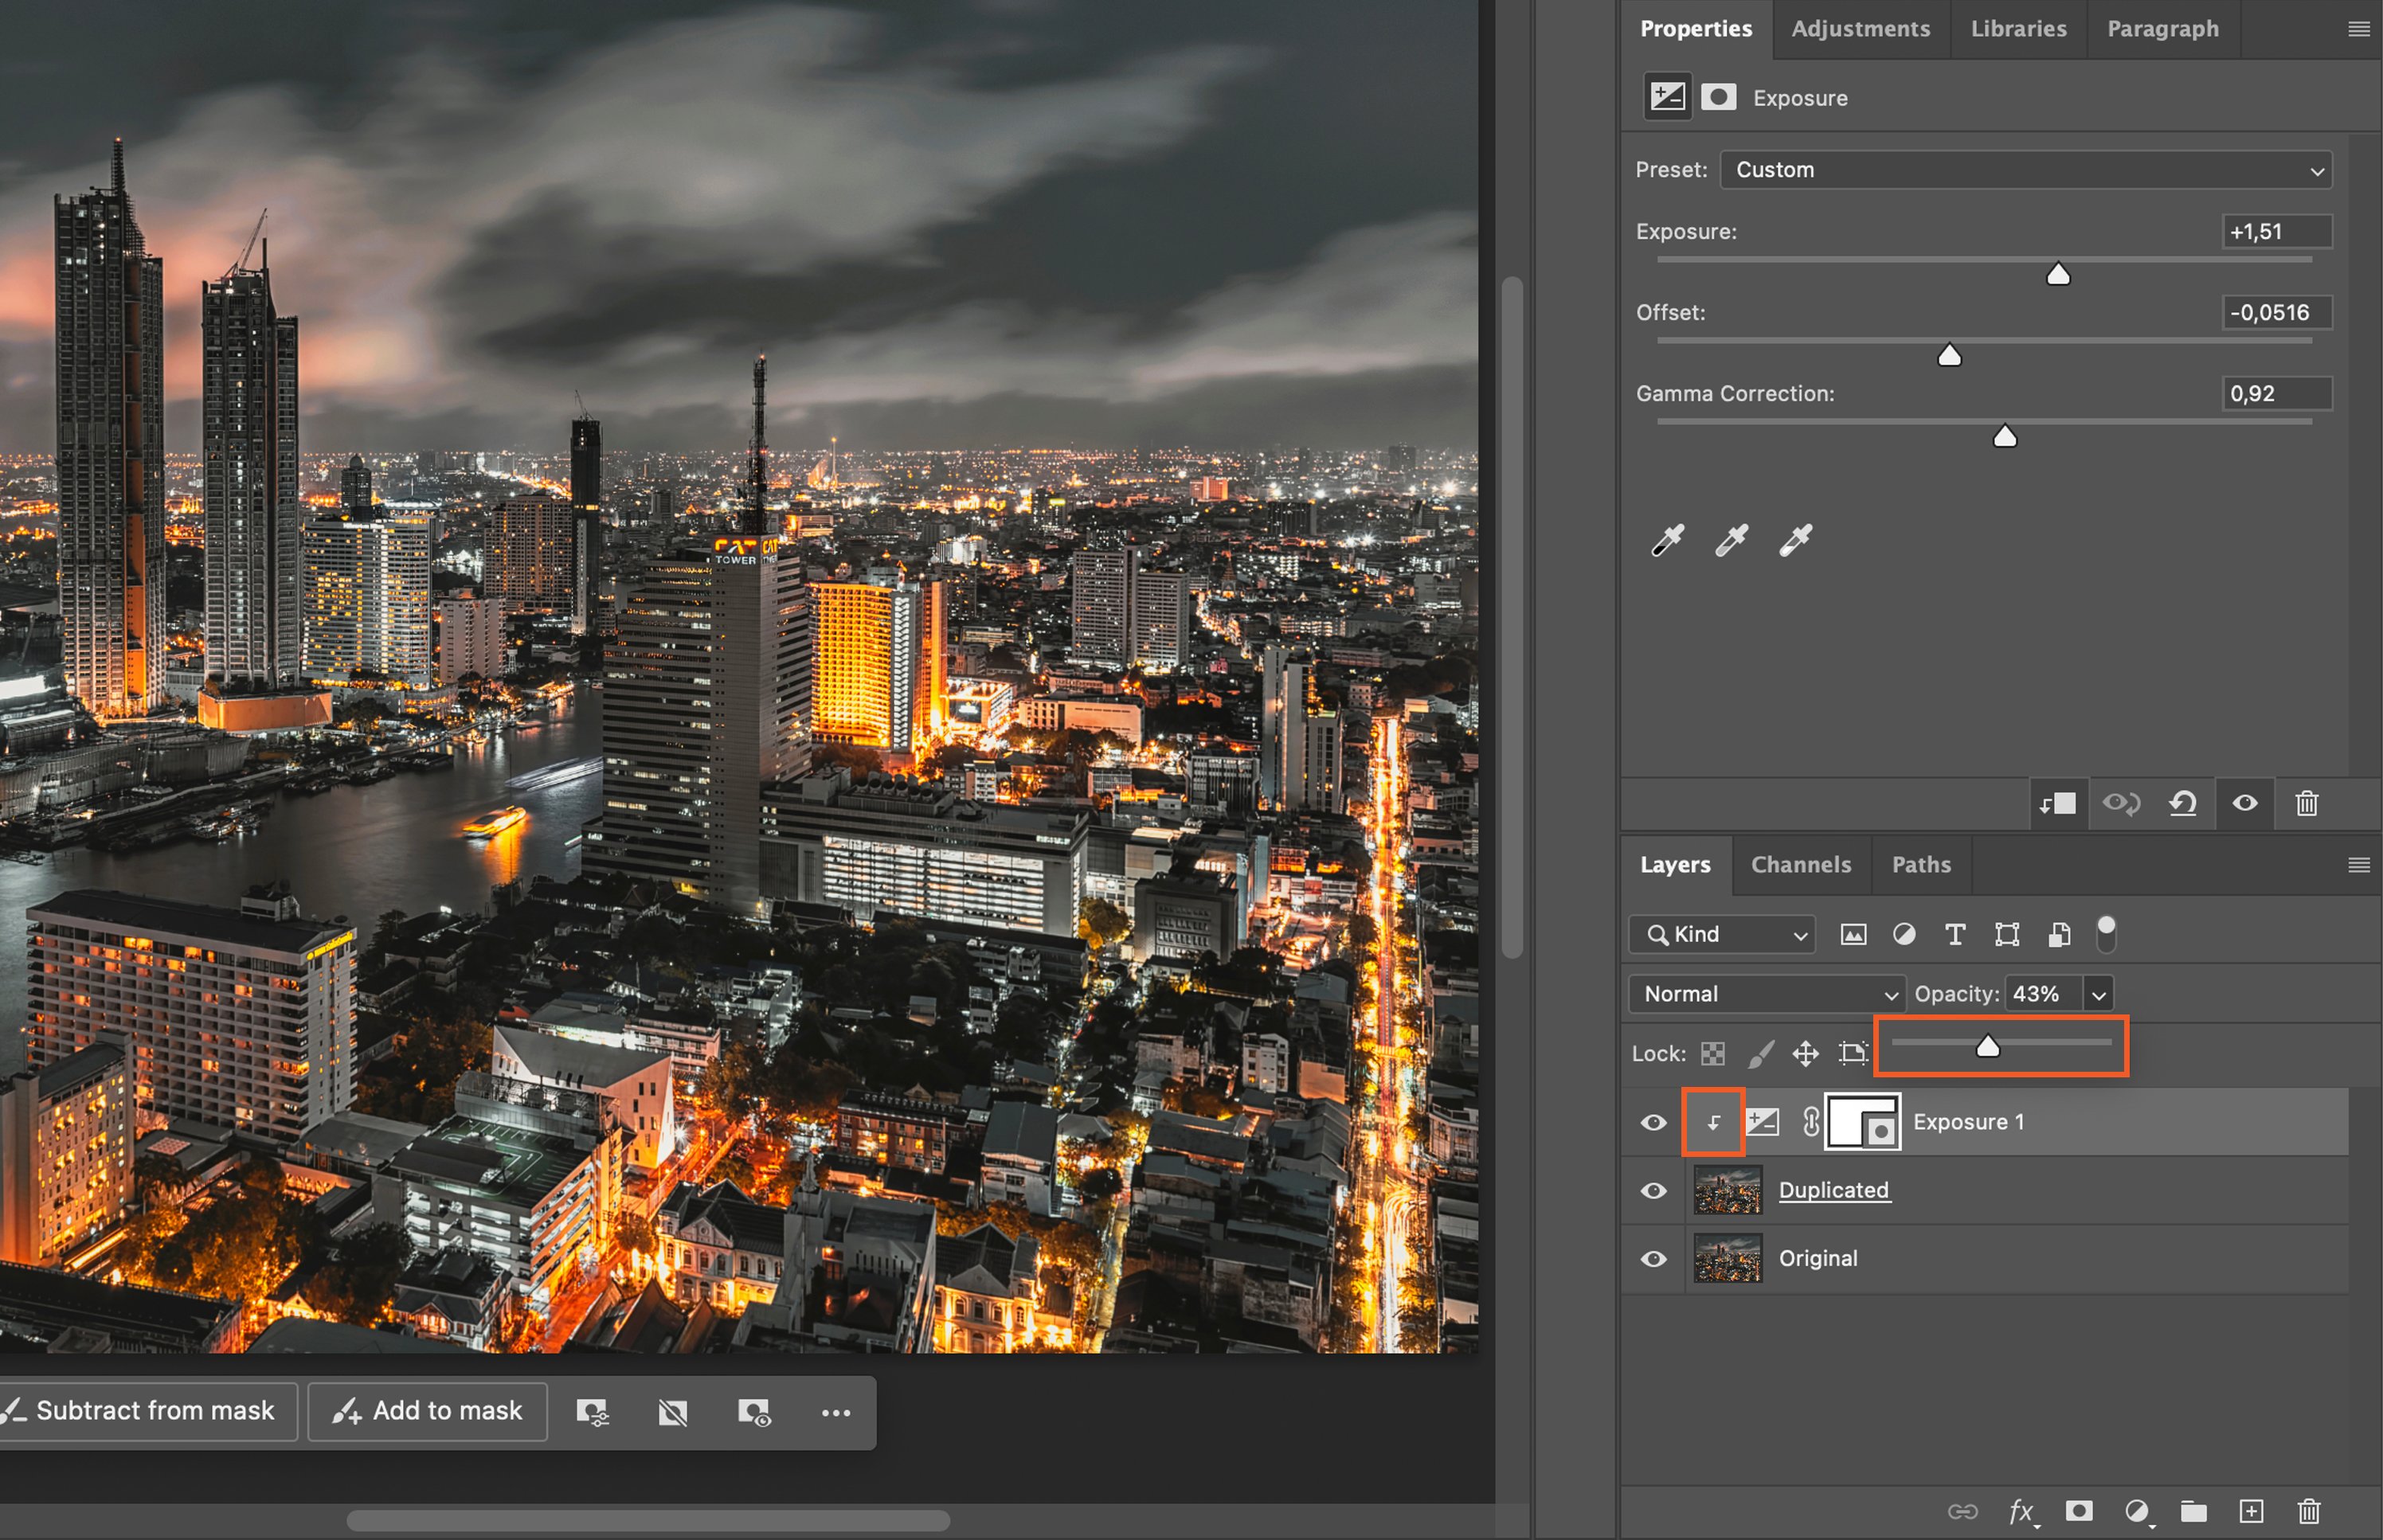
Step 3. Fine-Tune the Lighting Adjustment
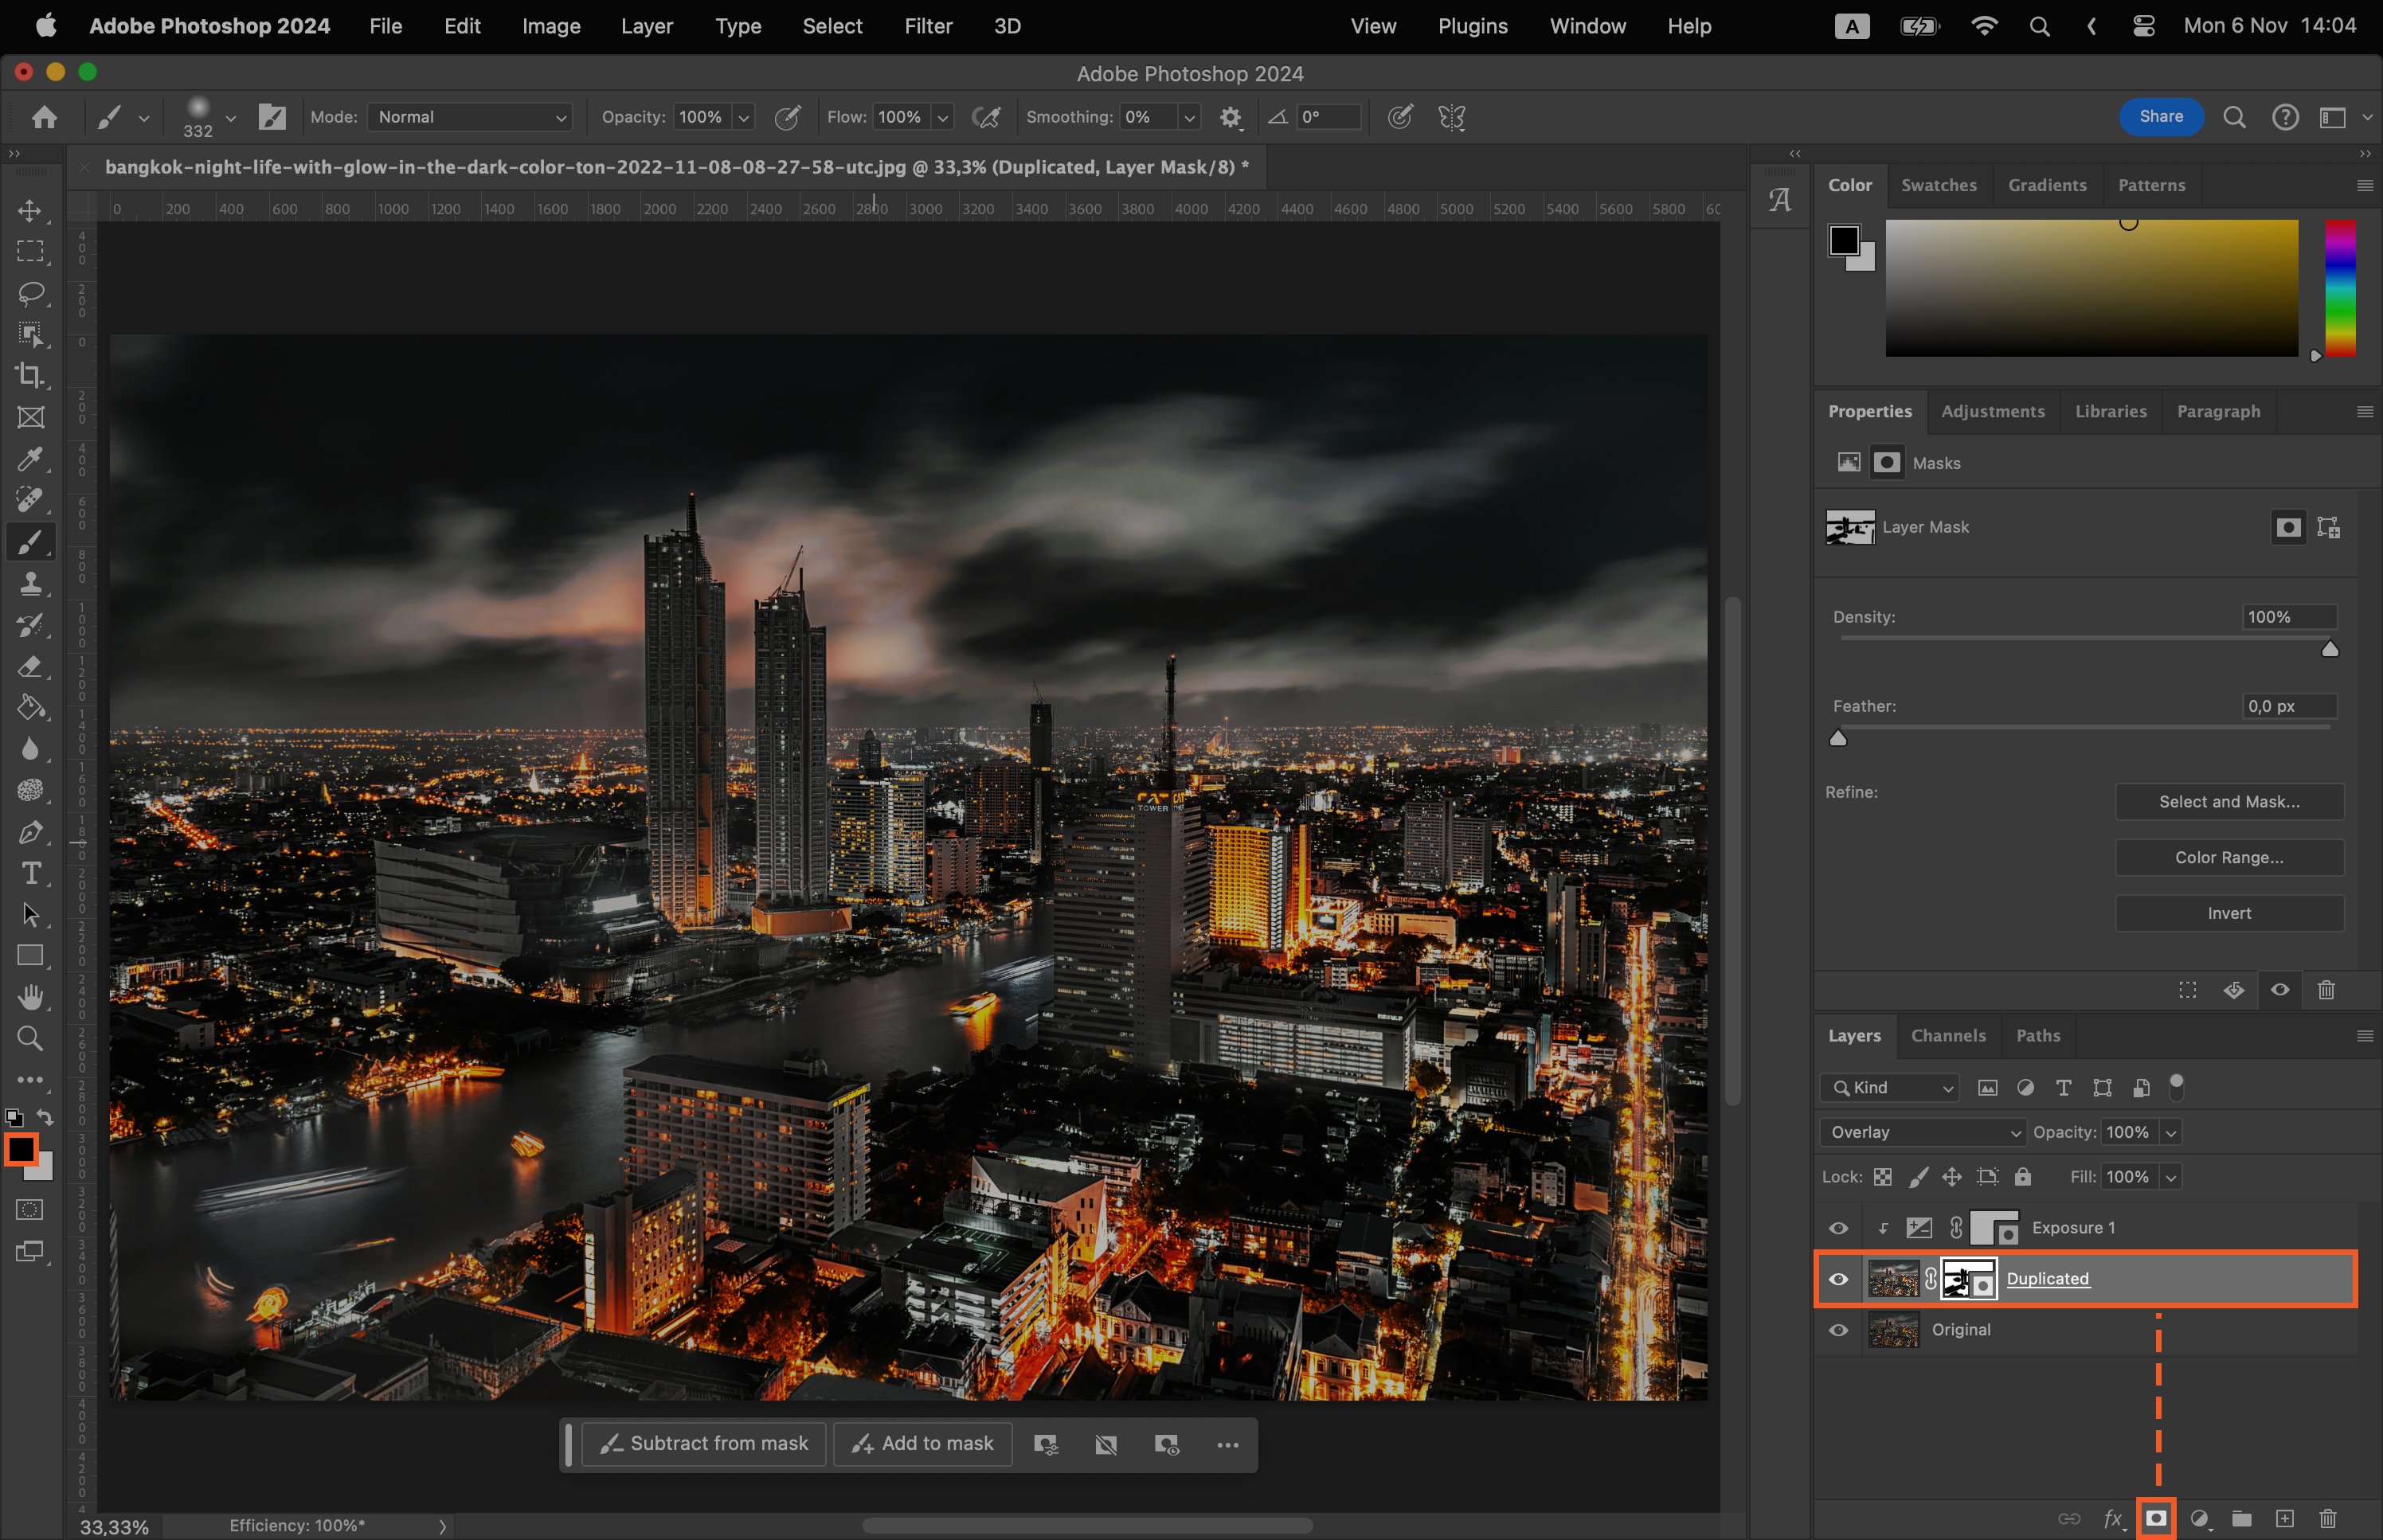
Hold ALT or Option and click between your layers to connect them. This way only your duplicated layer will get adjusted. Use the Opacity slider in the Layers Panel to fine-tune your lighting adjustments. Lowering the opacity will reduce the effect of your adjustments.
Step 4. Use the Dodge and Burn Tools
The Dodge and Burn tools allow you to lighten or darken specific areas of your image.
Step 4.1. Dodging
Select the Dodge tool, choose the desired brush size, and apply it to areas you want to lighten.
Step 4.2. Burning
Choose the Burn tool, adjust the brush size, and apply it to areas you want to darken.
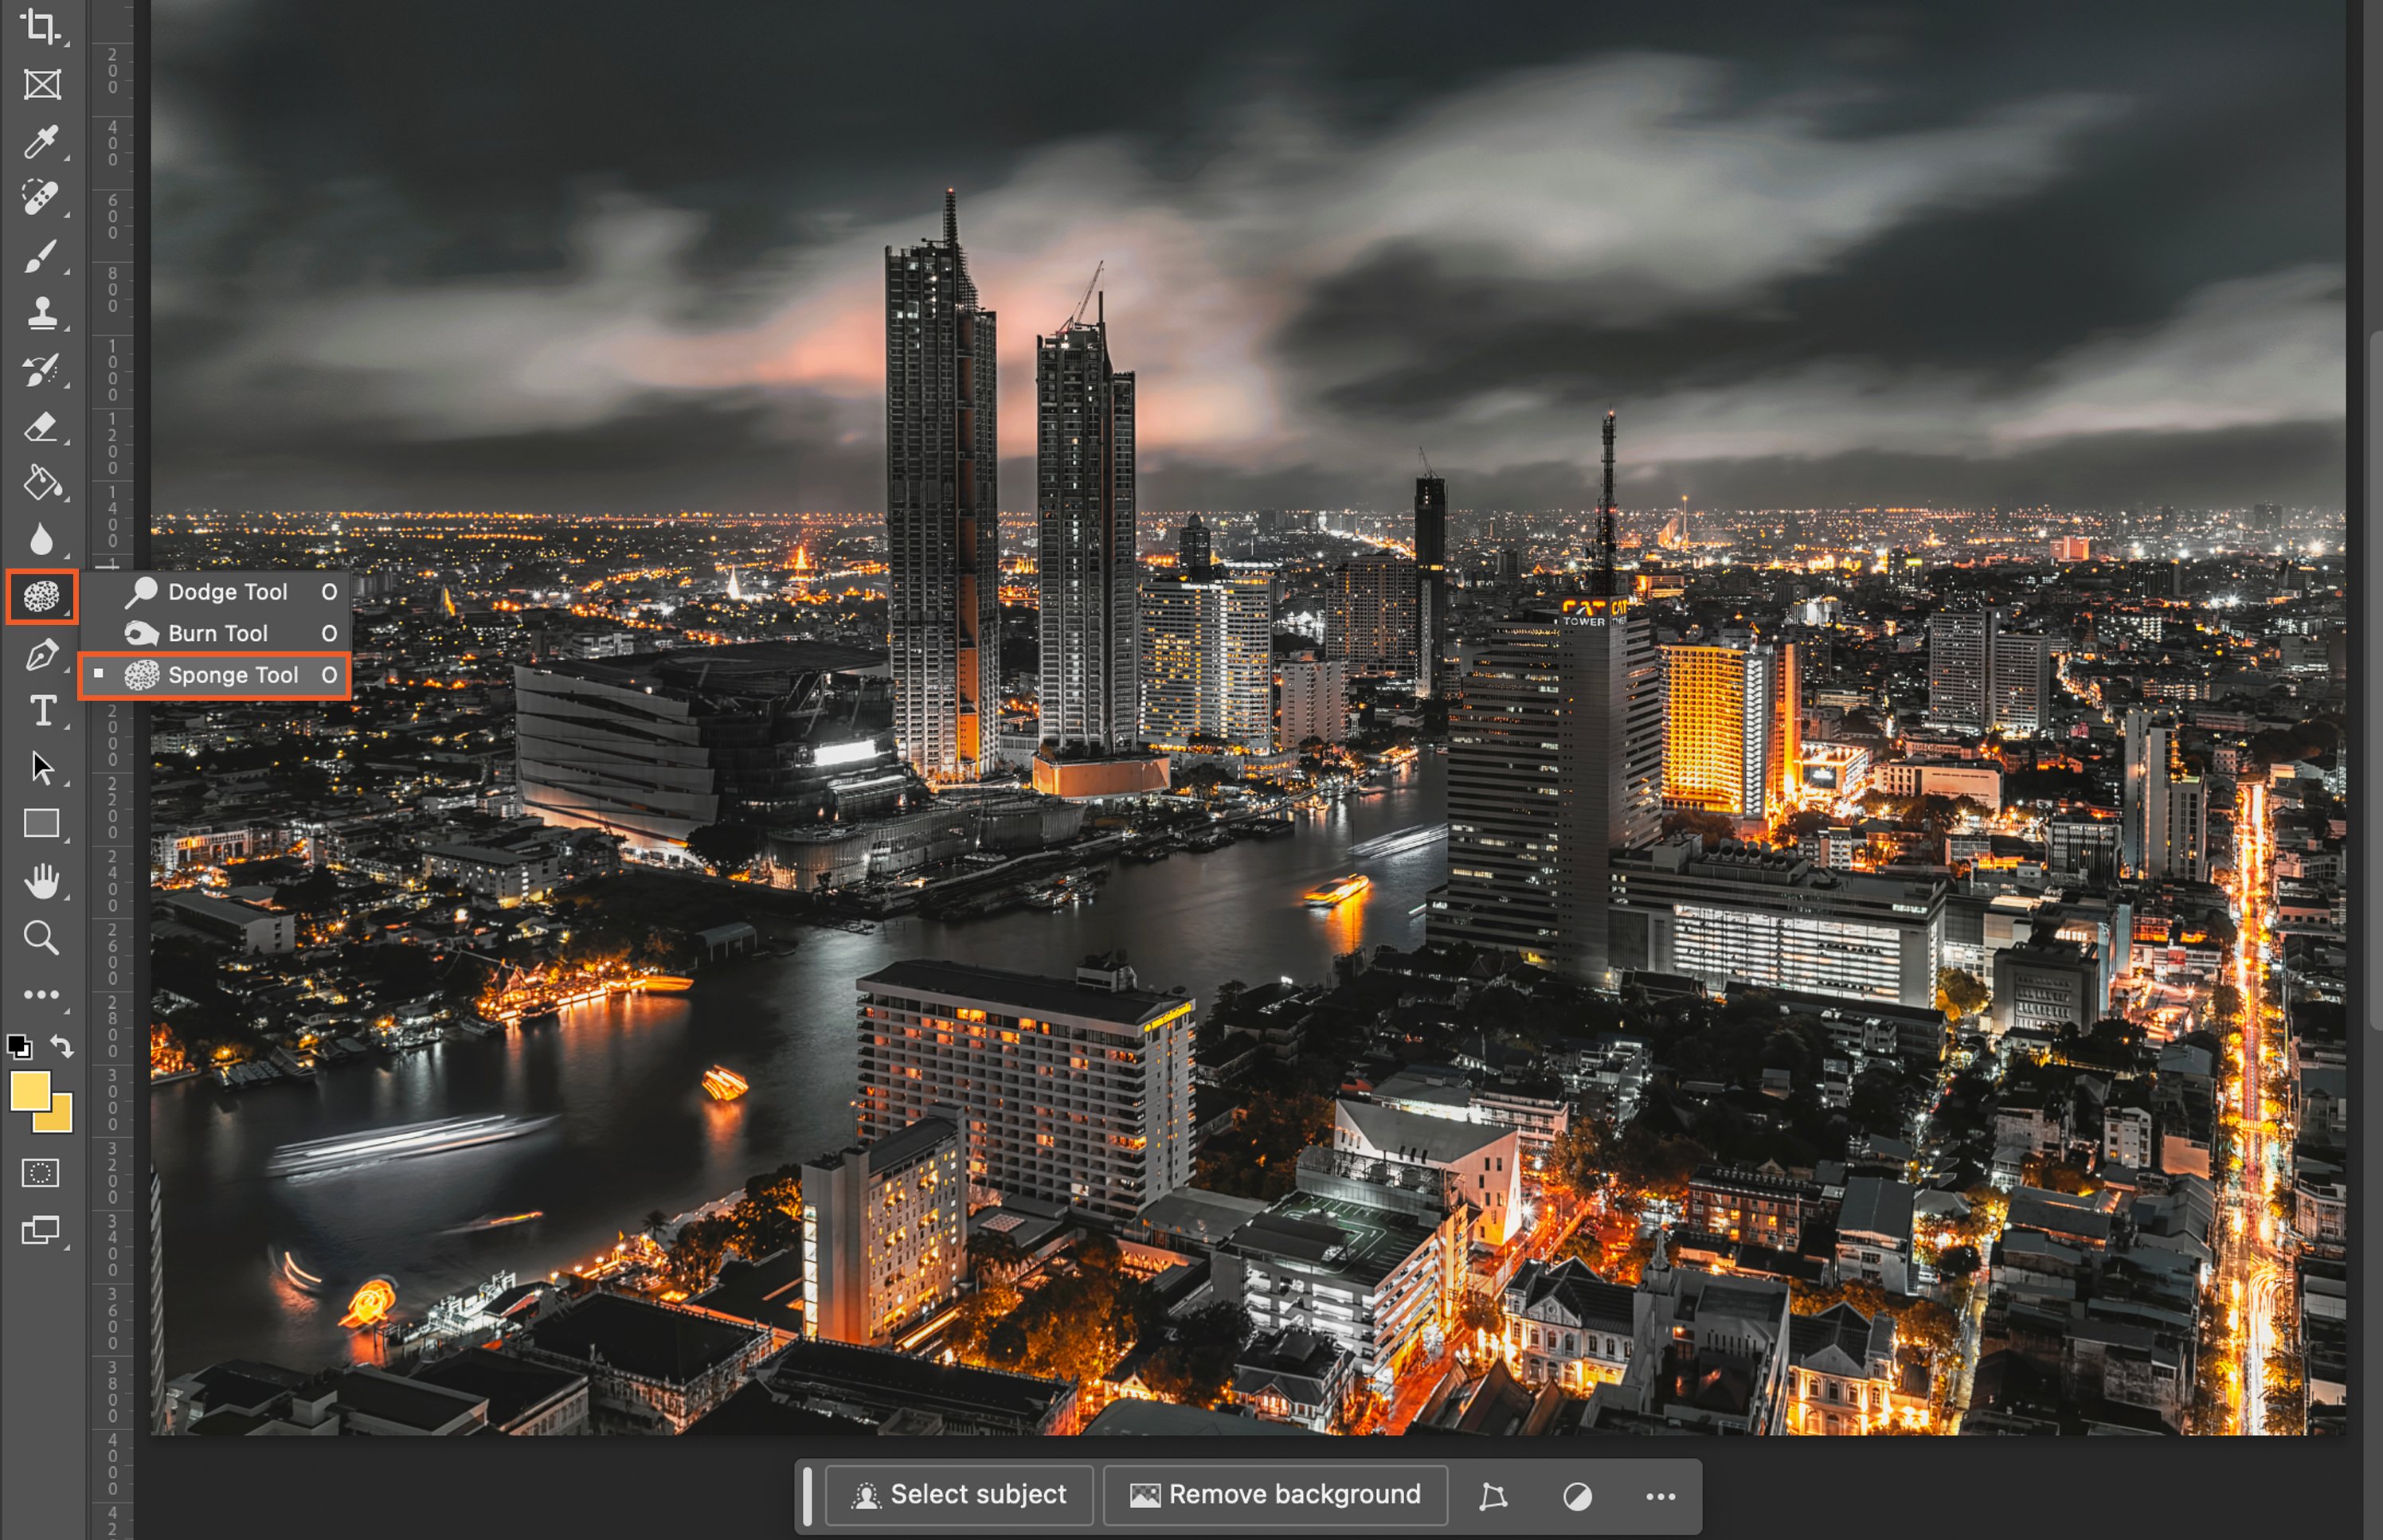
Step 5. Use the Sponge Tool for Saturation Adjustments
The Sponge tool lets you saturate or desaturate color in specific areas. Select the tool, set the mode to Saturate or Desaturate, and apply.
Step 6. Use the Blend Modes for Additional Effects
Blend modes change how layers interact.
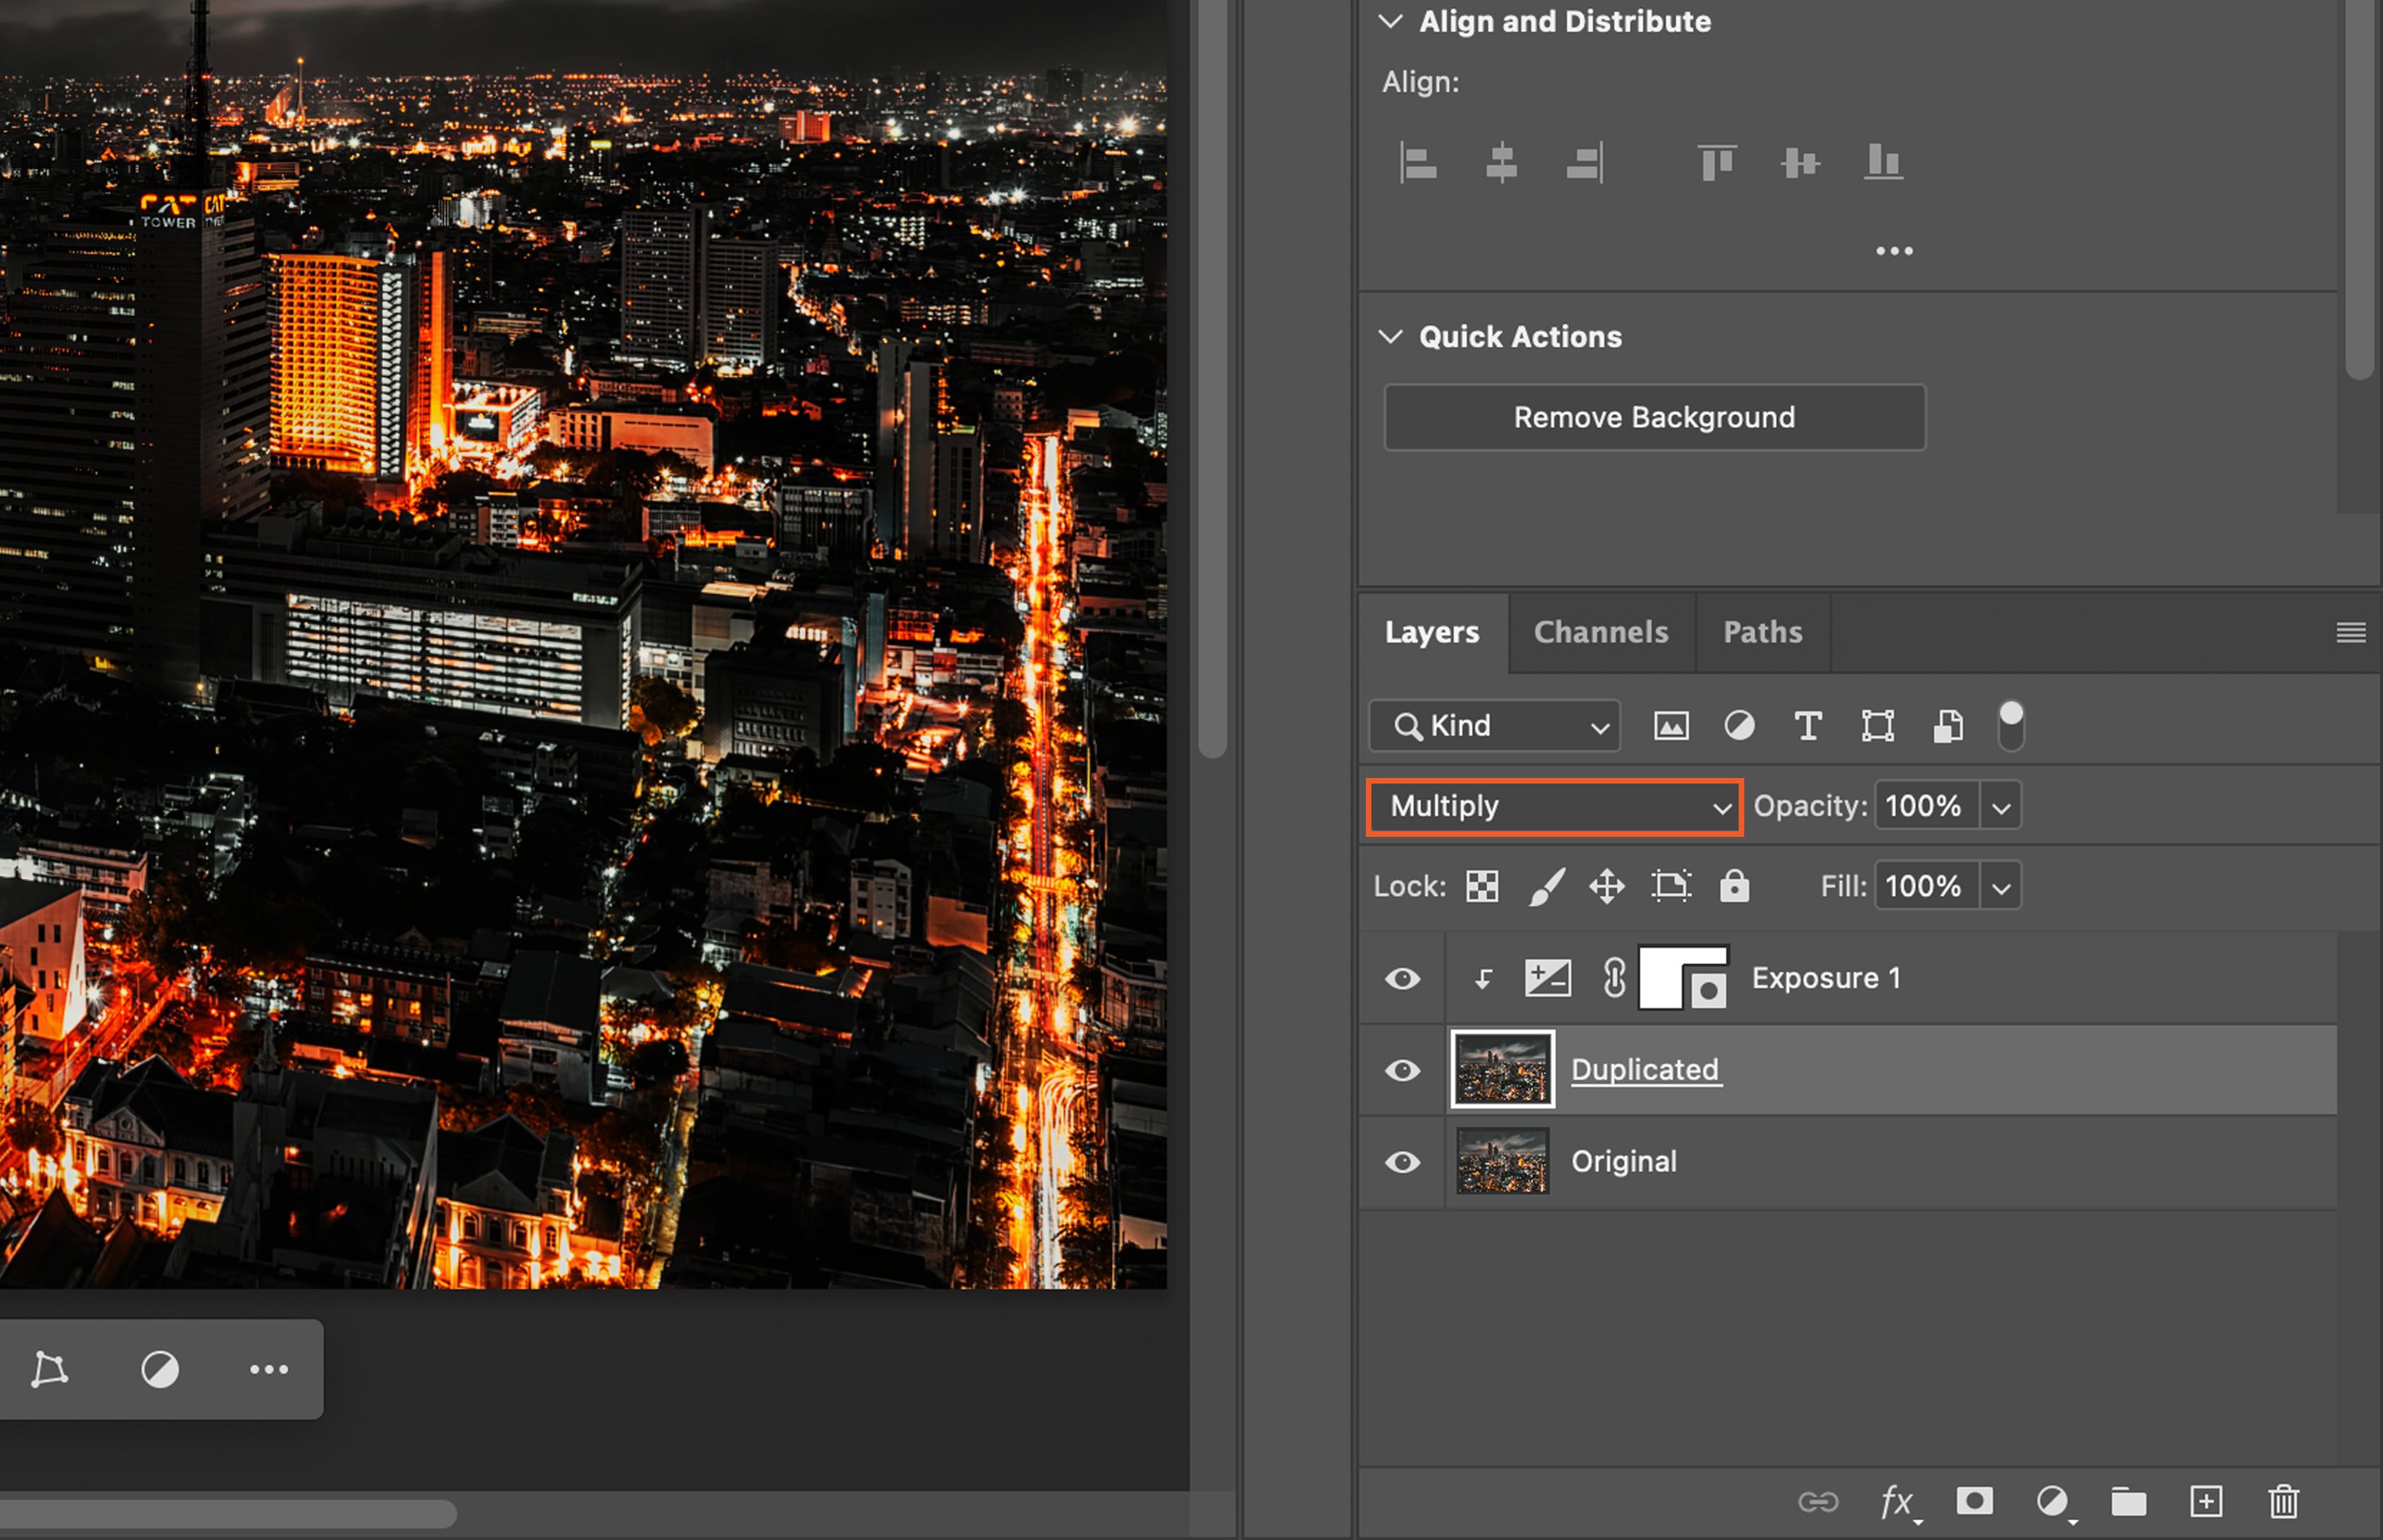
Step 6.1. Multiply Blend Mode
Choose “Multiply” to darken your image. It multiplies the color information in each channel.
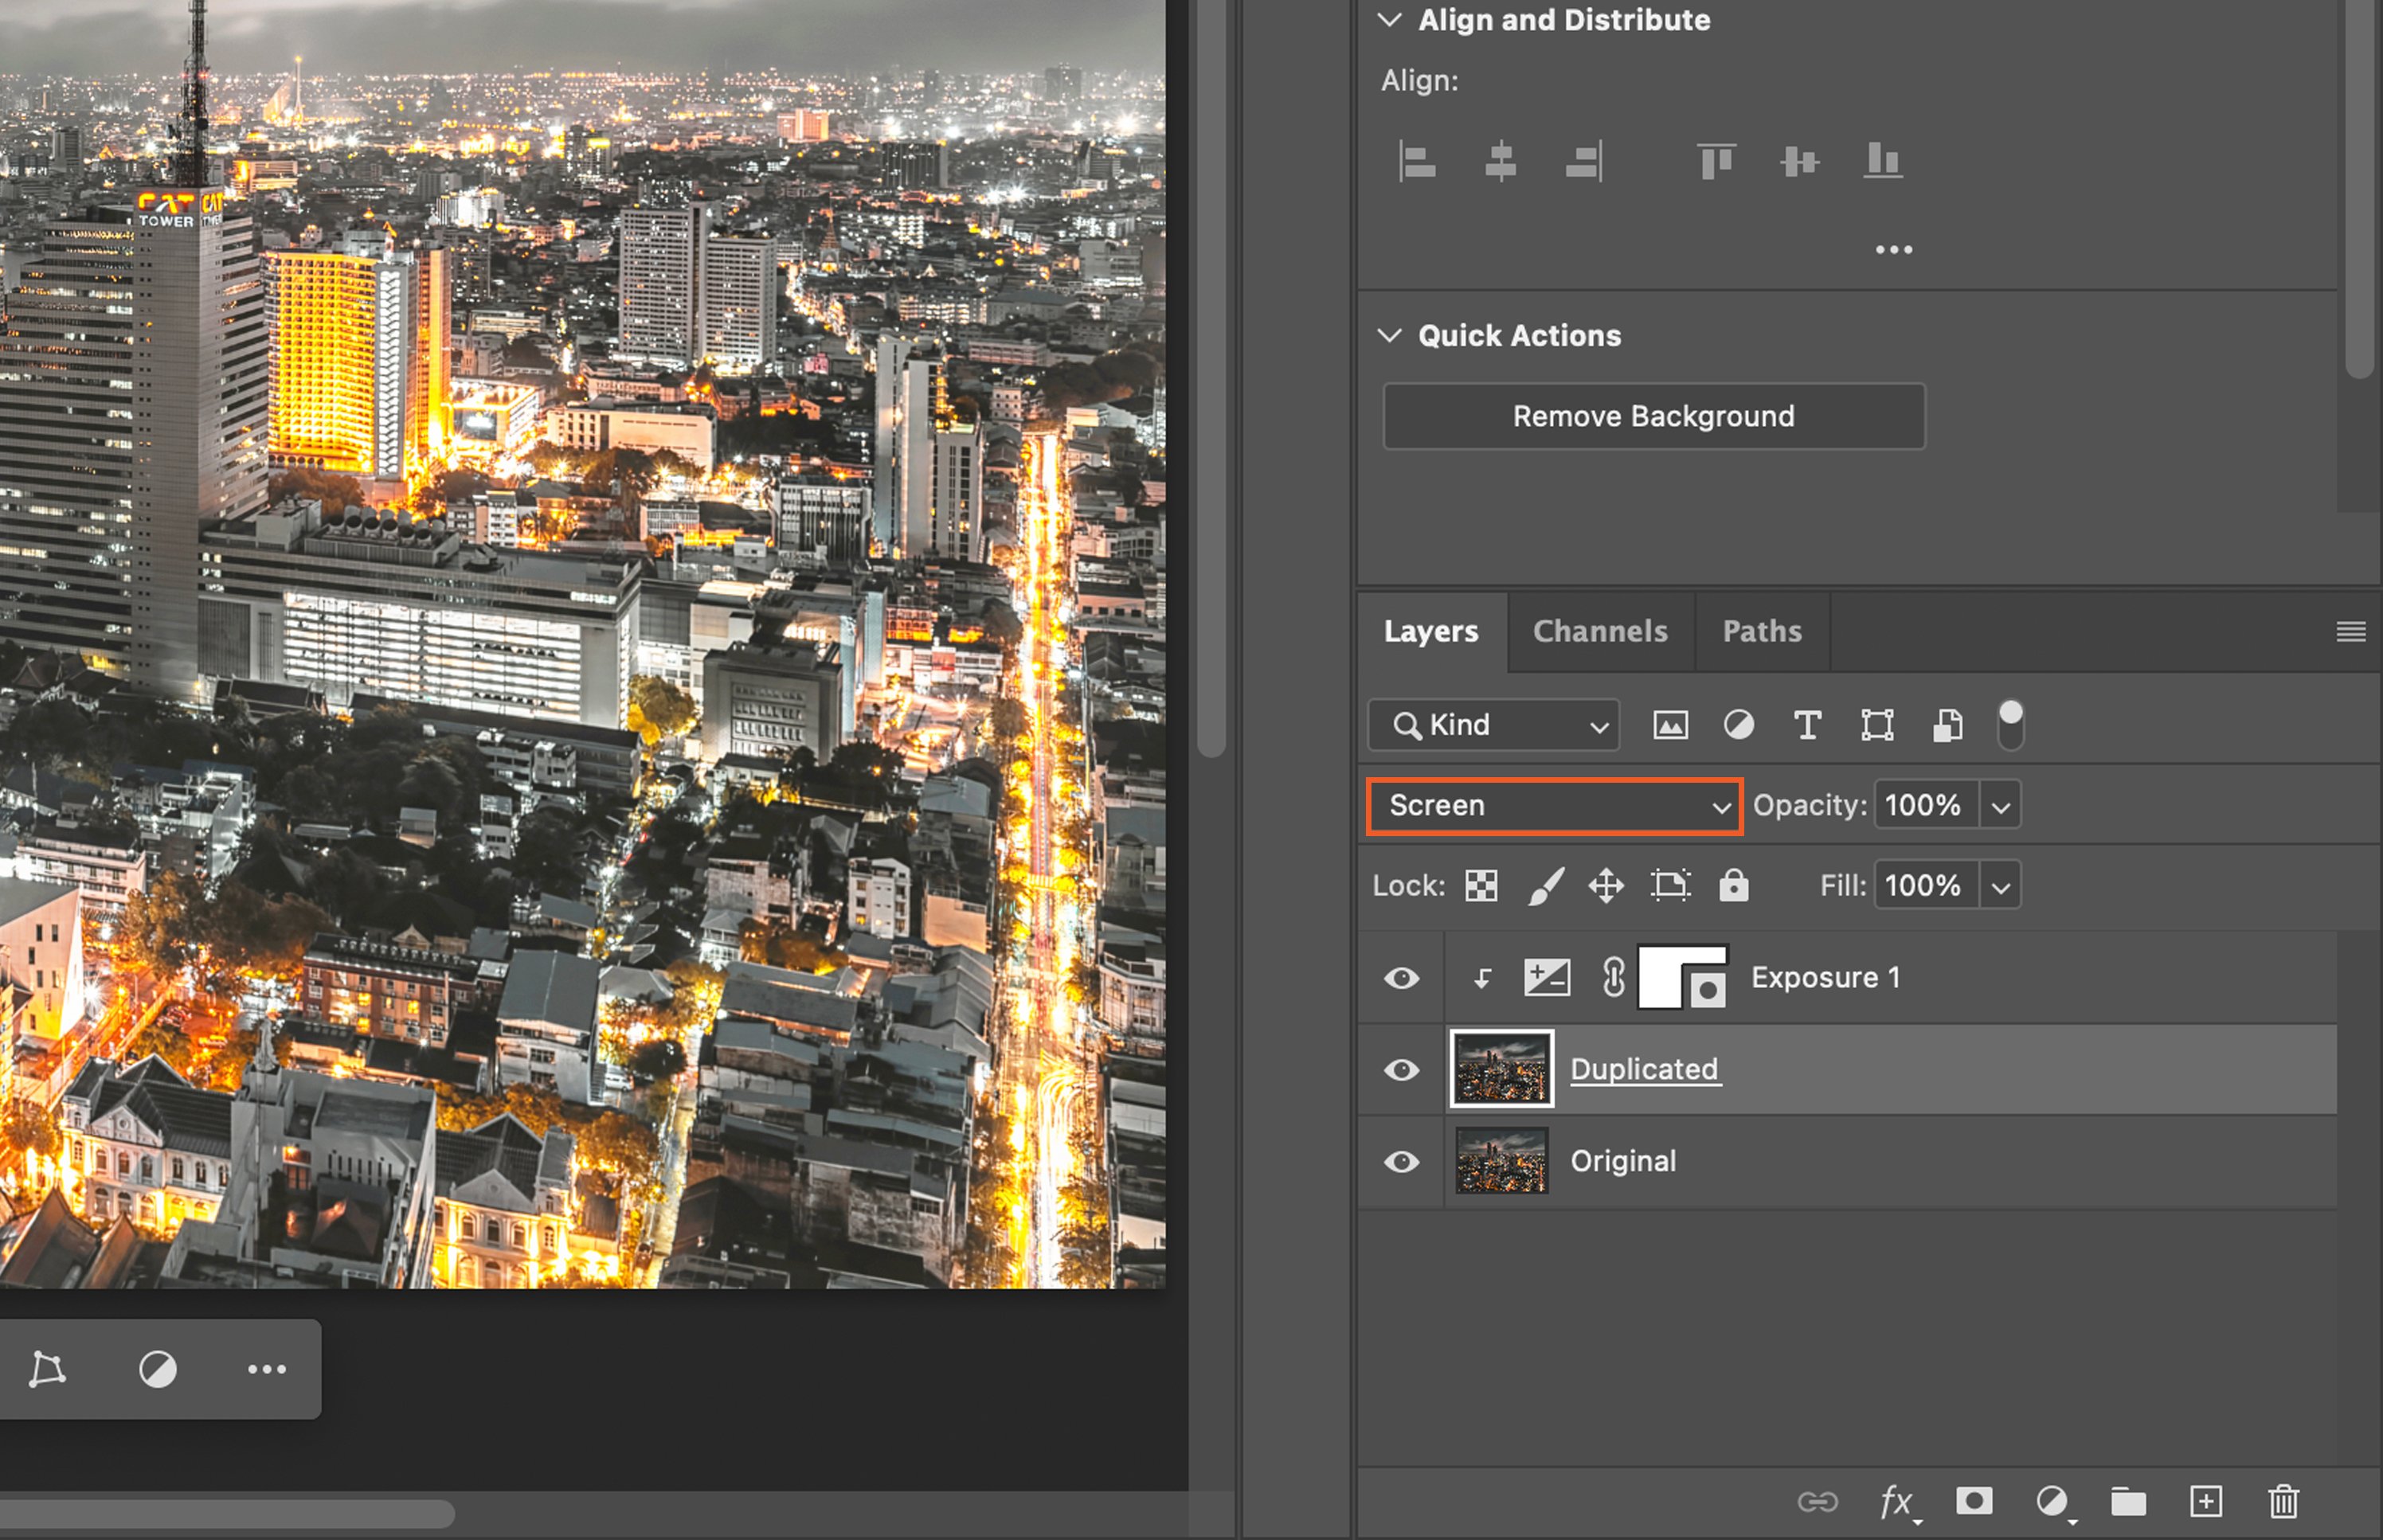
Step 6.2. Screen Blend Mode
Select “Screen” to lighten your image. It inverts both layers, multiplies them, and then inverts that result.
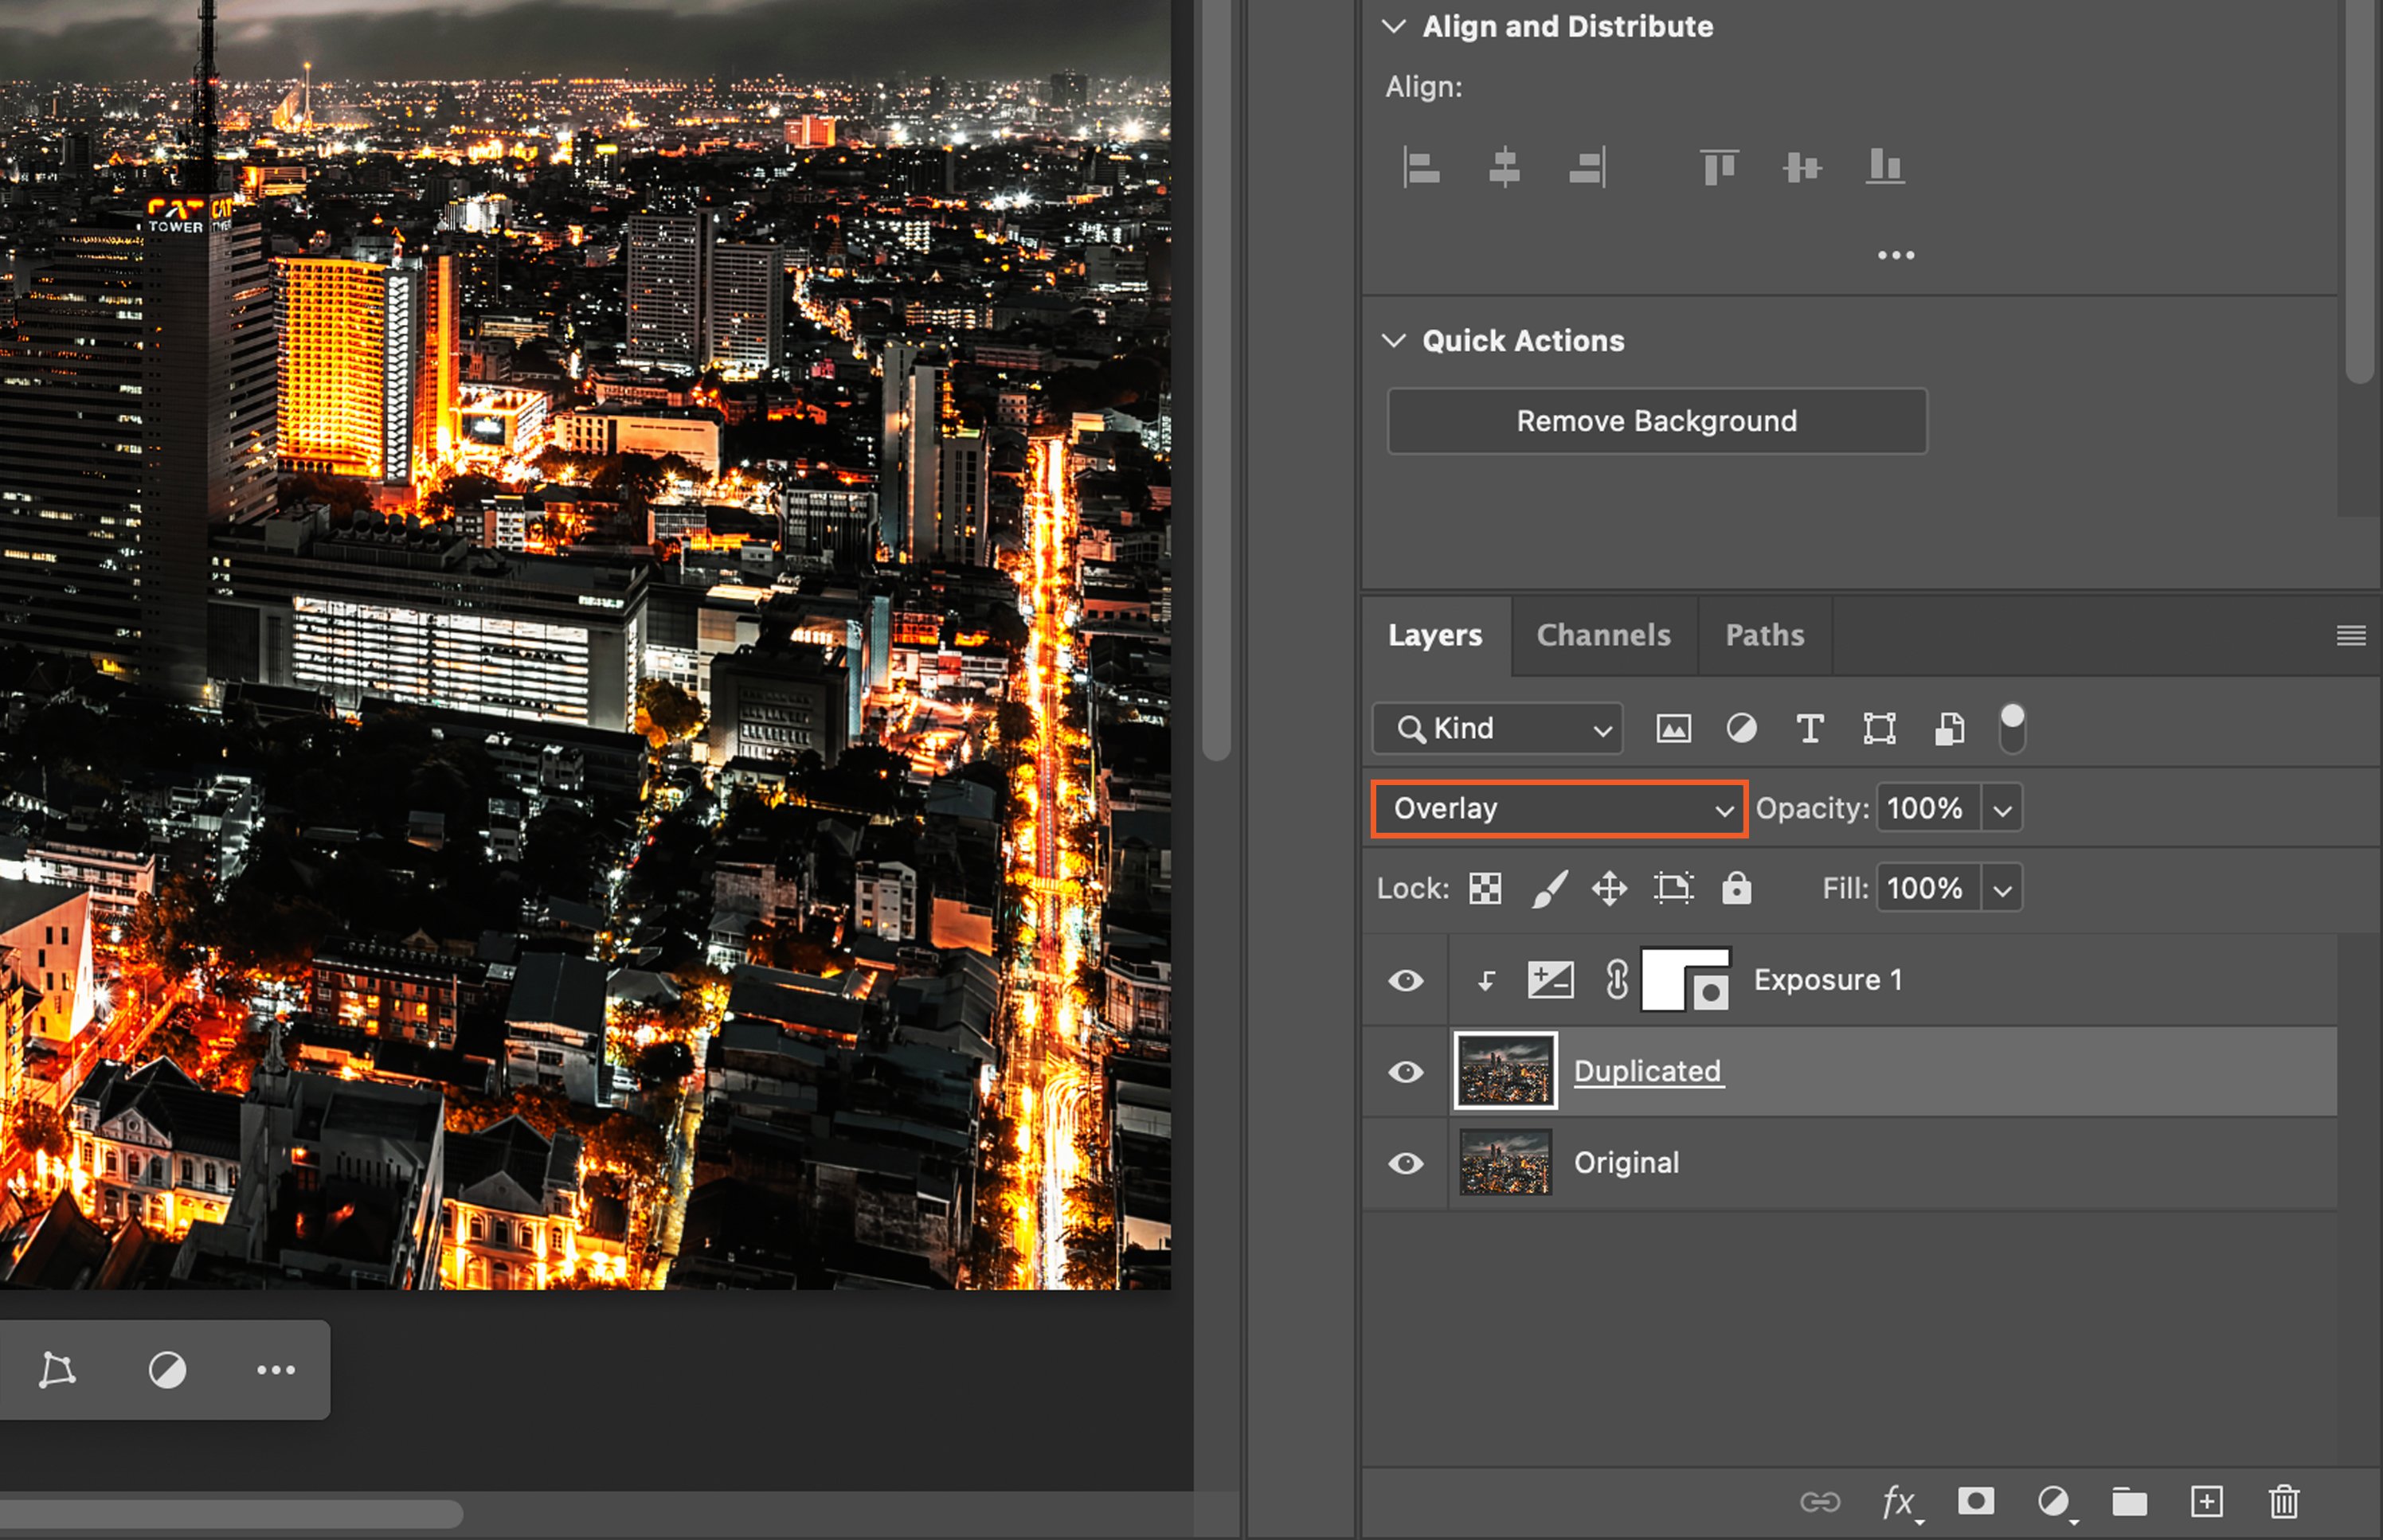
Step 6.3. Overlay Blend Mode
Choose “Overlay” to enhance contrast. It multiplies or screens colors depending on the base color.
Step 7. Mask Out Unwanted Adjustments
Select the layer mask, use the Brush tool set to black, and paint over areas where you want to hide adjustments.
Step 8. Save Your Adjustments as Presets for Future Use
Finally, you can save your adjustments for future use. Click on the Adjustment Layer menu, select “New Adjustment Layer”, and then “Save Adjustment Preset”. Give it a name and click “Save”.


