Today, we will look at Camera Raw vs Lightroom. Both programs are Adobe products that are well-known in the photographic industry. Each program has a different purpose, but you can find some of the same features. In this article, we will compare the features of Camera Raw vs Lightroom.
Both programs are able to read RAW files. This will be the main comparison we will tackle when looking at Camera Raw vs Lightroom. Also, each photo editing software is excellent for performing basic edits. So, we will look at these features as well.
What is Camera Raw vs Lightroom?
Both Camera Raw and Lightroom are digital photo editing programs made by Adobe. Let’s briefly look at the main uses of each program.
Adobe Camera Raw
Adobe Camera Raw is specifically aimed at reading and enhancing RAW images. You cannot download this as a standalone program; instead, it comes as a plugin. This plugin automatically comes with Photoshop, Lightroom, After Effects, and Bridge.
The program can read and convert RAW files to various file types. You are also able to perform numerous edits. These edits range from basic tonal and color adjustments all the way to AI masking presets and retouching.
Adobe Lightroom
Adobe Lightroom is a photo editing and organizing software that acts as an all-in-one editing program for many photographers. It features separate workspaces for your organization and editing needs.
You will find a vast range of photo editing features in this program. It provides basic editing functions, as well as advanced and specialist techniques such as photo stitching and AI editing.
Lightroom comes in two different versions: Lightroom and Lightroom Classic. Lightroom has a simpler interface, whereas Lightroom Classic is more advanced. Read our article here to find out more about each Lightroom version.
Camera Raw vs Lightroom
Let’s now compare the two programs to see which software will be best for you. We will only consider actions that either program has. Remember, Camera Raw doesn’t possess the organizational abilities that Lightroom has.
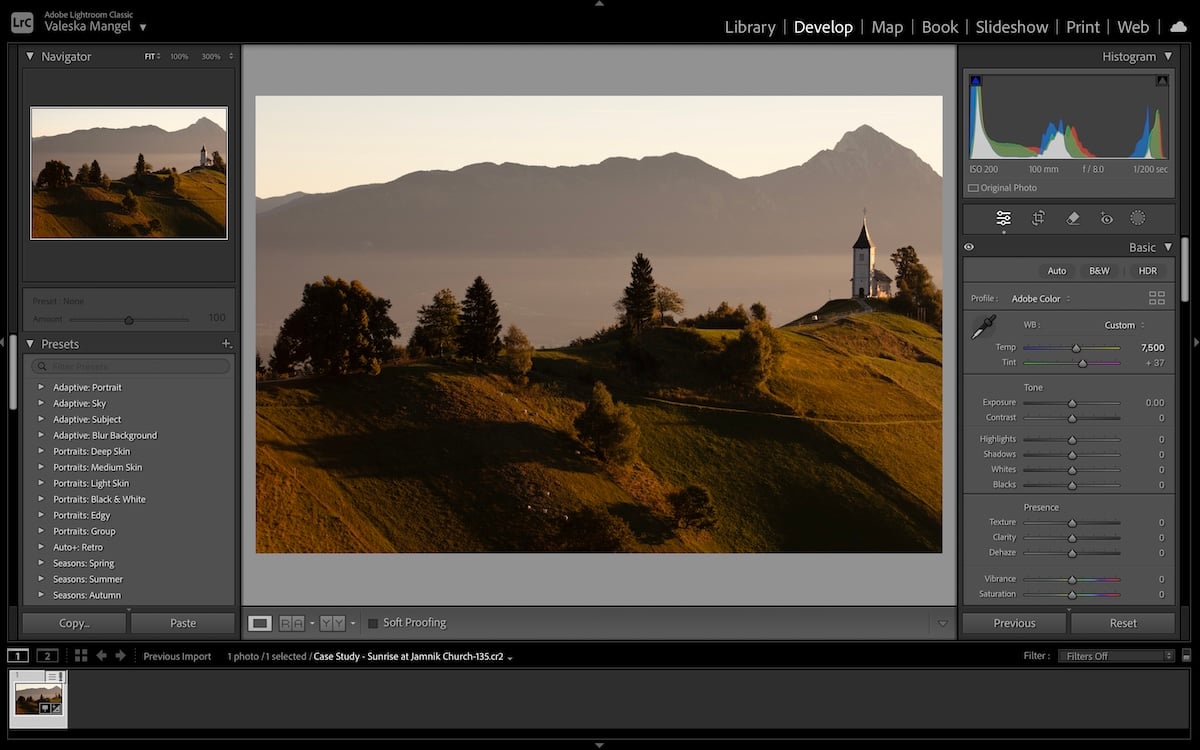
Interface
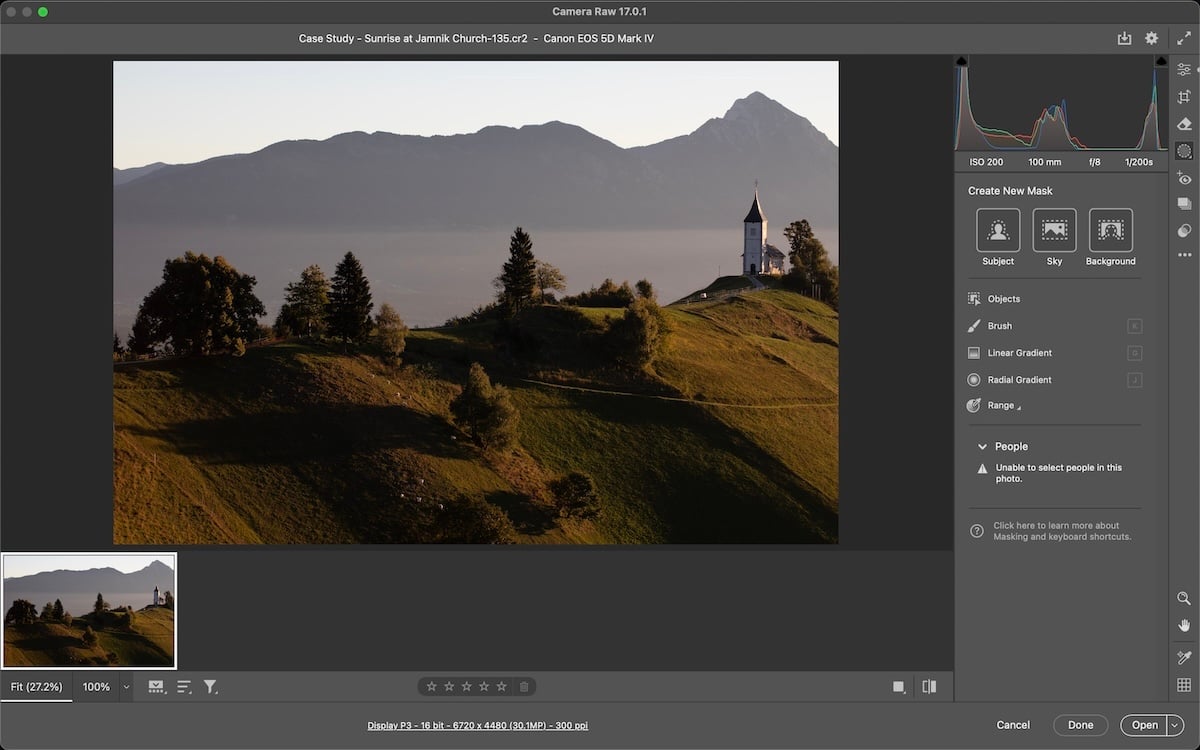
You can access Adobe Camera Raw by dragging a RAW file directly into Photoshop. Camera Raw has a simplistic interface where the image occupies most of the screen. All the editing actions and tools are conveniently accessible in a stripped-back approach.
The single-page, stripped-back approach that Camera Raw uses is excellent. Adobe has done a great job making all tools and functions easy to locate and operate. If you are familiar with Adobe products, you will recognize many of the icons. If not, hovering over the icons will bring up an extended description of each function.
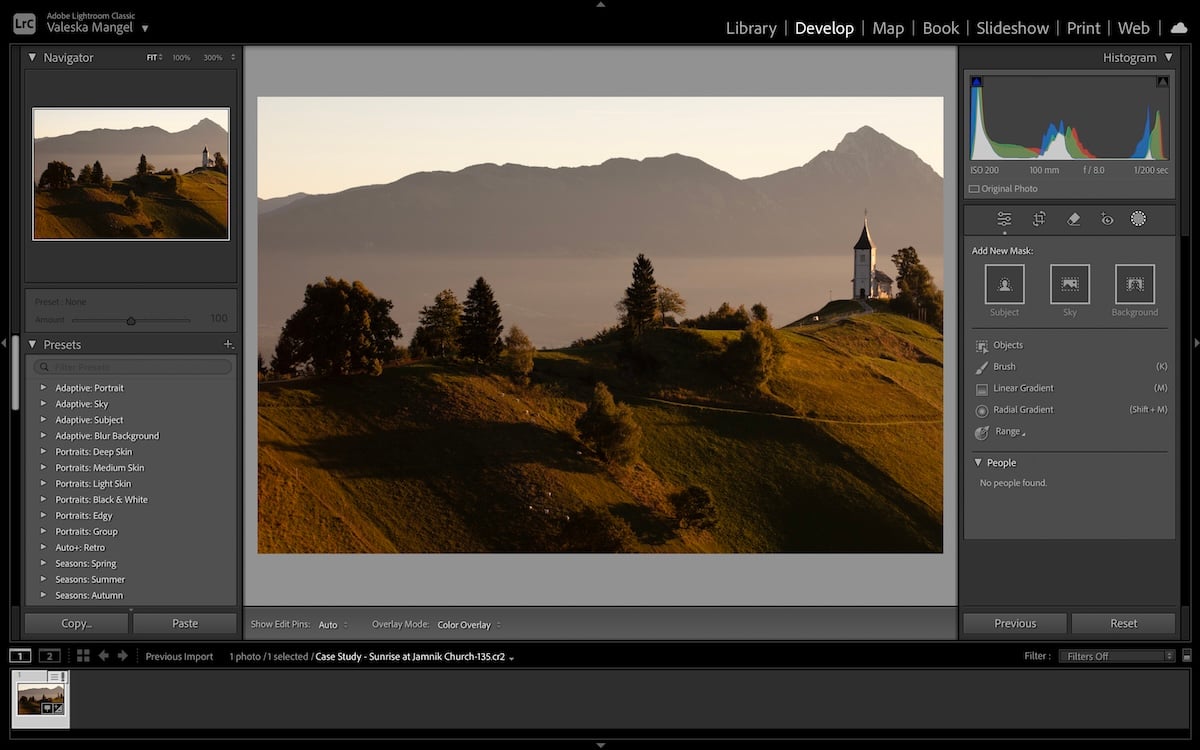
Both Lightroom and Lightroom Classic have a more in-depth approach to their interface. This has to do with more viewing options, and the main factor is that these programs are used for photo organization, and Camera Raw is not.
Lightroom Classic divides its different features into different workspaces. Therefore, the Library and Develop sections provide users with set interfaces that address the task they want to perform.
Both Camera Raw vs Lightroom provide easy interfaces to navigate around. As Camera Raw has a fraction of Lightroom’s features, it will obviously be much simpler and easier for beginners to navigate.

RAW Processing
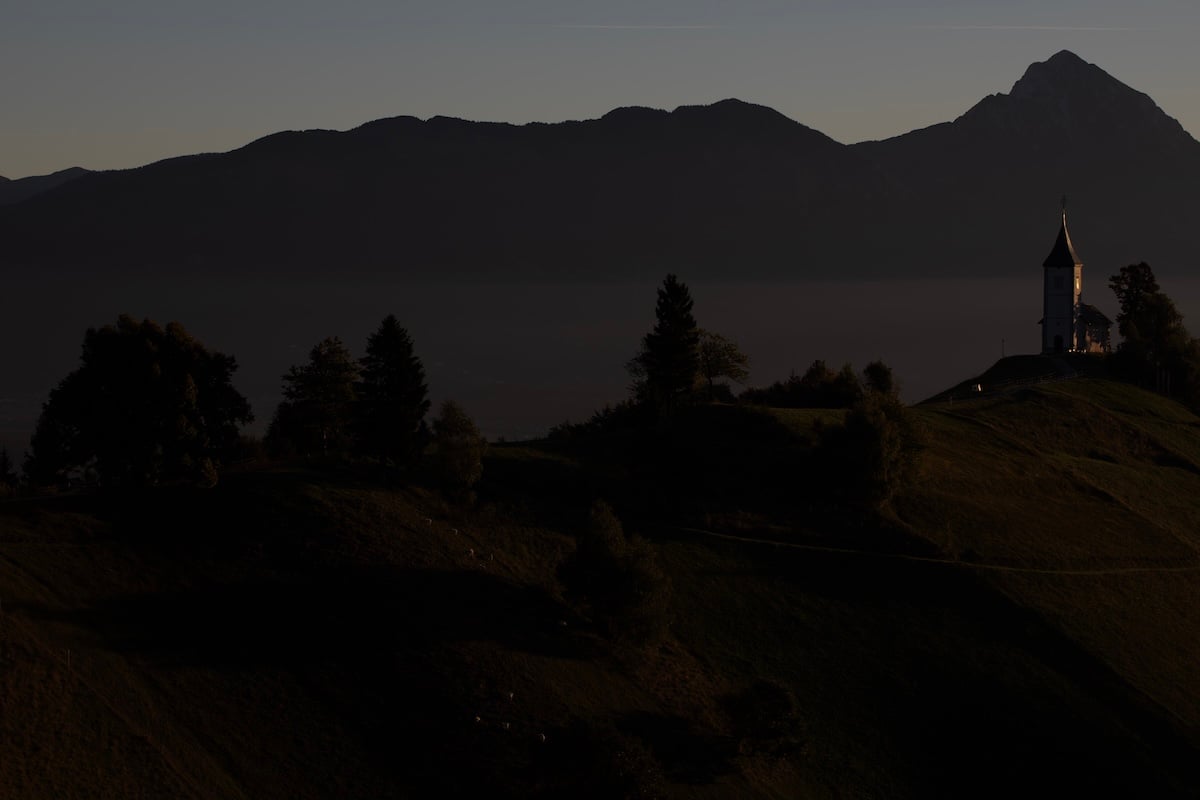
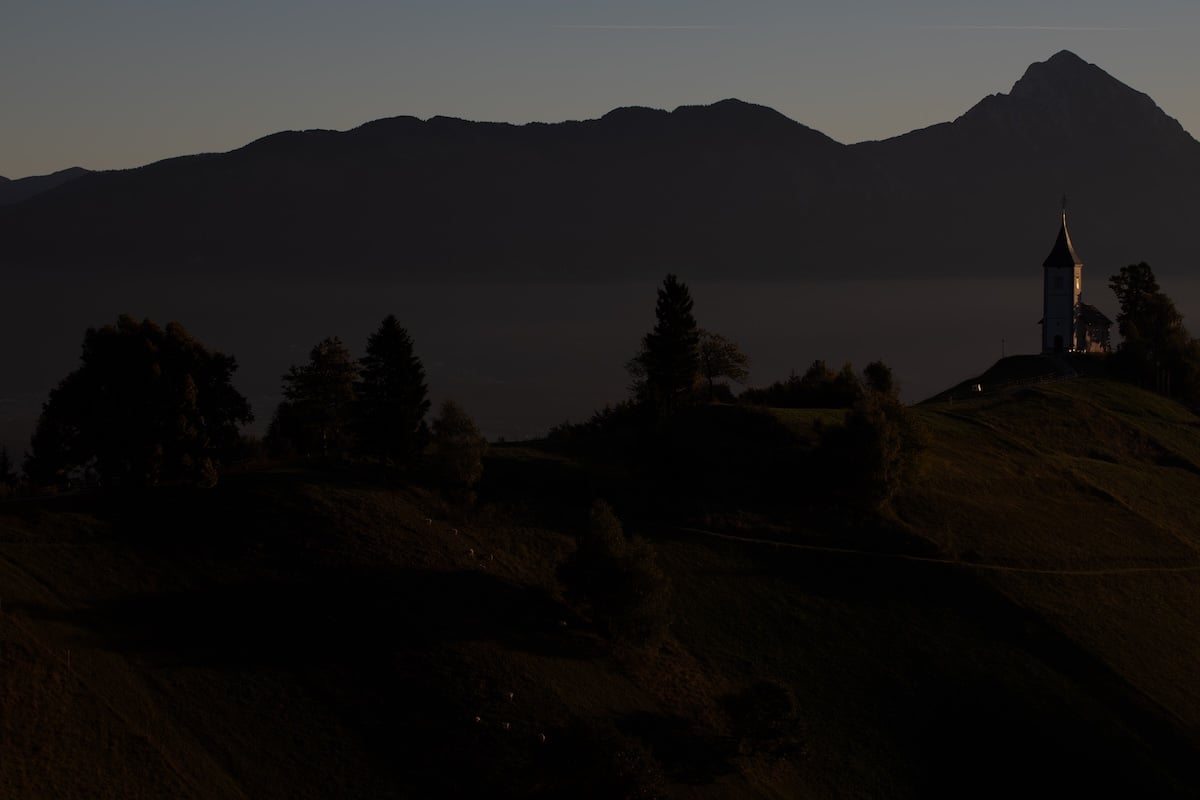
Let’s now look at Camera Raw vs Lightroom regarding image quality. Adobe makes both programs, so you can expect to see the same results if both programs use the same imaging technology.
As you can see below, this is the case. Both Camera Raw and Lightroom produce the exact same results when reading our RAW files. So, any program you use out of these two is bound to give us excellent image production.


Basic Editing
Both applications provide various basic editing tools to easily enhance our photographs. Each program follows an extremely similar set of adjustments. You will find that some of the orders are mixed and that some adjustments fit into different subcategories. Apart from that, they are almost identical.
You will find more control over the Vignette and Grain in Lightroom. On top of this, you get extra view modes in Lightroom to help with your editing. Therefore, Lightroom will make it ideal for editing large selections of photos. In contrast, Camera Raw is best for a single photo before further editing in Photoshop.
We can now explore whether basic editing tools act differently in Camera Raw vs Lightroom. We expect Adobe to use the same imaging technology and increments across these programs.
Again, we can see no difference between the two programs. Both the tonal and color adjustments perform in the same way.


Advanced Editing
Lightroom is an entire program, whereas Camera Raw is a plugin. Therefore, it’s not surprising that Lightroom has a much wider selection of Advanced Editing features. However, what may be more surprising is how many advanced features Adobe has fit into Camera Raw.
You can find Presets, Masks, and AI Brush tools in Camera Raw. You can also create Snapshots to edit the same photo in a number of different ways. This range of tools has been refined over the last few years and now offers almost all the tools you need to create a quick but detailed edit of your photos.
Lightroom has all these features and more. The main difference is the organizational and output tools. You also have a much easier way to batch-edit photos on Lightroom. But it is good to see that Camera Raw does include batch editing abilities.
Conclusion: Camera Raw vs Lightroom
After dissecting Camera Raw vs Lightroom, we see that they treat our images the same and offer a similar range of photo editing tools. The difference comes from whether we want the images to exist as a finished image or whether it is being prepped for another program.
So, Camera Raw is like the Develop section of Lightroom without all the other features. Both programs follow a similar layout and produce the same editing results.
Lightroom is for you if you want to produce a final image and then keep it in a catalog with the rest of your photographs. If you want to edit the image to move it quickly onto another platform, you should use Camera Raw.
Try out our Effortless Editing course to master all the secrets of professional editing in Lightroom!


