Struggling to change the aspect ratio of your image in Photoshop? This guide will provide simple steps to help you master this process. By learning this, you can enhance your photo editing skills and improve the overall visual quality of your images.
Step 1. Open the Image in Photoshop
Start by launching Photoshop on your computer. Navigate to the “File” menu, select “Open,” and choose the image you wish to edit. Click “Open” to load it into Photoshop.
Step 2. Access the Crop Tool
Step 2.1 Using the Toolbar
Locate the toolbar on the left side of your screen. The Crop Tool icon looks like two intersecting right angles. Click on it to activate the tool.
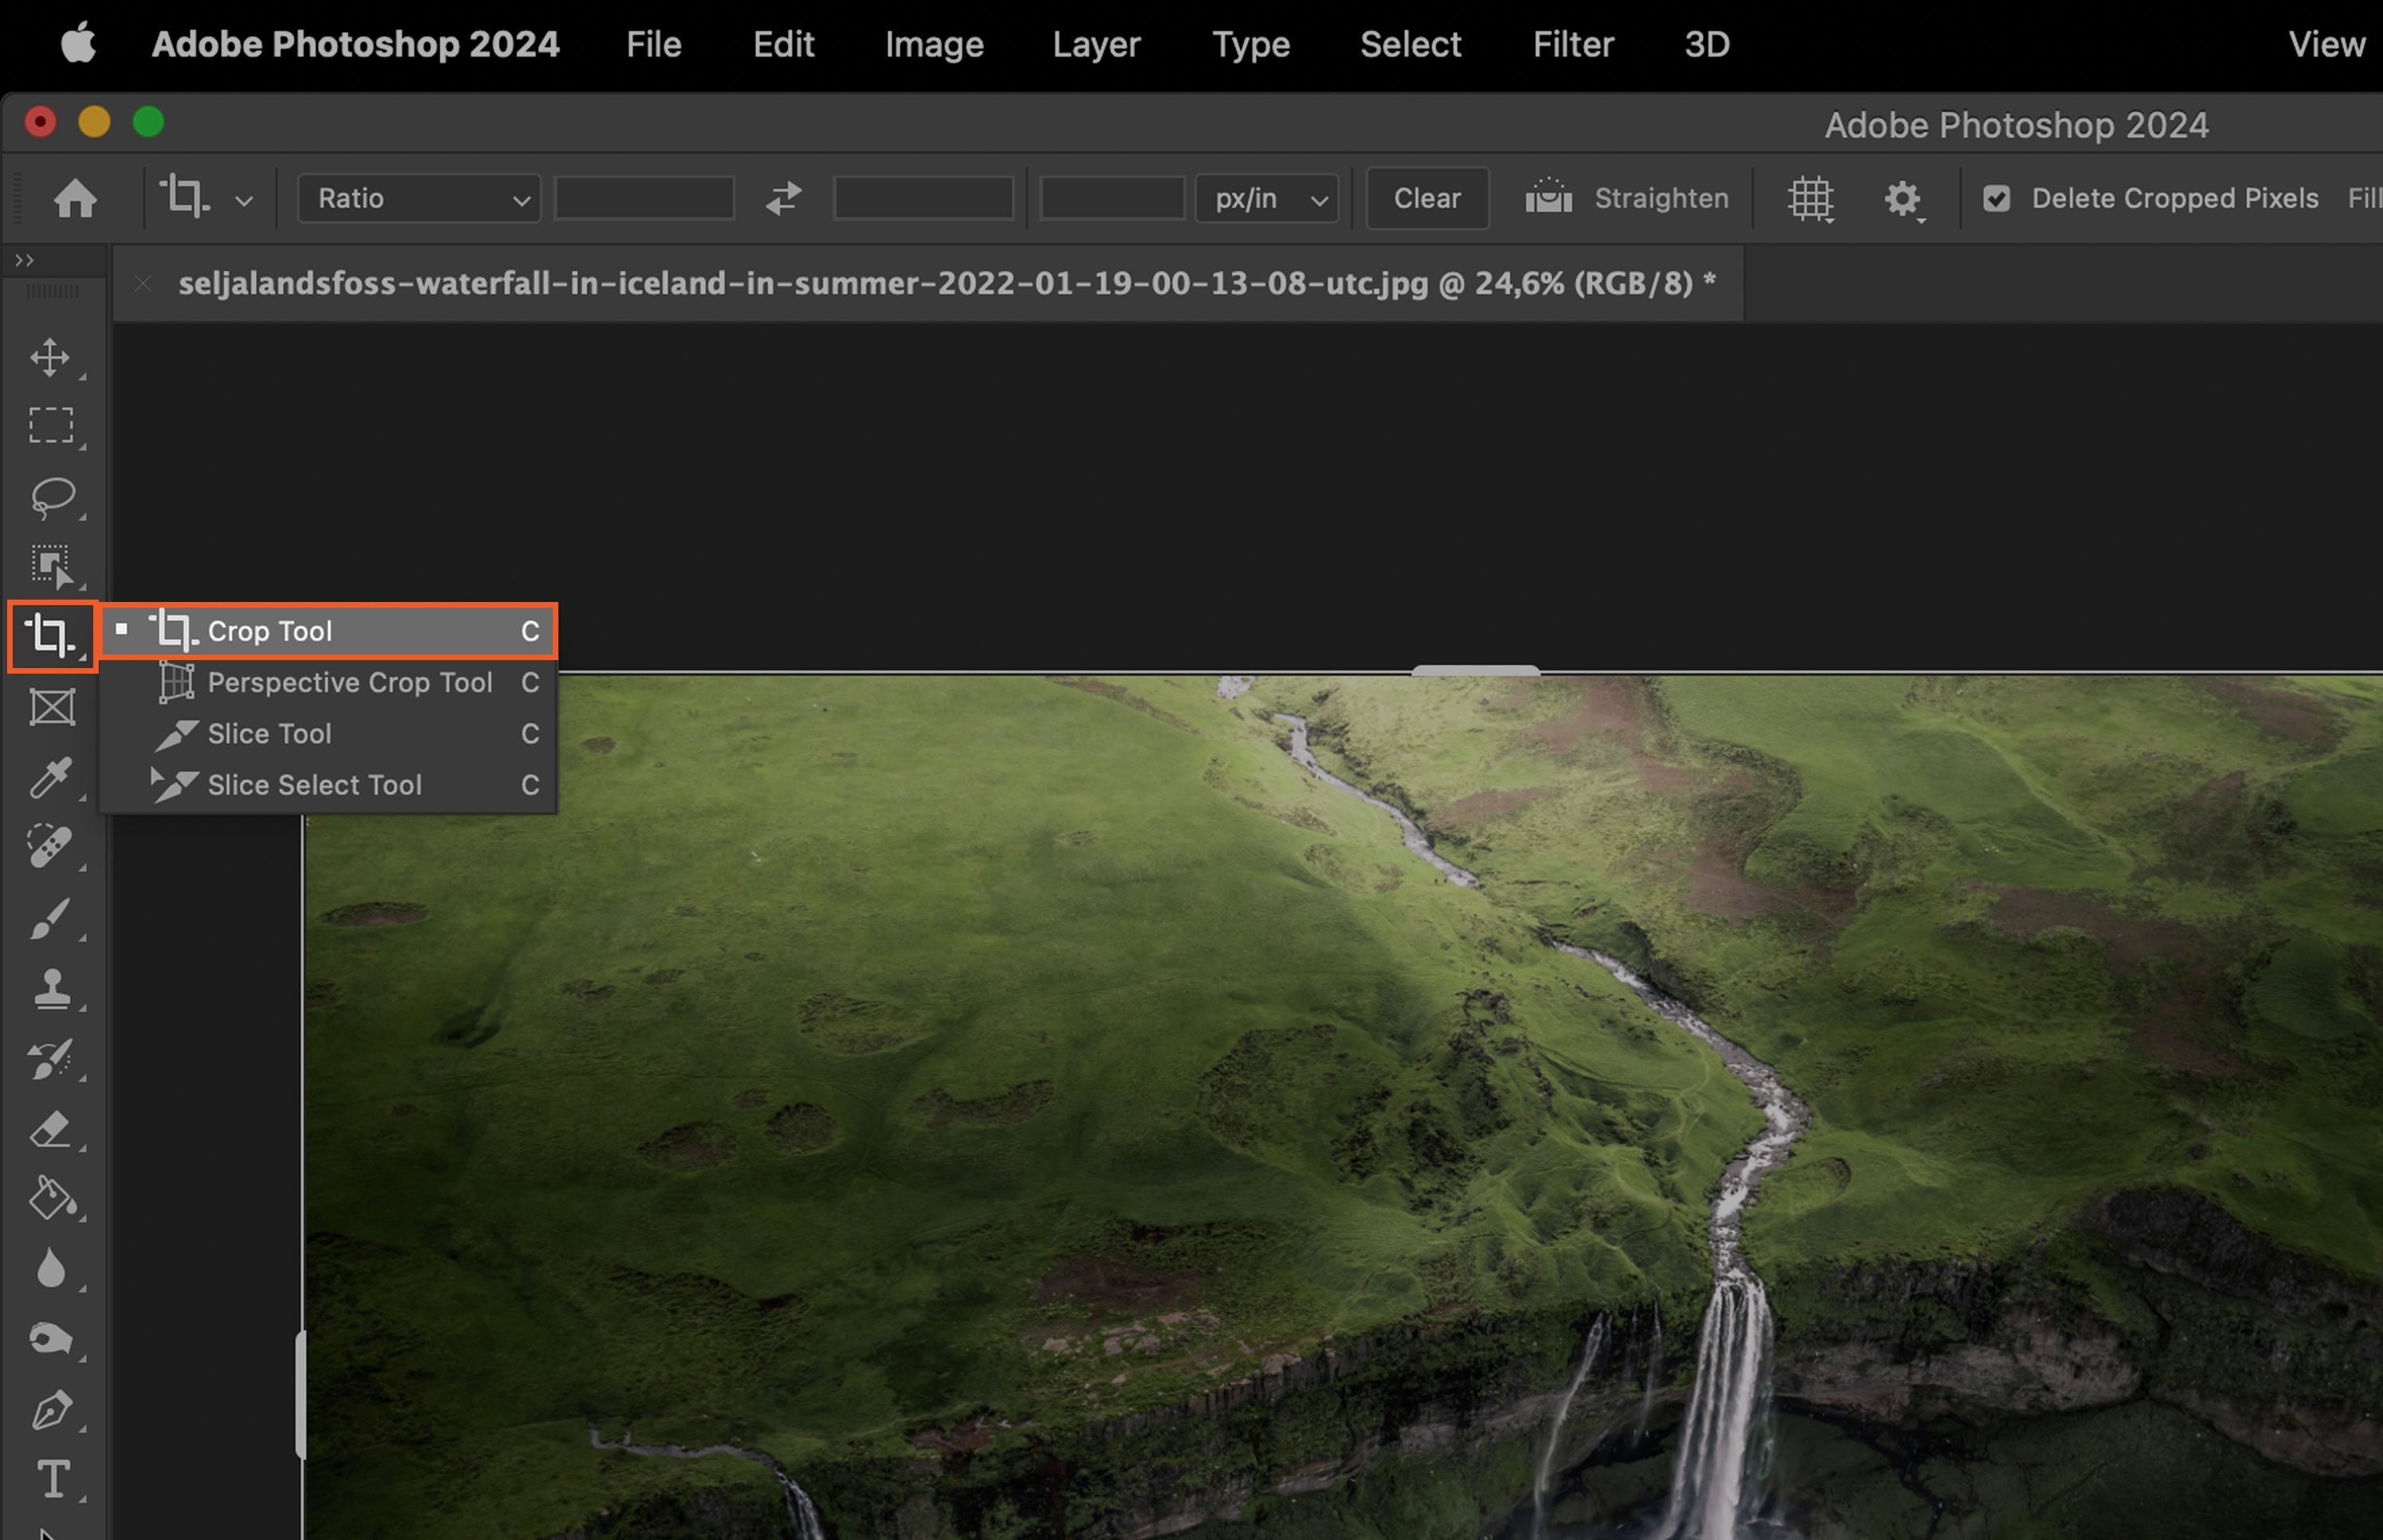
Step 2.2 Using the Shortcut Key
Alternatively, you can press the “C” key on your keyboard to quickly access the Crop Tool.
Step 3. Set the Aspect Ratio
Step 3.1 Manually Setting the Aspect Ratio
With the Crop Tool active, look at the top of the screen for an option labeled “Aspect Ratio.” Click on it, and input your desired width and height ratio.
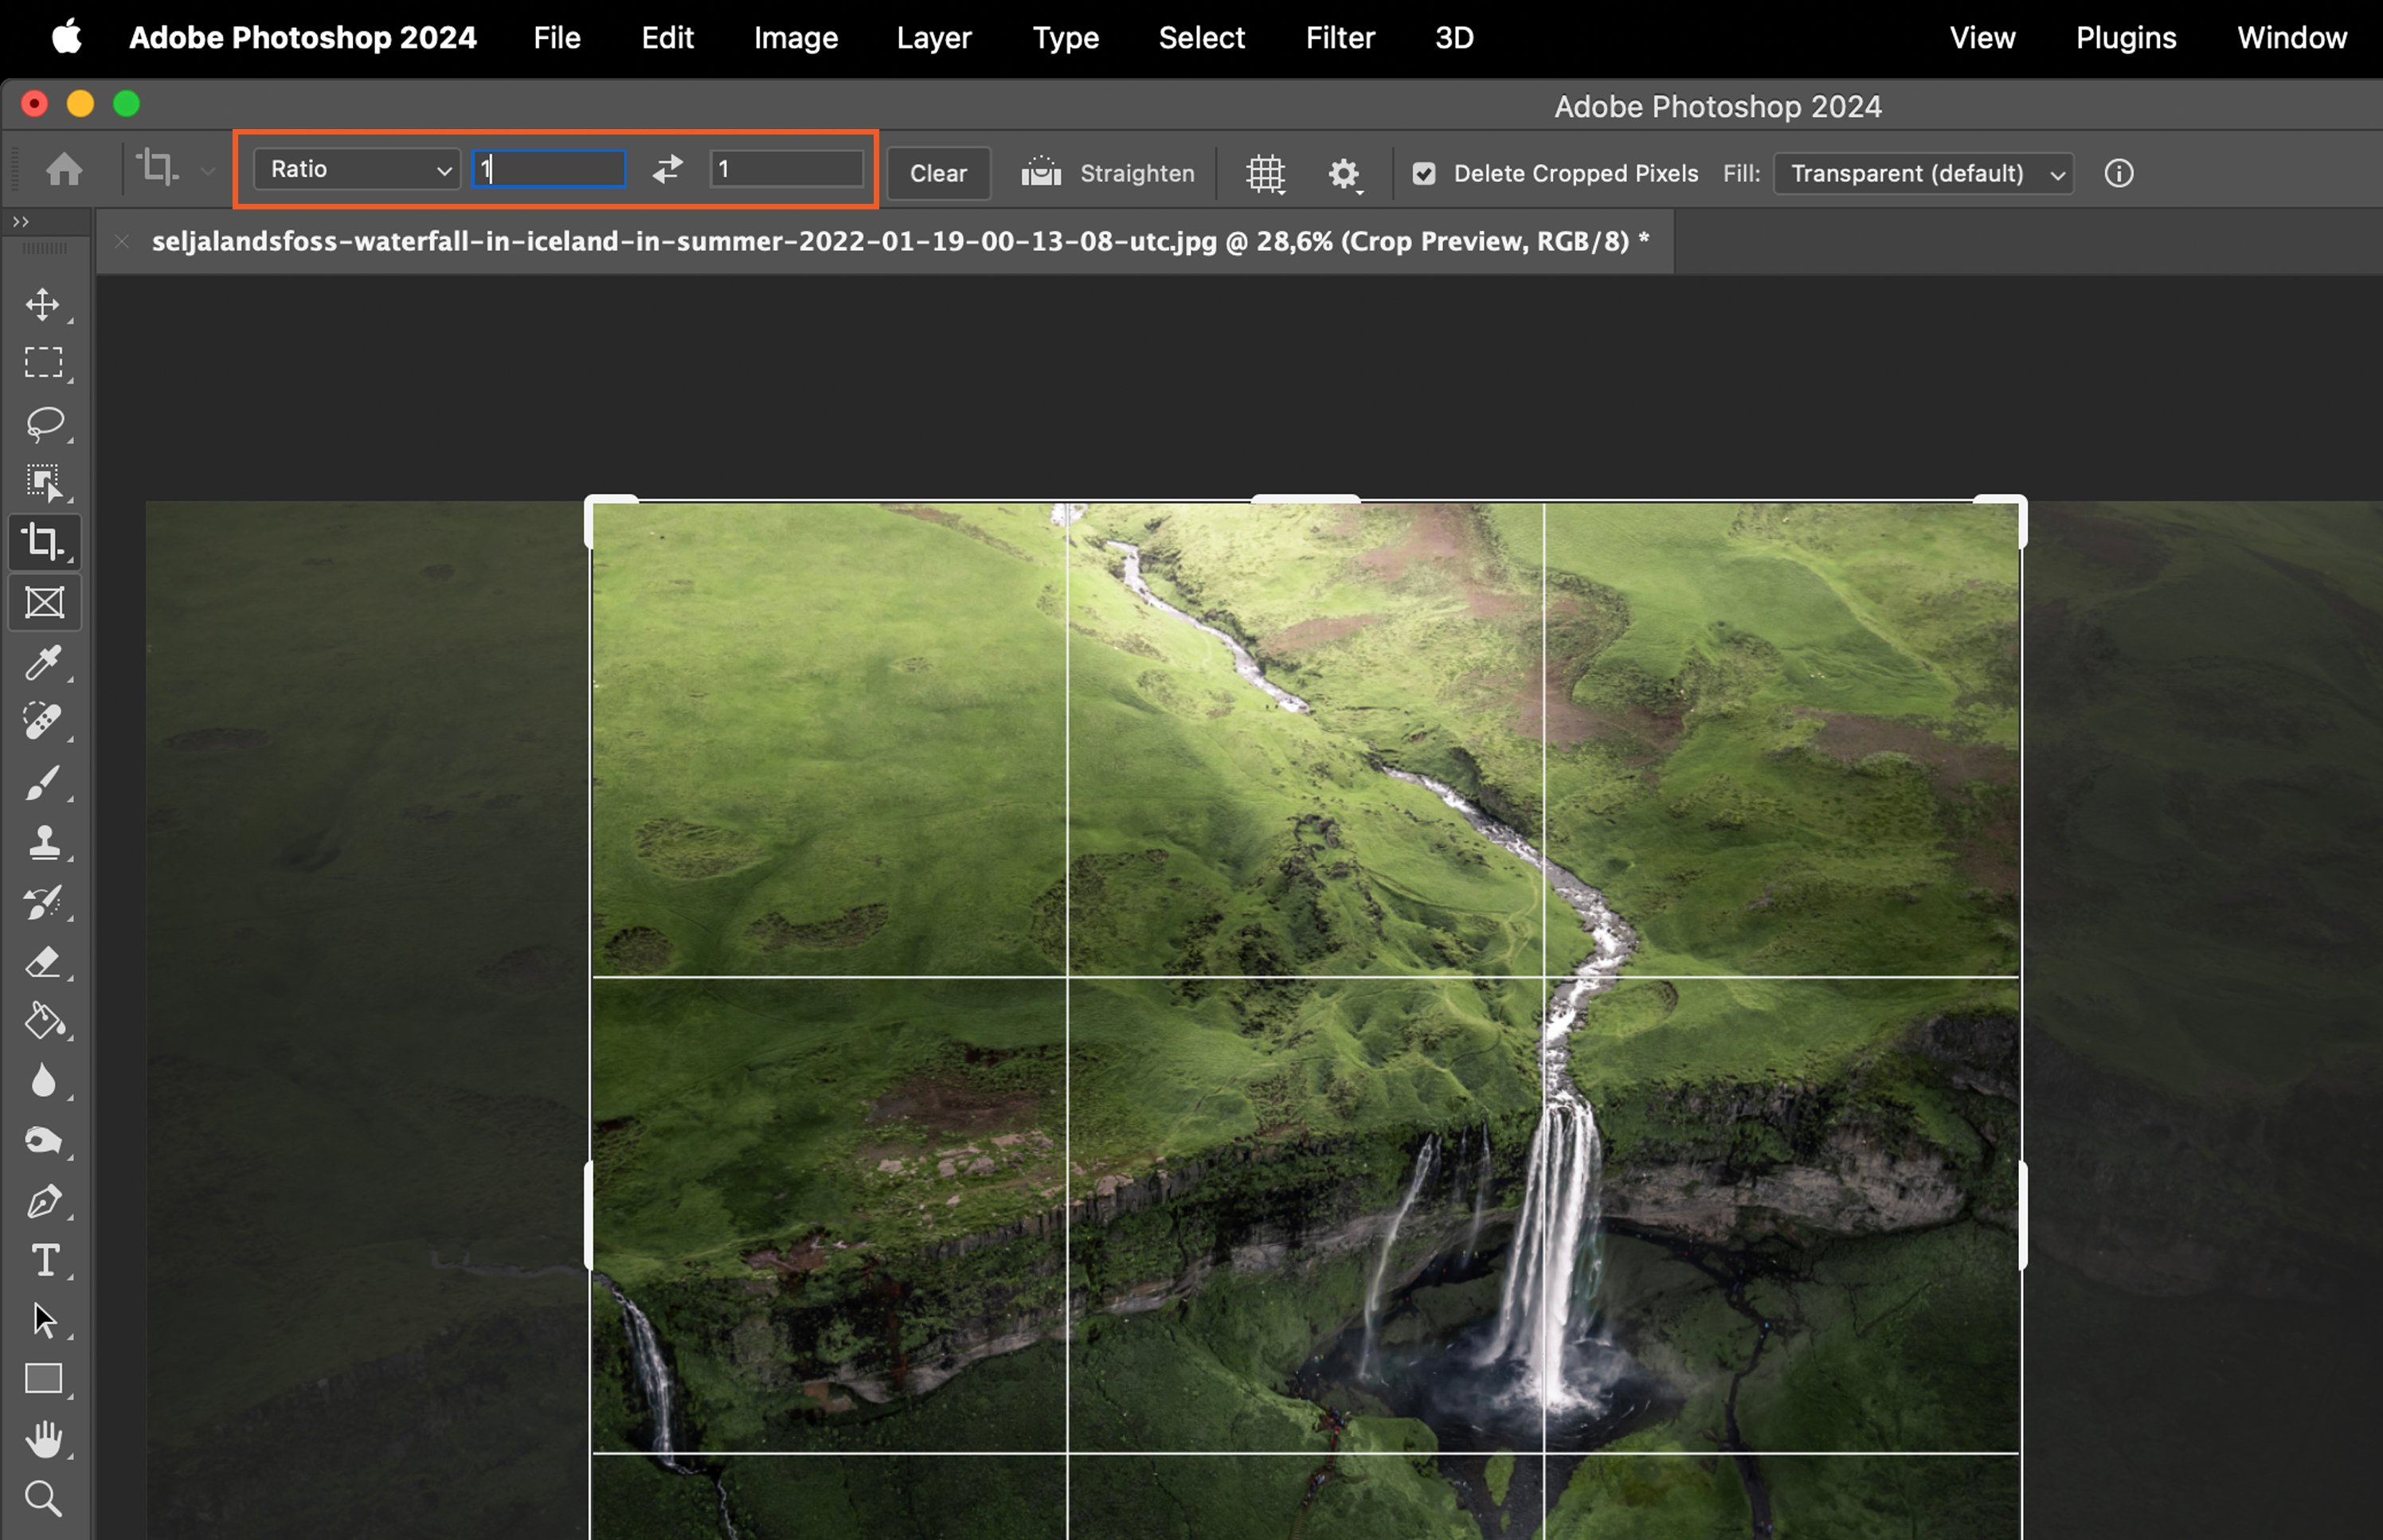
Step 3.2 Using Preset Aspect Ratios
Photoshop also offers preset aspect ratios. To use these, click on the “Aspect Ratio” dropdown and select your desired ratio, like 1×1 for a square image.
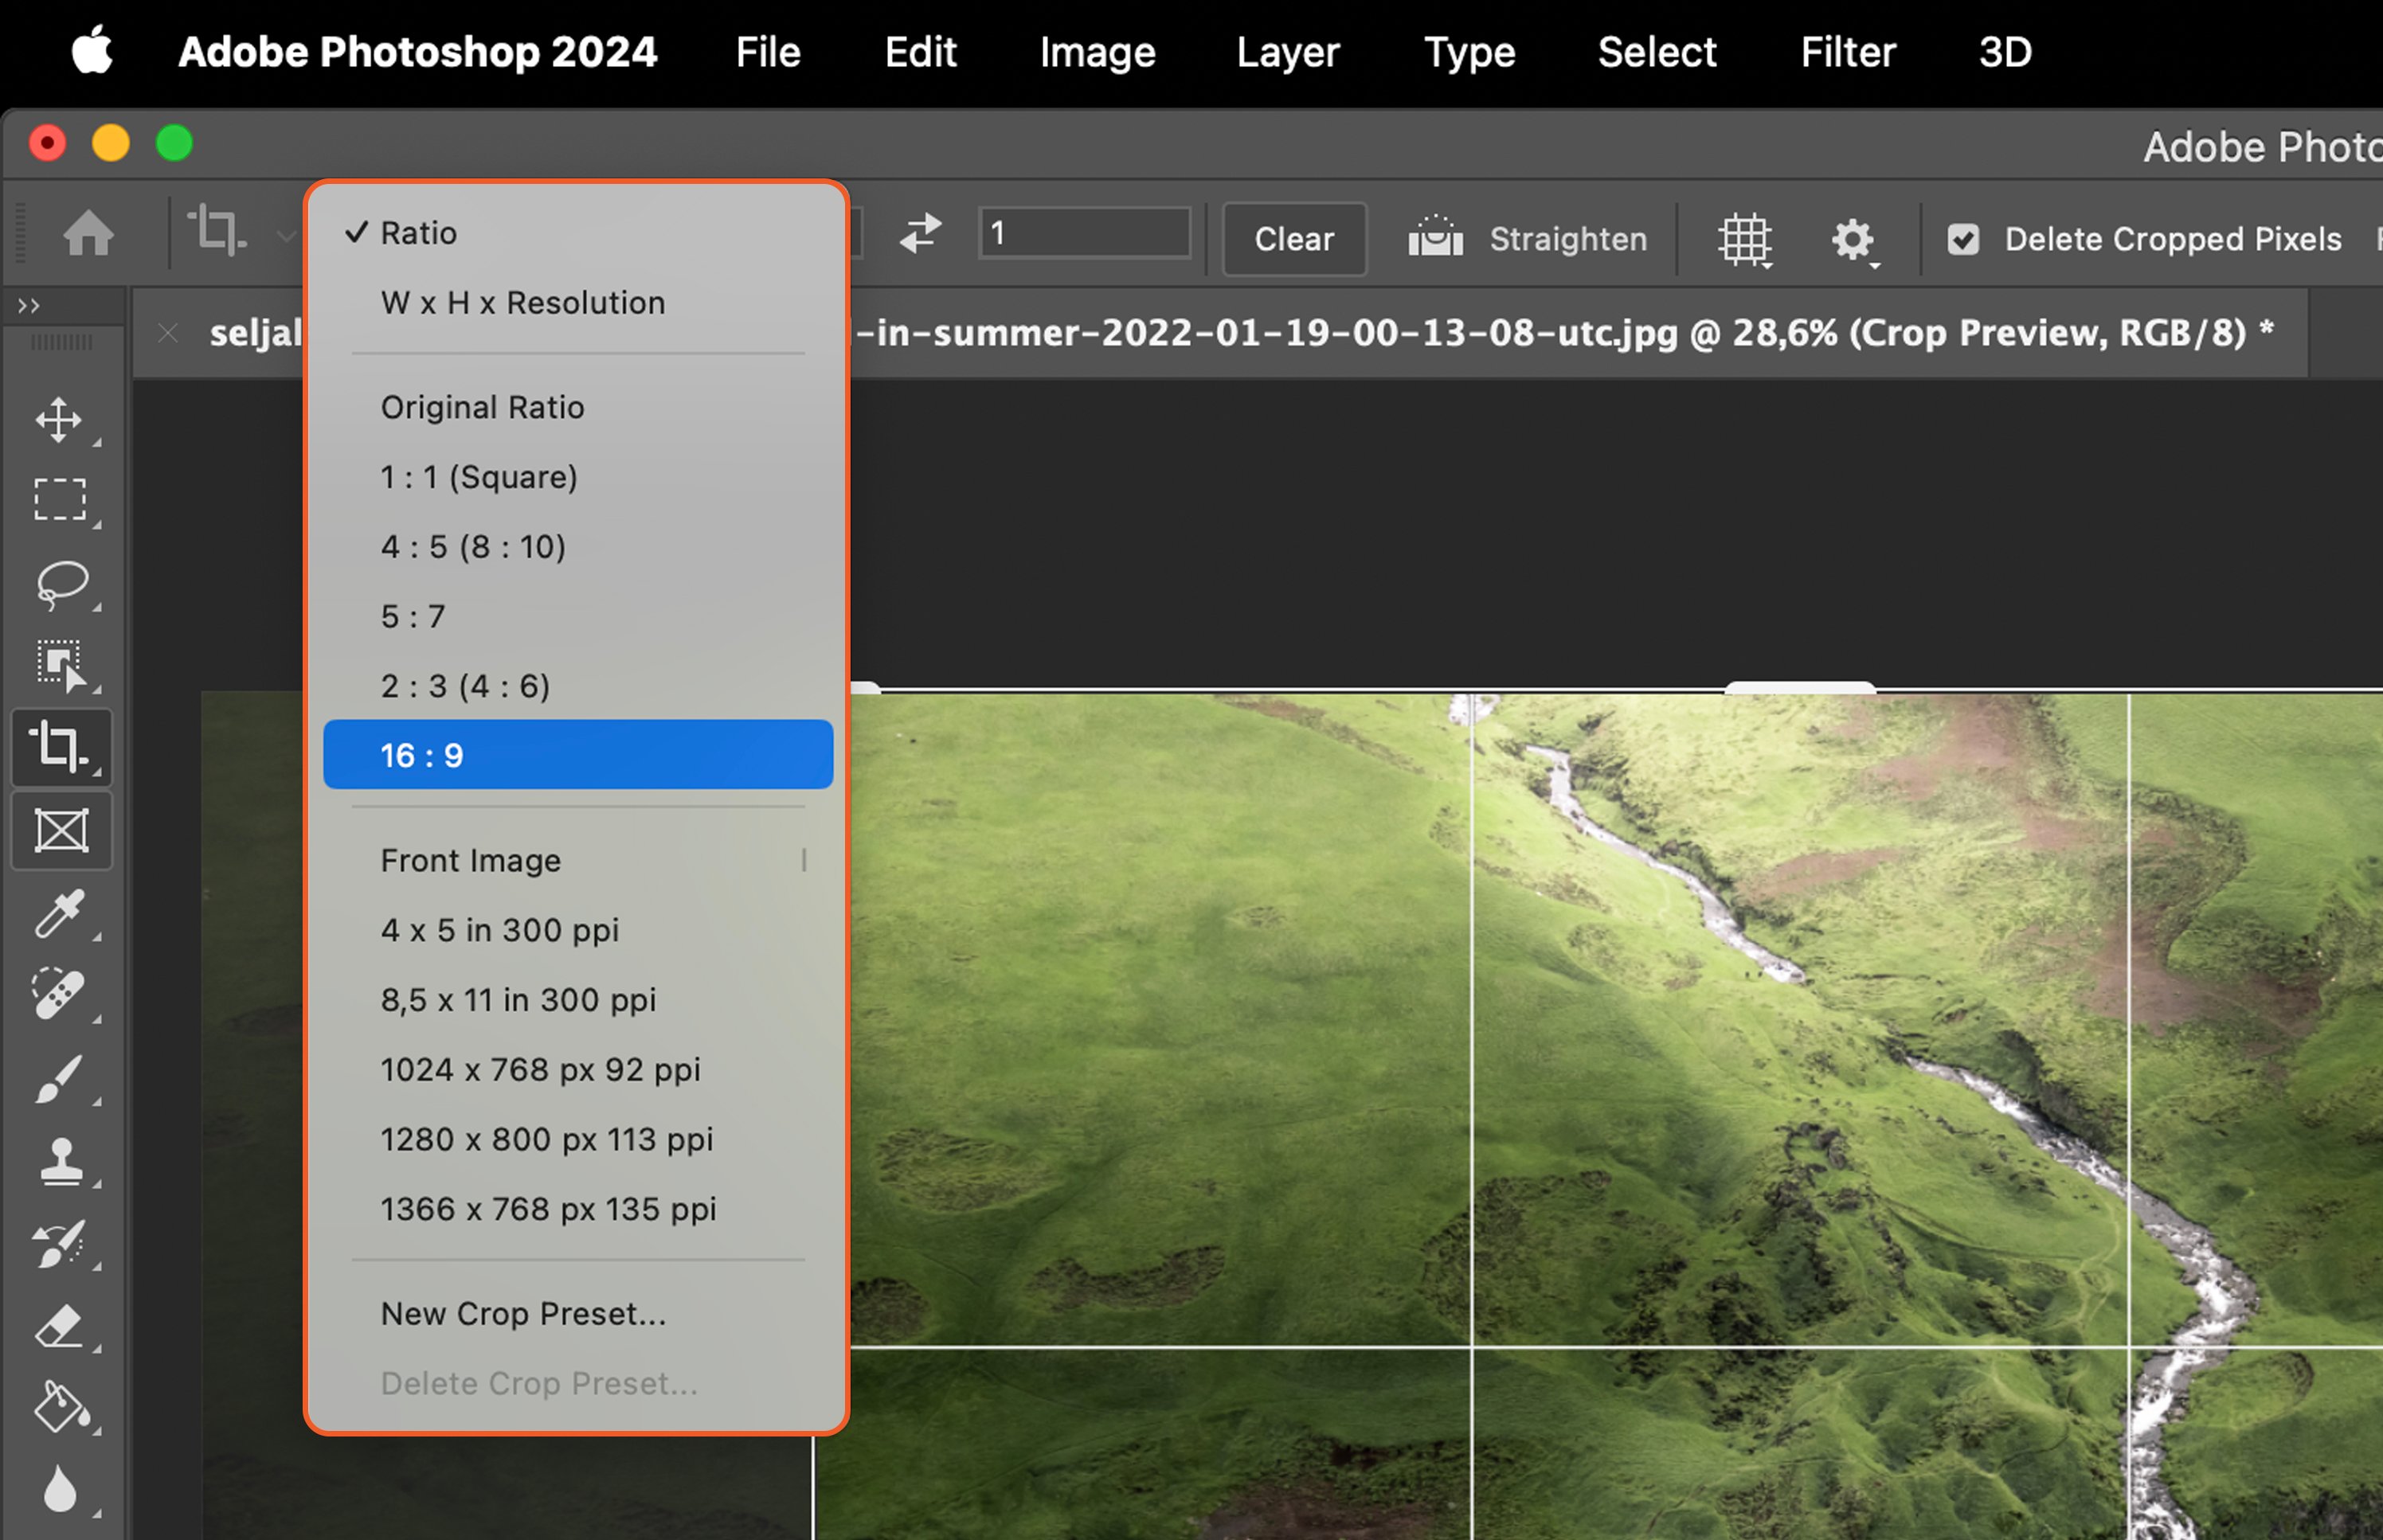
Step 4. Adjust the Crop Box
Once you’ve set the aspect ratio, a crop box will appear on your image. Click and drag the corners or edges of the box to adjust the crop area as needed.

Step 5. Apply the Crop
Step 5.1 Using the Toolbar
To apply the crop, navigate to the top of the screen and click the checkmark icon.
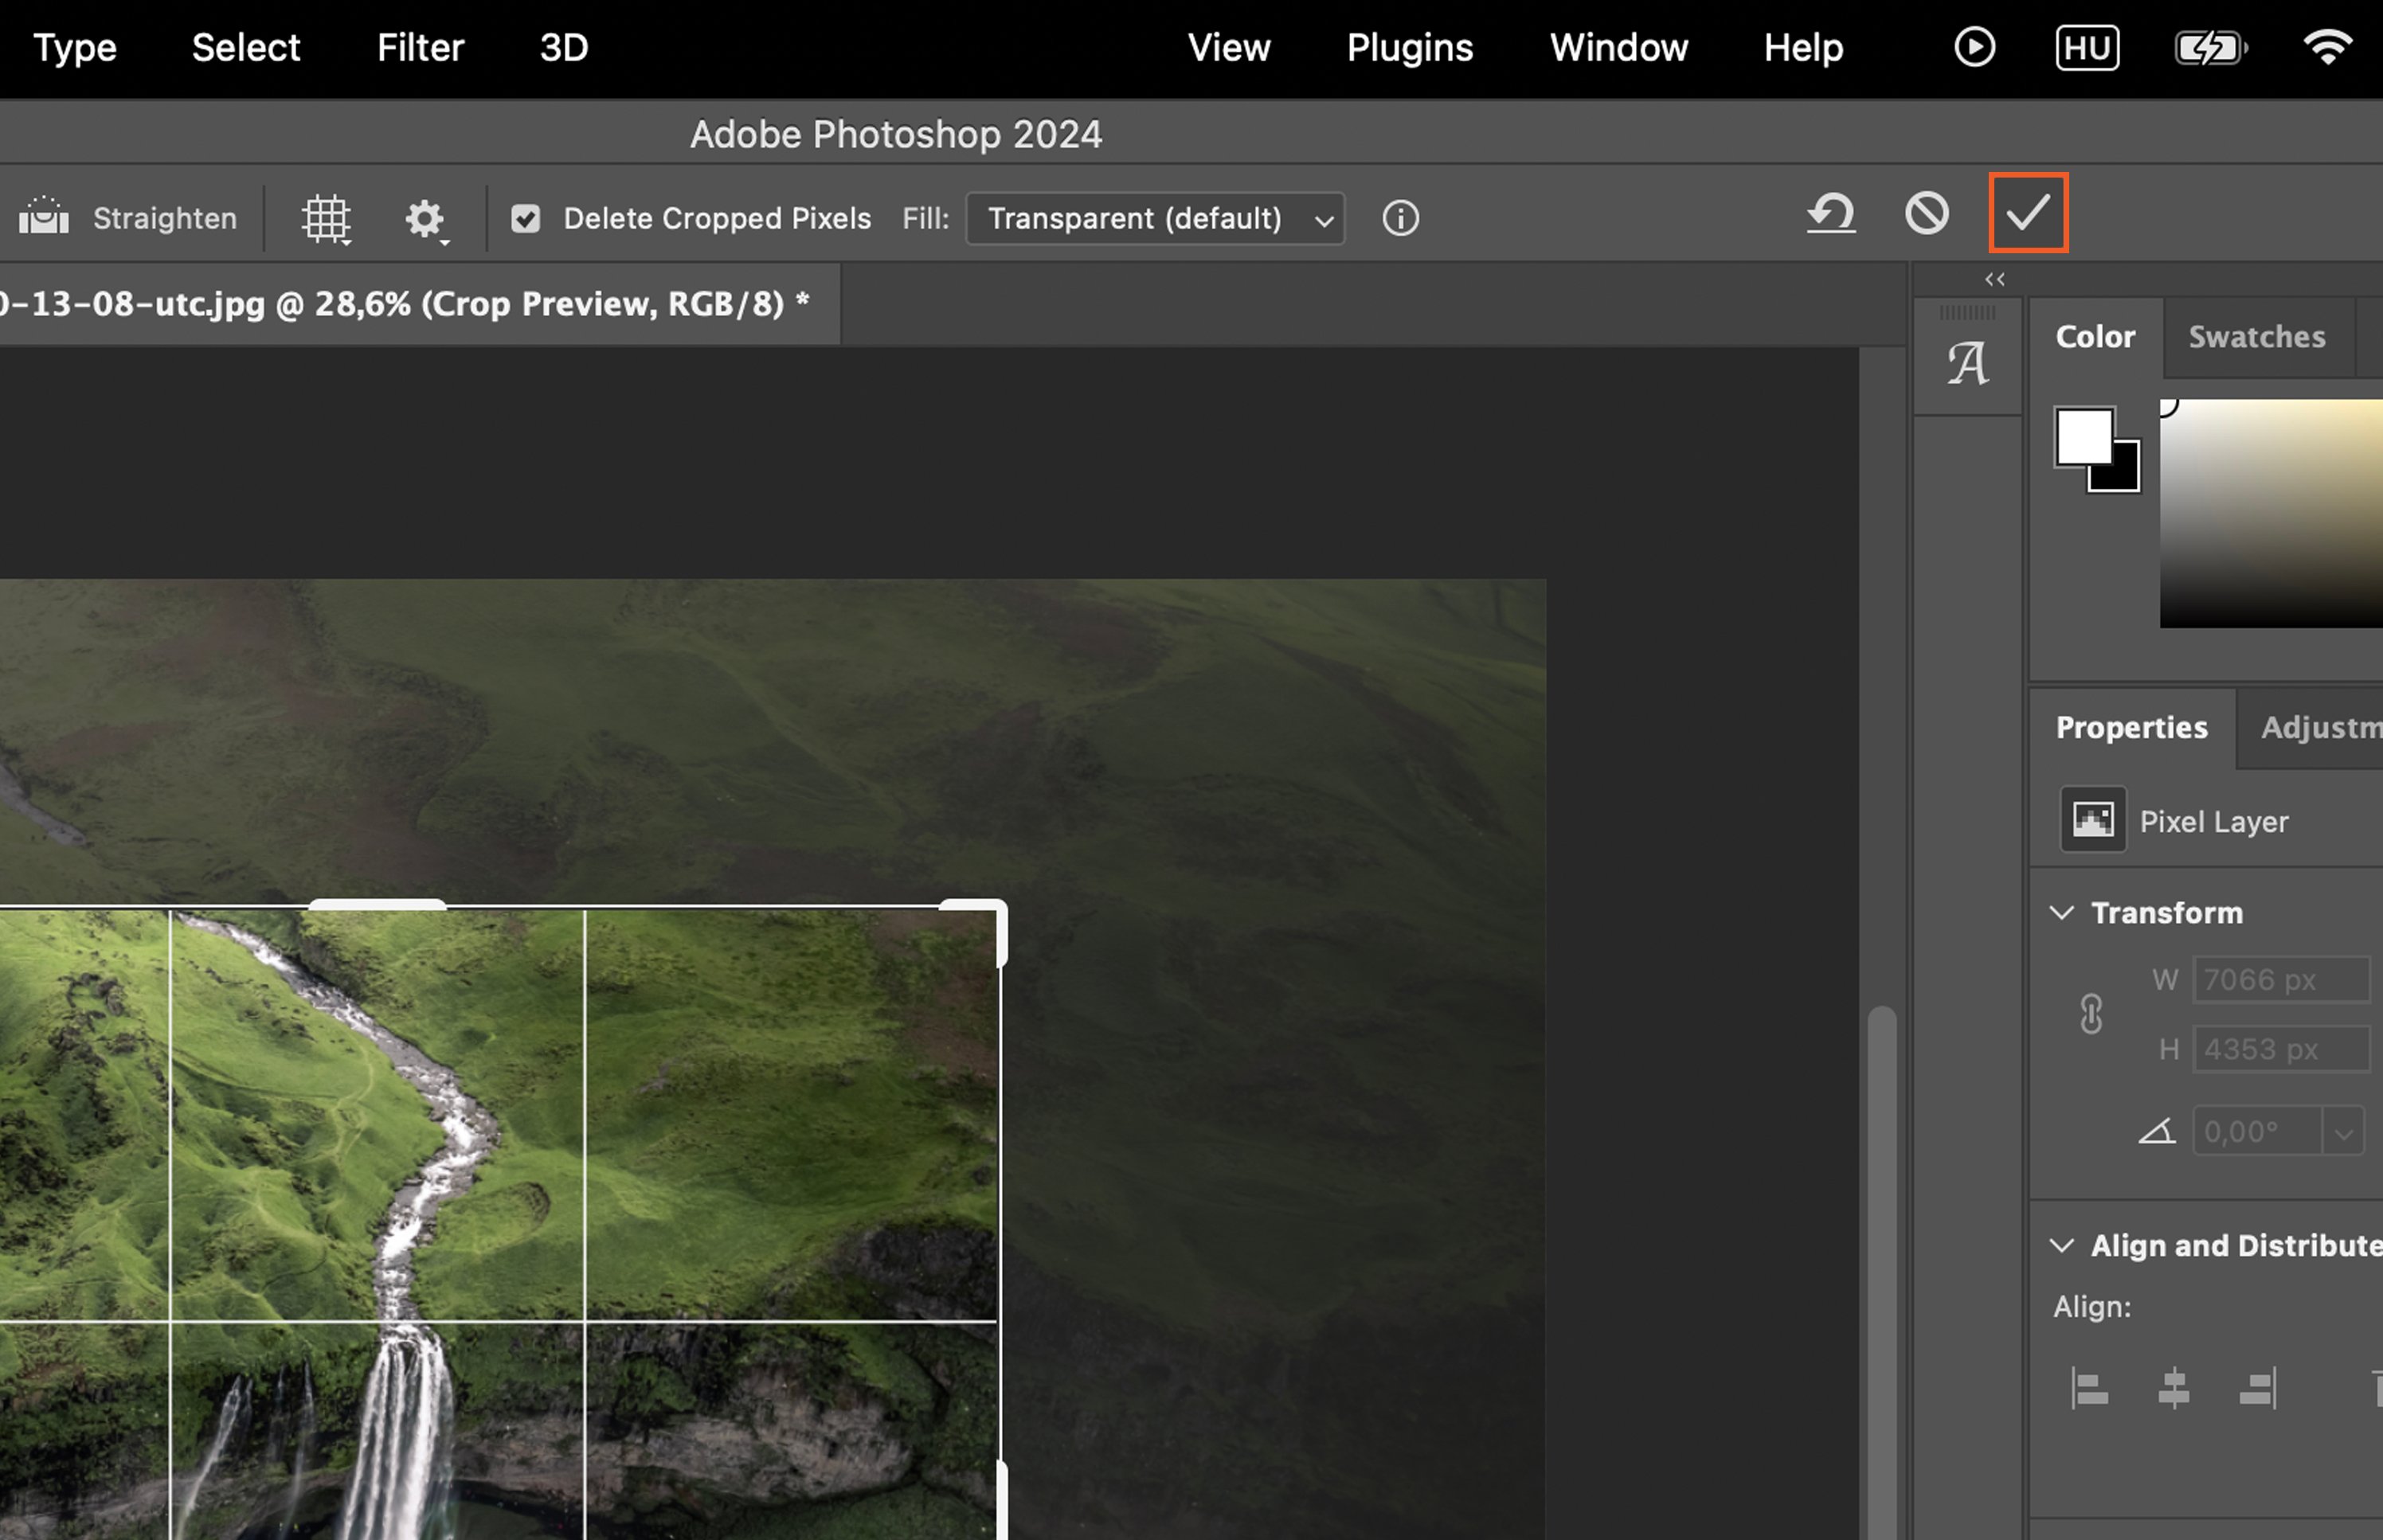
Step 5.2 Using the Shortcut Key
Alternatively, press “Enter” on your keyboard to apply the crop.
Step 6. Review the Changes
Take a moment to review your cropped image. Make sure it fits your needs and expectations.
Step 7. Undo Changes if Necessary
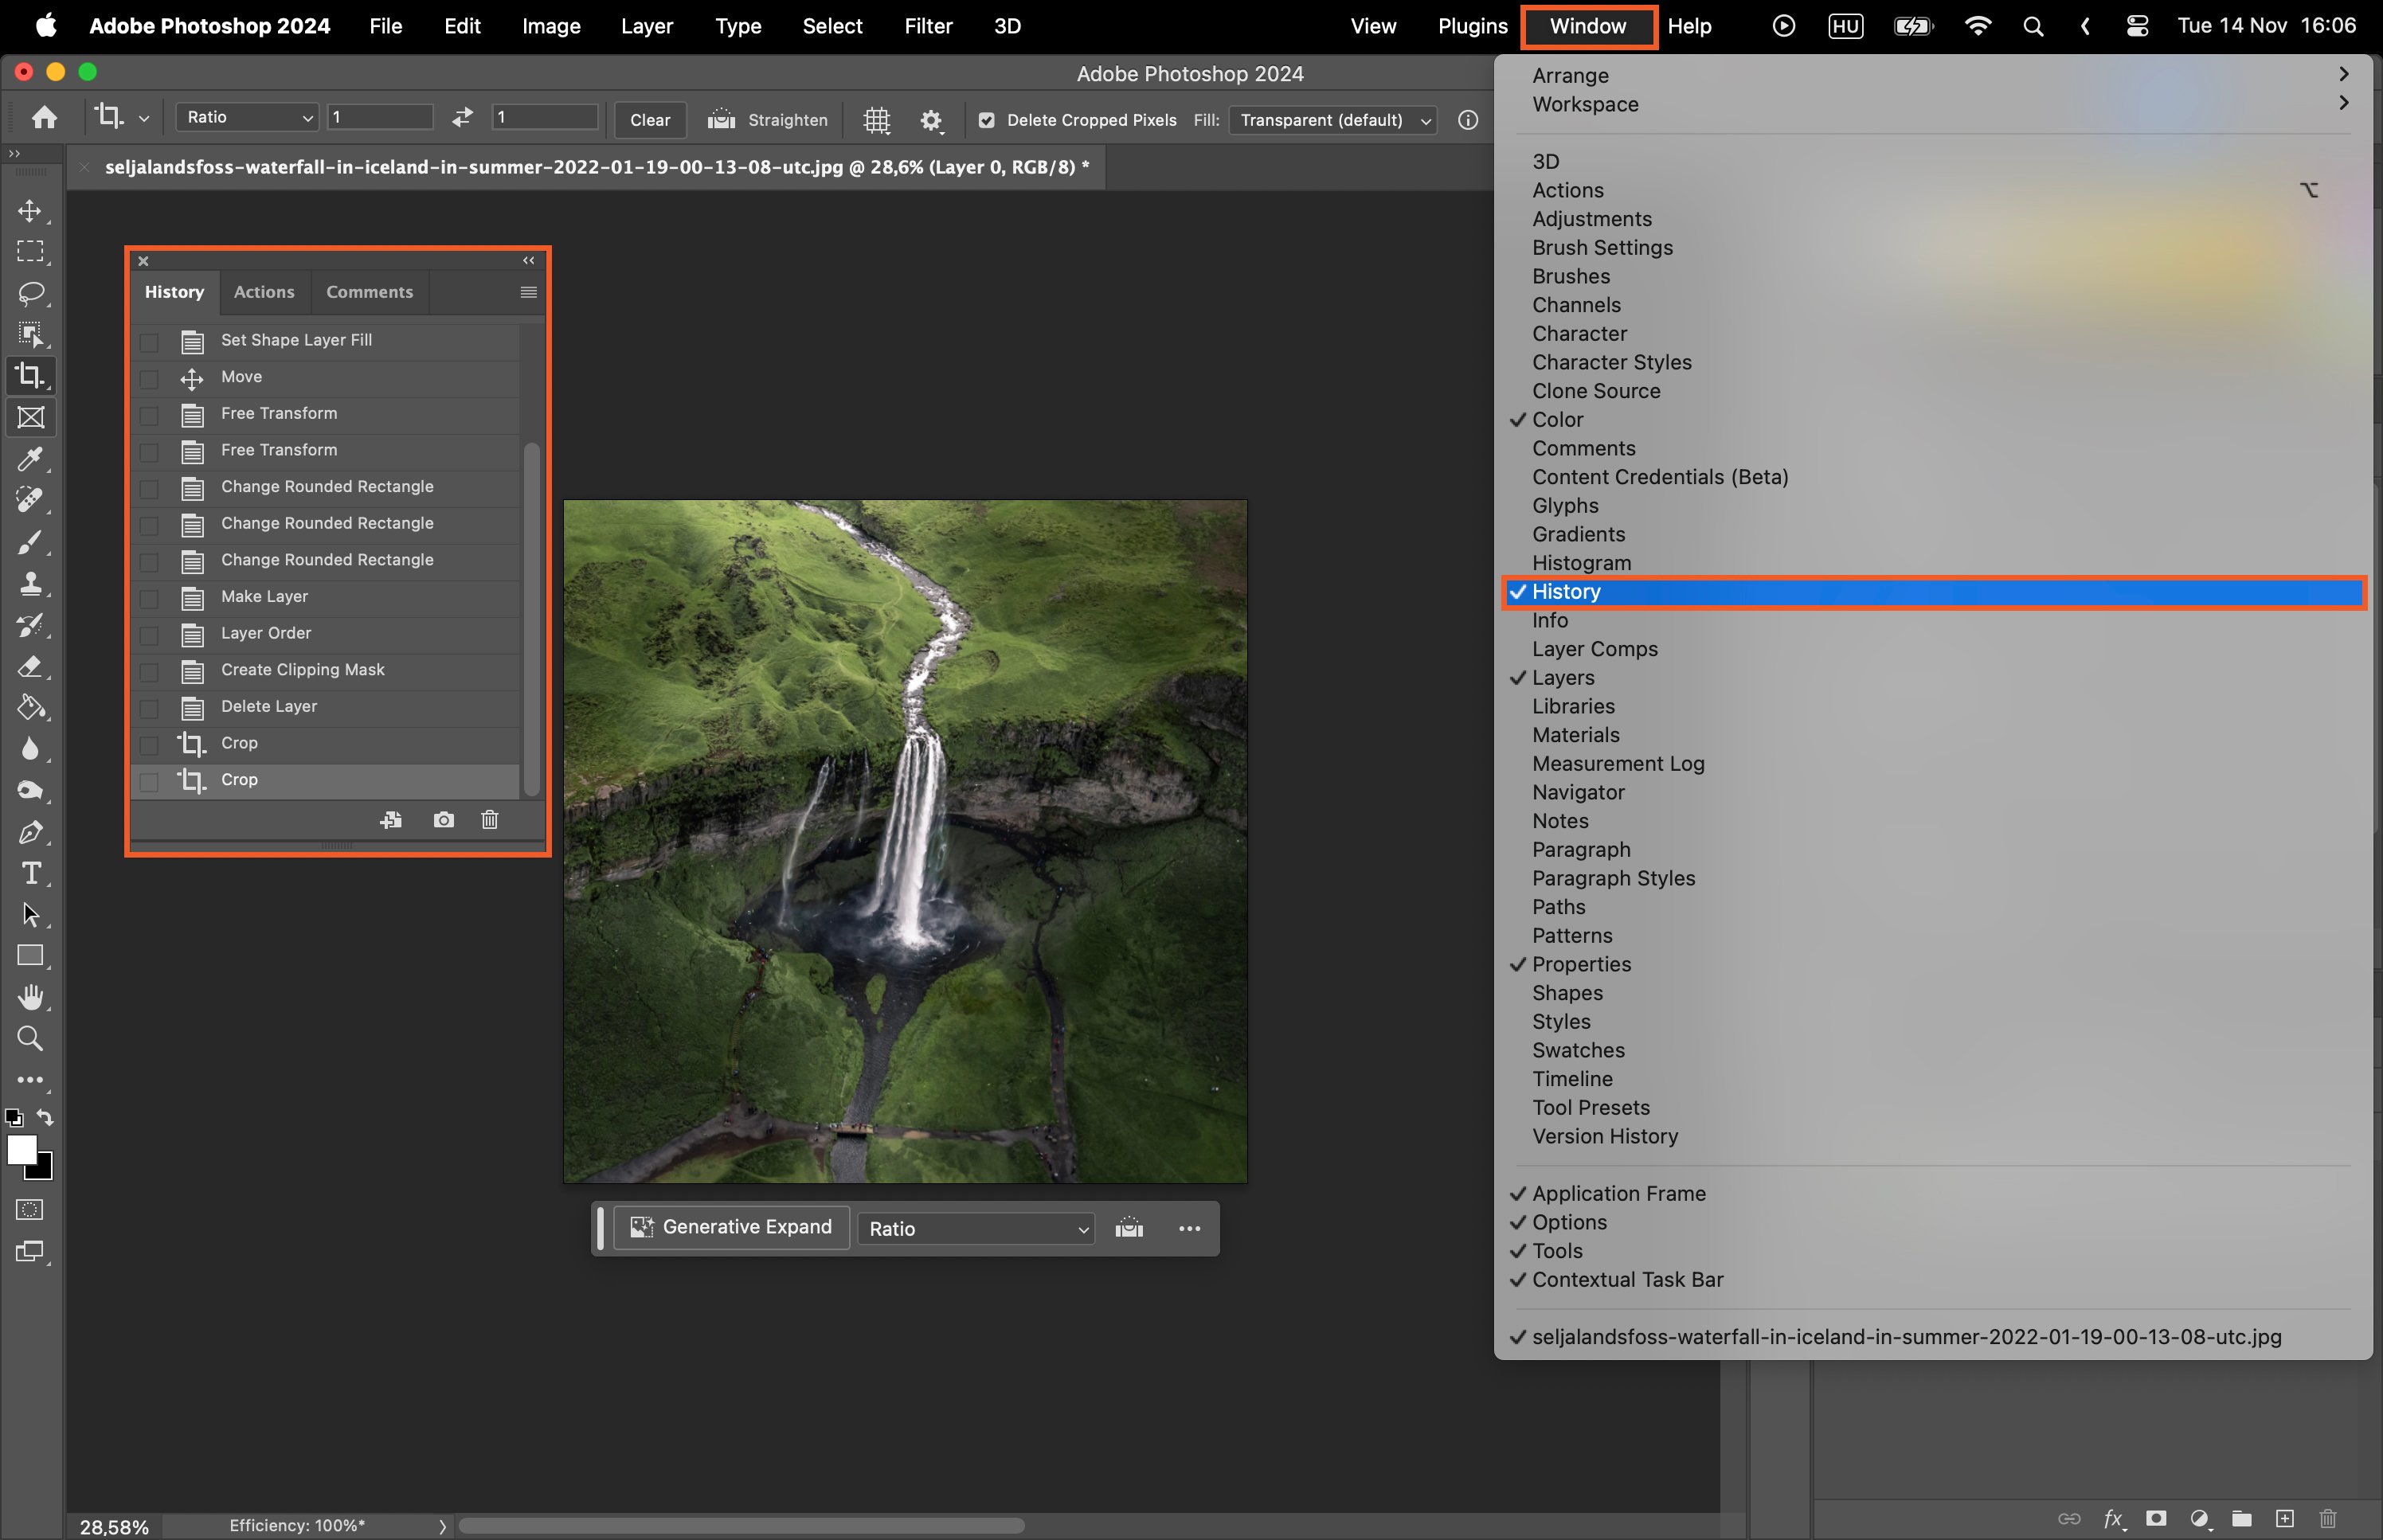
Step 7.1 Using the History Panel
If you’re not satisfied with the crop, you can undo it. Open the History Panel by navigating to “Window” and then “History.” Click on the state before the crop was applied.
Step 7.2 Using the Shortcut Key
You can also press “Ctrl+Z” or “Command+Z” on your keyboard to undo the last action.
Step 8. Save the Edited Image
Once you’re happy with the cropped image, go to “File” and then “Save As” to save the image. Choose your desired location and file format, and click “Save.”


