
Struggling to change the canvas size in Photoshop? Mastering this process can simplify your design workflow and enhance your creative flexibility. Our step-by-step guide will help you navigate this task with ease.
Step 1. Navigate to the Image Menu
Begin by opening your Photoshop program. Once it’s open, locate the Image menu at the top of the screen. Click on it to reveal a dropdown list of options. In the dropdown list, look for the option labeled “Canvas Size”. Click on this to open the Canvas Size dialog box.

Step 2. Understanding the Canvas Size Dialog Box
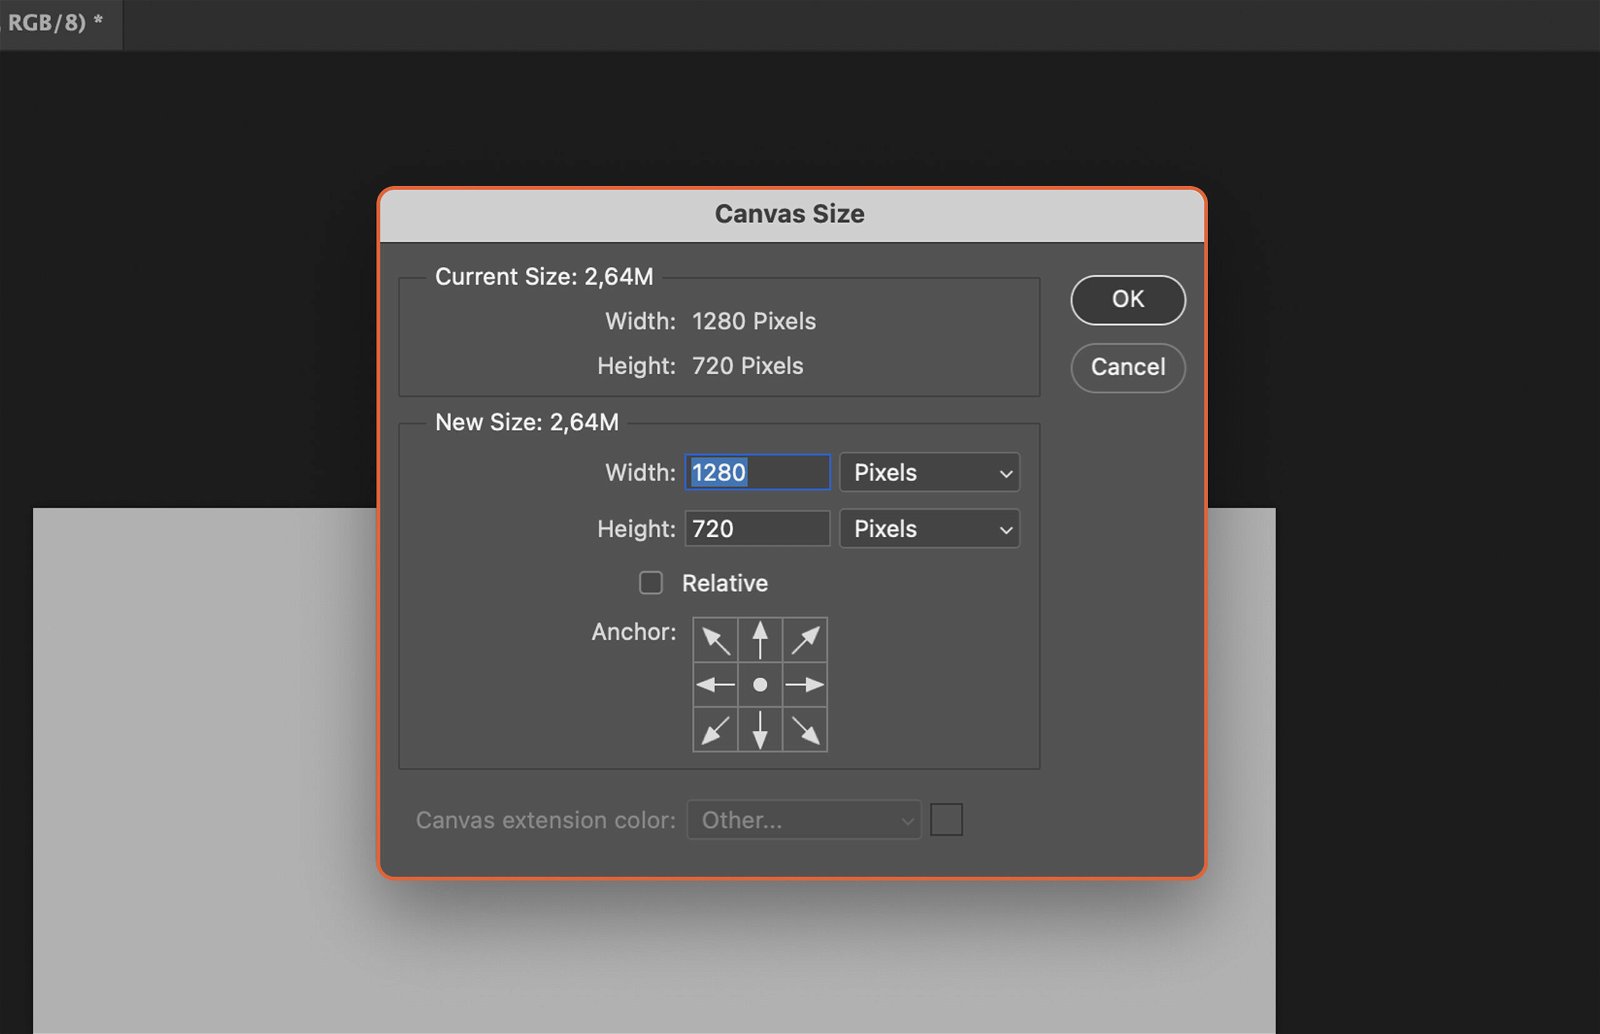
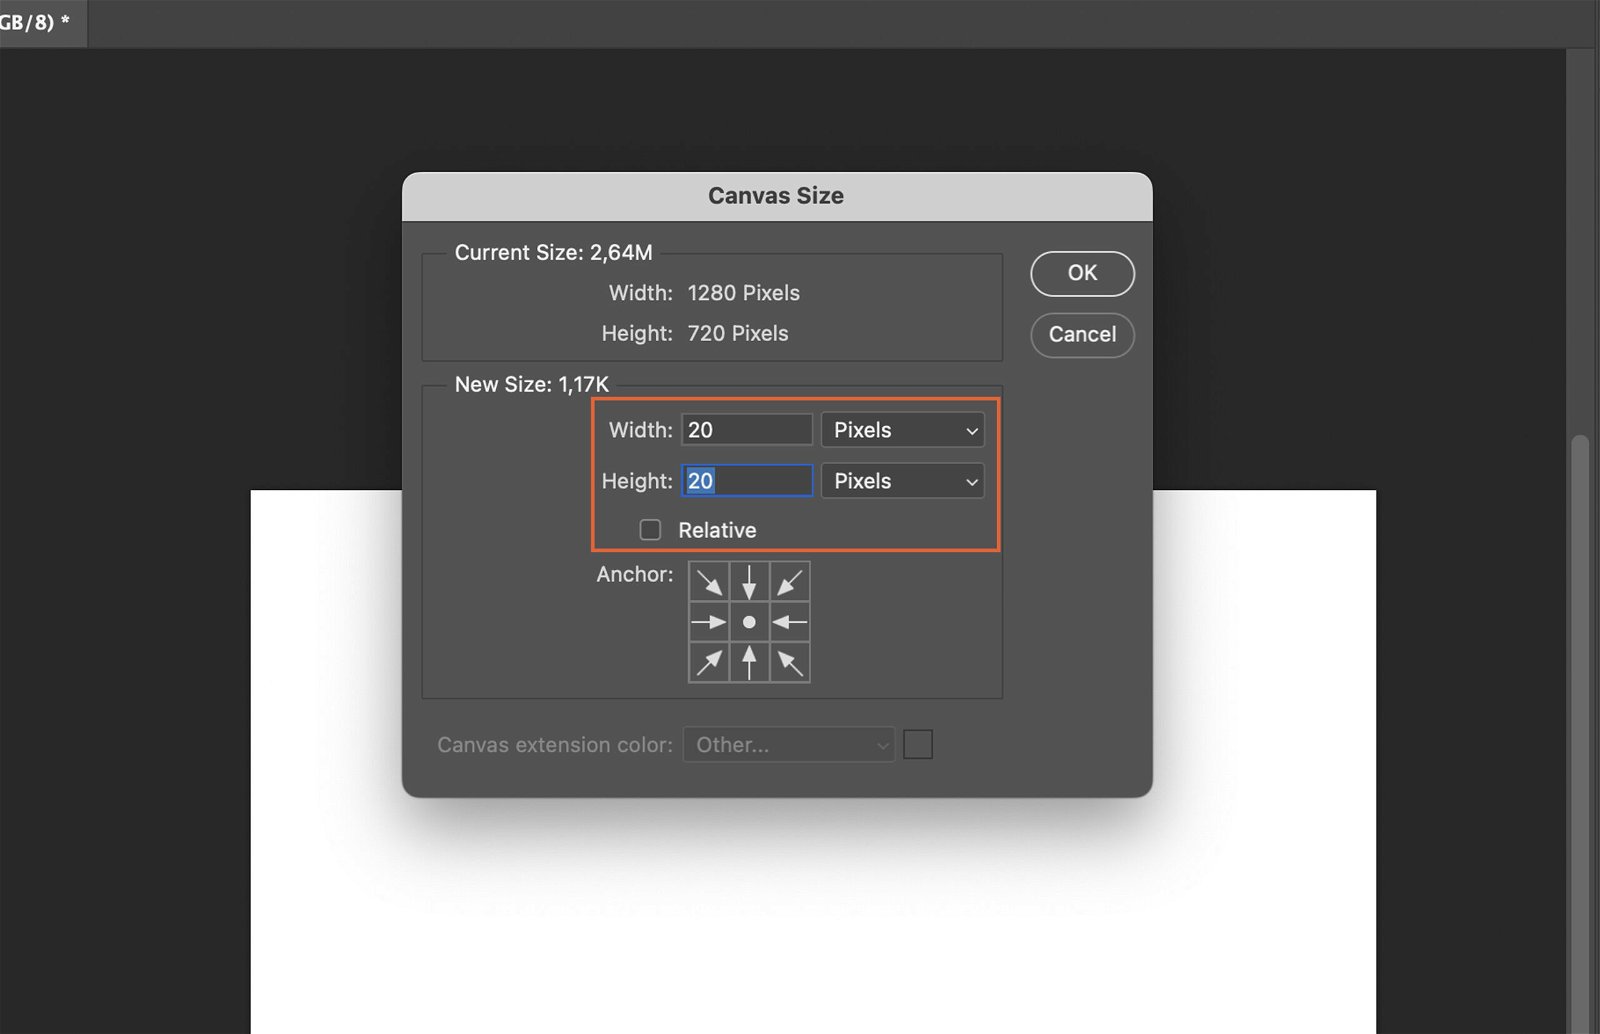
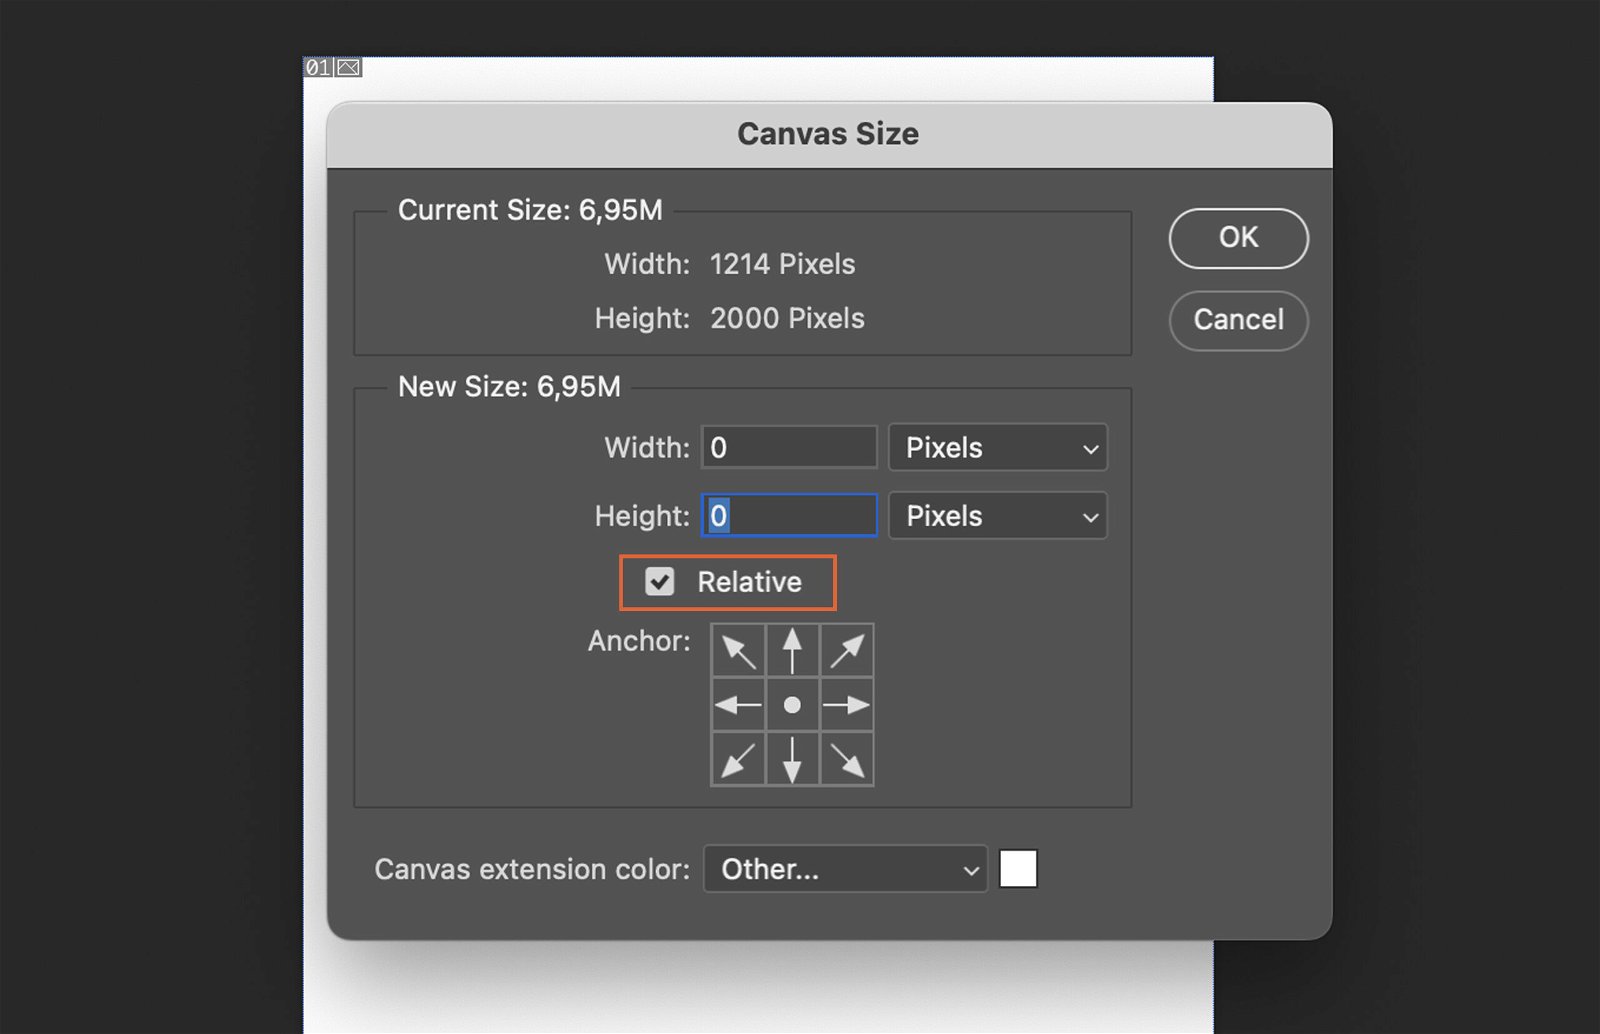
This dialog box is where you can adjust the size of your canvas. It contains several options that allow you to customize the canvas to your liking.
Step 2.1. Width and Height Options
These options let you manually input the dimensions of your canvas. They are measured in pixels, but you can change the unit of measurement if needed.
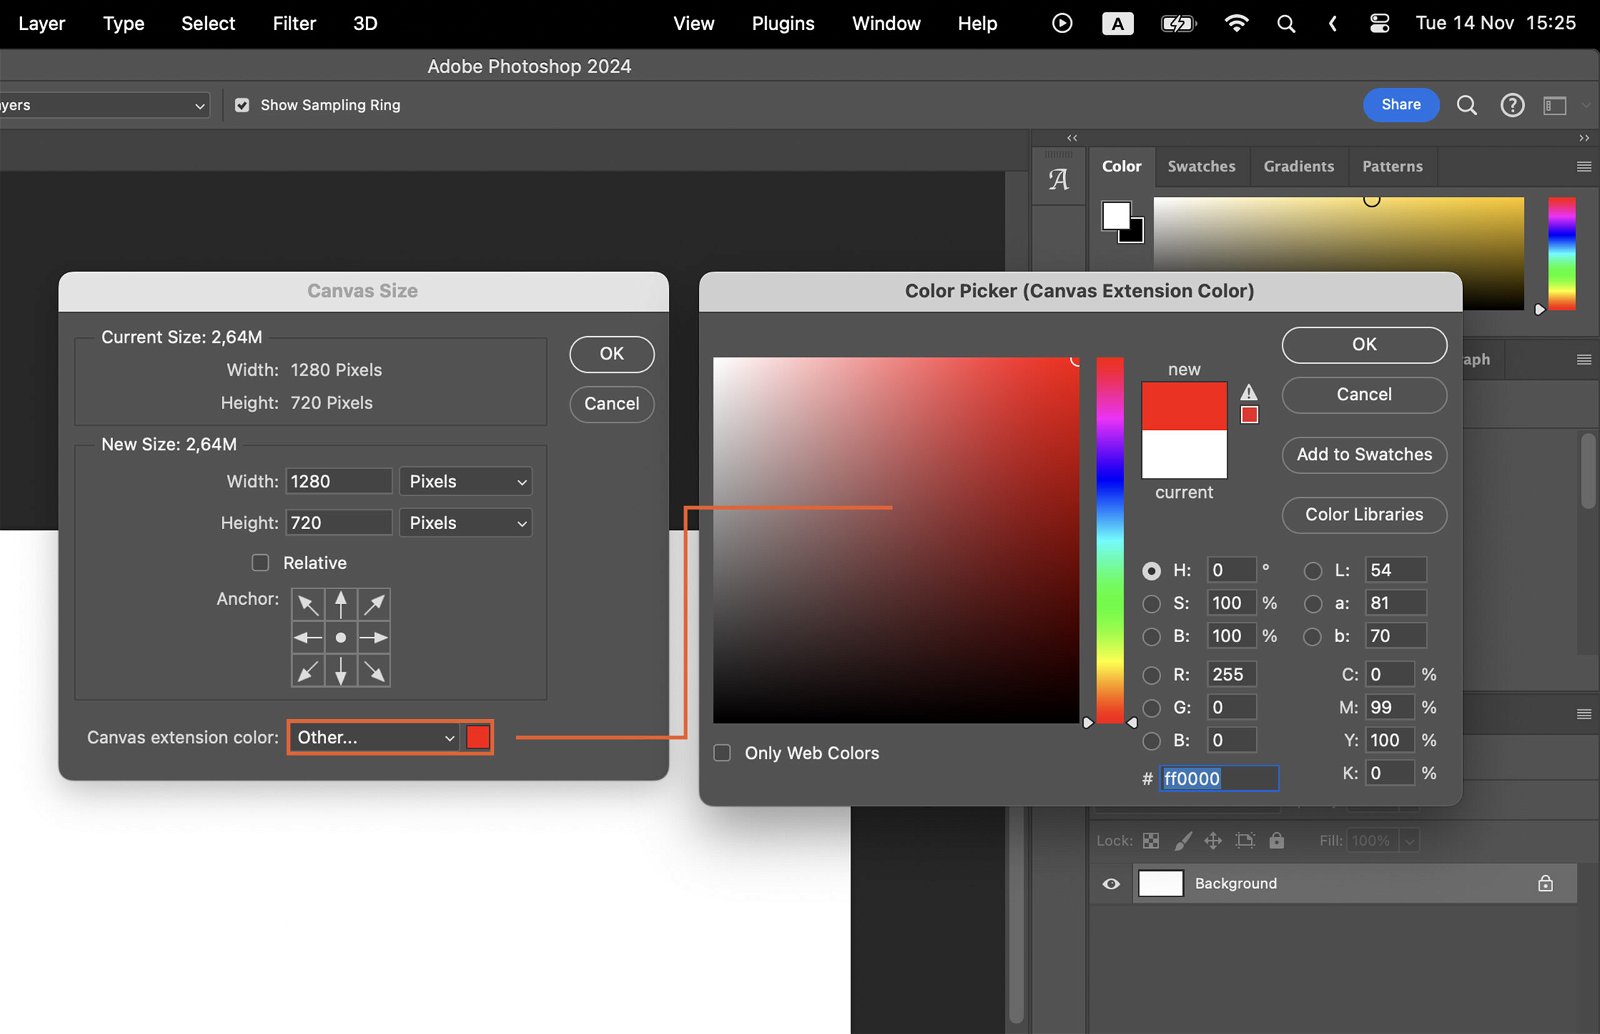
Step 2.2. Canvas Extension Color
This option lets you choose the color that fills in any extra space when you increase the canvas size. You can choose from default colors or pick a custom color.
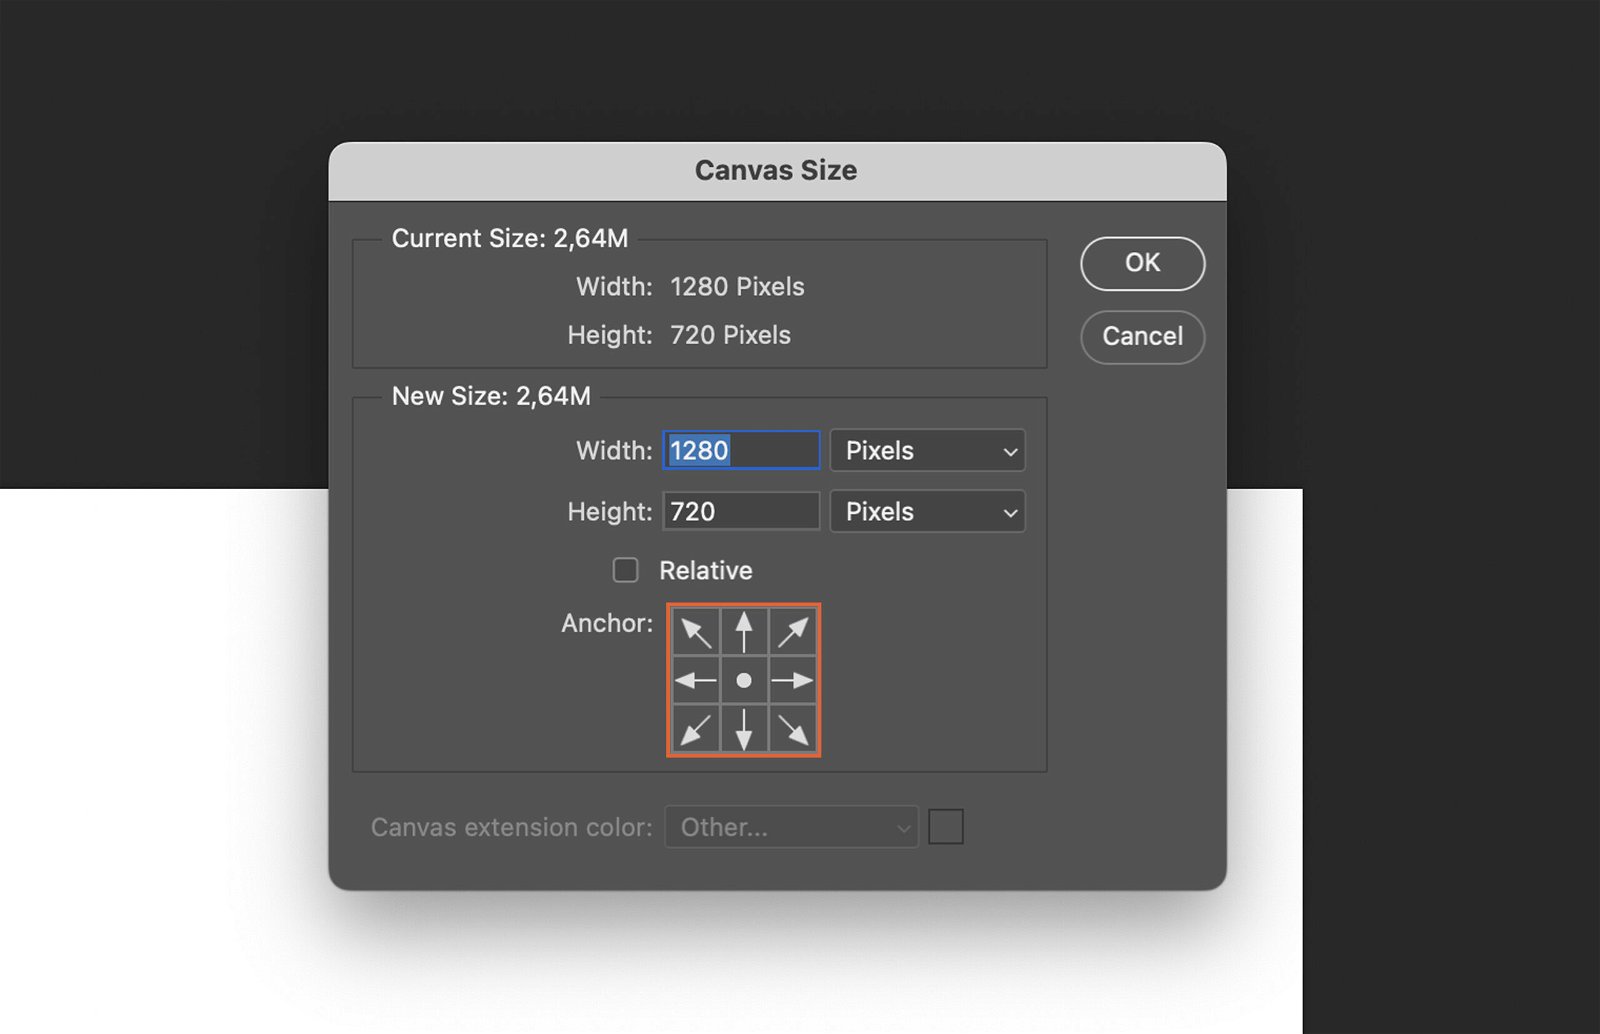
Step 2.3. Anchor Points
The grid of squares is your anchor point selector. It lets you choose where to “anchor” your canvas when you change its size.
Step 3. Adjusting the Canvas Size
Now that you understand the dialog box, you can adjust your canvas size.
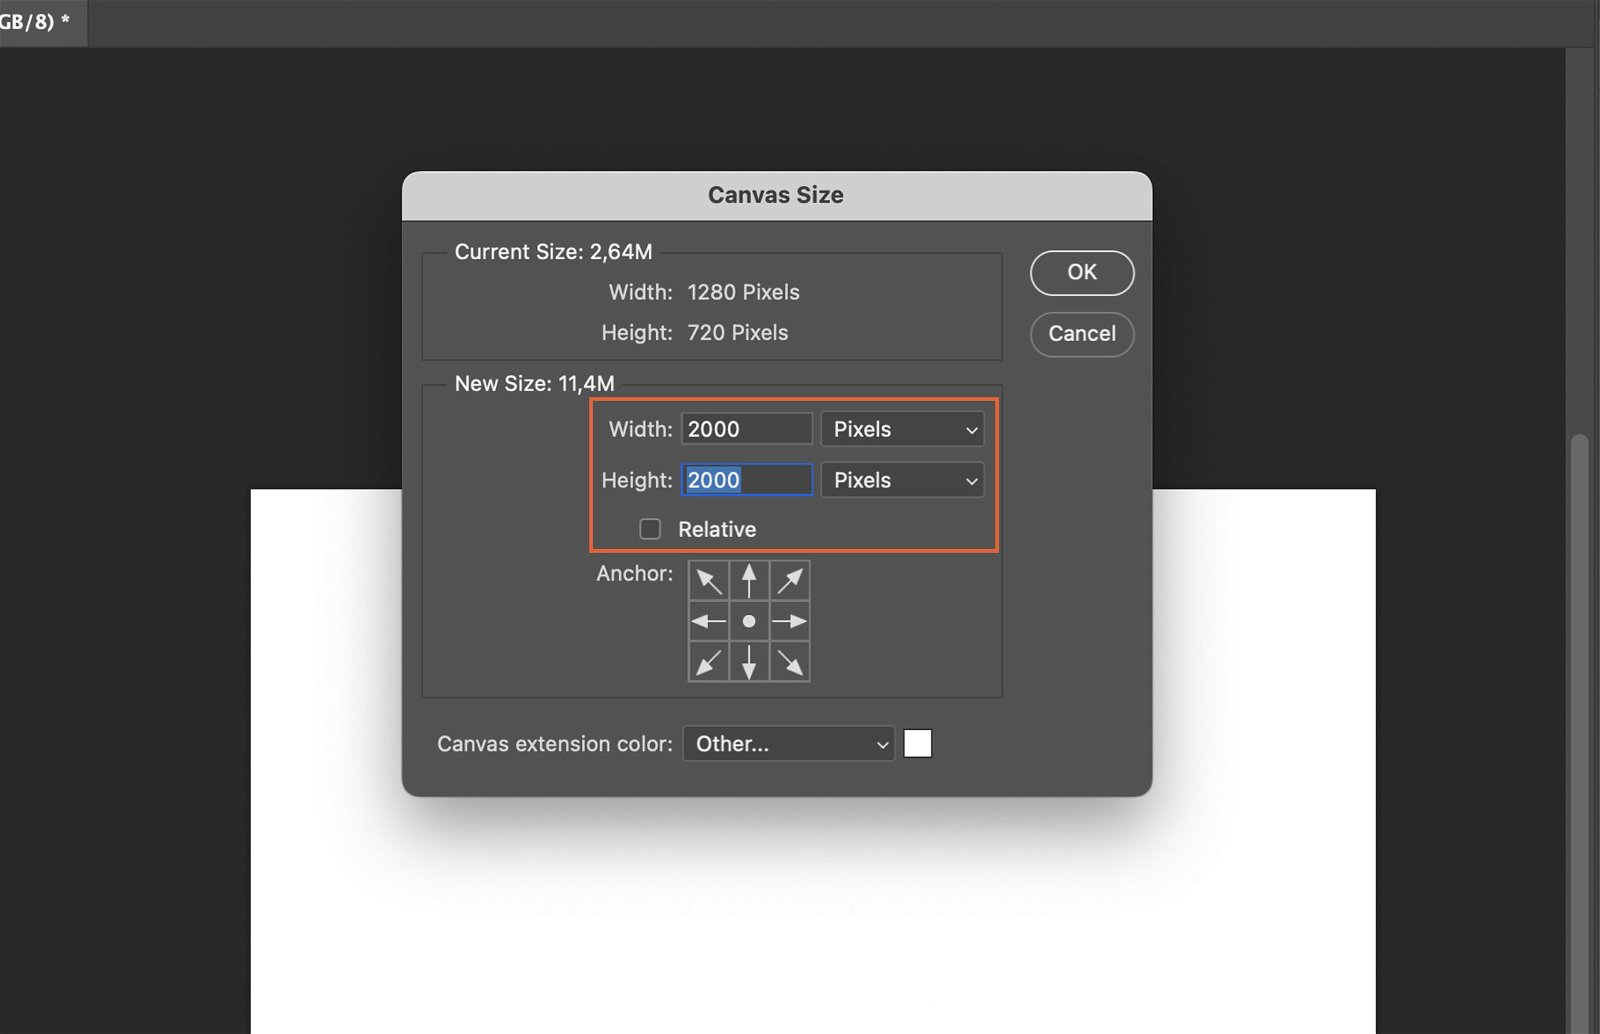
Step 3.1. Increasing the Canvas Size
To increase the size, simply type in larger numbers in the Width and Height boxes. The canvas will expand in the direction of your chosen anchor point.
Step 3.2. Decreasing the Canvas Size
Similarly, to decrease the size, type in smaller numbers. The canvas will shrink towards your chosen anchor point.
Step 4. Confirming Your Changes
Once you’re happy with the new size, click the “OK” button to confirm your changes.
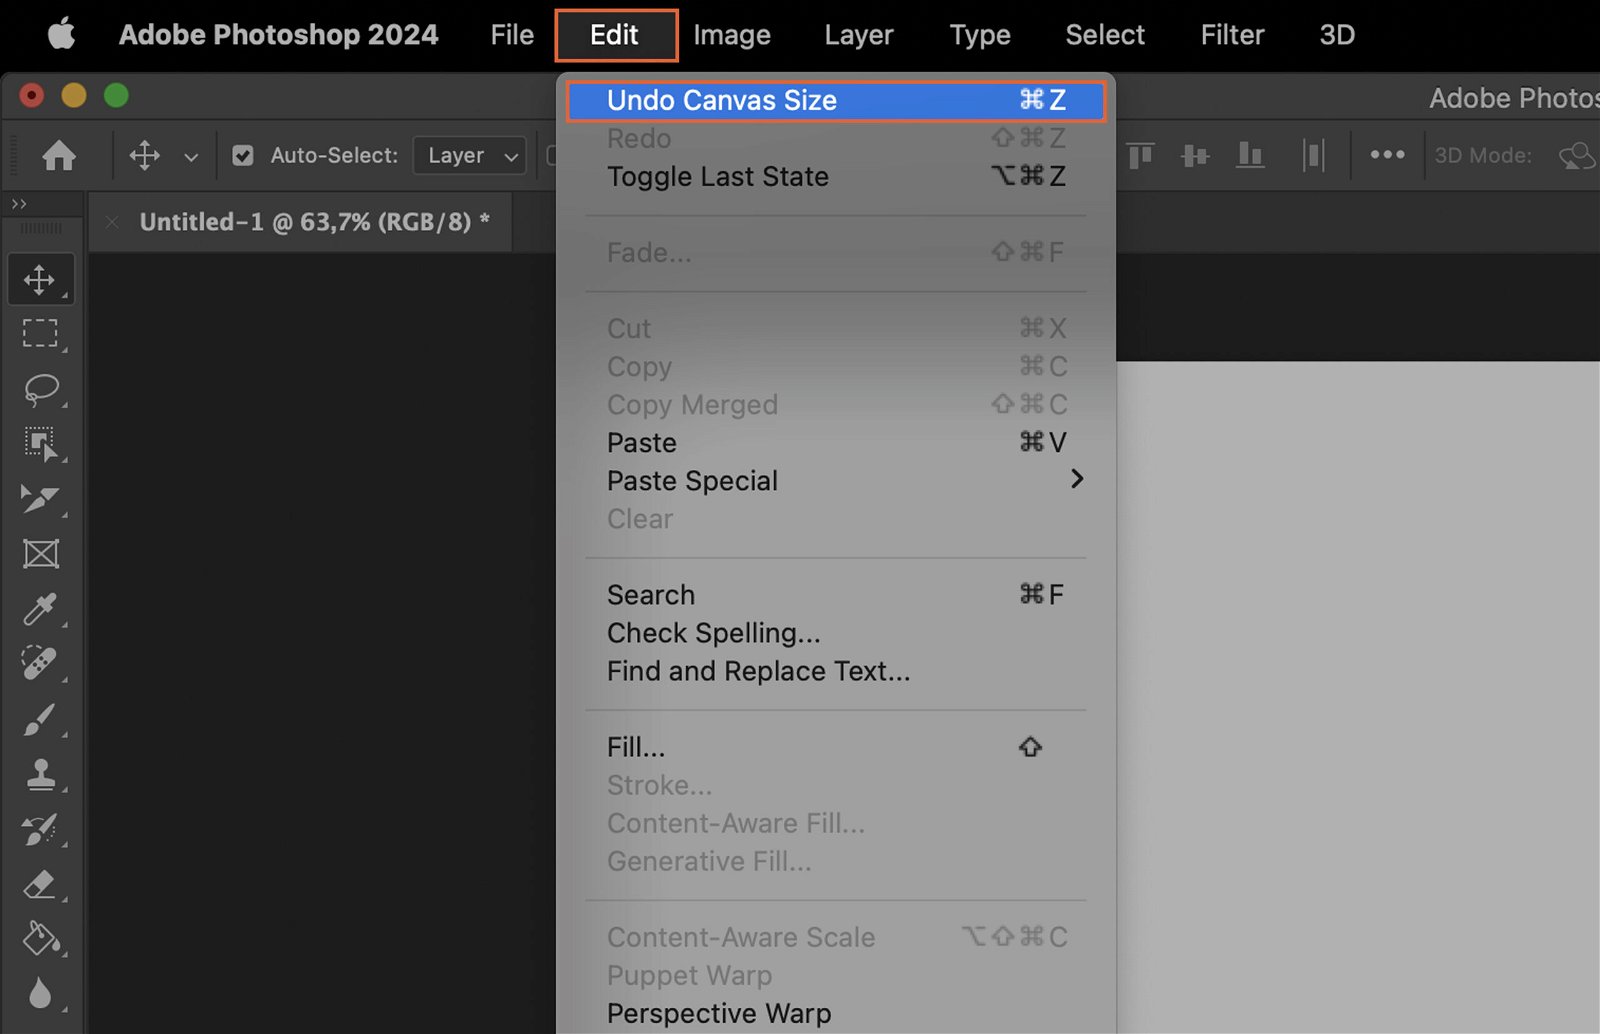
Step 5. Reverting Canvas Size Changes
If you’re not happy with the new size, you can revert back to the original size by going to the Edit menu and selecting “Undo Canvas Size”.
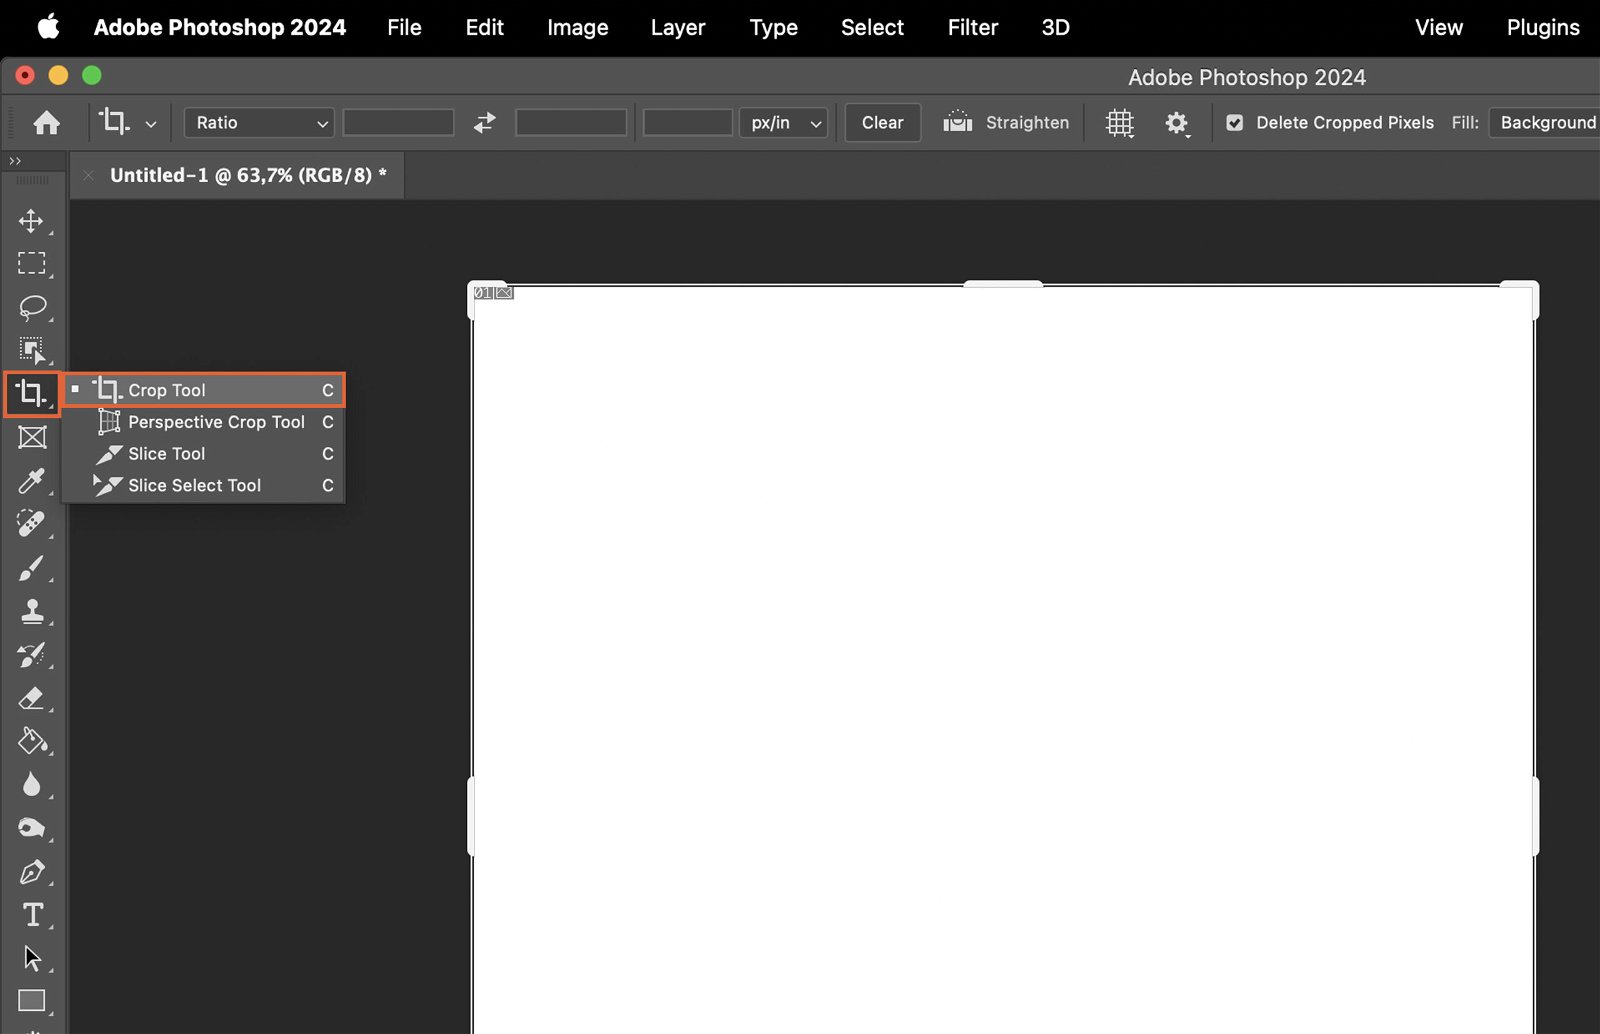
Step 6. Using the Crop Tool to Adjust Canvas Size
The Crop tool is another way to adjust your canvas size.
Step 7.1. Selecting the Crop Tool
The Crop tool is located in the toolbar on the left side of the screen. Click on it to activate it.
Step 7.2. Adjusting Crop Borders
Once activated, click and drag the borders of the crop box to adjust the canvas size.
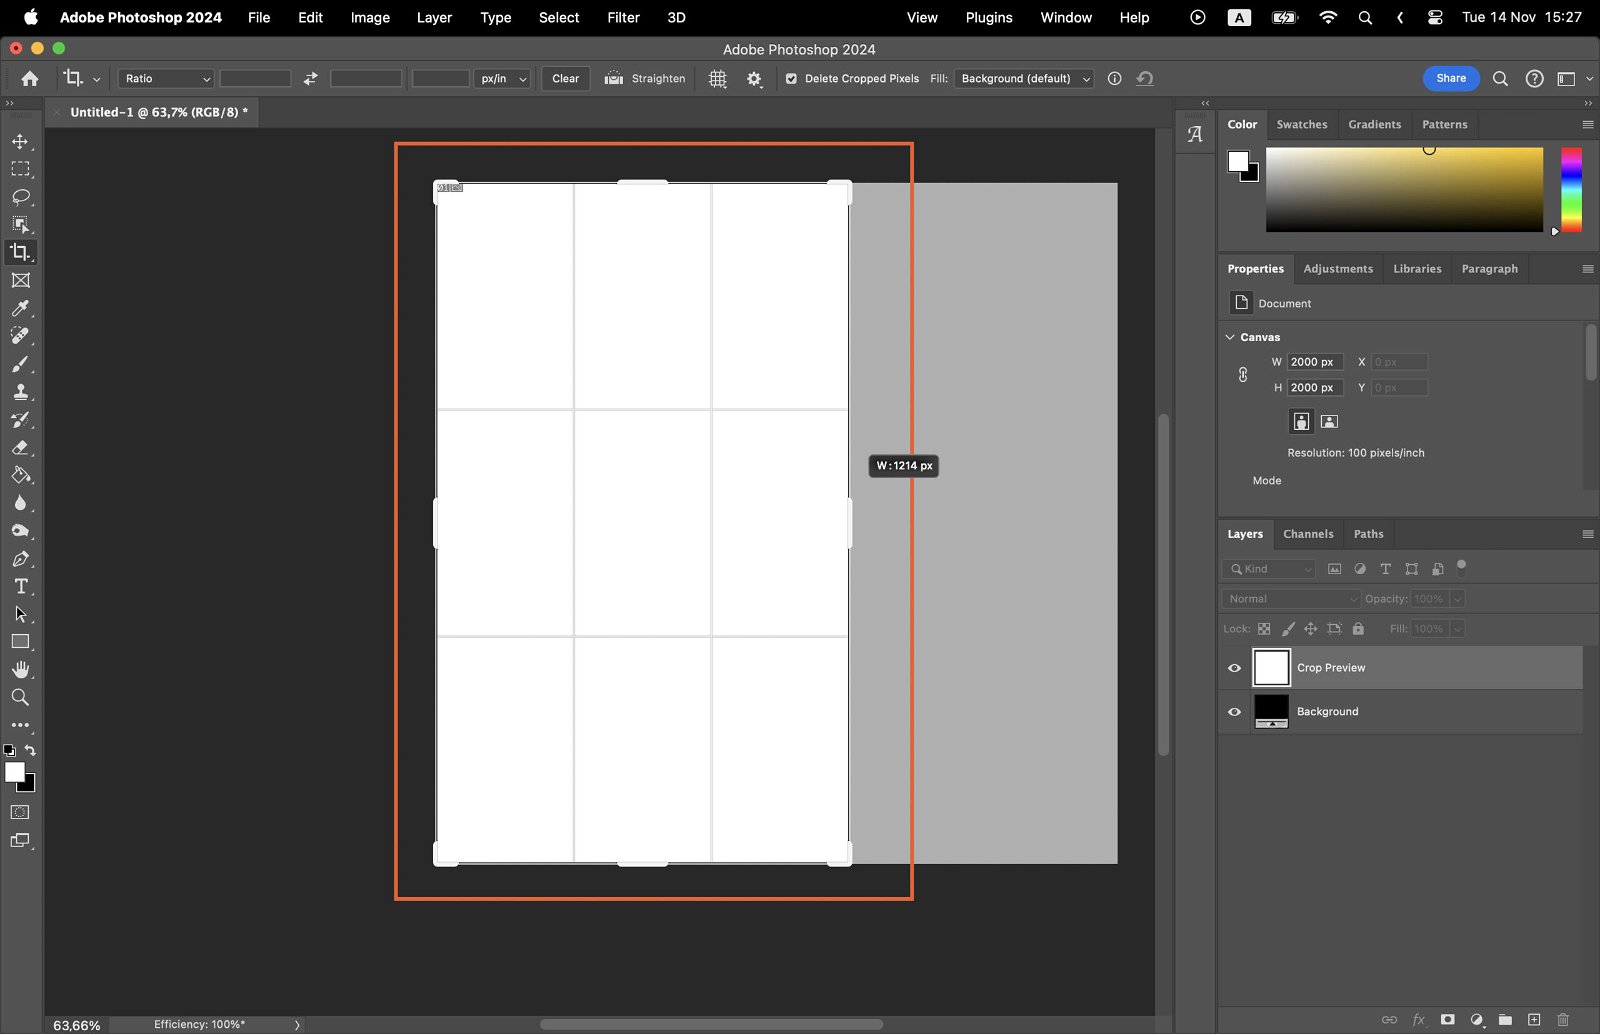
Step 7.3. Confirming Your Crop
Press Enter to confirm your crop and adjust the canvas size.
Step 8. Using the Relative Checkbox for Adjusting Canvas Size
The Relative checkbox in the Canvas Size dialog box allows you to adjust the size relative to its current size. Check it and enter the desired increase or decrease in the Width and Height boxes.
Step 9. Saving Your Adjusted Canvas
After adjusting the canvas size, go to the File menu and select “Save” to keep your changes. If you want to keep the original untouched, choose “Save As” and give the new file a different name.
