Mastering how to change the color of a selection in Photoshop can transform your design process. This article provides a step-by-step guide, simplifying this often daunting task. With this knowledge, you can manipulate images more effectively, enhancing creativity and productivity in your projects.
Begin by selecting the area you want to change the color of. Photoshop offers several tools for different selection types.
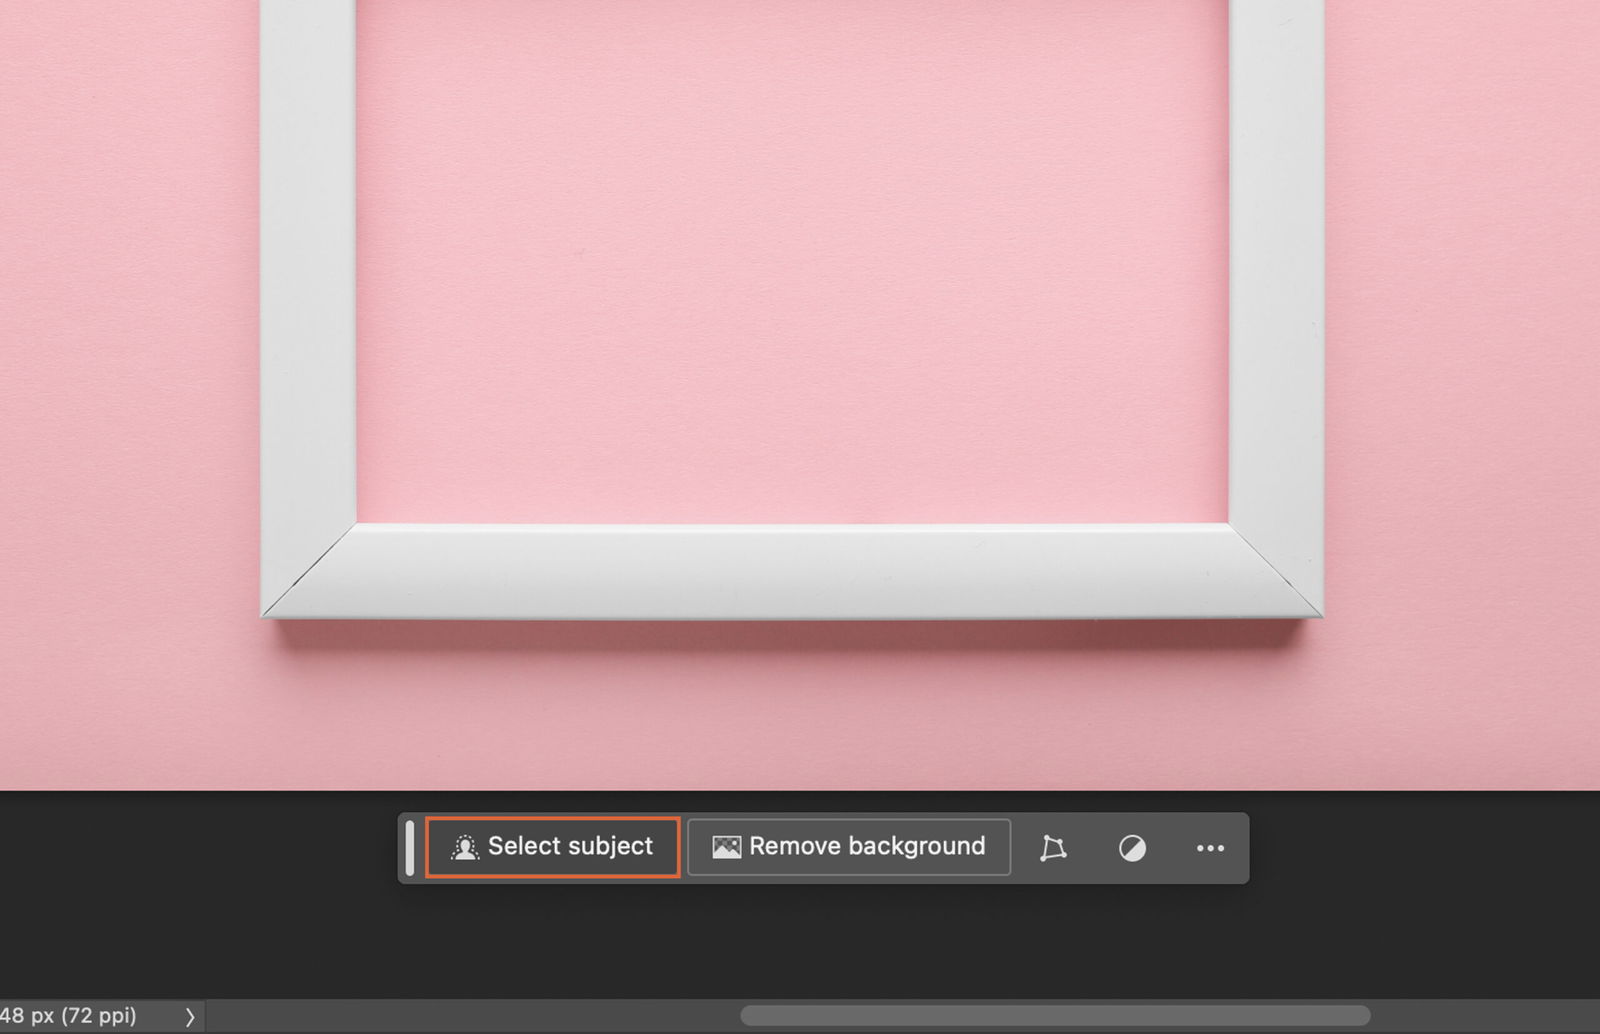
This one-click solution makes it easy to choose your subject.
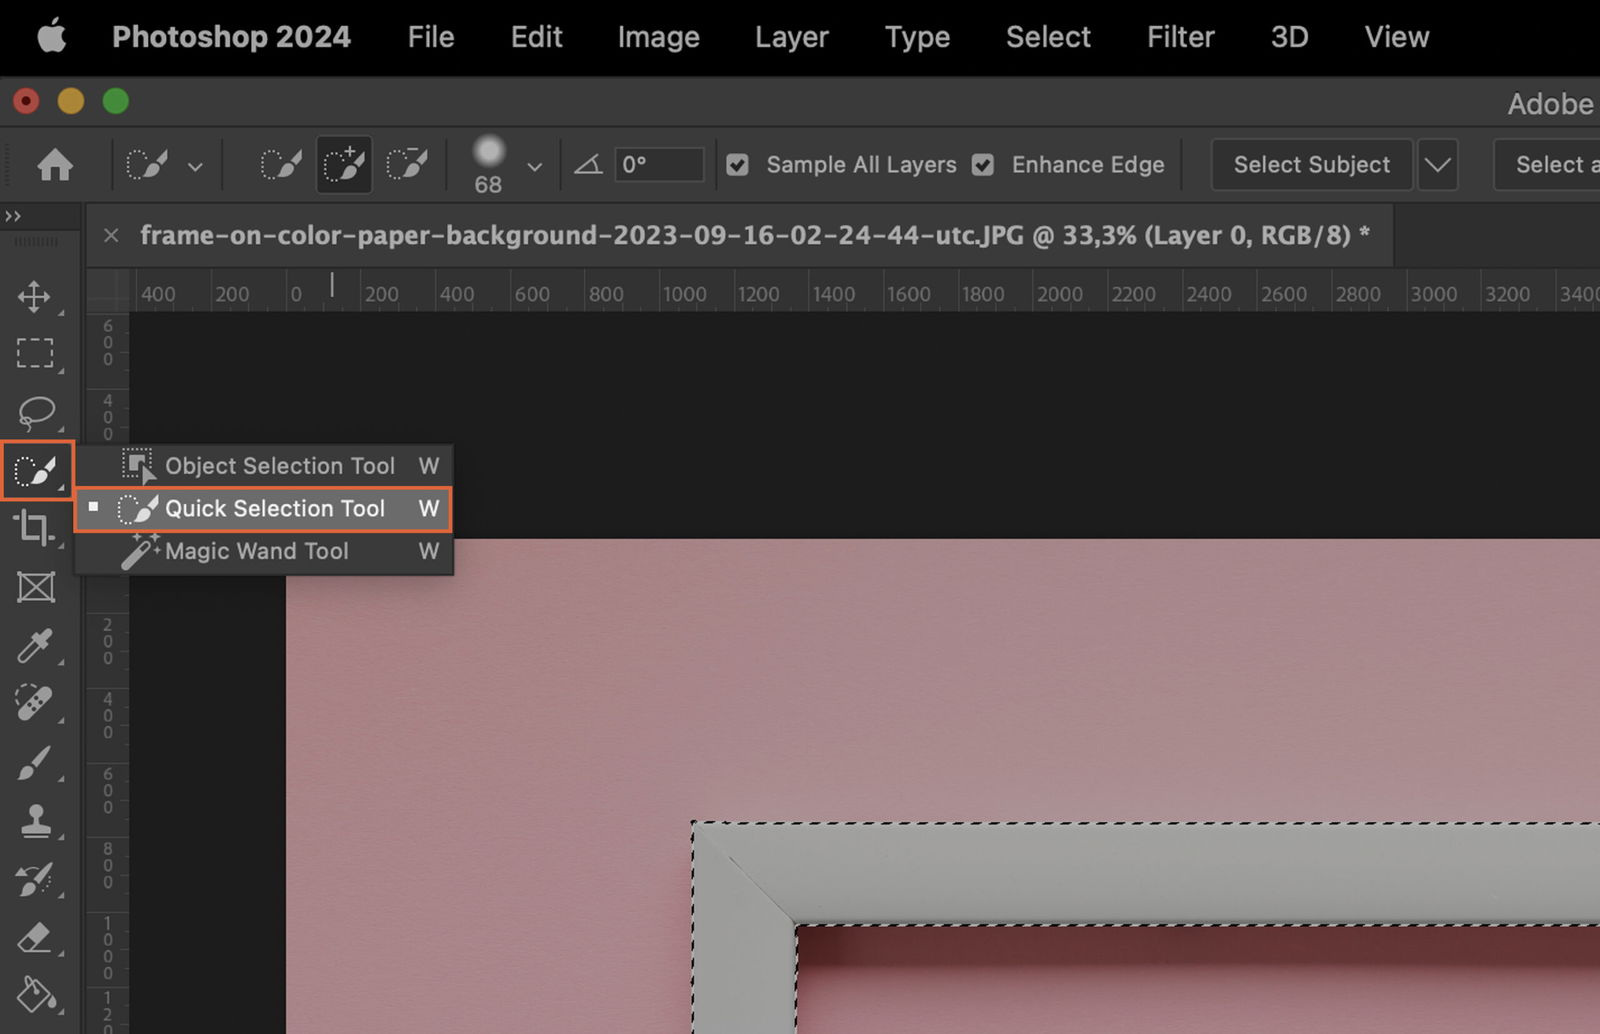
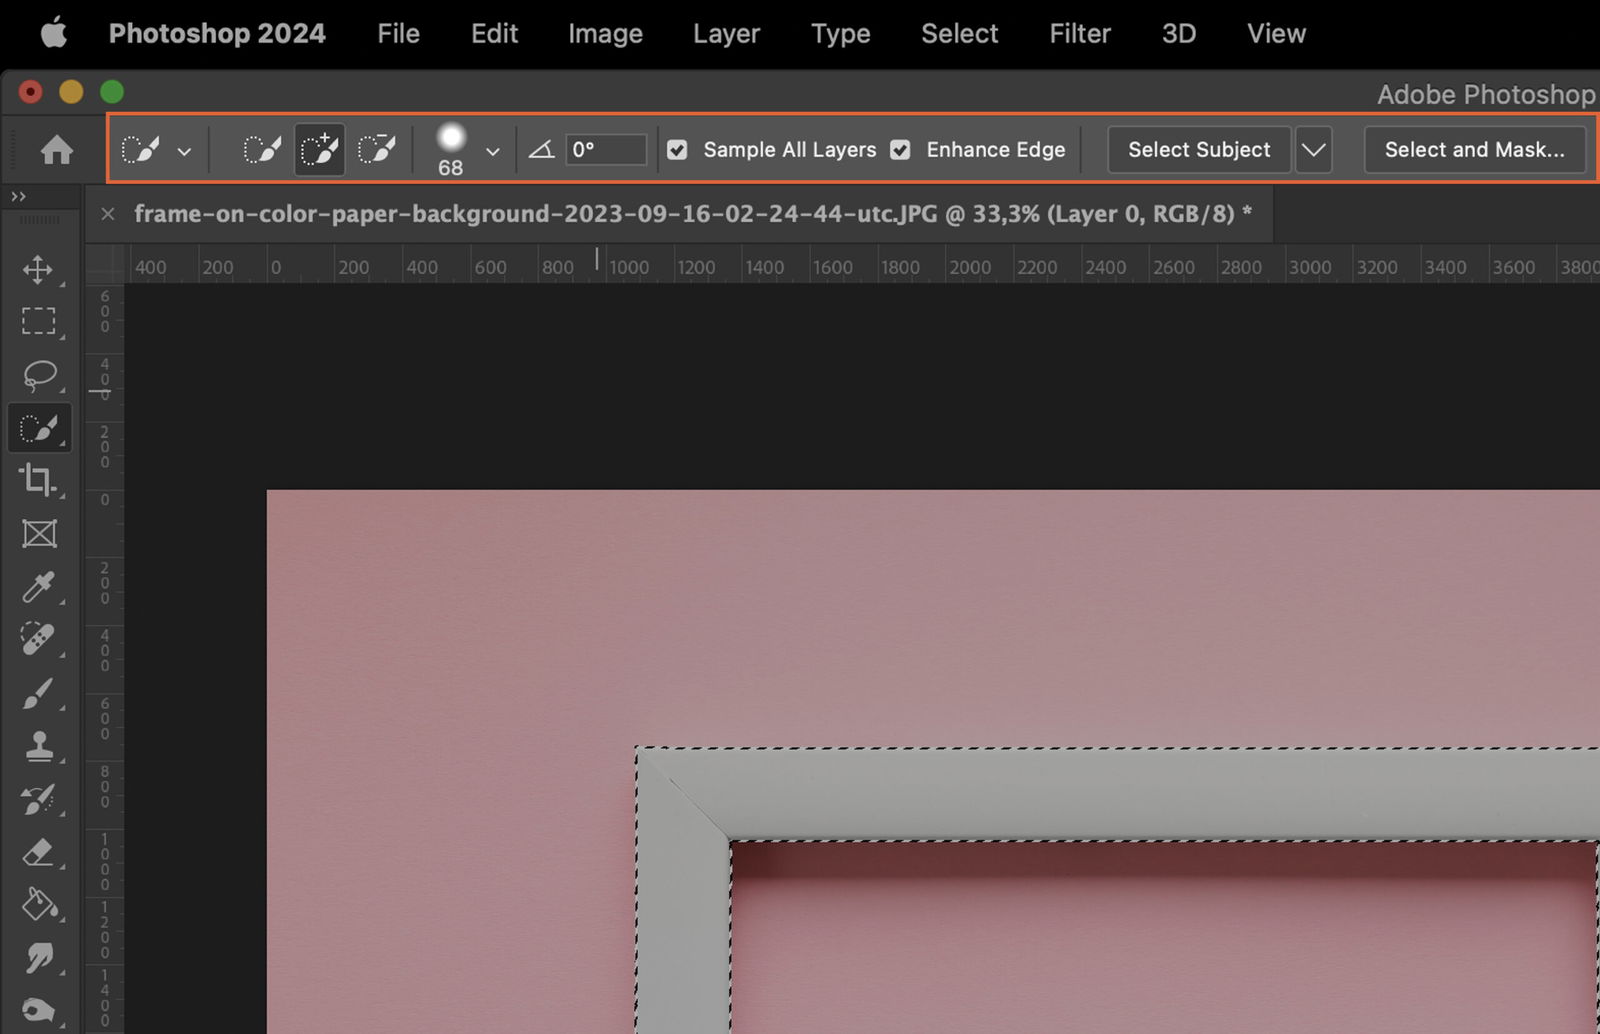
With the Quick Selection tool, click and drag over your desired area. Photoshop will automatically find and follow defined edges.
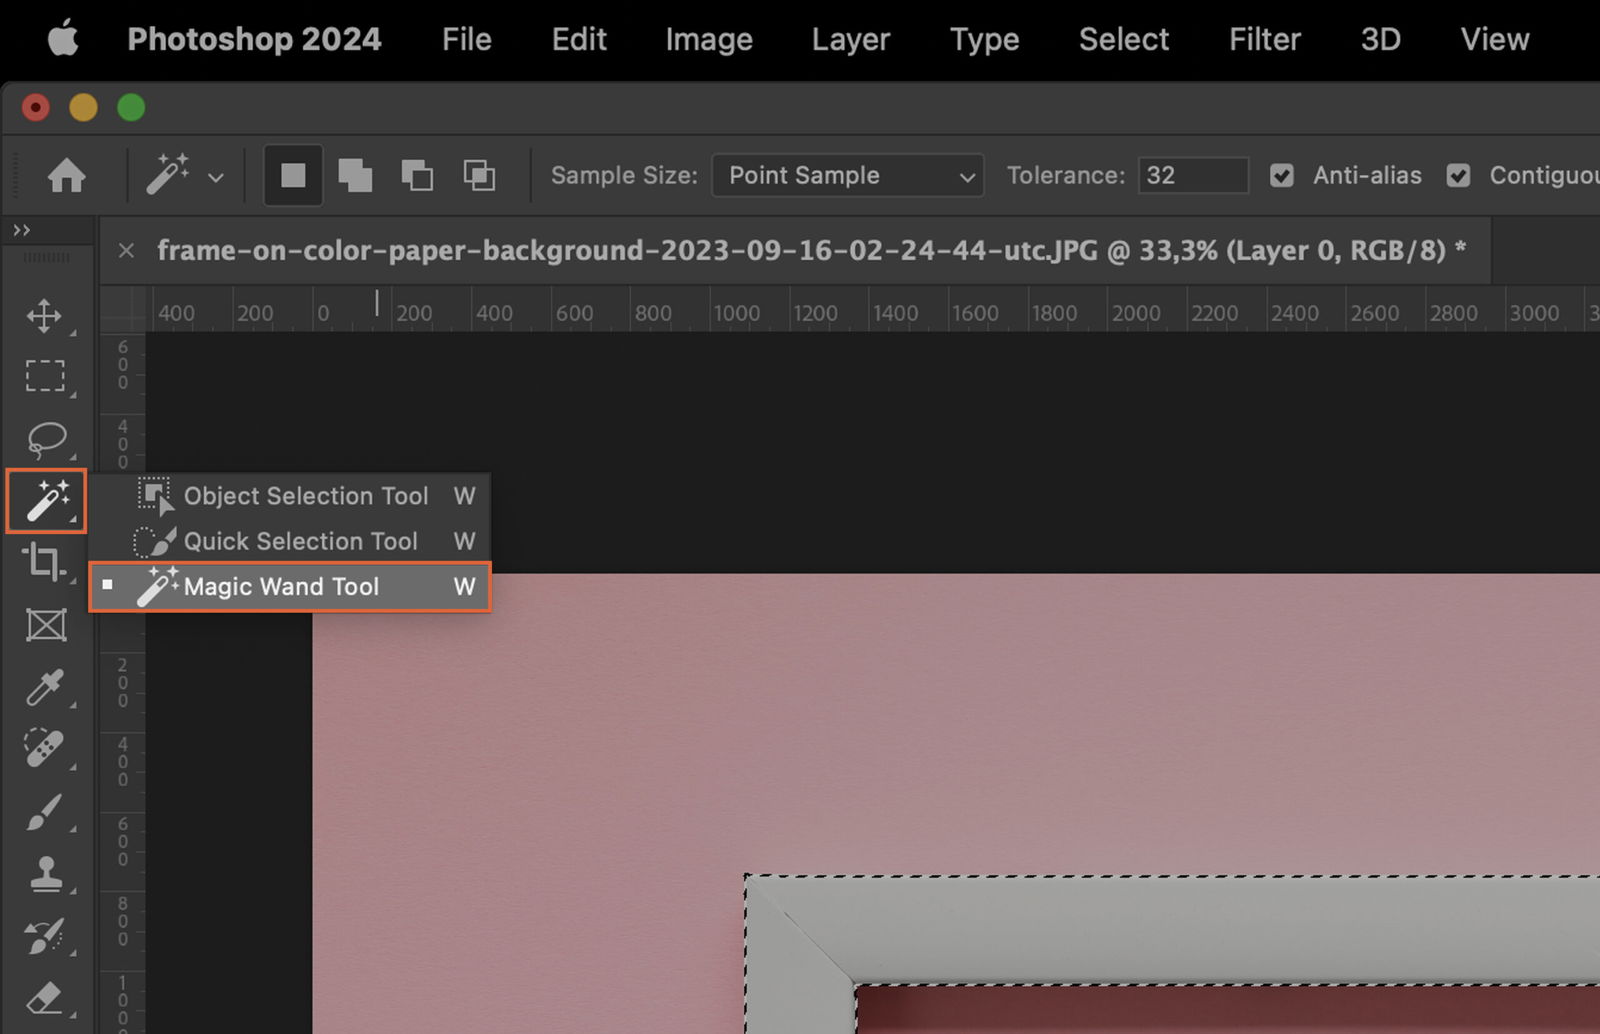
The Magic Wand tool selects areas based on color and tone. Click on the color you want to select.
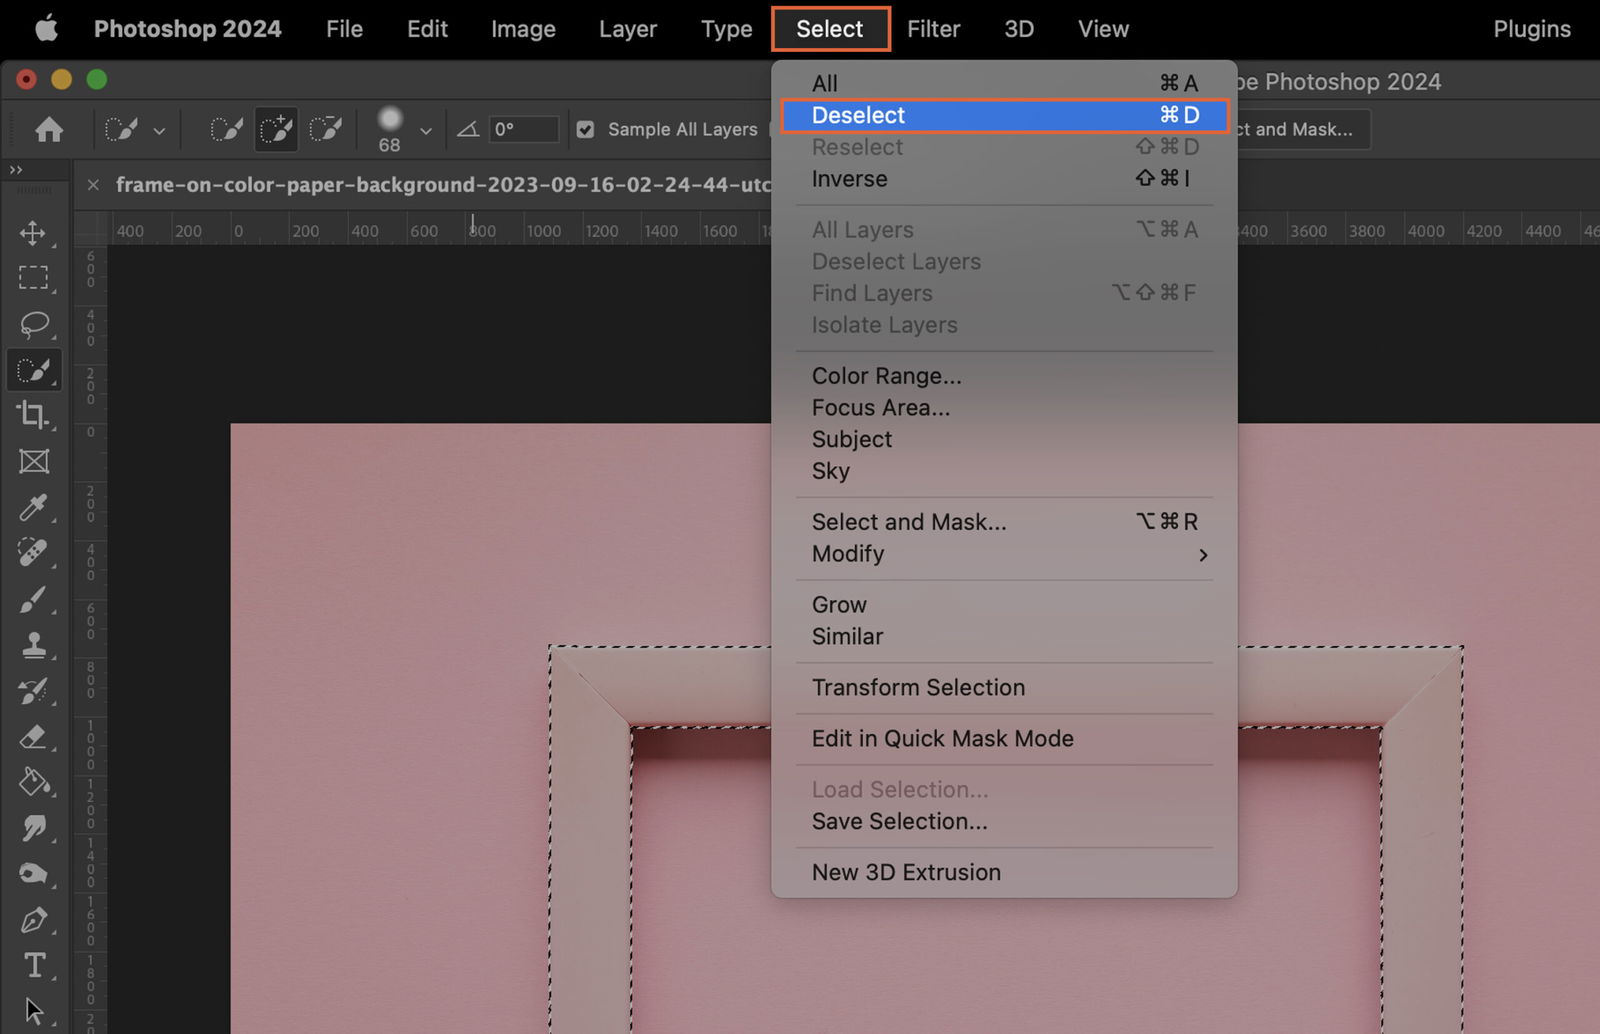
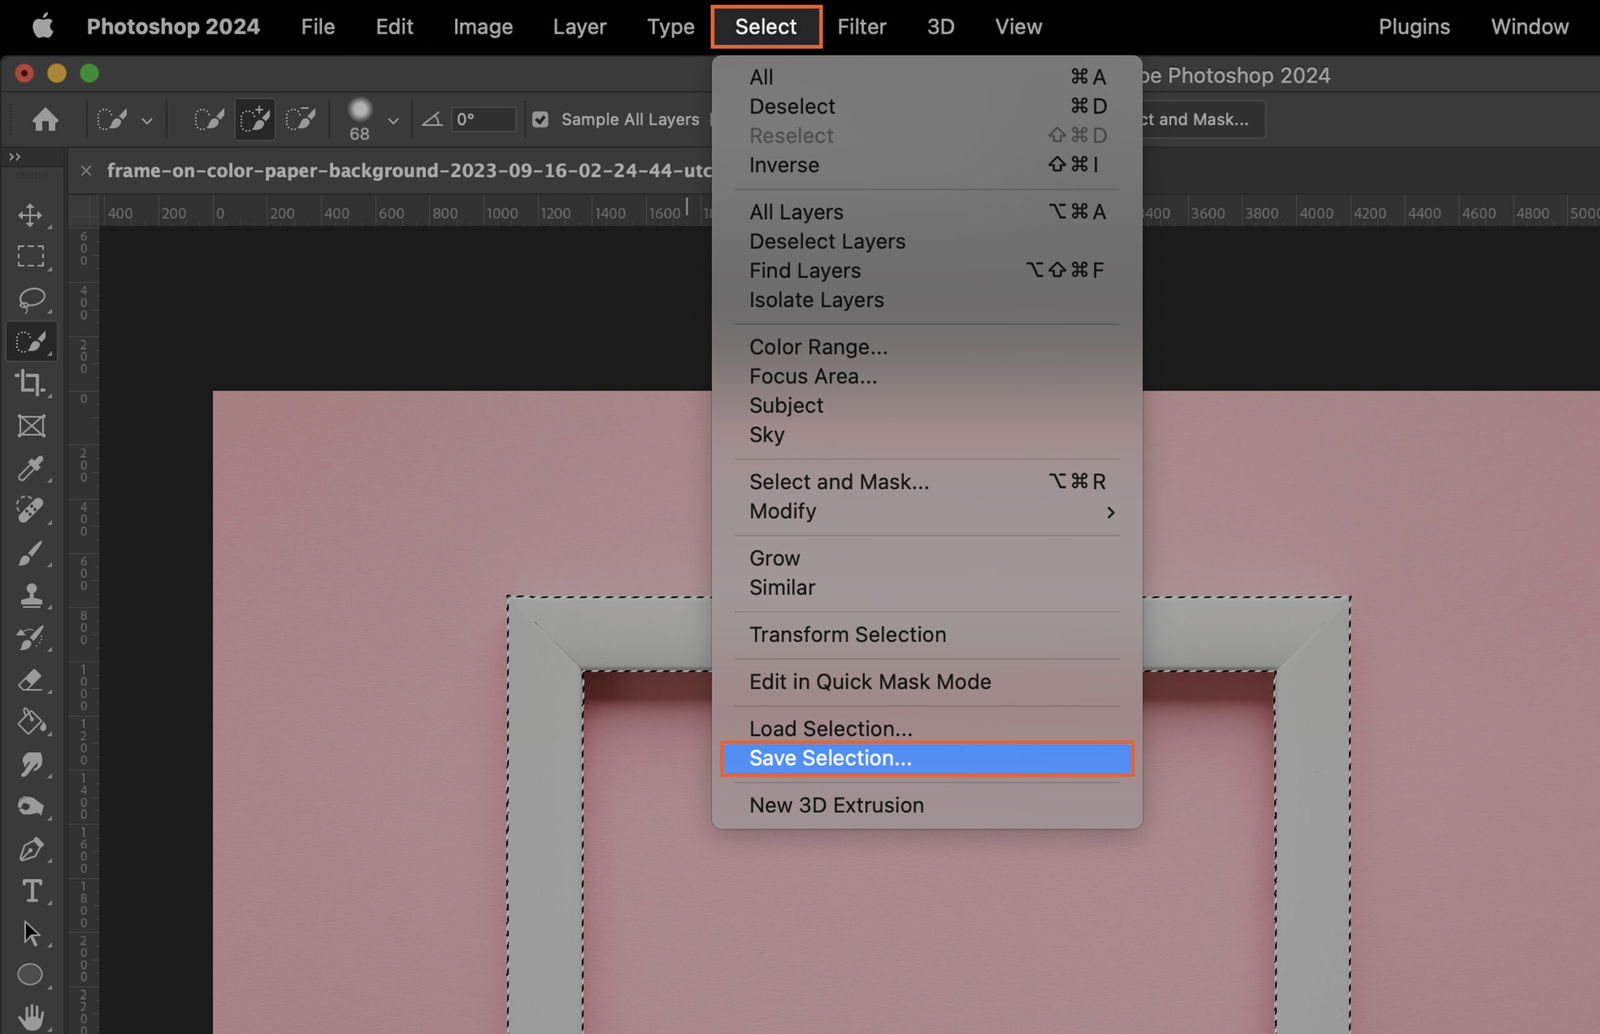
The Selection Menu, located at the top, has options for refining your selection. You can add to your selection, subtract from it, or intersect it with another selection.
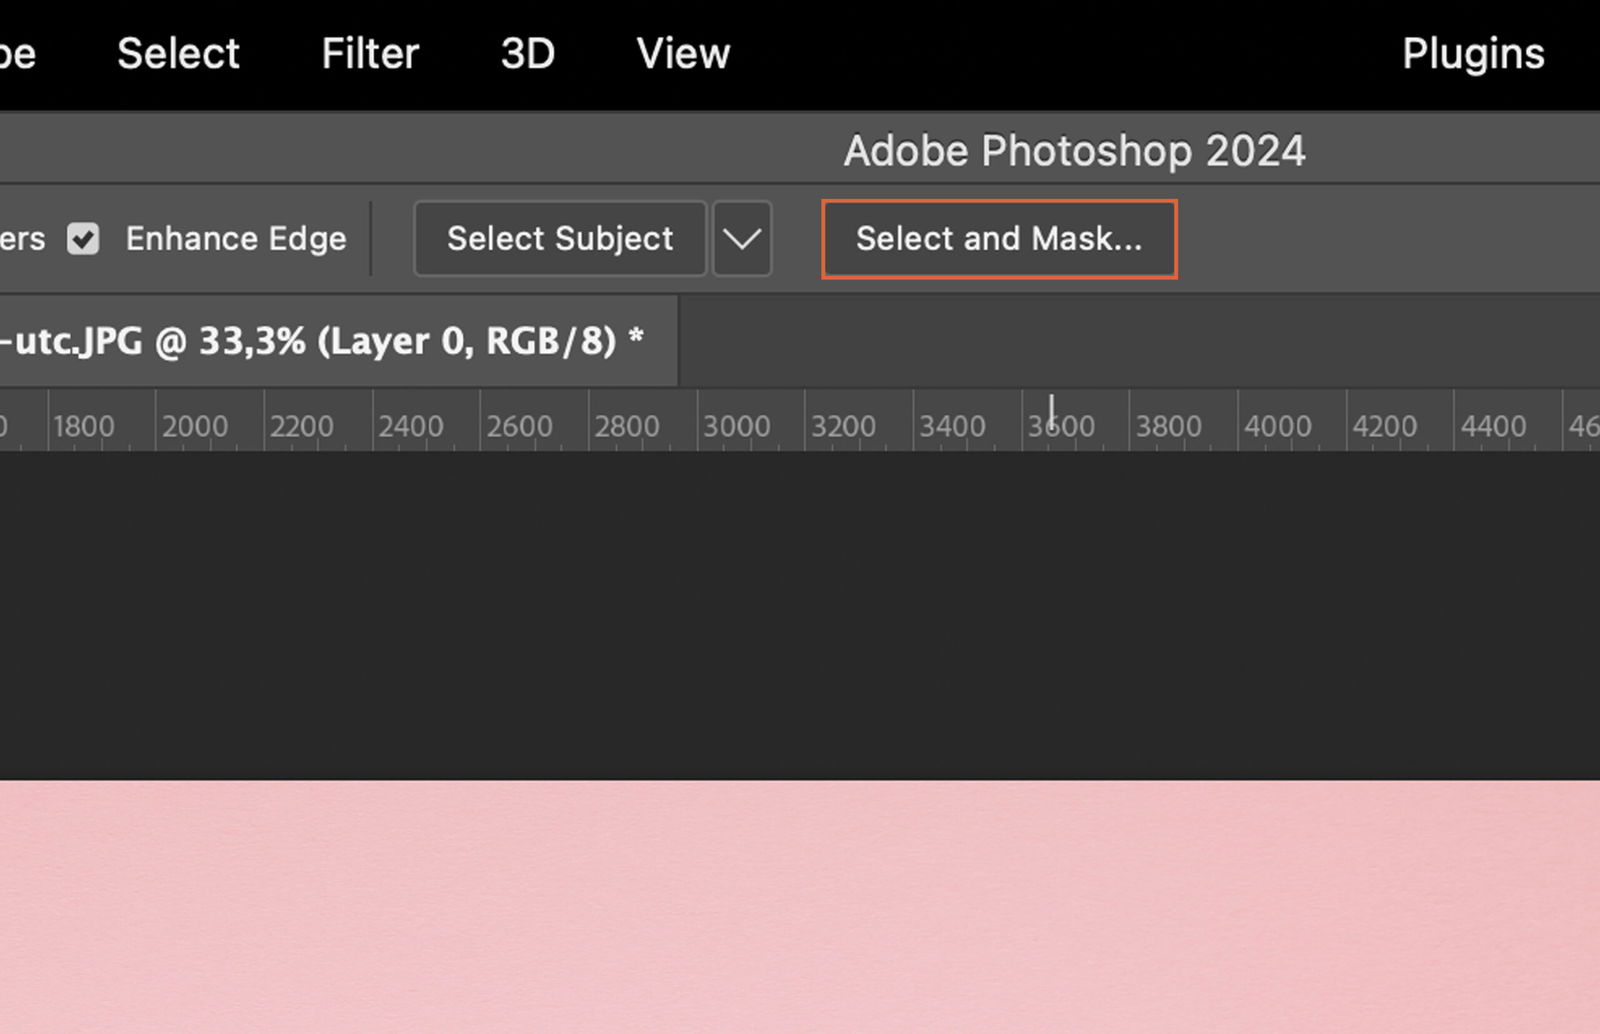
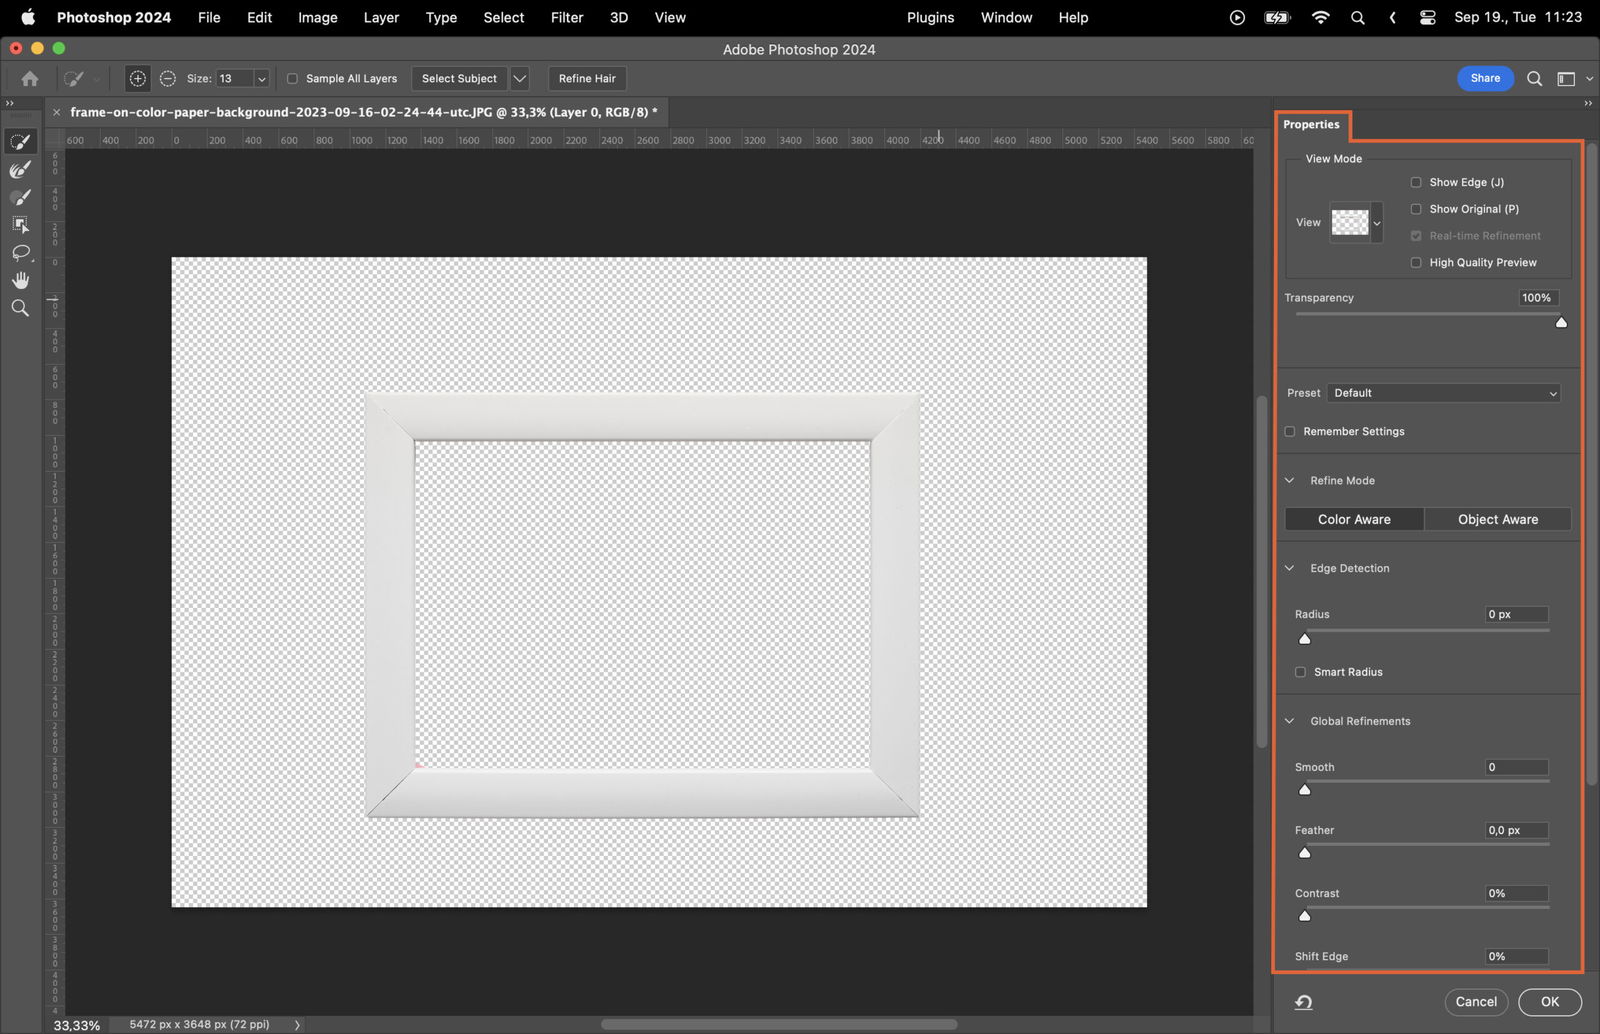
Under “Select and Mask” in the Selection Menu, you can smooth, feather, or expand your selection for precise control.
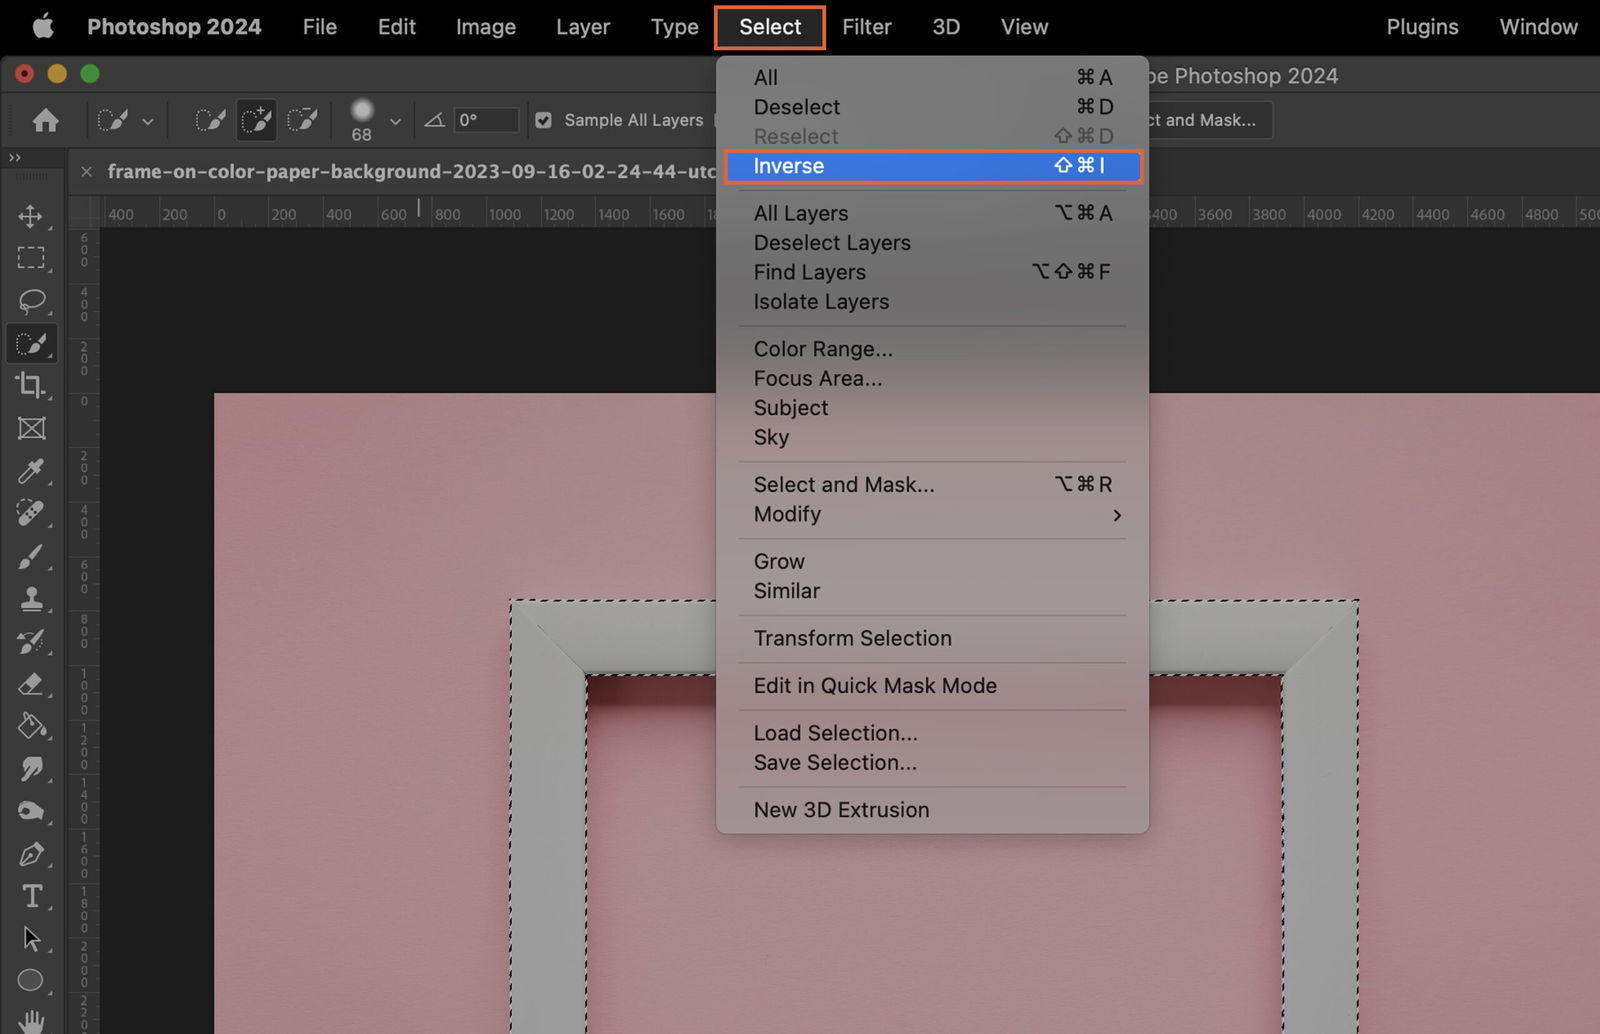
To select everything except your current selection, go to the Selection Menu and click “Inverse”.
To save your selection for future use, go to the Selection Menu, select “Save Selection”, and give it a name.
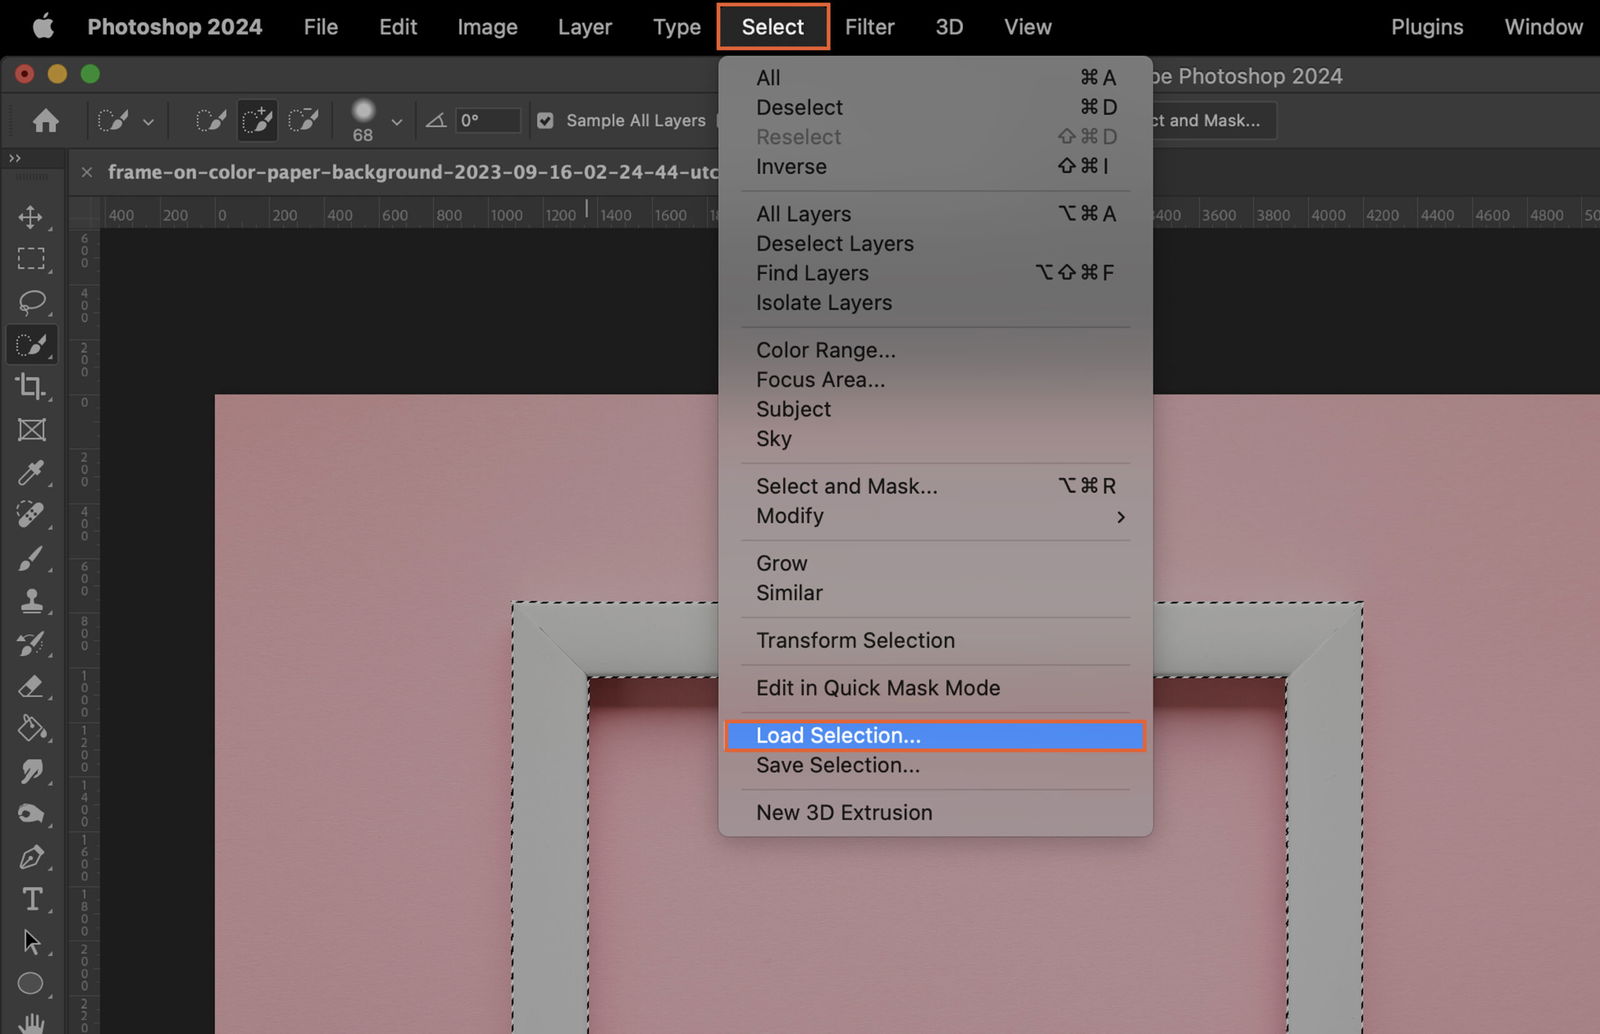
To load a saved selection, go to the Selection Menu, select “Load Selection”, and choose your saved selection.
Once your selection is ready, you can change its color using several methods.
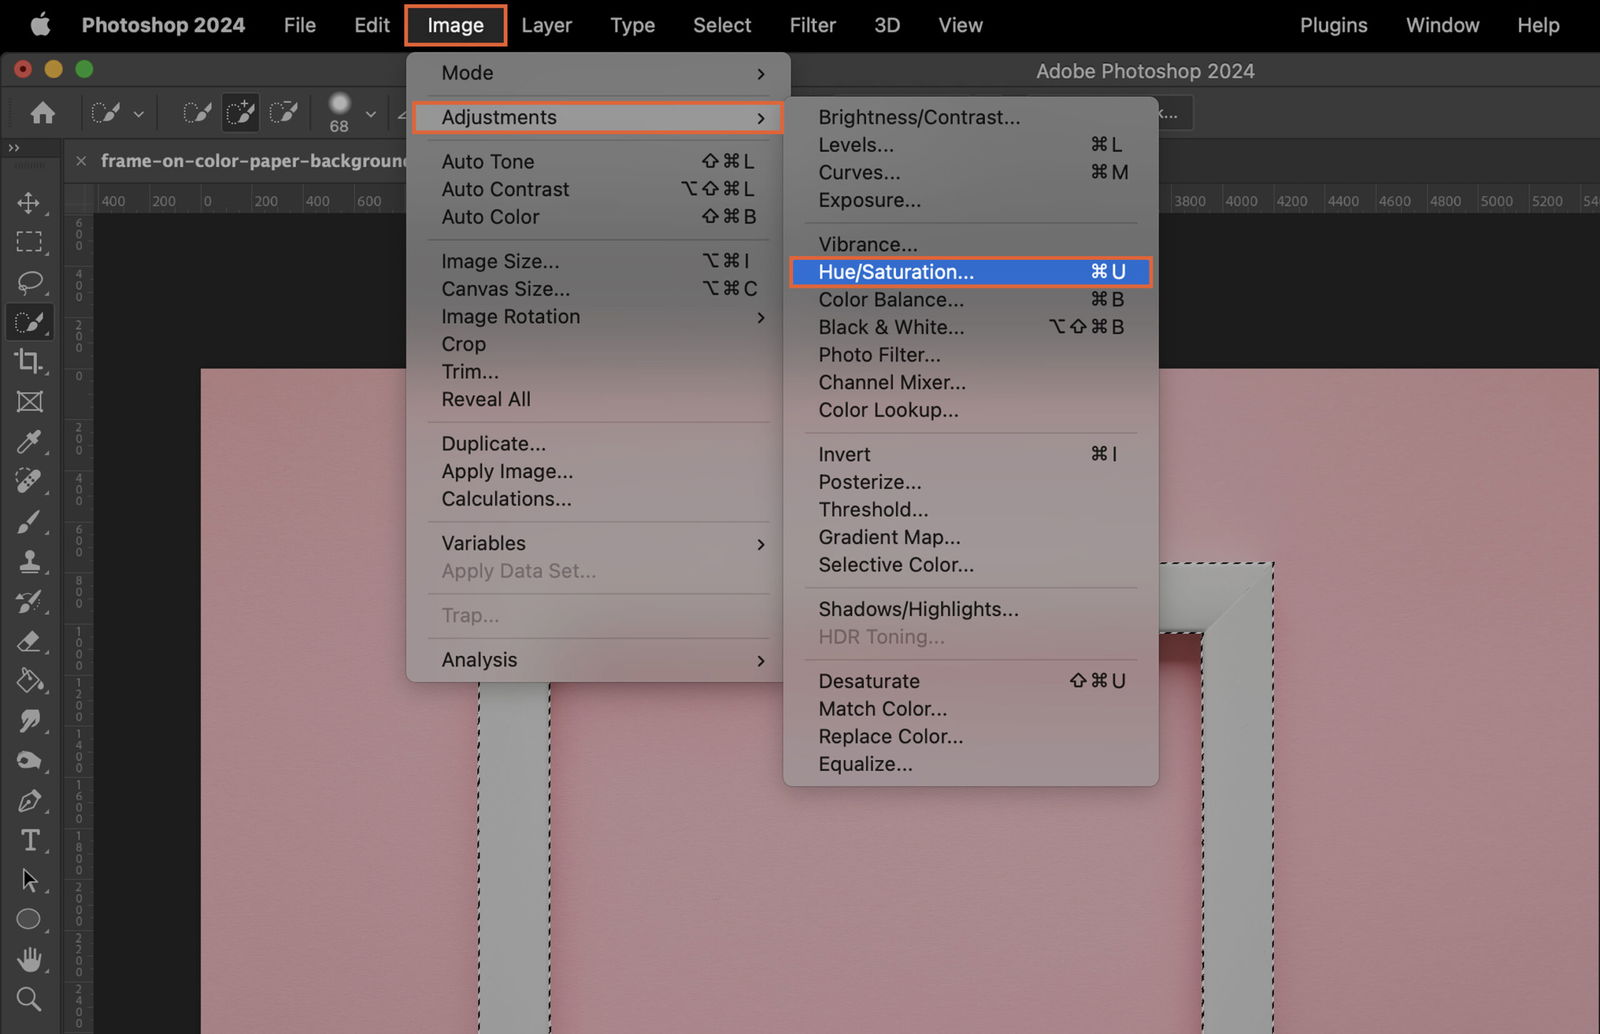
Under “Image” -> “Adjustments”, select “Hue/Saturation”.
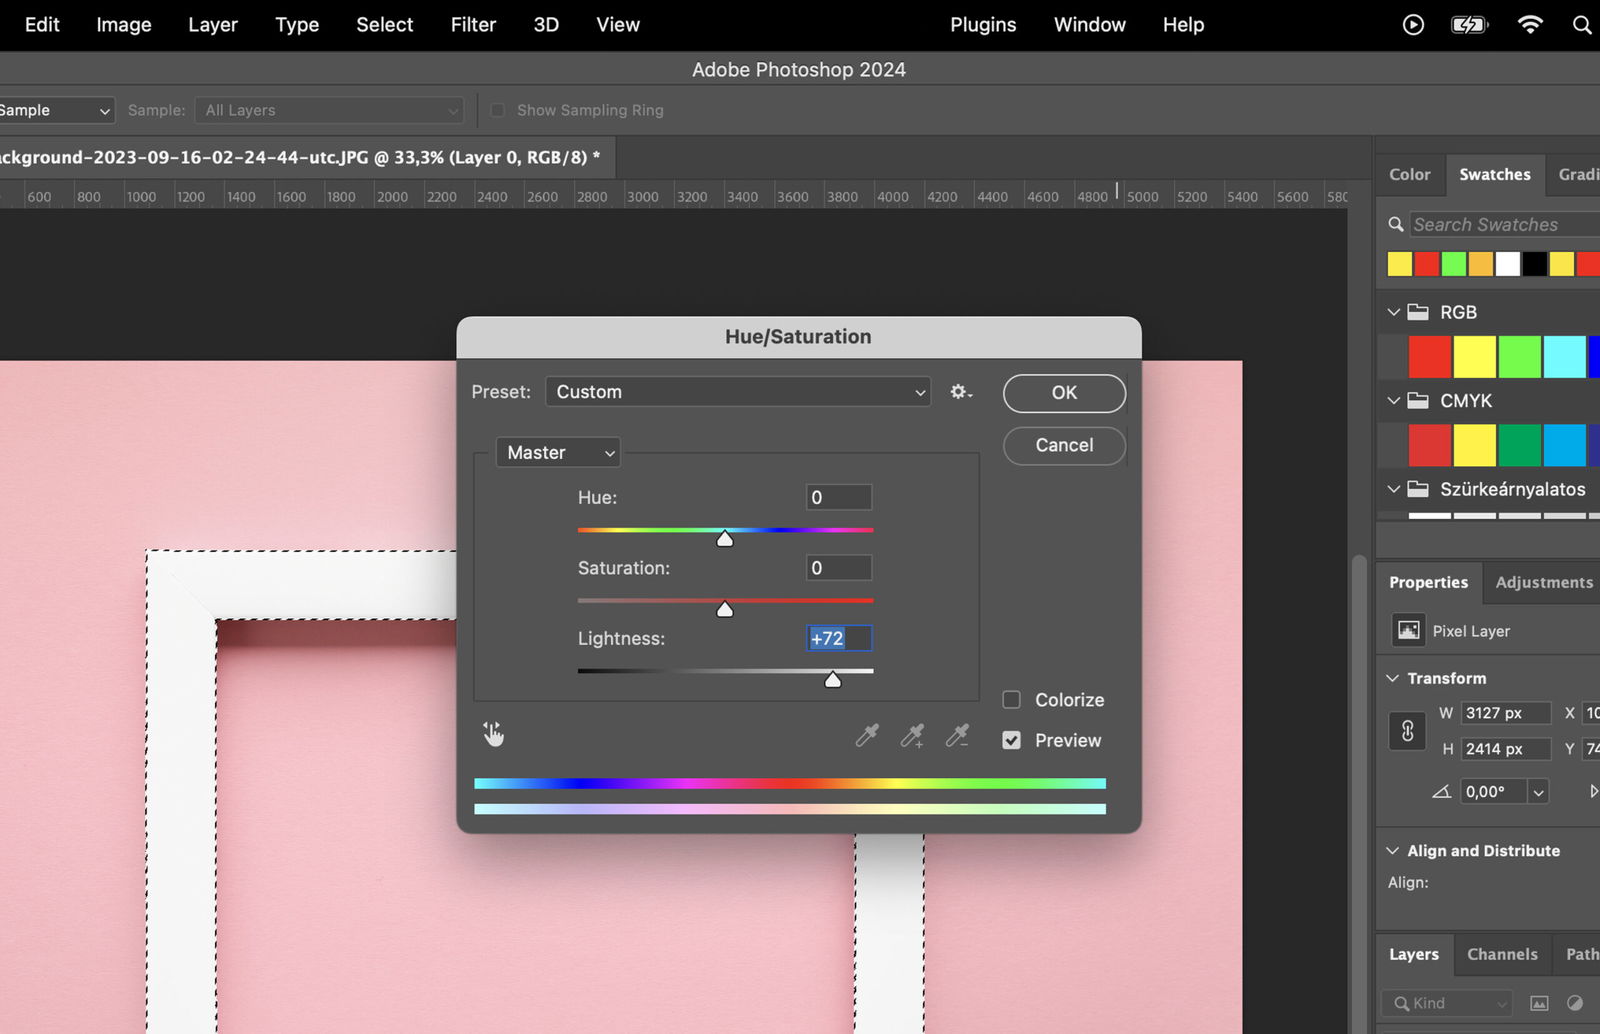
Adjust the sliders until you achieve your desired color.
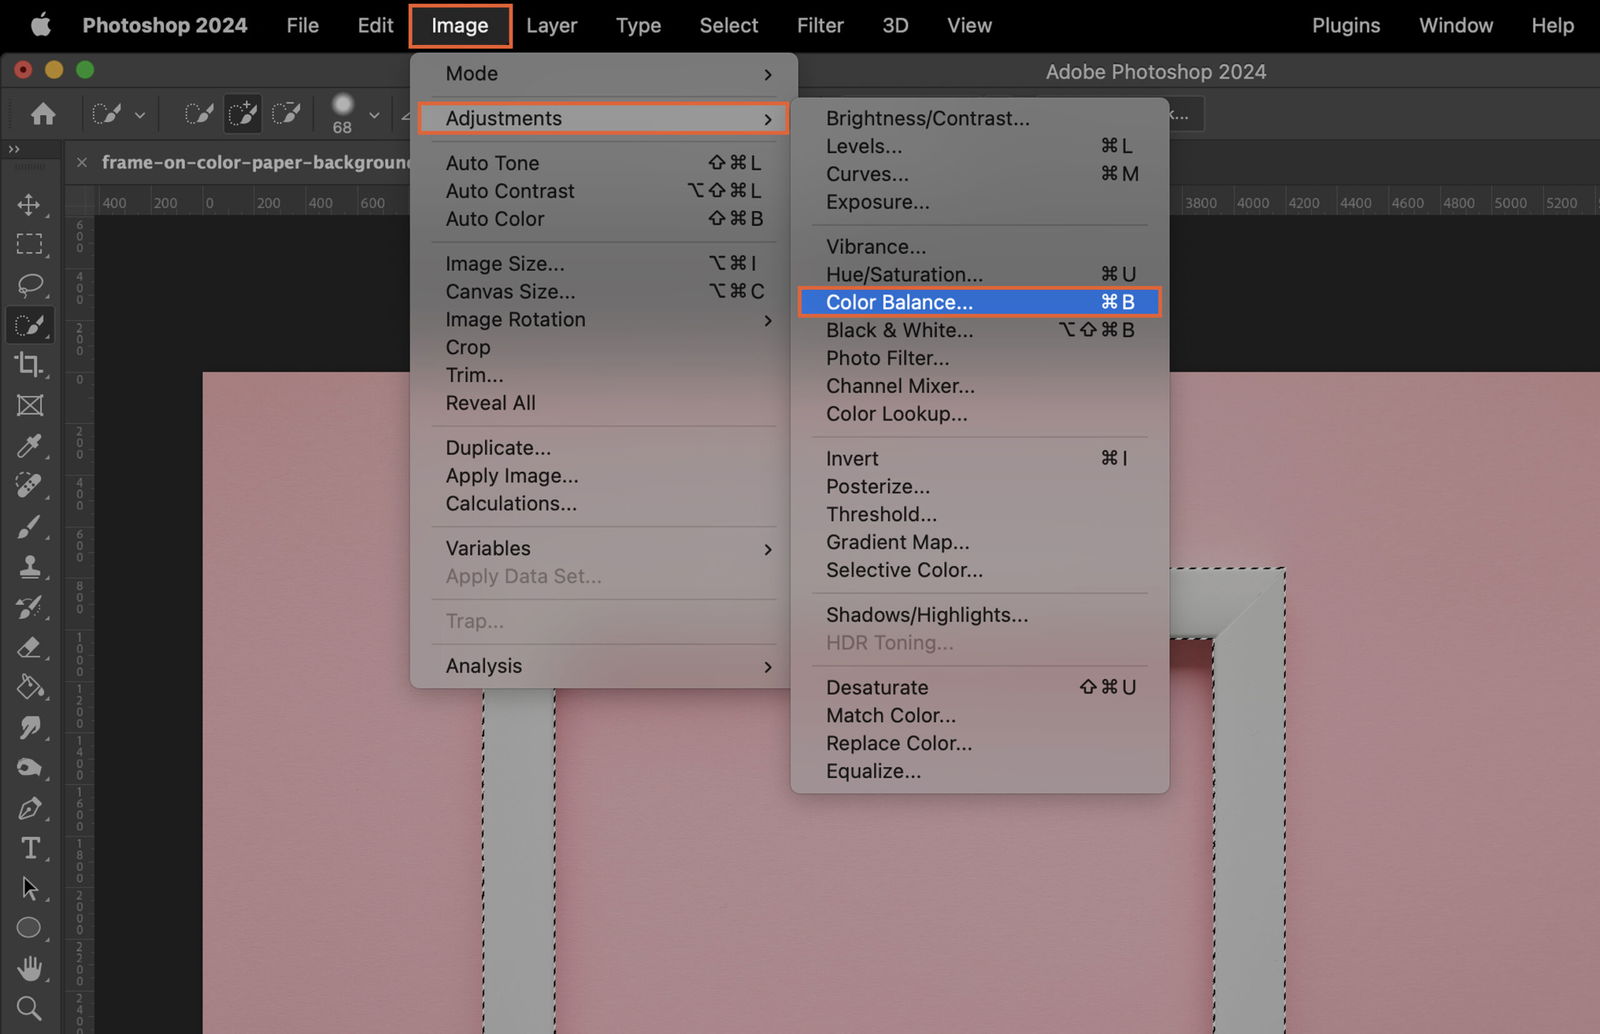
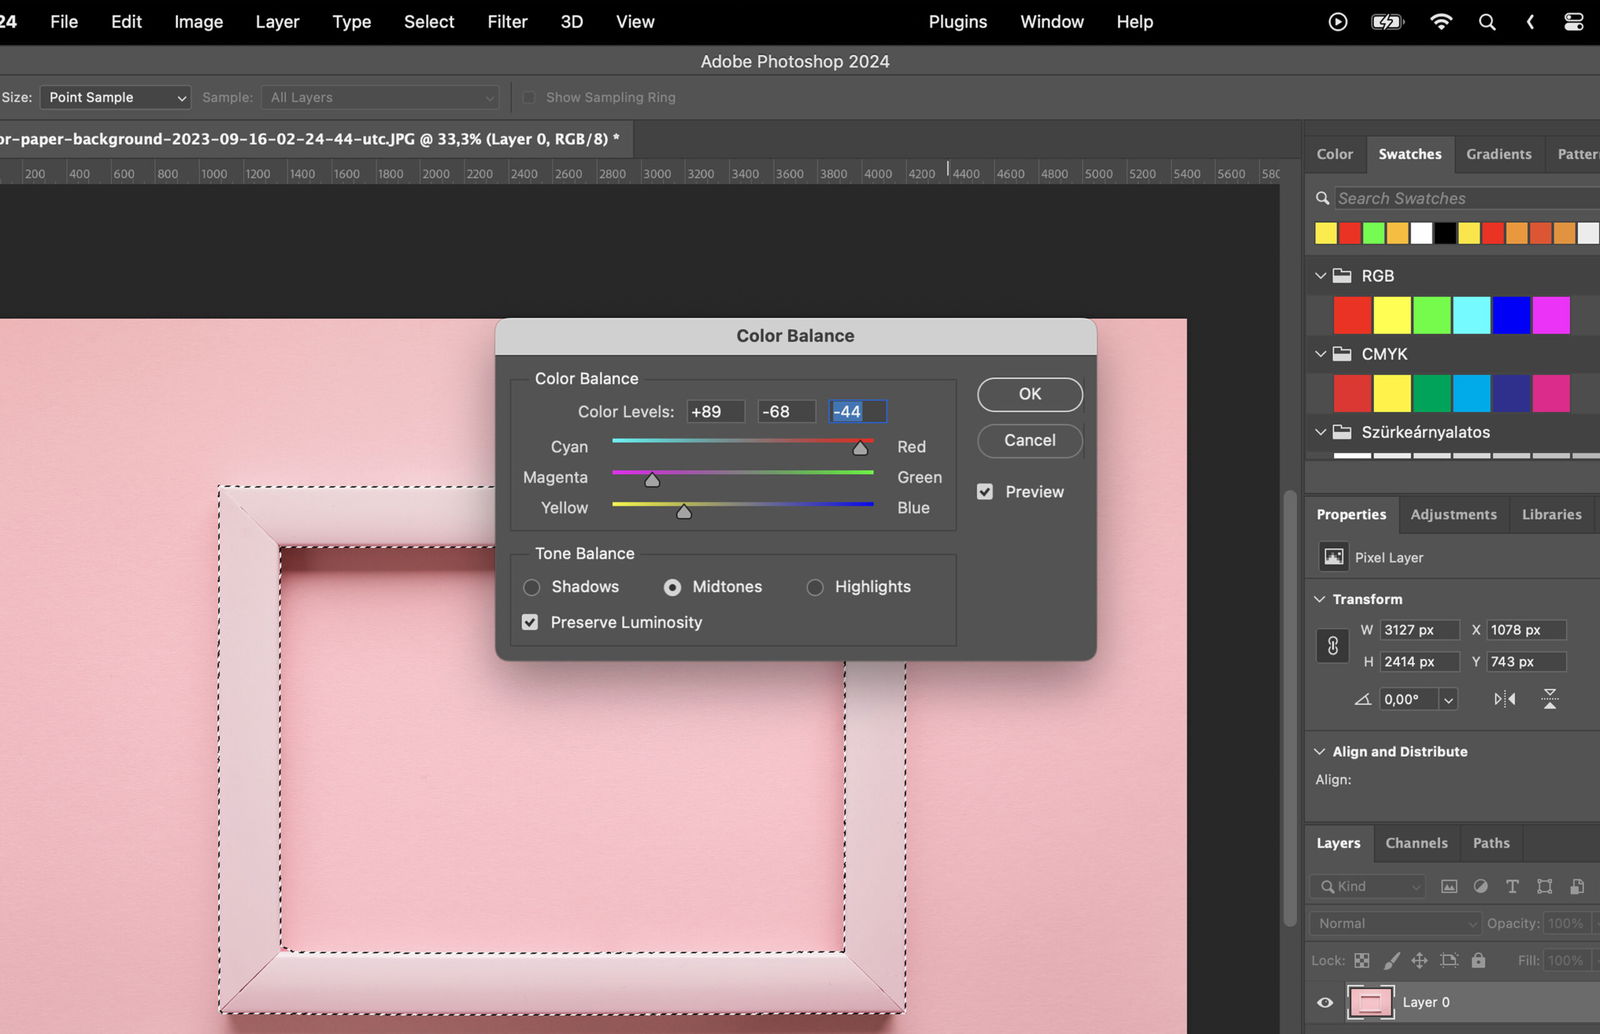
Under “Image” -> “Adjustments”, select “Color Balance”. Adjust the sliders to change the color balance of your selection.
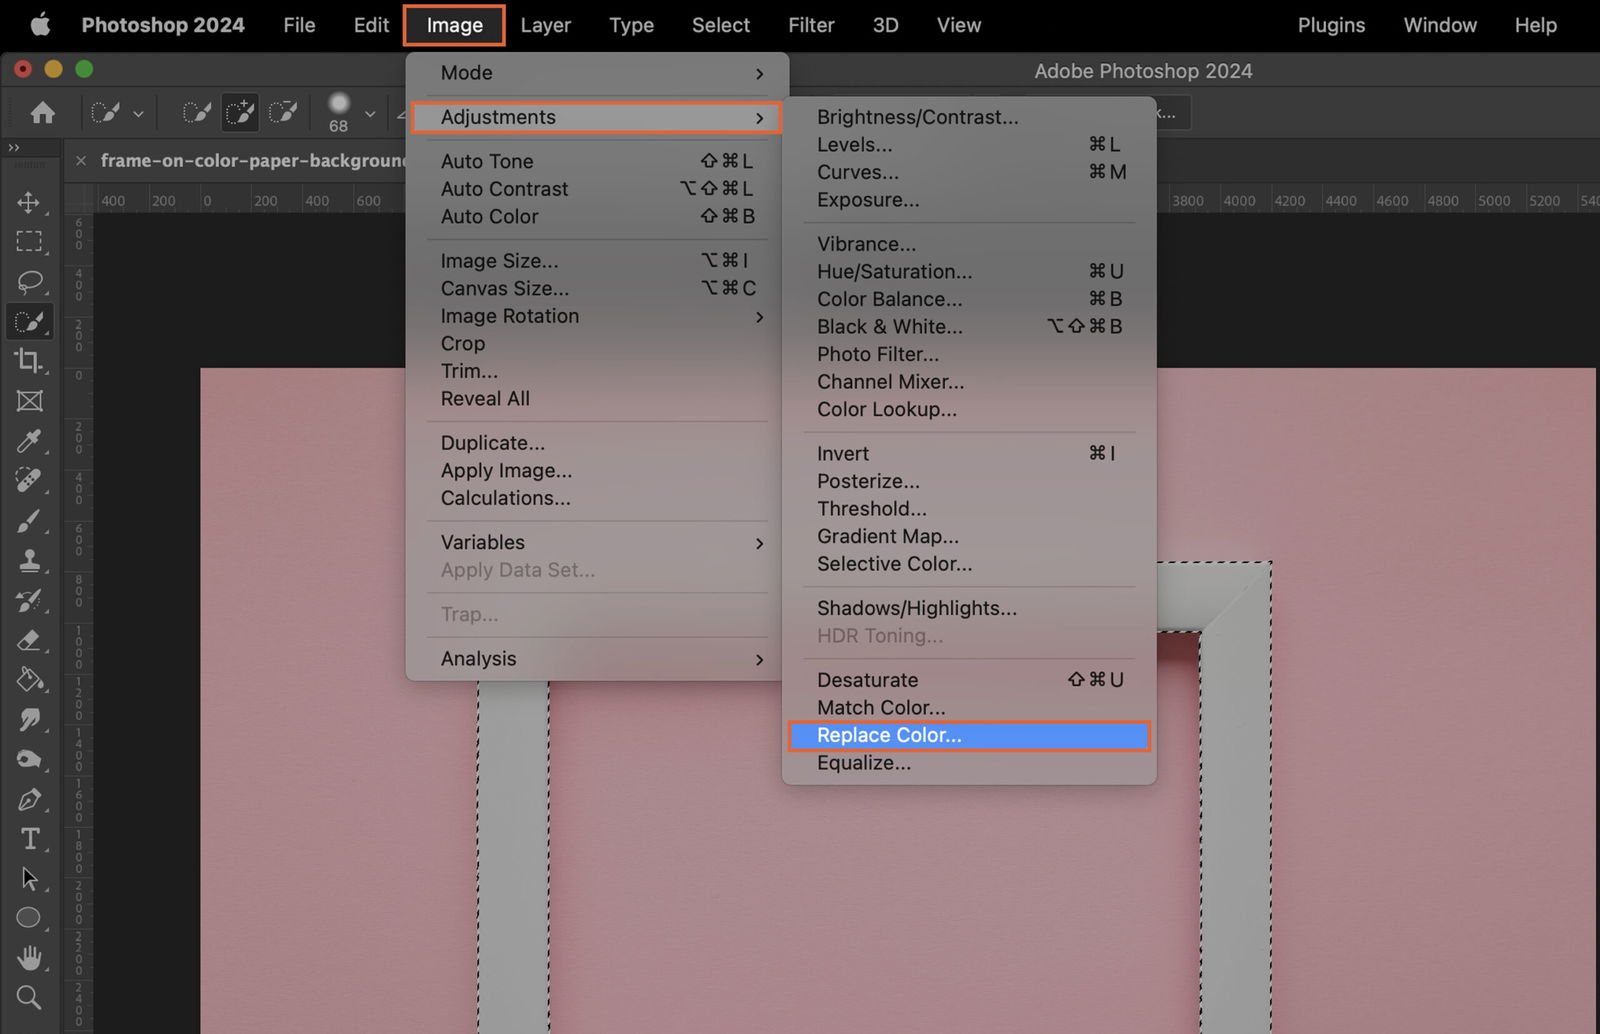
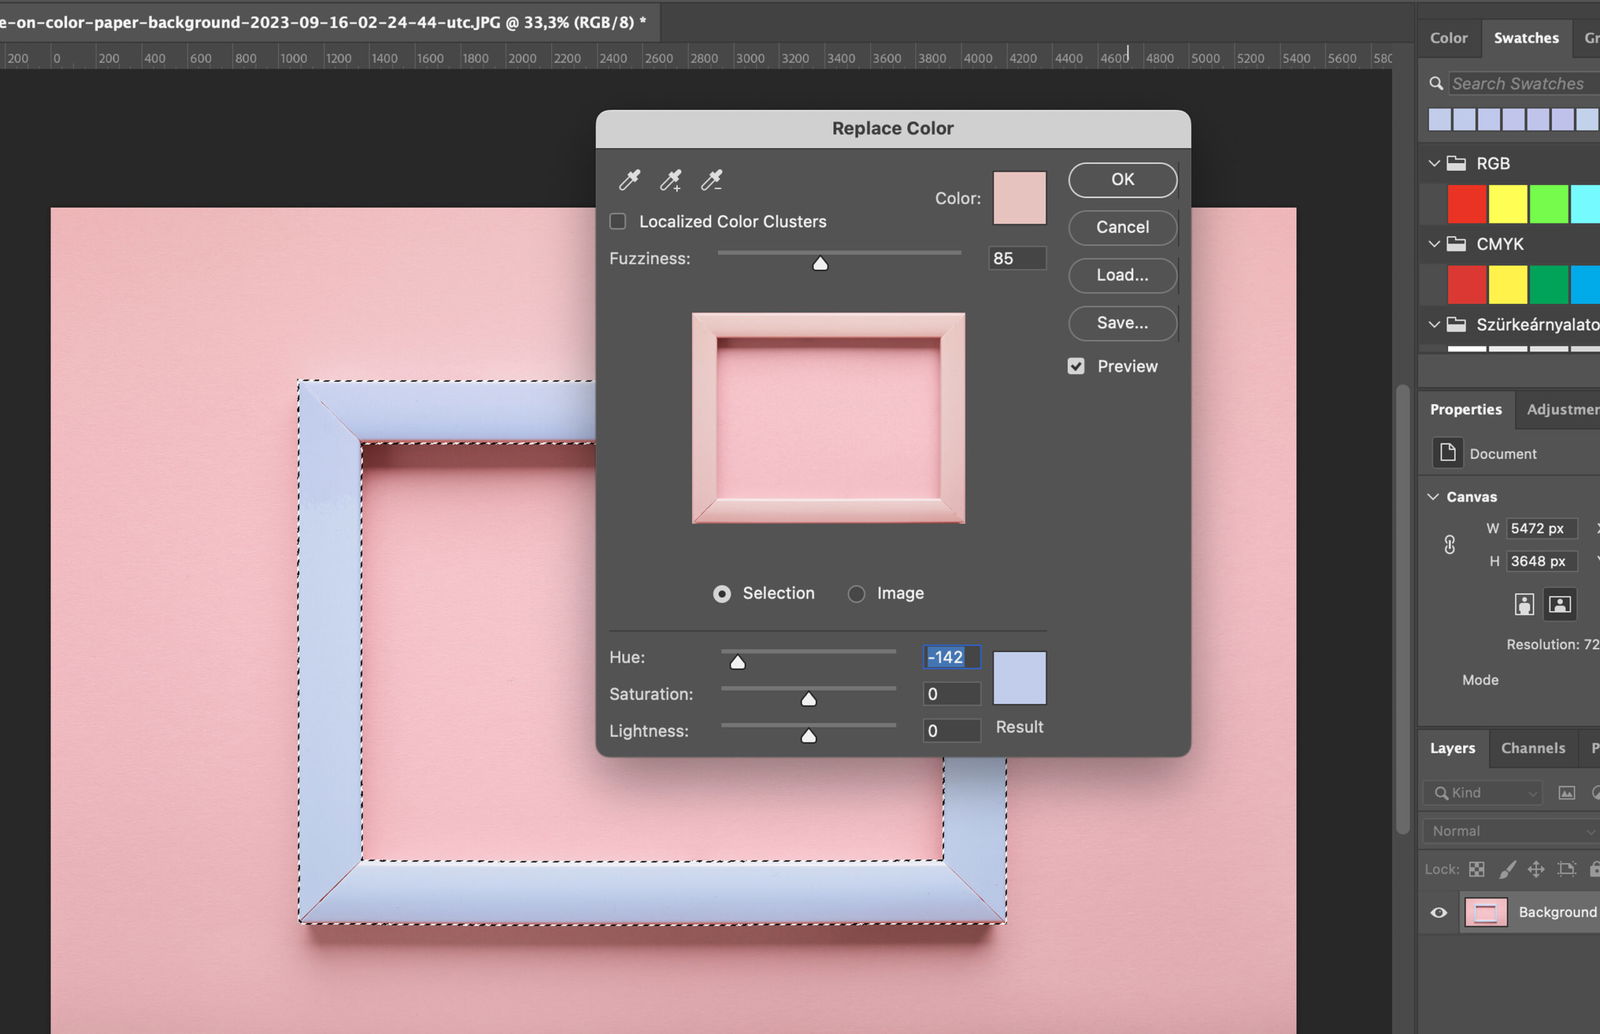
Under “Image” -> “Adjustments”, select “Replace Color”. Use the eyedropper to select the color you want to replace and adjust until satisfied.
Once you’re done, go to the Selection Menu and click “Deselect” to remove the selection and view your final result.