Struggling to change colors in Photoshop? This article provides a step-by-step guide that simplifies this process. Mastering this skill can enhance your digital art, make photo editing easier, and unleash your creativity. Let’s dive in.
Step 1. Choose the Right Tool
In Photoshop, the tools you use depend on the task at hand. To change colors, you’ll primarily be using the Paint Bucket and Brush Tools.
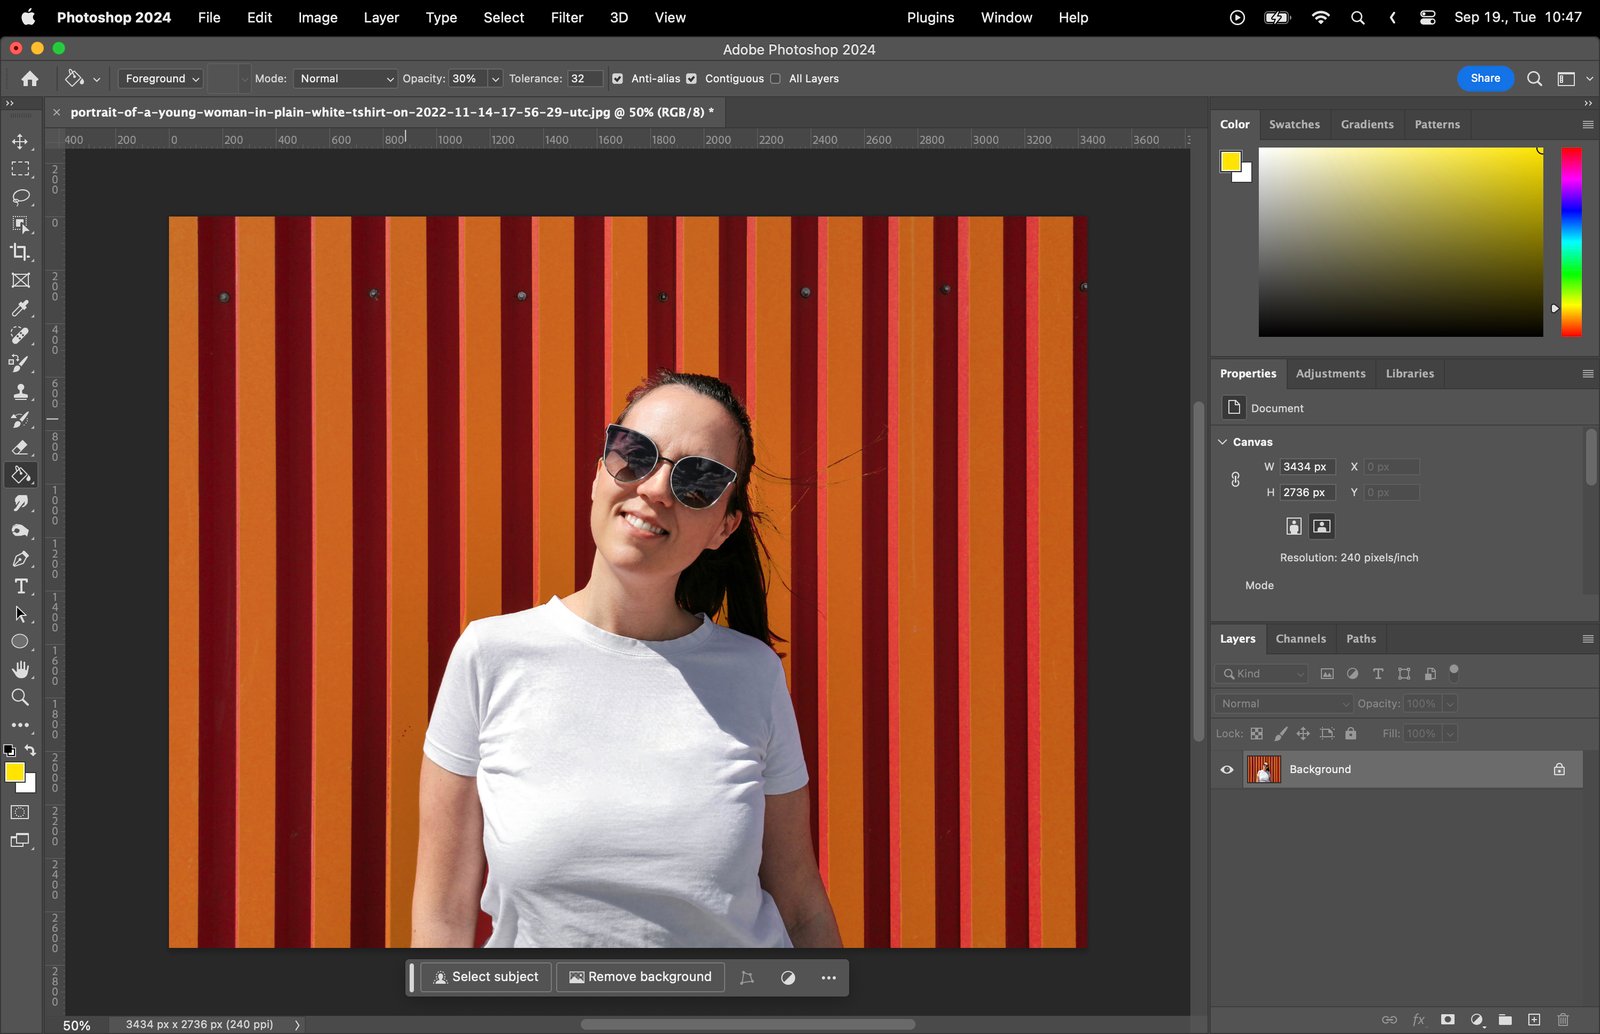
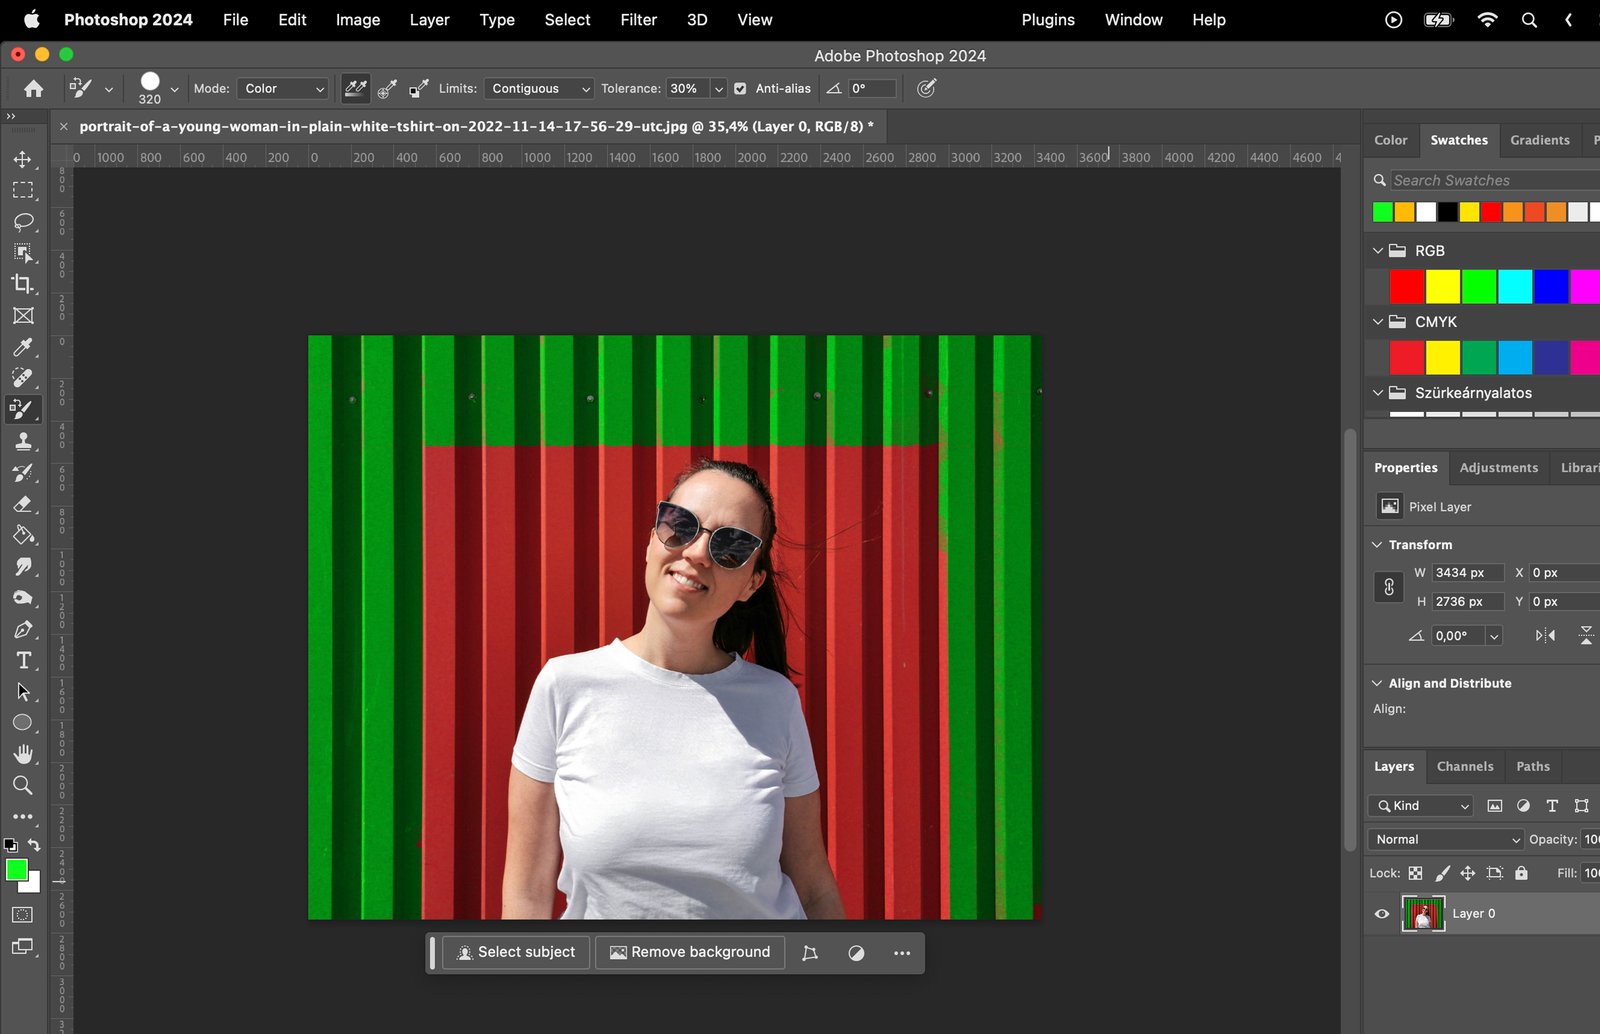
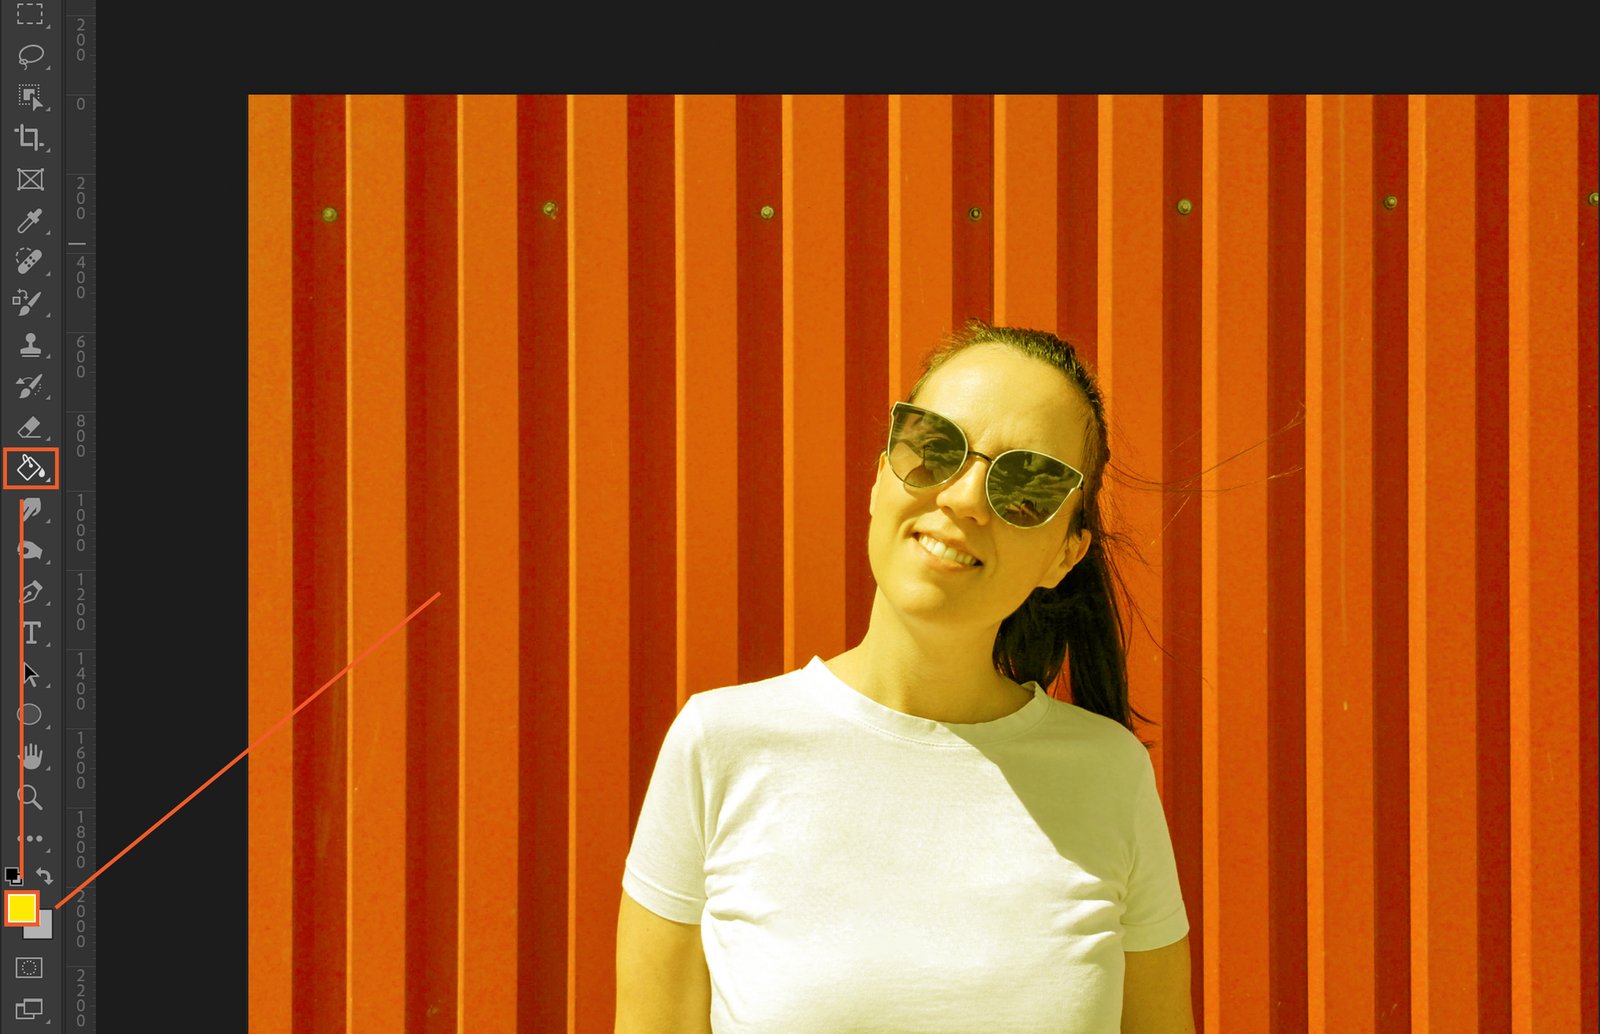
Step 1.1 Use the Paint Bucket Tool
This tool fills an area with your chosen color. Simply select the Paint Bucket from the toolbar, then click on the area you want to color.

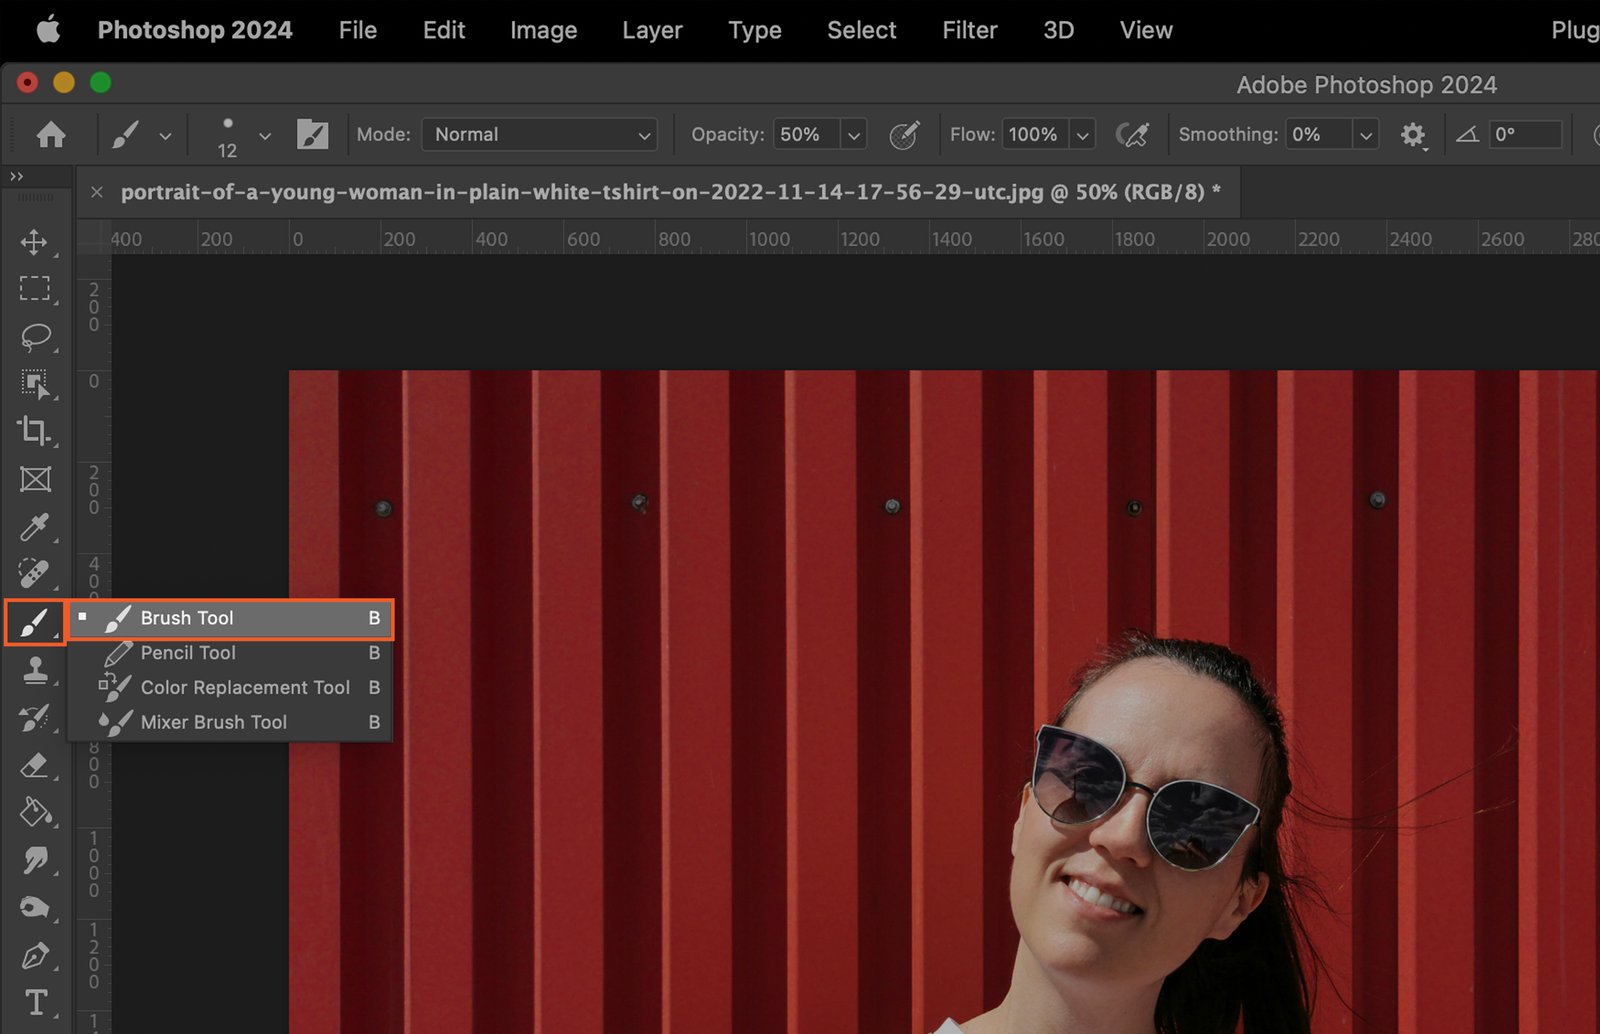
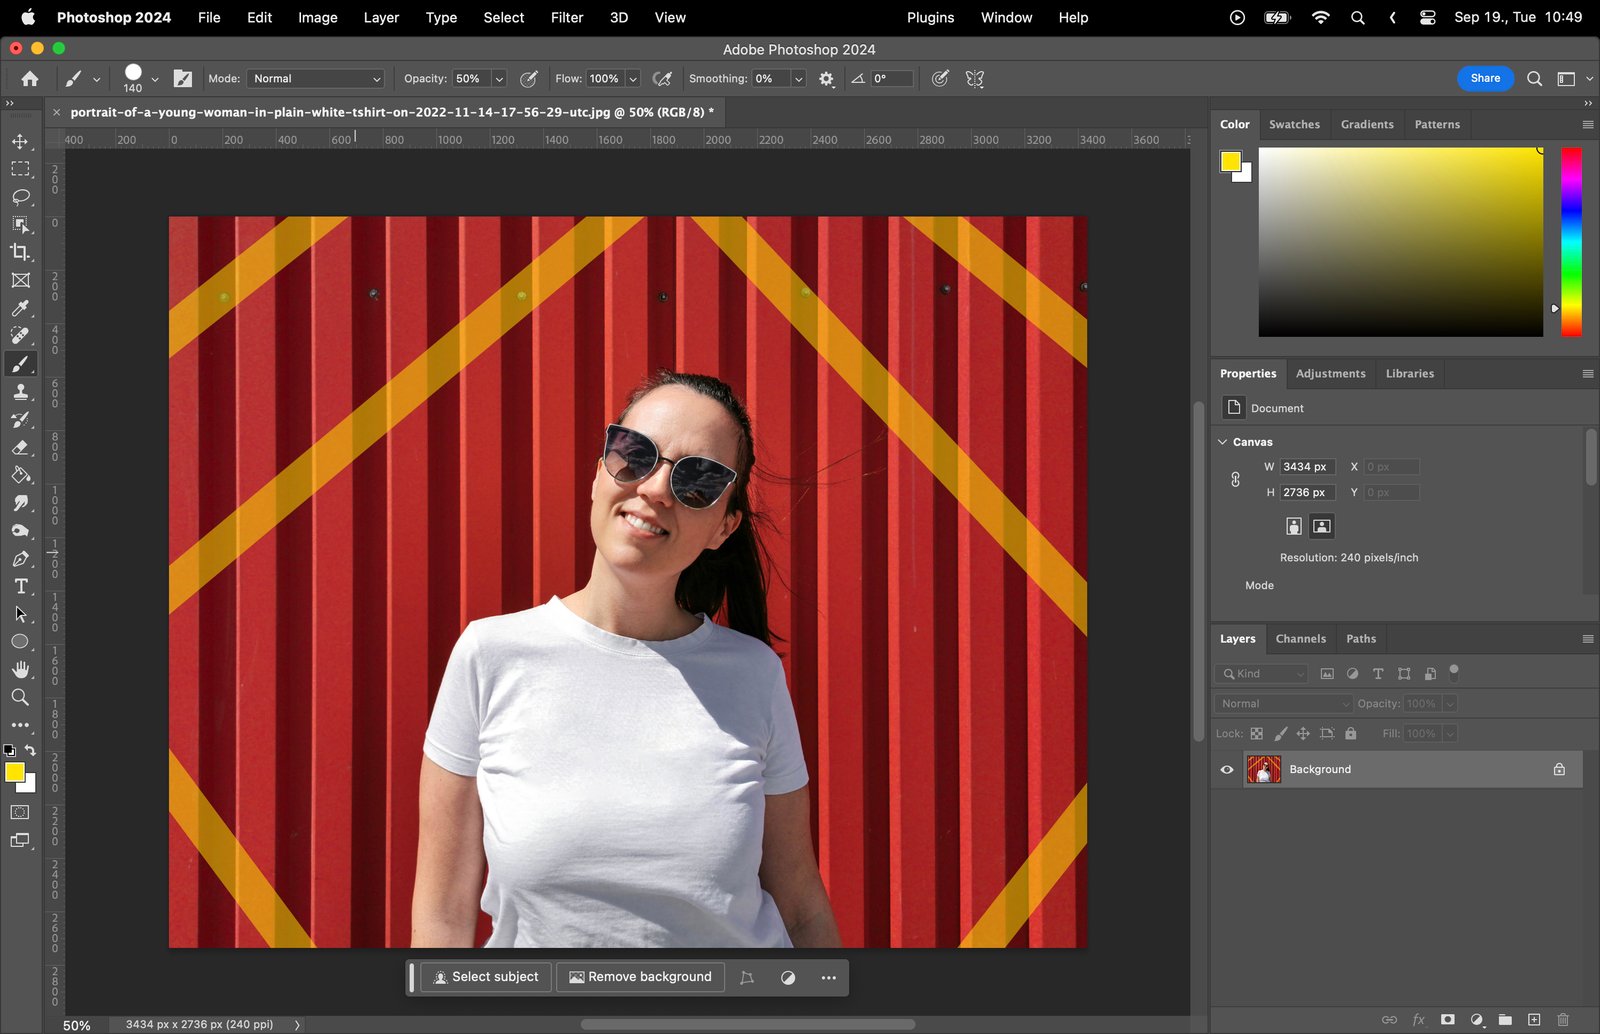
Step 1.2 Use the Brush Tool
The Brush Tool allows for more detailed coloring. You can adjust the size and hardness of the brush for different effects.
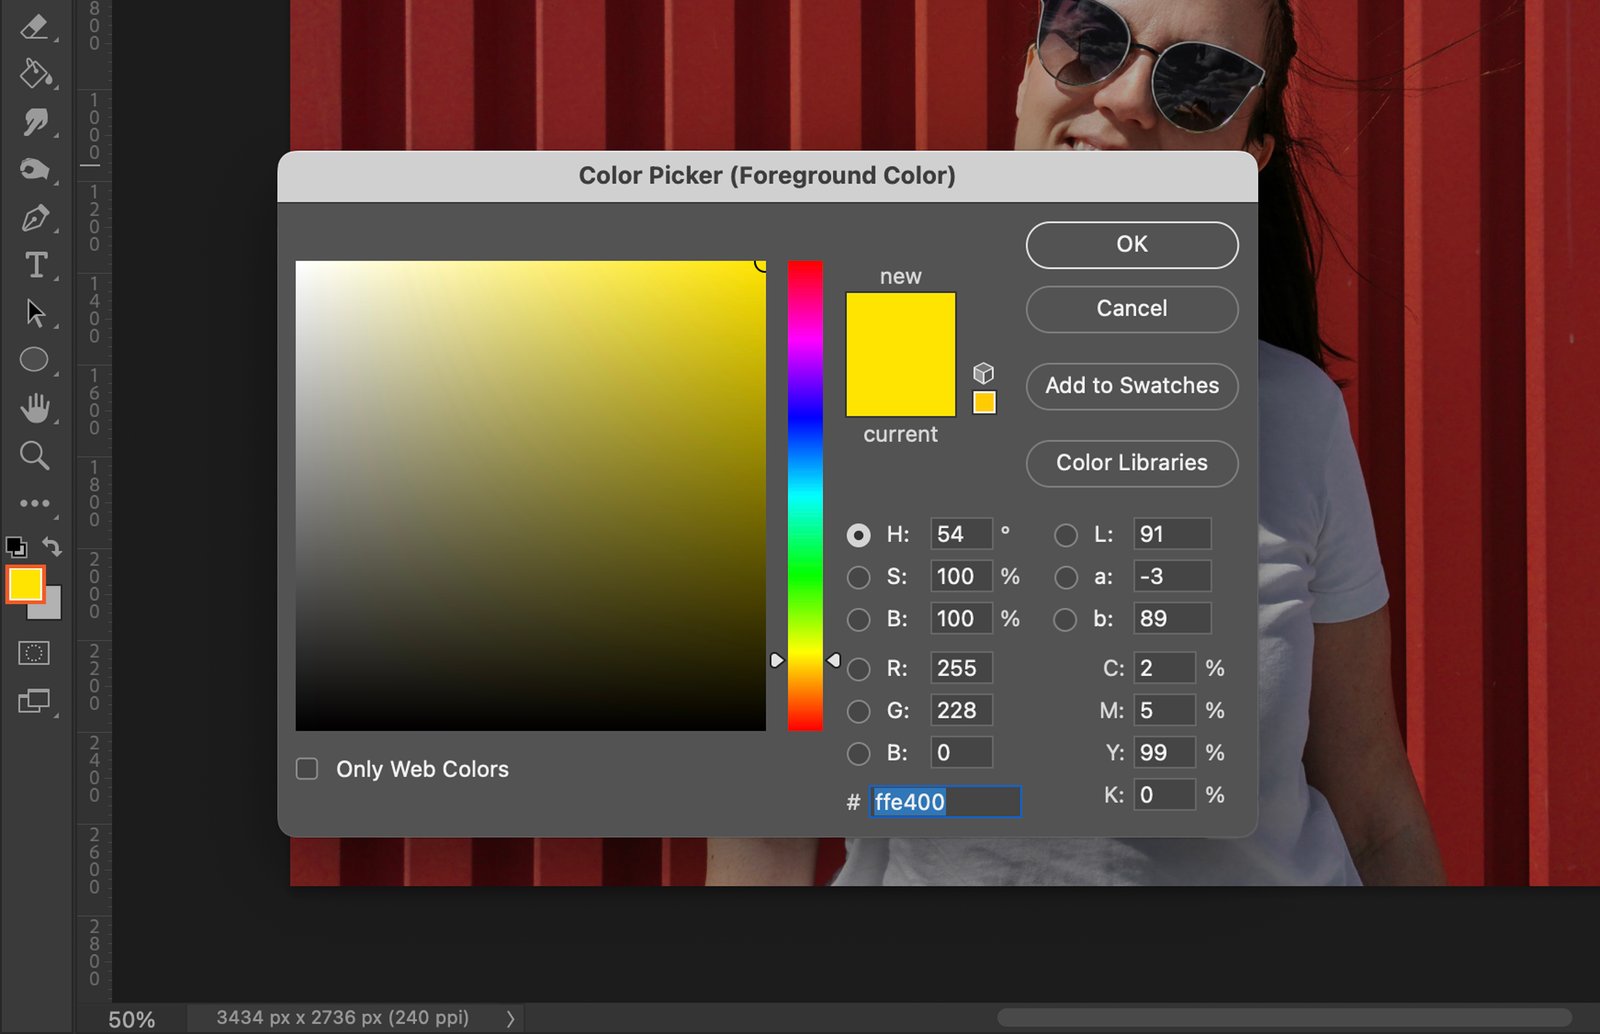
Step 2. Select the Color
Choose your desired color using either the Color Picker or the Swatches Panel.
Step 2.1 Use the Color Picker
Click on the Color Picker, then select the desired color from the spectrum that appears.
Step 2.2 Use the Swatches Panel
The Swatches Panel offers a range of preselected colors. Simply click on your desired swatch to select it.

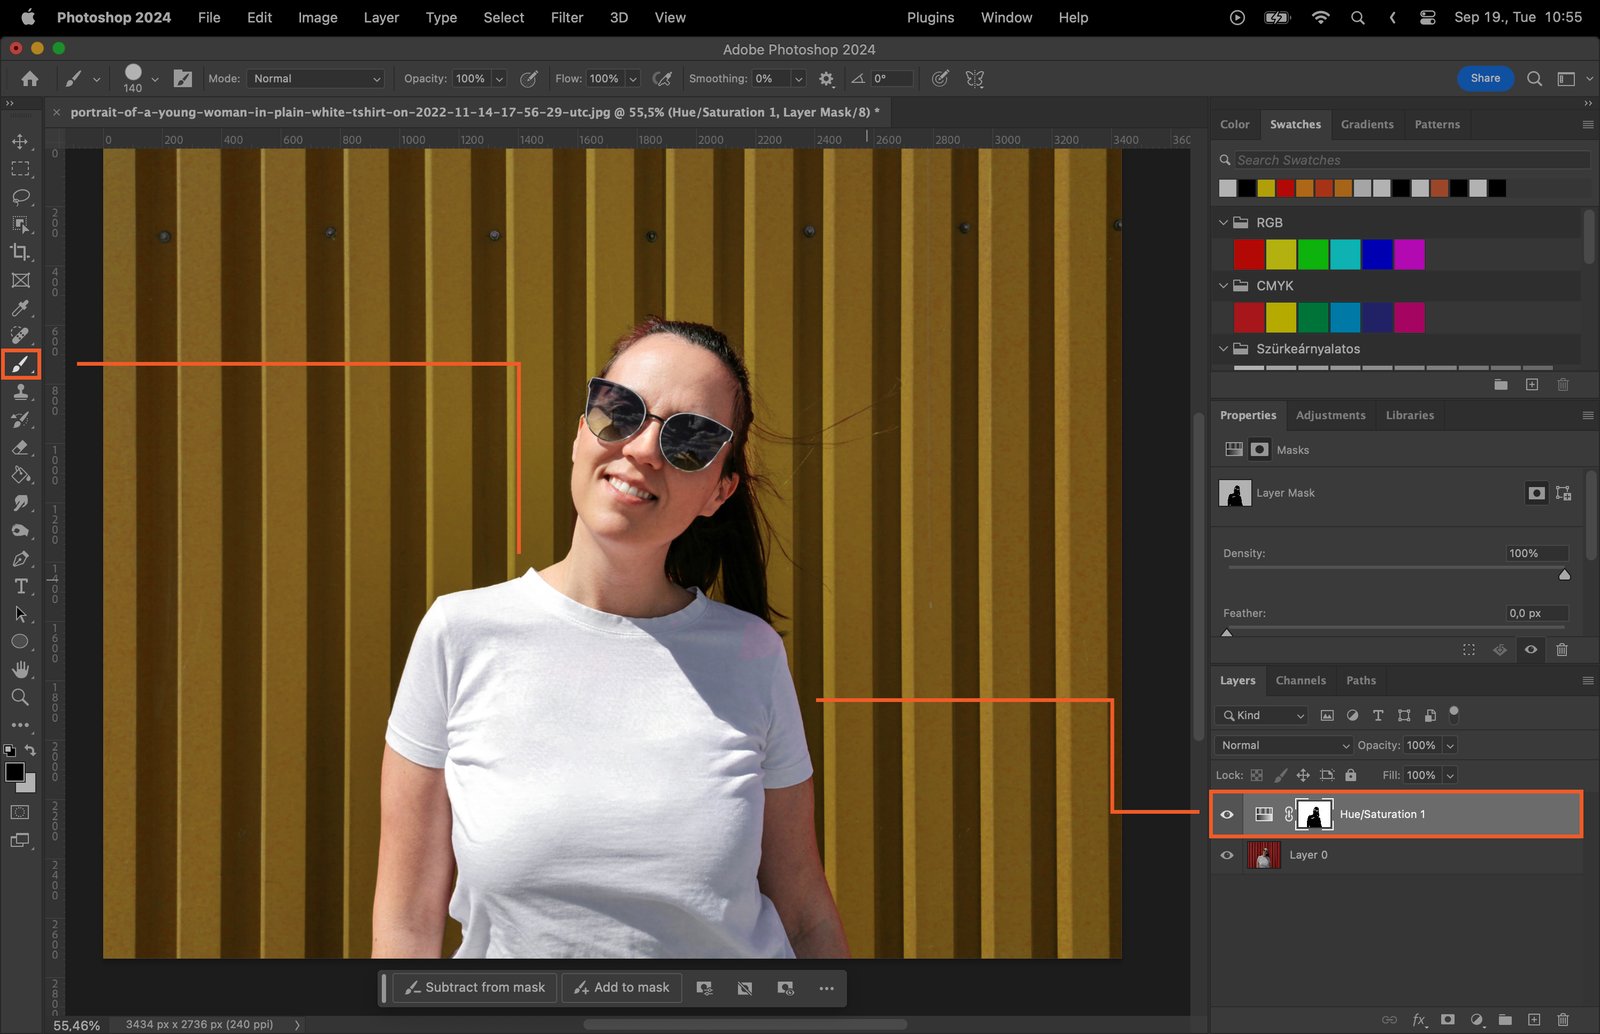
Step 3 Use the Hue/Saturation Adjustment
This adjustment allows you to change the color’s hue and saturation levels.
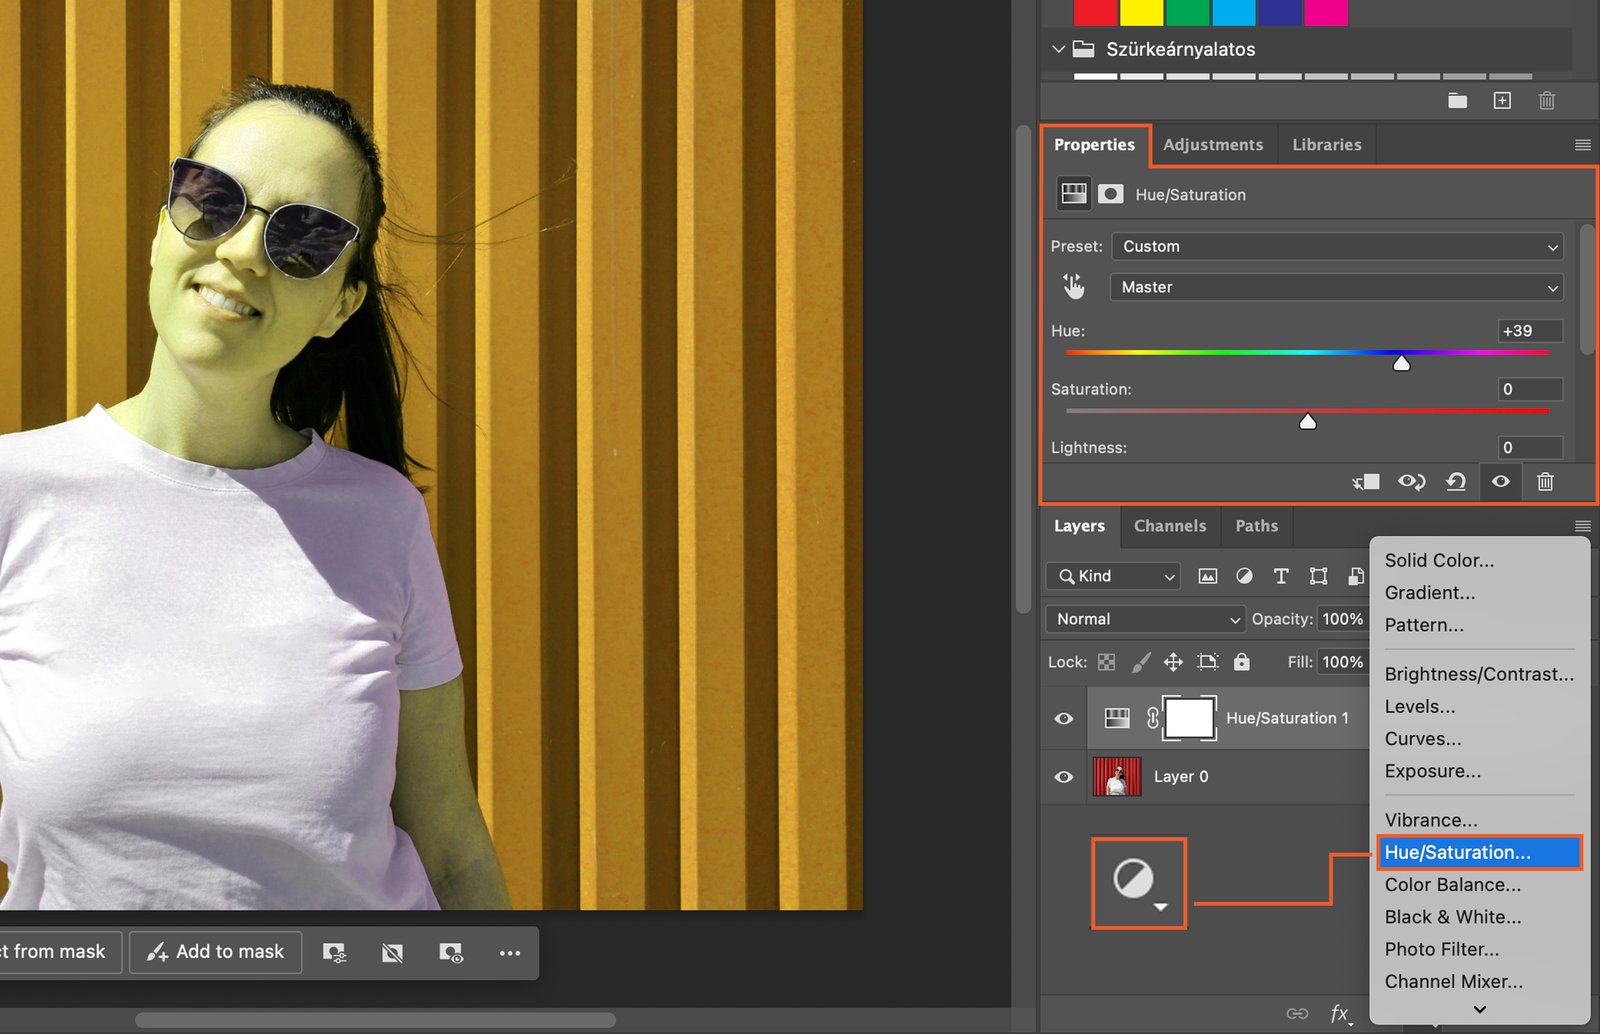
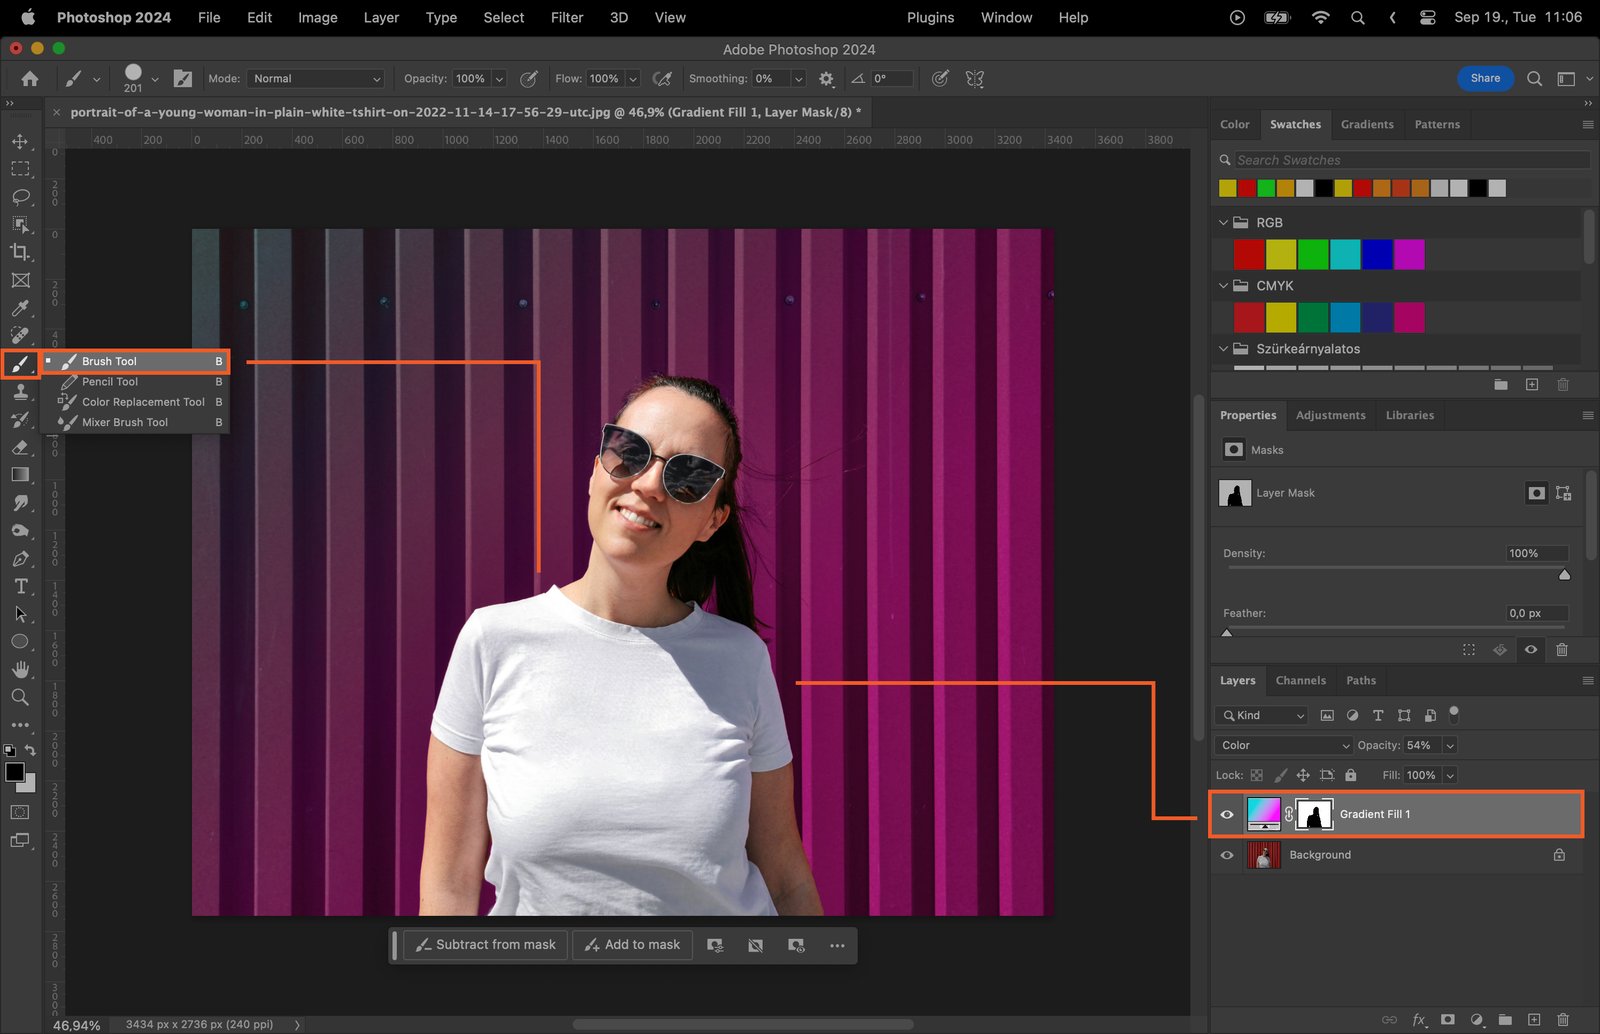
You can use the “Brush” tool to create a mask around the subject so it won’t be affected by the effect. Just select the black color and paint the subject.
Step 3.1 Use the Color Balance Adjustment
Color Balance lets you adjust the color’s balance of red, green, and blue.

Step 4. Use the Color Replacement Tool
This tool lets you replace a selected color with a new one, while retaining the original image’s shading and texture.

Step 5. Use the Gradient Tool
The Gradient Tool creates a gradual blend between multiple colors. Choose your colors, then drag the tool across your image.
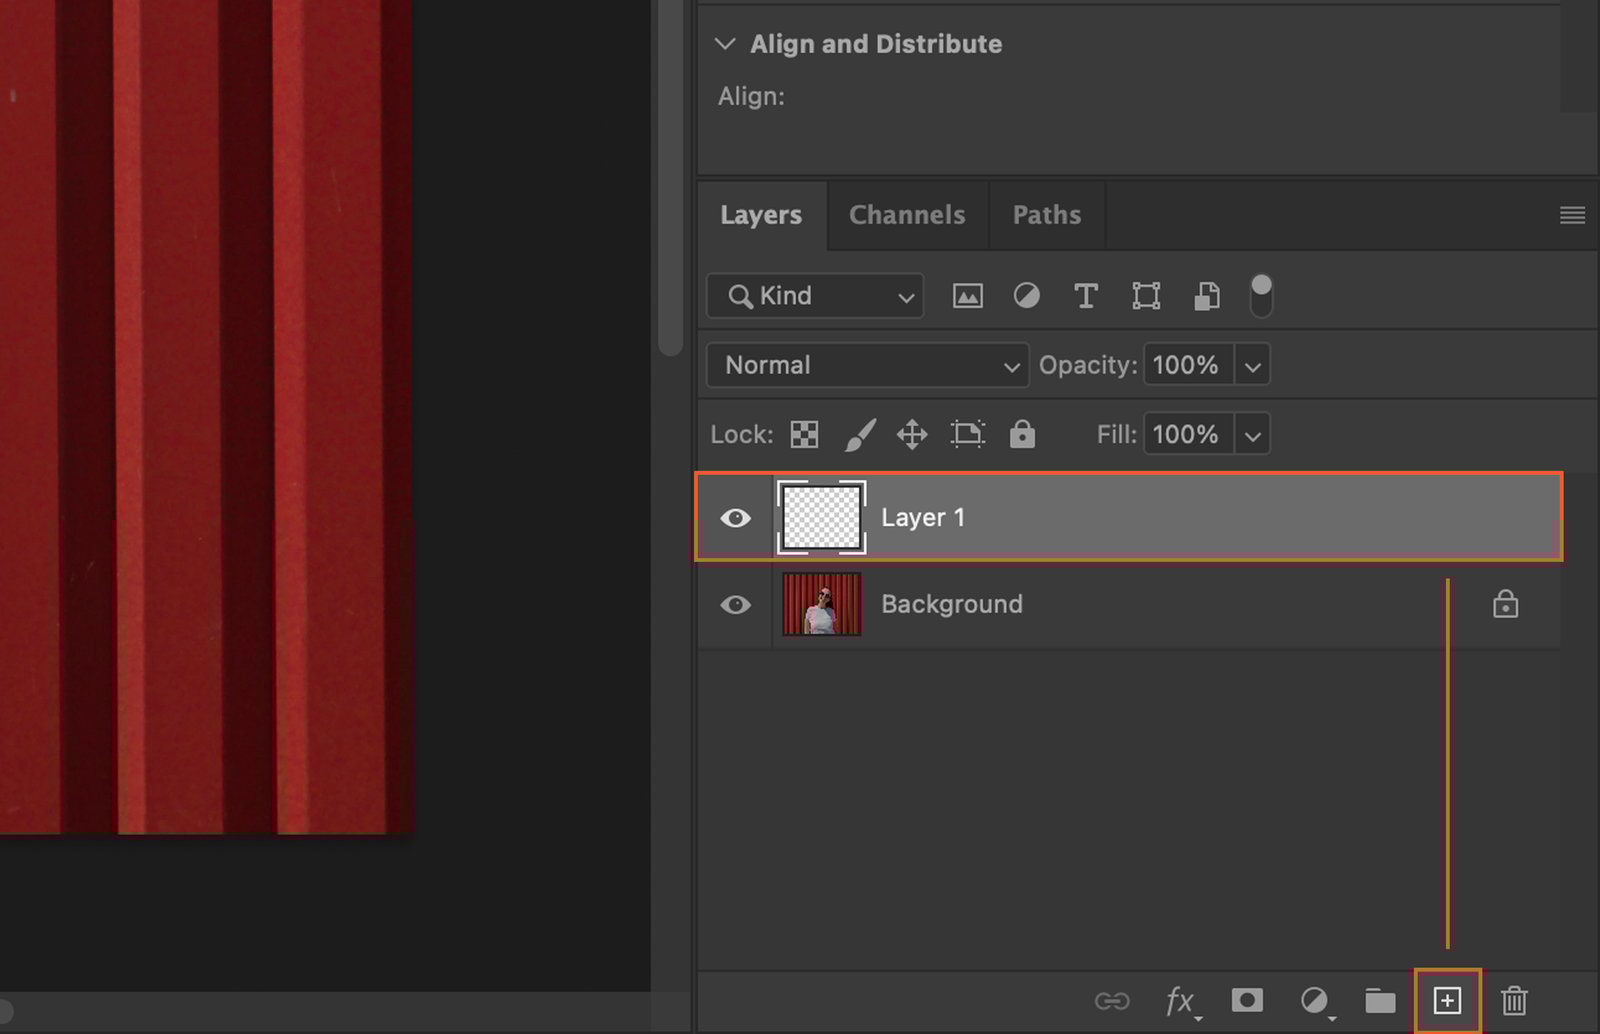
Step 6. Create a New Adjustment Layer
Adjustment layers allow for non-destructive editing. You can create either a solid color or gradient adjustment layer.
Step 6.1 Create a Solid Color Adjustment Layer
This layer fills your image with a solid color. You can then adjust the layer’s opacity and blend mode.
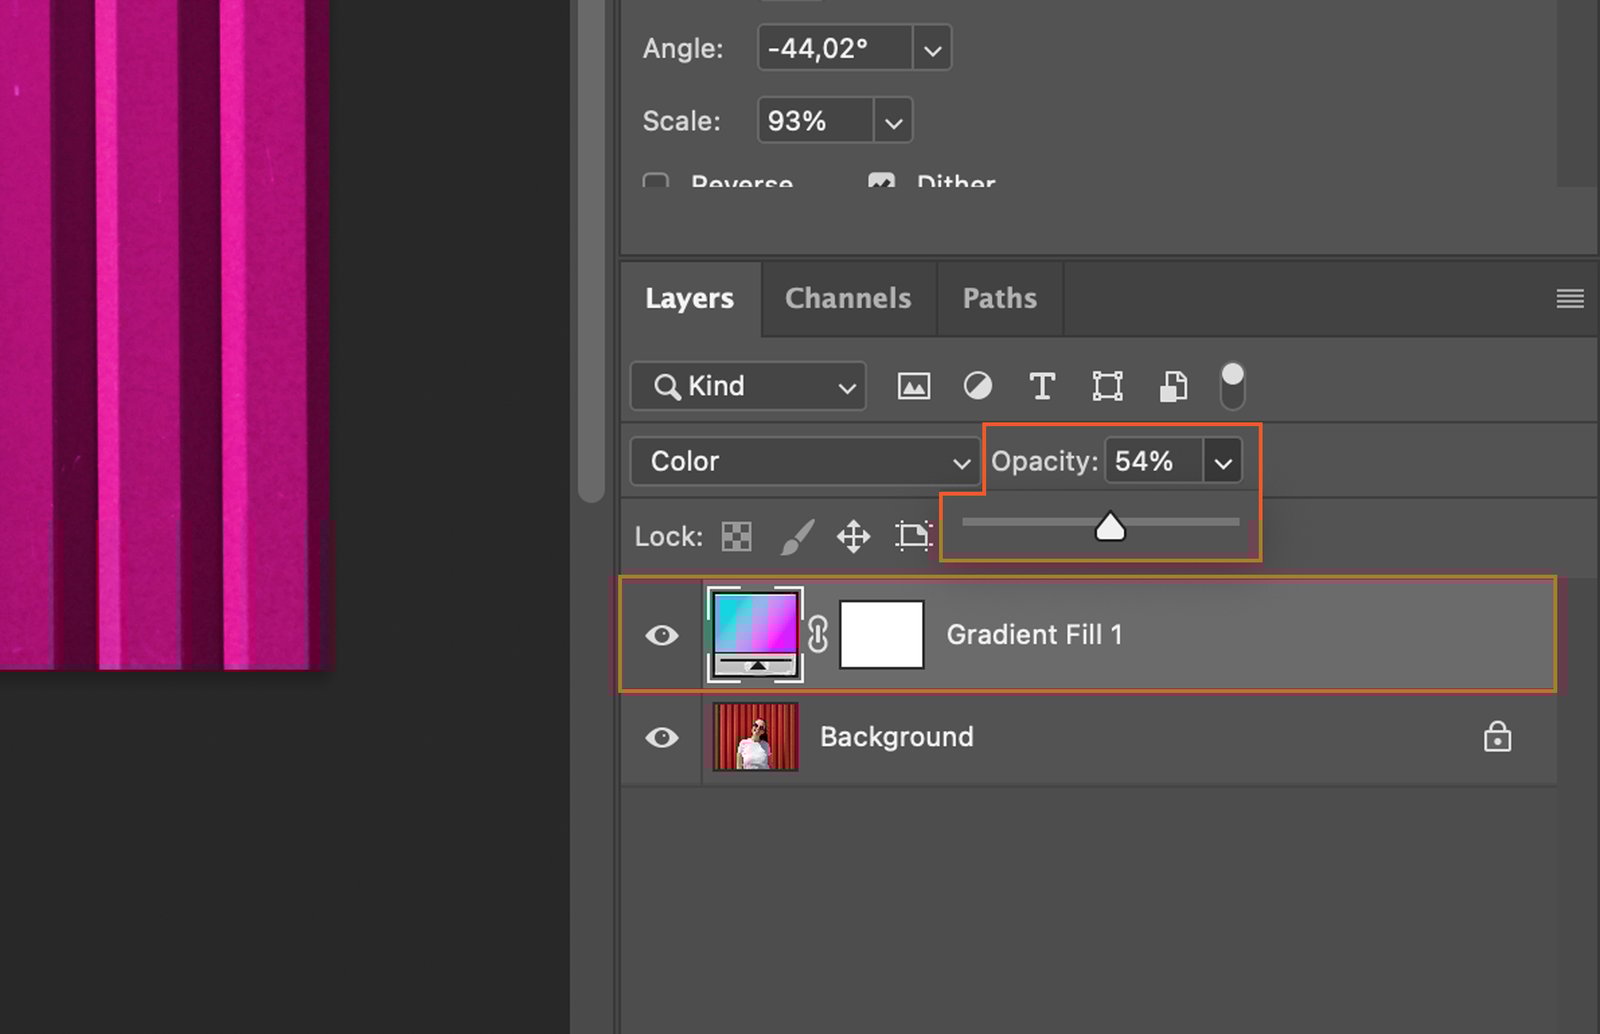
Step 6.2 Create a Gradient Adjustment Layer
A Gradient Adjustment Layer applies a color gradient to your image, which you can then customize as desired.

Step 7. Use the Blend Mode
Blend modes determine how the colors of your layers interact. Experiment with different modes to achieve the desired effect.
Step 8. Fine-tune the Result
After applying your color, you can fine-tune the result using the Opacity Slider and Eraser Tool.
Step 8.1 Use the Opacity Slider
This slider adjusts a layer’s transparency. A lower opacity means more of the layers beneath will show through.
Step 8.2 Use the Eraser Tool or Layer Mask
Use the Eraser tool or a layer mask to remove the effects from your edited part.
Step 9. Save the Changes
Once you’re satisfied with your image, save your work. Photoshop offers a range of file formats, including JPEG and PNG.