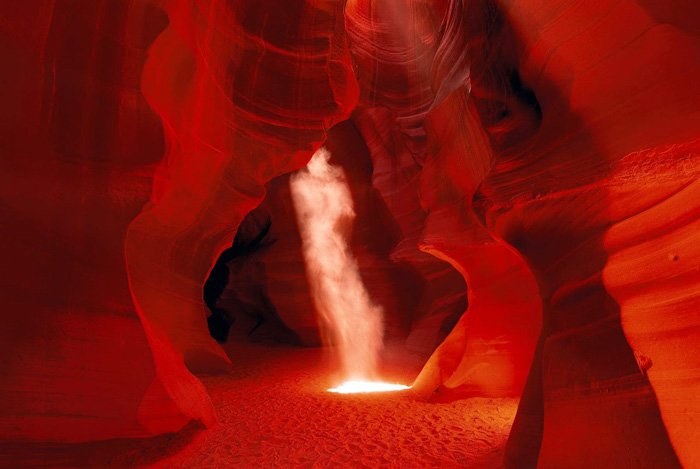
Clearing Photoshop Cache can significantly boost your application’s performance. This article provides a step-by-step guide to help you do just that, enabling smoother functioning and faster processing times.
Step 1. Open the Photoshop Application
Begin by launching the Photoshop application on your computer. You can do this by clicking on the Photoshop icon on your desktop or searching for it in the start menu.
Step 2. Navigate to the Edit Menu
Once Photoshop is open, locate the Edit menu at the top of the screen. This is part of the main navigation bar that also includes File, Image, Layer, and other options.
Step 3. Select Purge from the Dropdown Menu
Click on the Edit menu and a dropdown list will appear. From this list, find and select the Purge option. This will lead you to another dropdown menu with specific purge options.
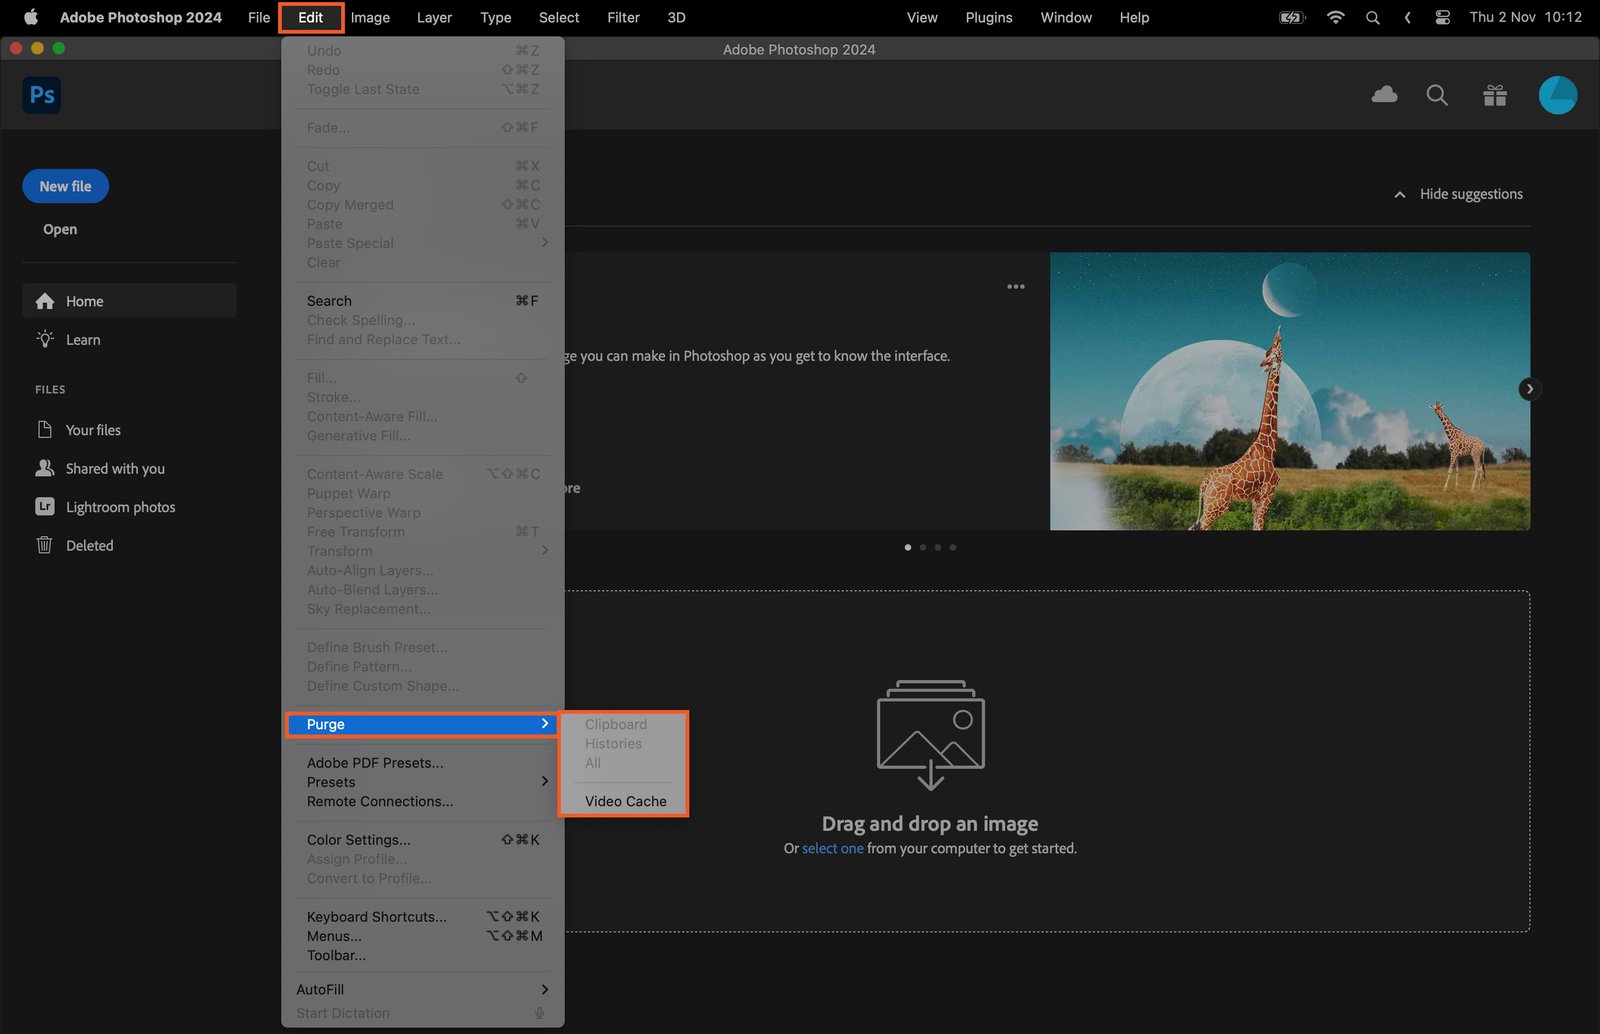
Step 3.1. Purge All
Selecting ‘All’ will clear every cache in Photoshop. This includes undos, clipboard, histories, and all types of caches.
Step 3.2. Purge Undo
Selecting ‘Undo’ will only clear the cache of your undo actions.
Step 3.3. Purge Clipboard
Selecting ‘Clipboard’ will clear the cache of your clipboard history.
Step 3.4. Purge Histories
Selecting ‘Histories’ will clear the cache of your history panel.
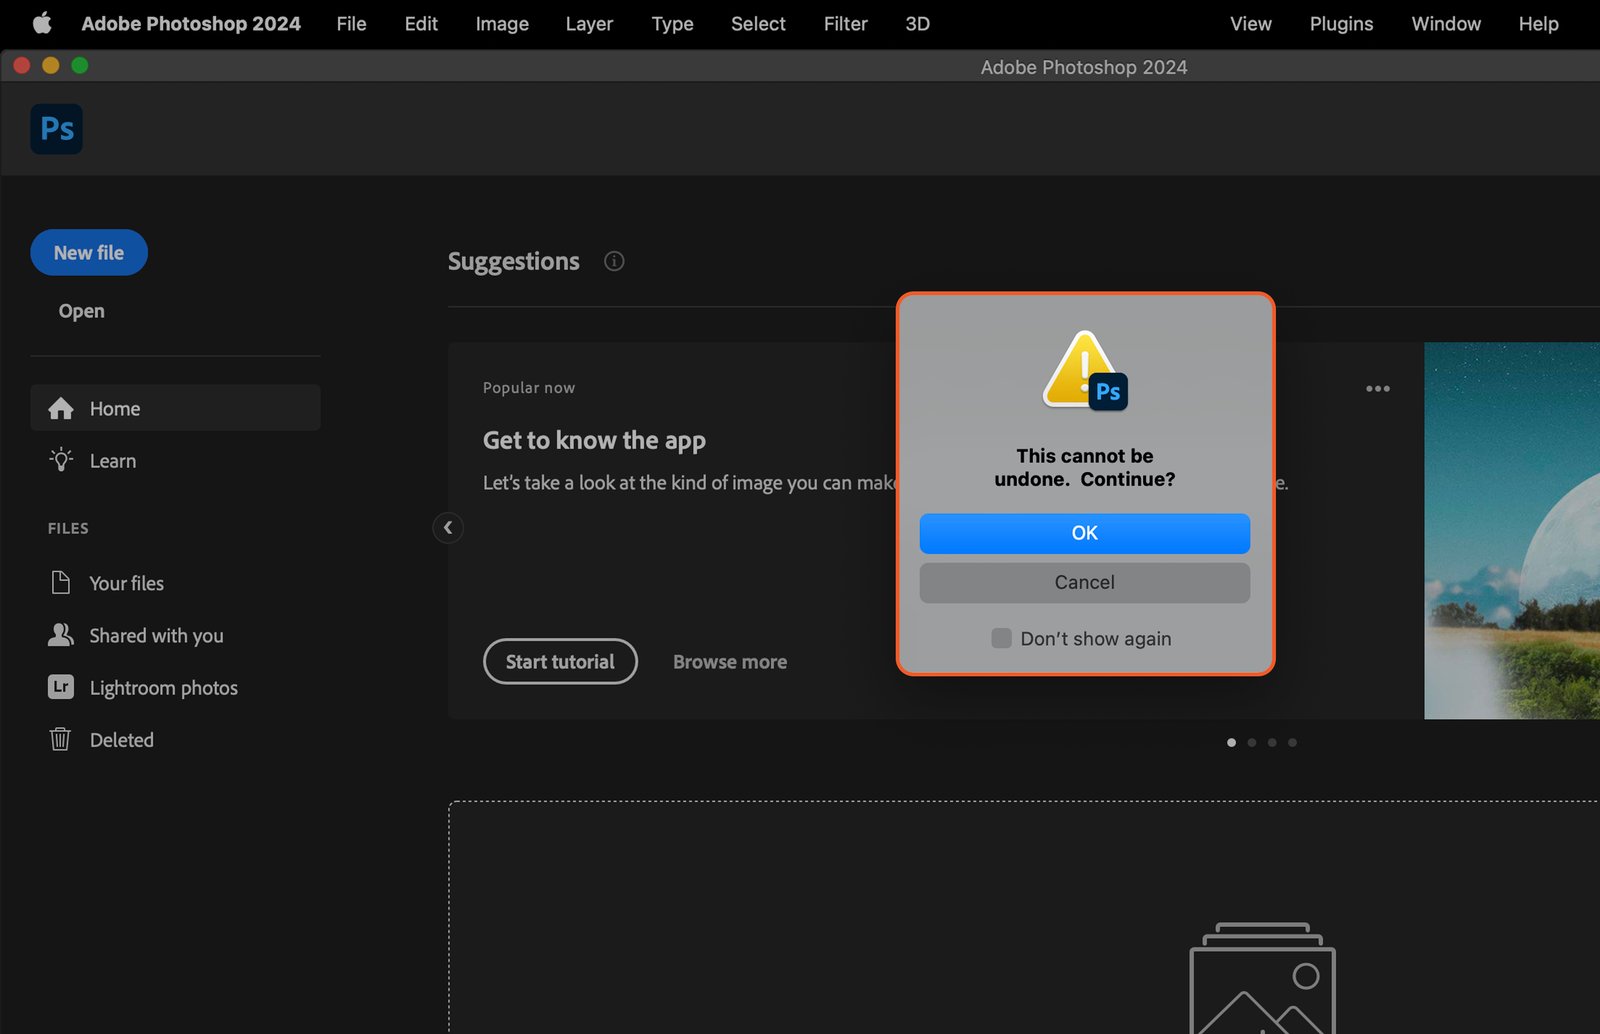
Step 4. Confirm the Purge
After selecting the desired purge option, a confirmation box will appear. Click ‘OK’ to confirm. Be careful, once purged, the data cannot be recovered.
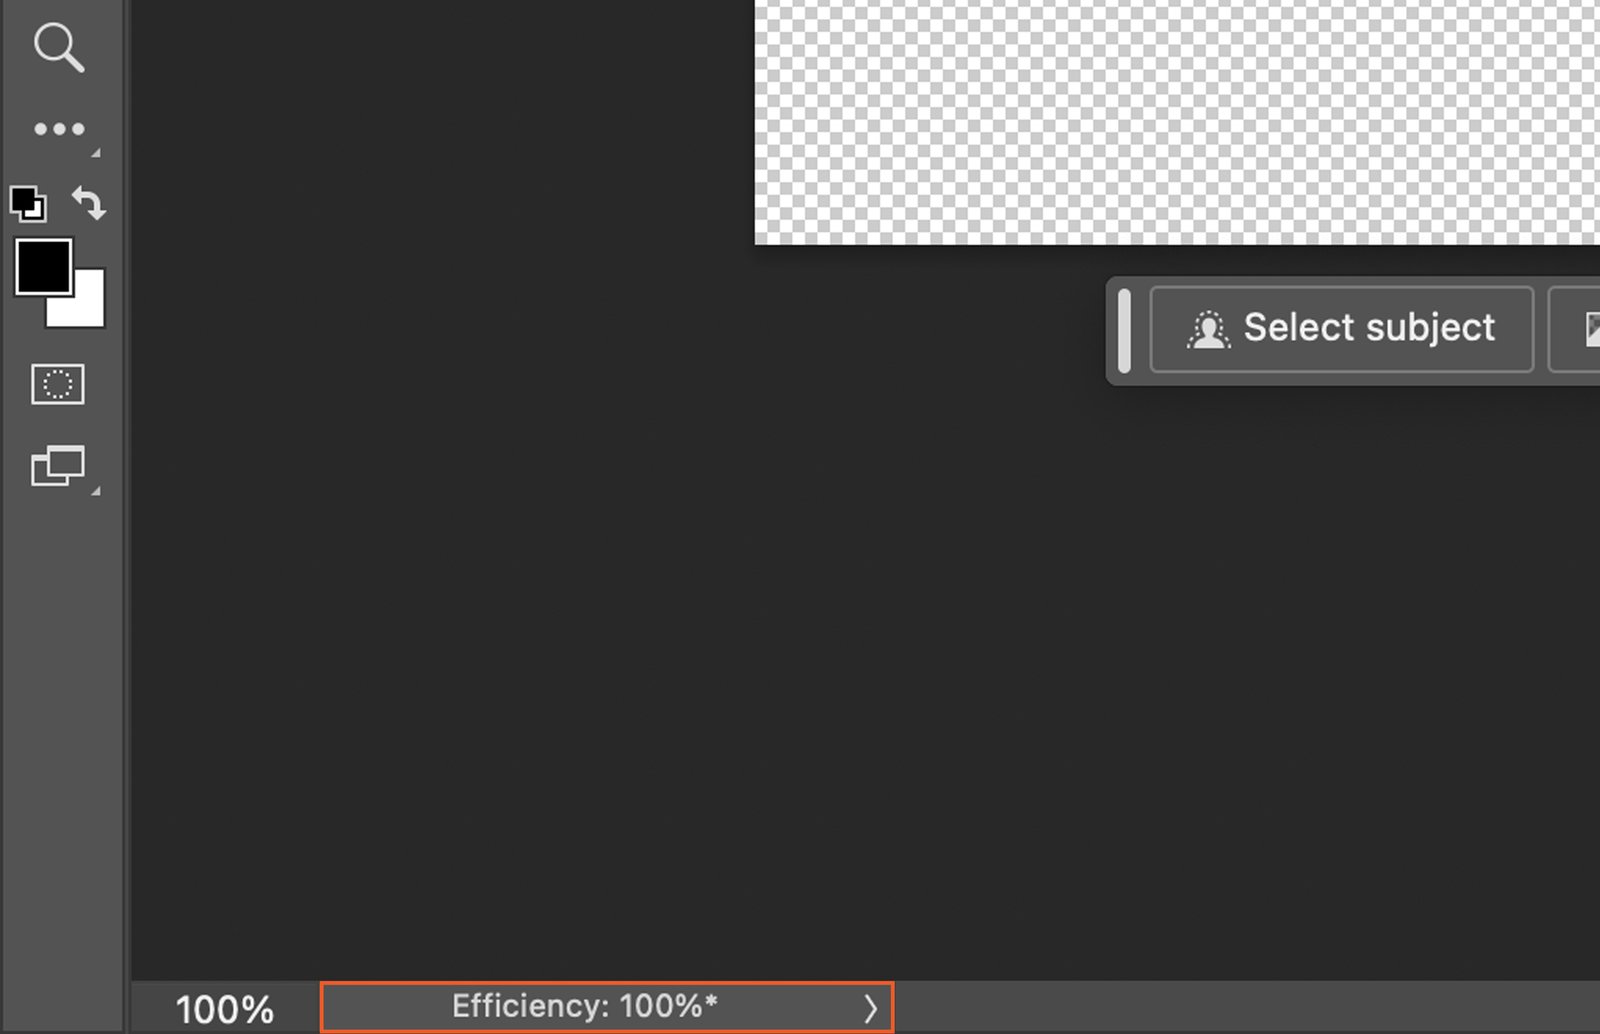
Step 5. Check the Efficiency Indicator
After purging, check the Efficiency indicator (found under the Window menu > Efficiency). If it’s below 100%, it means Photoshop is using the scratch disk which can slow down your work.
Step 6. Adjusting Photoshop Performance Preferences
If the Efficiency is below 100%, you can adjust Photoshop’s performance preferences to optimize its operation.
Step 6.1. Accessing the Preferences Menu
Go to the Edit menu again, select ‘Preferences’, and then ‘Performance’.
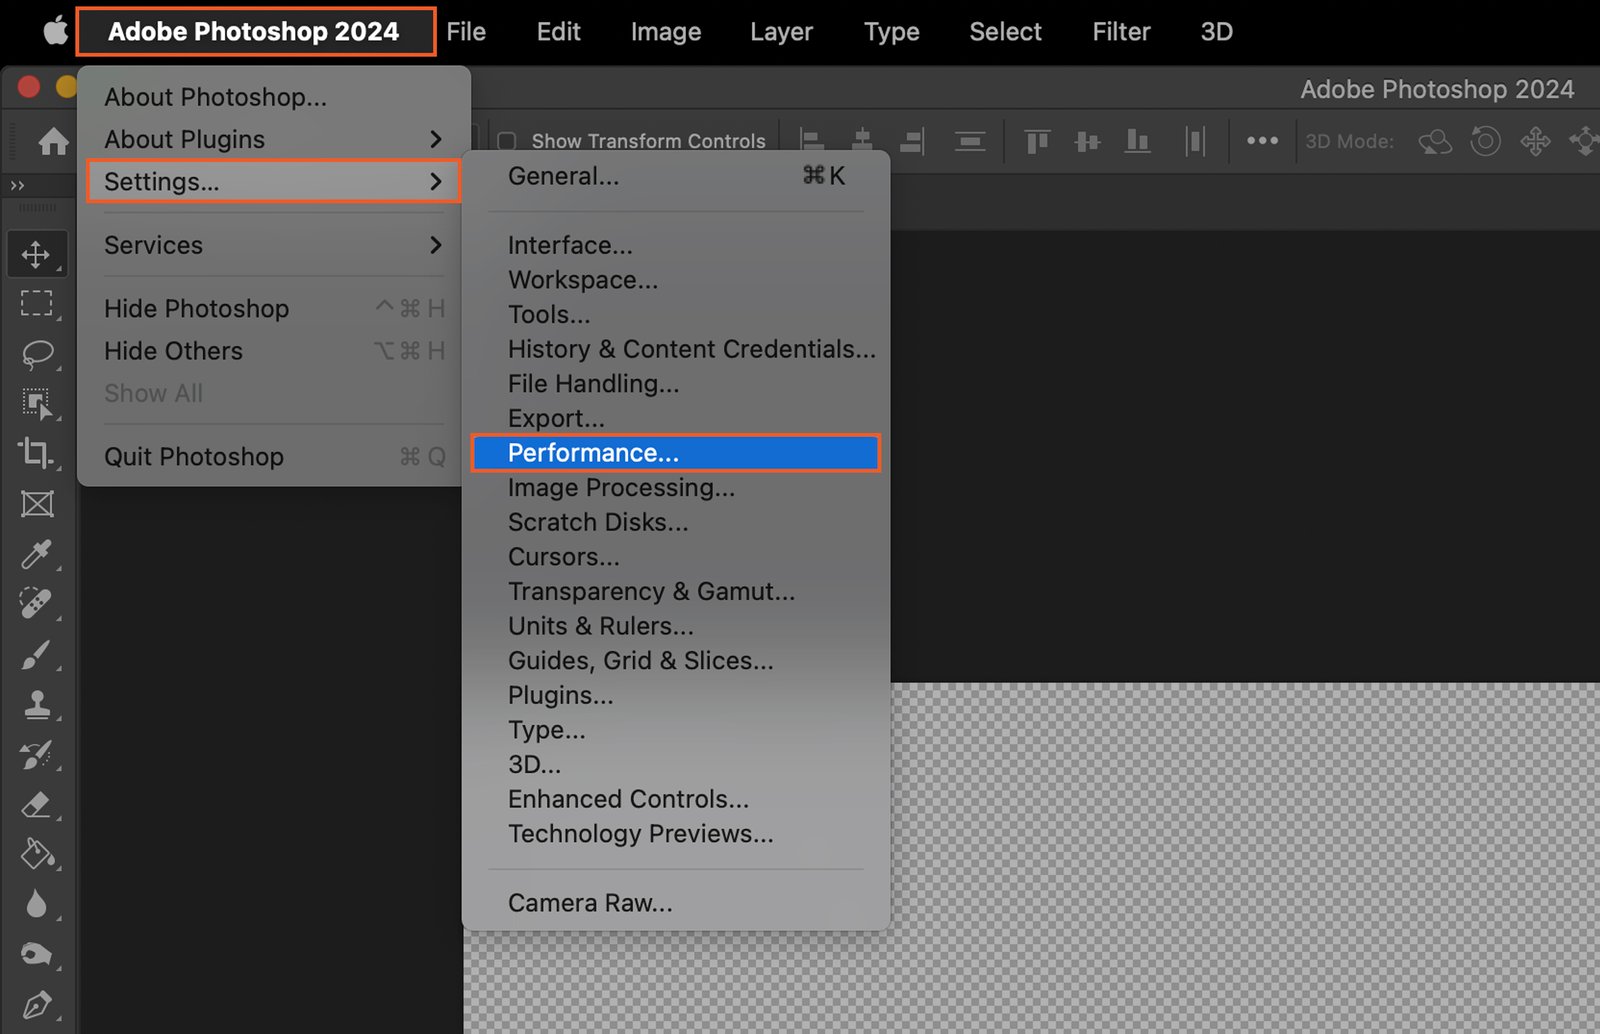
Step 6.2. Selecting Performance
In the Performance Preferences, you have several options to adjust.
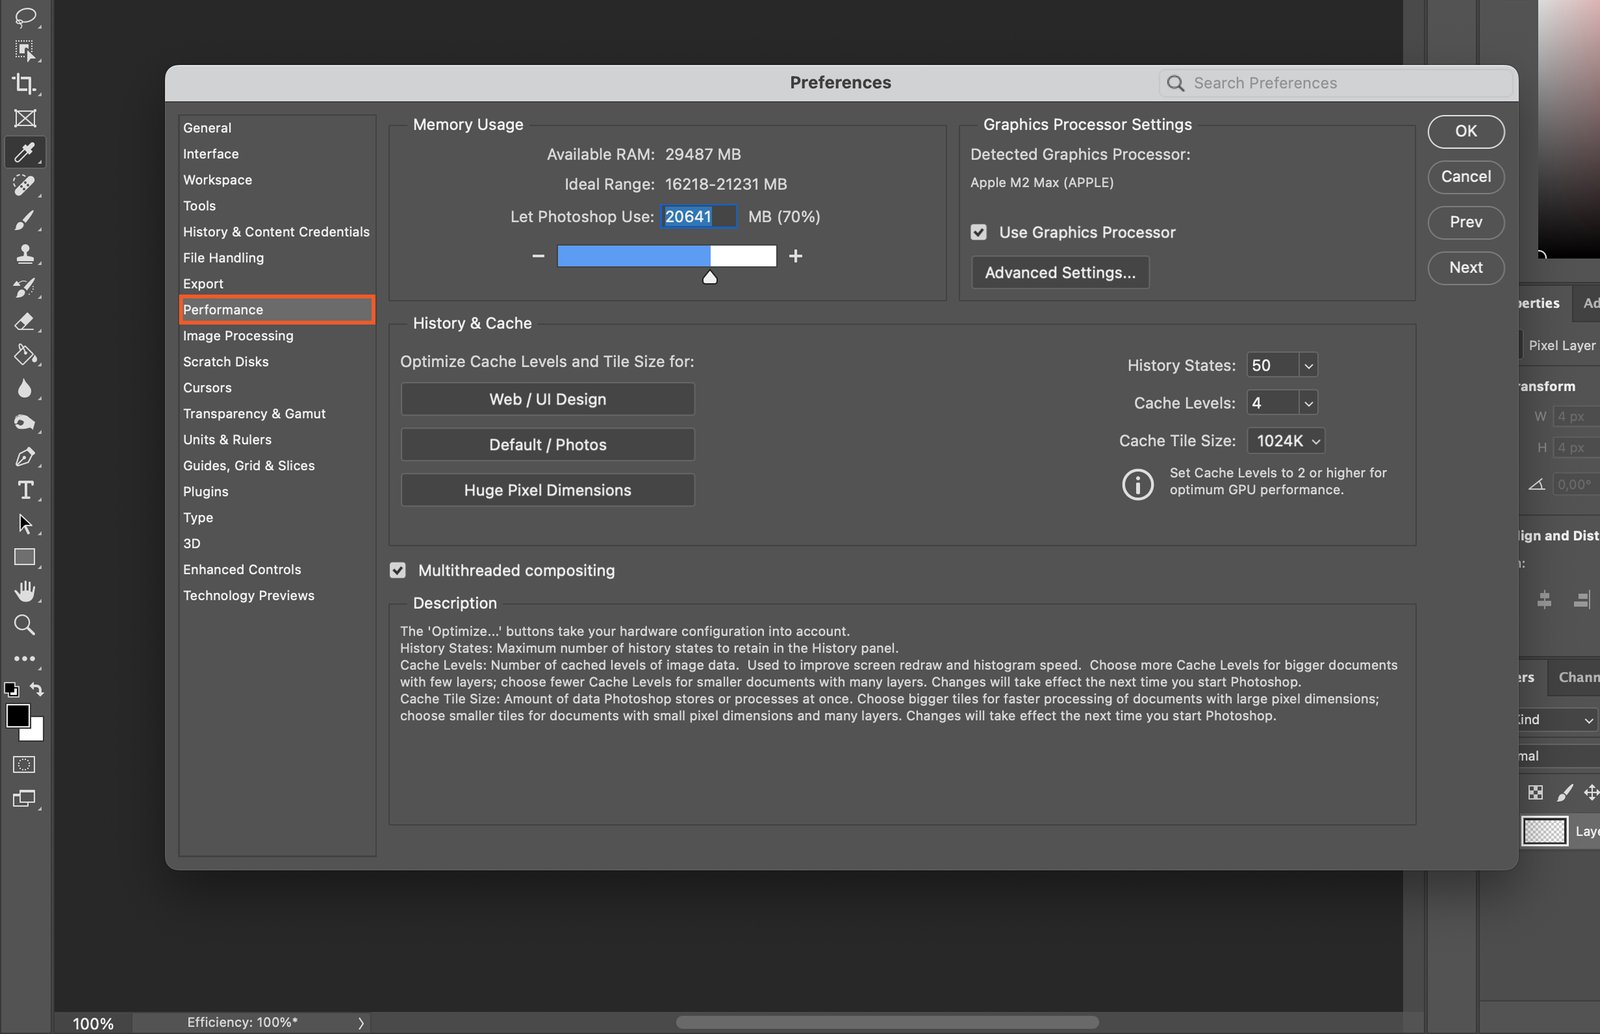
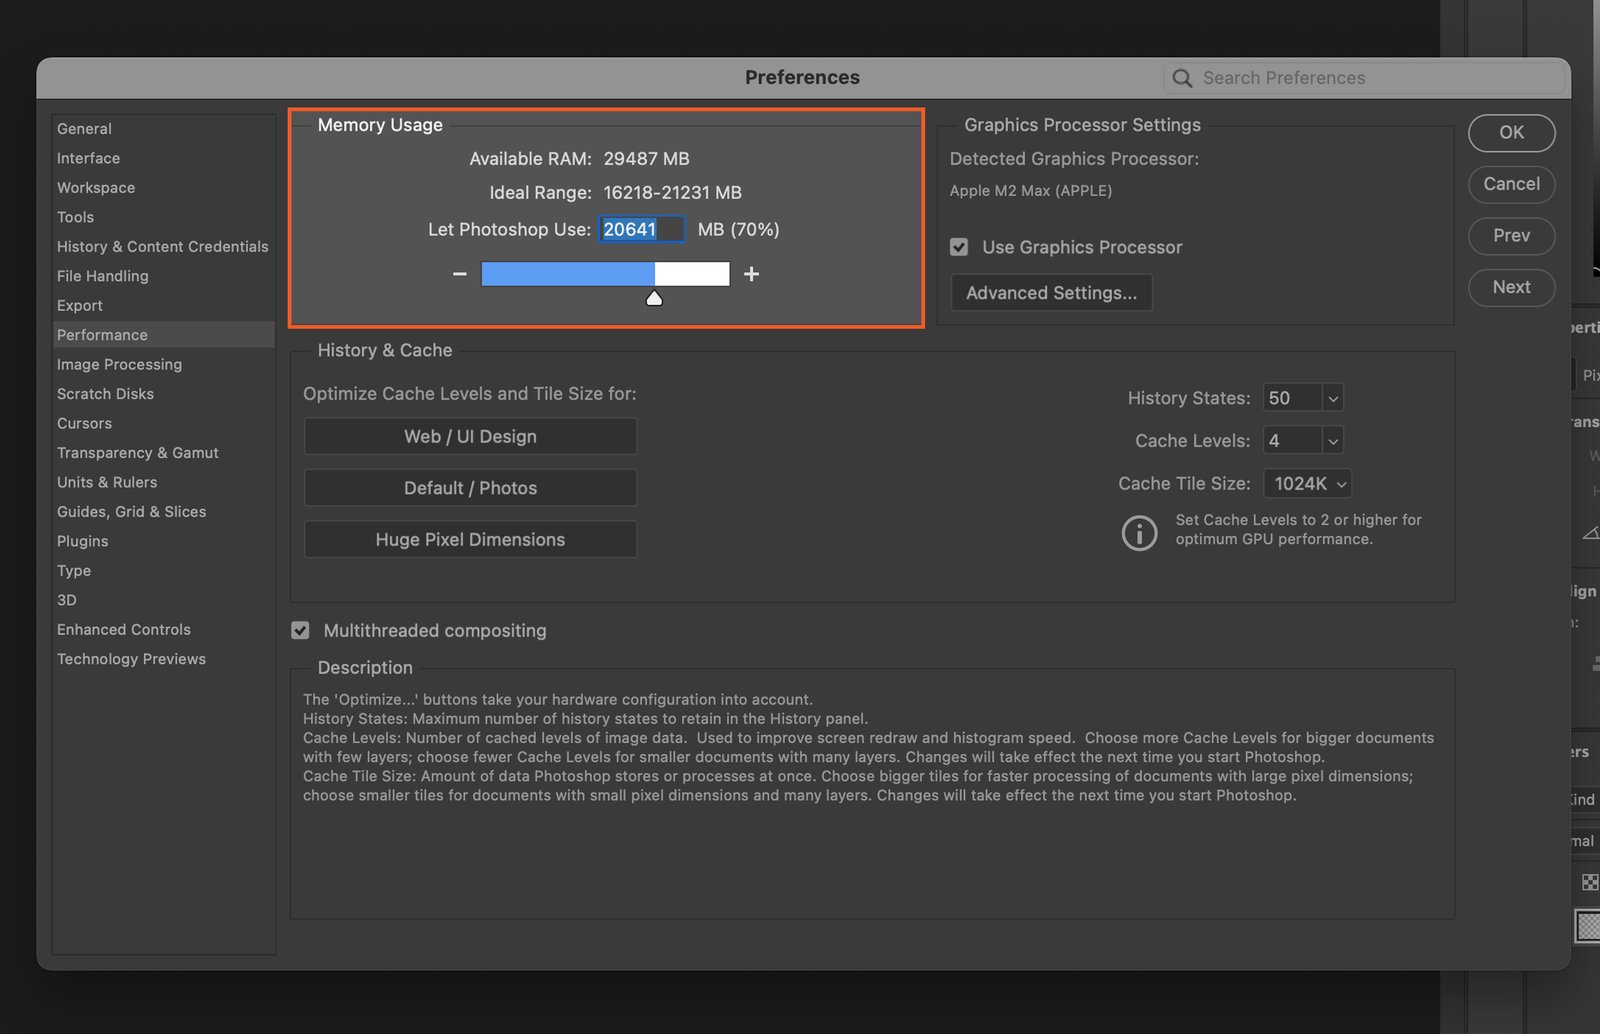
Step 6.3. Adjusting Memory Usage
Under ‘Memory Usage’, you can adjust the amount of computer memory allocated to Photoshop. Increase this for better performance.
Step 6.4. Managing Cache Levels
Under ‘Cache Levels’, adjust the number of levels. A higher number speeds up redrawing but uses more memory.

Step 6.5. Enabling or Disabling Graphics Processor Settings
Under ‘Graphics Processor Settings’, check or uncheck ‘Use Graphics Processor’ to enable or disable it. This can affect Photoshop’s performance and feature availability.

Step 7. Save and Exit the Preferences Menu
Click ‘OK’ to save your changes and exit the Preferences menu.
Step 8. Restart the Photoshop Application
Finally, close and restart Photoshop for the changes to take effect.