Experiencing slow performance or error messages in Photoshop? The culprit might be a full scratch disk. This article guides you through the process to clear scratch disk, enhancing your Photoshop experience by speeding up operations and preventing crashes.
A scratch disk is a designated drive or partition in your computer where Photoshop stores data when your system runs out of RAM. It’s essentially a temporary storage space that Photoshop uses to run smoothly, especially when handling large files.
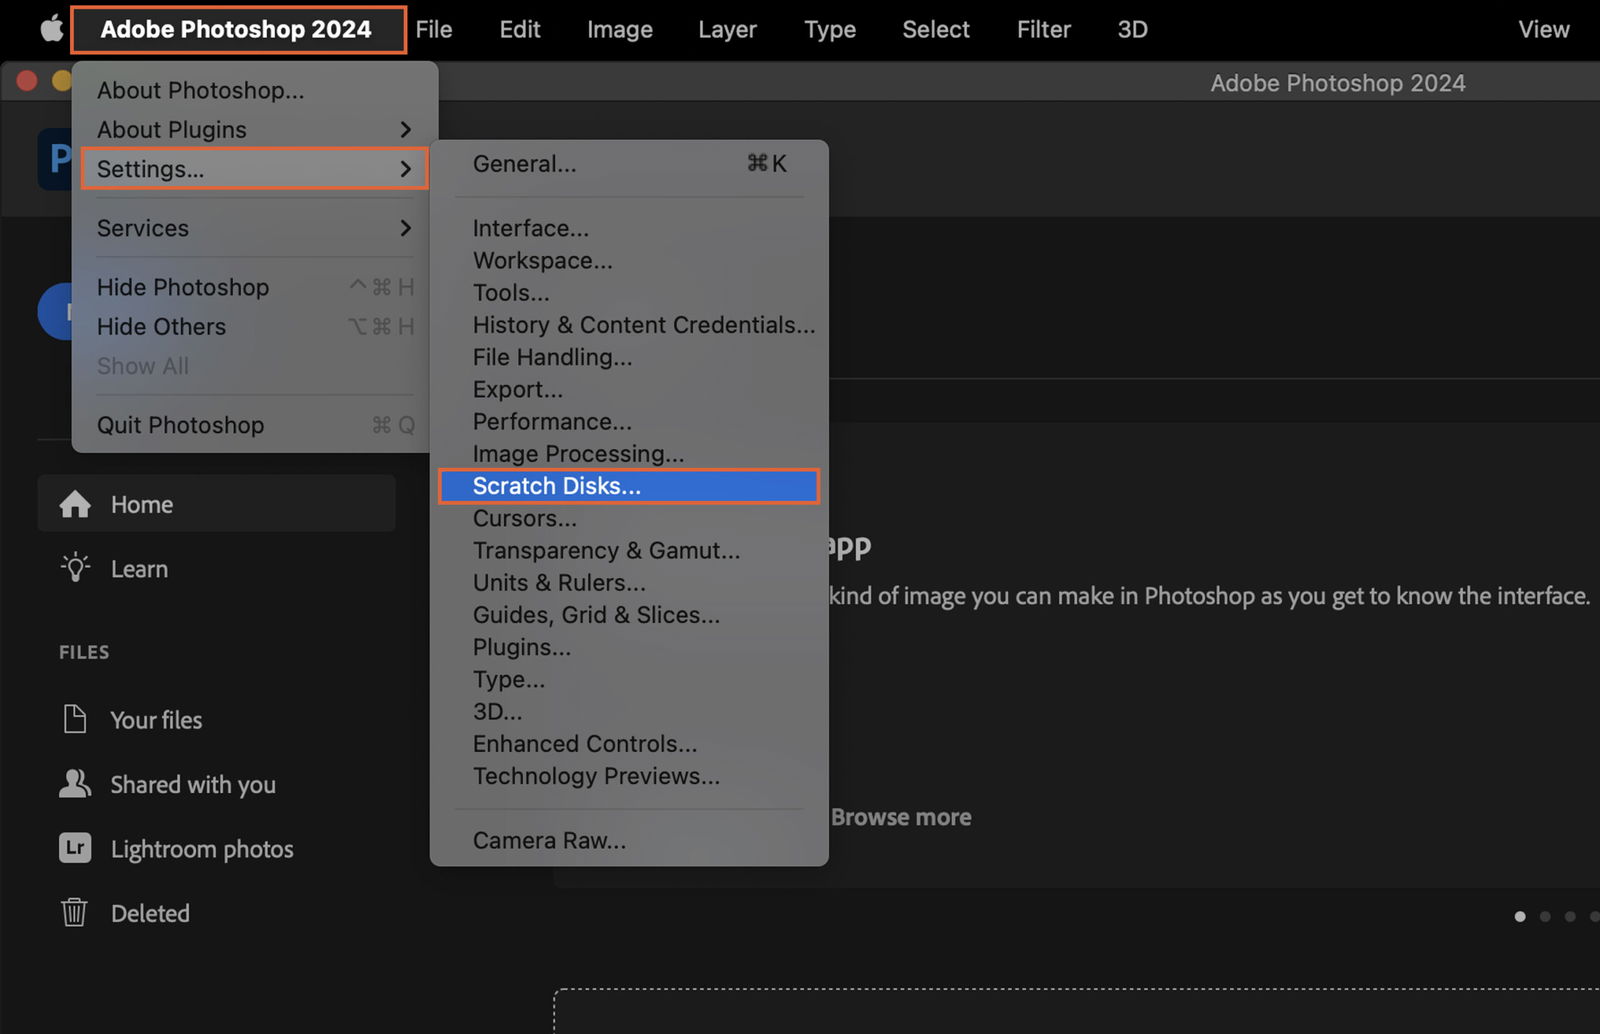
To review your current scratch disk settings, open Photoshop and go to Edit > Preferences > Scratch Disks (Adobe Photoshop (Top left corner)> Settings > Preferencies on MAC). Here, you’ll see a list of active and available drives that Photoshop can use as scratch disks.
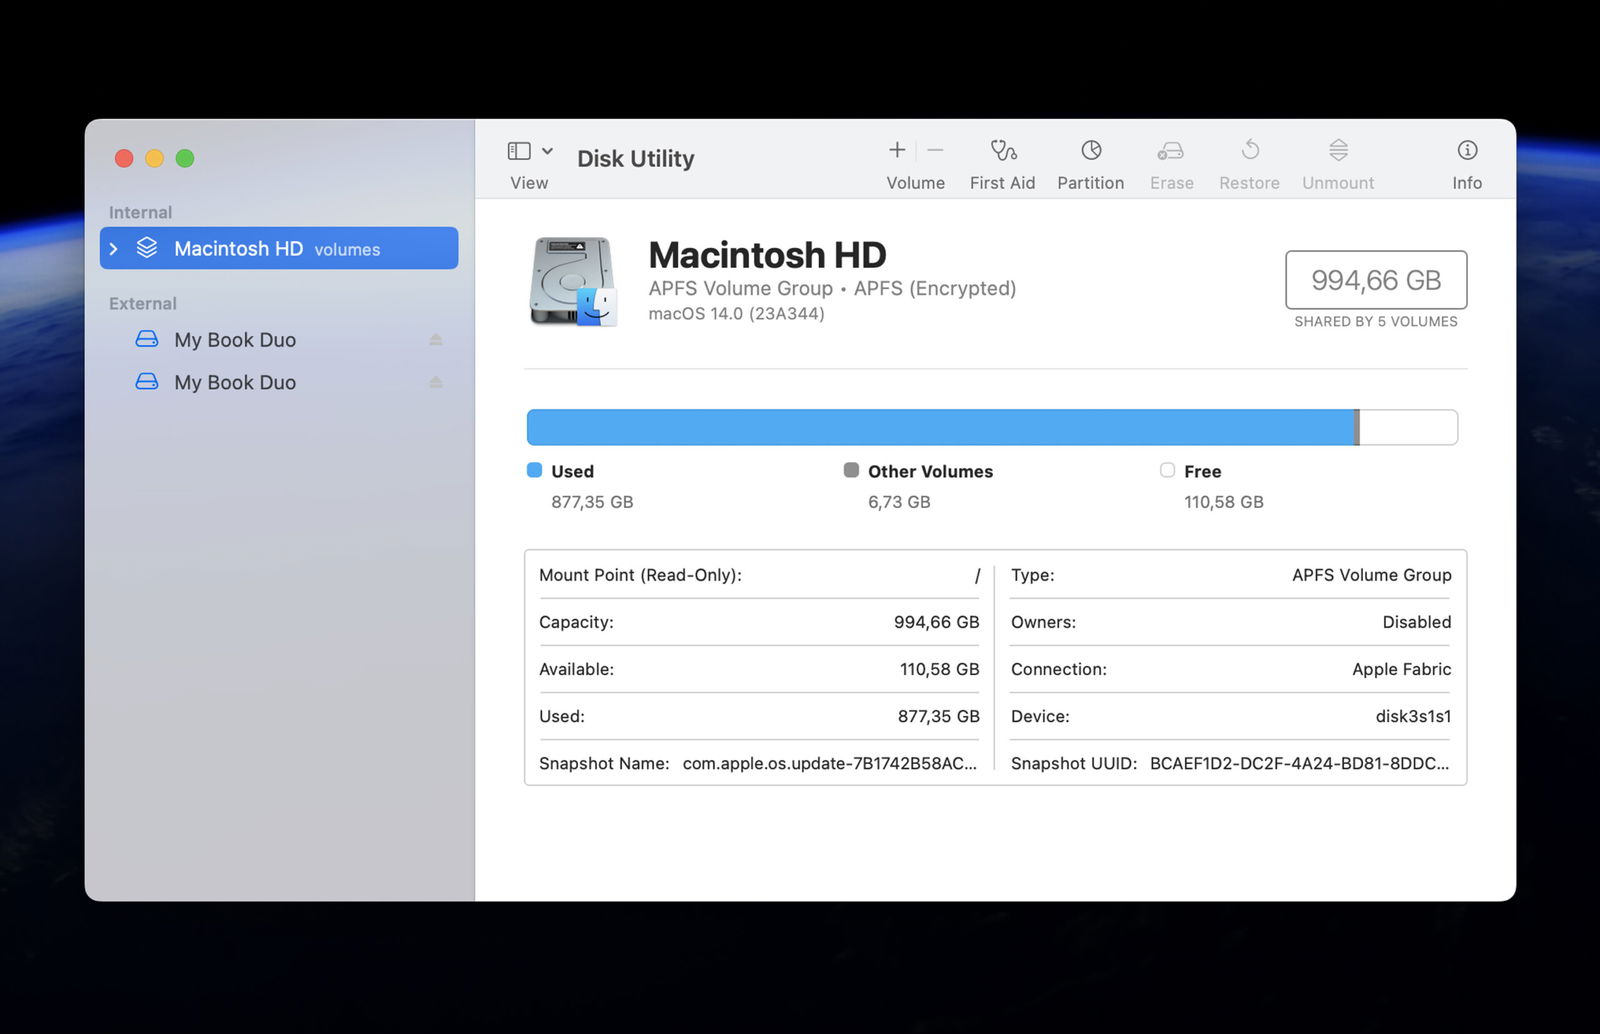
If your scratch disk is full, Photoshop may slow down or stop working. To avoid this, clear up some space.
Go through the drive designated as your scratch disk and delete any unneeded files. This may include old documents, downloads, or software you no longer use.
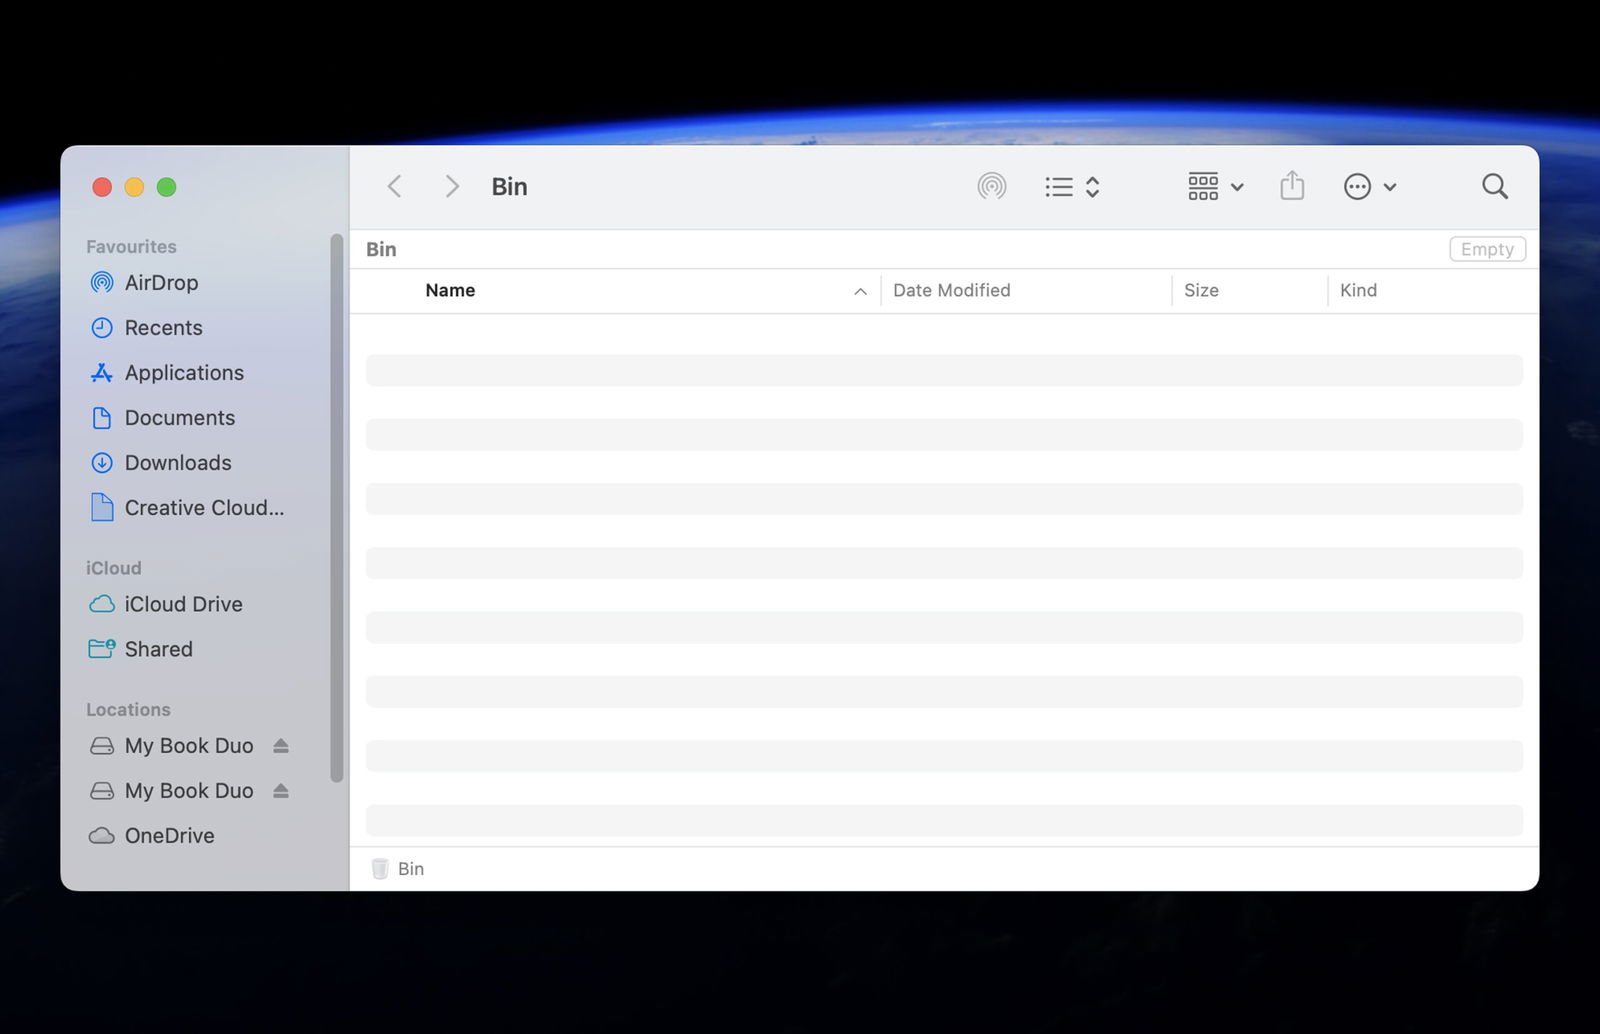
Don’t forget to empty your Trash (macOS) or Recycle Bin (Windows) to permanently delete files and free up space.
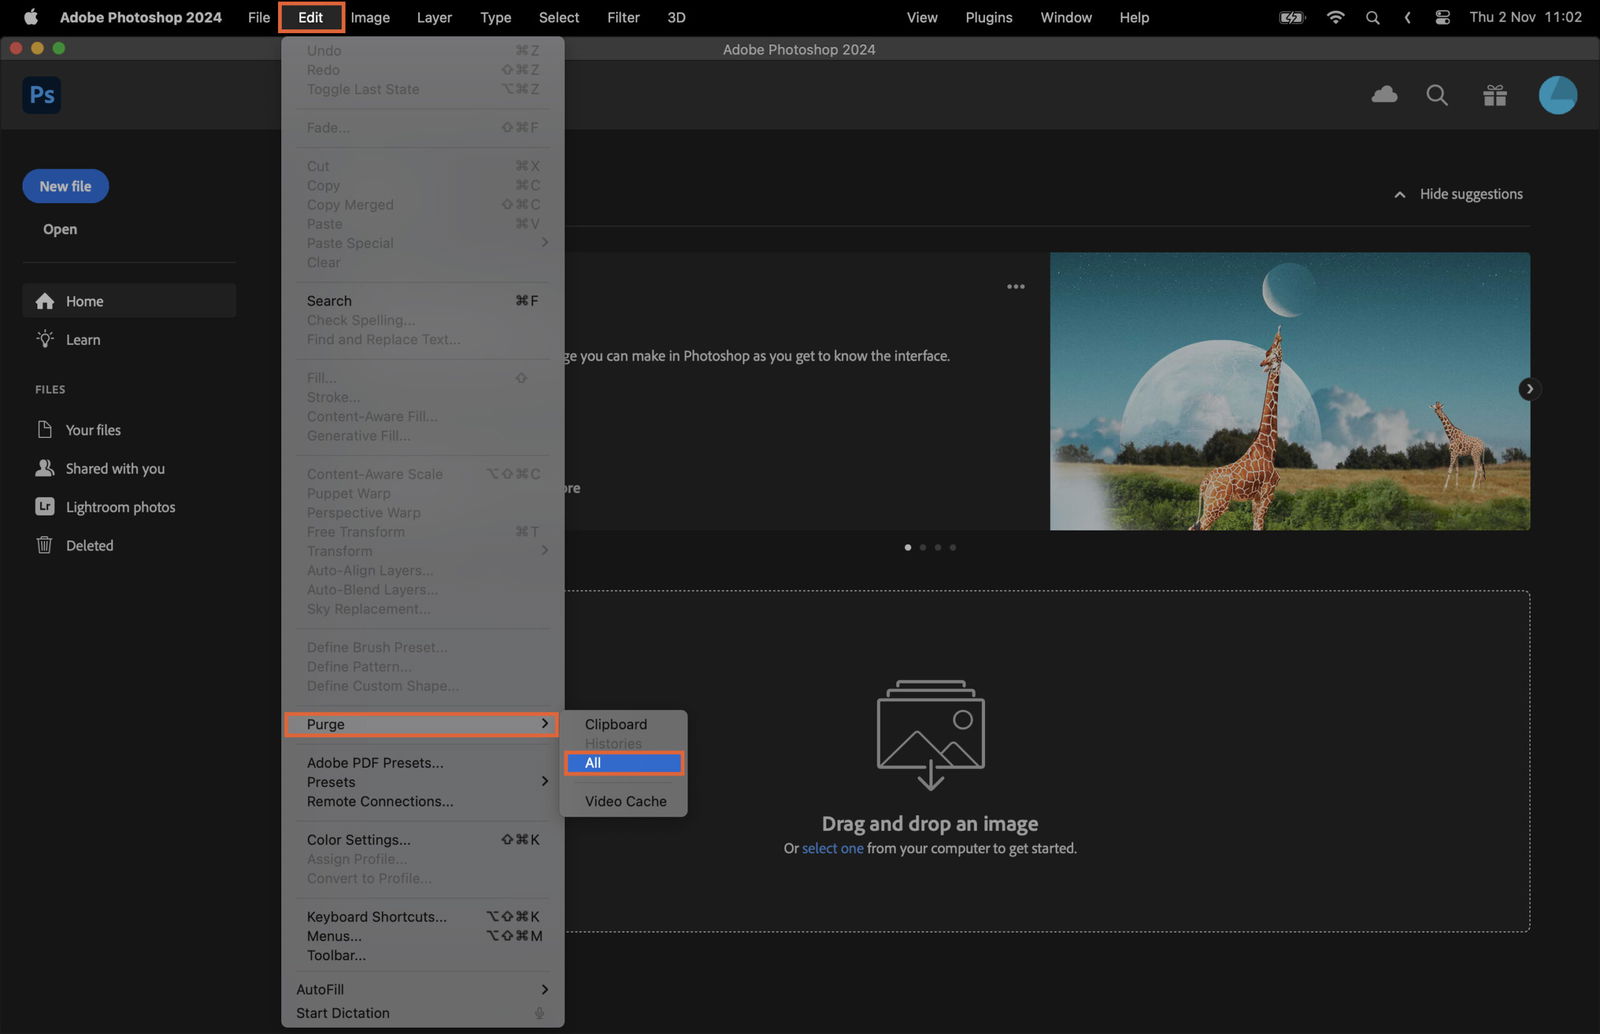
Photoshop caches are temporary files that help the software run faster. However, they can take up a lot of space over time.
To clear Photoshop’s cache, go to Edit > Purge > All. This will delete all history and clipboard copies.
Photoshop sometimes leaves behind temporary files. These can typically be found in your system’s temp folder and can be safely deleted.
Windows:
C:UsersYour UsernameAppDataLocalTemp
Mac:
- Open “Terminal”
- Write this: “open /tmp”
- Delete “Photoshop Temporary”
If you’re frequently running out of scratch disk space, consider increasing its capacity by adding a bigger ssd.
You can allow Photoshop to use more of your system’s RAM by going to Edit > Preferences > Performance. Increase the Memory Usage percentage to give Photoshop more RAM to work with.

You can assign an additional scratch disk by going to Edit > Preferences > Scratch Disks. Choose another drive from the list to act as a secondary scratch disk.
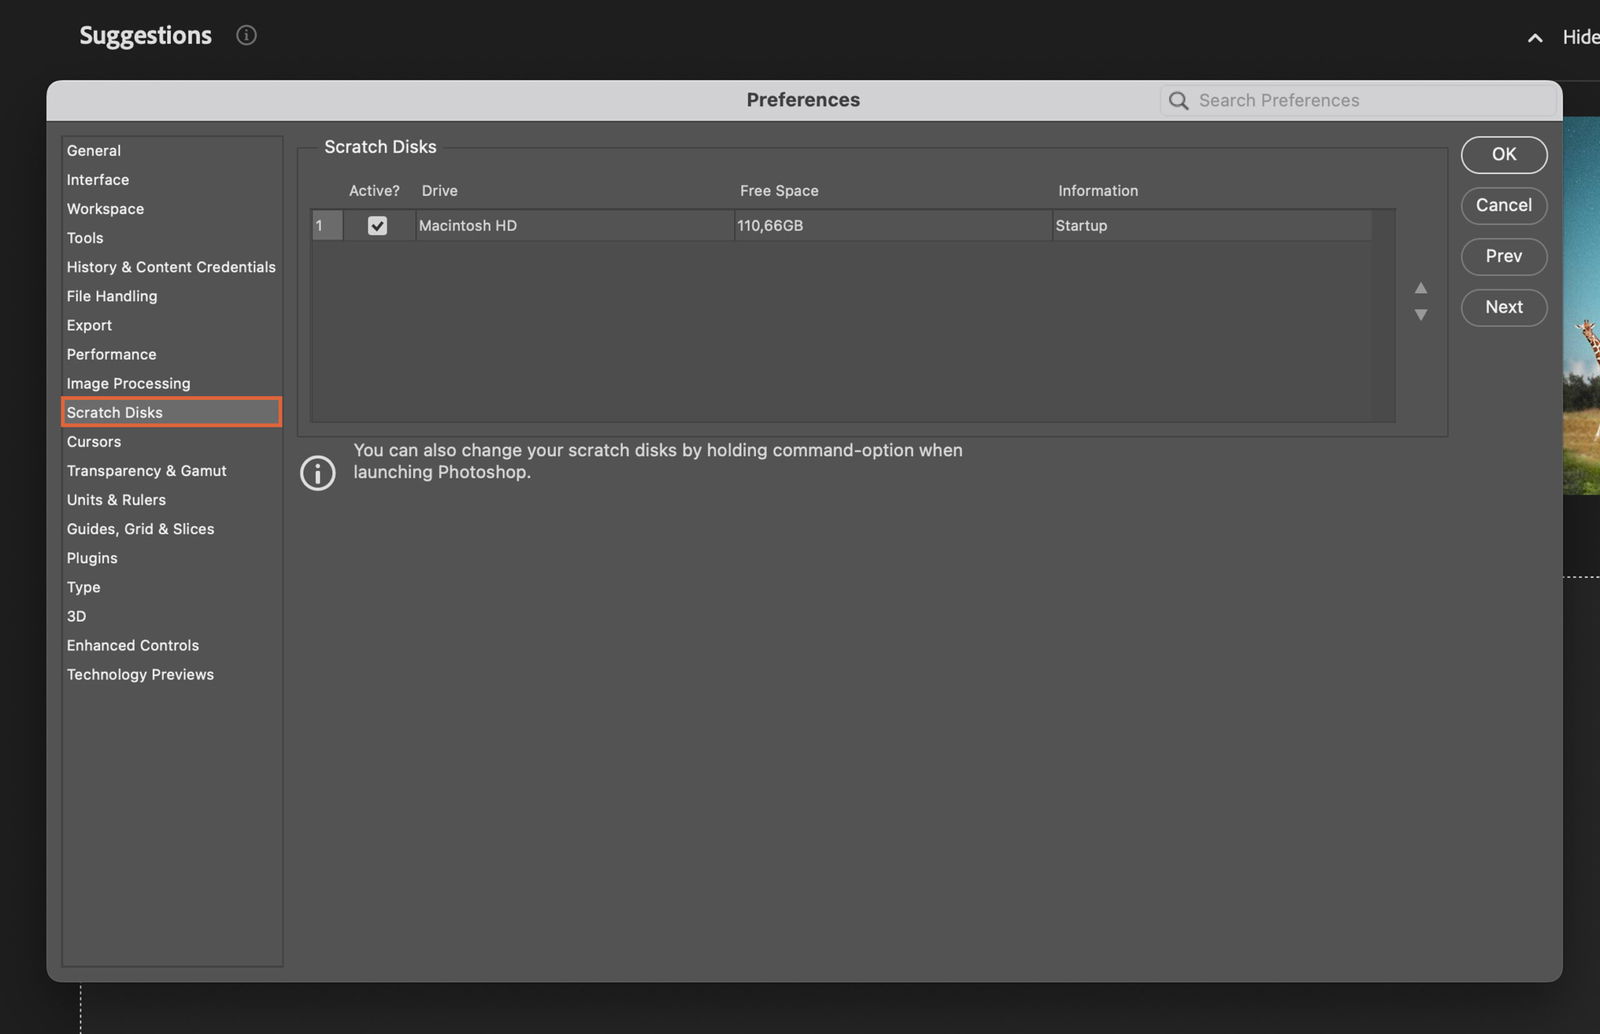
If you have multiple drives, you can change the scratch disk to a less busy drive. Go to Edit > Preferences > Scratch Disks, deselect the current drive, and select a new one.
After making these changes, close and restart Photoshop to apply them.
If you’re still experiencing issues after trying these steps, it may be time to consult a professional. Contact Adobe support or a local tech expert for further assistance.


