Learn how to colorize black and white photos using Photoshop in this comprehensive guide. This skill can breathe new life into old photos, transforming them from dated to dynamic. Follow these straightforward steps to achieve vibrant, colorized images.
Step 1. Add a Solid Color Adjustment Layer
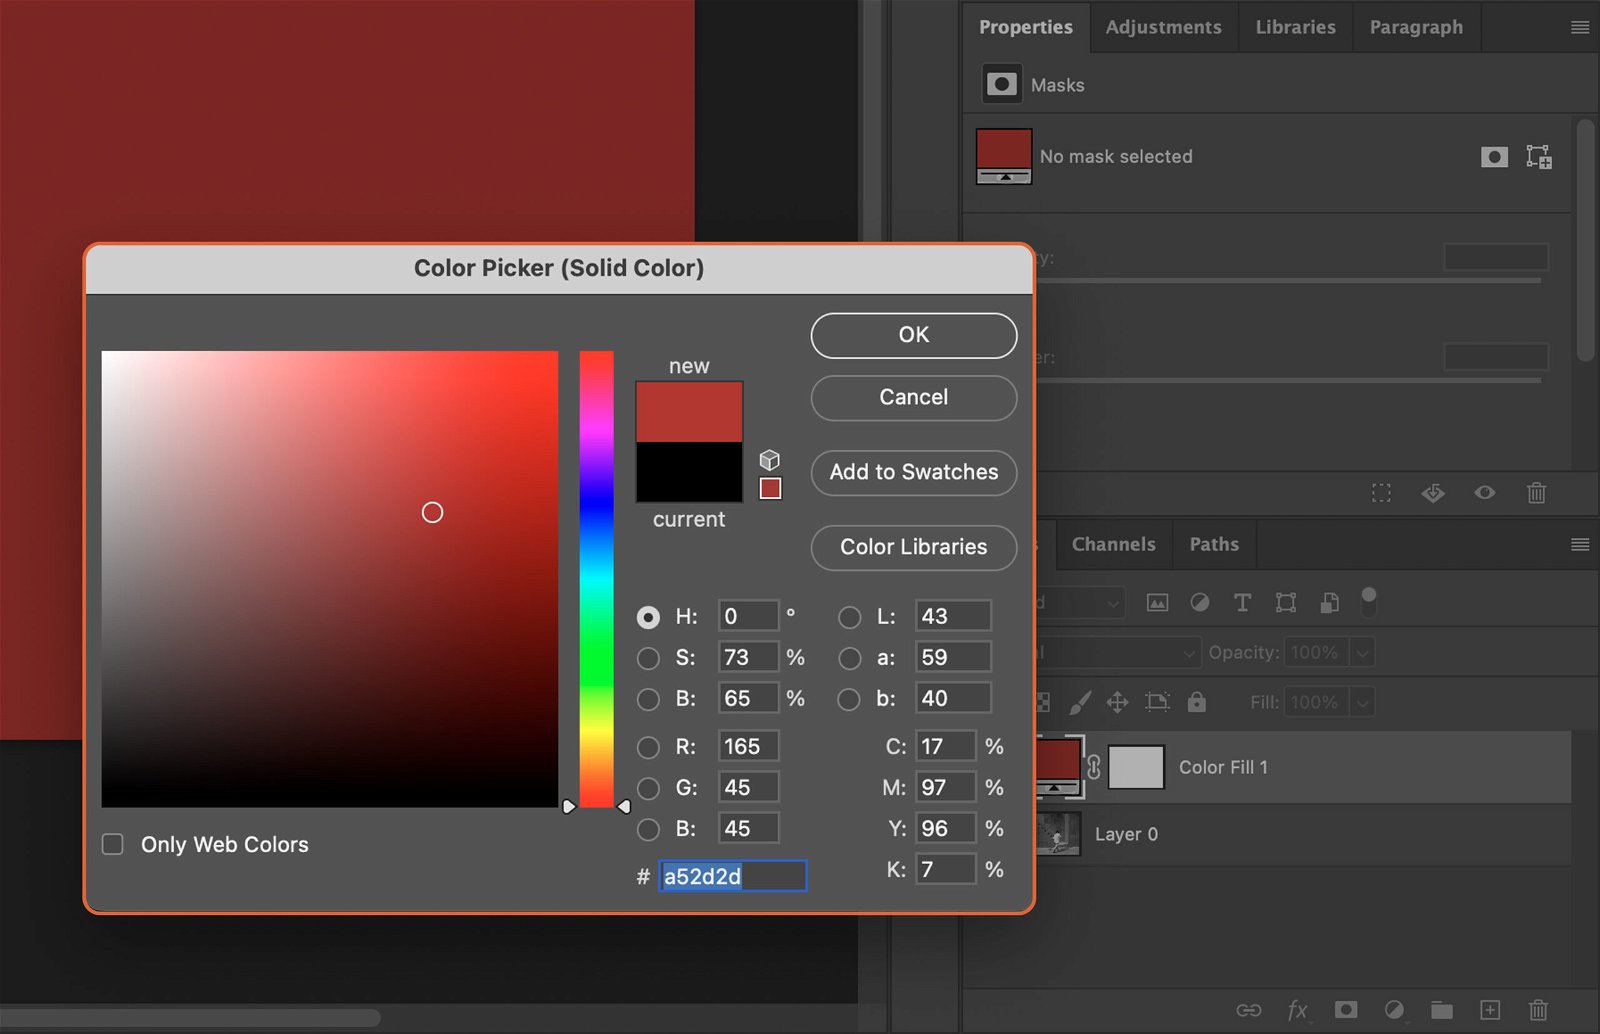
Again, click on the Adjustment Layer icon, but this time select ‘Solid Color’. This will add a layer of color over your photo.

Step 1.1 Choose Color for the Solid Color Adjustment Layer
Choose a color from the Color Picker that appears. This will be the first color you apply to your photo.
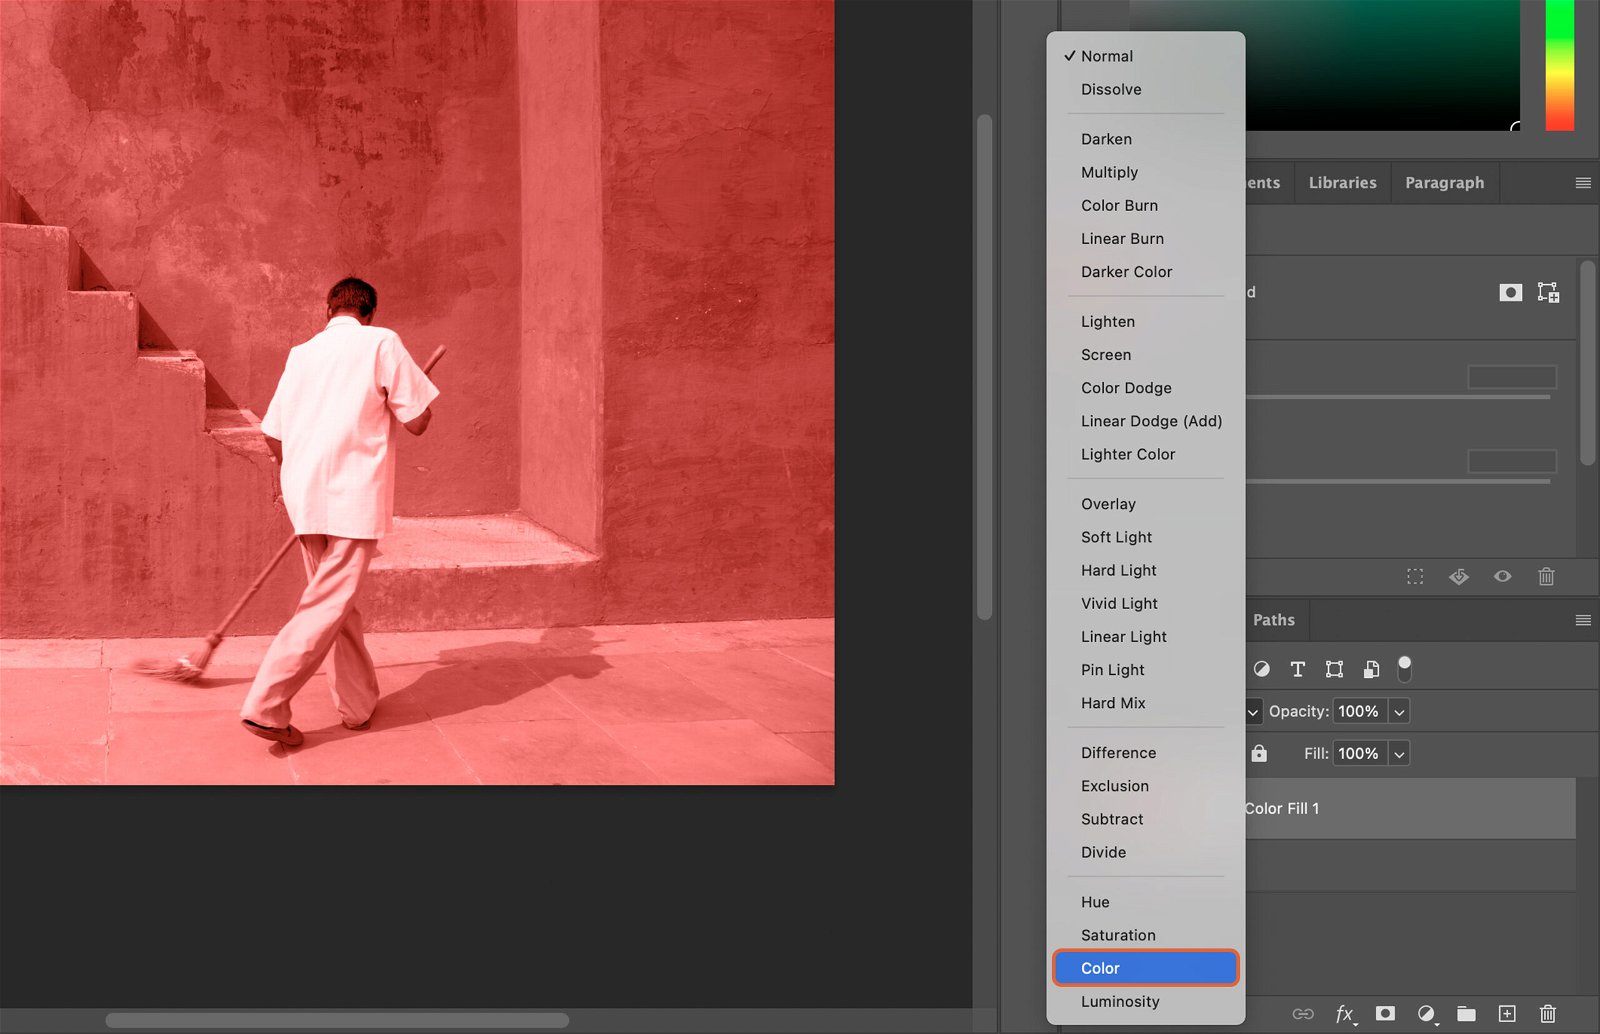
Step 2. Change the Blend Mode to Color
In the Layers panel, change the blend mode of your Solid Color layer from ‘Normal’ to ‘Color’. This will allow the color to blend with the grayscale image beneath it.
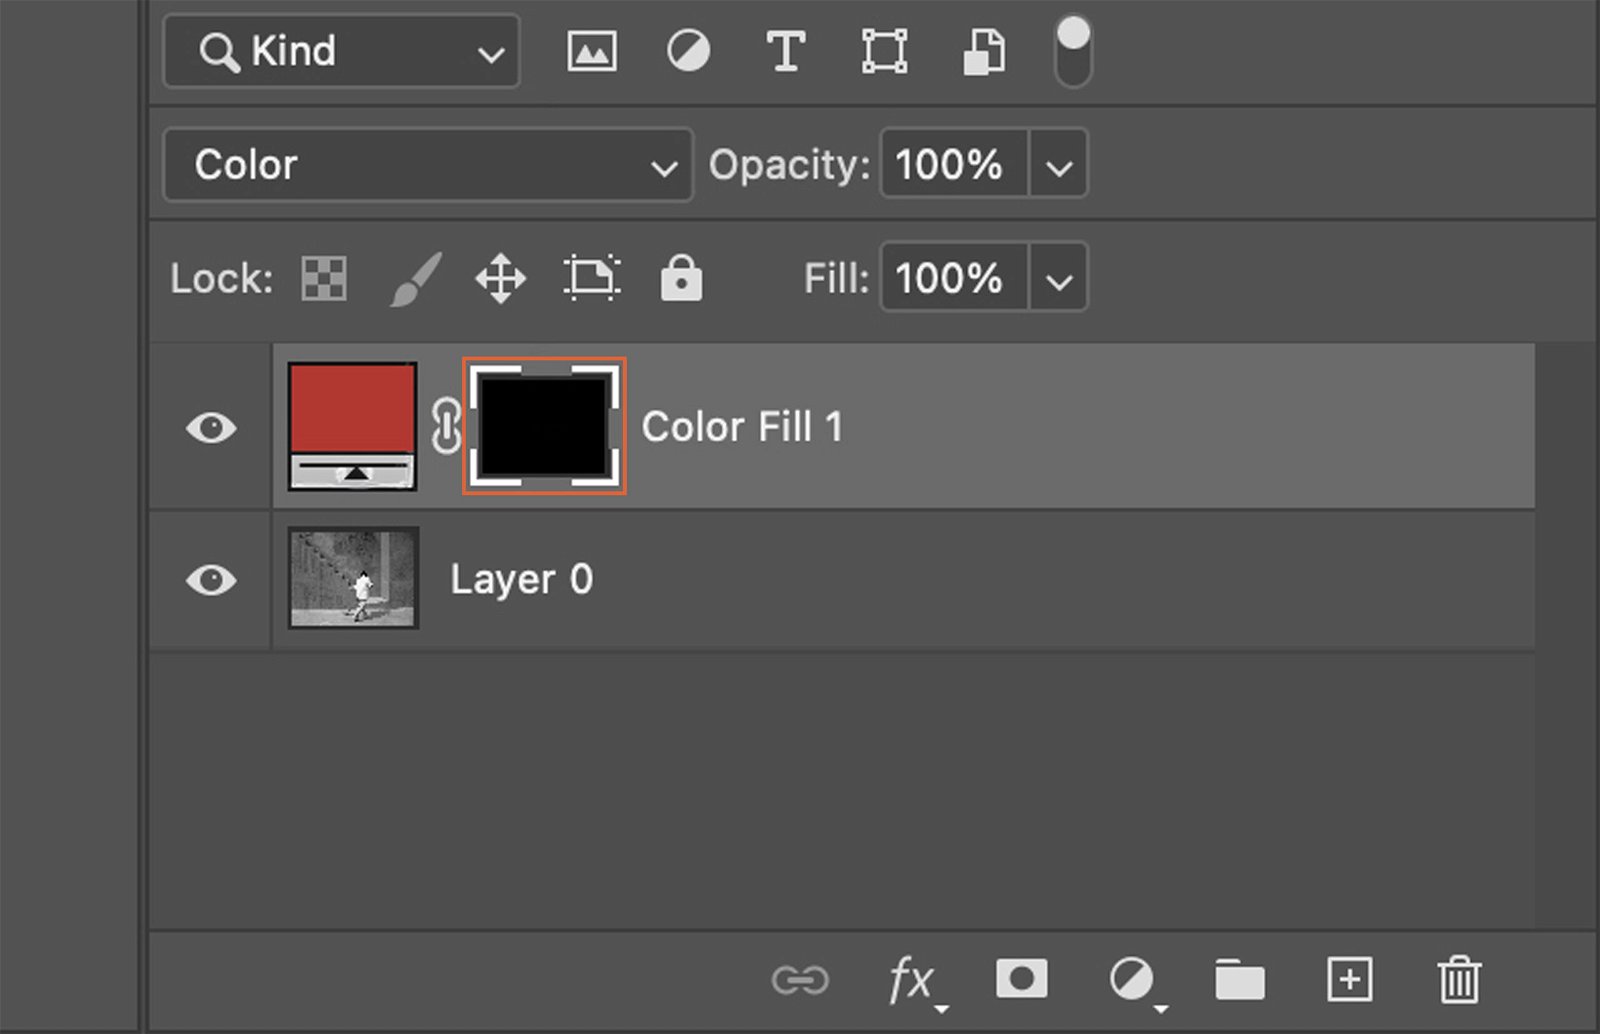
Step 3. Fill the Layer Mask with Black
Click the ‘Paint Bucket Tool’ and choose the color black. Fill the Solid Color Layer Mask with black.
Step 4. Start Painting on the Layer Mask
Now, you can begin to apply color to your image.
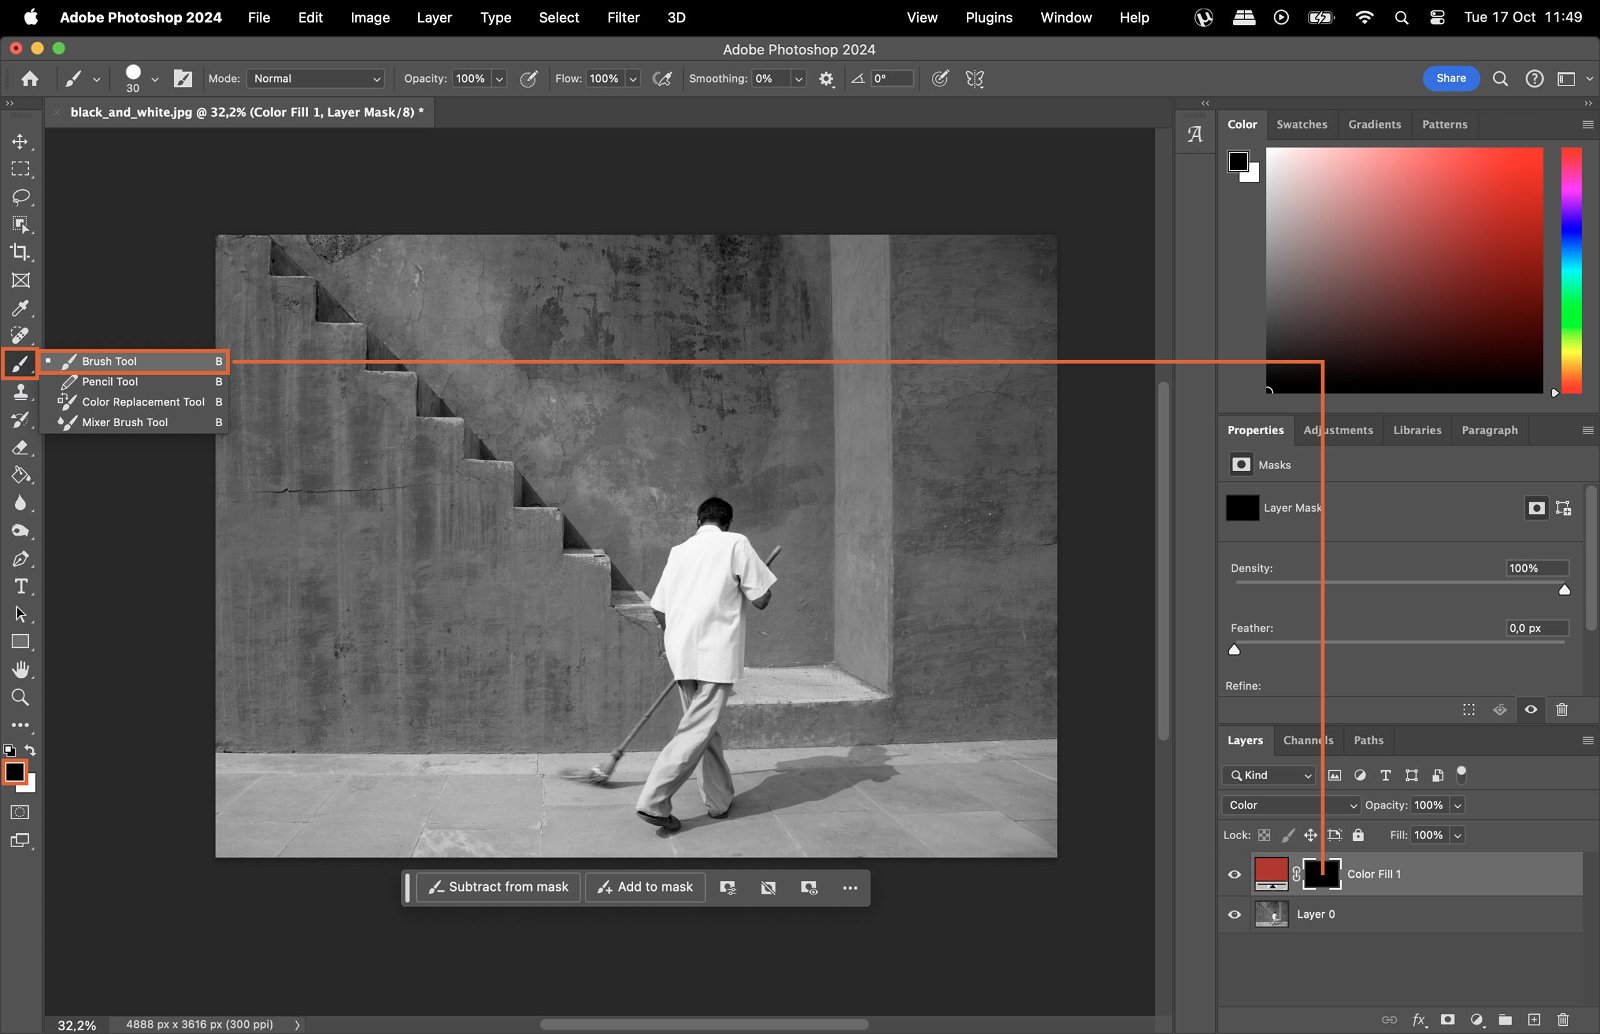
Step 4.1 Choose the Brush Tool
Select the Brush tool from the toolbar.
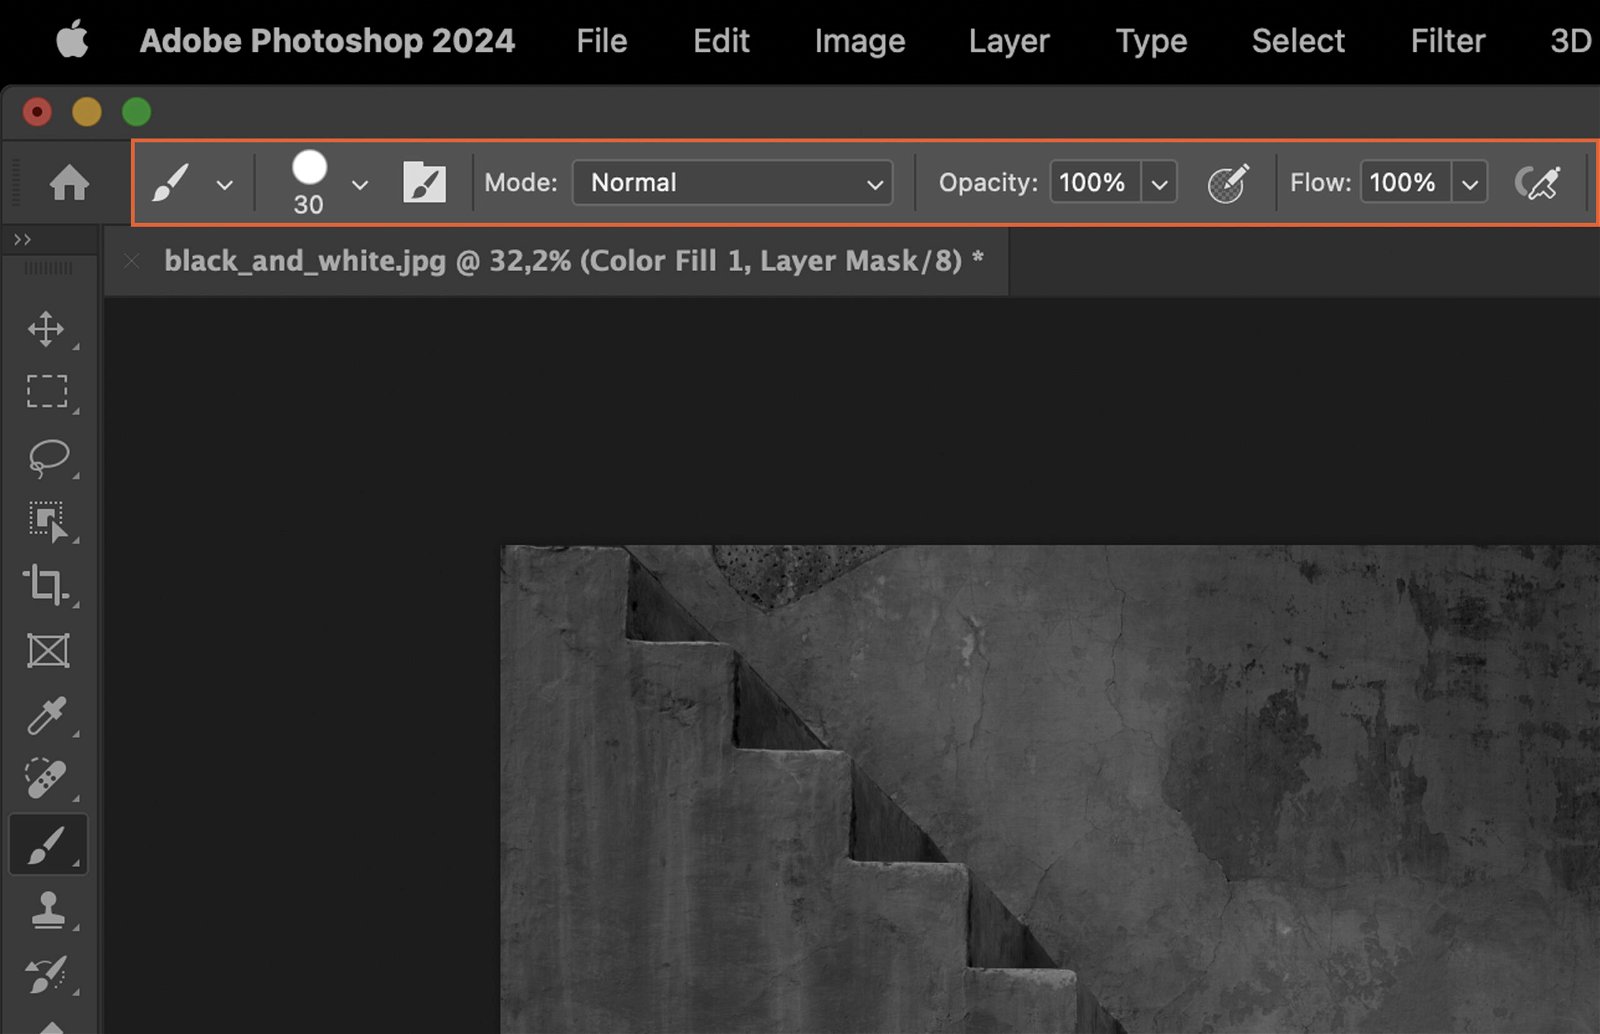
Step 4.2 Adjust the Brush Size and Hardness
In the options bar, adjust the size and hardness of your brush to suit your needs. A smaller, softer brush is best for detailed areas.
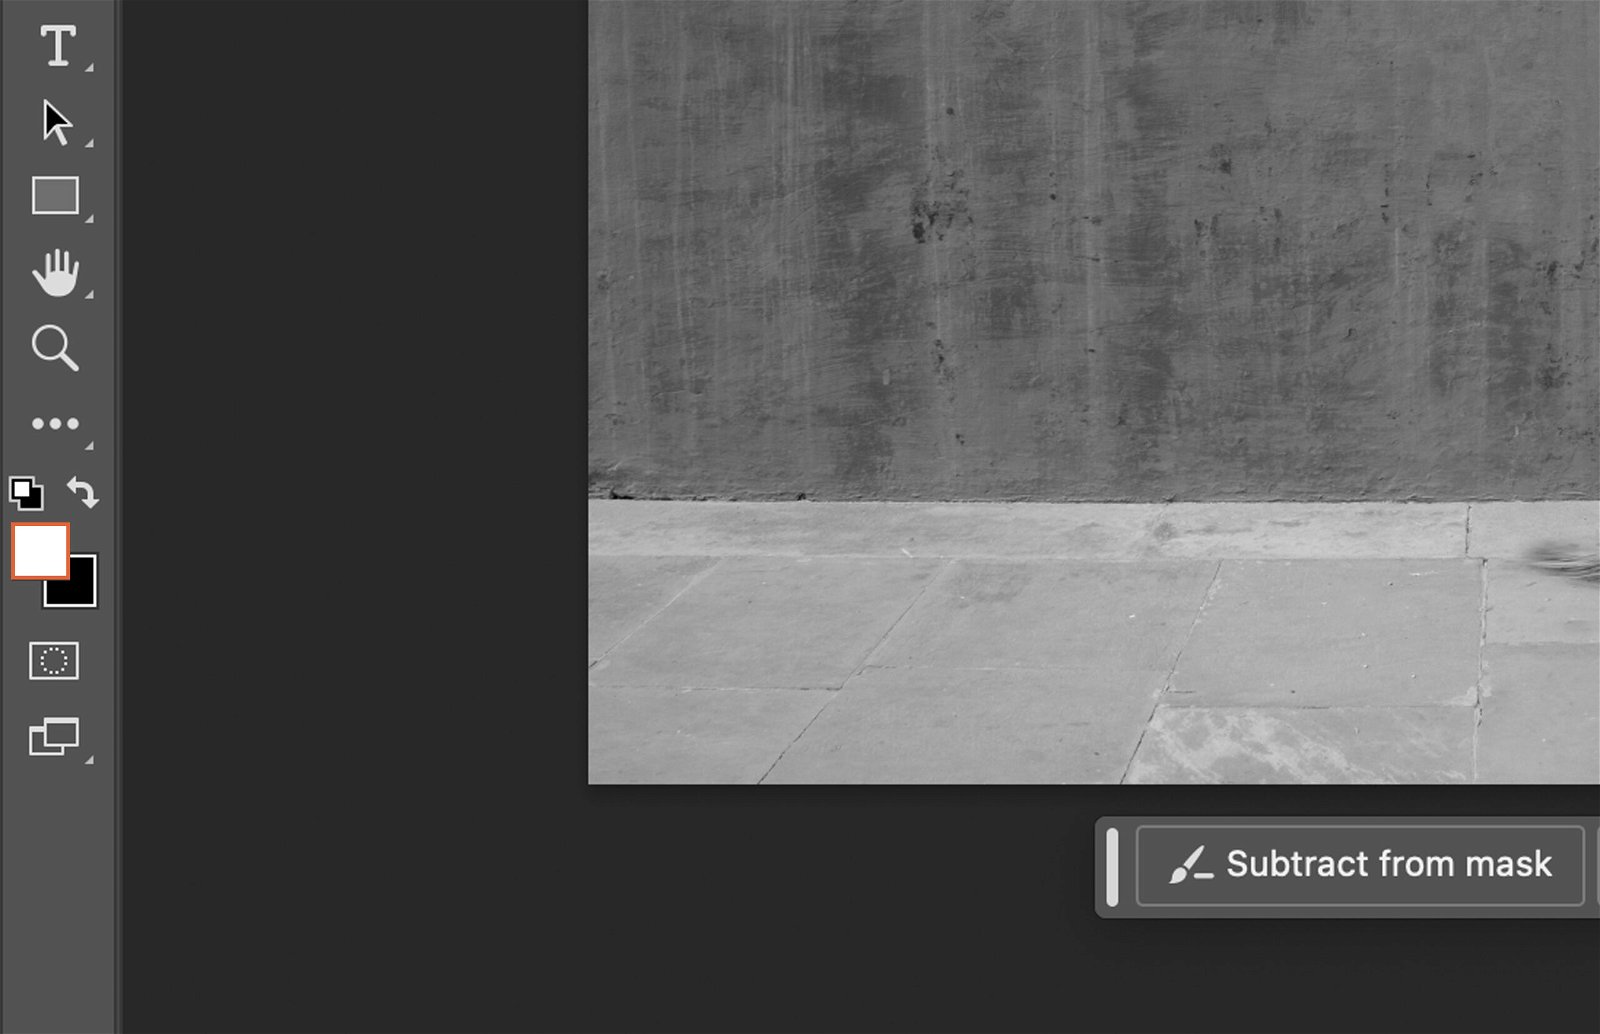
Step 4.3 Choose the Foreground Color
Set your foreground color to white. Painting with white will reveal the color layer in the areas you paint.
Step 5. Repeat Steps 1 to 4 for Each Color
Repeat the process of adding a new Solid Color layer and painting on the Layer Mask for each color you want in your image.

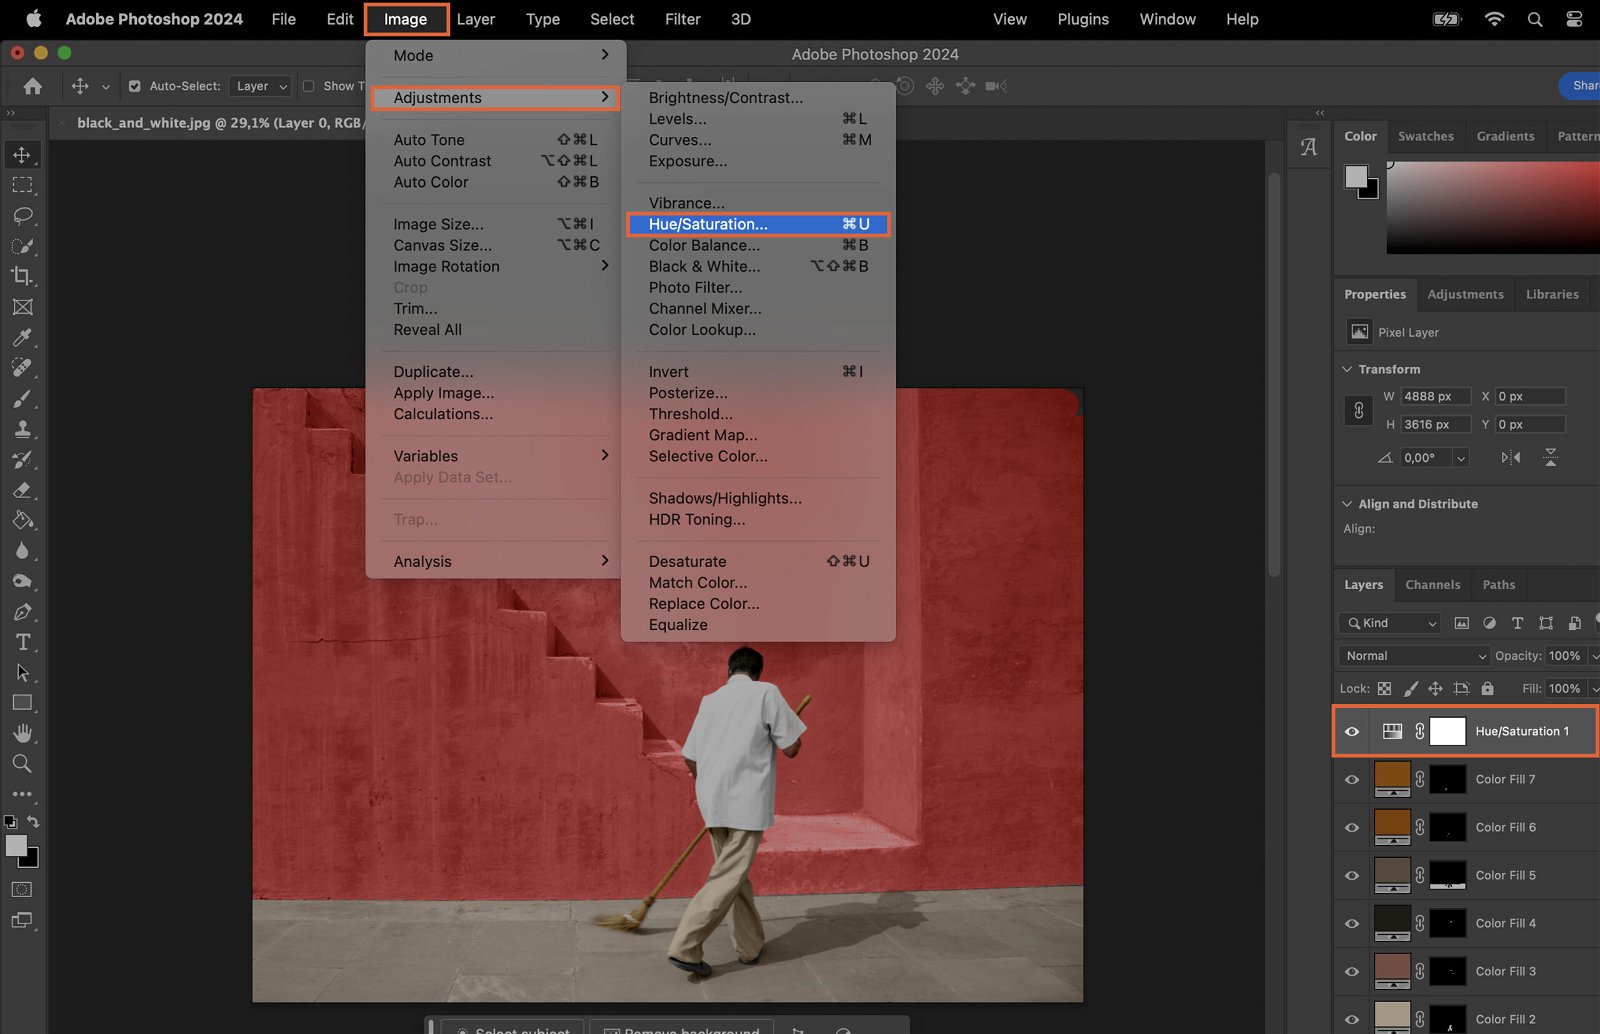
Step 6. Adjust Saturation
If needed, you can adjust the saturation of your image. Go to Image > Adjustments > Hue/Saturation and adjust the sliders until you’re happy.
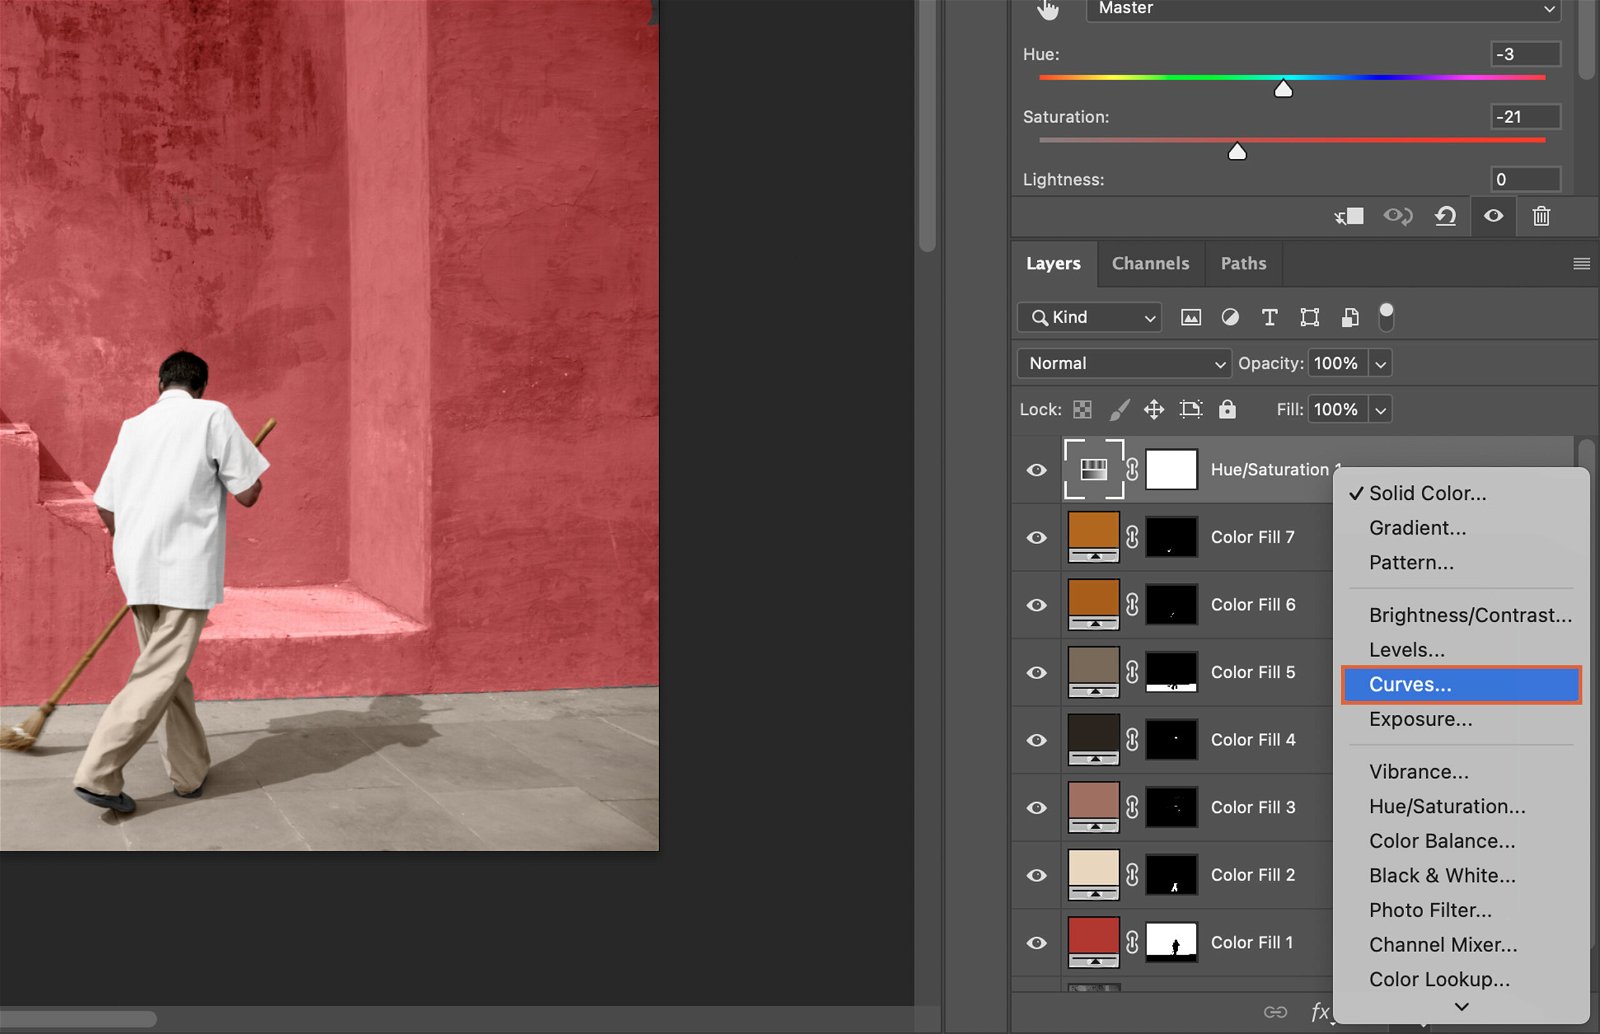
Step 7. Apply a Final Touch with Curves Adjustment
Lastly, apply a Curves Adjustment to tweak the contrast and brightness of your image. Go to the Adjustment Layer icon and select ‘Curves’, then adjust the curve until you achieve the desired effect.