Mastering the Copy and Paste feature in Photoshop can enhance your design efficiency. This article will guide you through the process, allowing you to manipulate and adjust images with greater ease and precision.
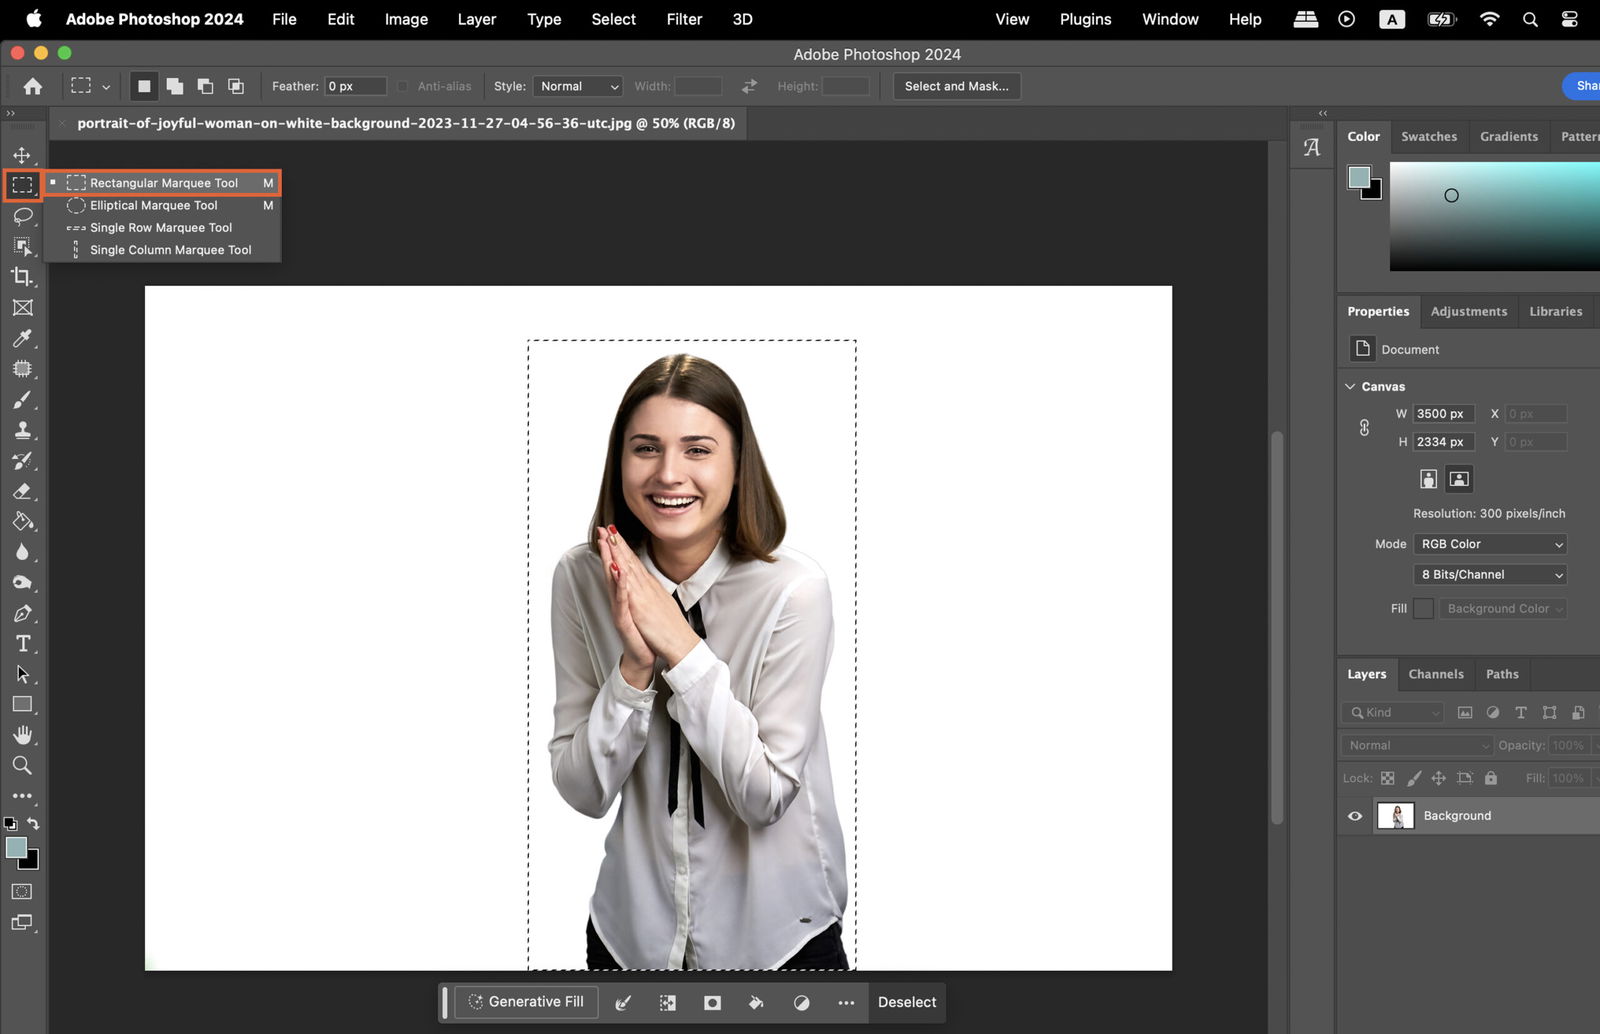
Start by selecting the area you want to copy. You can choose from a variety of selection tools in Photoshop depending on your specific requirements.
The Marquee Tool allows you to make rectangular or elliptical selections. Simply click and drag your mouse across the area you want to select.
The Lasso Tool is perfect for freeform selections. Click and hold your mouse button to draw around the area you want to select.

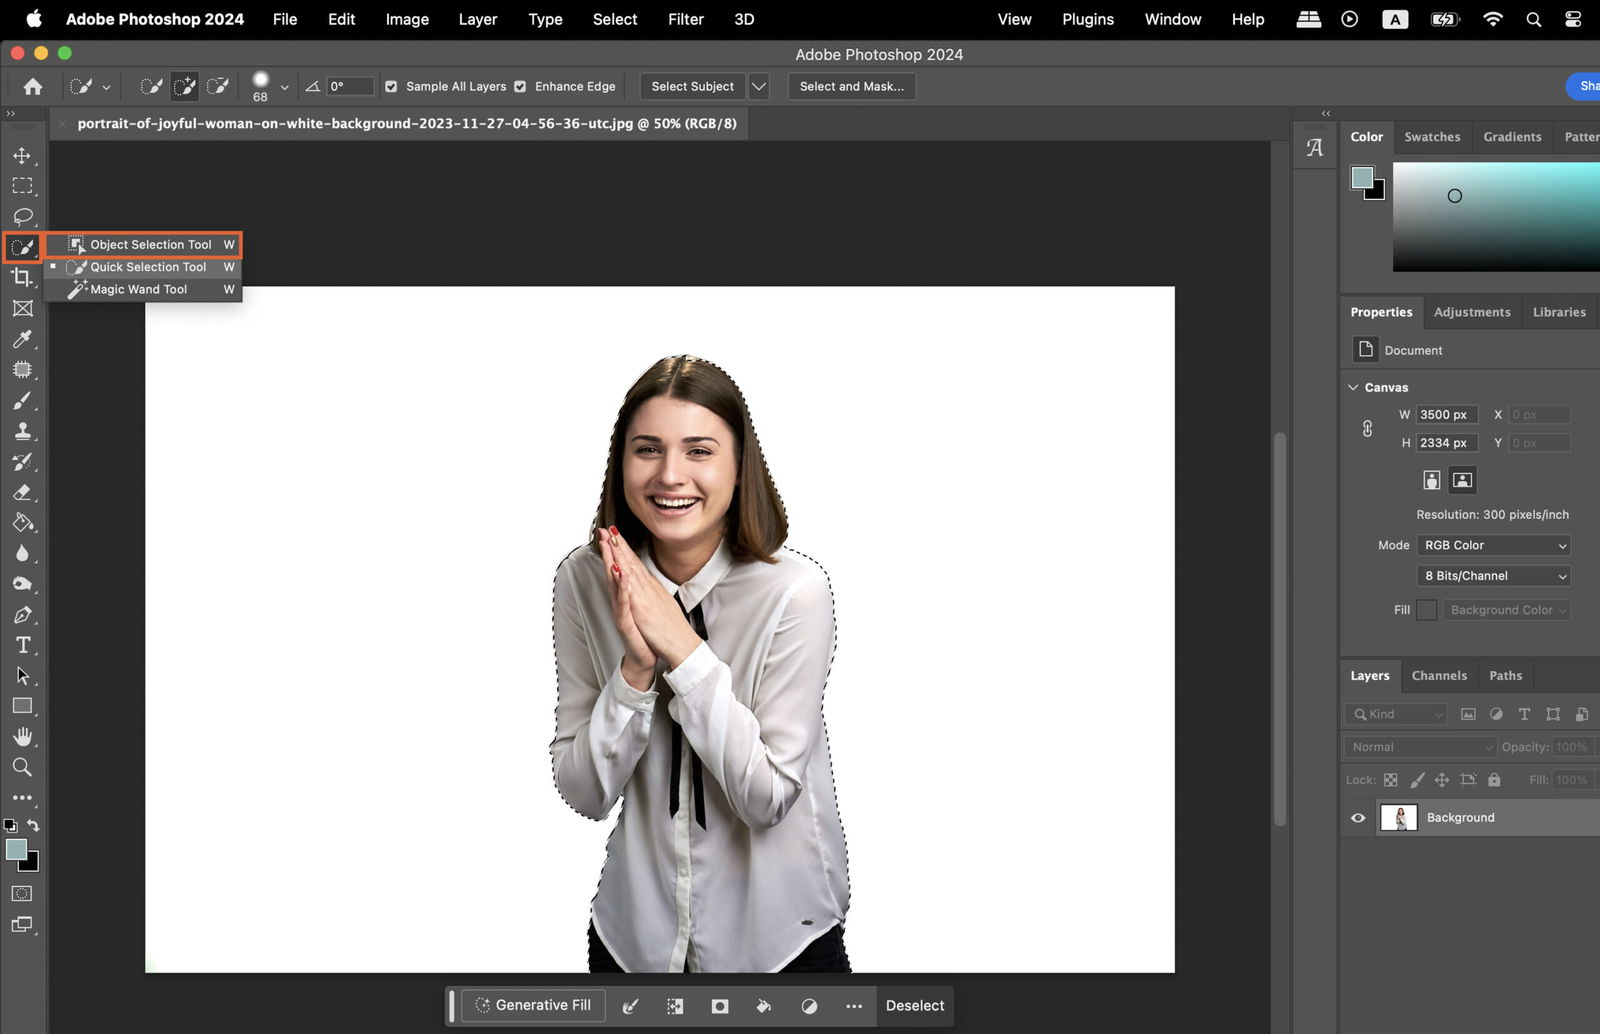
The Quick Selection Tool is ideal for selecting areas with similar colors. Click on the area you want to select and Photoshop will automatically extend the selection to similar pixels.
Once you’ve made your selection, copy it by pressing Ctrl+C (Cmd+C on Mac).
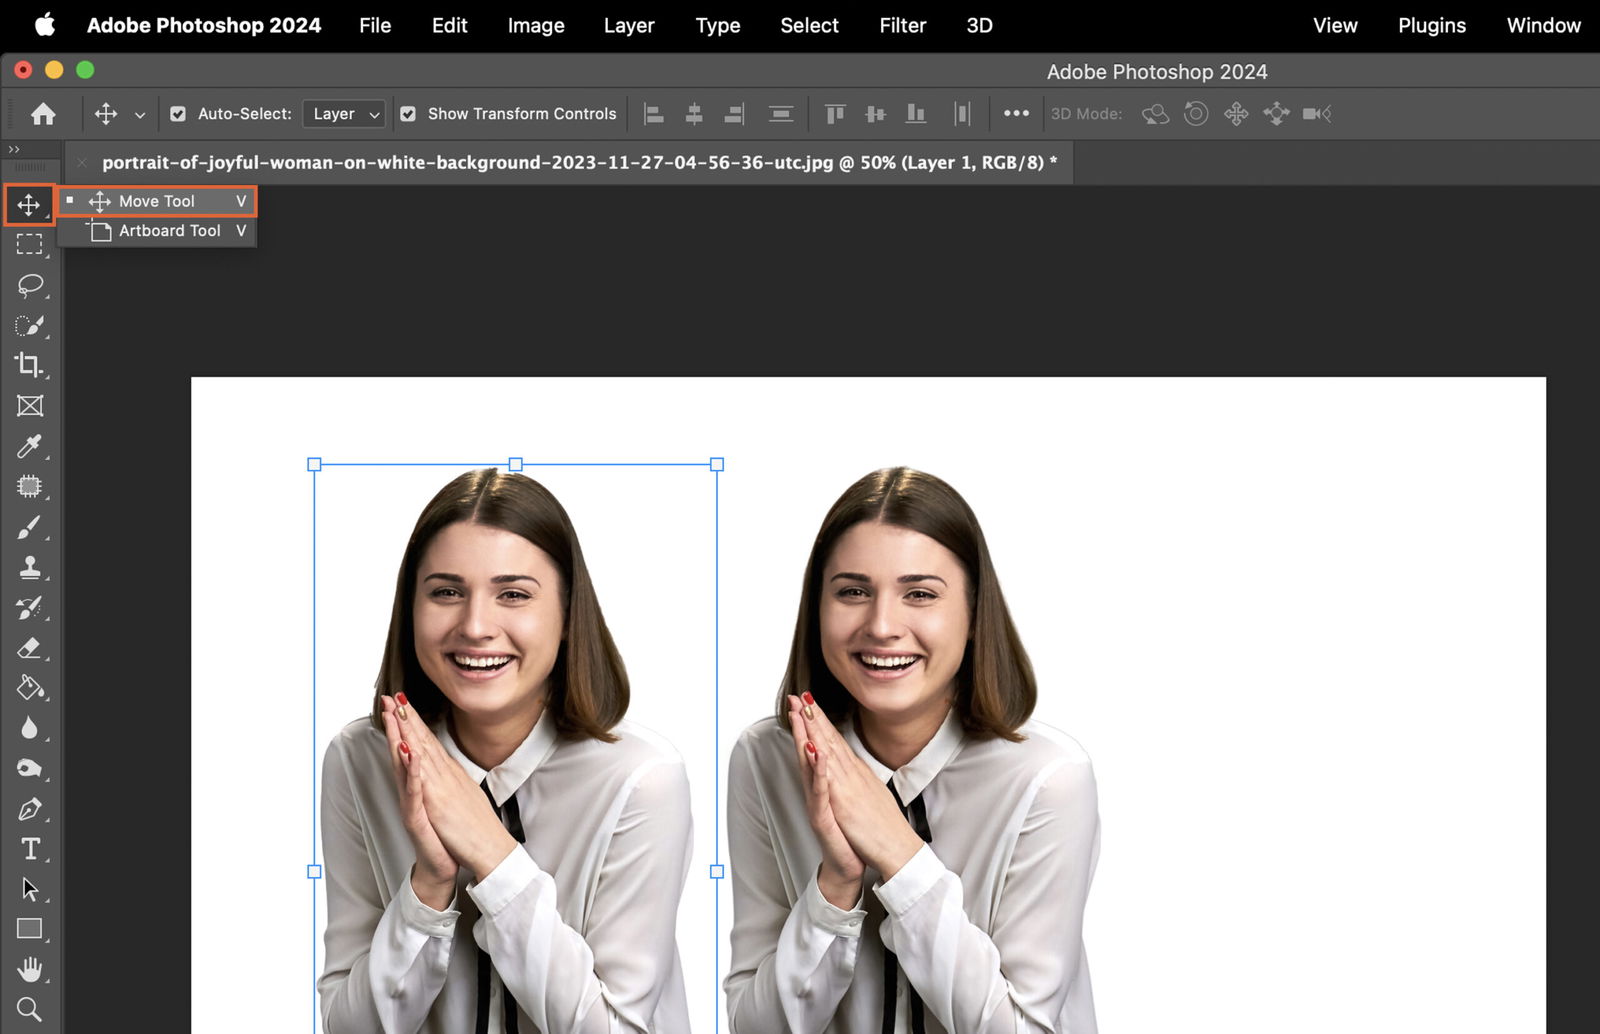
Paste your copied selection onto the new layer by pressing Ctrl+V (Cmd+V on Mac).
Move the pasted area to its desired location by clicking on the “Move Tool” and dragging the selection.
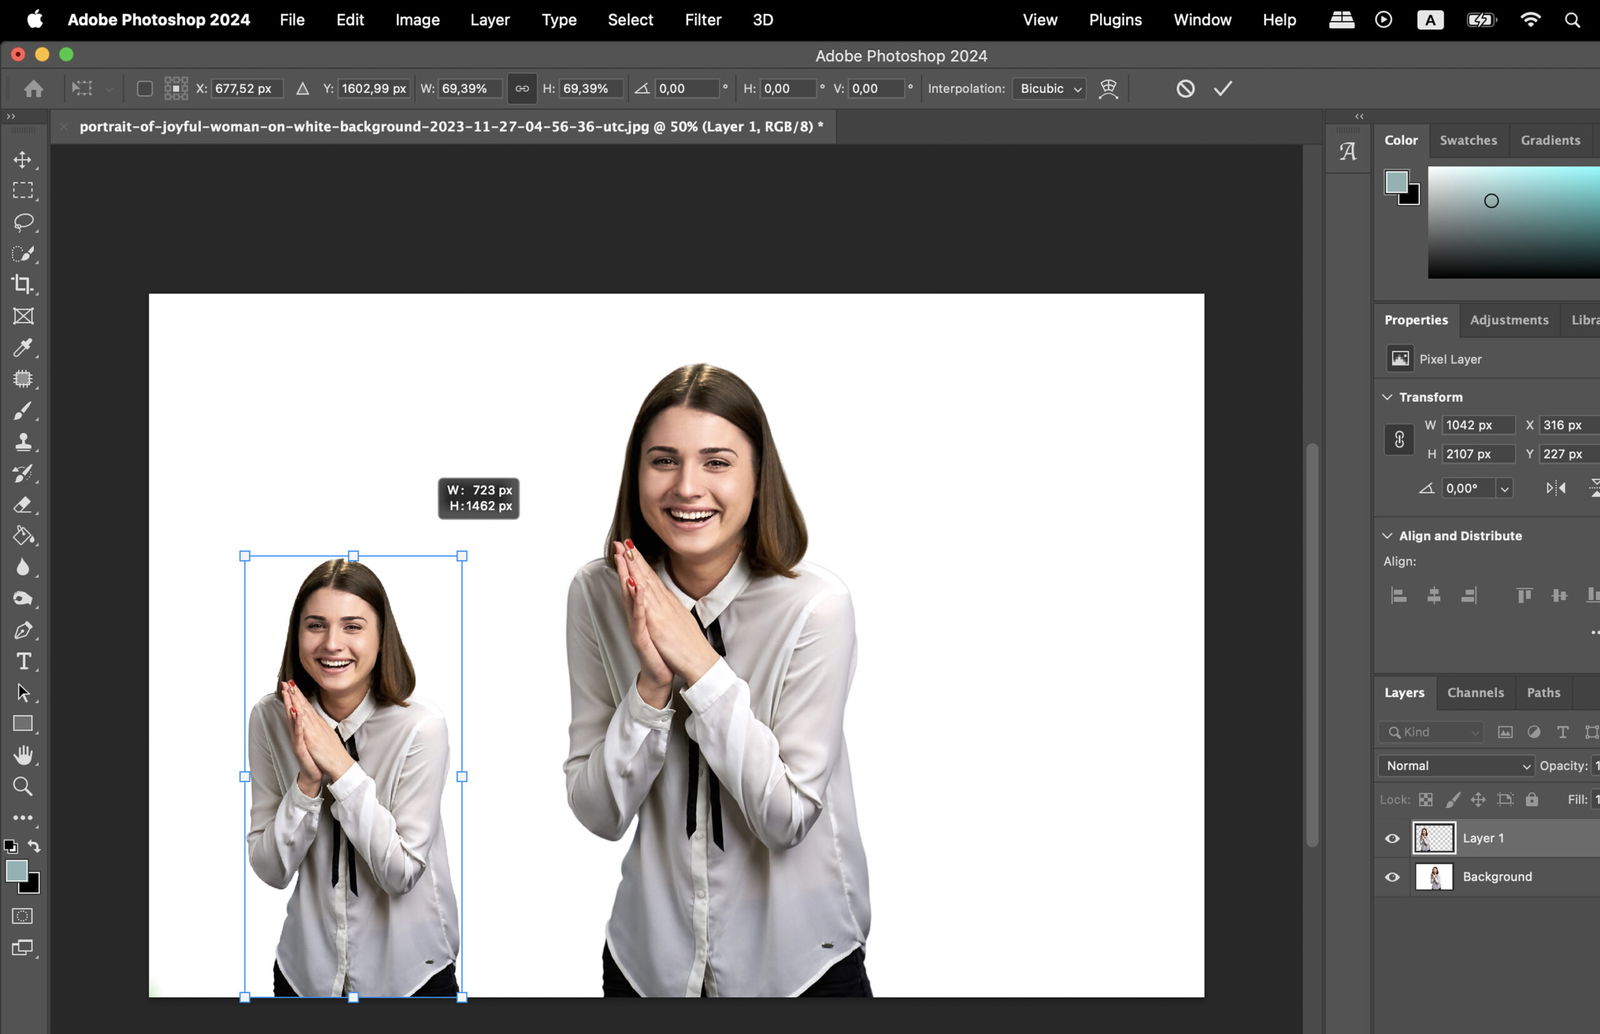
You can make further adjustments to the pasted area as needed.
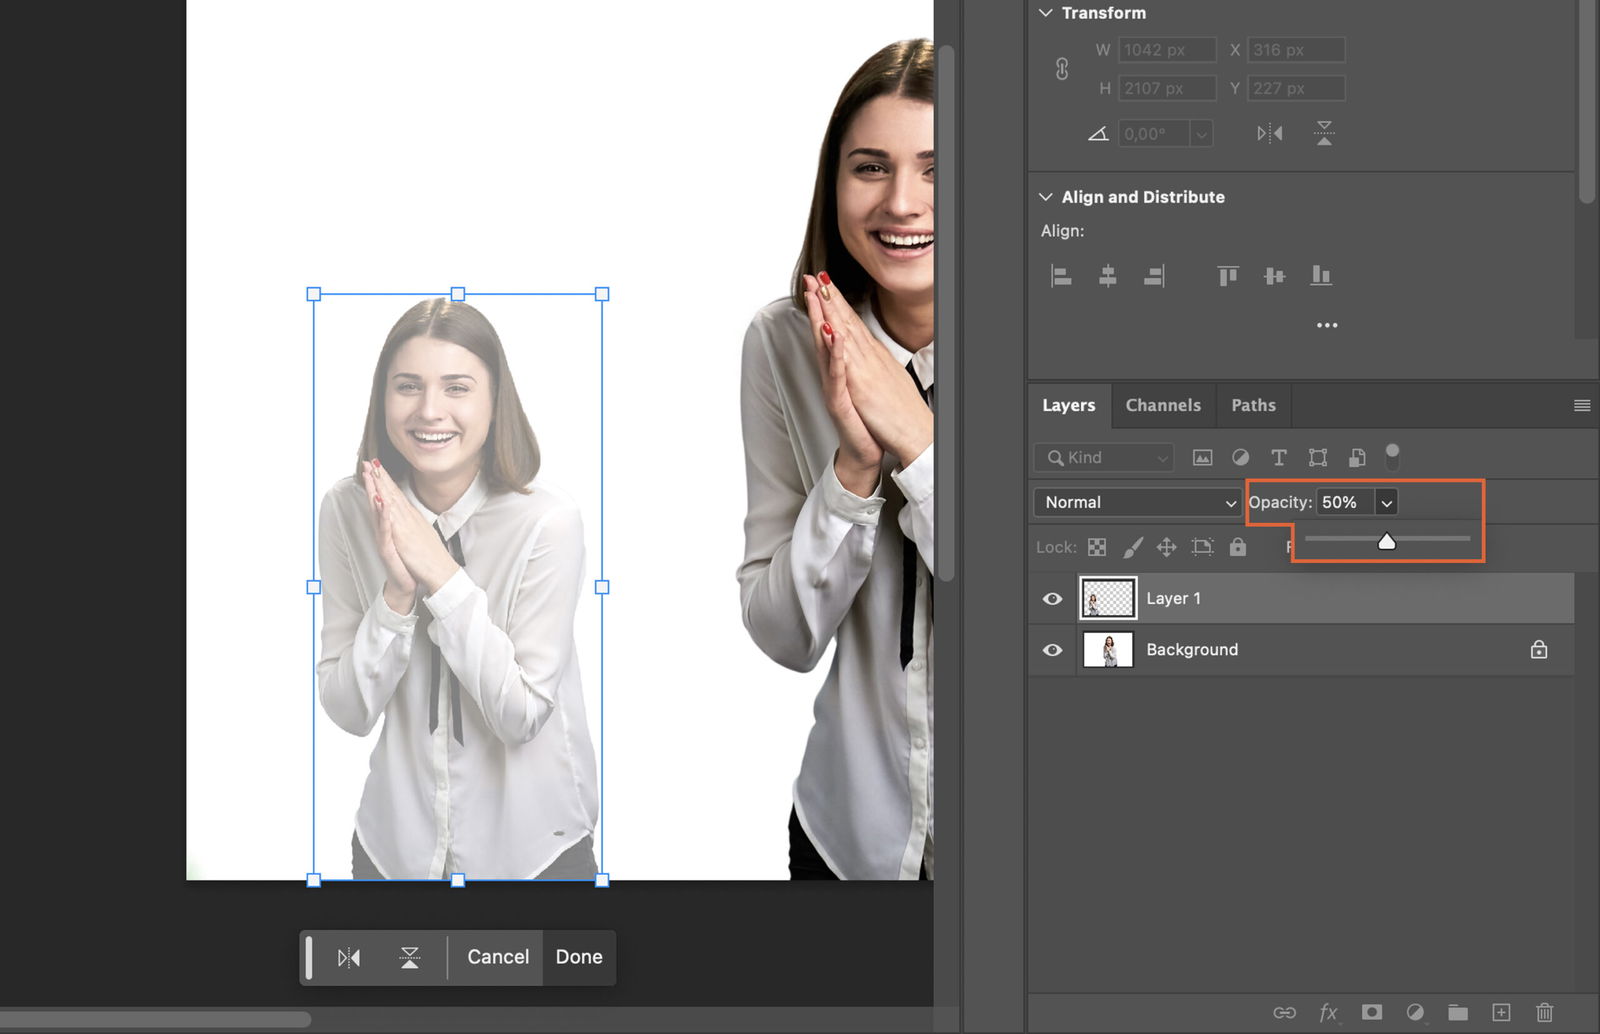
To resize, select the “Transform Tool” (Ctrl+T, Cmd+T ) and drag the corners of your pasted area to adjust its size. To rotate, drag your mouse around the pivot point.
To adjust opacity, go to the layers panel and adjust the “Opacity” slider.
Finally, save your work. Go to “File” > “Save As”, choose your desired format and location, and click “Save”. Your work is now complete.


