Editing a GIF in Photoshop can seem daunting, but it doesn’t have to be. This article simplifies the process into easy steps, allowing you to enhance your GIFs with text, effects, and more. Master this skill and open a world of creative possibilities.
Step 1. Import the GIF in Photoshop
To start, open Photoshop and click on ‘File’ in the top menu bar. Select ‘Open’ from the dropdown menu and locate the GIF you want to edit. Click ‘Open’ to import the GIF into Photoshop.
Step 2. Access the Timeline Panel
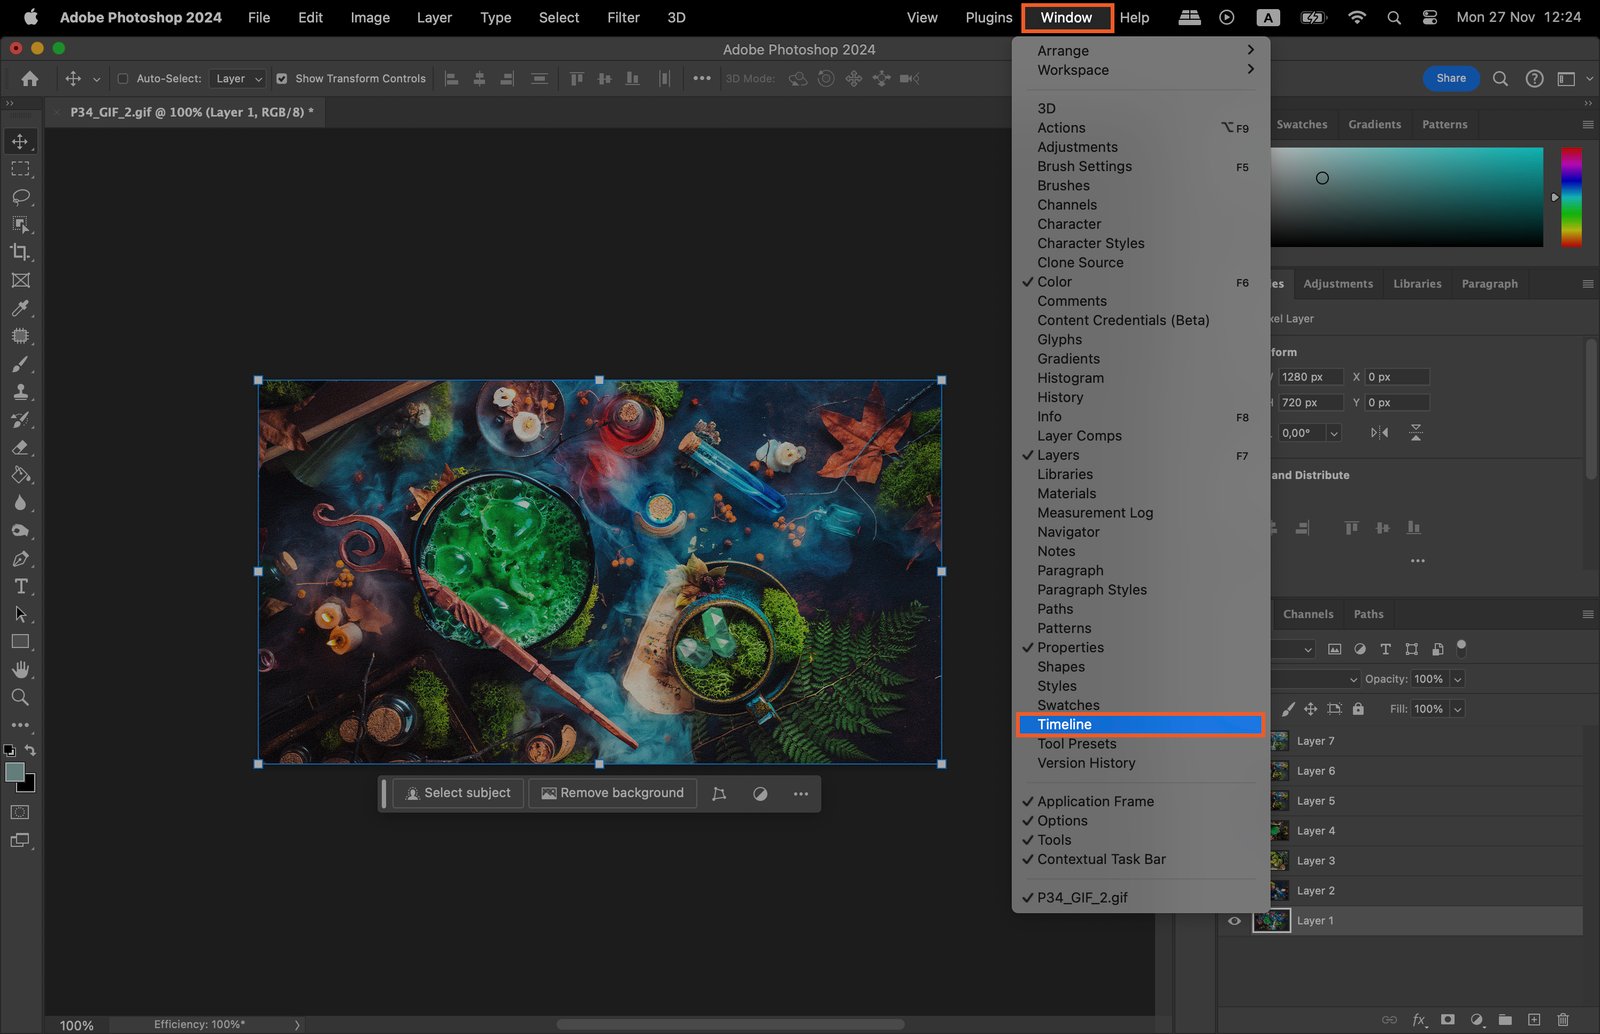
Once your GIF is imported, you’ll need to access the Timeline Panel. Go to ‘Window’ in the top menu, then select ‘Timeline’. This will open a panel at the bottom of your screen showing each frame of your GIF.
Step 3. Understand the Layers Panel
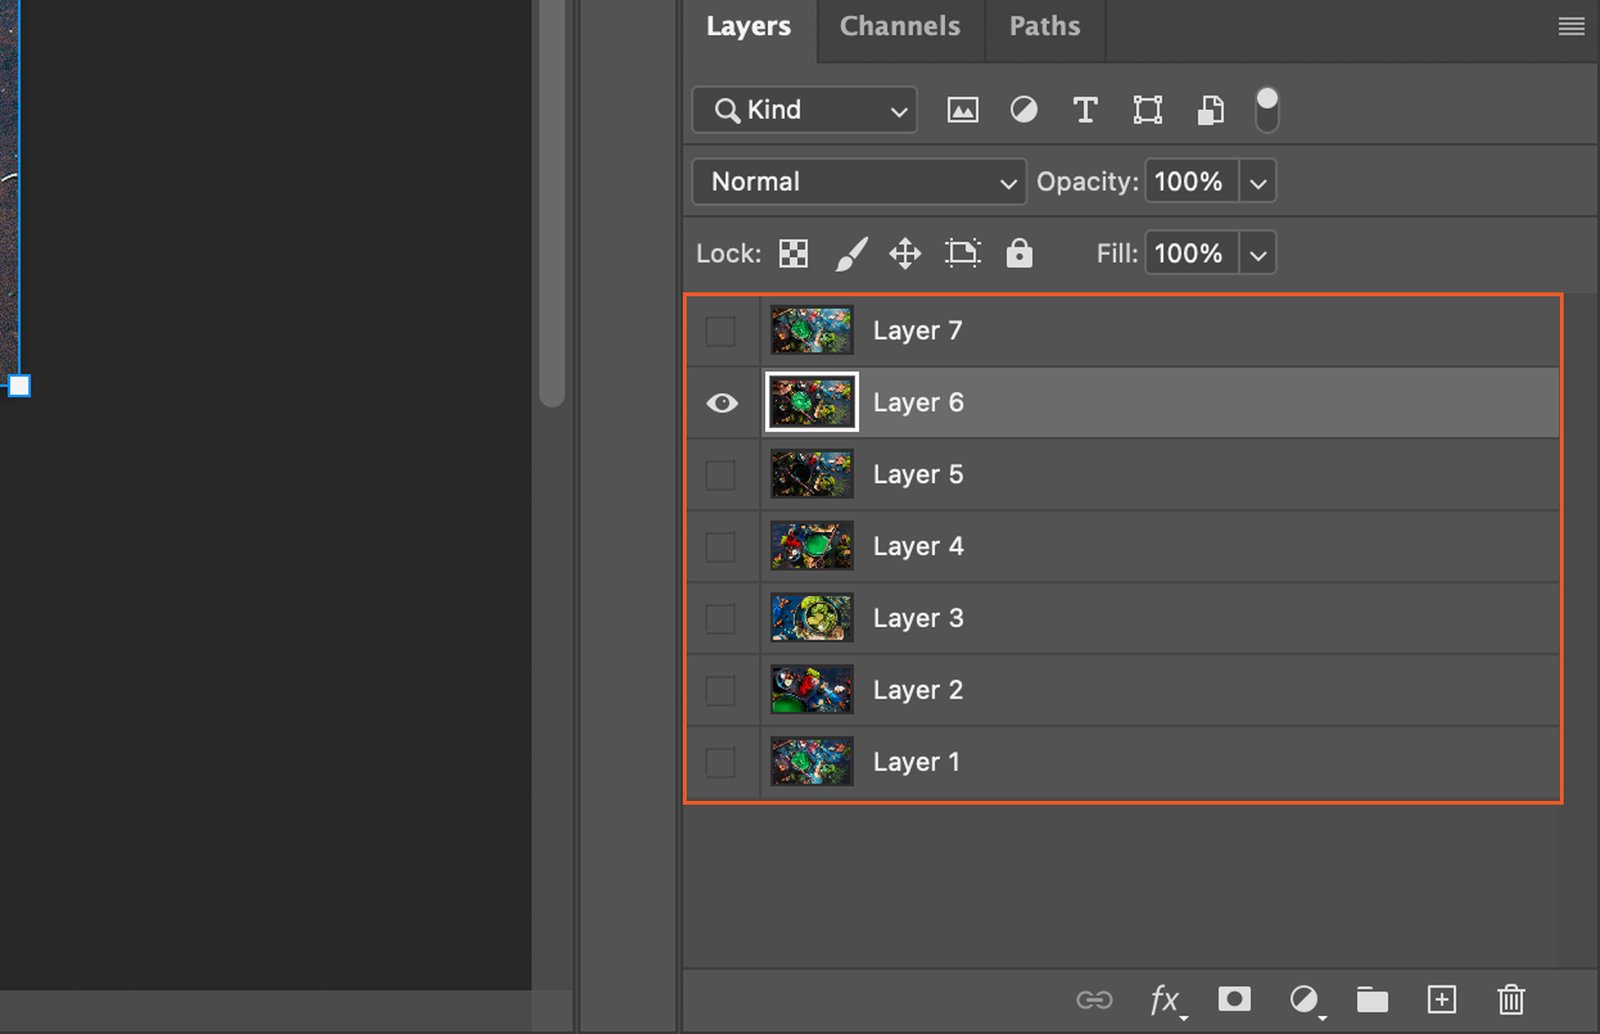
On the right, you will see the Layers Panel. Each layer represents a frame in your GIF. You can click on each layer to view and edit that specific frame.
Step 4. Edit Individual Frames
To edit a frame, select it in the Layers Panel. You can then use Photoshop’s tools to edit it. Let’s look at a few basic edits you can make.
Step 4.1. Adjusting the Opacity
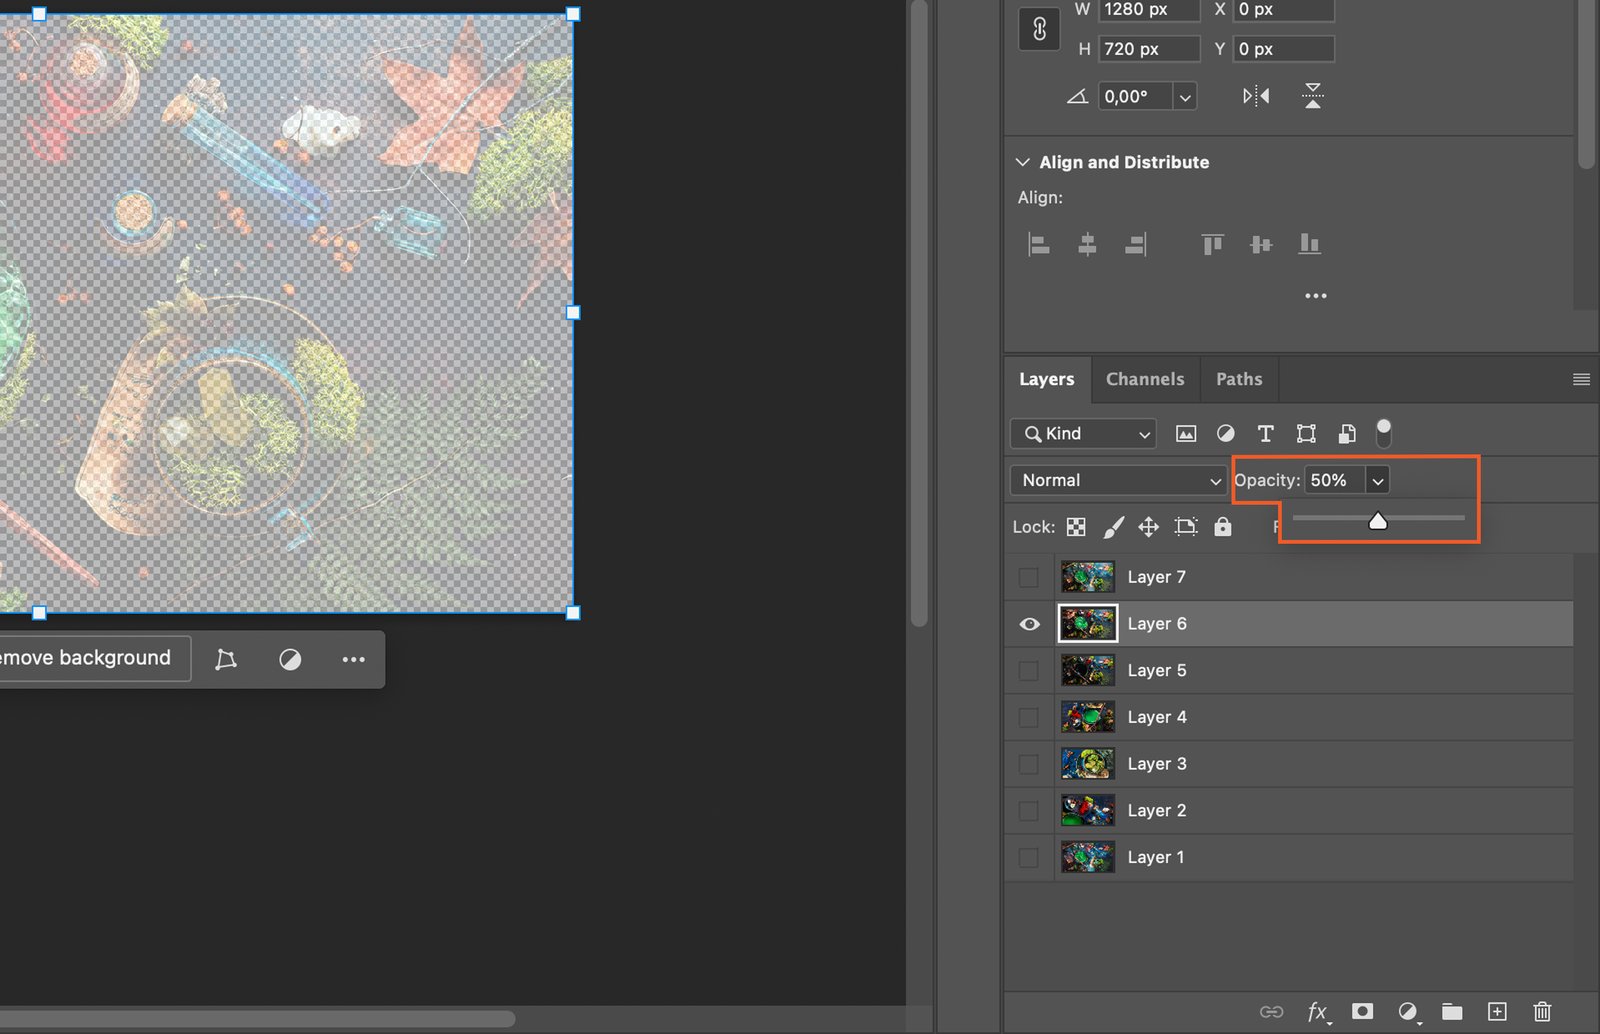
To adjust the opacity of a frame, select it and go to the ‘Layers’ panel. Here, you’ll find an ‘Opacity’ slider. Drag it left or right to decrease or increase opacity.
Step 4.2. Resizing the Frame
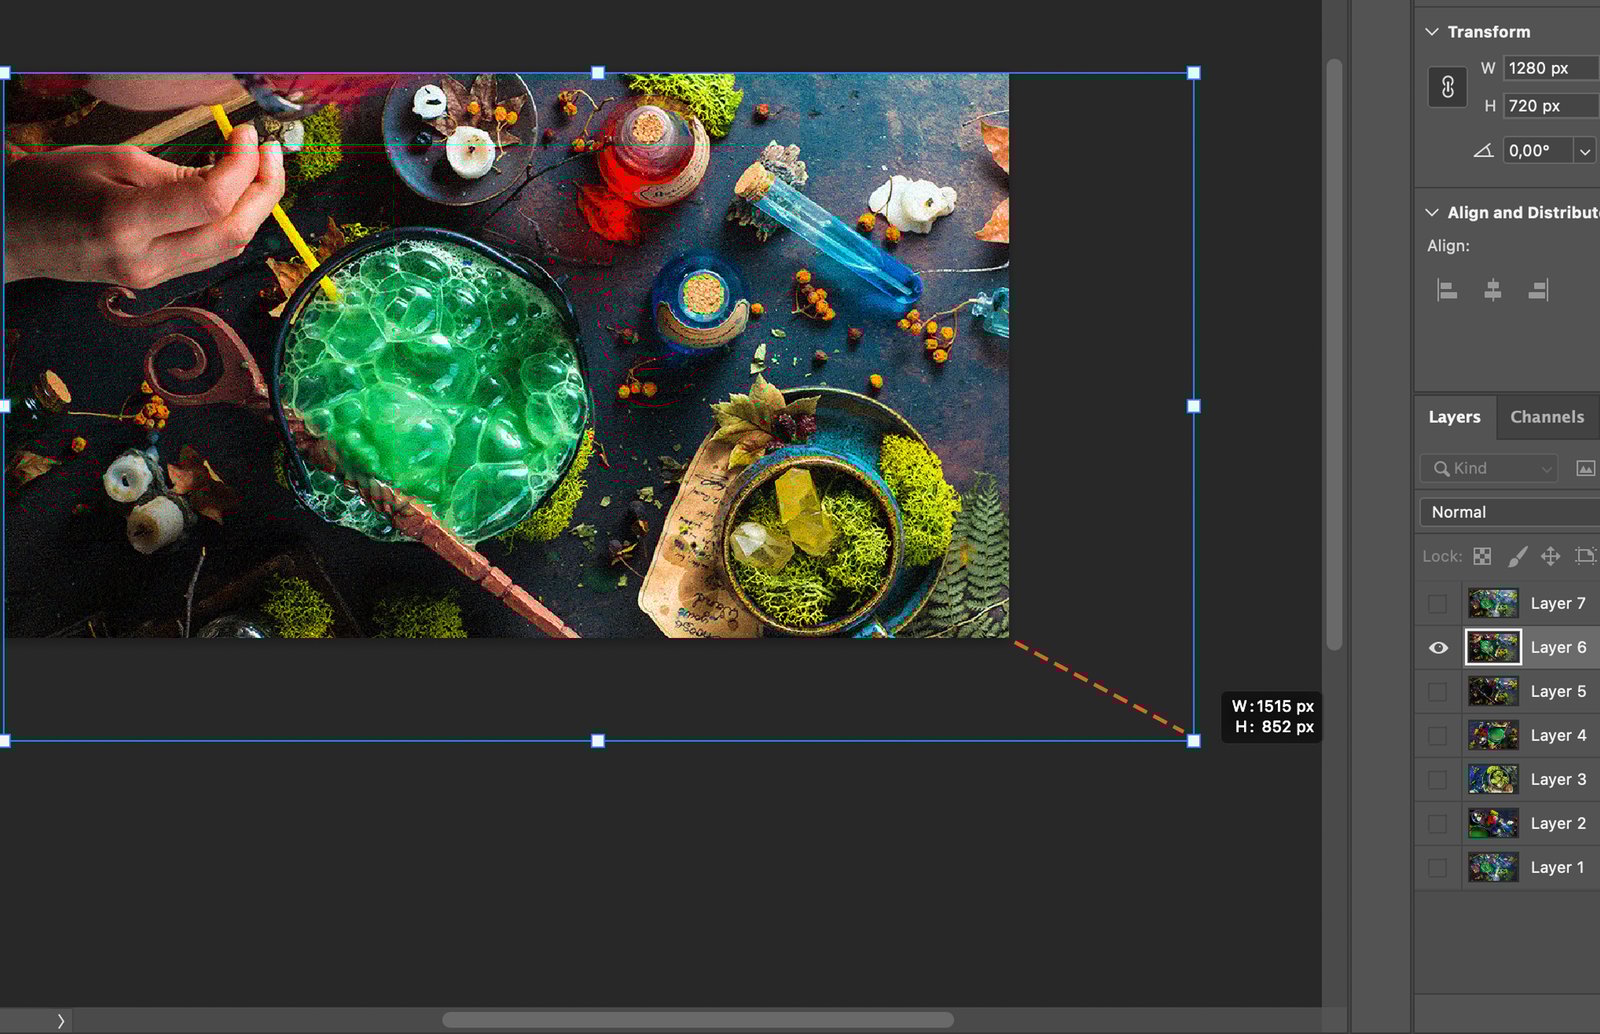
To resize a frame, select it and use the ‘Transform’ tool (Ctrl+T). Drag the corners to resize, and press Enter when done.
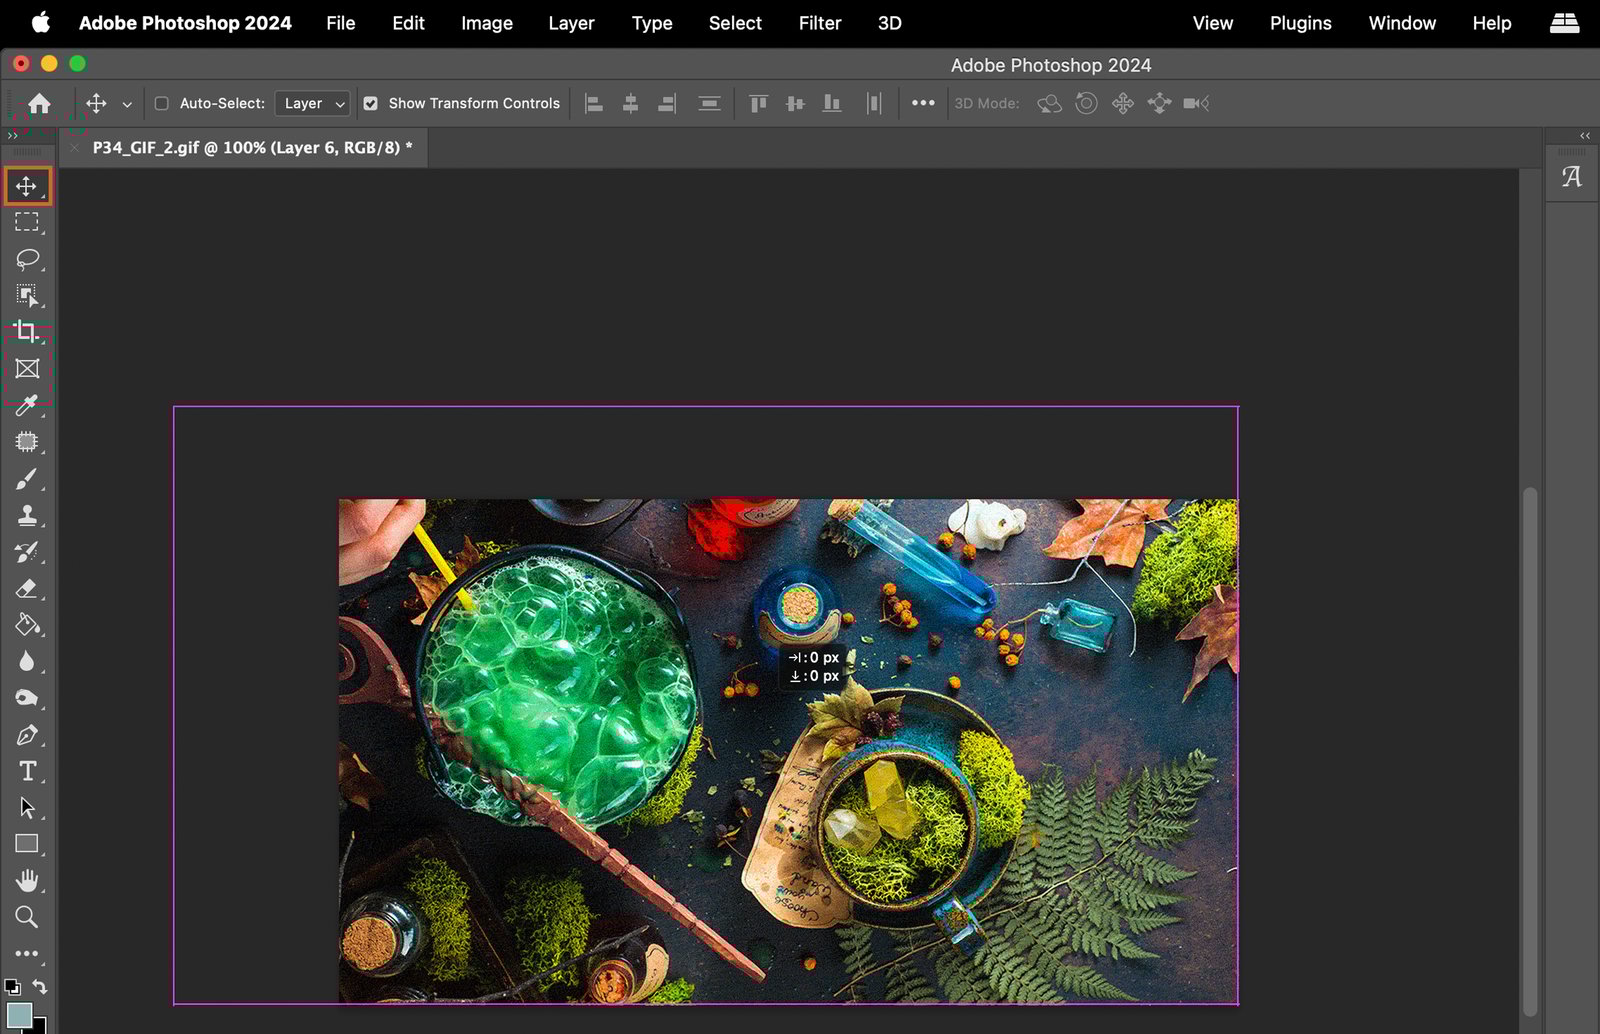
Step 4.3. Changing the Frame Position
To change the position of a frame, select it and use the ‘Move’ tool. Click and drag the frame to the desired position.
Step 5. Apply Filters and Effects
Photoshop offers a variety of filters and effects. Let’s explore a few.
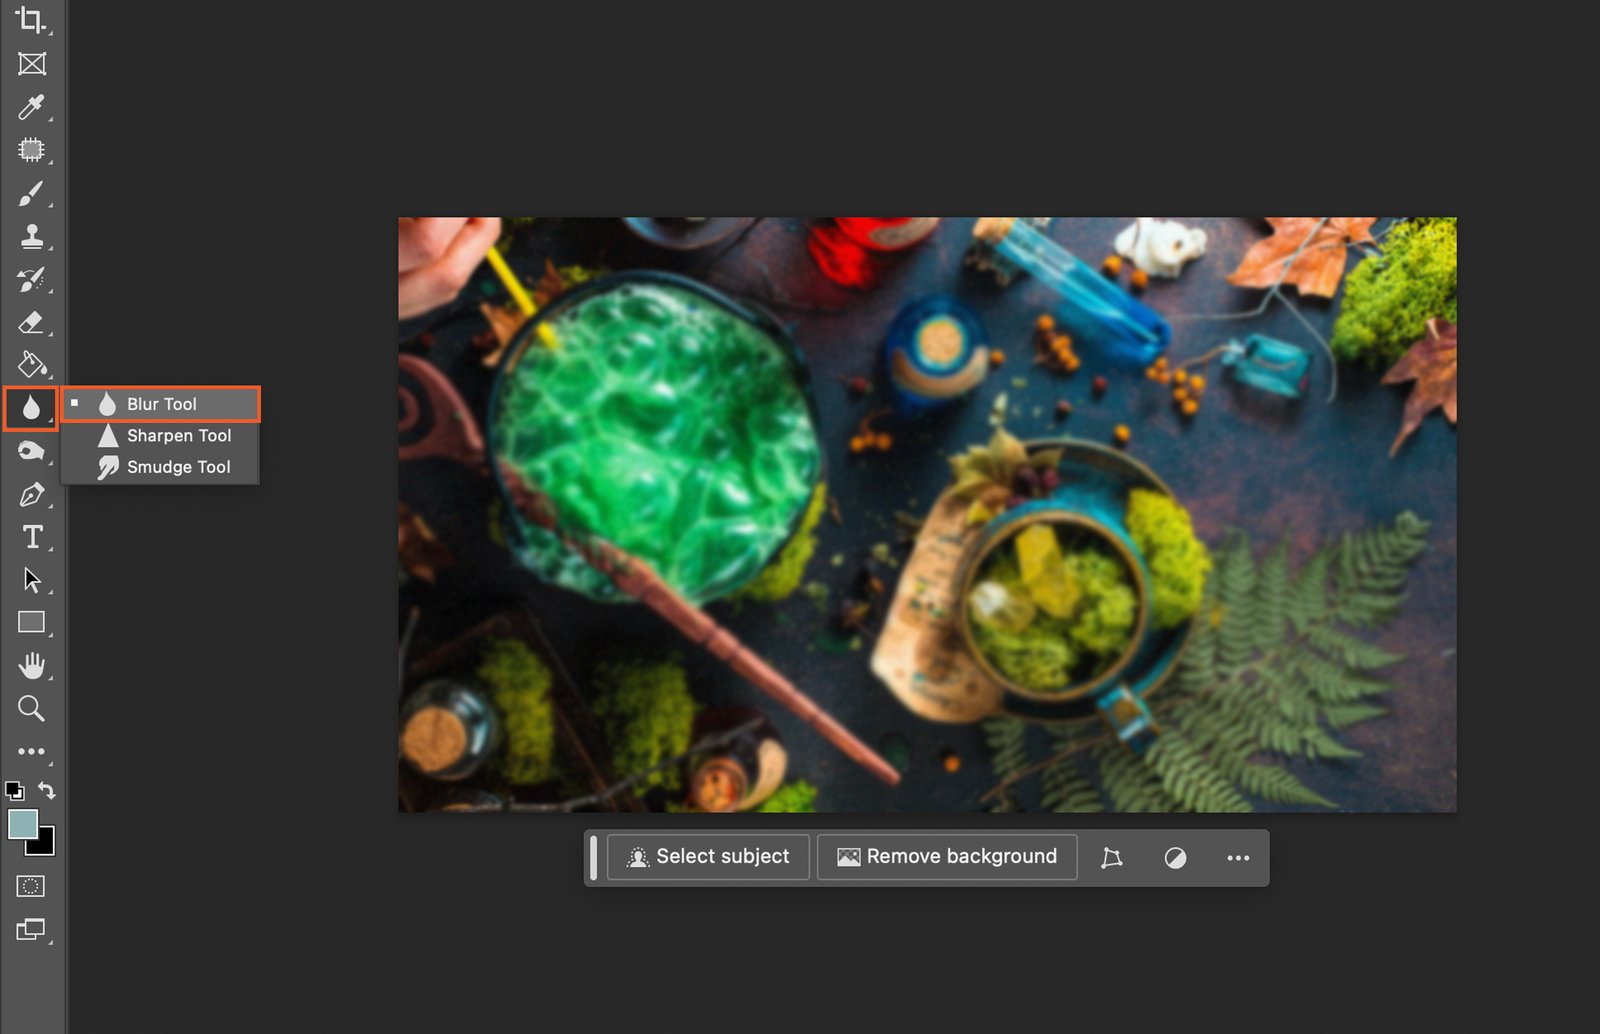
Step 5.1. Using the Blur Tool
To blur a part of a frame, select the ‘Blur’ tool and click and drag over the area you want to blur.
Step 5.2. Applying the Sharpen Tool
The ‘Sharpen’ tool makes blurry images more clear. Select it and click and drag over the area you want to sharpen.

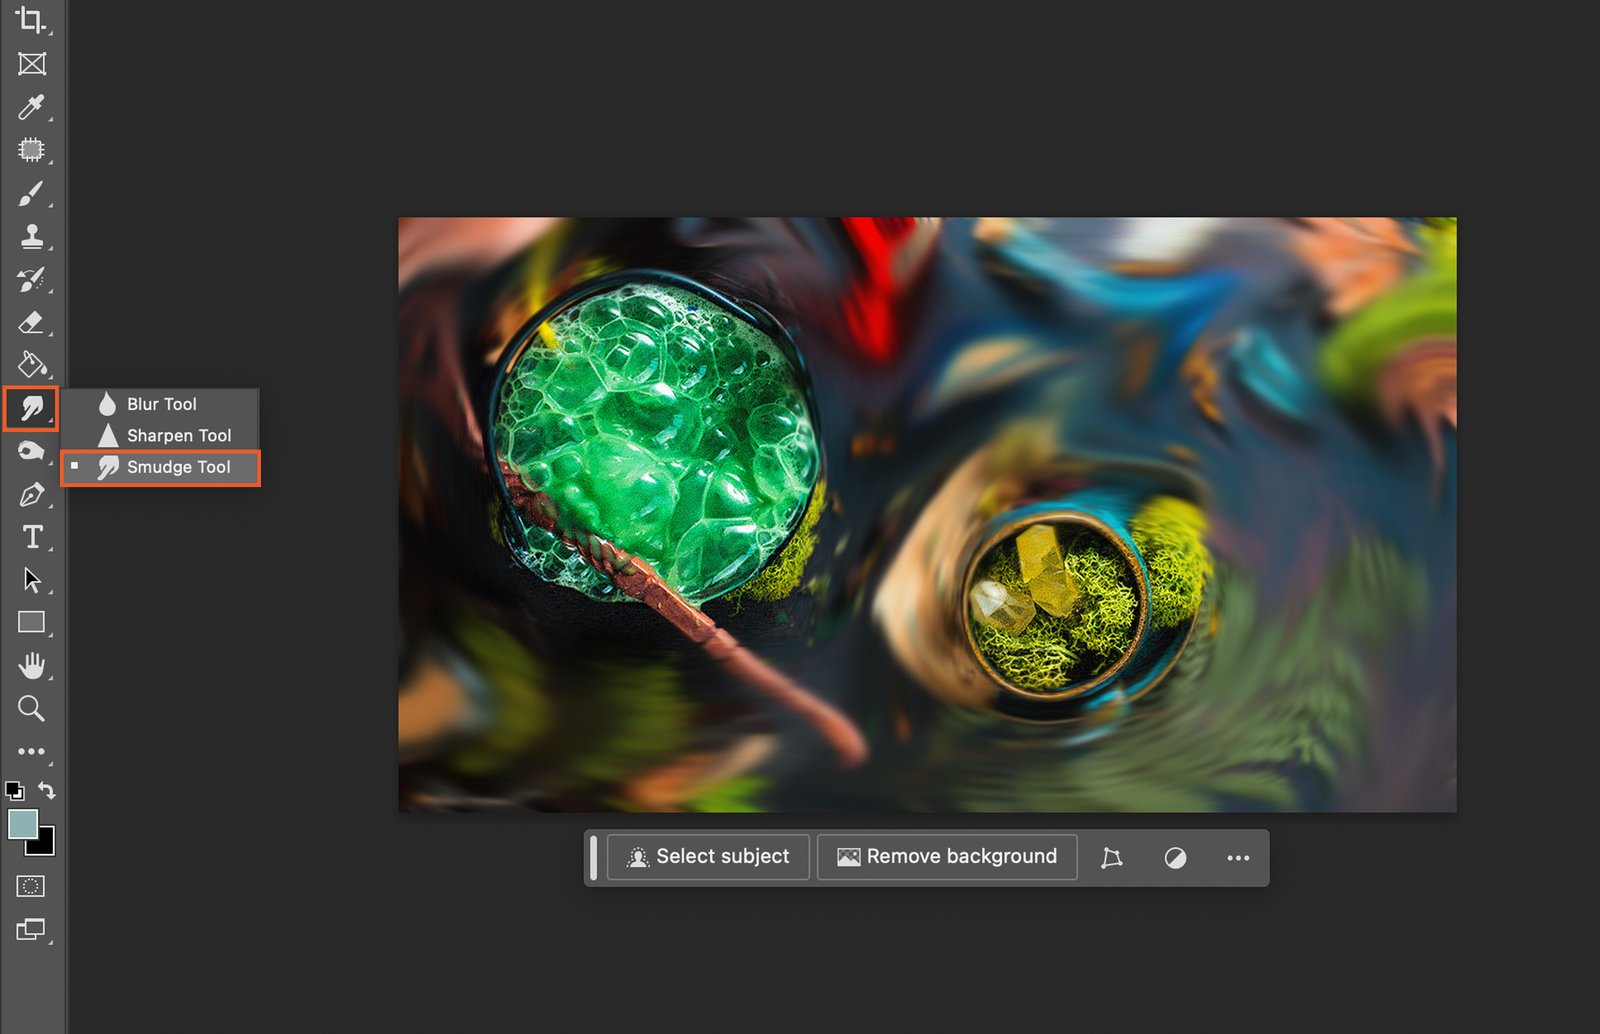
Step 5.3. Using the Smudge Tool
The ‘Smudge’ tool creates a dragging effect. Select it and click and drag in the direction you want to smudge.
Step 6. Add Text to GIF
You can add both static and animated text to your GIF.
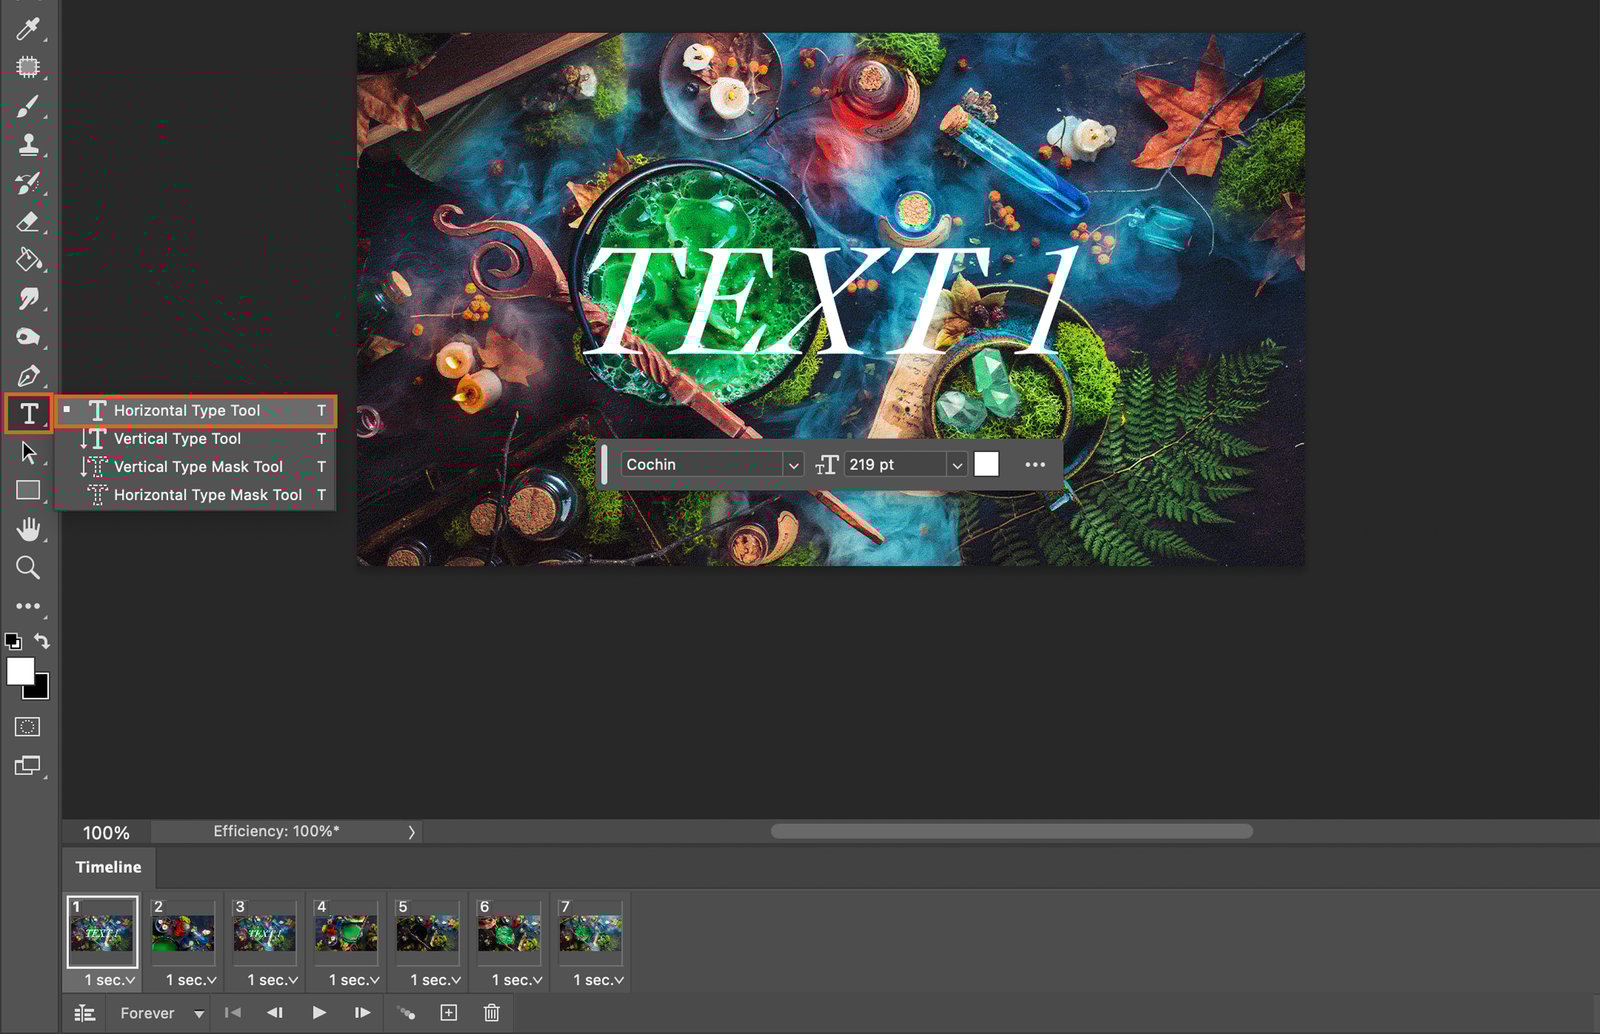
Step 6.1. Adding Static Text
For static text, select the ‘Text’ tool, click where you want the text, and start typing. Use the top menu bar to adjust font, size, and color.
Step 6.2. Adding Animated Text
For animated text, you’ll need to create a text layer for each frame. Follow the same steps as for static text, but do it for each frame where you want the text to appear.
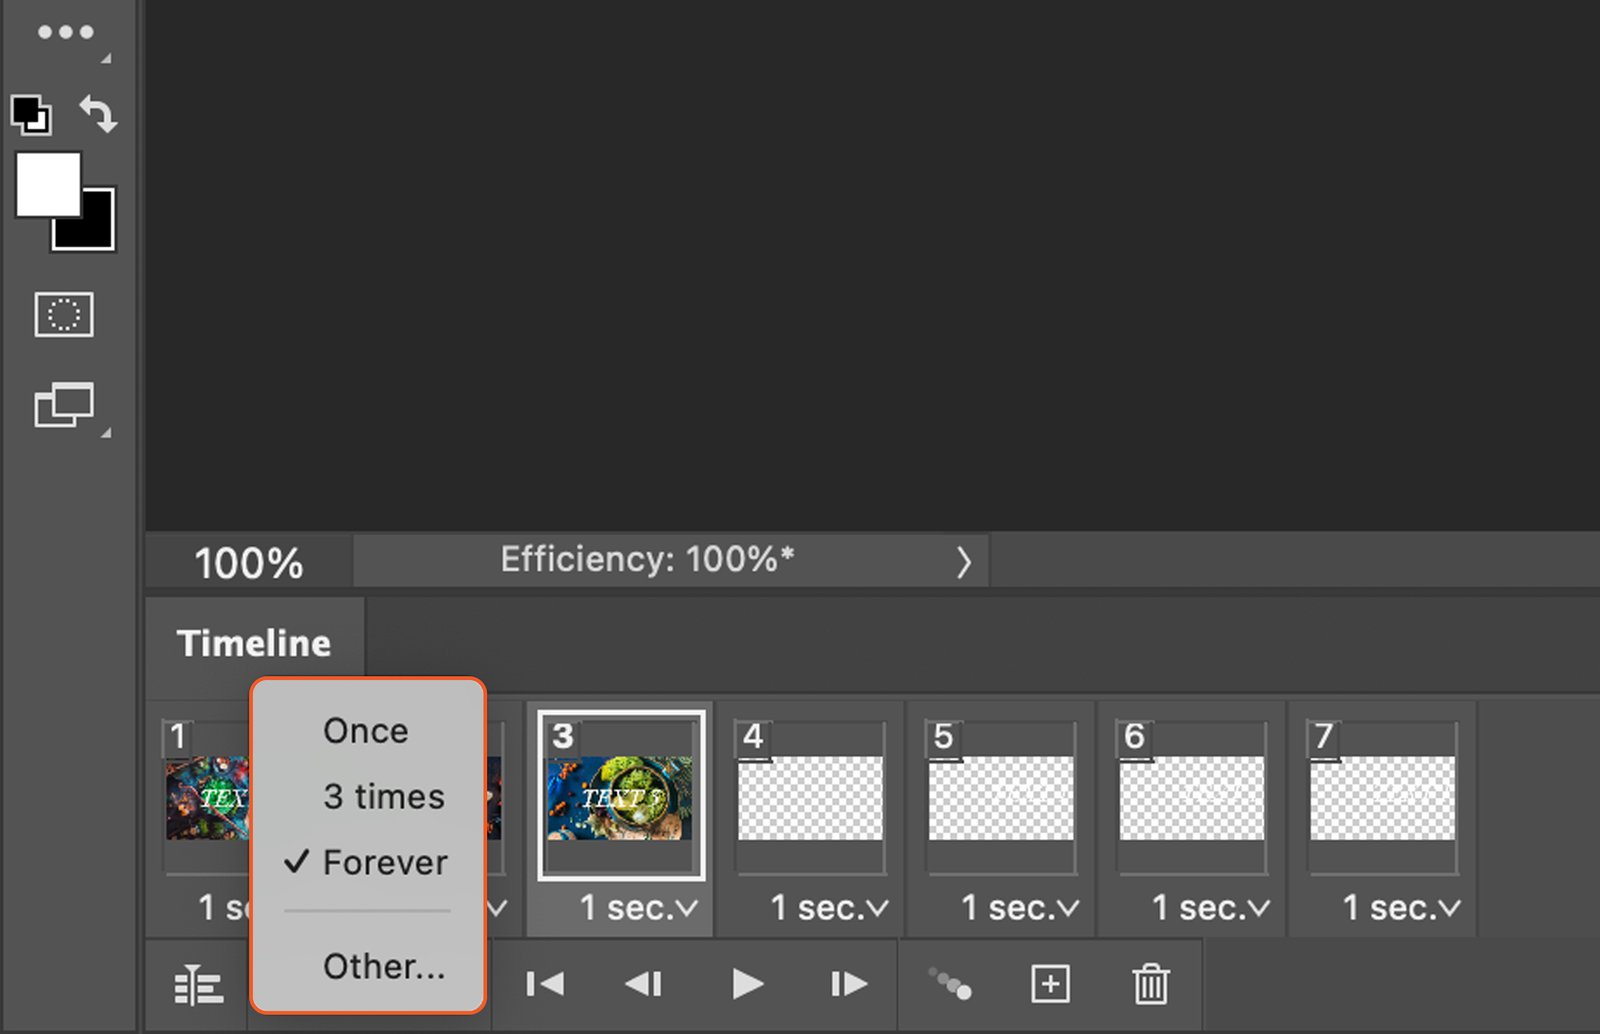
Step 7. Adjust the GIF Playback Options
In the Timeline Panel, you can adjust how your GIF plays. You can set it to loop continuously or play a certain number of times.
Step 8. Preview the Edited GIF
To preview your GIF, click the ‘Play’ button in the Timeline Panel. Make any necessary adjustments.
Step 9. Export the Edited GIF
Finally, to export your edited GIF, go to ‘File’, then ‘Export’, and choose ‘Save for Web’. Ensure the file format is set to GIF, and click ‘Save’. Choose your save location, and your edited GIF is ready to go.


