Learning to extend a background in Photoshop can solve issues of limited space in an image and enhance its visual appeal. This article guides you through this handy process, helping you achieve professional-grade results.
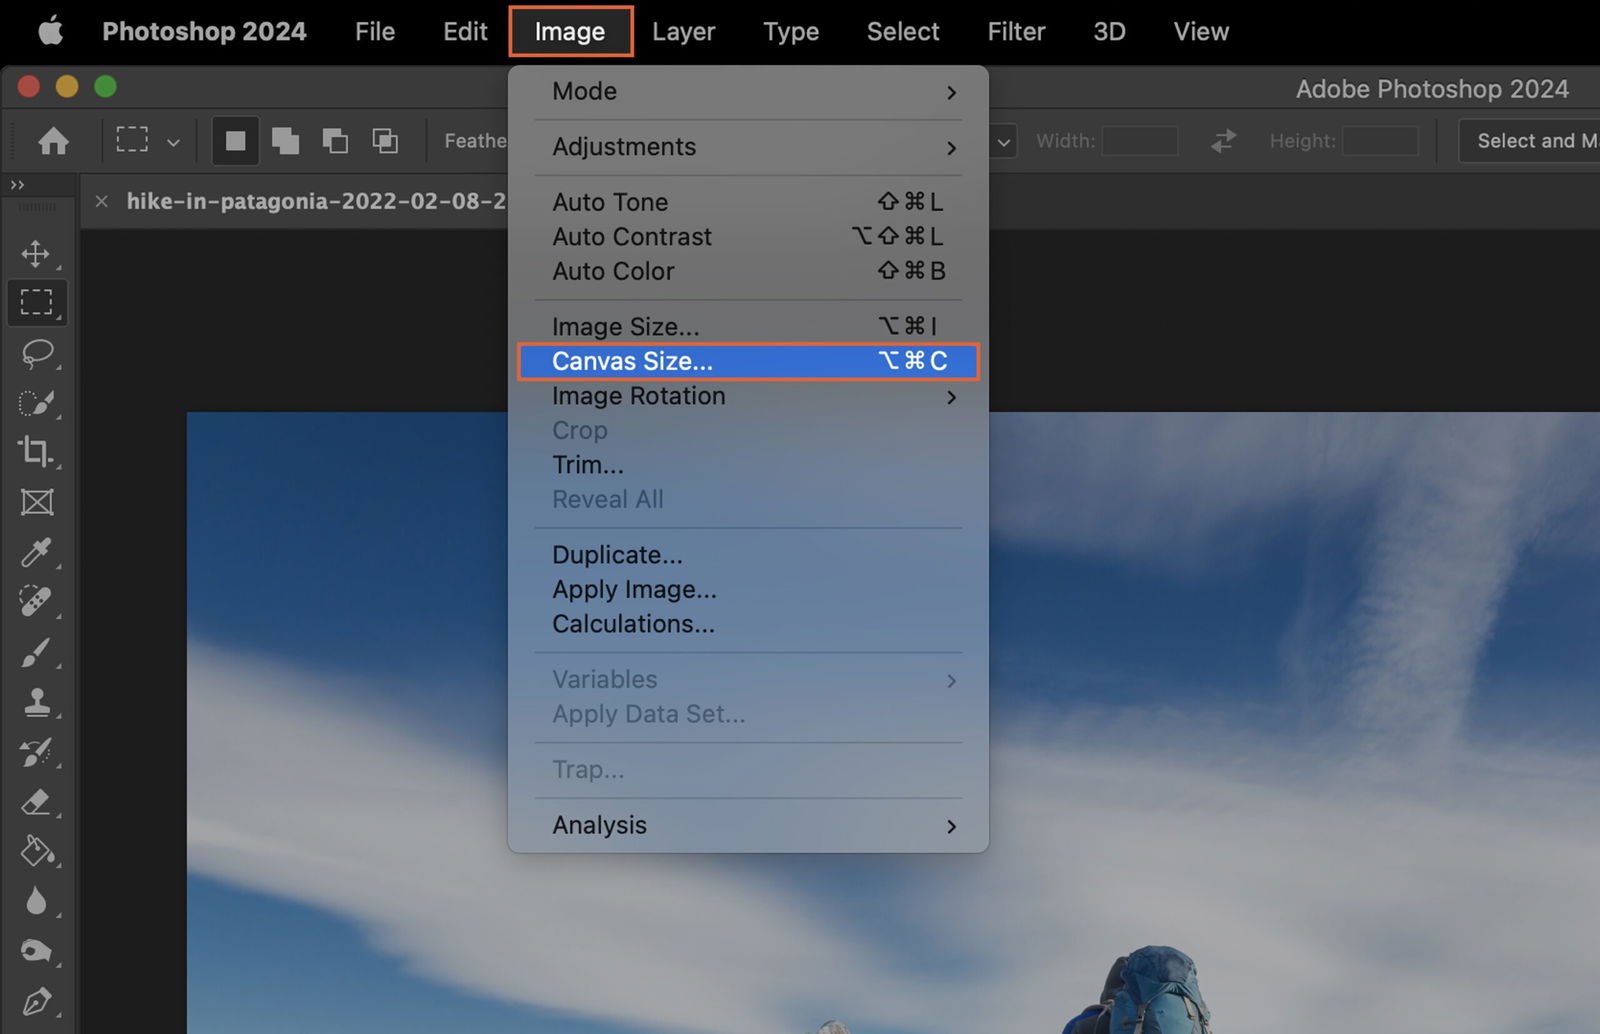
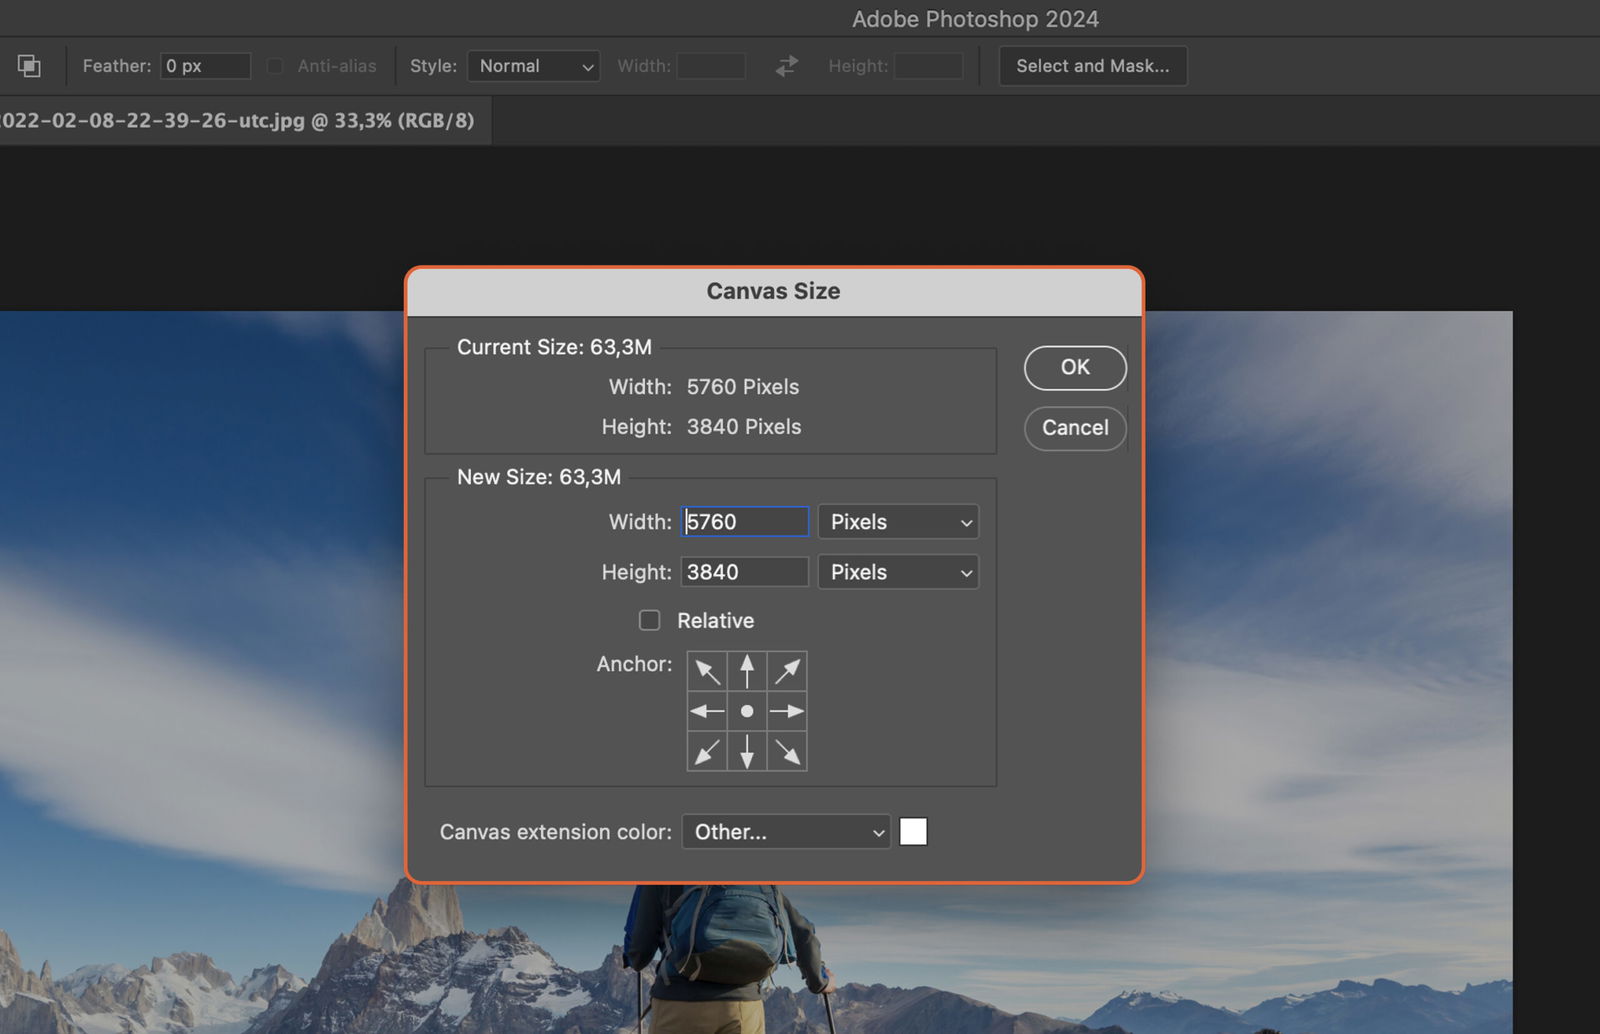
Navigate to Image > Canvas Size, and adjust the dimensions to increase the canvas size.
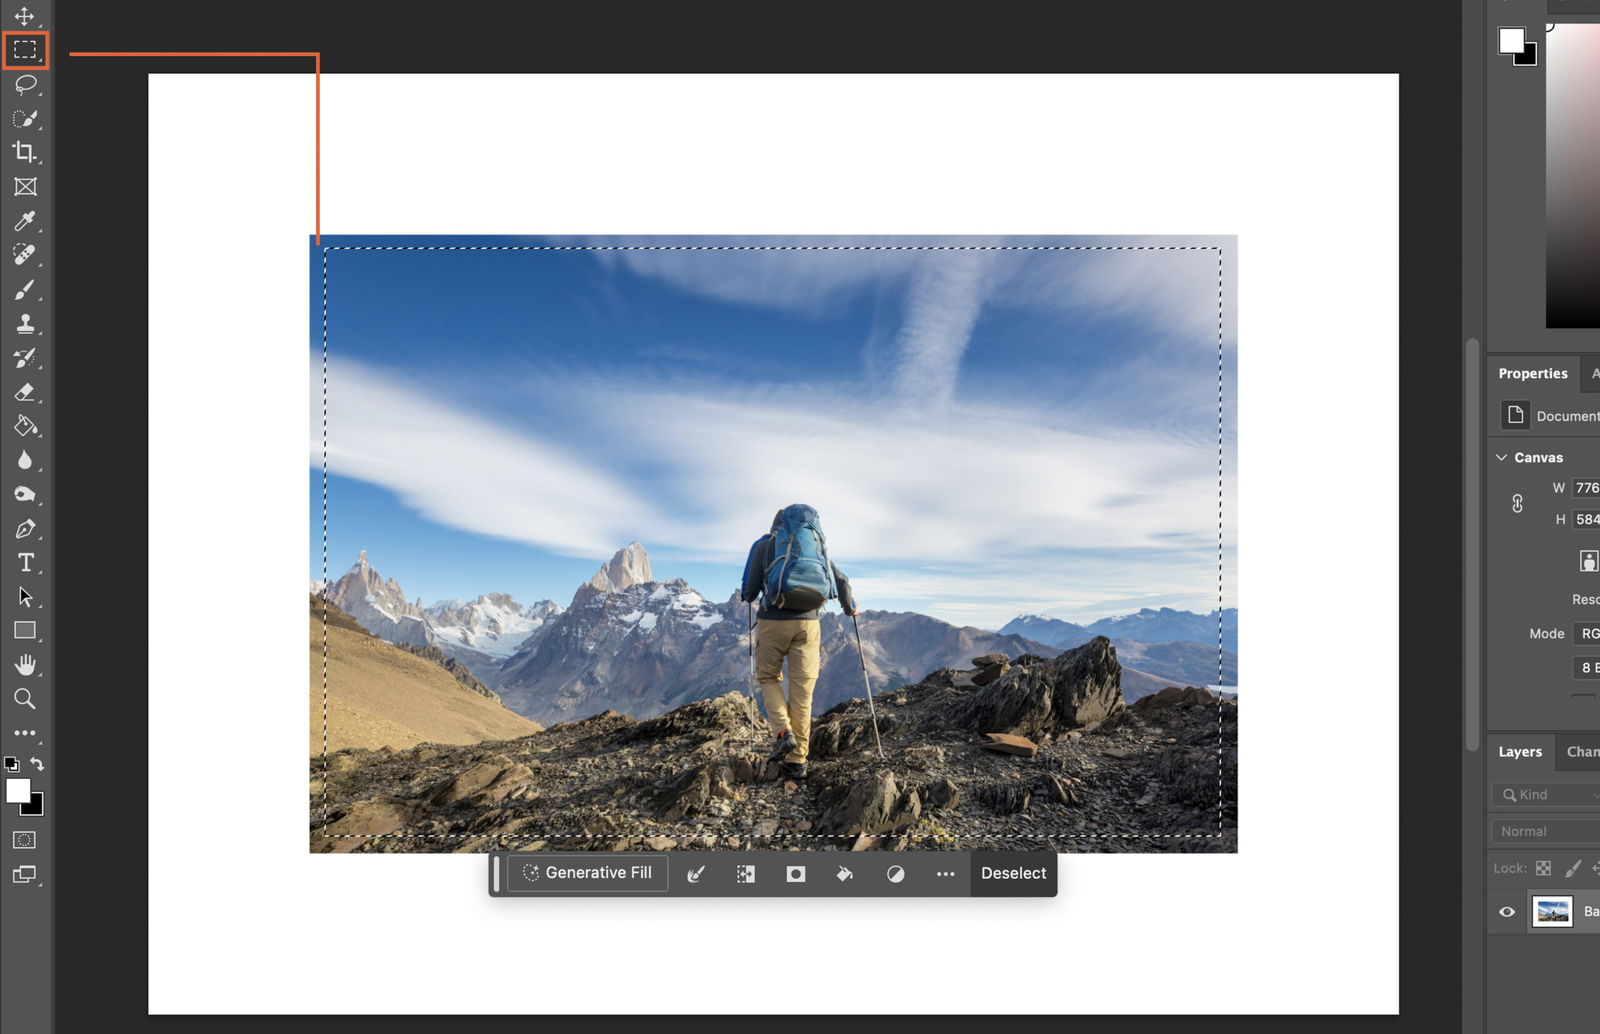
Begin by using the Rectangular Marquee Tool to carefully outline the borders of the images in your document. Ensure that you leave some areas unselected to allow the AI to analyze and determine how to extend the background effectively.
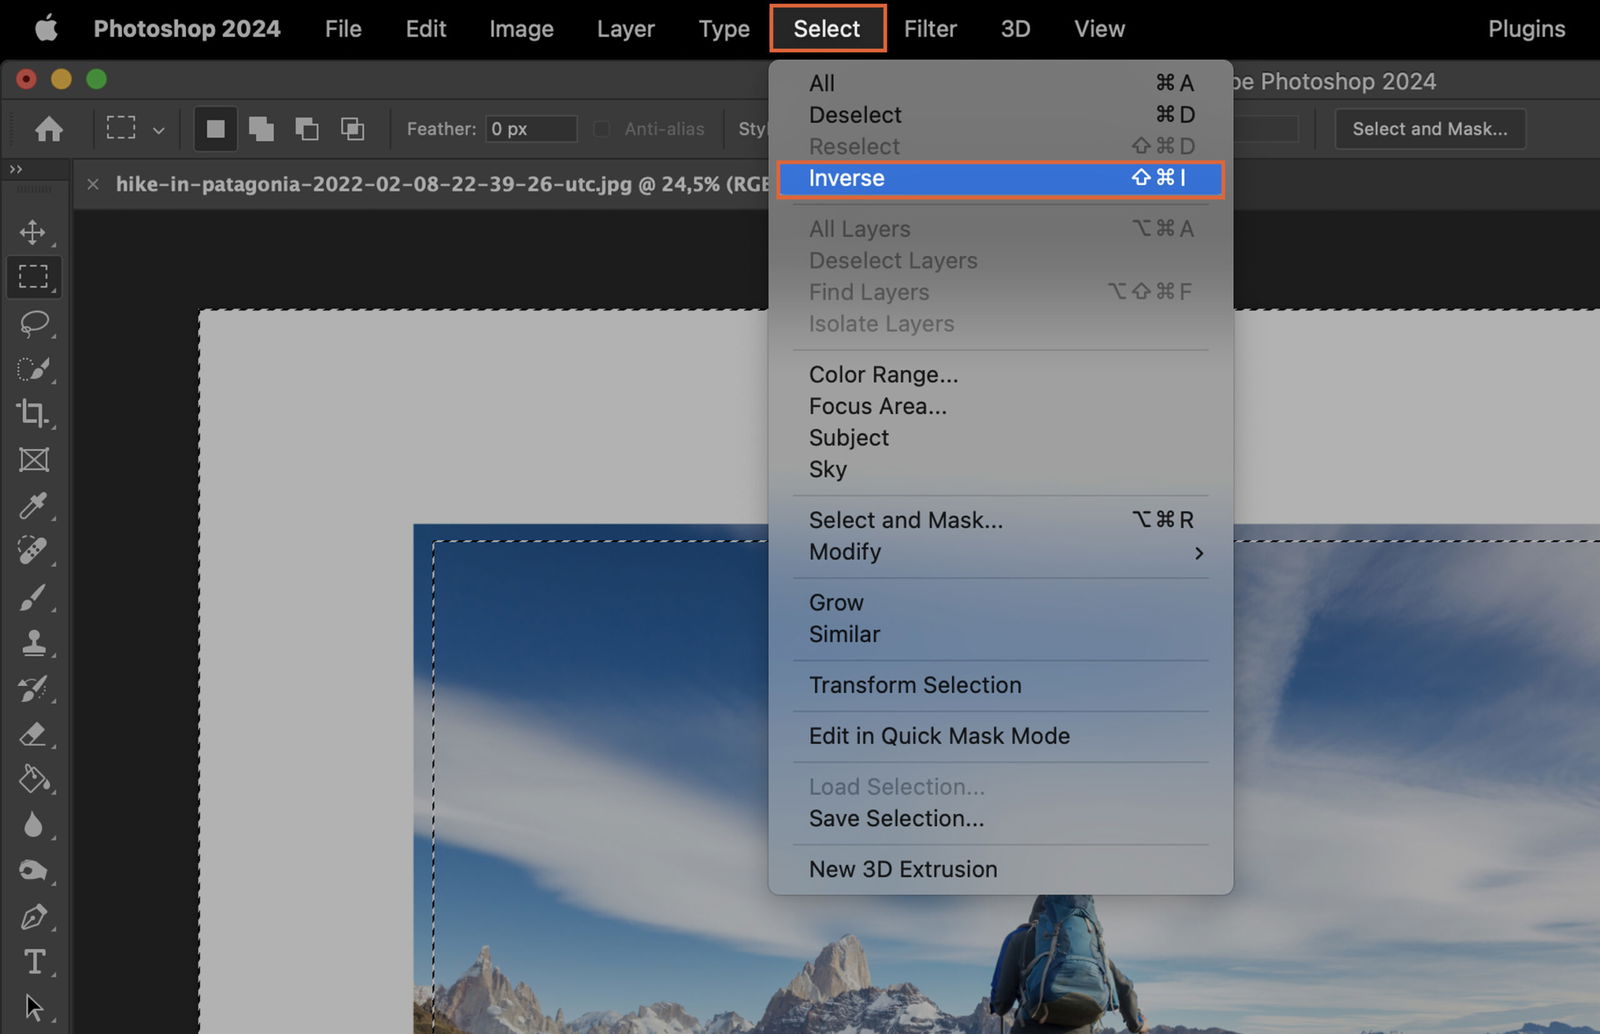
To reverse the current selection, navigate to the “Select” menu. Select the “Inverse” option.
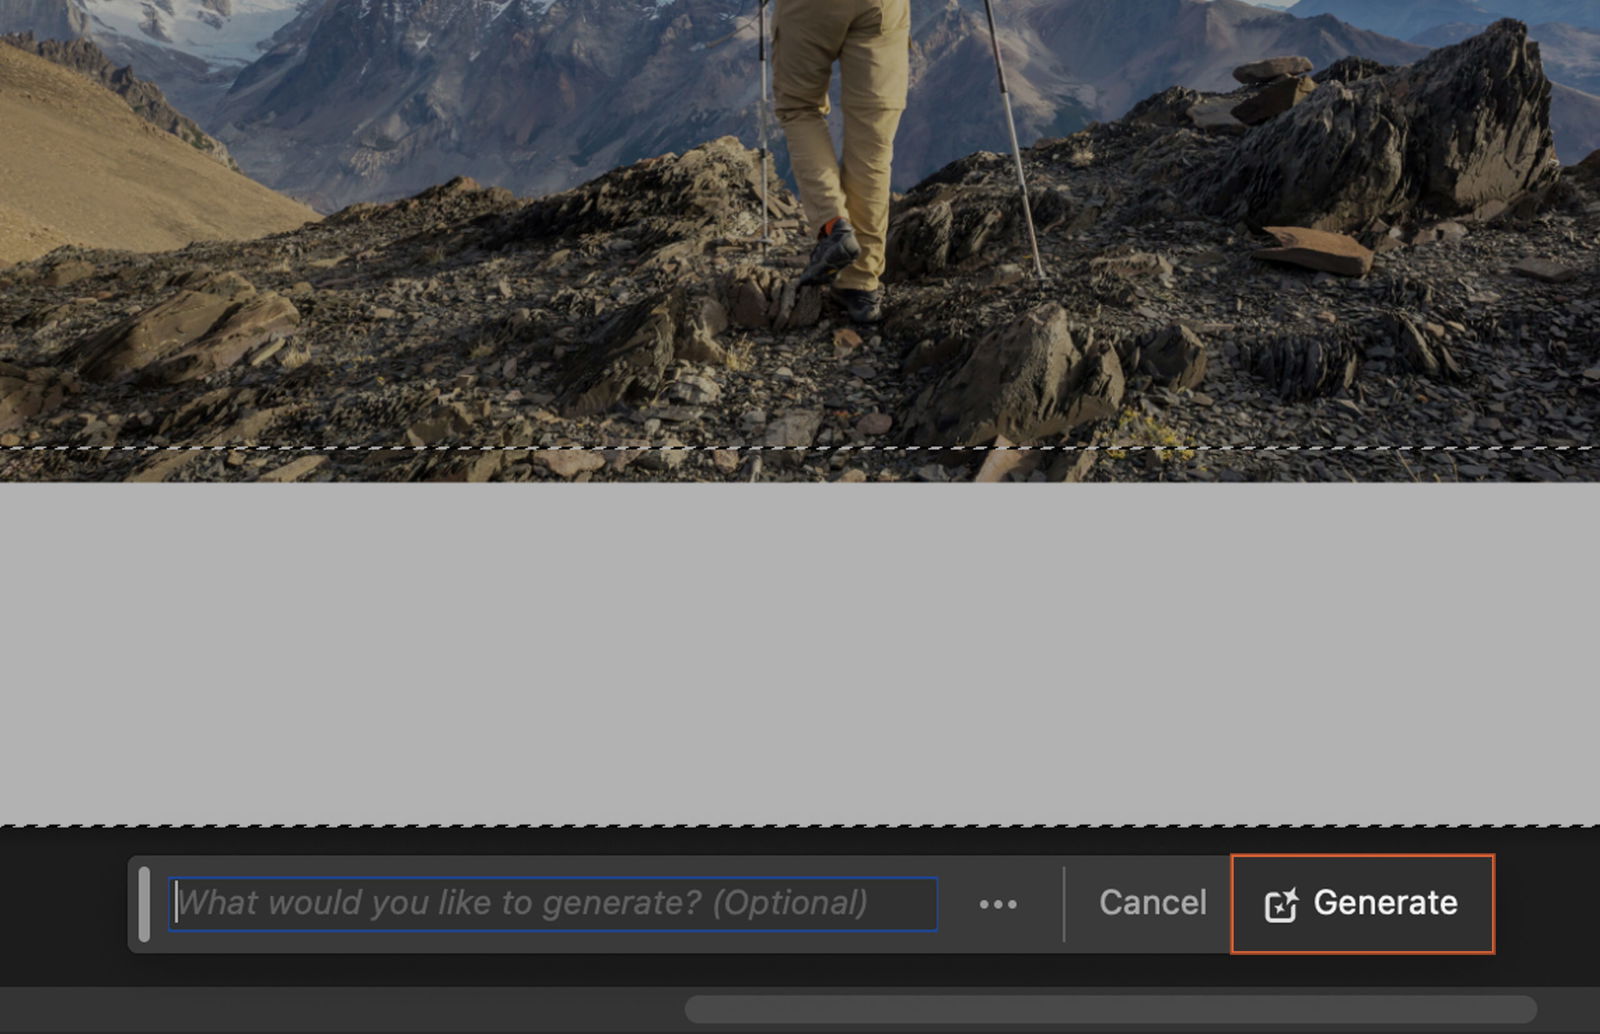
To utilize the Generative Fill feature, locate and click on the Generative Fill tool within Photoshop. In the Generative Fill dialog box, you’ll find a field labeled “What would you like to Generate? (Optional).” Ensure that this field remains empty, without any specific input.

After leaving the field empty, click on the “Generate” button to initiate the Generative Fill process.
Within the Variations panel, you have the opportunity to explore various versions of your image. Experiment with different variations to determine which one best suits your preferences or requirements.