Struggling to fix grainy photos can be frustrating. This guide offers a comprehensive, step-by-step process to effectively use Photoshop for this task. Mastering these steps can significantly enhance your photo editing skills and ensure your images always look professional.
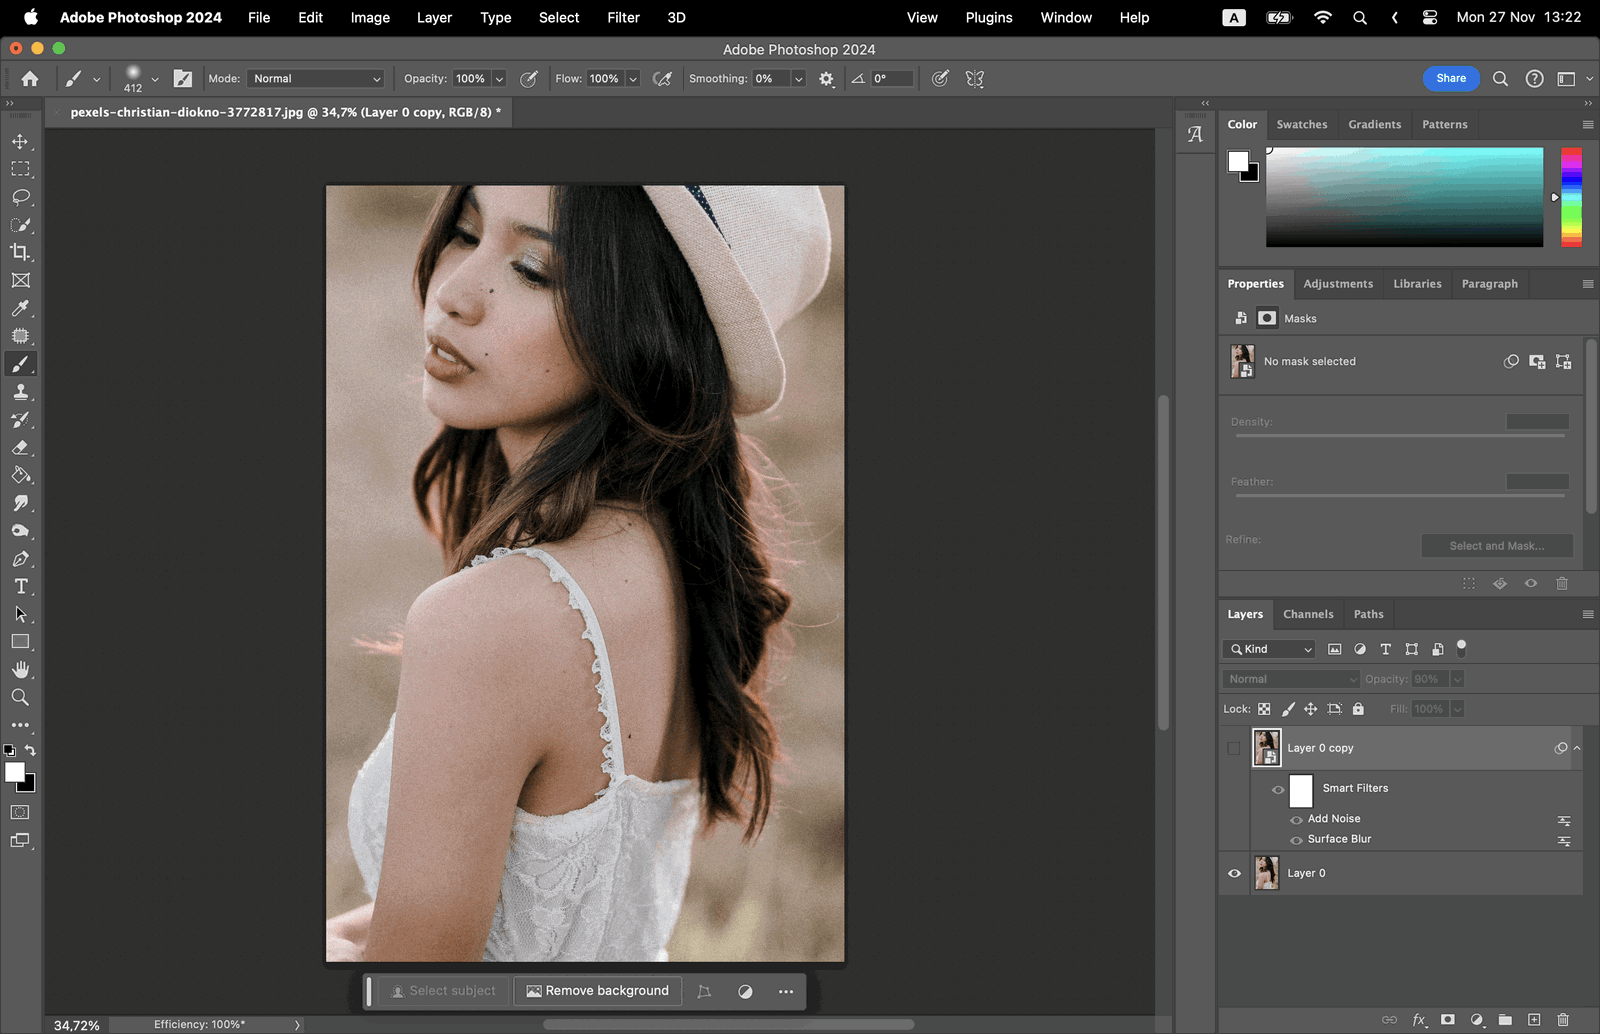
Firstly, you need to create a copy of your original image. This is done by duplicating the background layer. This ensures that you have a backup of your original image in case you need to start over.

Next, convert the duplicate layer into a Smart Object. This will allow you to apply filters non-destructively, meaning you can always undo or adjust them later without affecting the original image.

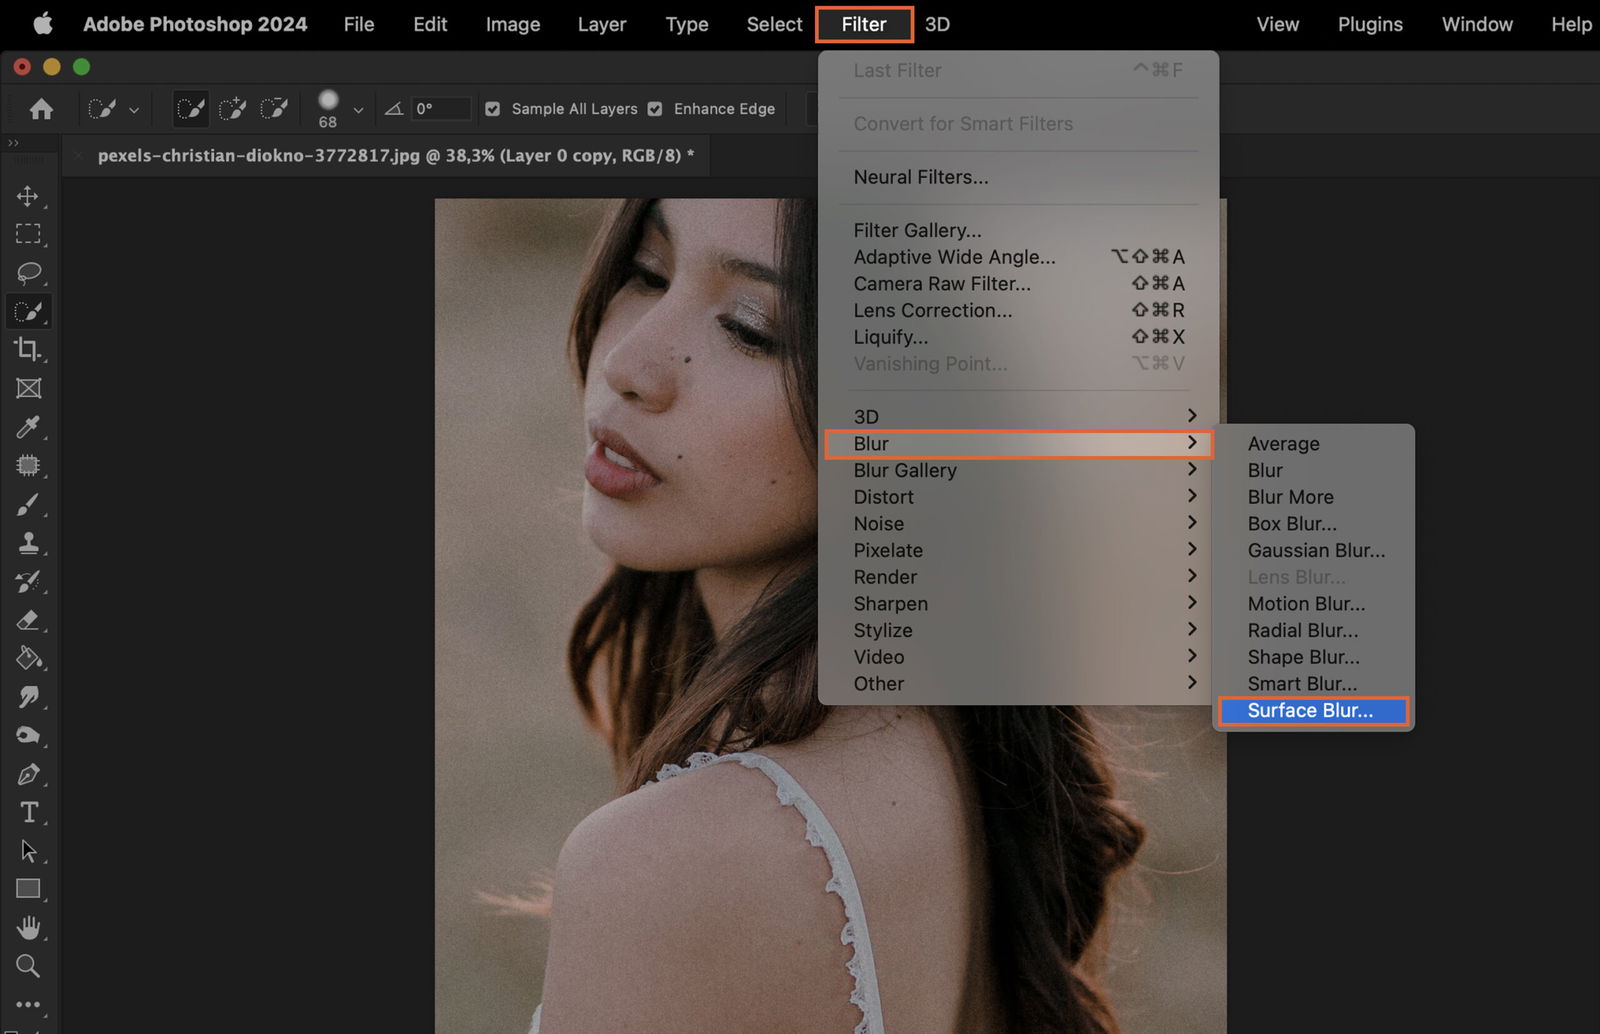
Now, you need to apply the Surface Blur filter. This filter helps to smooth out the graininess in your image by blurring the entire layer.
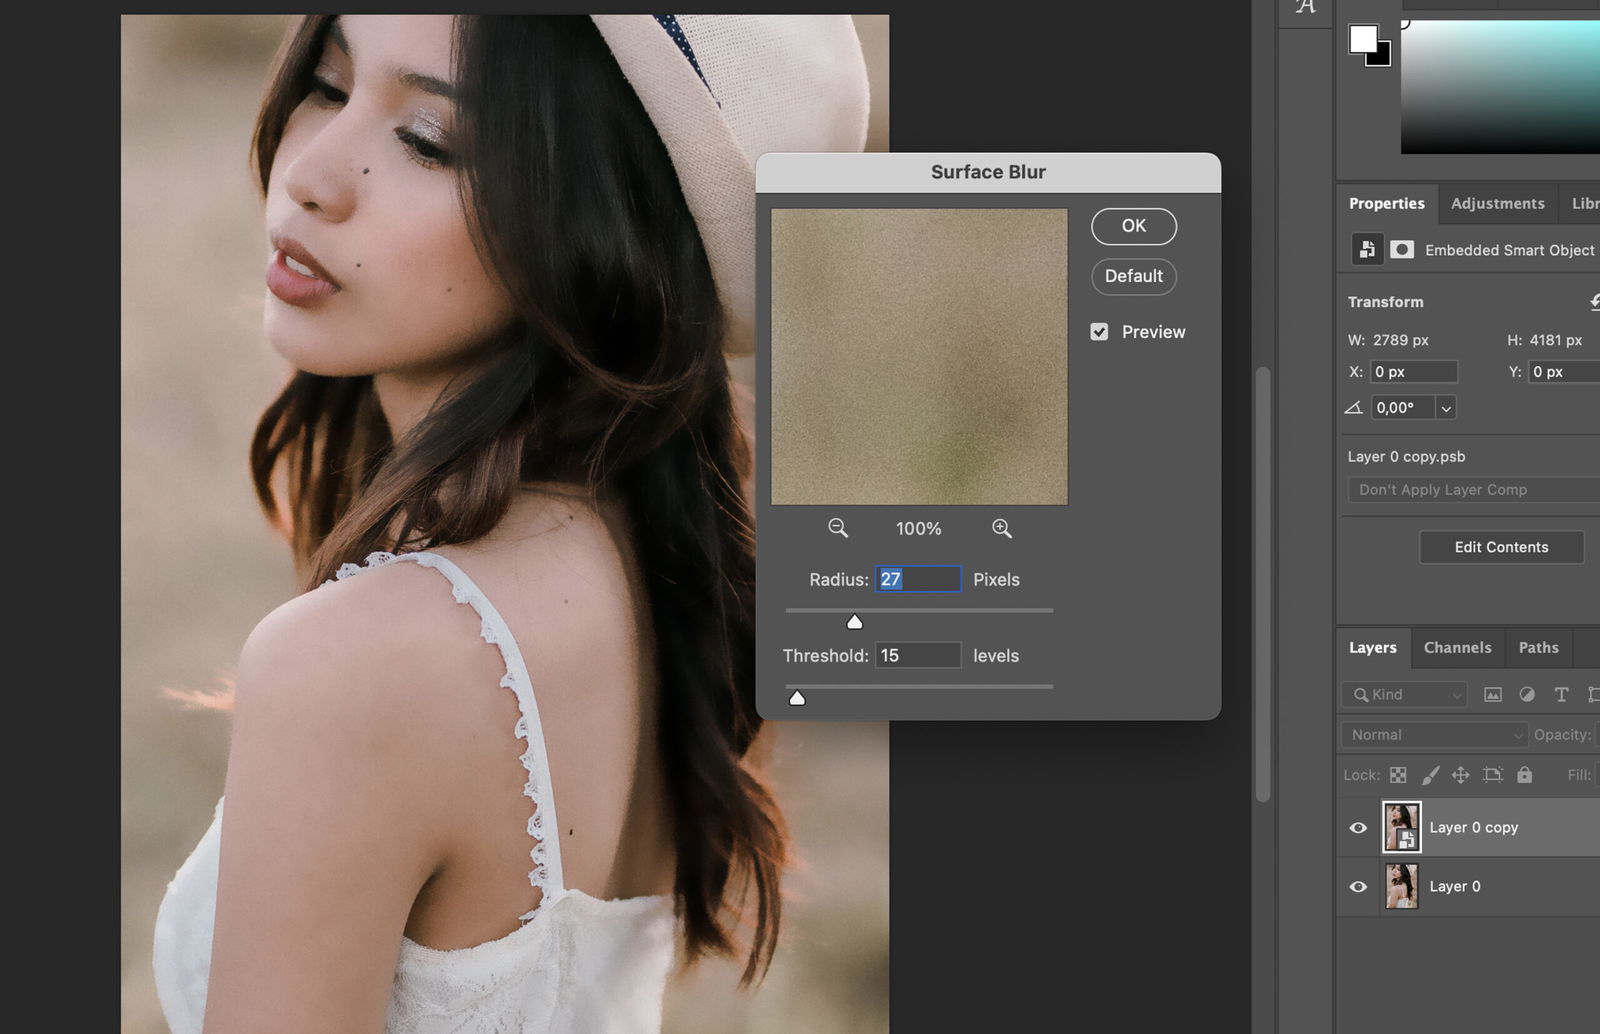
After applying the Surface Blur filter, adjust the radius and threshold settings. These settings control how much blurring is applied and how the filter identifies edges in your image.
To counteract the blurring effect and add a bit of texture back into your image, use the Add Noise filter. This will introduce a bit of grain, giving your image a more natural look.

When adding noise, make sure to use the Gaussian distribution. This type of noise distribution results in a more realistic and less harsh effect.

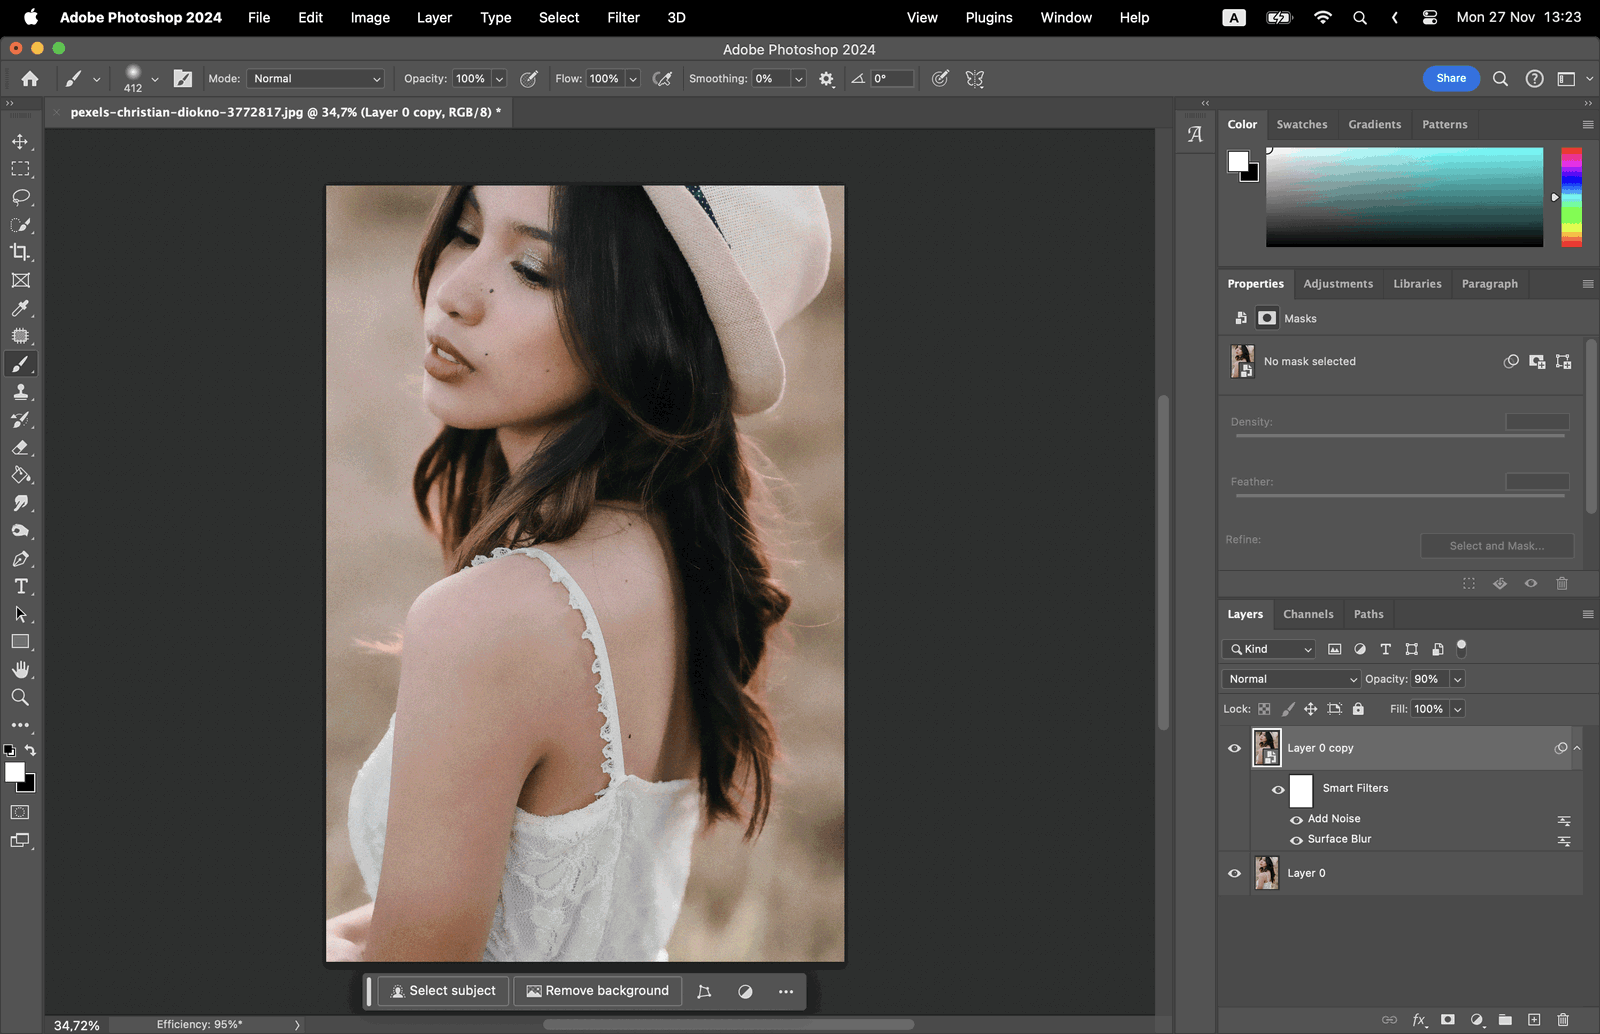
After adding noise, adjust the opacity of the layer to balance the effect. The goal is to reduce graininess without losing too much detail.