ExpertPhotography
  • Articles
  • My Learning
  • Store
  • About
  • Contact
  • Photo Quiz
ExpertPhotography

Learn Photography
  • Quick Capture Cheat Sheets
  • Photography for Beginners
  • Intuitive Composition
  • Show more...
  • Effortless Editing With Lightroom
  • Epic Landscape Editing
  • The Preset Collection
  • Show more...
  • The Magical Photography Spellbook
  • Dreamy Childhood Portraits
  • The Creative Photography Cookbook
  • Show more...
  • Simply Stunning Landscapes
  • Infinite Exposures
  • Milky Way Mastery
  • Show more...
  • Products In Focus
  • Fairytale Portraits
  • Organic Marketing for Photographers
  • Show more...
Need Help?
Contact UsCookie PolicyPrivacy PolicyTerms of Use
Connect

ExpertPhotography is part of several affiliate sales networks. This means we may receive a commission if you purchase something by clicking on one of our links.

ExpertPhotography is a participant in the Amazon Services LLC Associates Program, an affiliate advertising program designed to provide a means for sites to earn advertising fees by advertising and linking to amazon.com.

As an Amazon Associate, I earn from qualifying purchases.

Expert Photography © 2011-2024. All Rights Reserved.

Privacy Policy Terms of Use

News and Interviews

How to Group Layers Together in Photoshop

Szilard Kovacs
by Szilard Kovacs
Last updated: 21/10/2024-4 min read
ExpertPhotography is supported by readers. Product links on ExpertPhotography are referral links. If you use one of these and buy something, we make a little money. Need more info? See how it all works here.

Managing numerous layers in Photoshop can be a daunting task. Learning how to group layers together not only simplifies your workspace but also streamlines your editing process. This article will guide you through the steps to effectively group and manage your layers in Photoshop.

Step 1. Open the Layers Panel

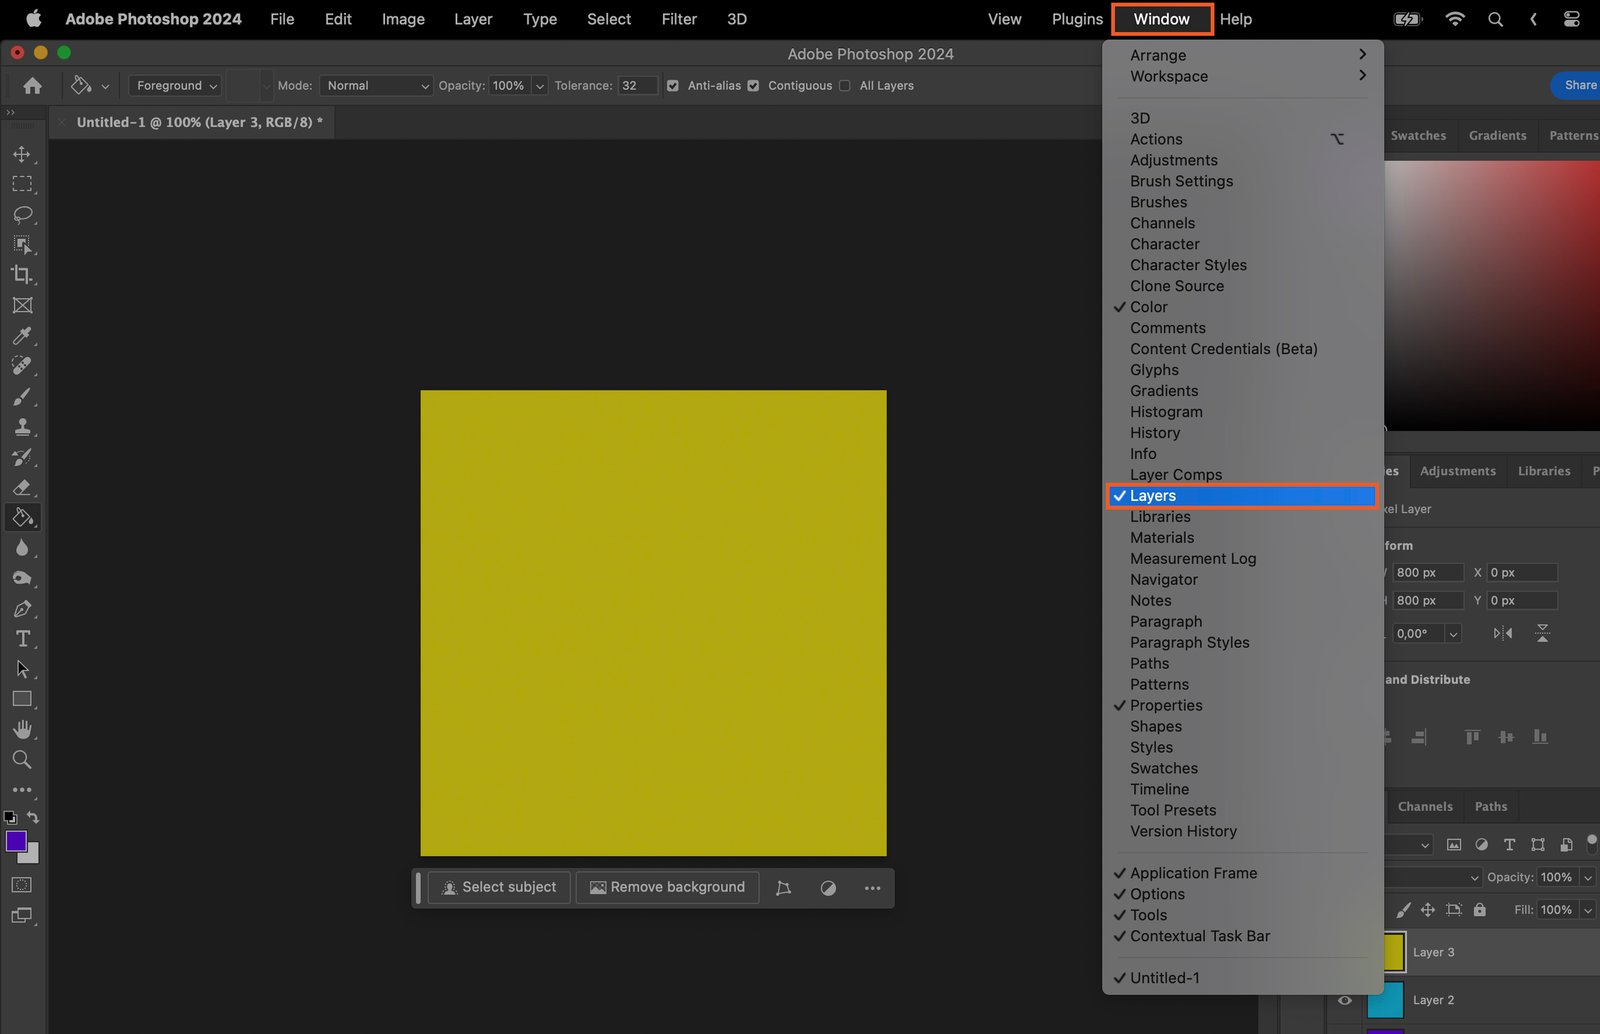
To start, you need to open the Layers panel. You can do this by going to the “Window” menu at the top of the screen, then selecting “Layers” from the drop-down menu. The Layers panel will appear on the right side of your screen.

A software program displaying a digital artwork with a yellow square and a black background.

Step 2. Select the Layers to Group

Once the Layers panel is open, you can start selecting the layers you want to group together. There are two ways to do this: using the Control key or the Shift key.

Step 2.1. Using the Control Key

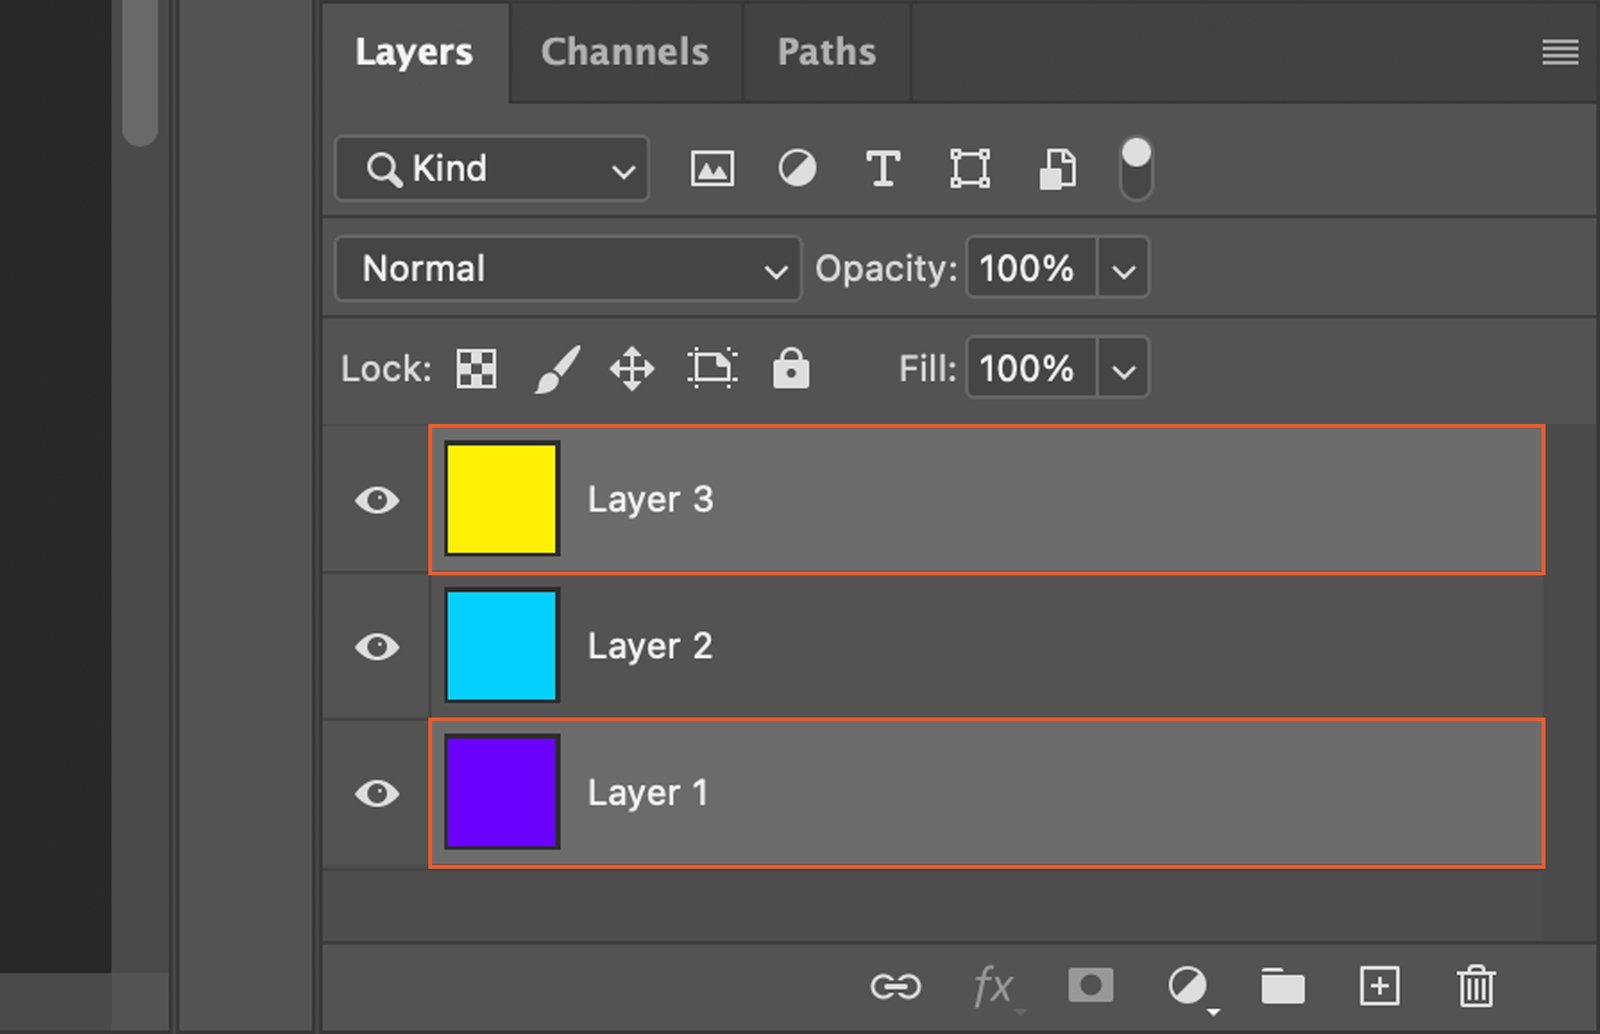
Hold down the Control key (Command key on Mac) and click on each layer that you want to include in the group. This method allows you to select multiple layers that are not next to each other.

A computer program with a tool for adding layers to an image, with the interface showing three color options at the bottom and a Lock option above them.

Step 2.2. Using the Shift Key

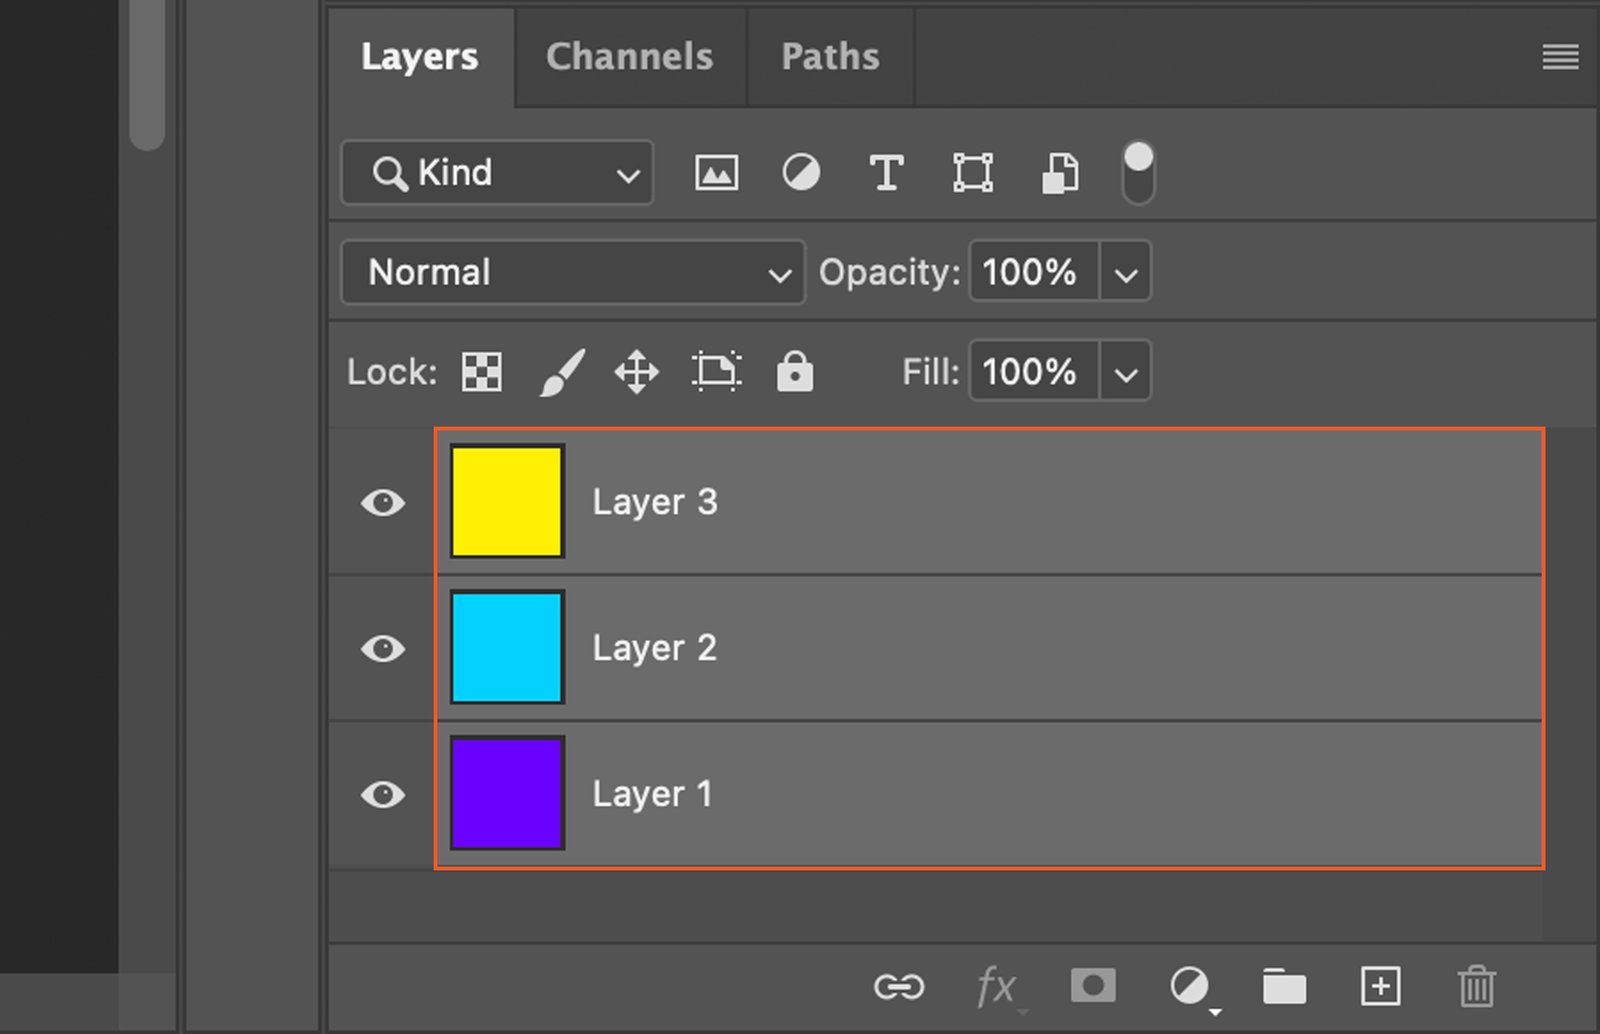
If the layers you want to group are next to each other, you can hold the Shift key and click on the first and last layer in the sequence. This will select all layers in between.

Aa digital art program open, displaying a layer panel with four layers.

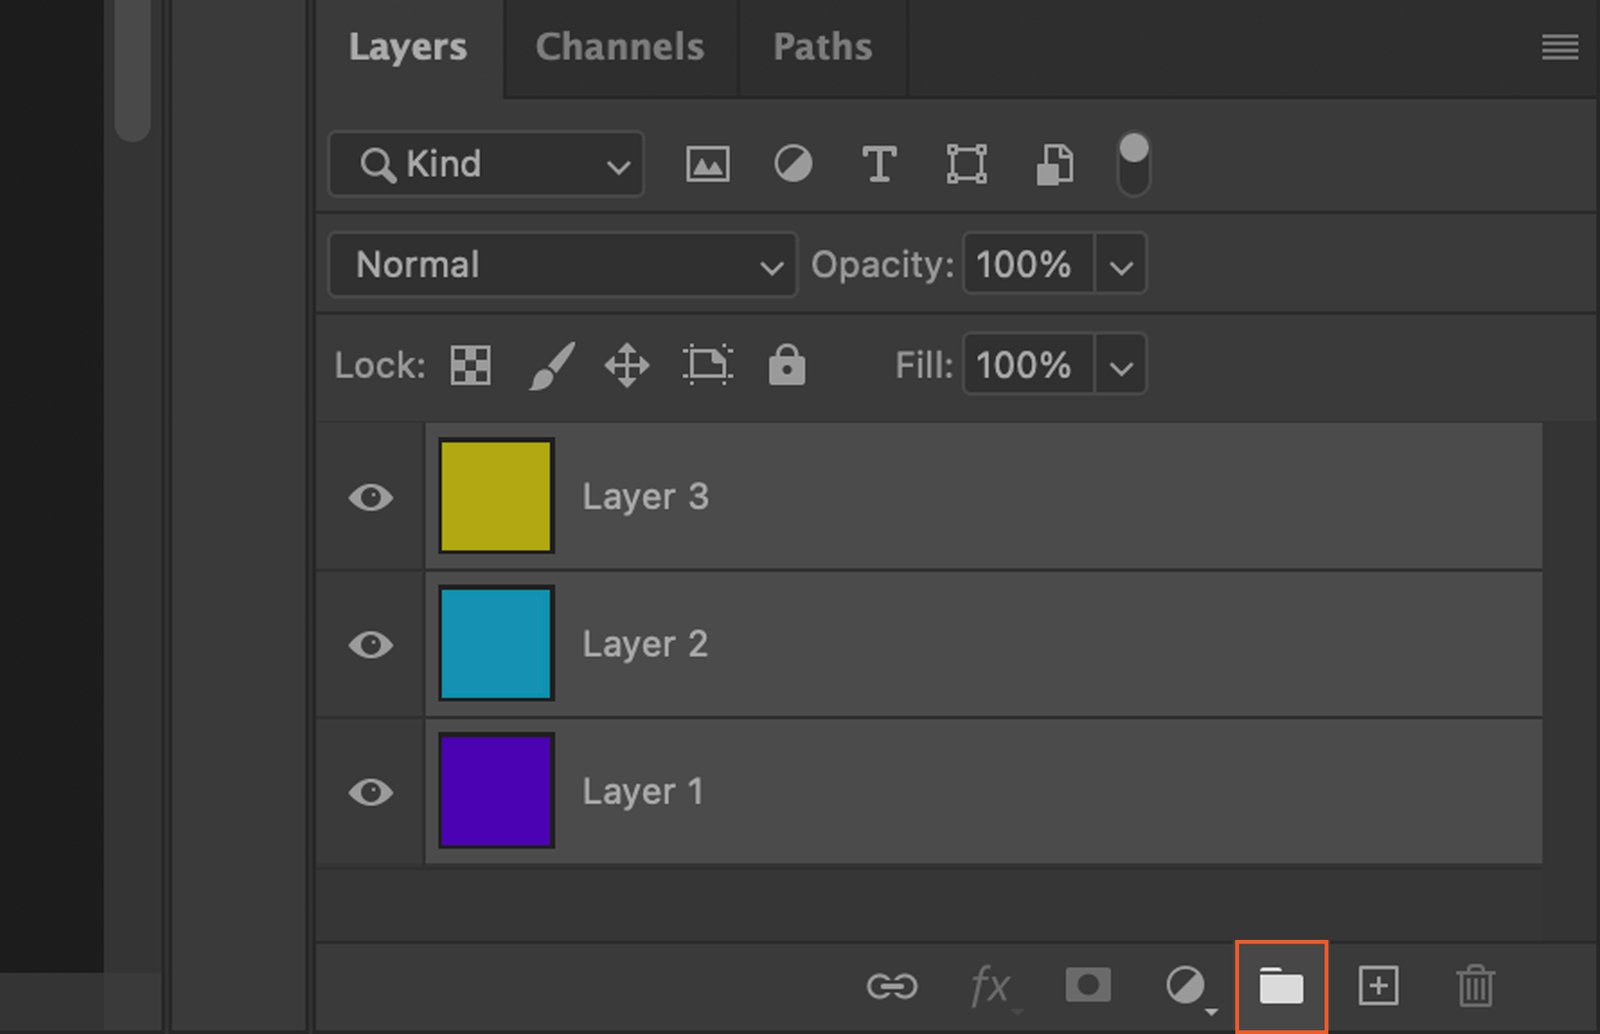
Step 3. Create a New Group

With your layers selected, click on the folder icon at the bottom of the Layers panel to create a new group. The selected layers will automatically move into this group.

A graphic design software showing a user interface with options to layer and adjust images.

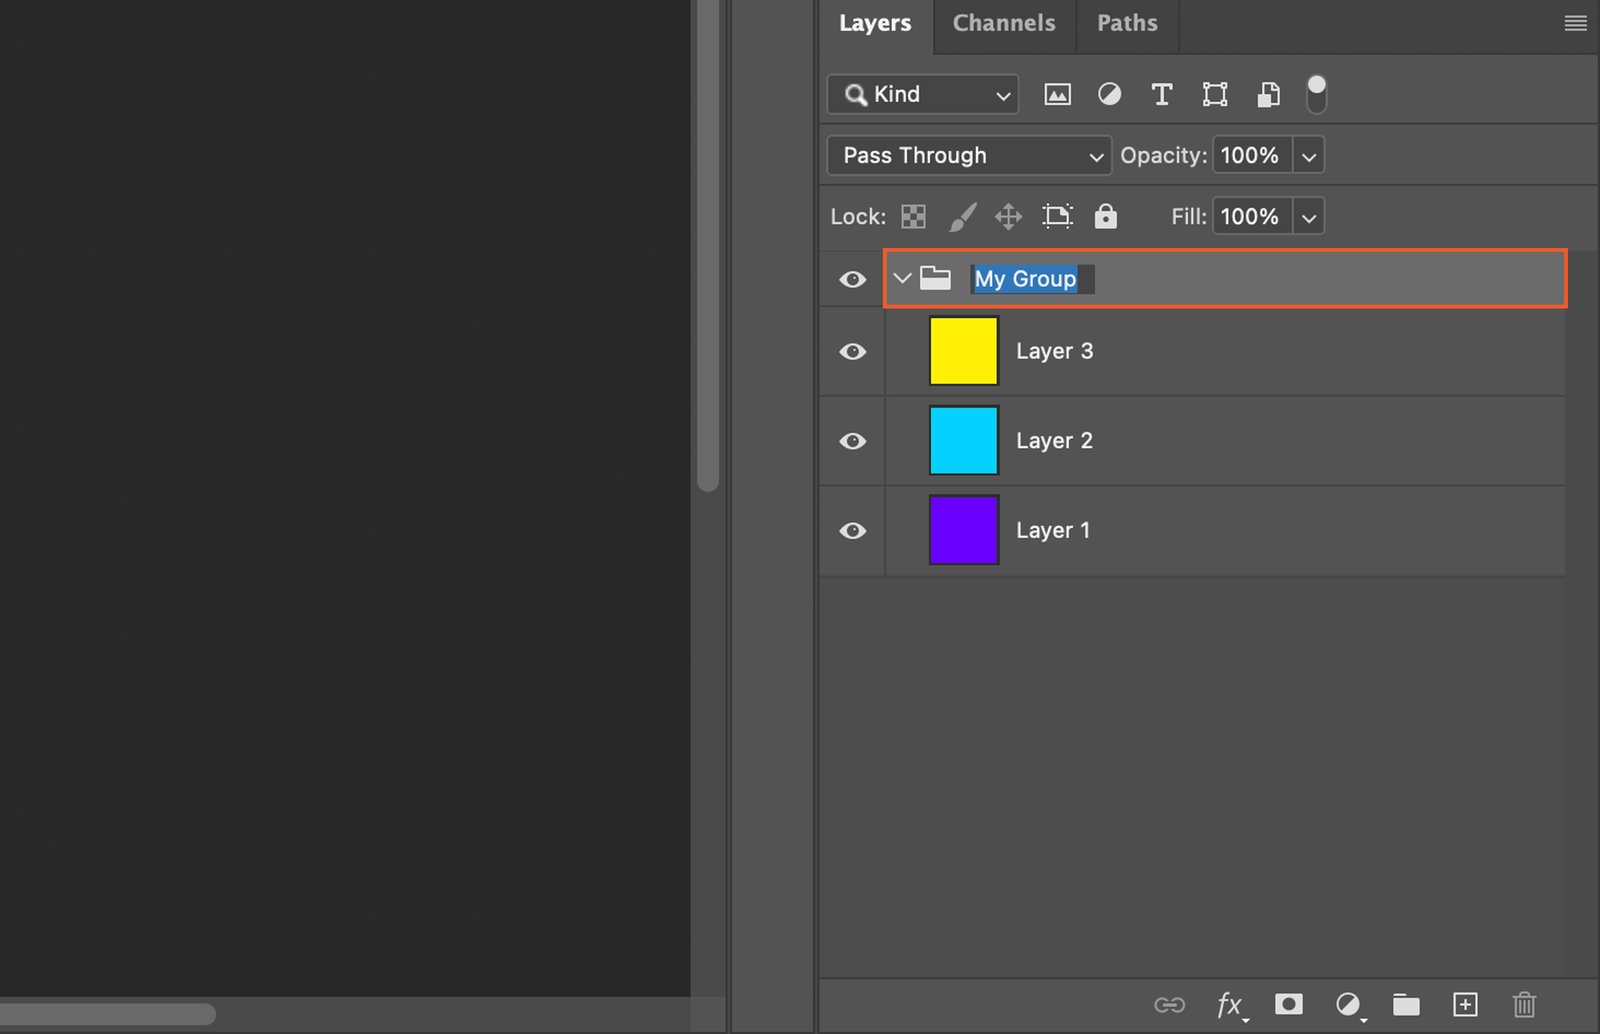
Step 4. Name the Group

Give the group a logical name to help you identify it later. Double-click on the group’s name in the Layers panel, type the new name, then hit Enter.

A graphic design software, showcasing its user interface with panels for adjusting layers and colors.

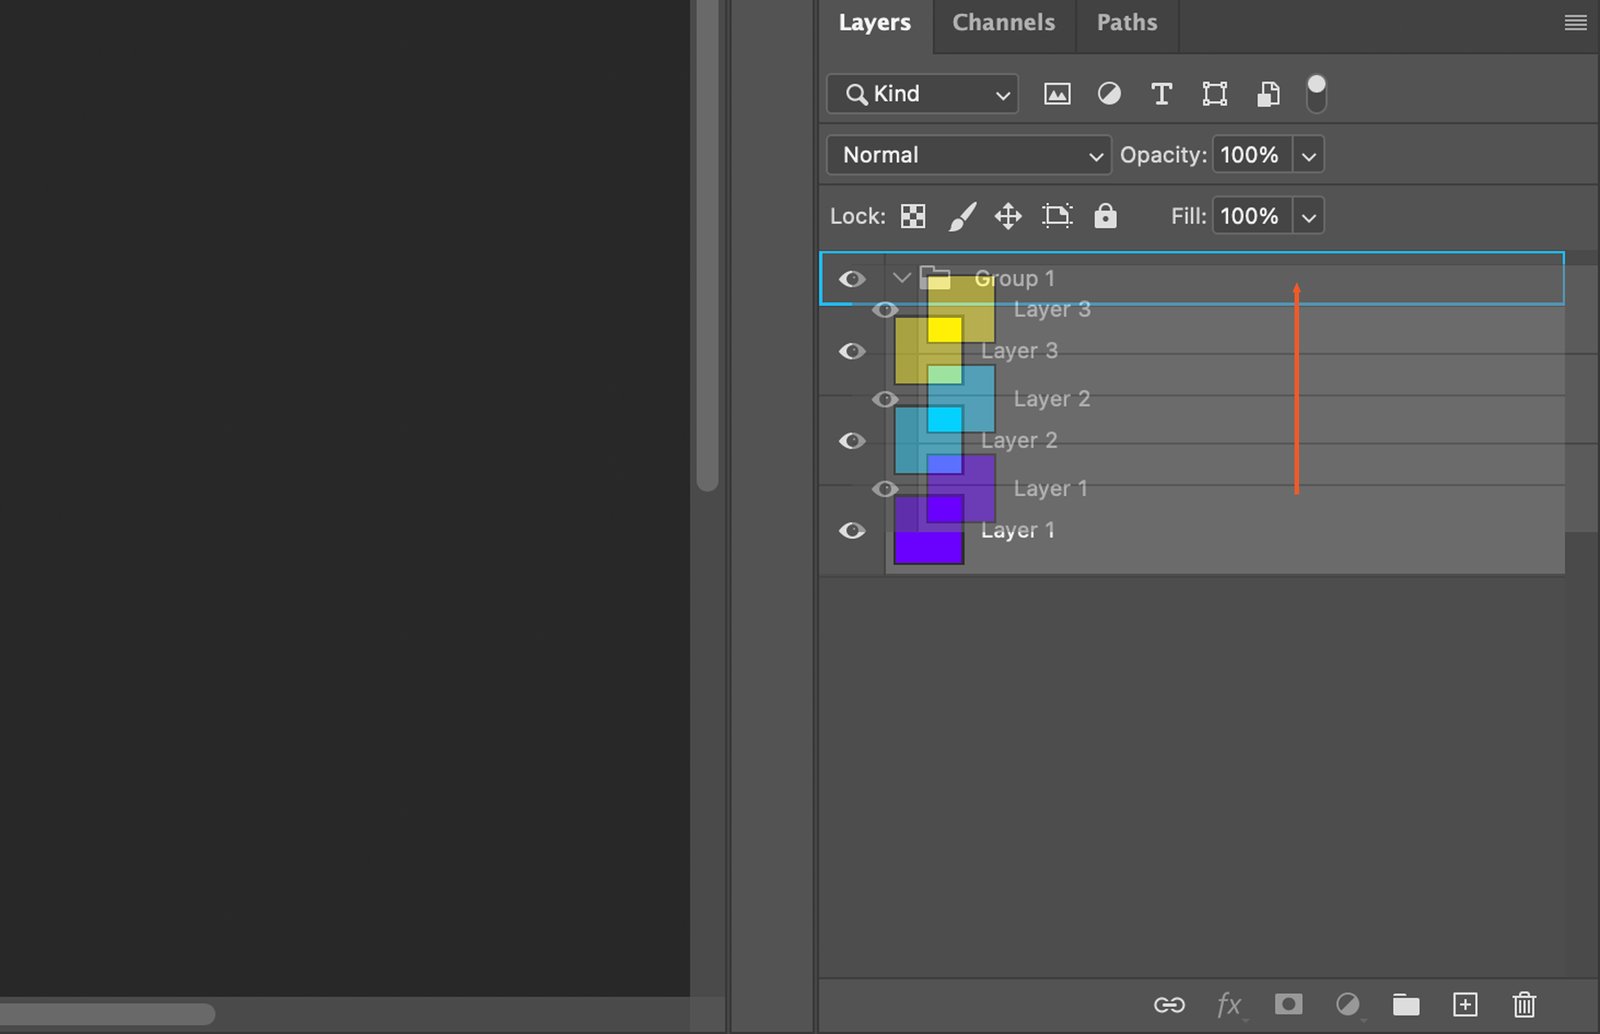
Step 5. Drag and Drop Layers into the Group

If you want to add more layers to the group, simply drag them from the Layers panel and drop them onto the group.

Adobe Photoshop open, displaying a palette of colors and showing the interface for a design application.

Step 6. Manage Grouped Layers

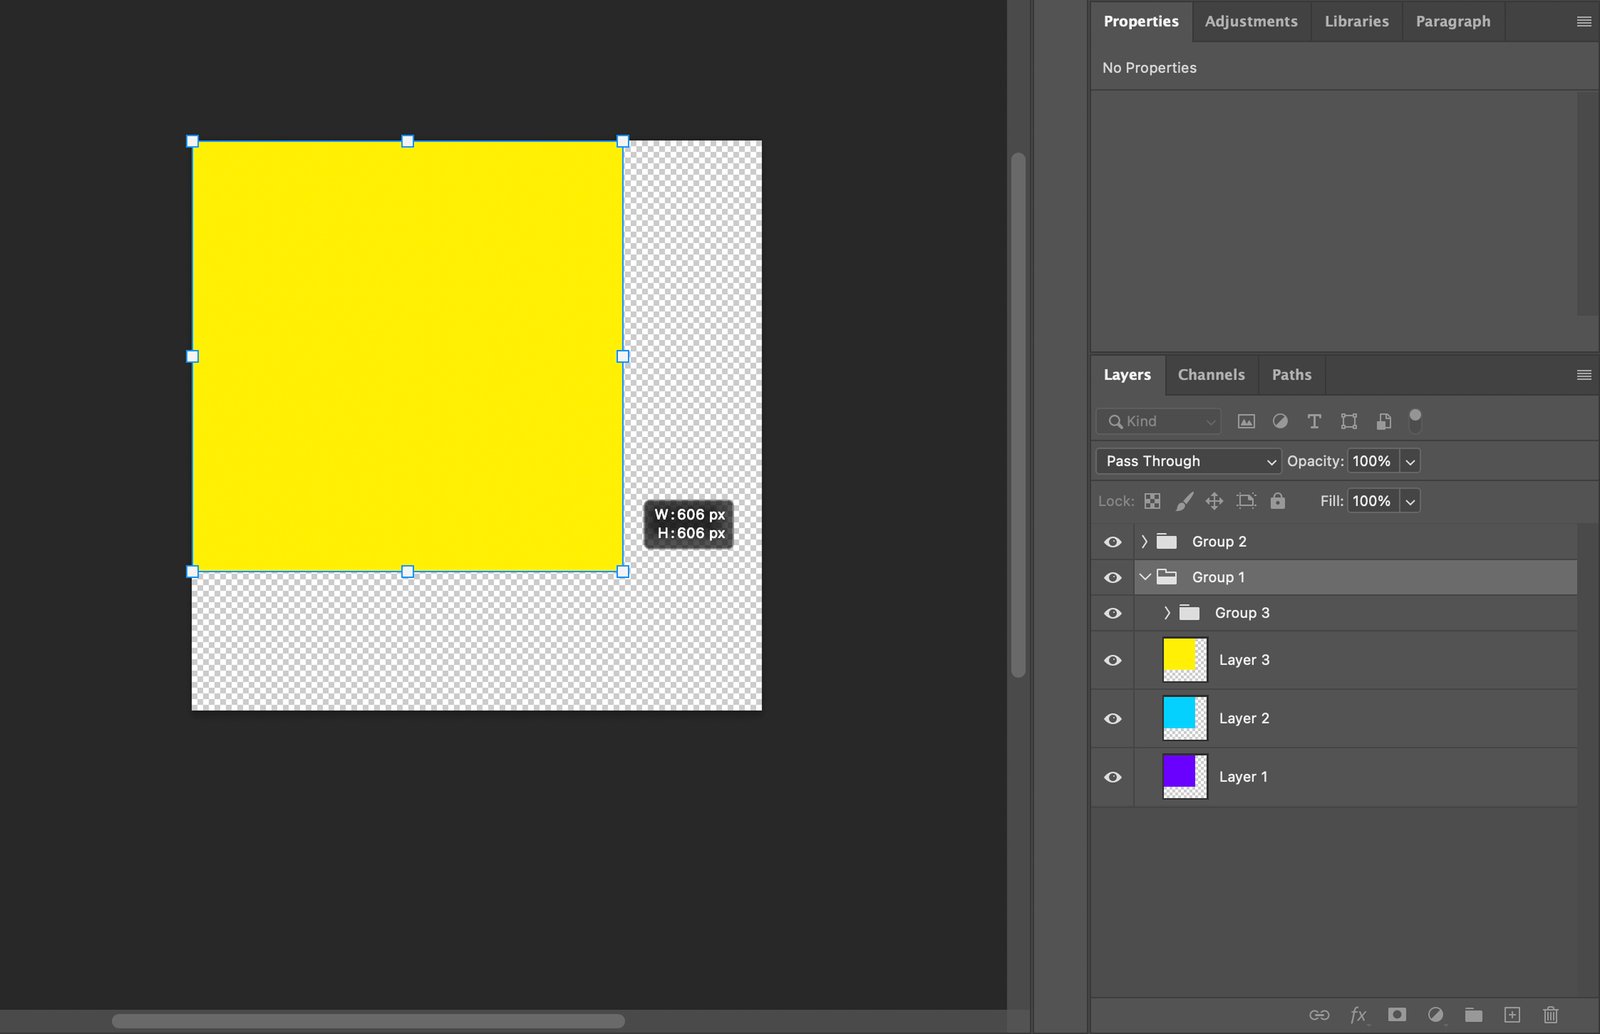
After grouping the layers, you can manage them collectively. This includes adjusting their opacity, blend modes, position, and size.

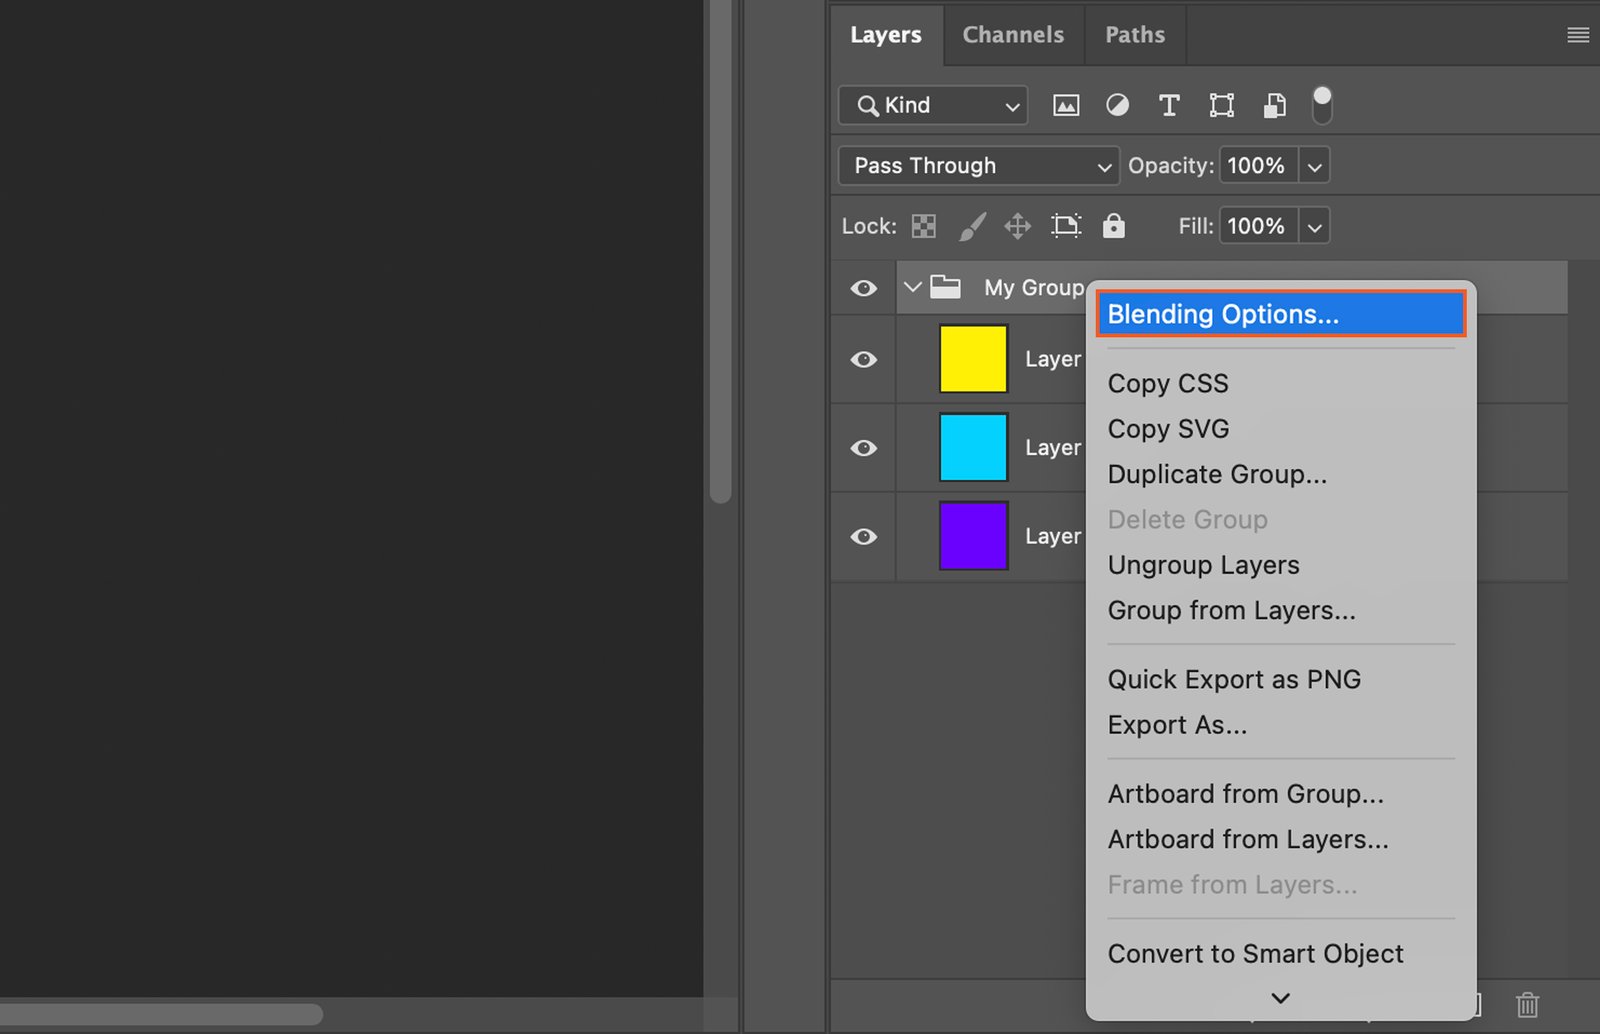
Step 6.1. Adjusting Opacity and Blend Modes

To adjust the opacity or blend mode of the entire group, select the group in the Layers panel, then use the Opacity and Blend Mode drop-downs at the top of the panel.

Tthe steps of creating a blend option in an Adobe Photoshop interface.

Step 6.2. Moving and Transforming Grouped Layers

To move or transform the entire group, select the group in the Layers panel, then use the Move tool or the Transform commands under the Edit menu.

Adobe Photoshop with a yellow object displayed on the screen along with interface elements.

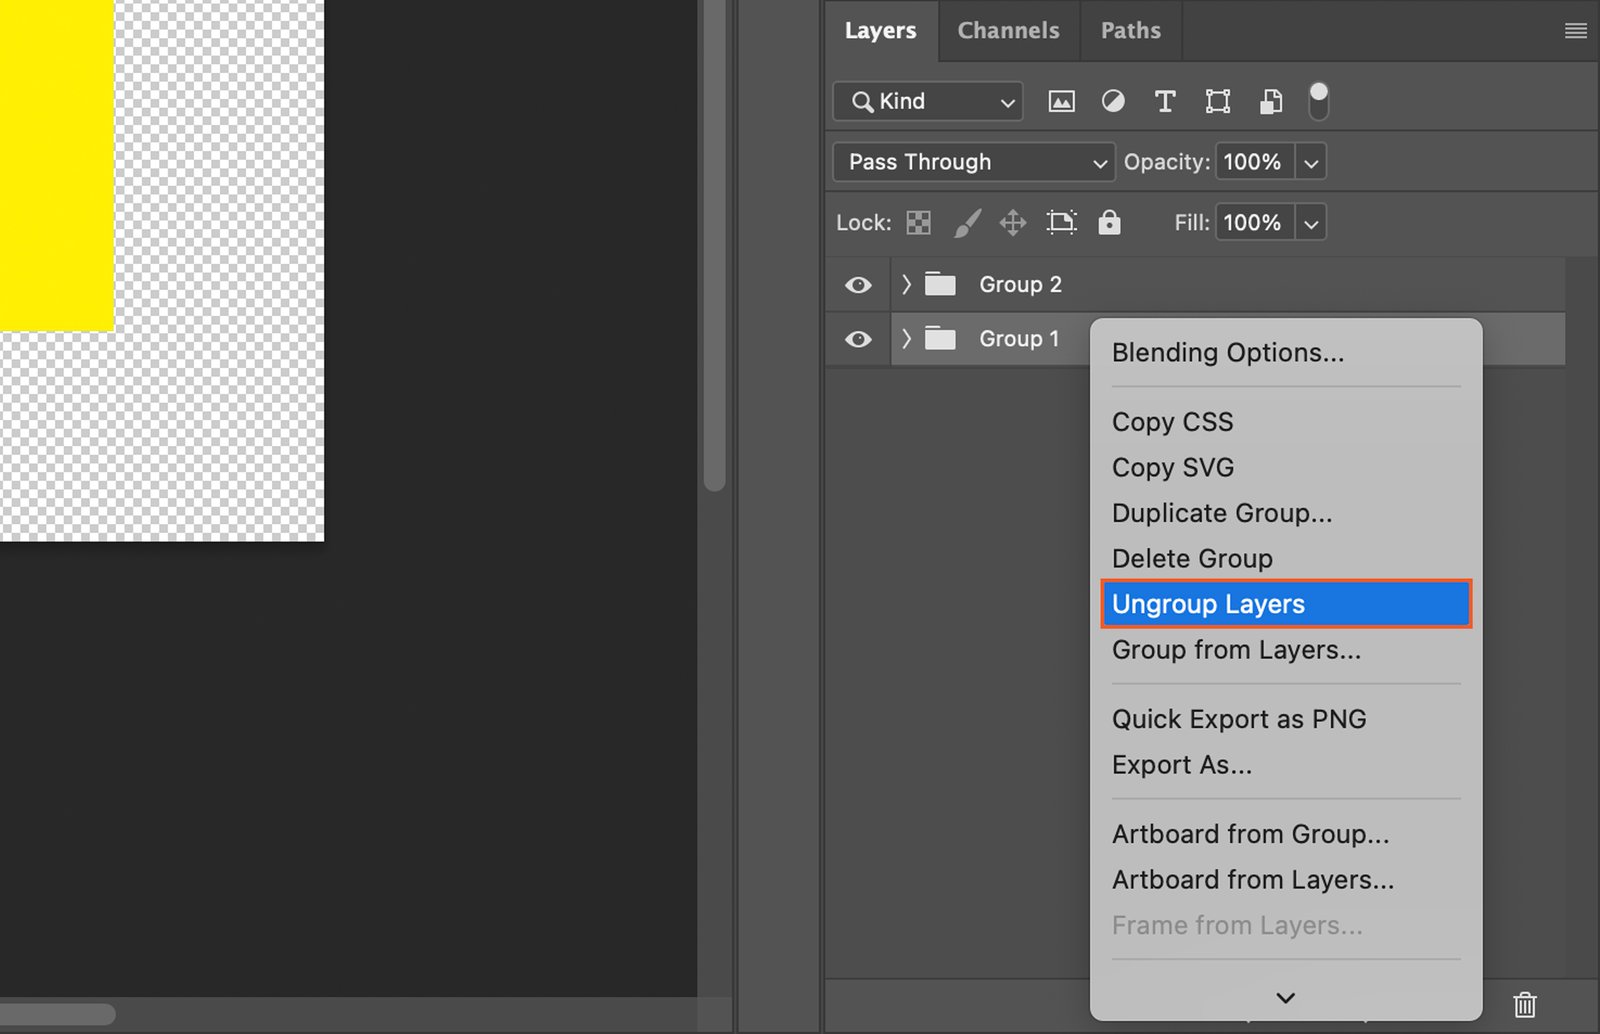
Step 7. Ungrouping Layers

If you want to ungroup layers, right-click on the group in the Layers panel and select “Ungroup Layers”. The layers will move out of the group and back into the main Layers panel.

A graphic design software, highlighting its interface and the process of creating or editing a pattern.

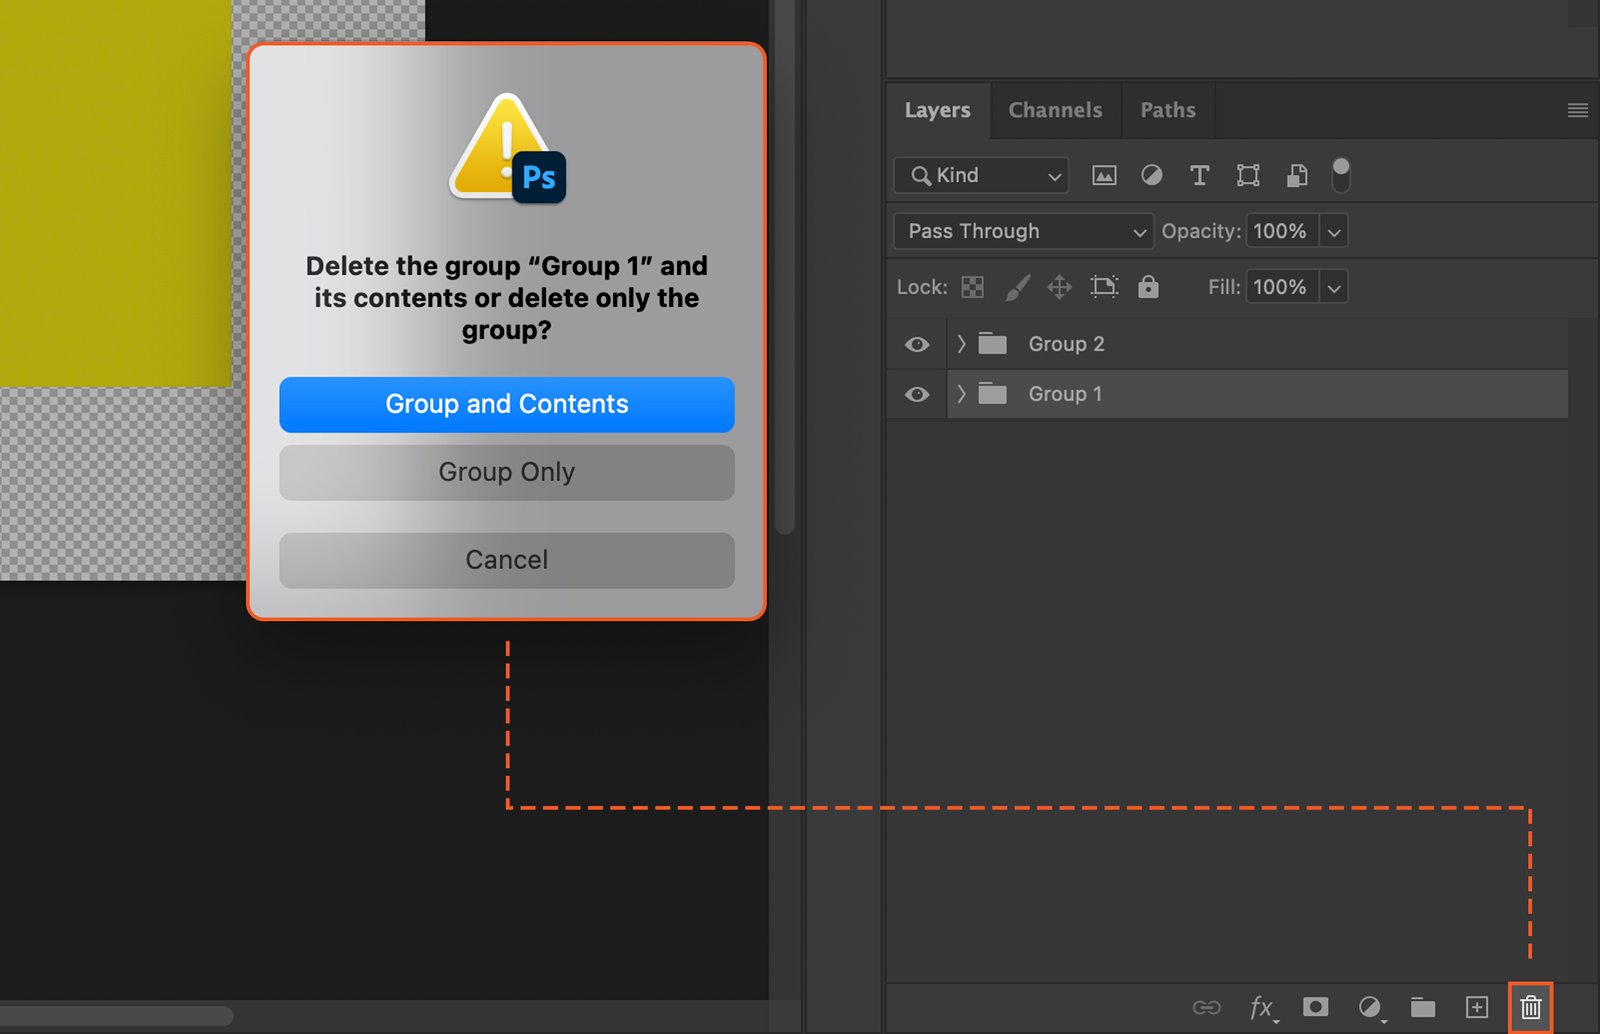
Step 8. Deleting a Group

To delete a group, select it in the Layers panel and hit the Delete key. You can choose to dlete the Group and Contents or the Group Only.

A graphic design software interface with a pop-up prompt to create a new group and some text elements pointing towards the prompt.

Sidebar-ad_QCC_related-product
Sidebar-ad_QCC_free-sample_
Sidebar-ad_QCC_free-download_2-posters

Popular Content

Fujifilm X-T200 Review (Should You Buy This Camera in 2024?)

Read Article