Inverting colors in Photoshop can breathe new life into your images, offering a fresh, artistic perspective. This article guides you through this simple process, ultimately enhancing your skills and expanding your creative toolkit.
To start, find and click on the “Image” option located on the top menu bar of Photoshop. This will open a dropdown menu where you can access various editing tools.

From the dropdown menu, you will see the “Adjustments” option. Click on this to reveal a sub-menu with different color and lighting adjustment tools.

In the “Adjustments” sub-menu, locate and select the “Invert” option. This will reverse the colors in your image, turning light to dark and vice versa.

After inverting, you might want to adjust the color balance to achieve the desired effect. You can do this using either the Color Balance tool or the Levels tool.
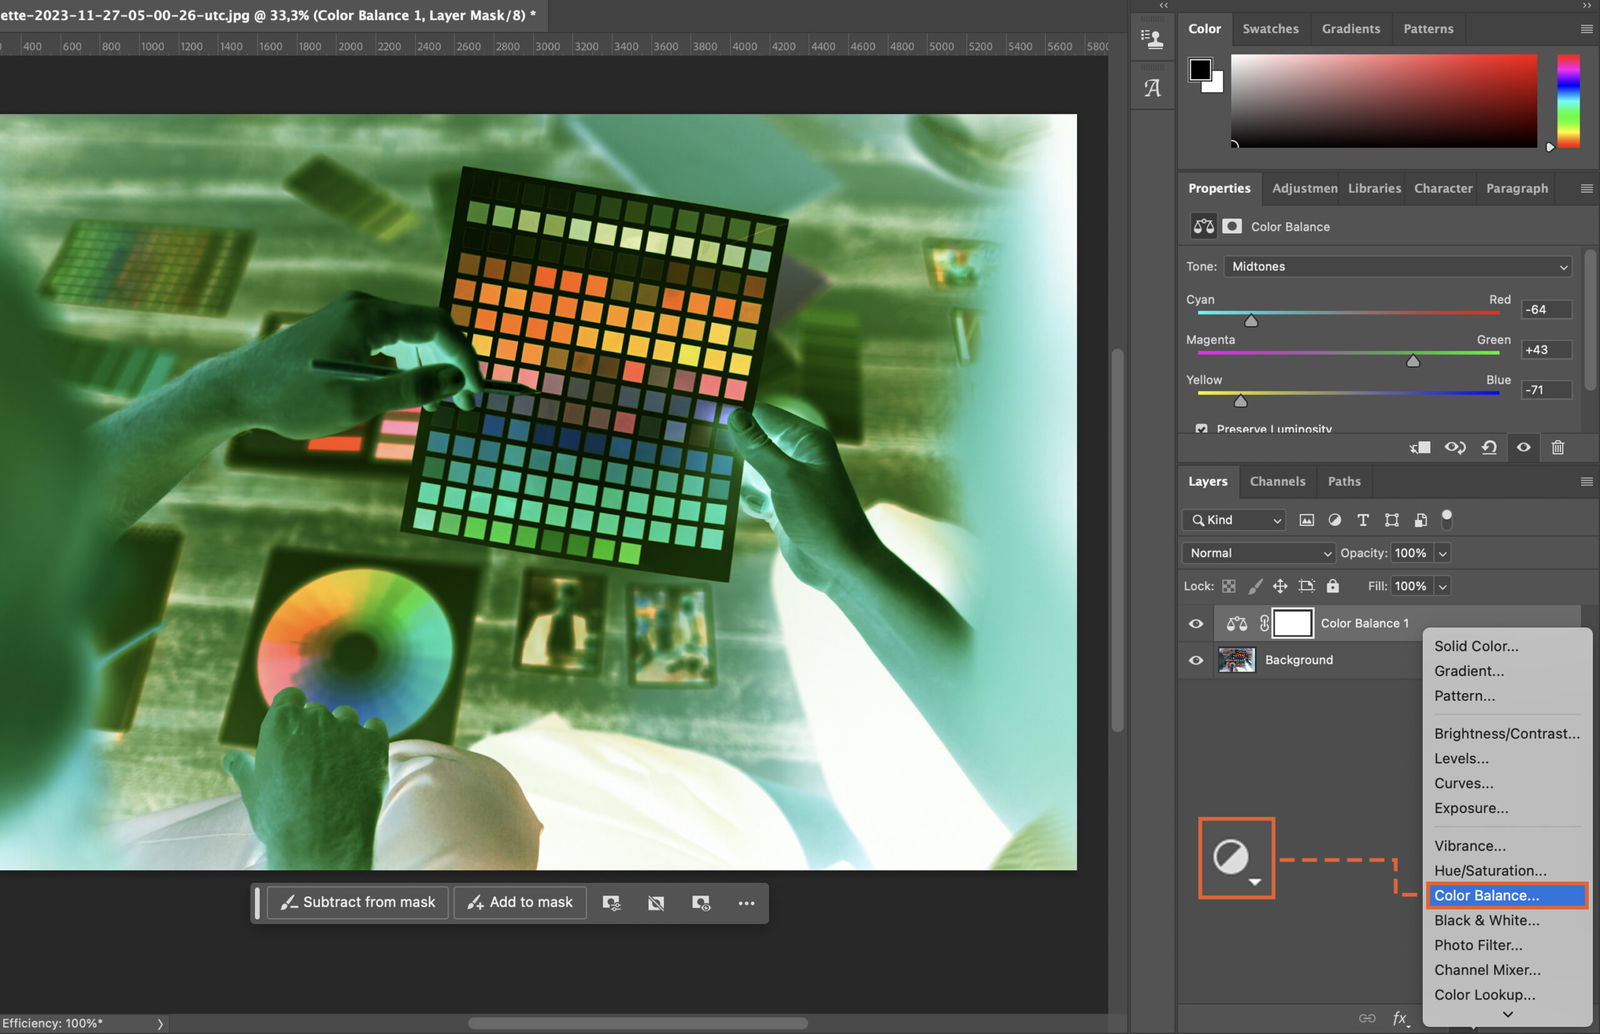
For finer control over the color scheme, use the Color Balance tool. Find it under the “Adjustments” sub-menu. This tool allows you to adjust the colors in the shadows, midtones, and highlights of your image.
Alternatively, use the Levels tool, also under the “Adjustments” sub-menu, to adjust the intensity of the shadows, midtones, and highlights. Move the sliders for each to find a balance that suits your image.

To enhance the visual impact of your image, you might need to adjust the contrast. Go to the “Image” menu, then “Adjustments”, and select “Brightness/Contrast”. Tweak the sliders until you’re satisfied with the image’s contrast.

Once you’re happy with the changes, it’s time to save your image. Go to the “File” menu on the top bar and select “Save”. Choose your desired format and location, then click “Save” to finish.


