Adjusting your white balance in Lightroom is one of the most convenient ways to color-correct your photographs. Shooting in different light conditions can cause unwanted color casts over our images. Adobe Lightroom provides a range of different ways to counter this color cast.
Many cameras can automatically adjust the white balance. But there are times when you will need to adjust it manually. Today, we will guide you through the quickest and most accurate ways to adjust the white balance in Lightroom.

What is White Balance?
The white balance is an adjustment in cameras that allows the color spectrum in our photos to be as close to our eye as possible. We perceive color in different lighting environments; the white balance adjusts the neutral point to account for the cast from different light sources.
By adjusting the neutral point in your photos, the cast will disappear and make all the other colors accurate. This saves our photographs from having terrible colors when photographing in unfavorable lighting conditions.

How to Adjust White Balance in Lightroom
There are a few different ways to adjust your white balance in Lightroom. Adobe Lightroom is a brilliant program for adjusting white balance, thanks to its simplicity and color accuracy.
1. Using Presets
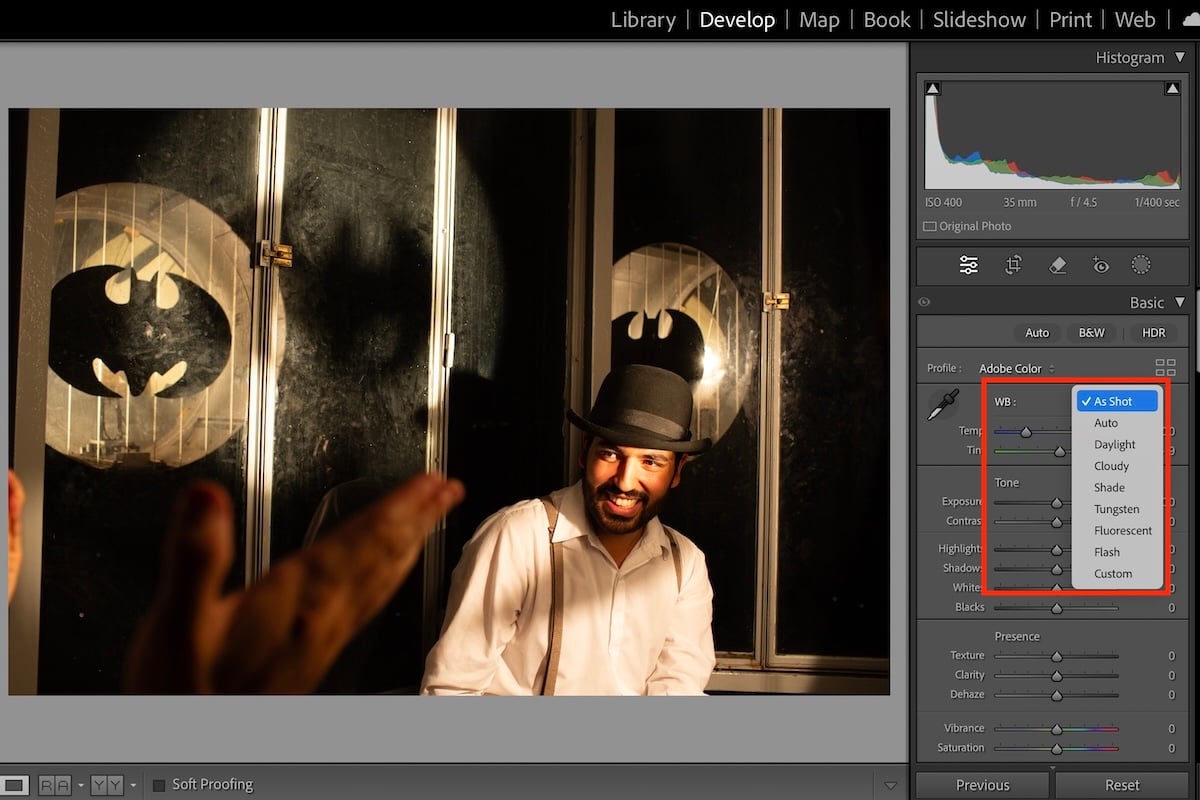
The first example you will come across is a dropdown menu that houses a range of Presets for white balance settings. These Presets combat different lighting situations. So, each preset takes the name of a different type of light.
Use the dropdown menu to select the lighting environment that matches your picture. You will notice a drastic change in the colors of your photograph and the histogram.
The results from the dropdown menu for white balance in Lightroom will not be extremely accurate. Therefore, you may want to adjust the Temp and Tint sliders for more accurate results. Read below for more on this technique.
The presets for white balance in Lightroom are a great quick solution, but they likely need fine-tuning. So, these results are best for quickly editing your white balance.
Below, you can see that I first tried to see how the Tungsten preset looked. I then used the Fluorescent preset, which was much closer to the correct colors. I finally made some adjustments, and the white balance now looks much more accurate than the initial photo.


2. Using the Temp and Tint Sliders
The most customizable way to adjust the white balance in Lightroom is through the Temp and Tint sliders. This method is crucial to master if you want to take photo editing seriously.
If you master this method, you can create your own custom color casts, not just color-correcting the image.
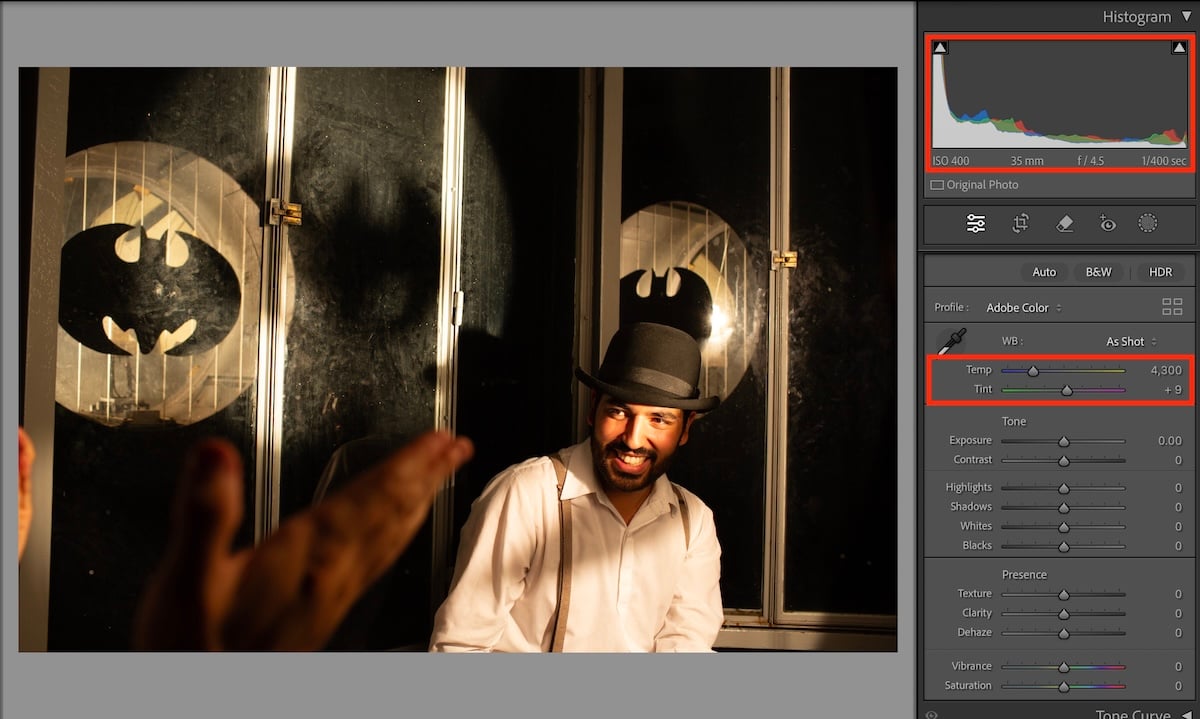
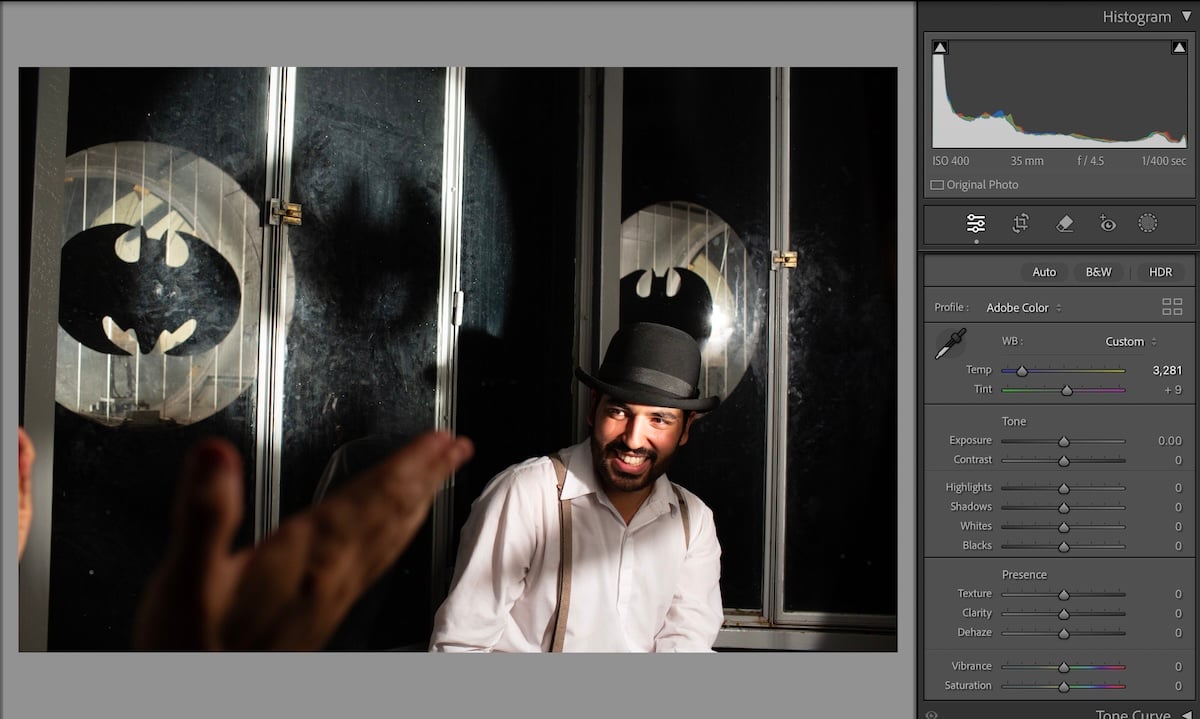
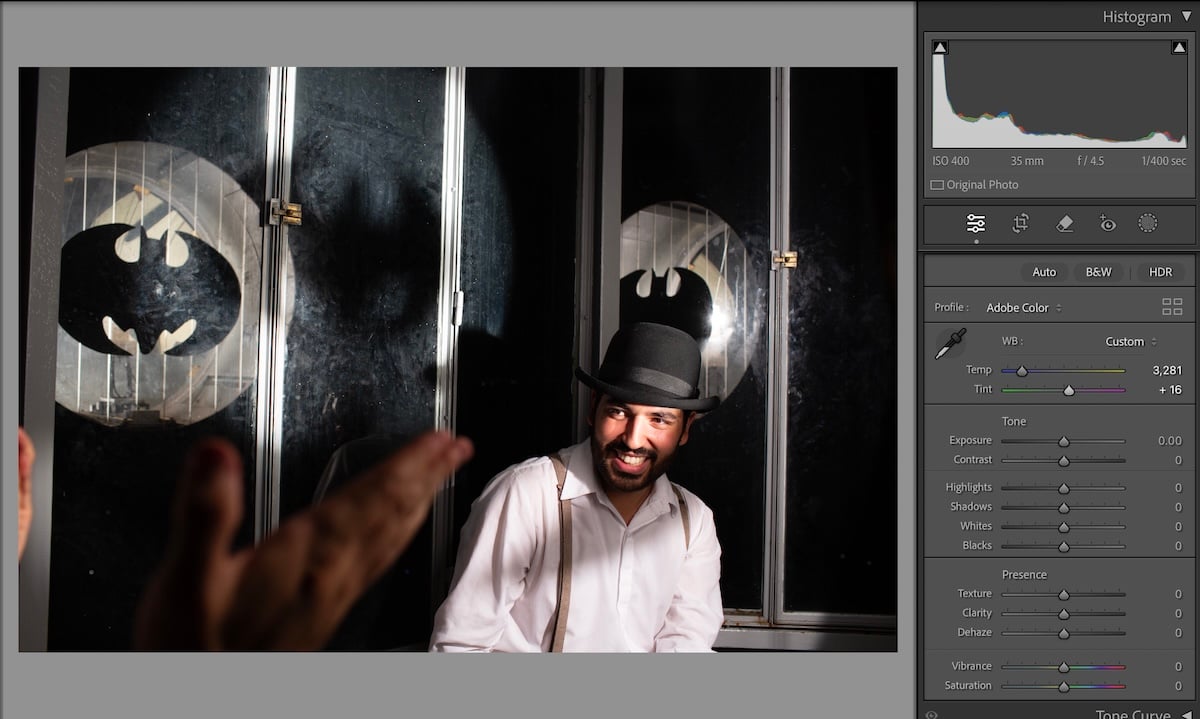
When using the Temp and Tint sliders, we must use our eyes to determine the best results. Although, a big help can come from understanding the histogram.
The histogram in Lightroom includes different colors for the different color channels. You will see individual red, green, and blue channels. A rule of thumb to get your white balance close to being accurate is to have all the colors line up.
The histogram method will get your colors close but not exactly right. You must use your eye to determine if your images need more green or pink, yellow or blue.
Keep an eye on the histogram in the example below.
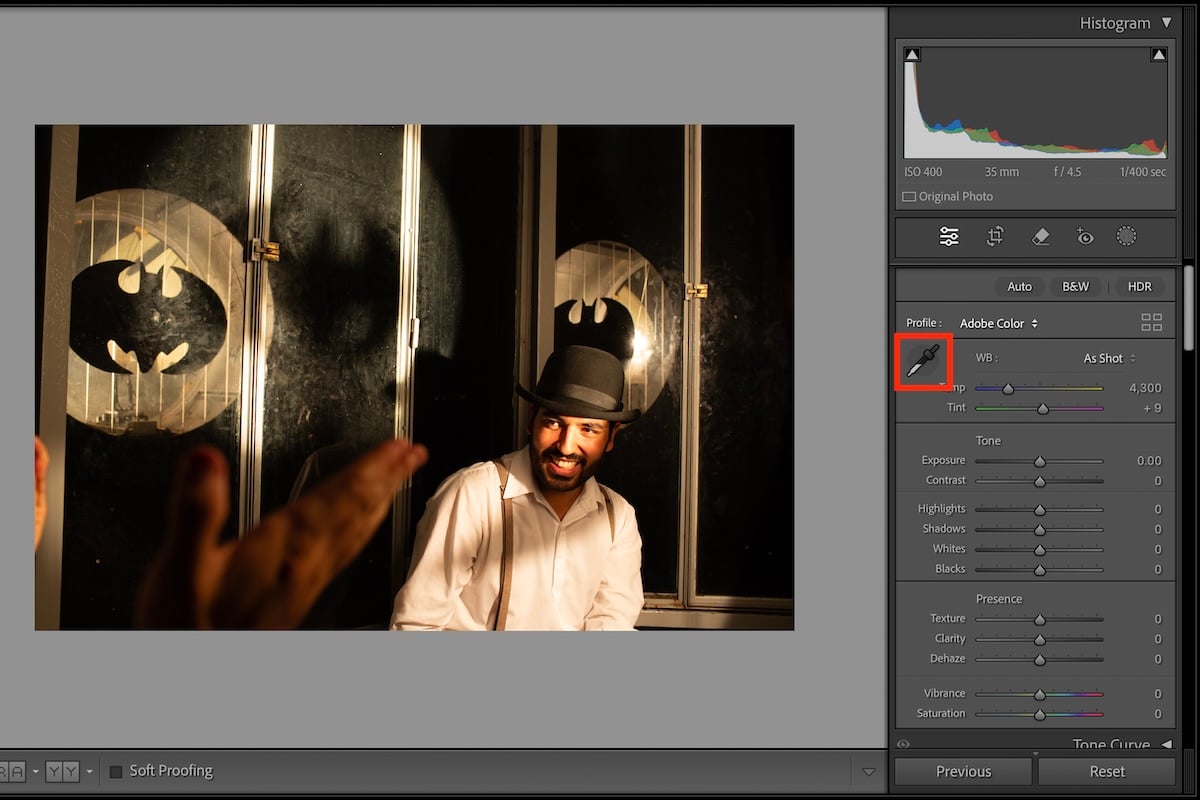
3. White Balance Selector
The White Balance Selector is the quickest and most accurate method to color-correct your images. This dropper is to the left of the 'WB' dropdown menu.
The White Balance Selector only works extremely accurately with a grey card. A grey card is a card with neutral grey on it then you will put in one of your photographs. By photographing the card once, you can set the white balance for your entire photoshoot.
A grey card is crucial for any studio photographer, but you can always use it in any environment. Be mindful that the color temperature will change quickly if you shoot outside.
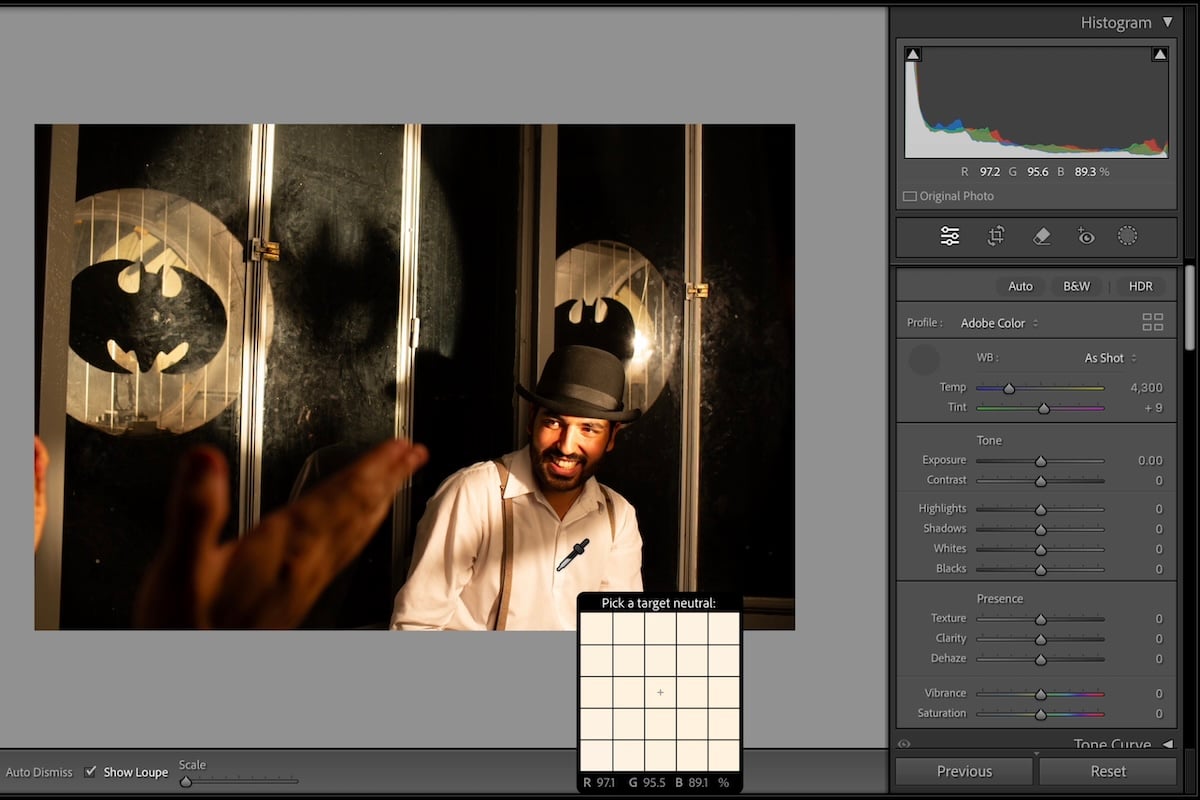
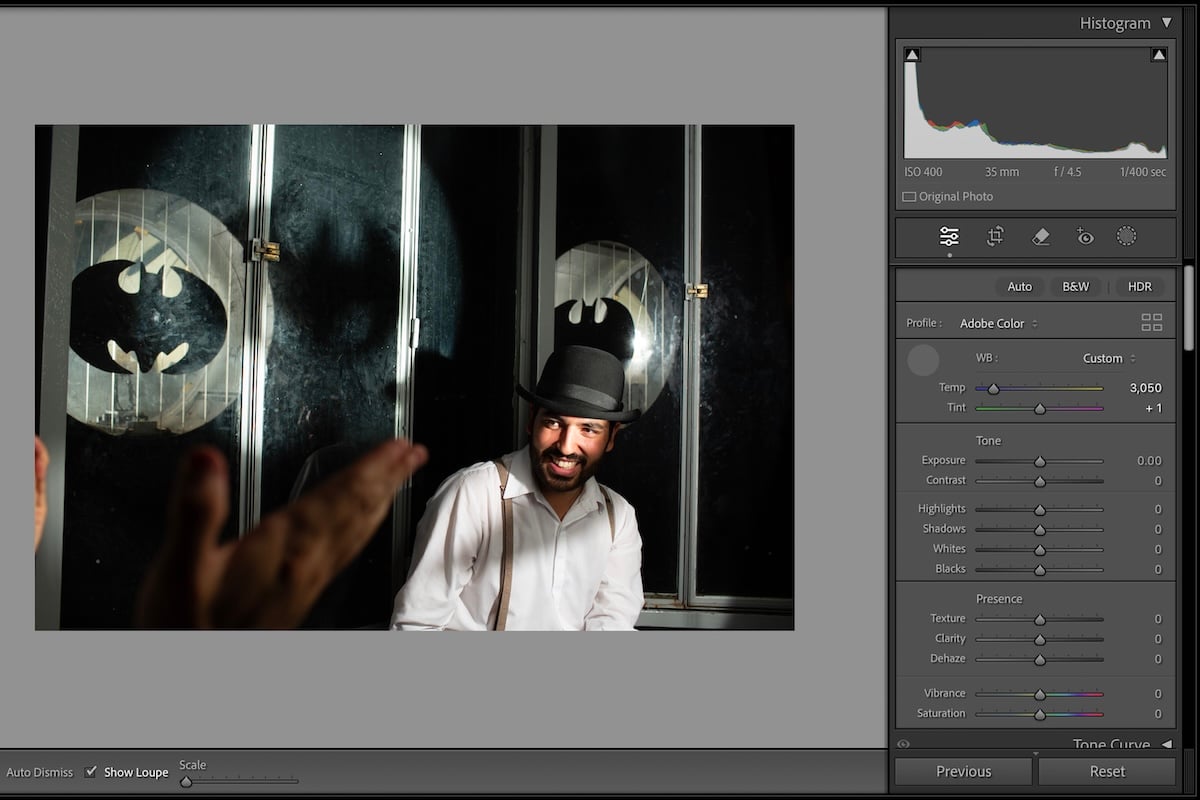
Using the White Balance Selector, click the grey card, and Lightroom will automatically adjust the Temp and Tint sliders to counter the color cast.
You can use the White Balance Selector without a grey card by finding an area that should be neutral white or grey in your photo. The results will not be accurate, but they will help you get started. Especially on images where there is a strong color cast.

Conclusion: White Balance in Lightroom
Adjusting the white balance in Lightroom is easy. There are some different ways to get rid of your color cast, and each method allows for further customization. Adobe Lightroom has great color management, so the correction will always look natural inside this software.
It can be hard to perfect the white balance by eye. If the white balance is crucial to your results, it is best to buy a grey card so you can get perfect results.