Creating a mockup in Photoshop can seem daunting, but it doesn’t have to be. This guide simplifies the process, helping you visualize your design in a realistic context. Mastering this skill can enhance your project presentations and boost client satisfaction.
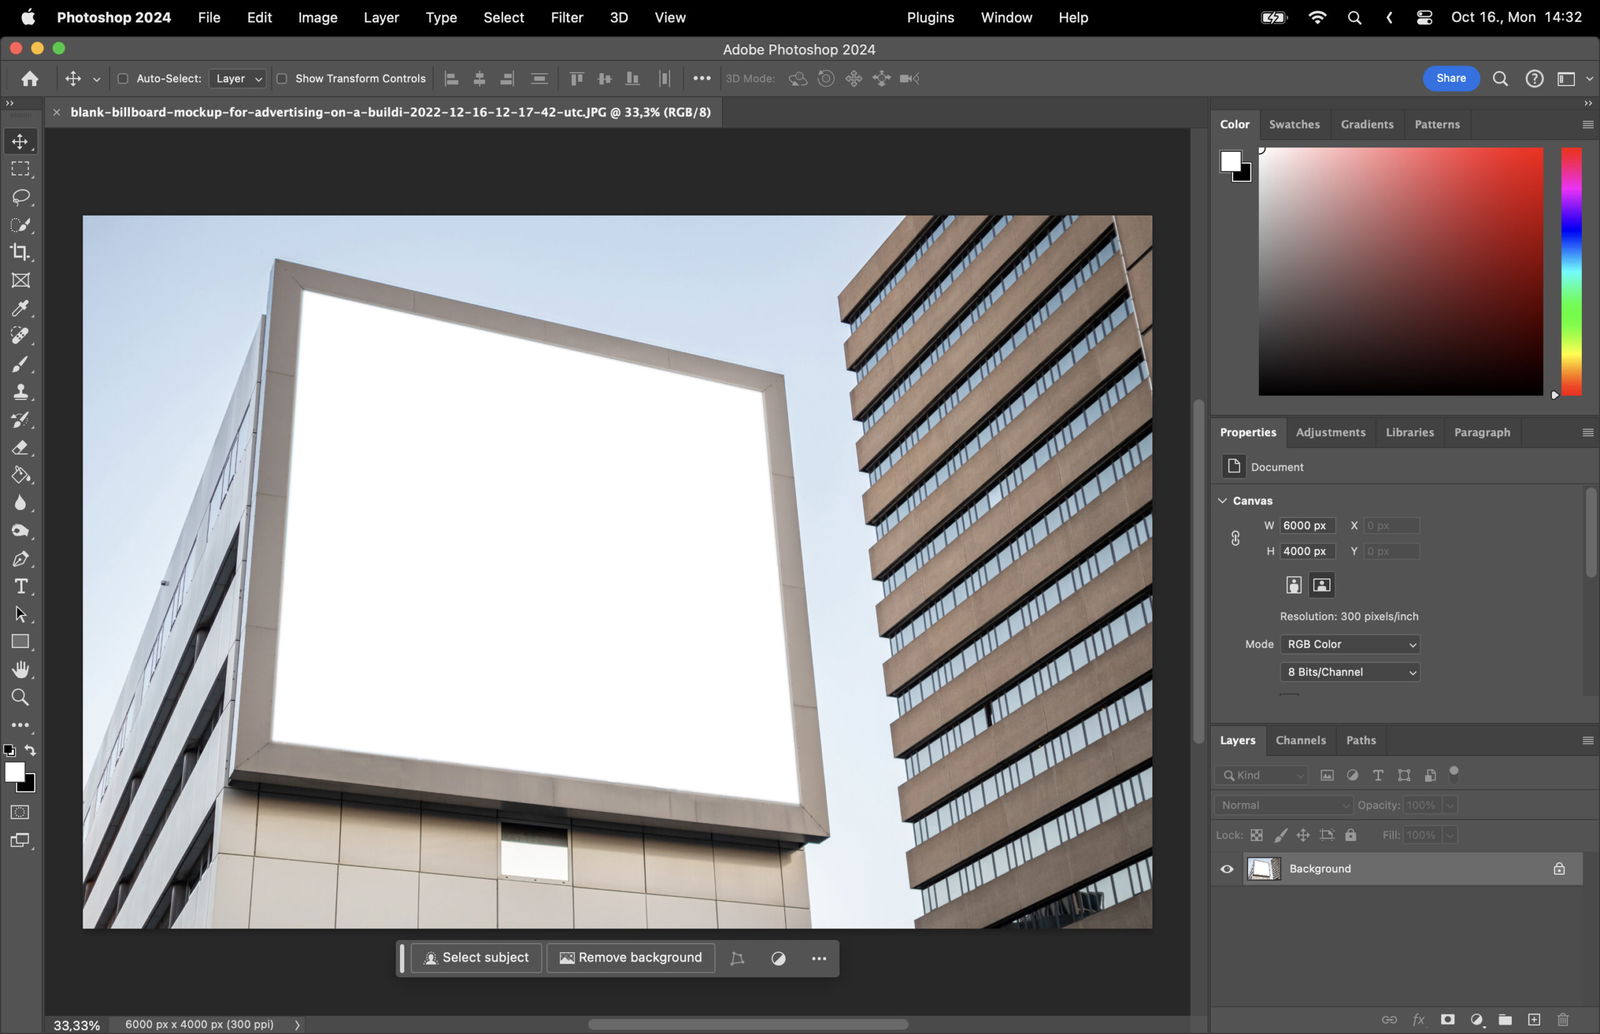
Choose the image where you intend to position and incorporate your design. This will be the base image for your project.
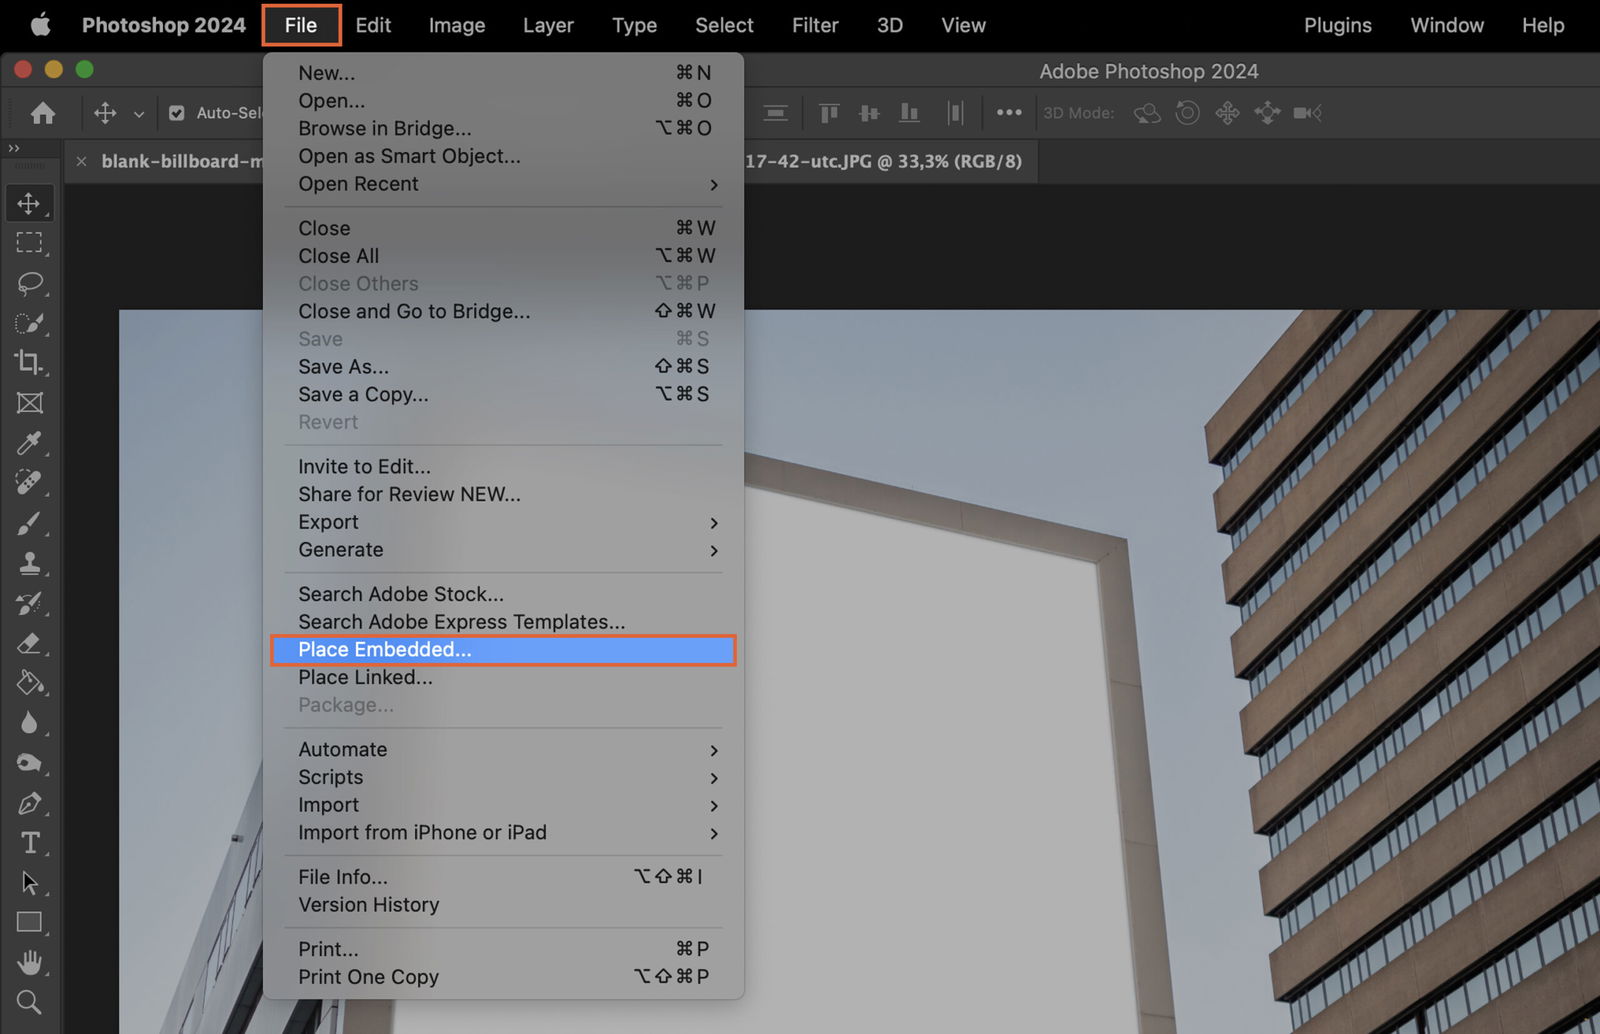
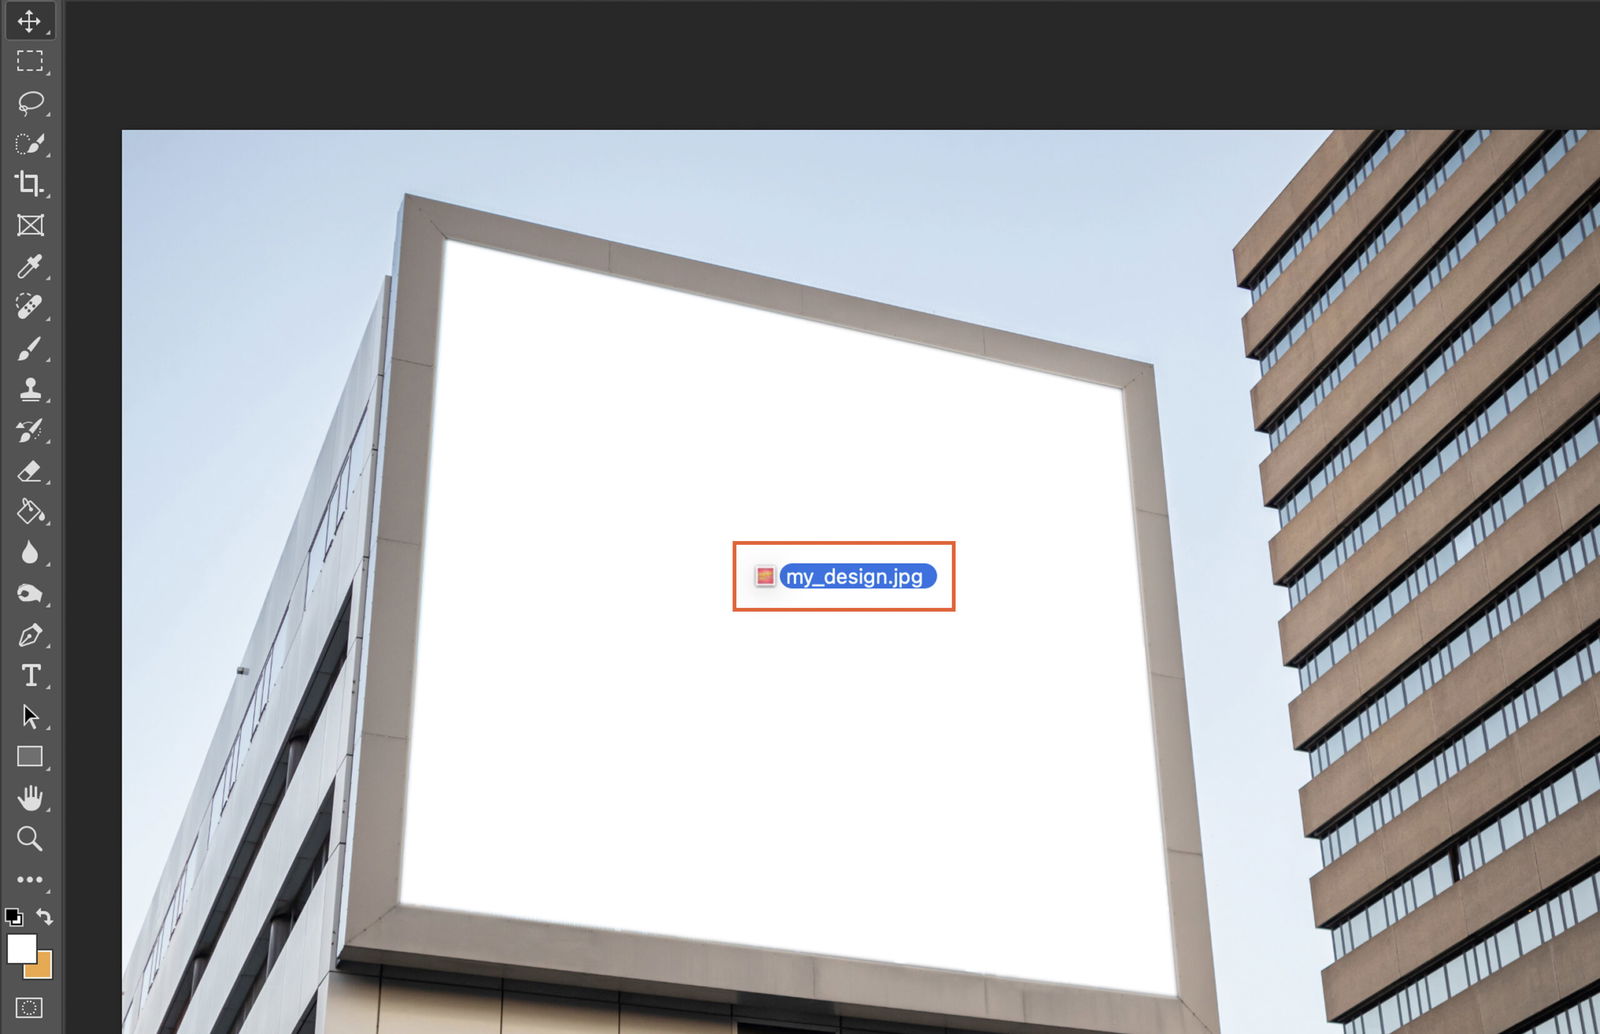
After setting up your workspace, import your design into the project.
To use the ‘Place’ command, click ‘File’, then ‘Place Embedded’. Locate your design file and click ‘Place’.
Alternatively, you can drag and drop your design file directly into the Photoshop workspace from your file explorer.
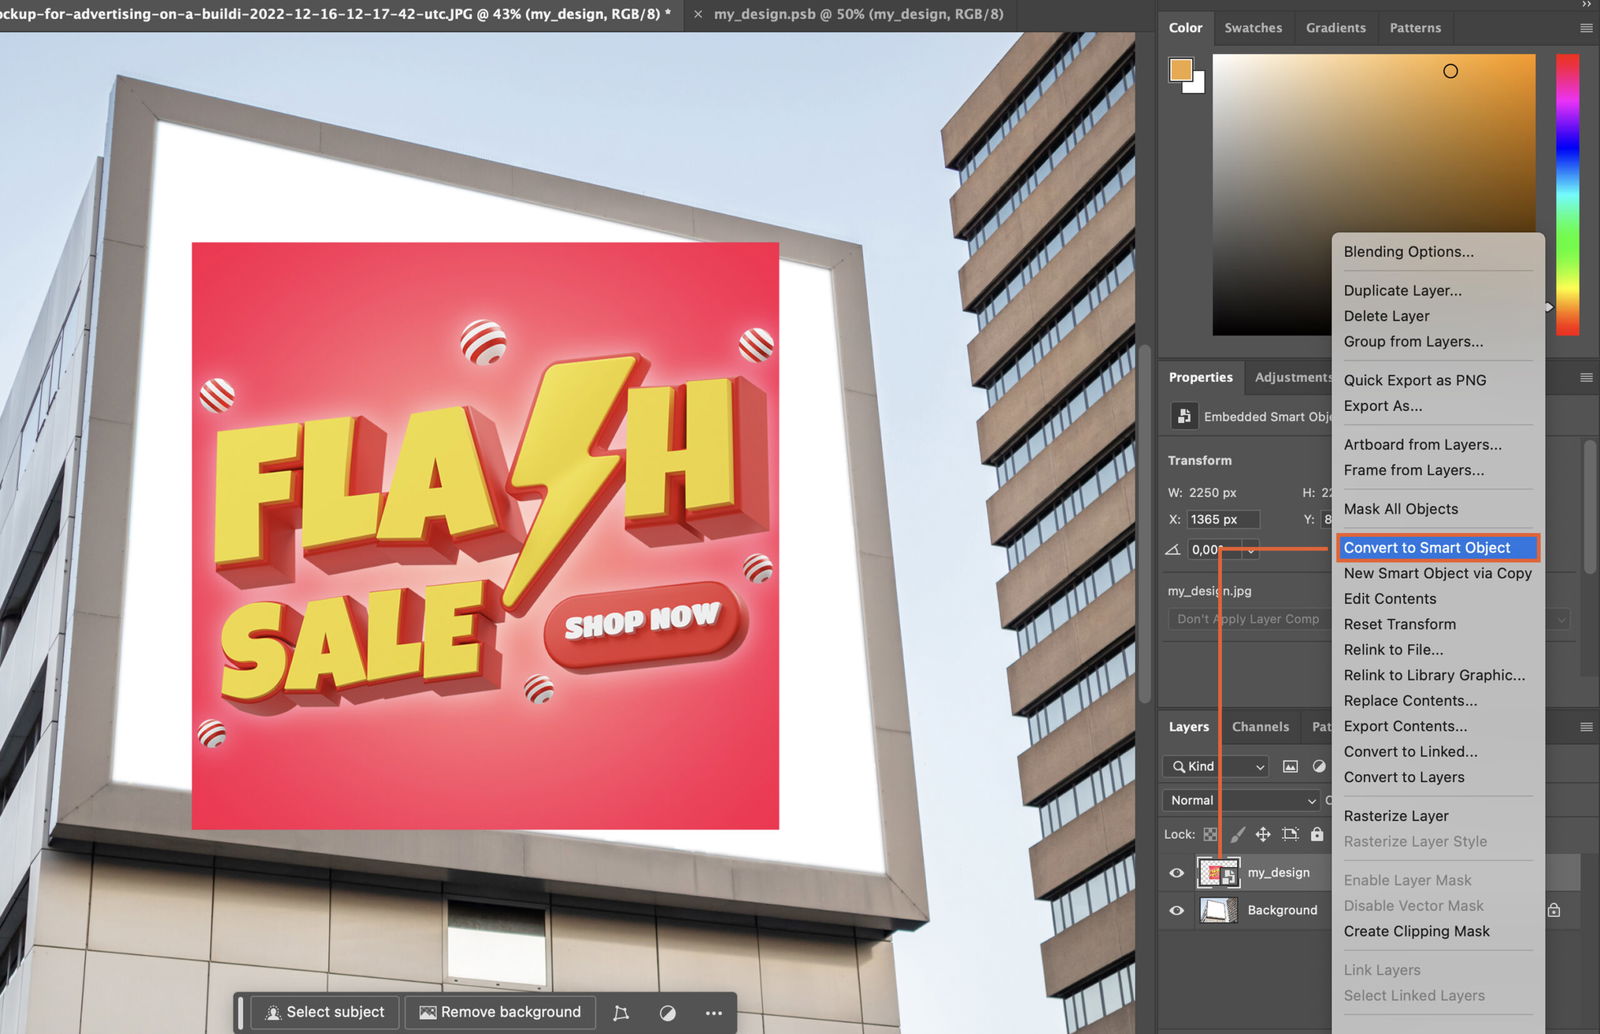
Right-click your design layer and select ‘Convert to Smart Object’. This allows non-destructive editing and preserves the quality of your design.
The transformation tools can further refine your design’s appearance.
Press ‘Ctrl+T’ or go to ‘Edit’ then ‘Free Transform’. Drag the corners to resize, or drag outside the bounding box to rotate. Hold ‘CTRL or Command’ to change the perspective of the image.

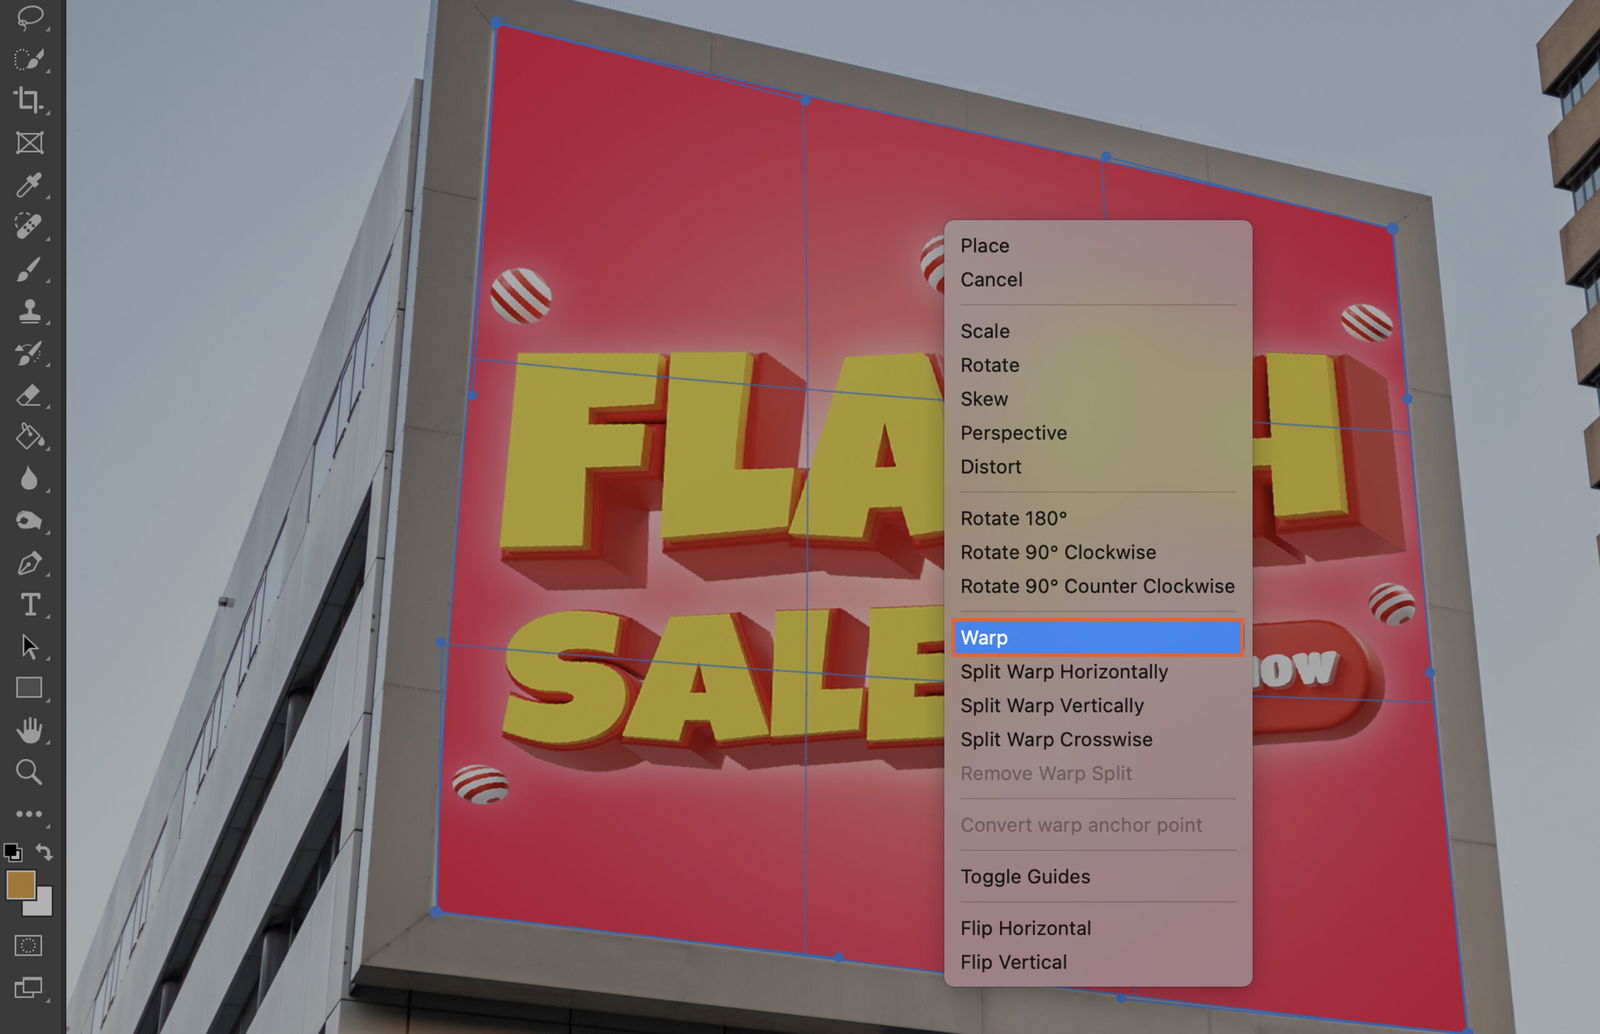
The ‘Warp’ tool, found under ‘Edit’ then ‘Transform’, can distort your design for a unique look.
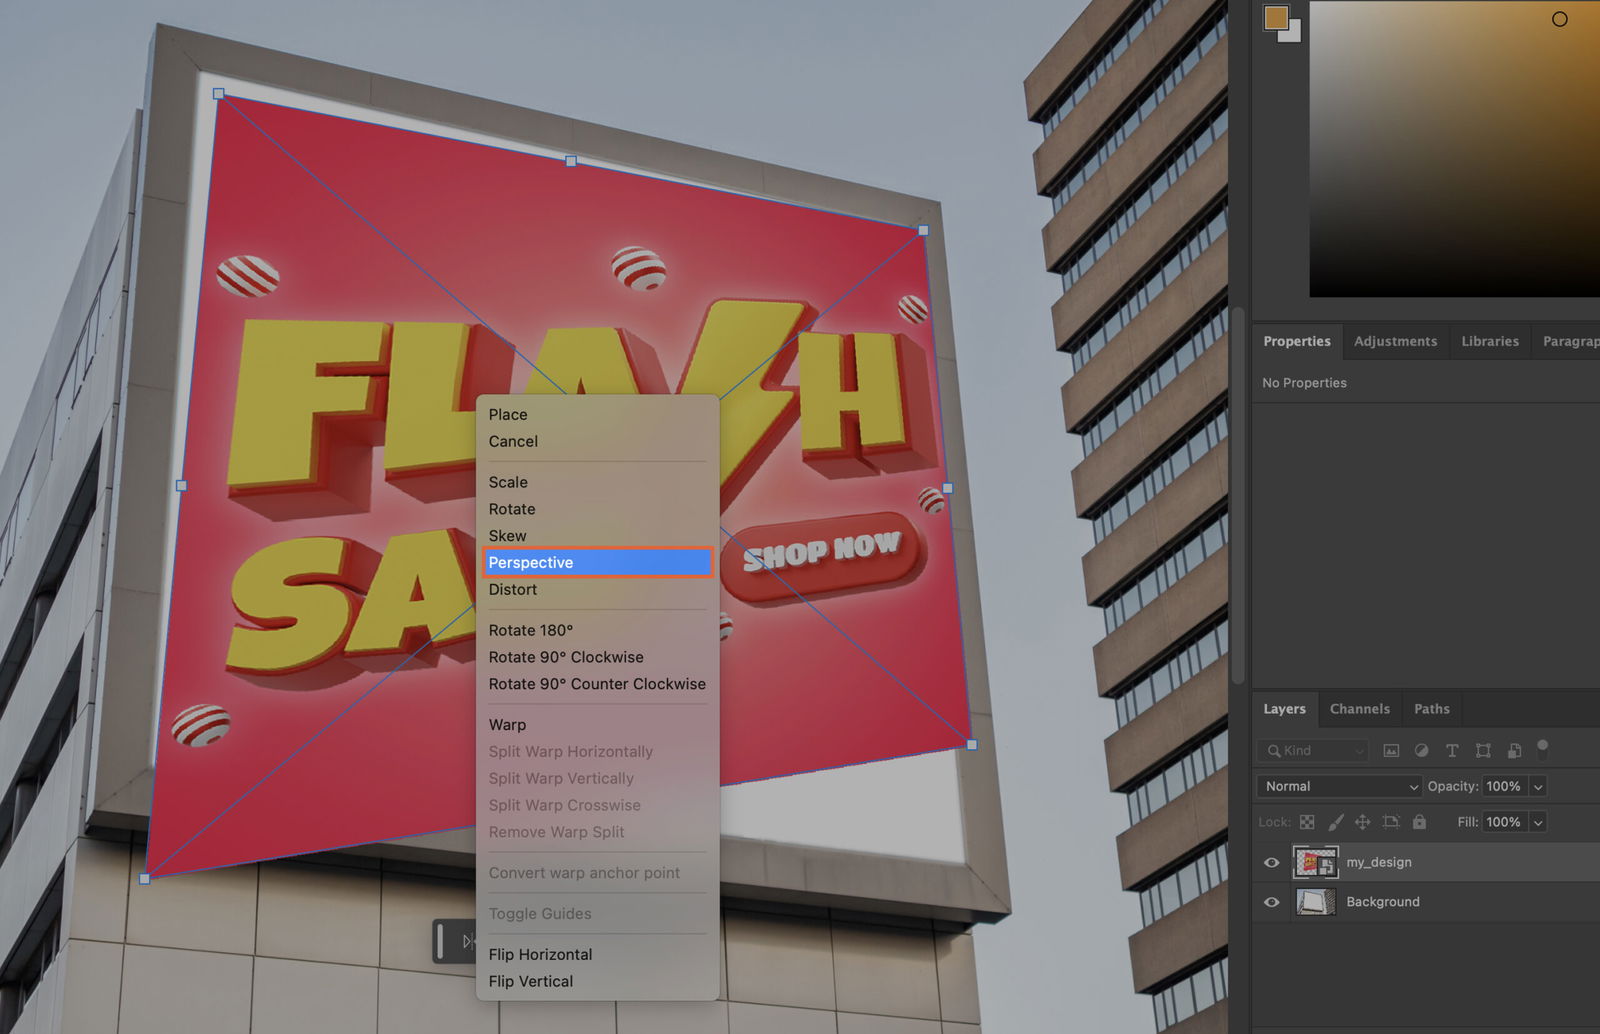
To adjust the perspective of your design, select ‘Edit’, then ‘Transform’, and finally ‘Perspective’. Drag the corners to alter the perspective.
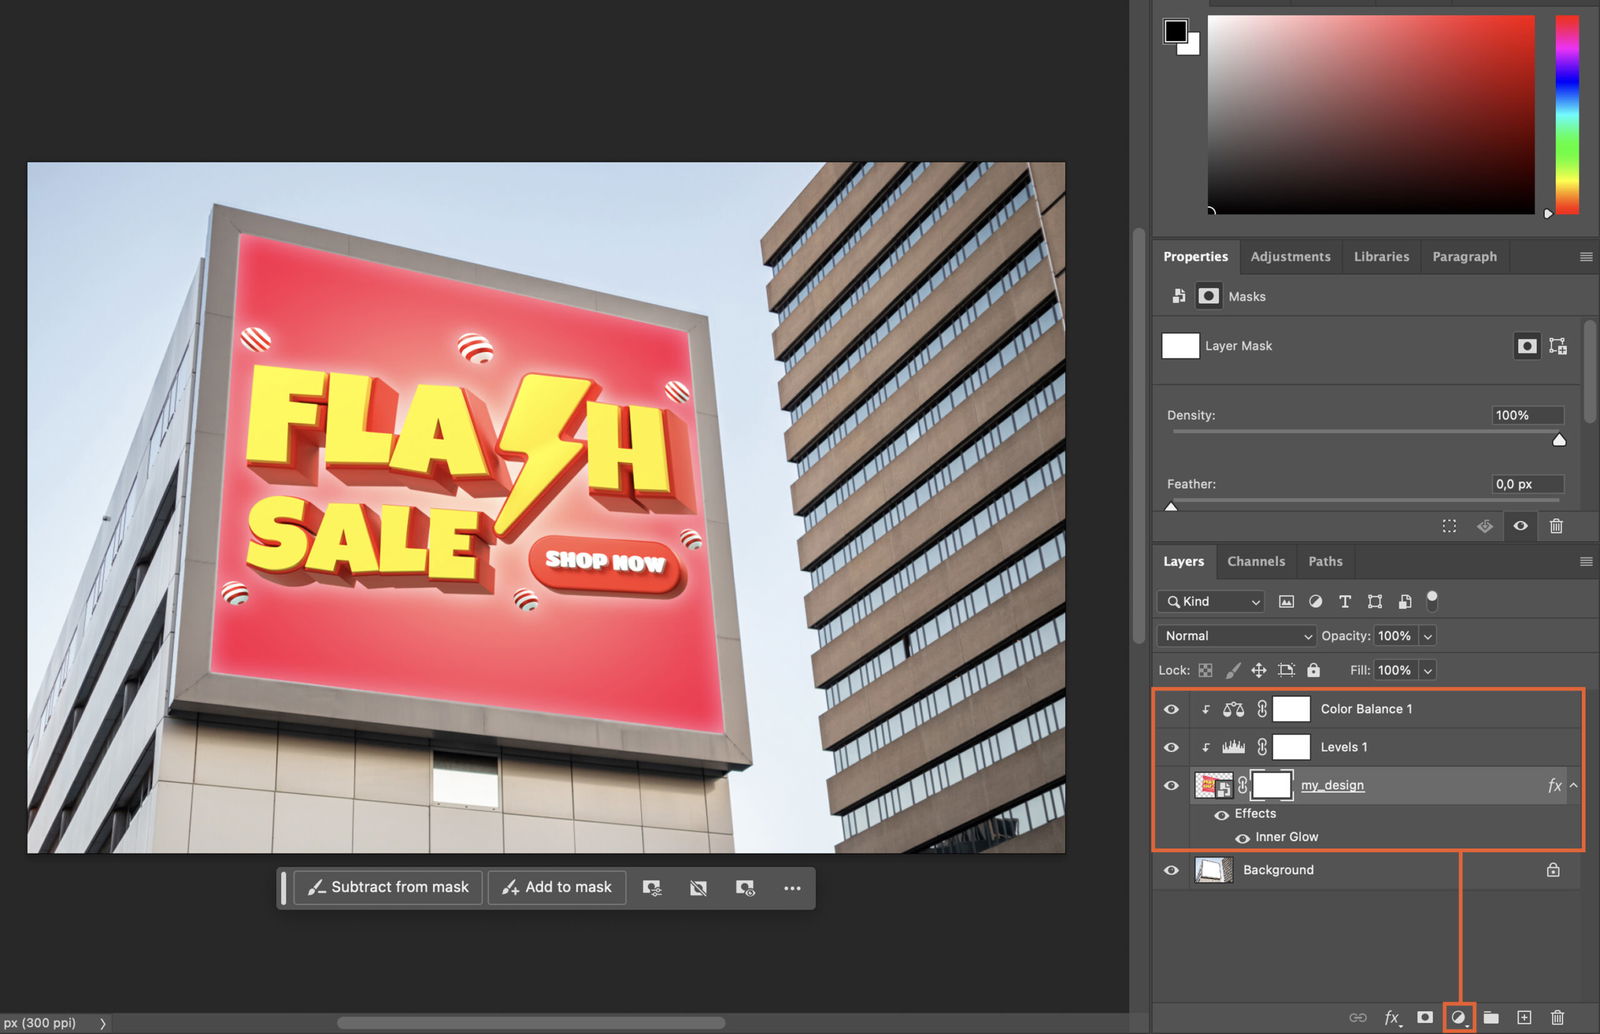
Adjustment layers can modify colors and tones. Click the half-filled circle at the bottom of the layers panel and select your desired adjustment.
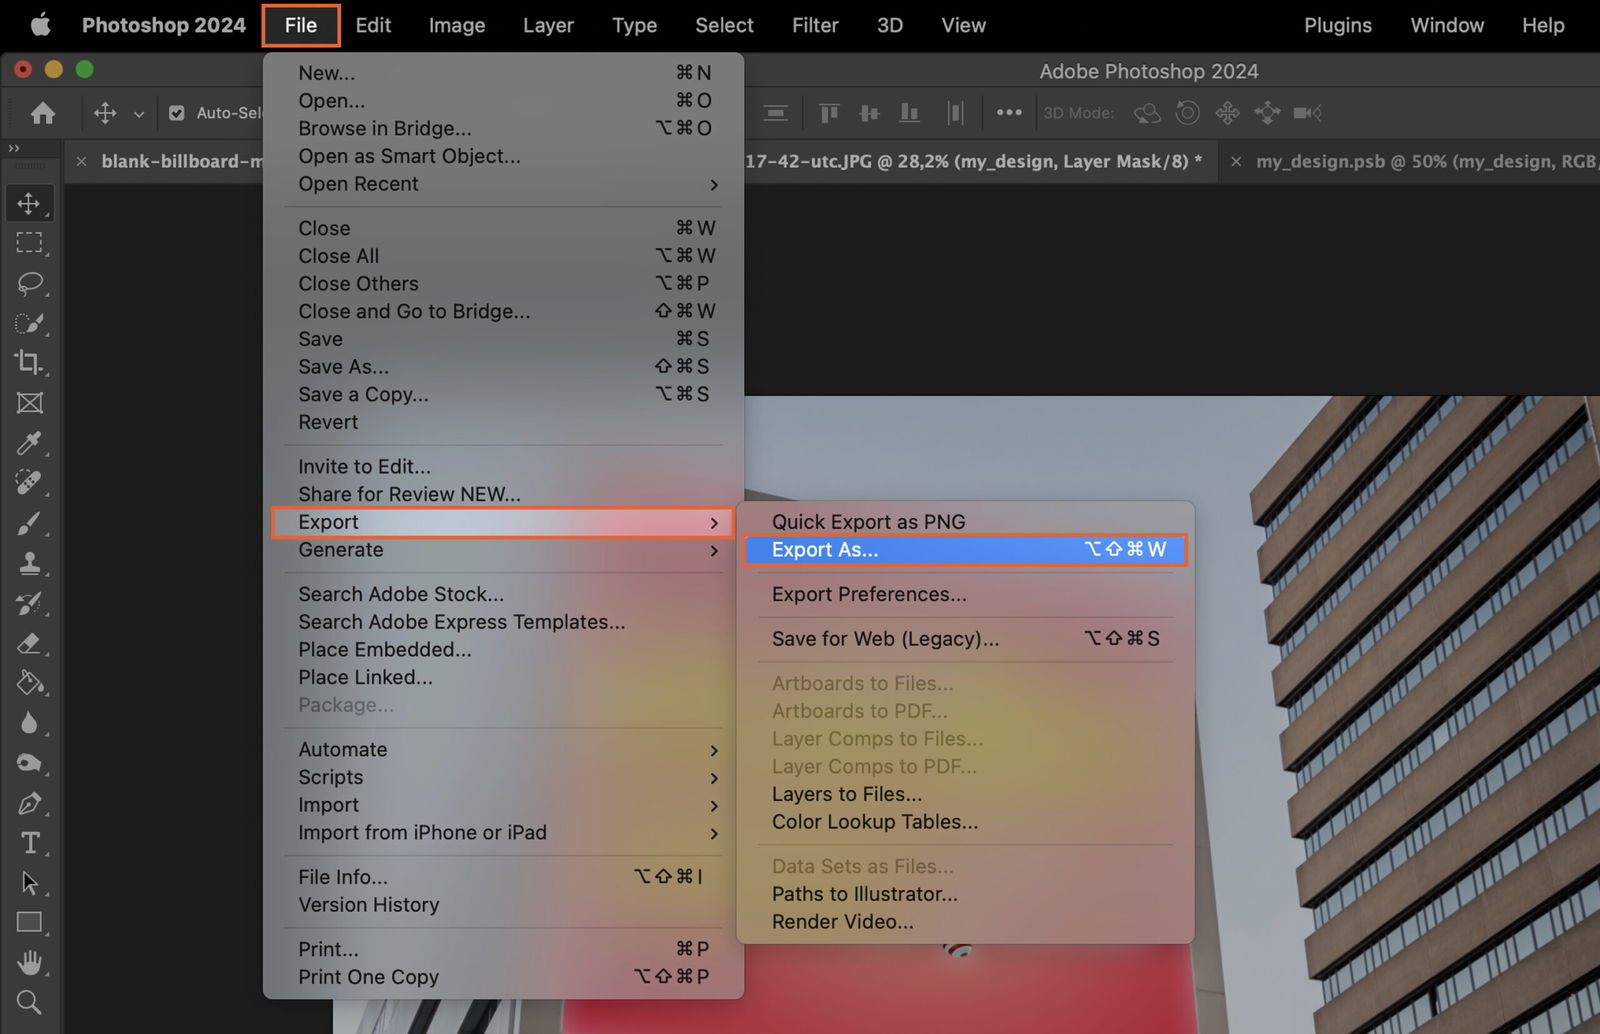
Once satisfied with your mockup, go to ‘File’, then ‘Export’, and select your preferred format. Name your file, choose a destination, and click ‘Save’.