Struggling to open HEIC files in Photoshop? This article guides you through the process, providing a simple solution to this common problem. Mastering this technique will enhance your workflow, allowing you to edit and manage your HEIC images with ease.
To open HEIC files in Photoshop, you need to have the HEIC codec installed on your computer. This codec allows your system to recognize and read HEIC files. Visit a reputable software download site, find the HEIC codec, and download it. Once the download is complete, run the installer and follow the on-screen instructions to install it on your system. HEIC files are the default format for images across your Apple devices, so it should be easy to open them on your Mac.
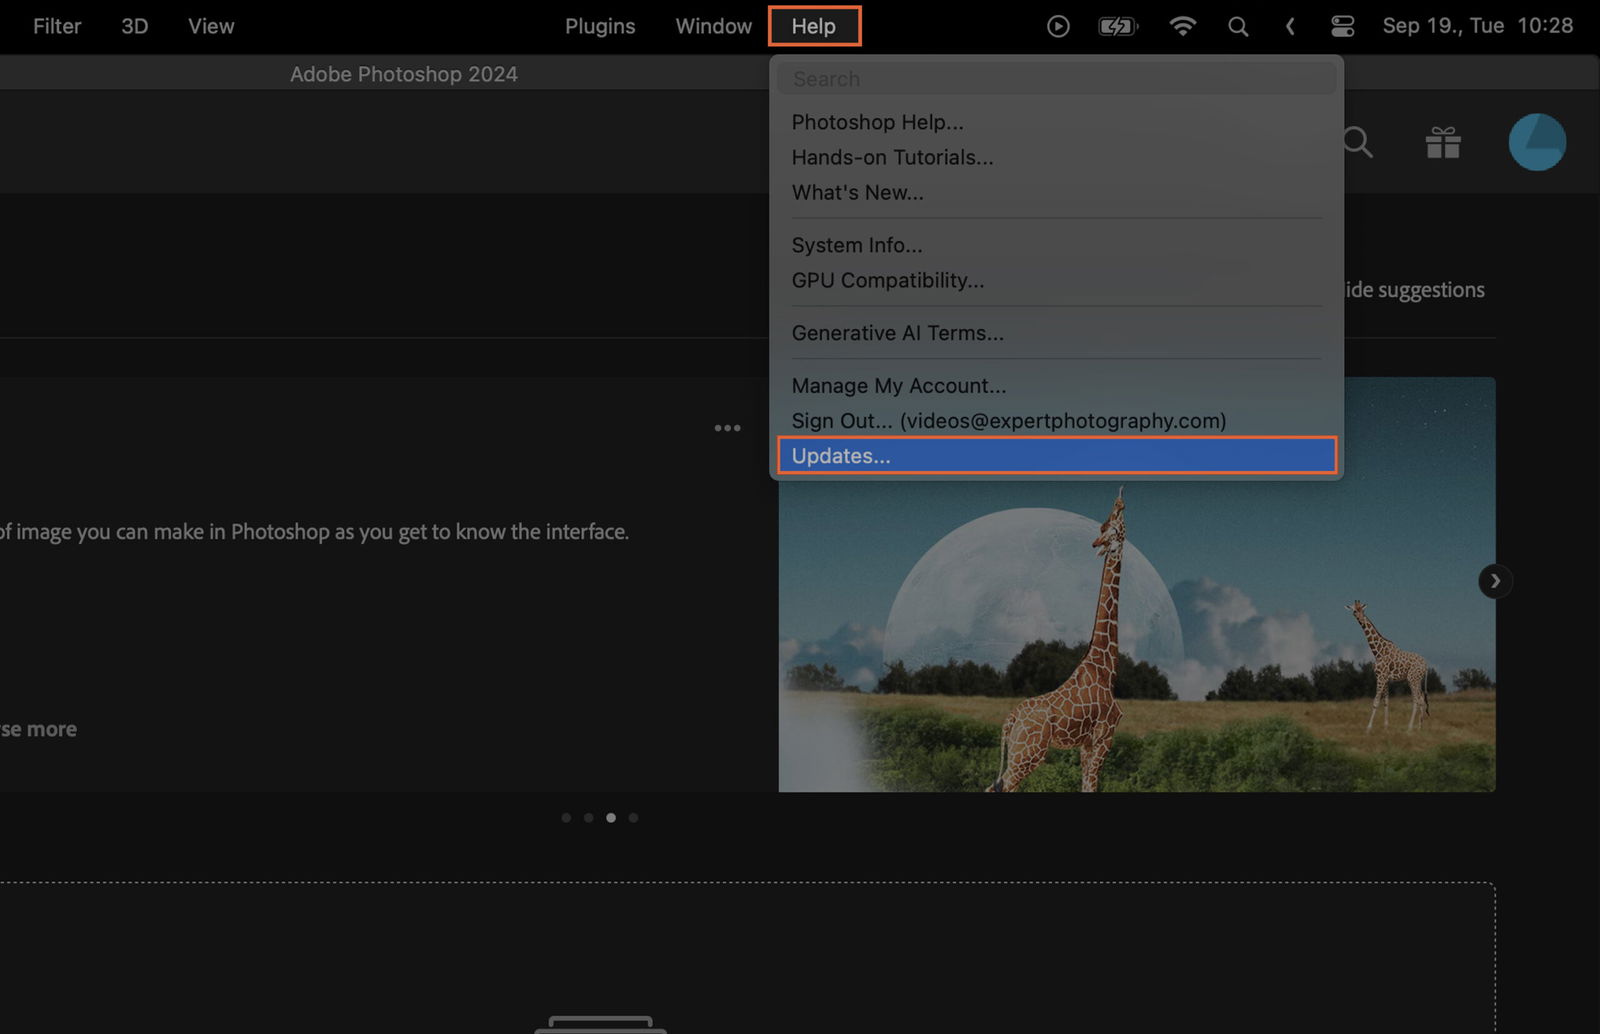
You need to ensure that your Photoshop software is up-to-date. Outdated versions may not support the HEIC format. To update Photoshop, open the software, click on “Help” in the menu bar and then select “Updates”. The Adobe Creative Cloud application will open and show any available updates. Click “Update” next to Photoshop to install the latest version.
Photoshop doesn’t natively support HEIC files. Therefore, you’ll need to convert the HEIC file to a Photoshop-compatible format, such as JPEG or PNG.
There are several free online tools, like heictojpg.com, that allow you to convert HEIC files to JPEG or PNG. Simply upload your HEIC file, select your desired output format, and click the “Convert” button. Download the converted file once the process is complete.
Now that your file is in a Photoshop-compatible format, open Photoshop and click on “File” in the menu bar. Select “Open” and navigate to the location of the converted file. Select the file and click “Open”.
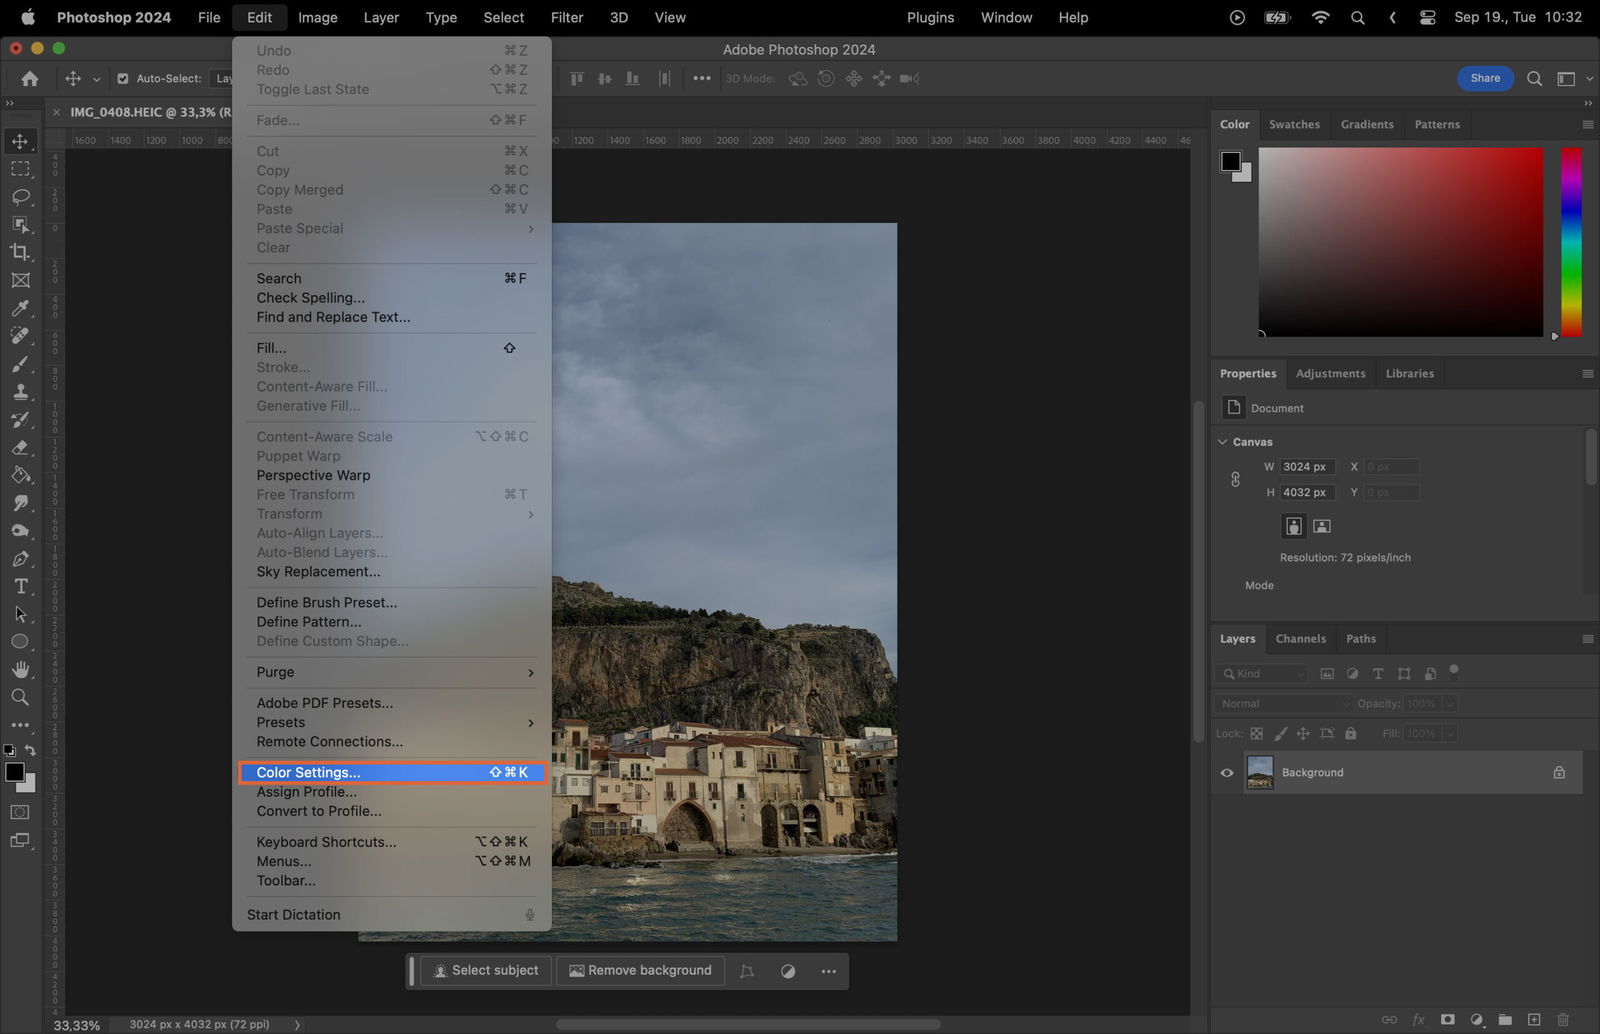
To ensure accurate color representation, enable the embedded color profiles in Photoshop. Go to “Edit” in the menu bar, select “Color Settings” and then check the box next to “Preserve Embedded Profiles” under the RGB section.

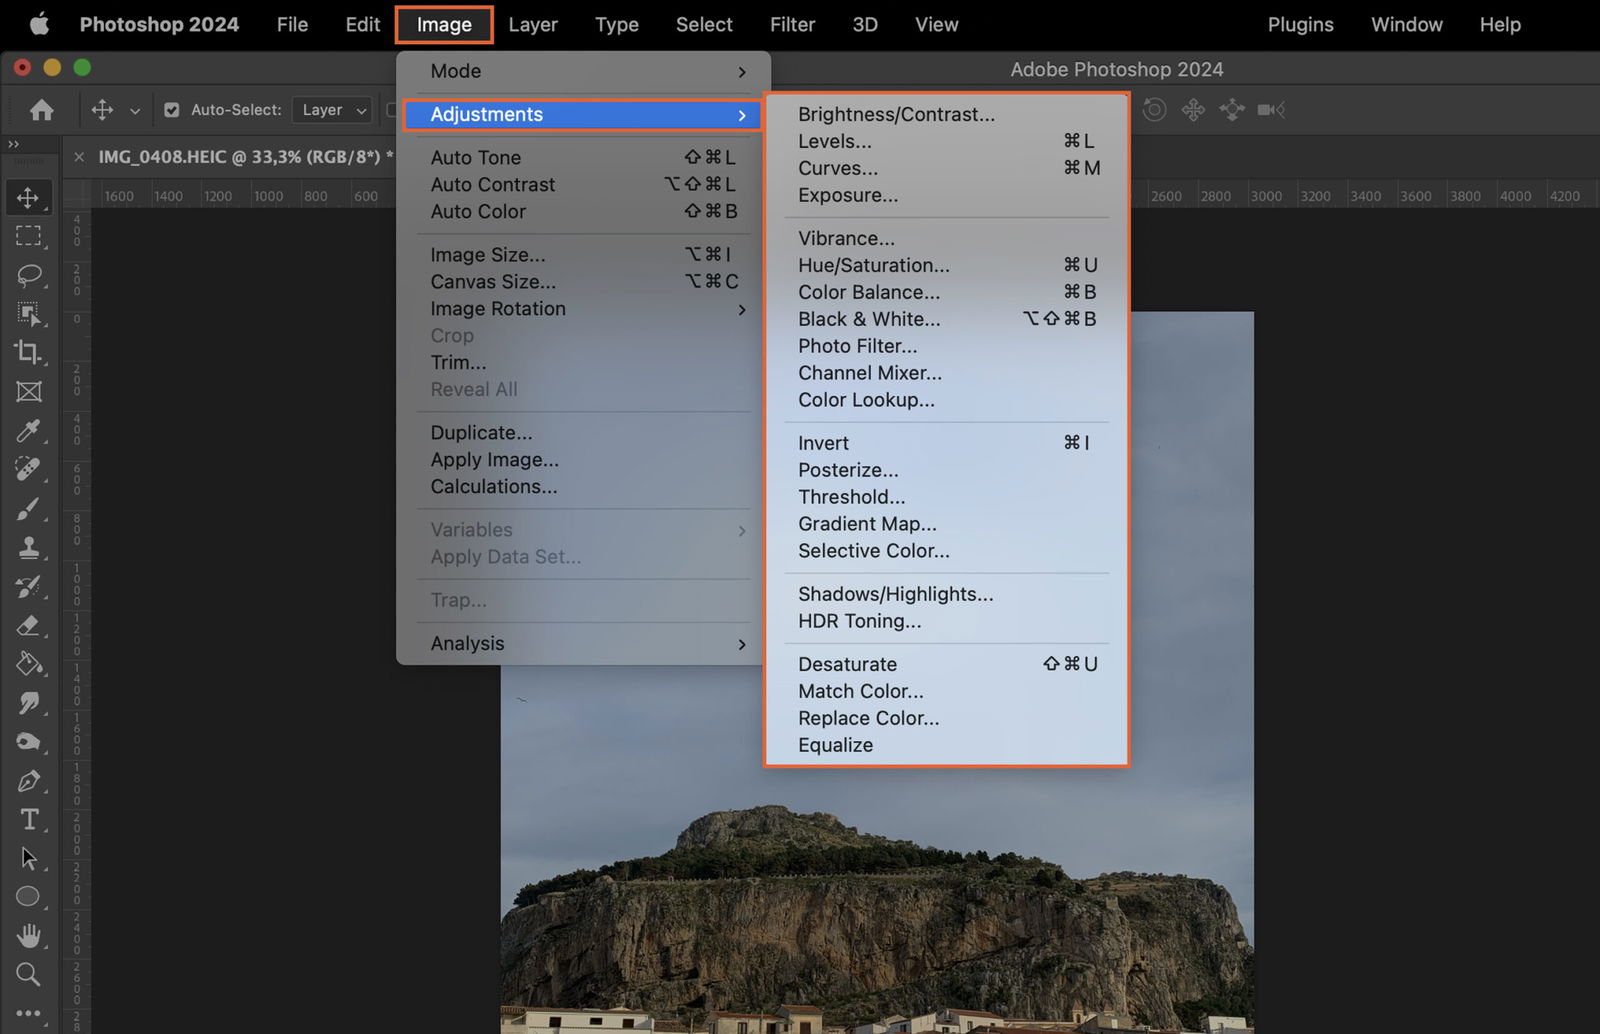
Before you begin editing, you may want to adjust the image settings. Go to “Image” in the menu bar, select “Adjustments” and adjust the contrast, brightness, and other settings as needed.
You’re now ready to start editing your image. Use the various tools and features available in Photoshop to edit your image as desired. Remember to save your work frequently to prevent any loss of data.


