Creating a poster in Photoshop can seem daunting, but with the right steps, it’s a breeze. This article guides you through the process, offering tips to enhance your design skills. Master these techniques and unlock your ability to communicate visually and effectively.
Step 1. Setting Up Your Document
In Photoshop, begin by creating a new document. Select “File” then “New”.
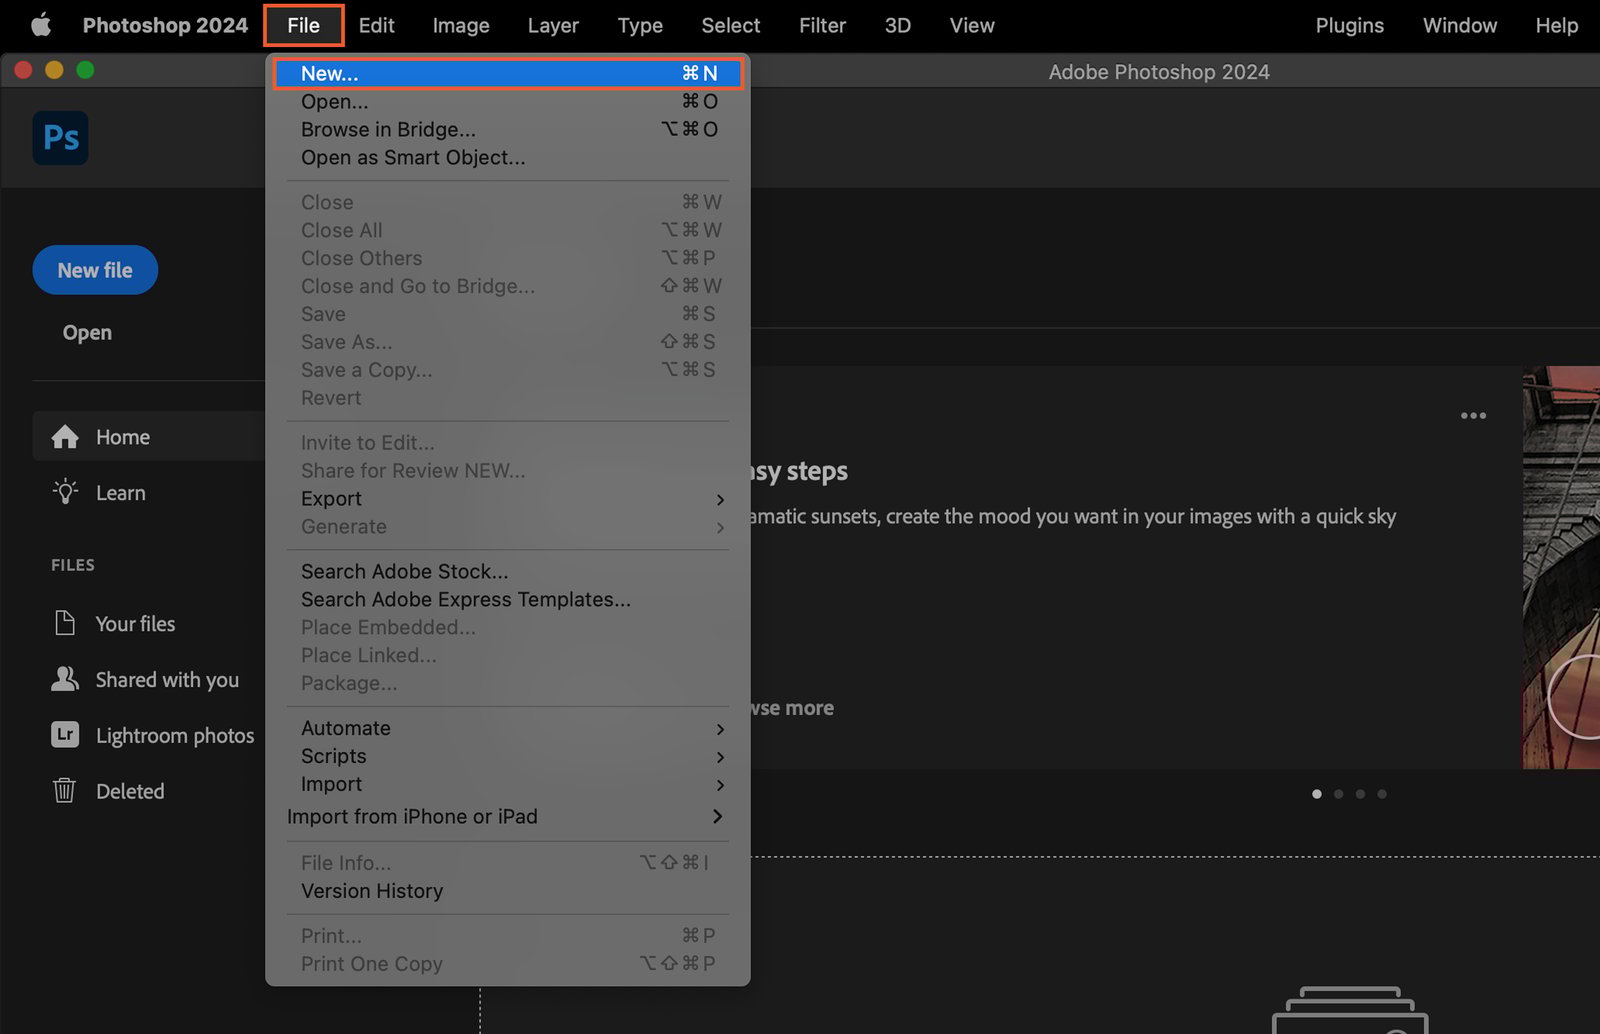
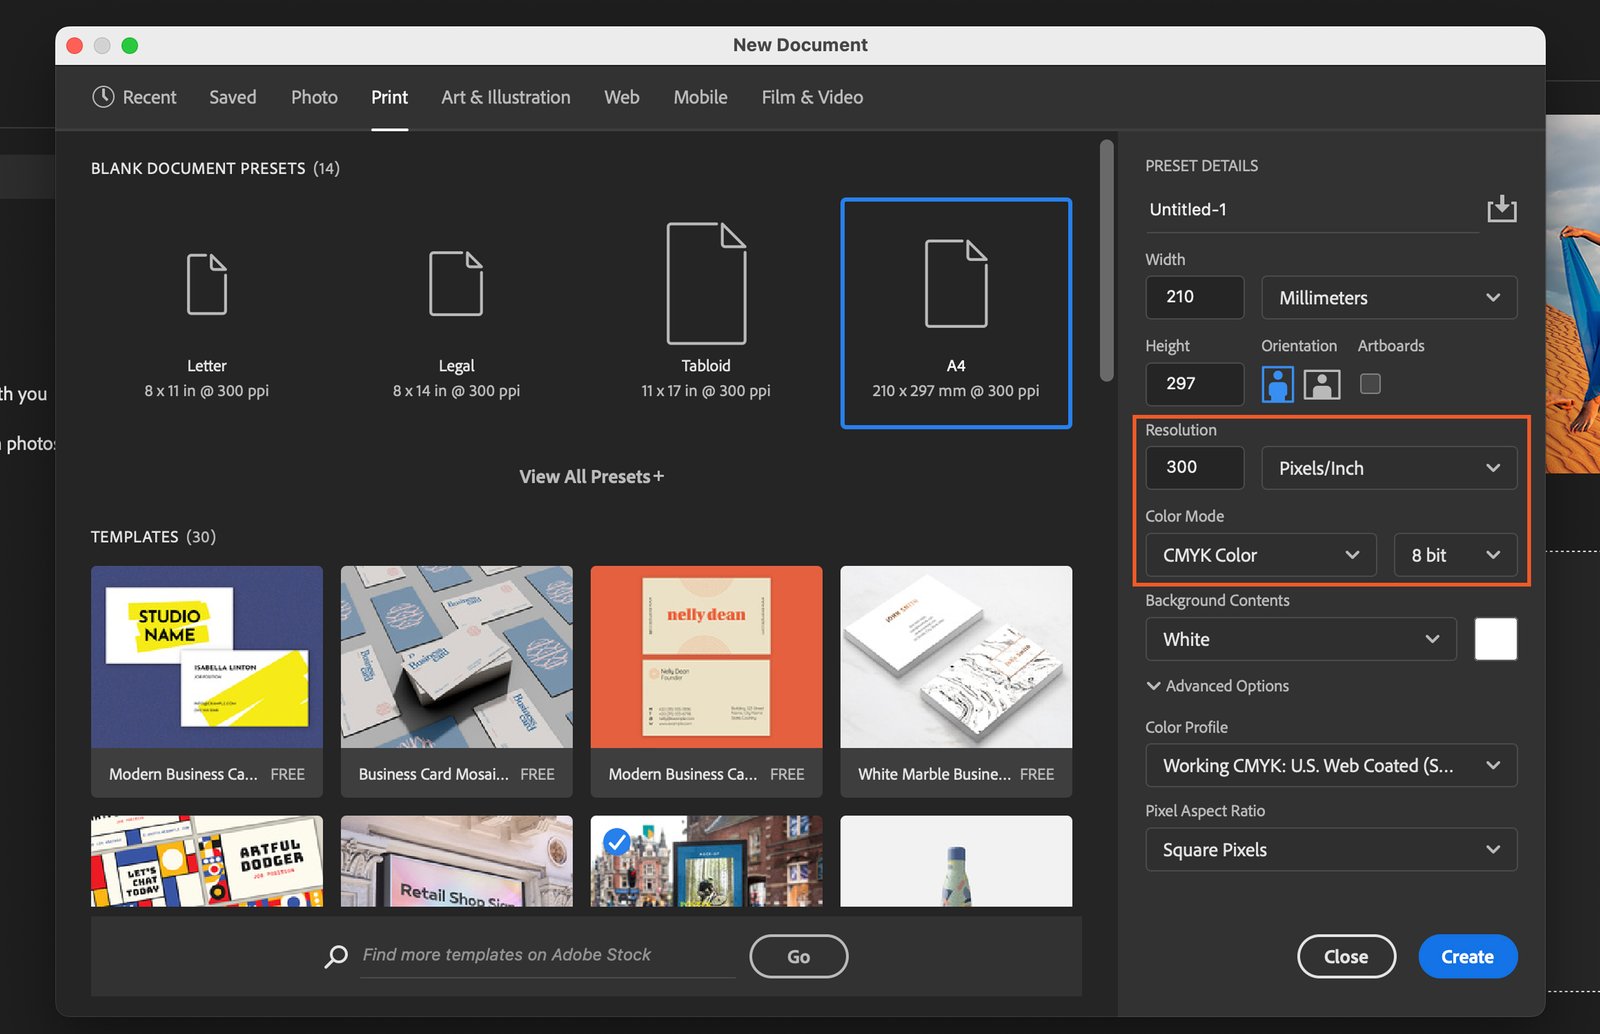
Set your desired poster dimensions in the width and height fields. For print, a resolution of 300 pixels/inch is ideal. For web, 72 pixels/inch works well. Choose CMYK color mode for print and RGB for digital use.
Step 2. Choosing a Background
A poster’s background sets the tone. It could be a solid color or an image.
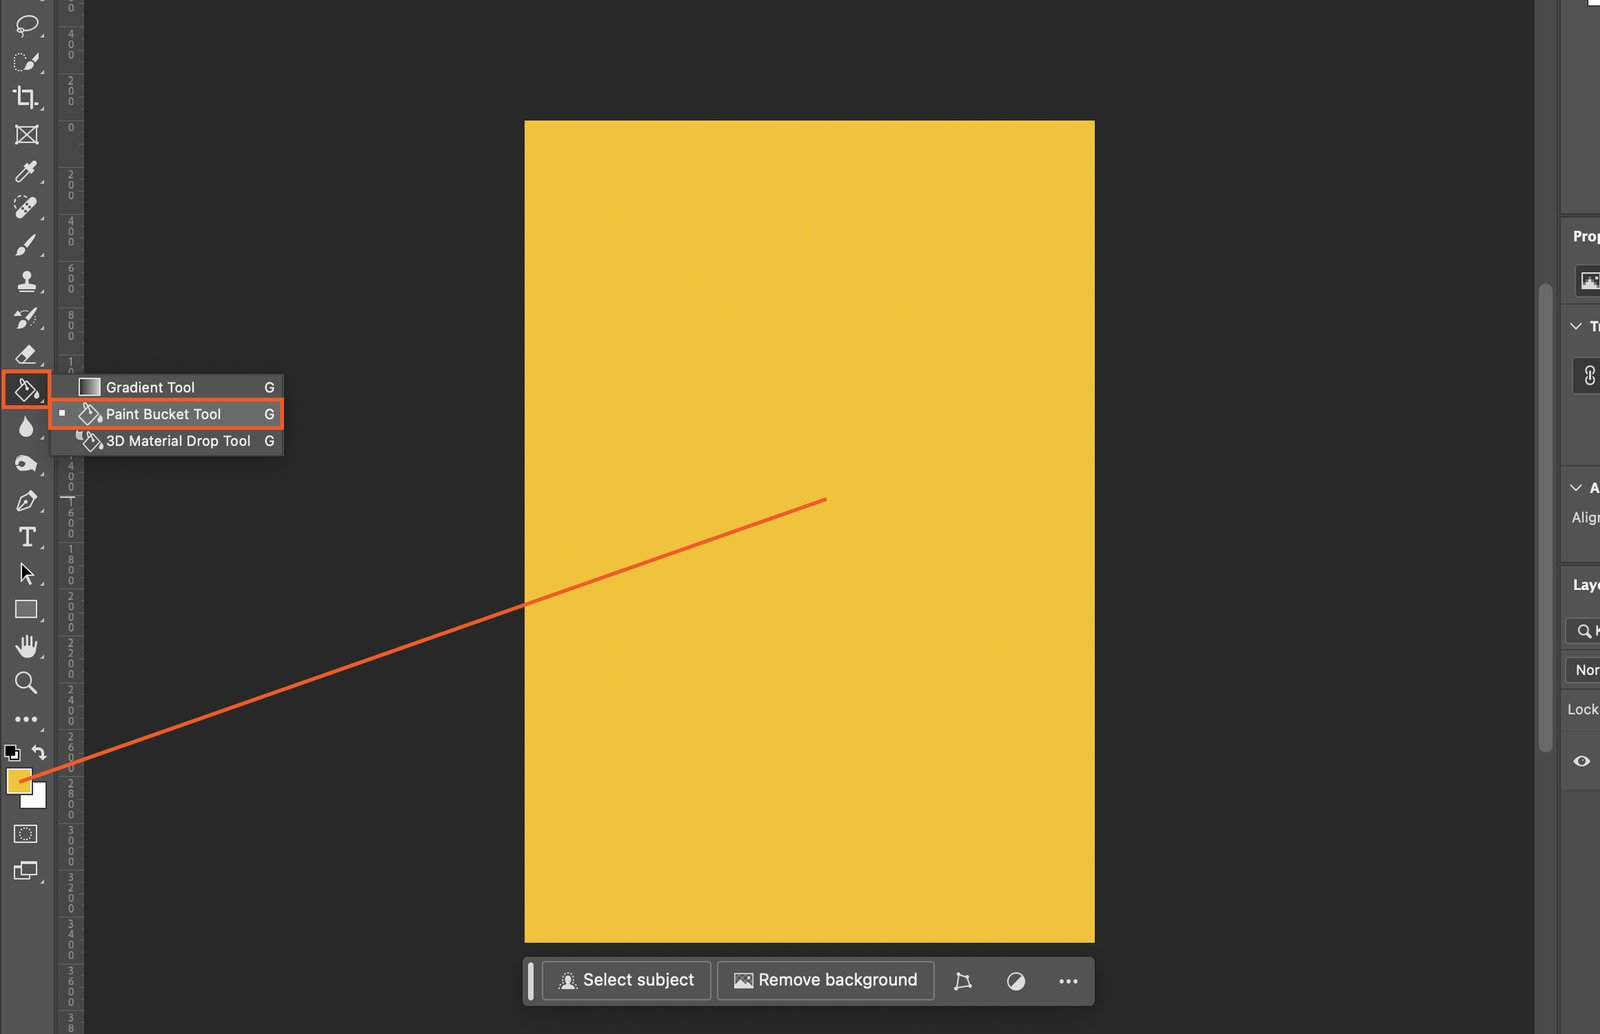
Step 2.1 Using a Solid Color Background
To use a solid color, select the “Paint Bucket Tool” from the toolbar. Choose your color from the color picker, then click on your canvas to apply the color.
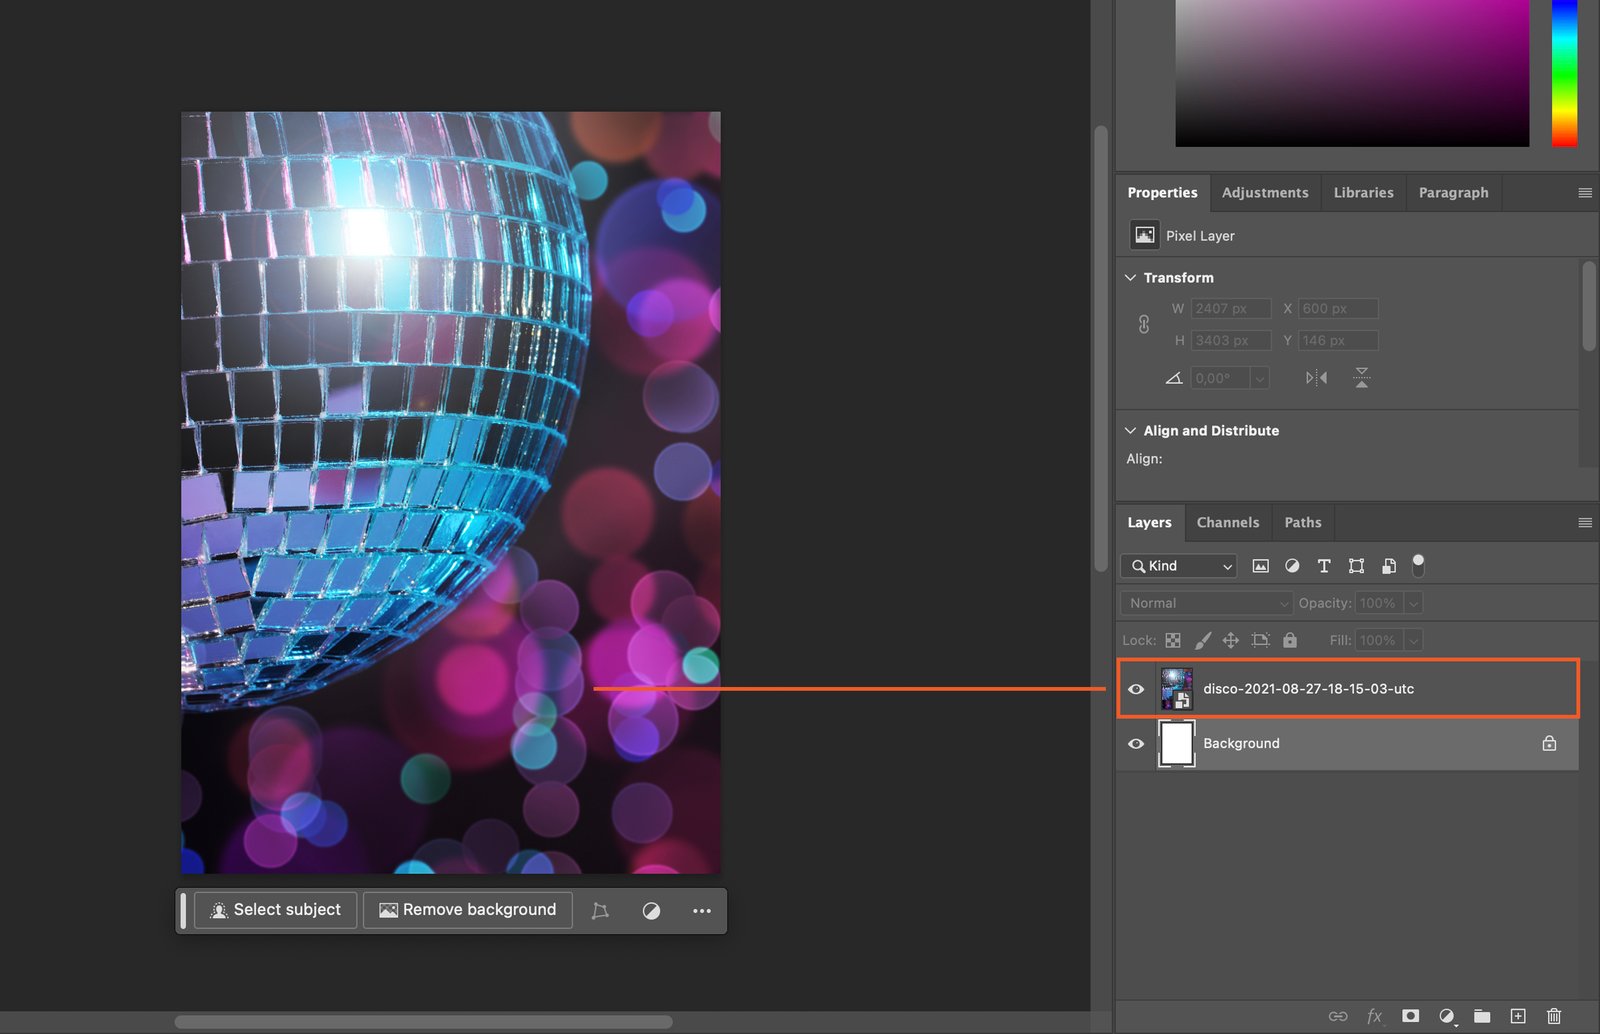
Step 2.2 Using an Image as Background
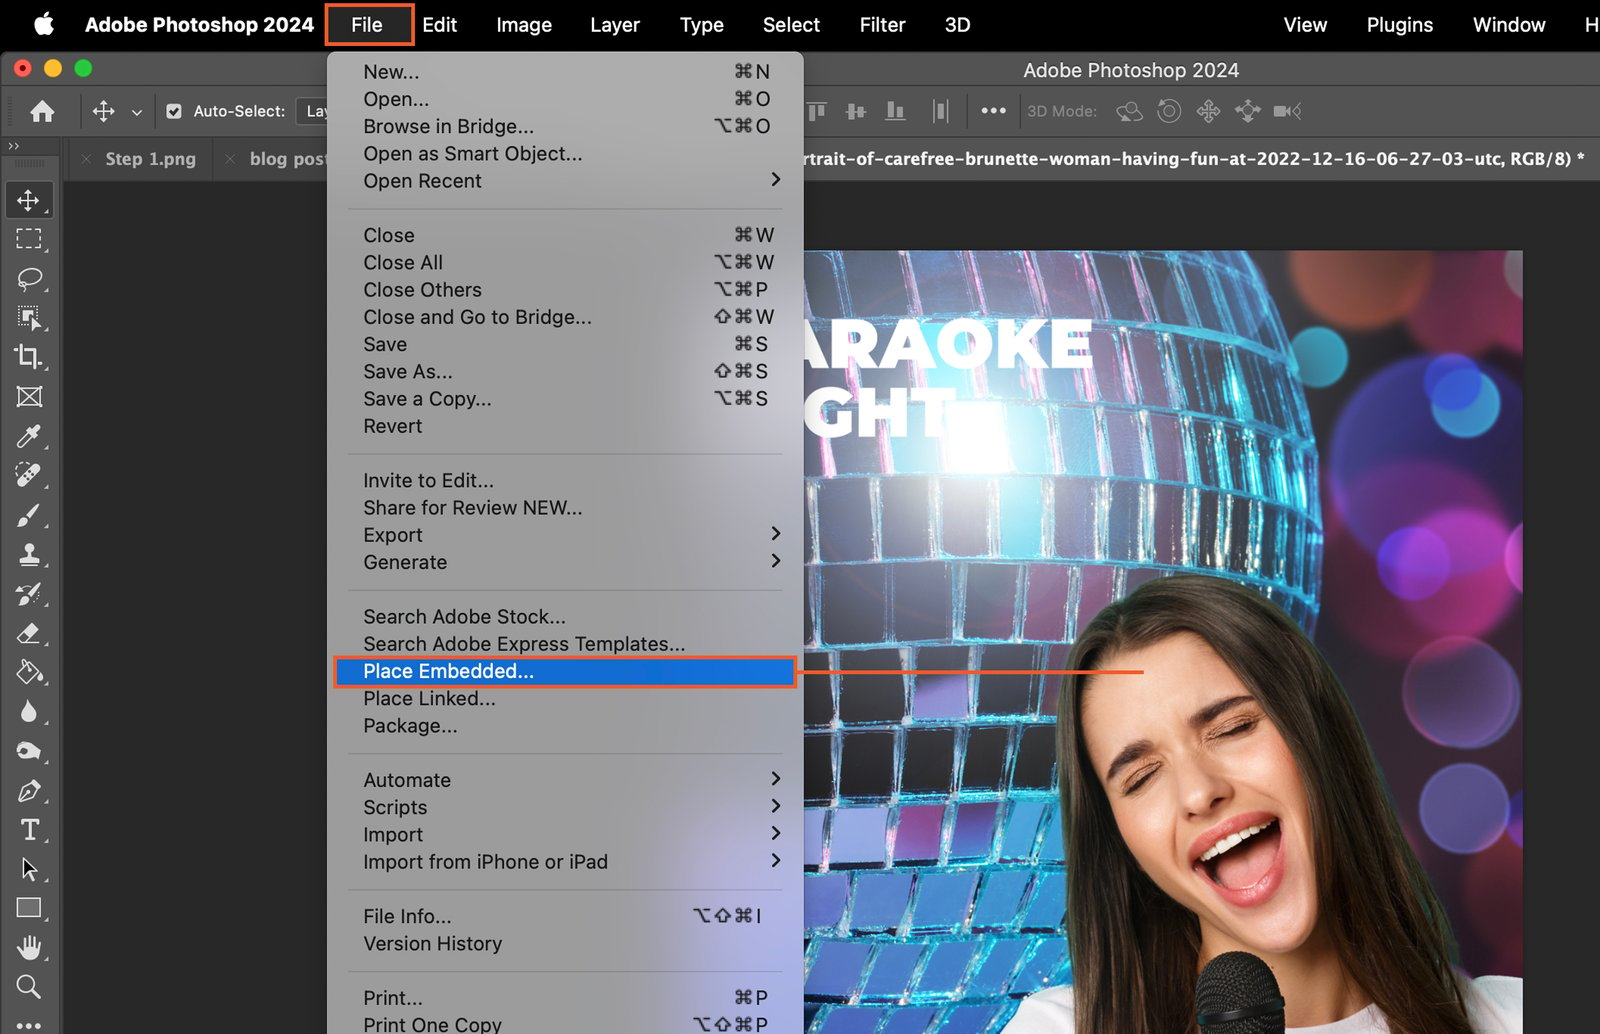
To use an image, go to “File” then “Place Embedded”. Browse to find your image, select it, then adjust its size and position as needed.
Step 3. Adding Text to Your Poster
Text communicates your message. Choose the right font, position it well, and apply text effects for impact.
Step 3.1 Choosing the Right Font
Select the “Text Tool” and click on your canvas. Choose your font from the dropdown menu at the top. Remember, the font should align with your poster’s theme.
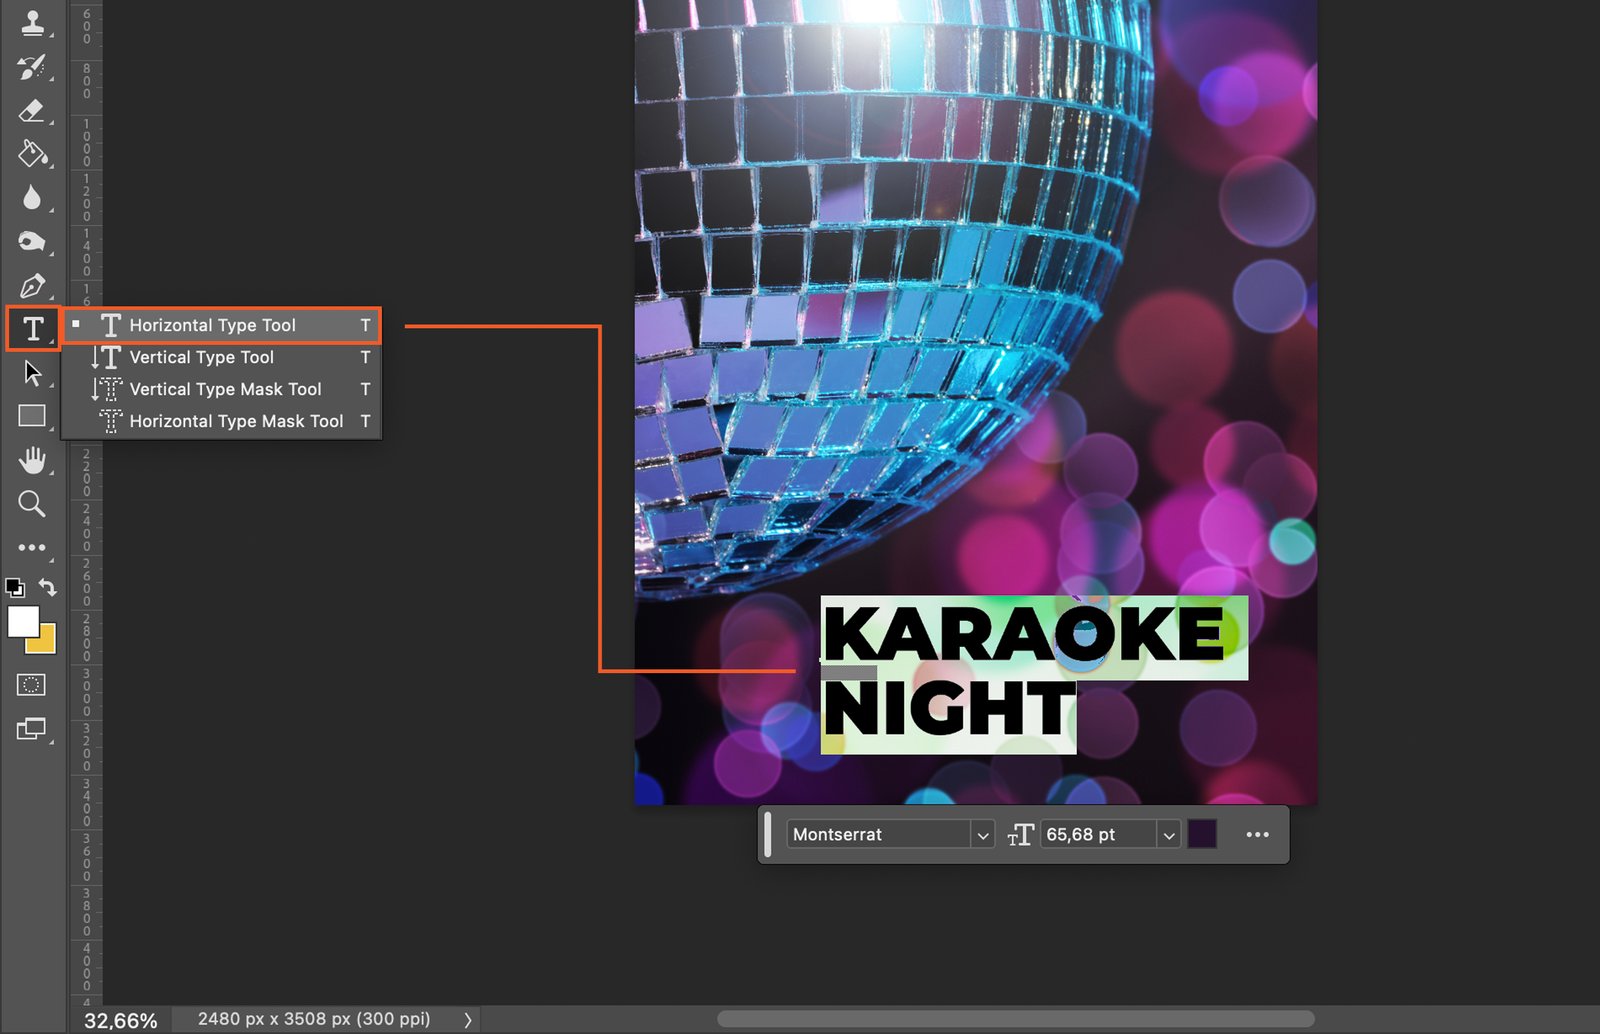
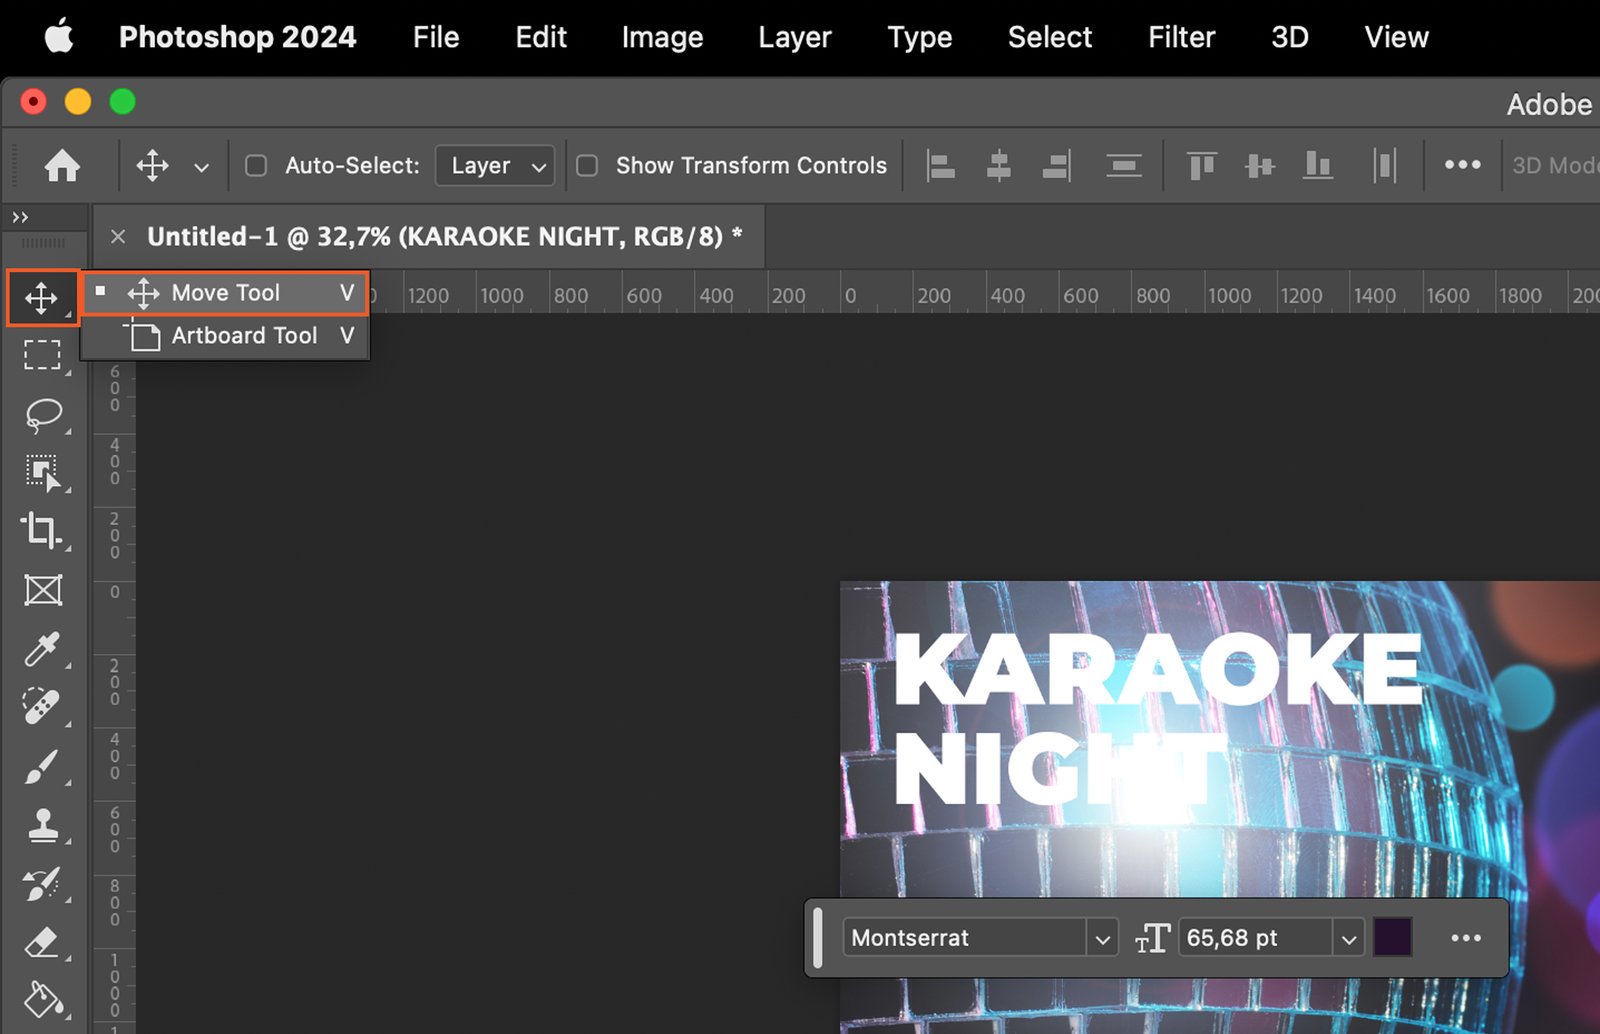
Step 3.2 Positioning Your Text
To move the text, select the “Move Tool”, click on the text, and drag it to your preferred location.
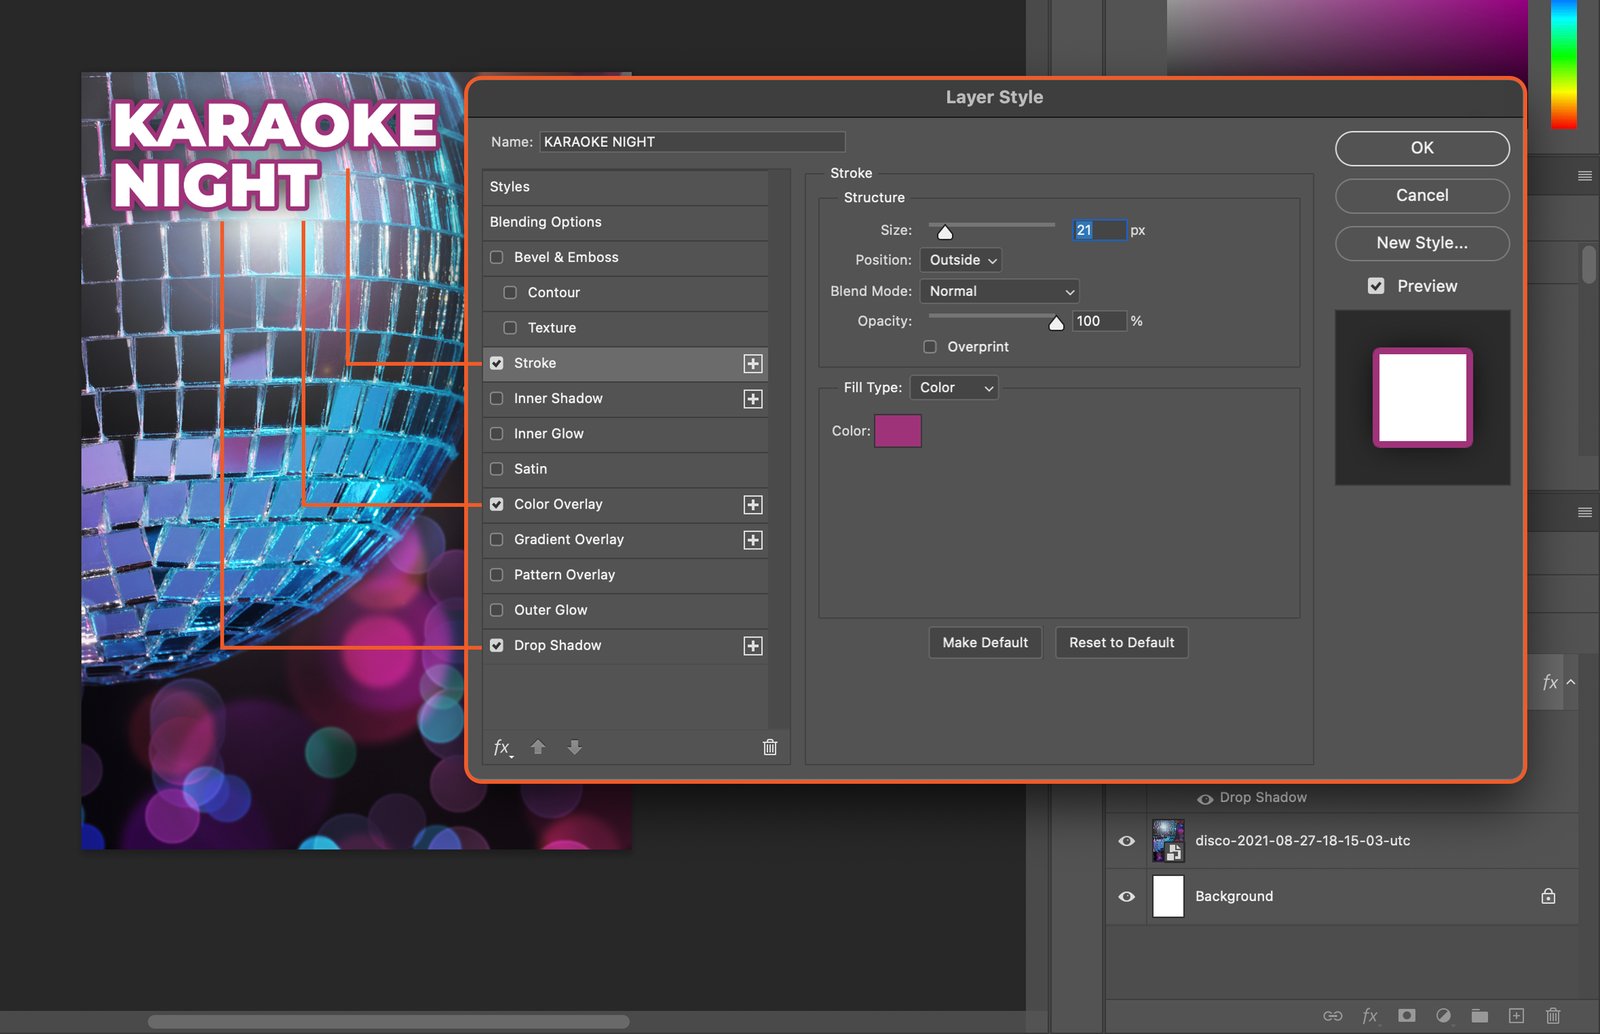
Step 3.3 Using Text Effects
To apply text effects, right-click on the text layer and choose “Blending Options”. Explore various effects like drop shadow, stroke, or gradient.
Step 4. Incorporating Images
Images add visual interest. Import them, adjust their size and position, and apply effects for a unique look.
Step 4.1 Importing Images
Go to “File” then “Place Embedded” to import an image. Adjust its size and position as needed.
Step 4.2 Manipulating Image Size and Position
To resize or move an image, select the “Move Tool”, click on the image, and adjust as desired.
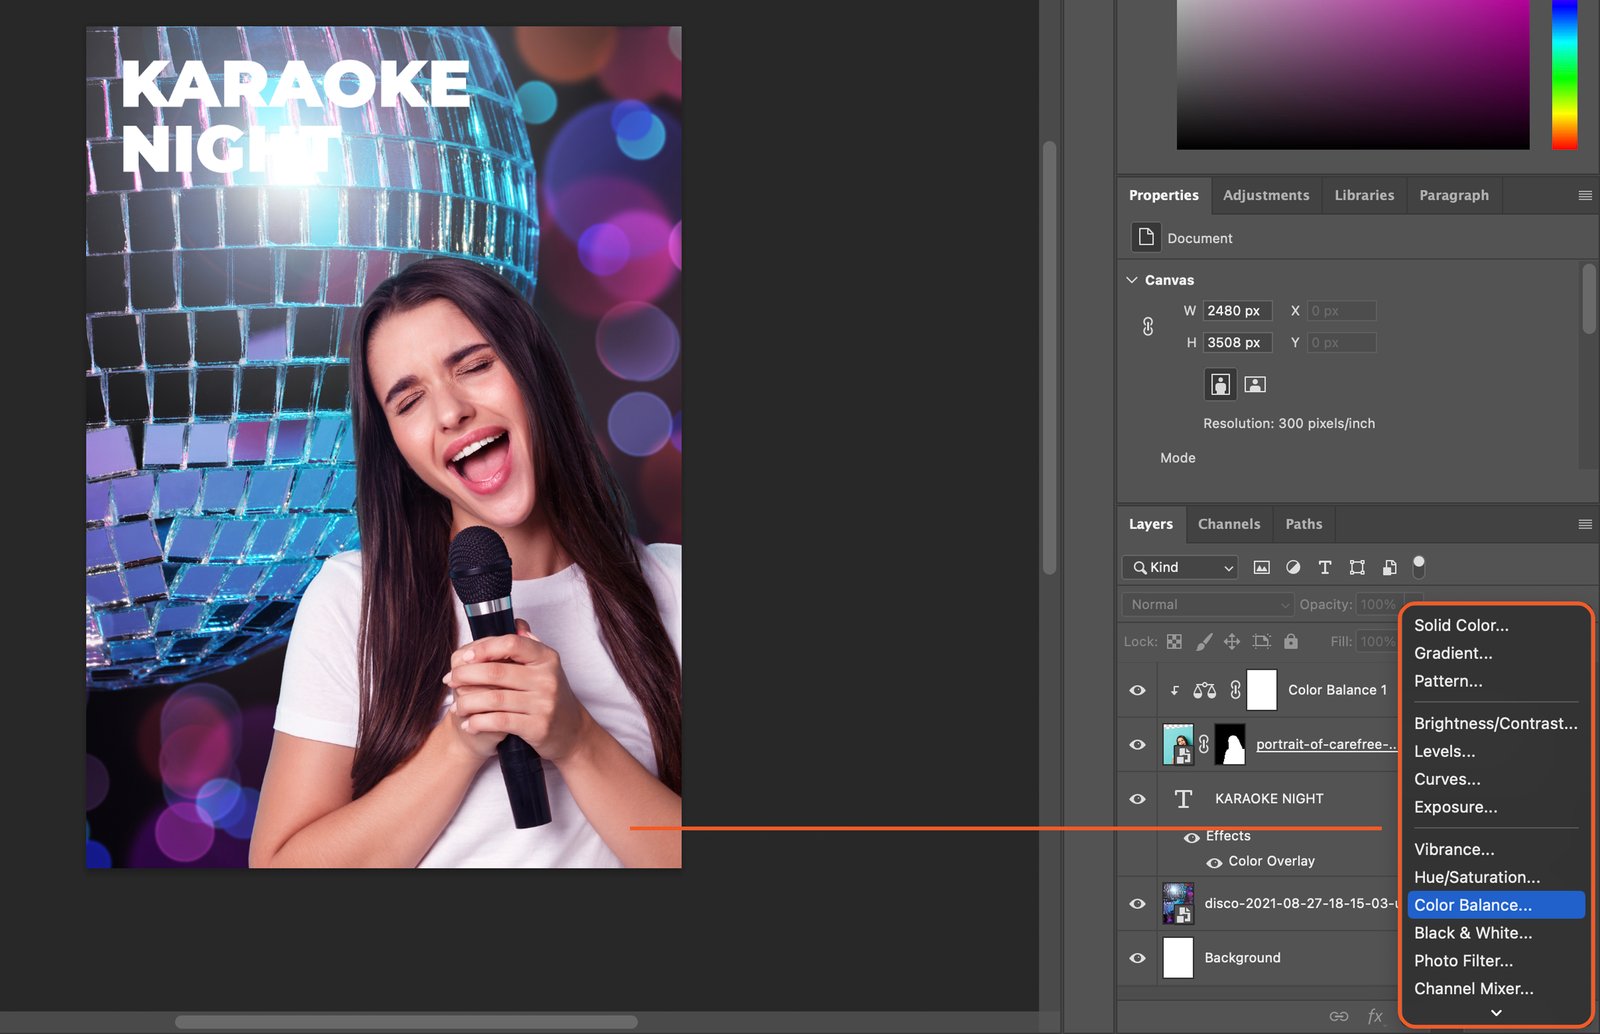
Step 4.3 Applying Image Effects
To apply image effects, right-click on the image layer and select “Blending Options”. Experiment with various effects to achieve your desired look. You can use Adjustment Layers to create a fitting look.
Step 5. Layering Elements
Layers allow you to manipulate elements independently.
Step 5.1 Understanding Layers
Each element on your poster exists on its own layer. You can hide, reveal, move, or apply effects to layers individually.
Step 5.2 Organizing Layers
To keep your work organized, rename your layers. Click twice on the layer name to rename it.
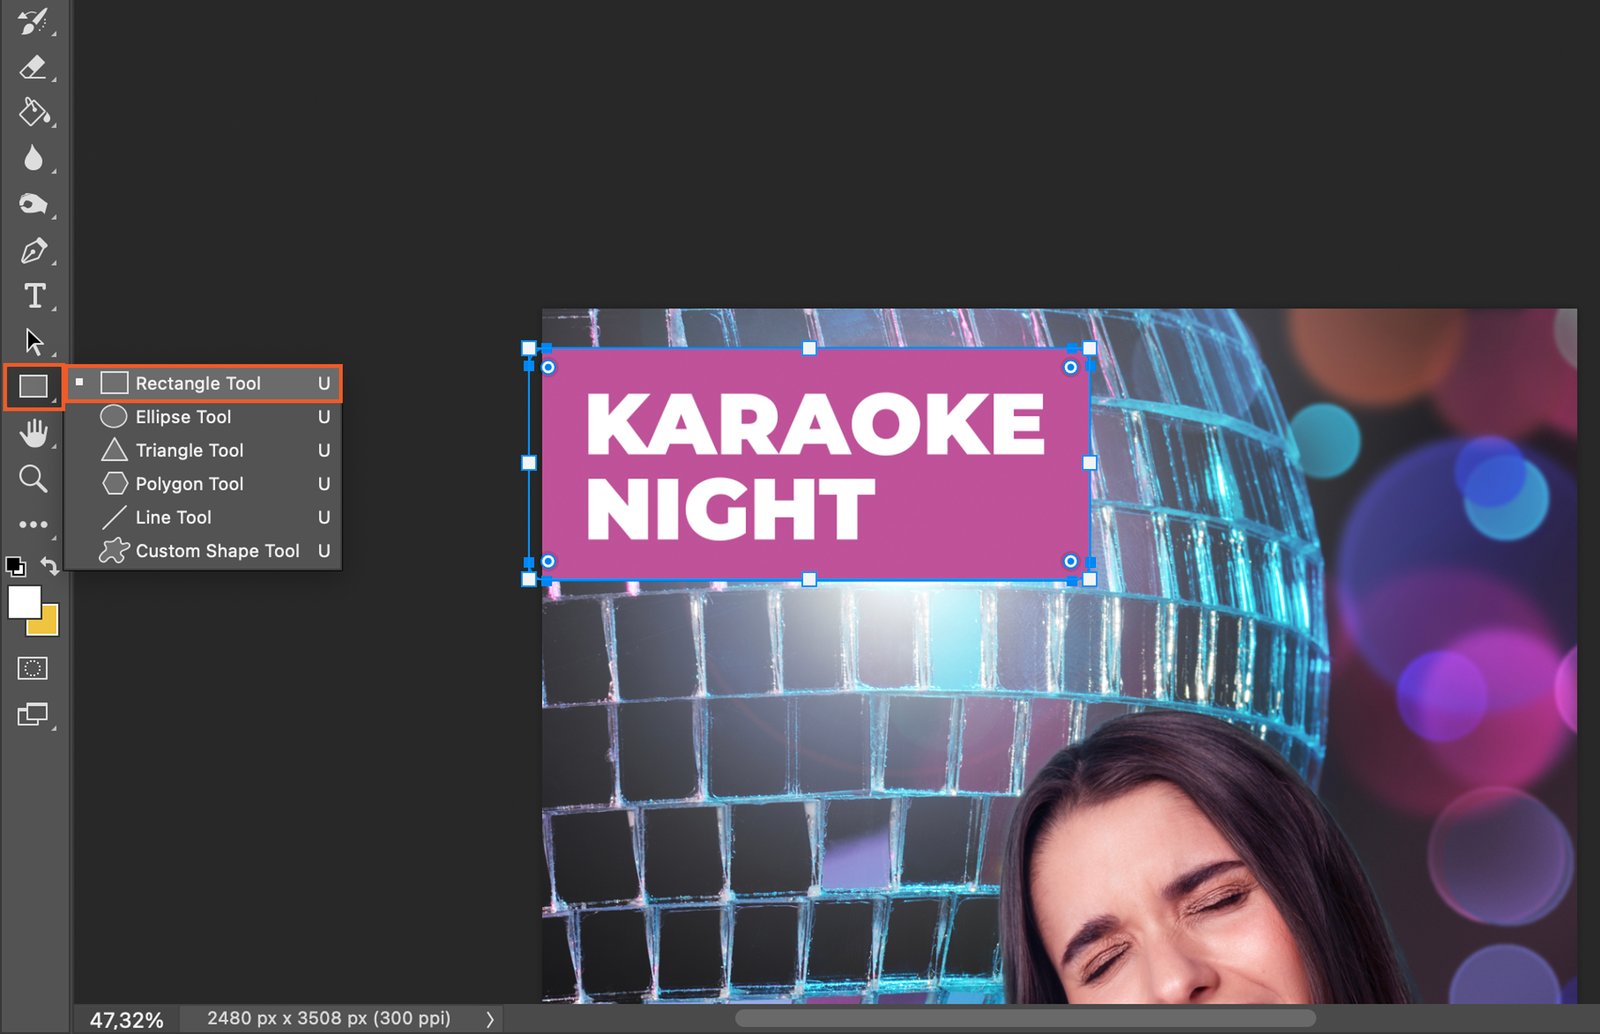
Step 6. Adding Graphic Elements
Shapes, lines, and paths can enhance your design.
Step 6.1 Using Shapes
To add a shape, select the “Shape Tool” from the toolbar. Click and drag on your canvas to create the shape.
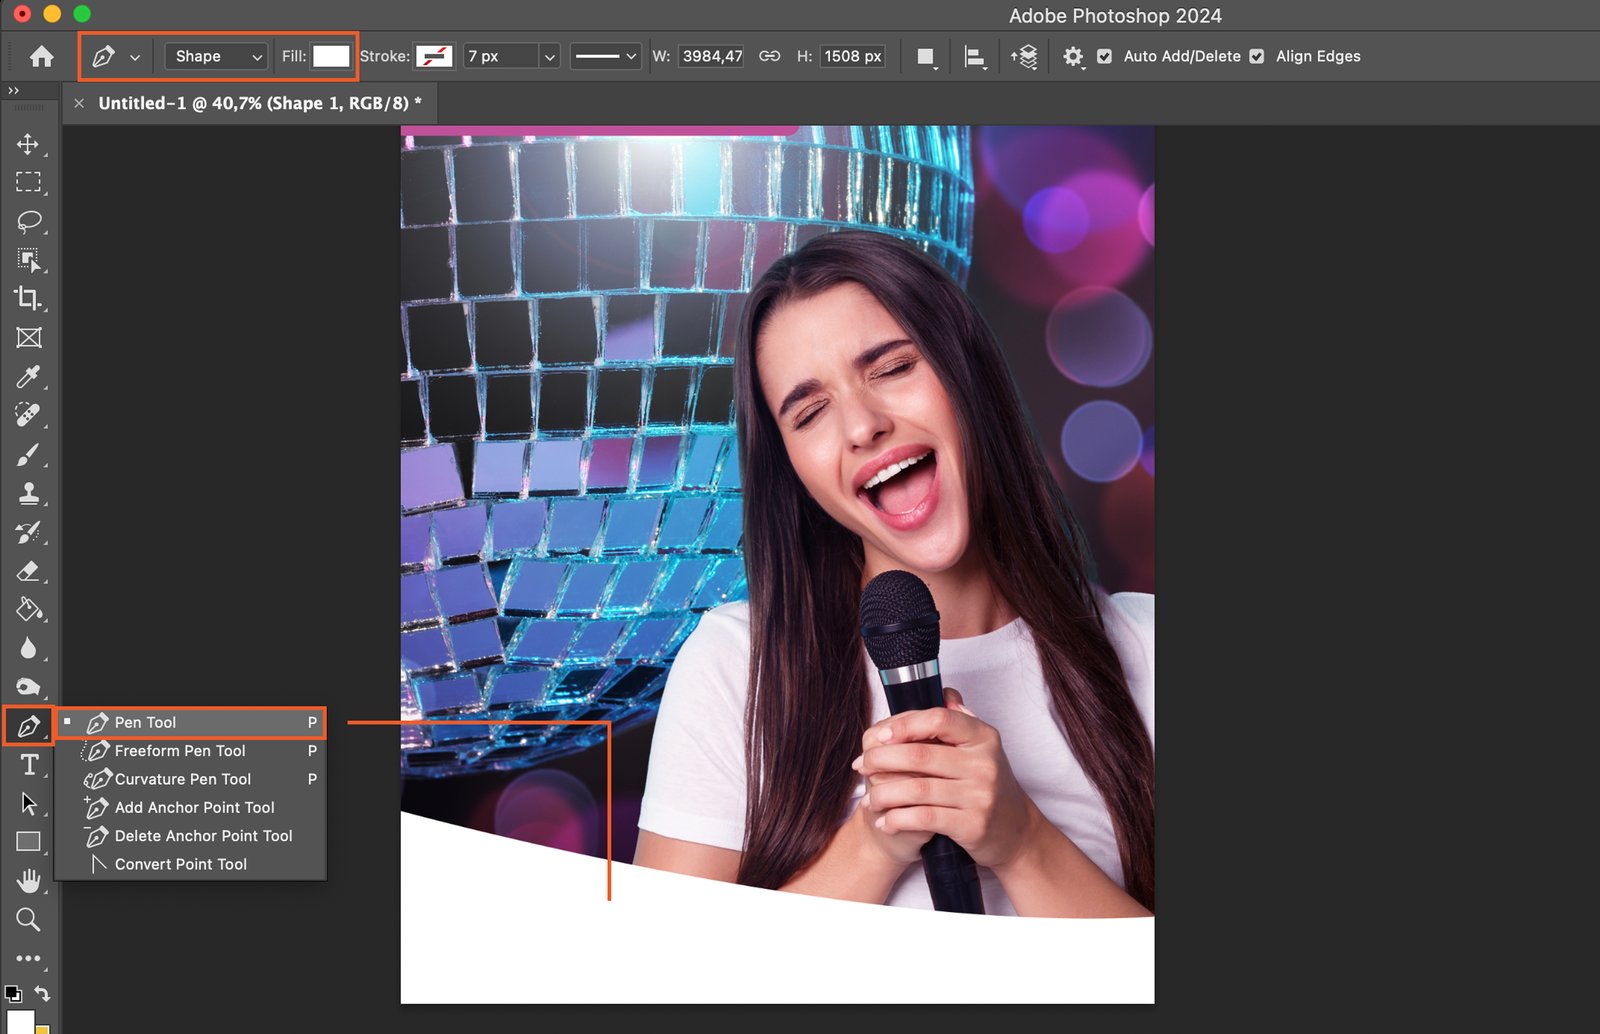
Step 6.2 Using Lines and Paths
To create a line or path, select the “Pen Tool”. Click on your canvas to set points and create your desired line or path.
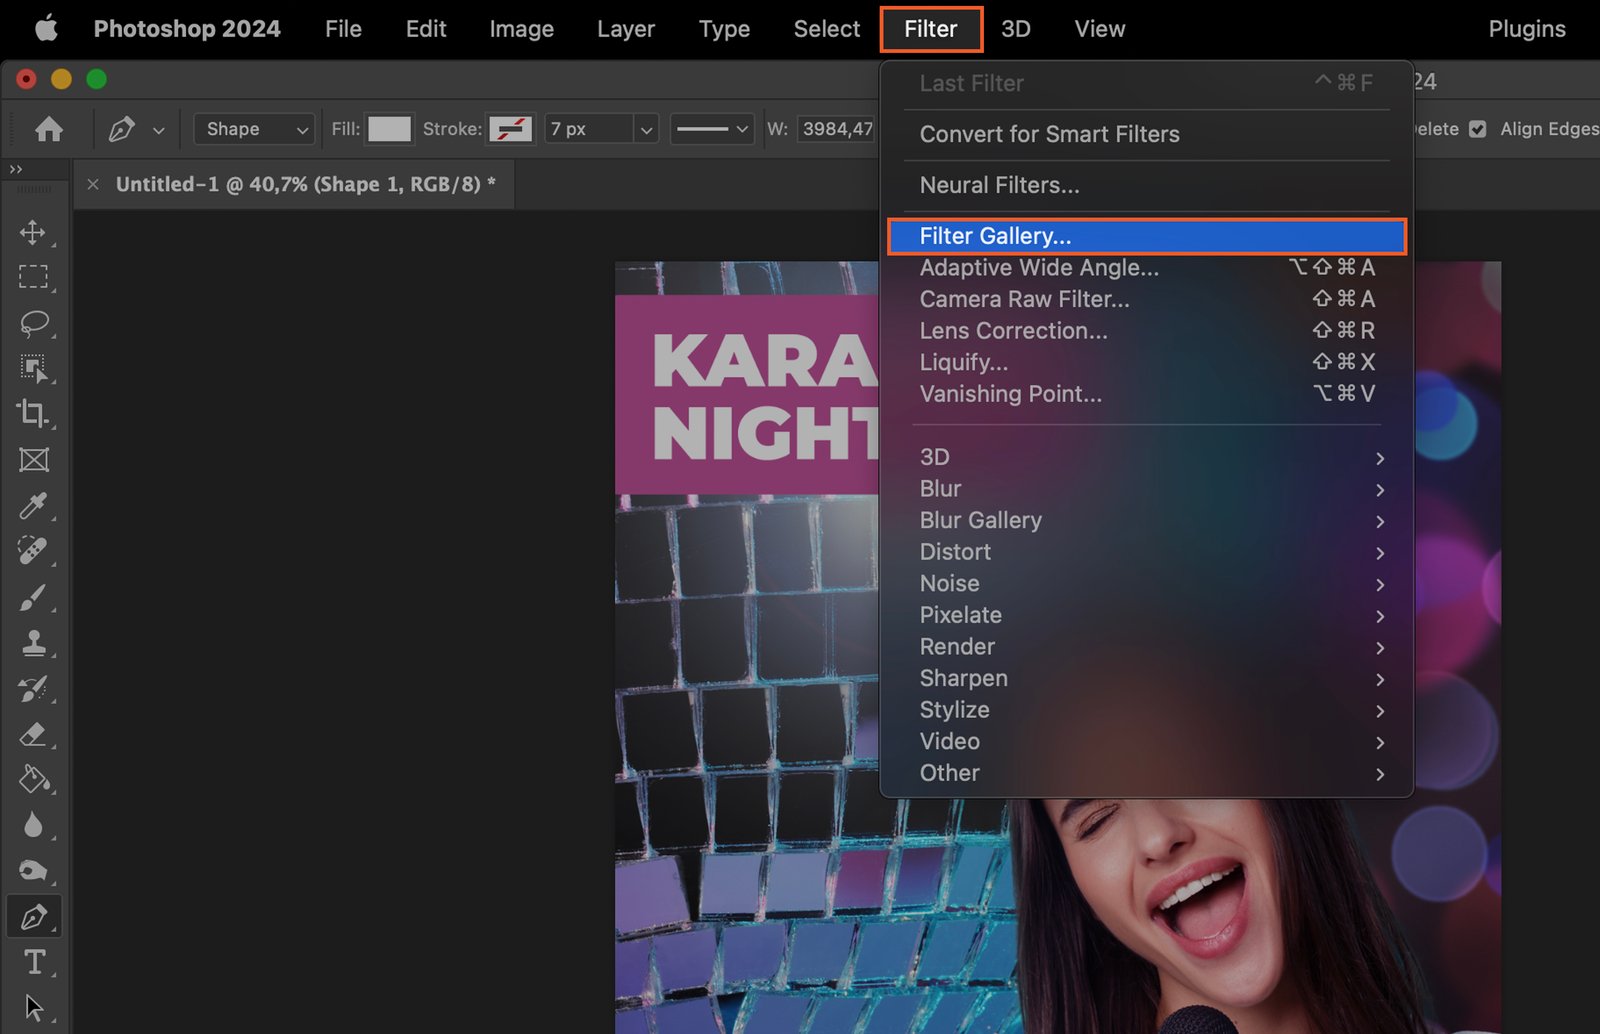
Step 7. Applying Filters and Effects
Filters and layer styles can add depth and interest.
Step 7.1 Using Filters
To apply a filter, select your layer, then choose “Filter” from the menu. Explore the different options to find what works best for your design.
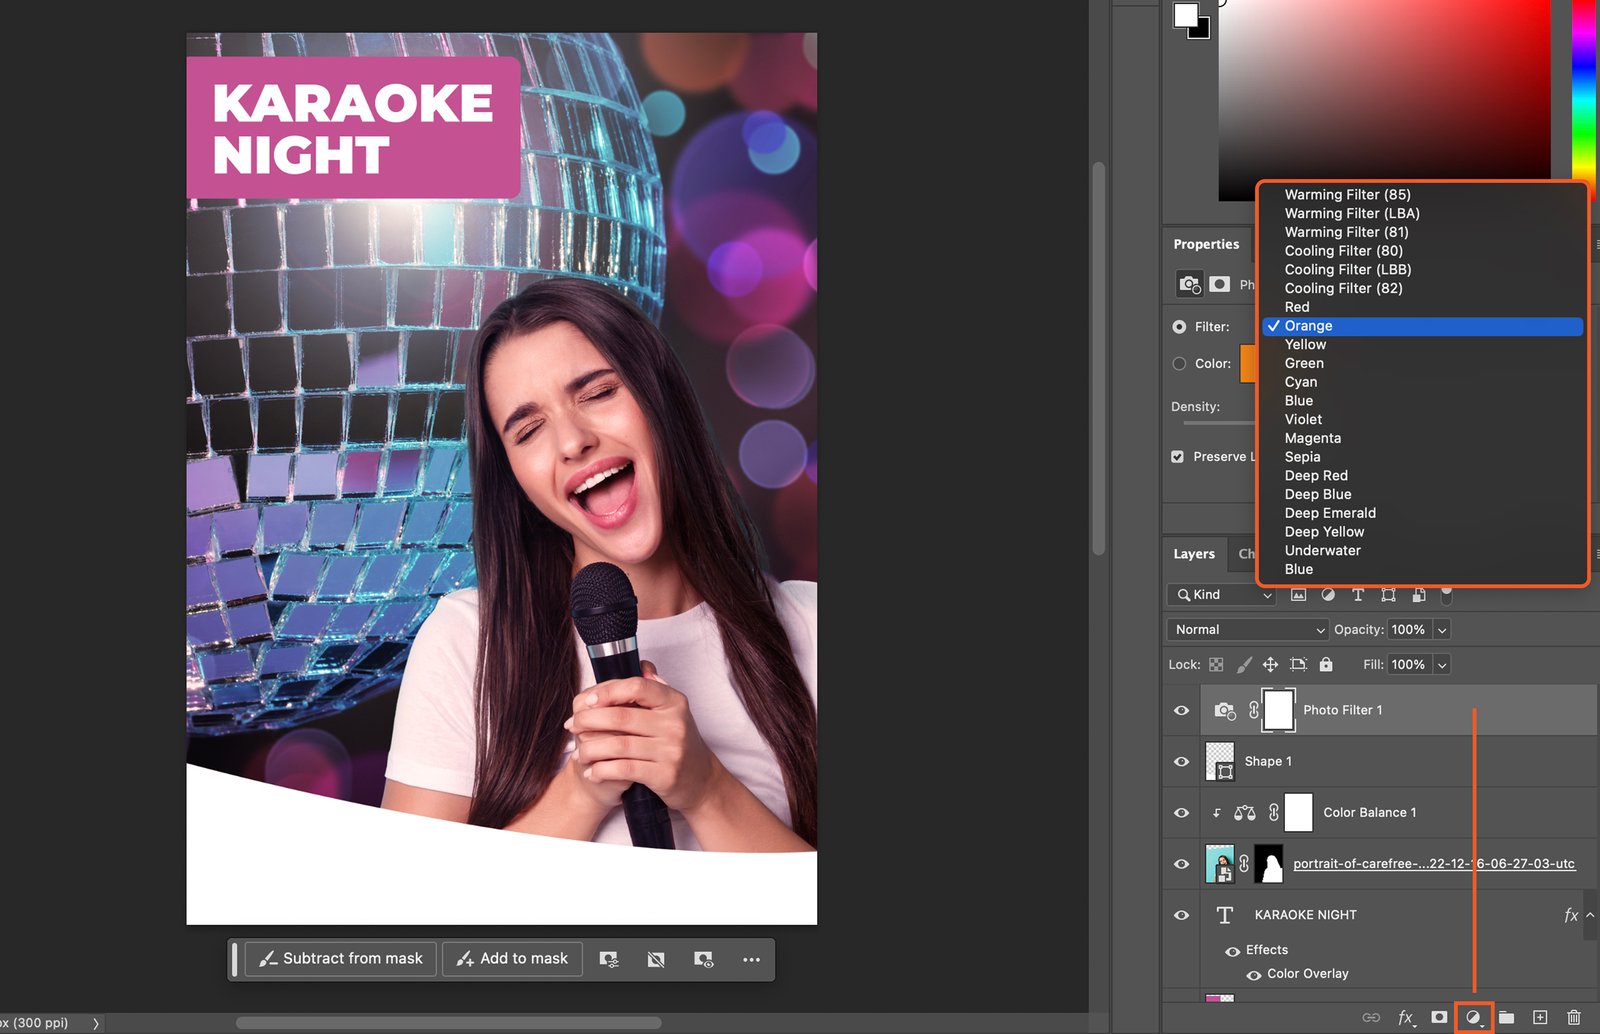
Step 7.2 Photo Filter
You can add a Photo Filter by clicking on Adjustment Layers and Select ‘Photo Filter’
Step 8. Finalizing Your Poster
Before saving, check your overall design. Then, save your poster for print or web.