Removing a double chin in Photoshop can enhance your portraits, making them more aesthetically pleasing. This article provides a step-by-step guide to achieve this, helping you improve your photo editing skills and deliver professional results.
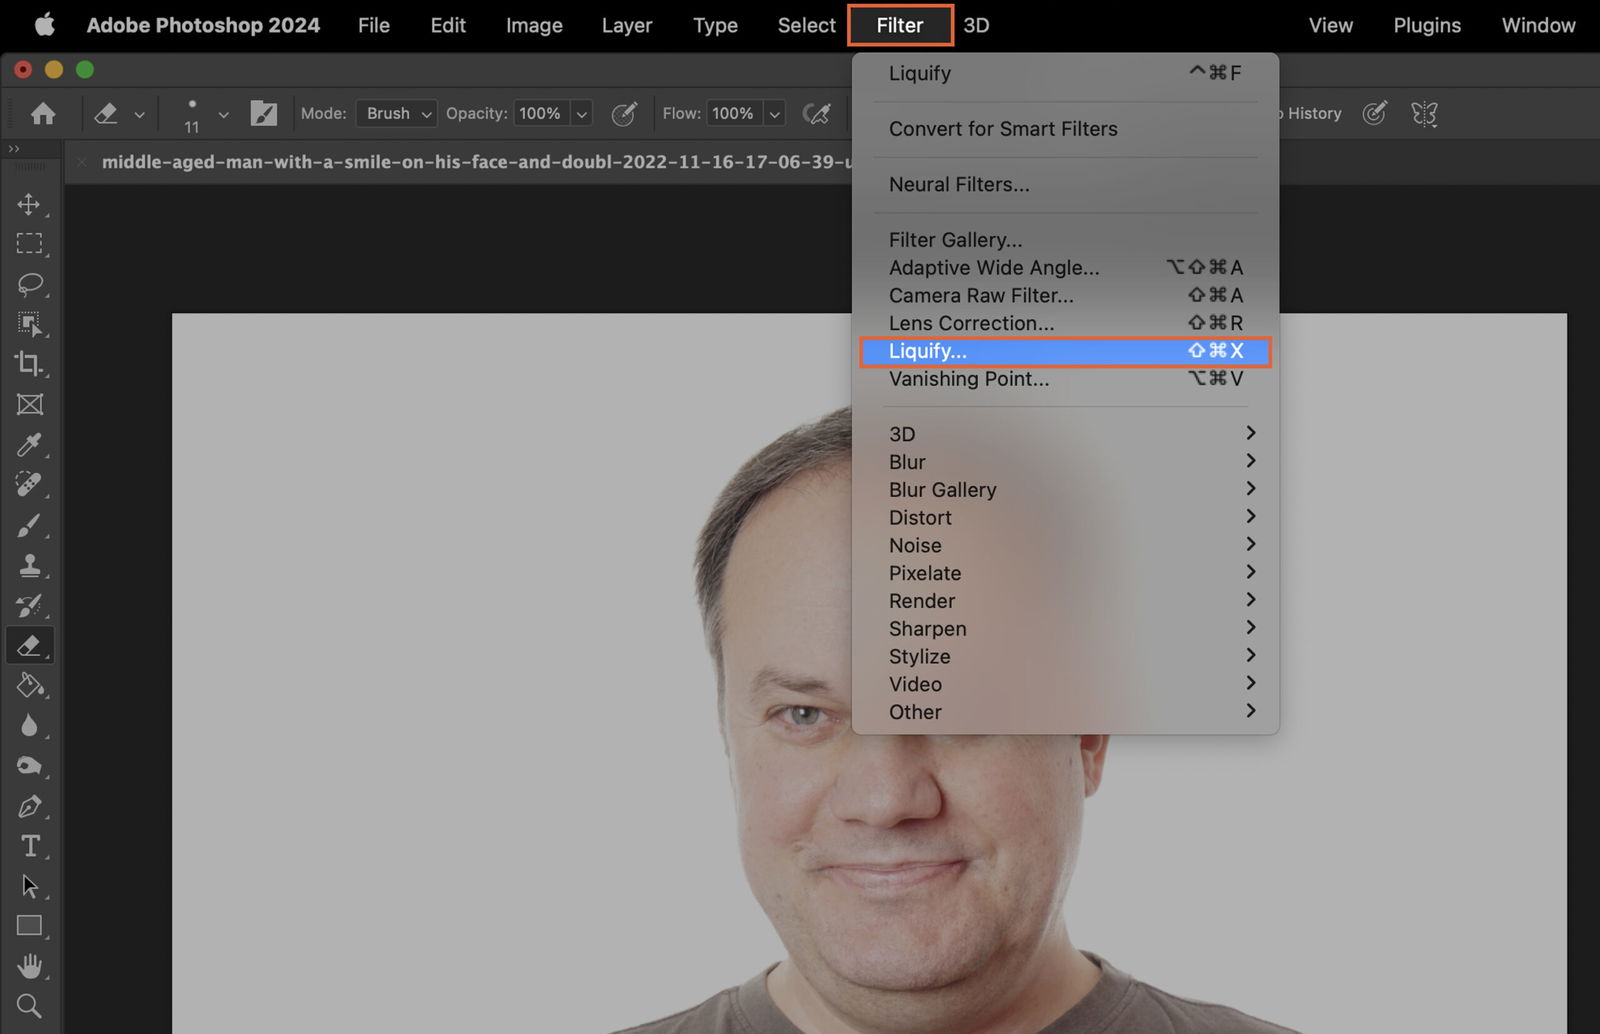
Select the Liquify Tool. This tool allows us to push, pull and twist the pixels to subtly reshape the chin area.
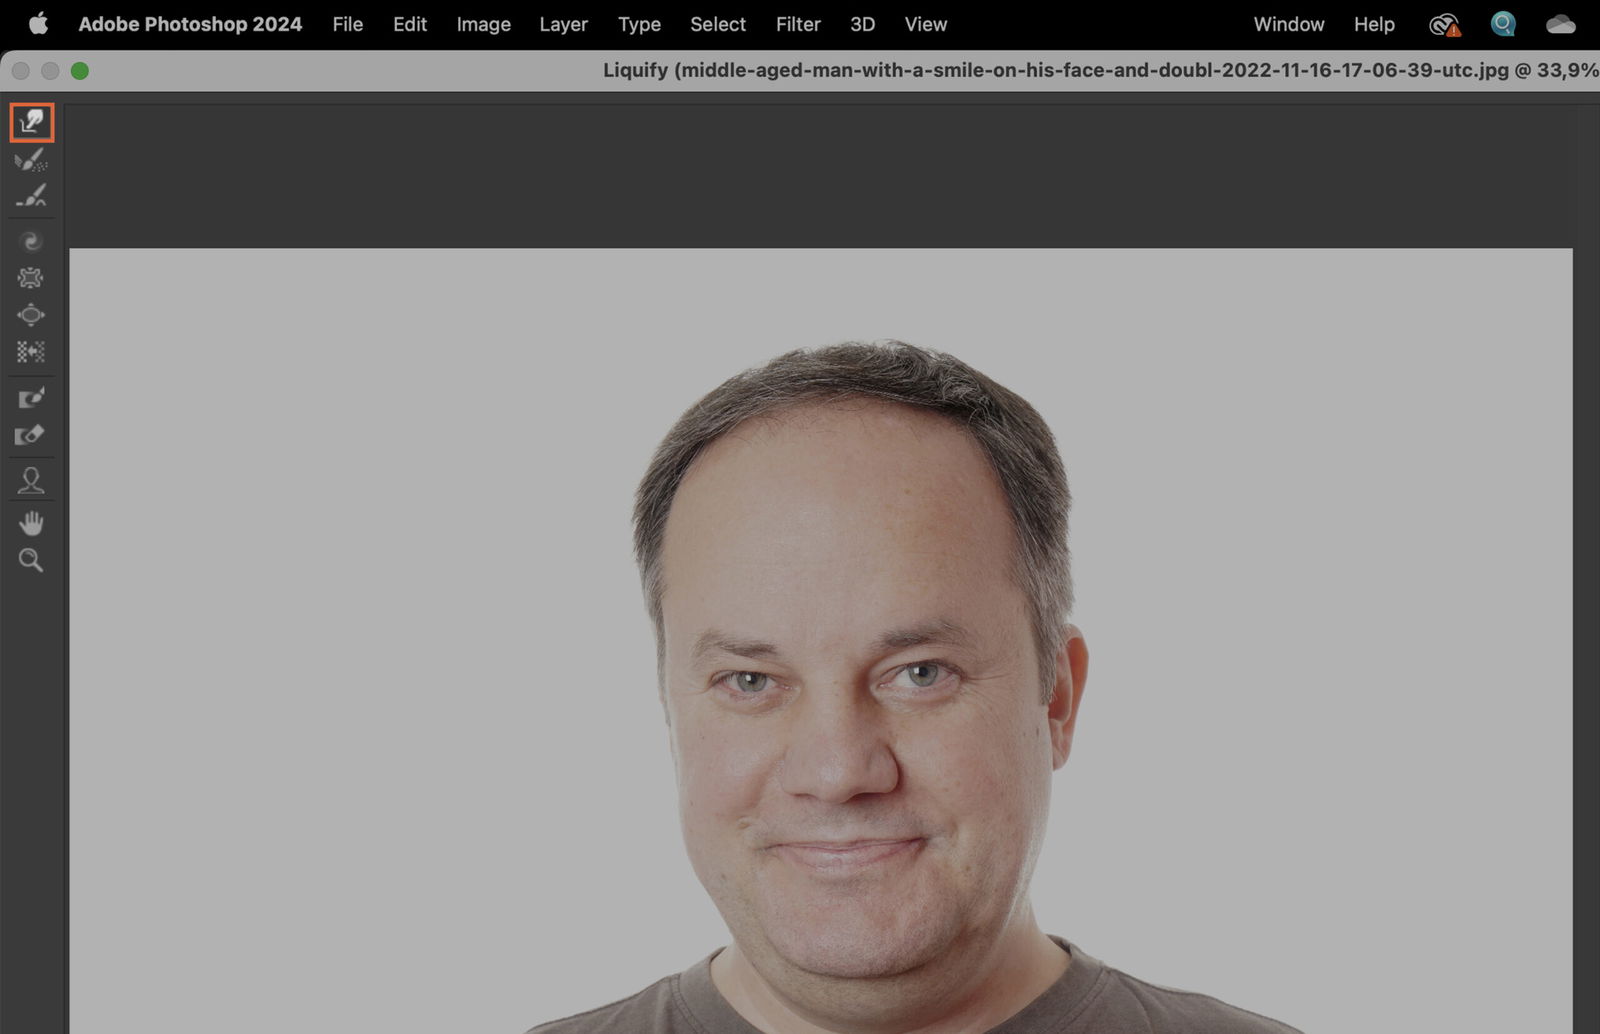
The Forward Warp Tool is a part of the Liquify Tool. It pushes pixels forward as you drag, helping to reshape the double chin.
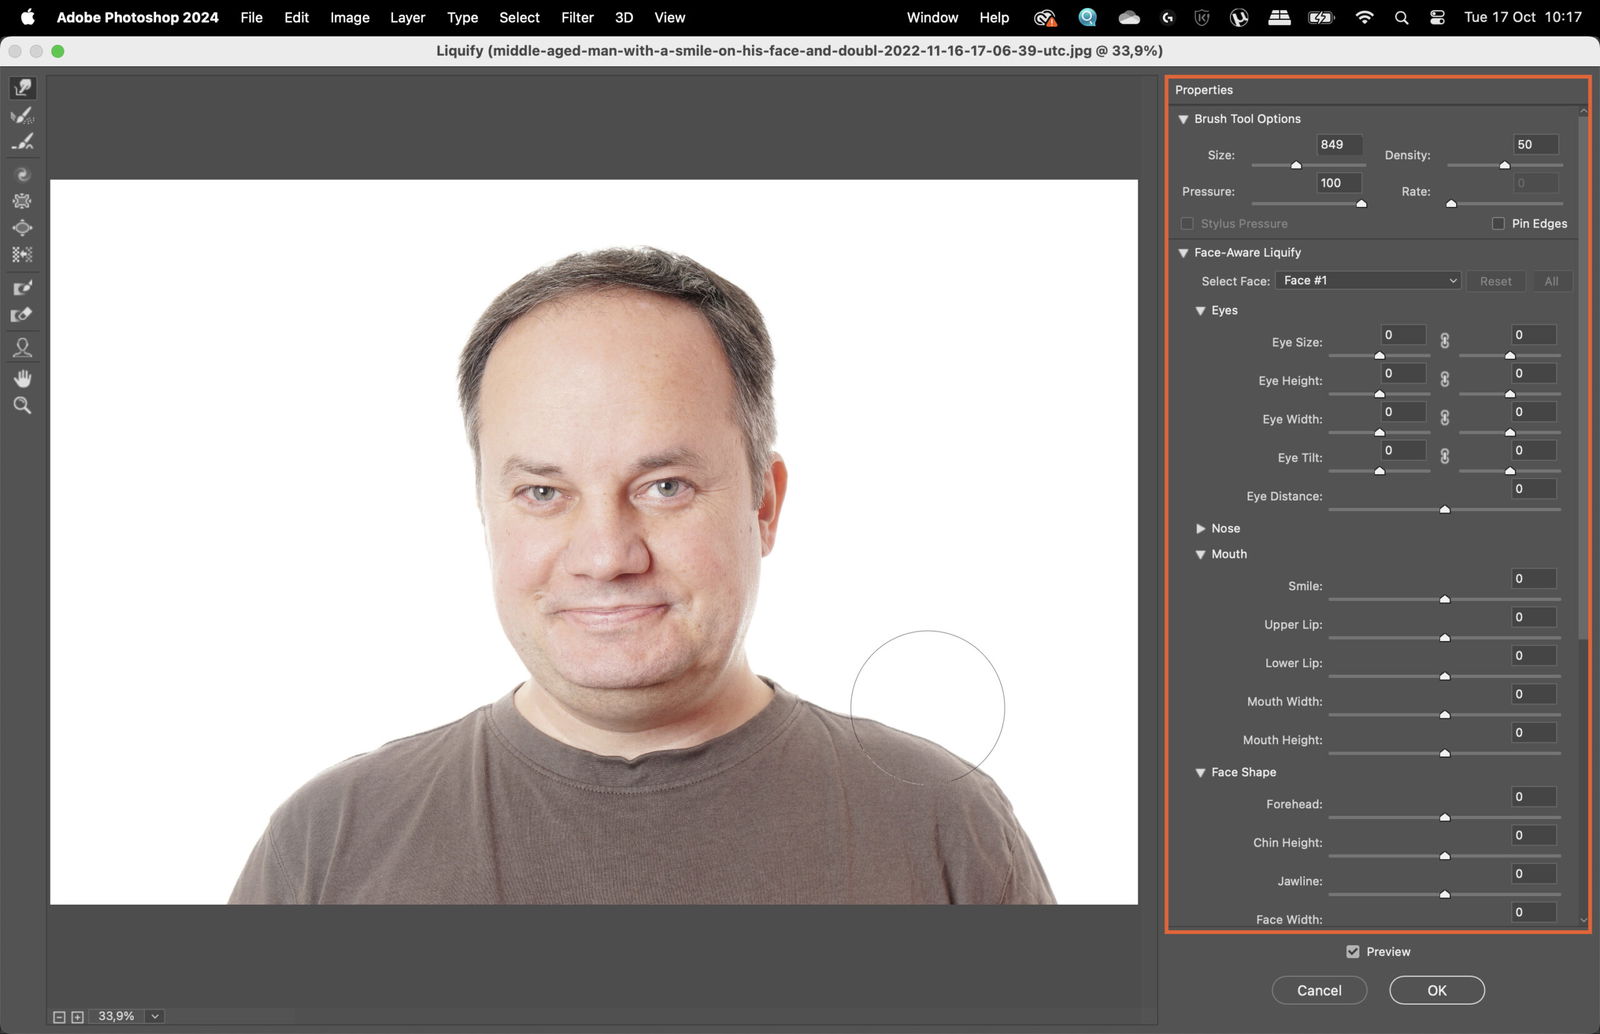
Adjust the size and pressure of the Forward Warp Tool to fit your needs. A bigger brush size and lower pressure will result in a more natural effect.
The last step is to make minor adjustments to make the edited area blend in seamlessly.
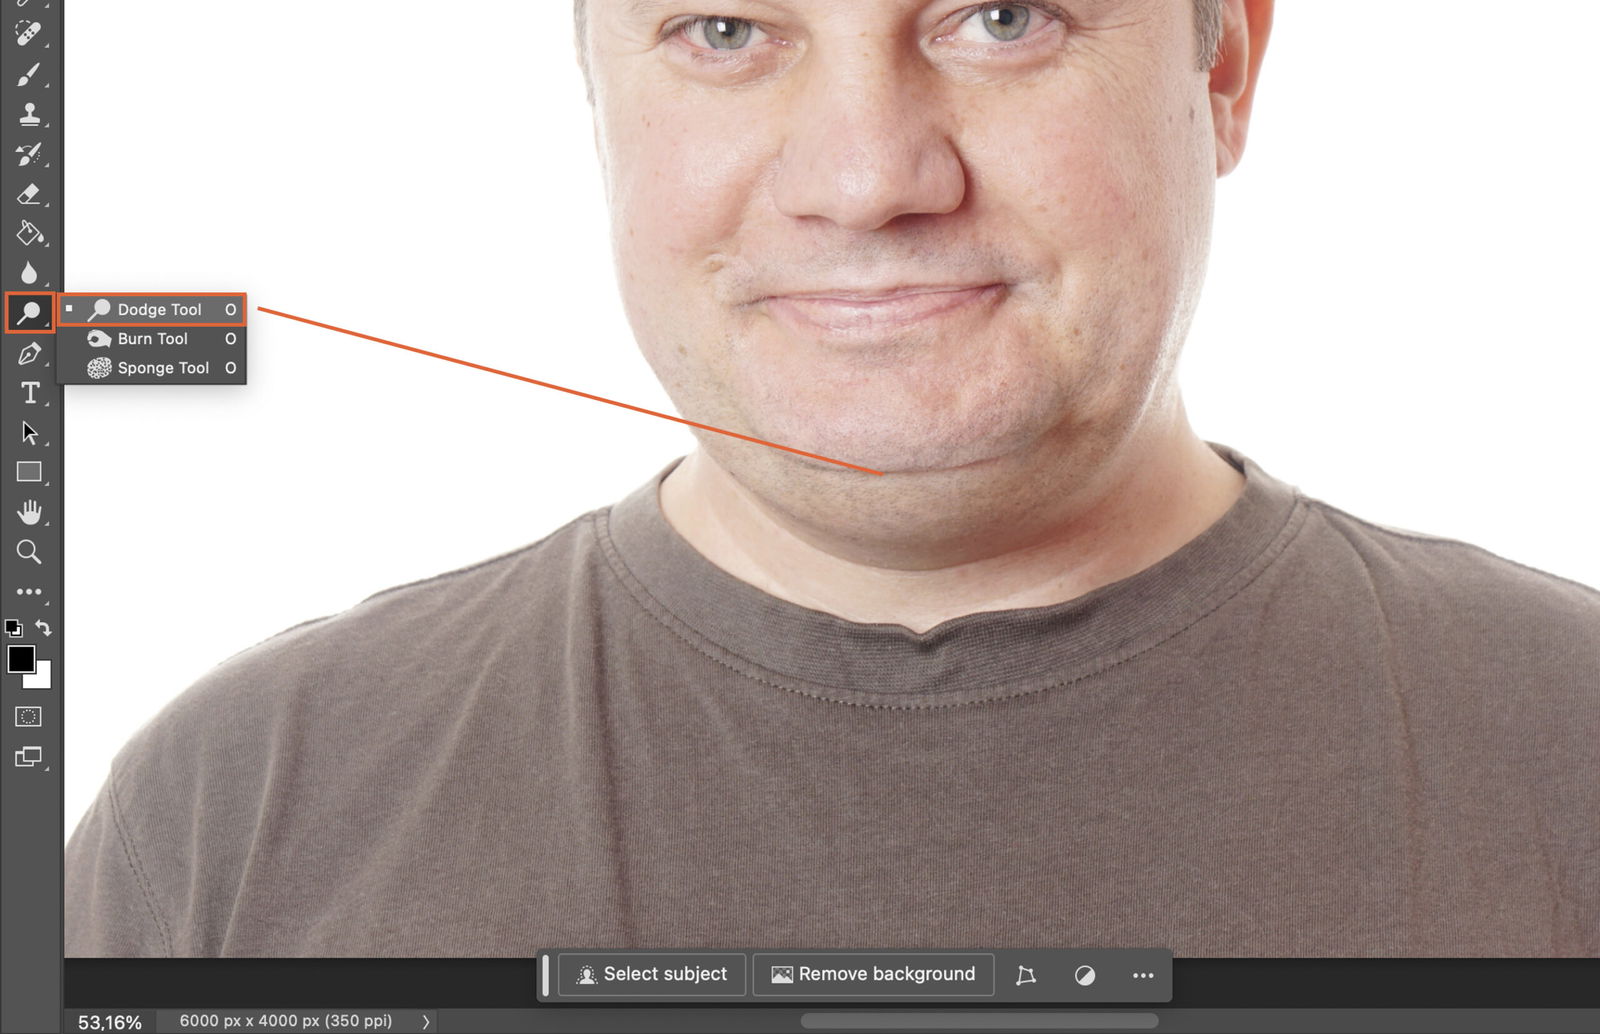
Use the Dodge and Burn Tools to adjust the lighting on the chin. This will add depth and make the edit look more realistic.
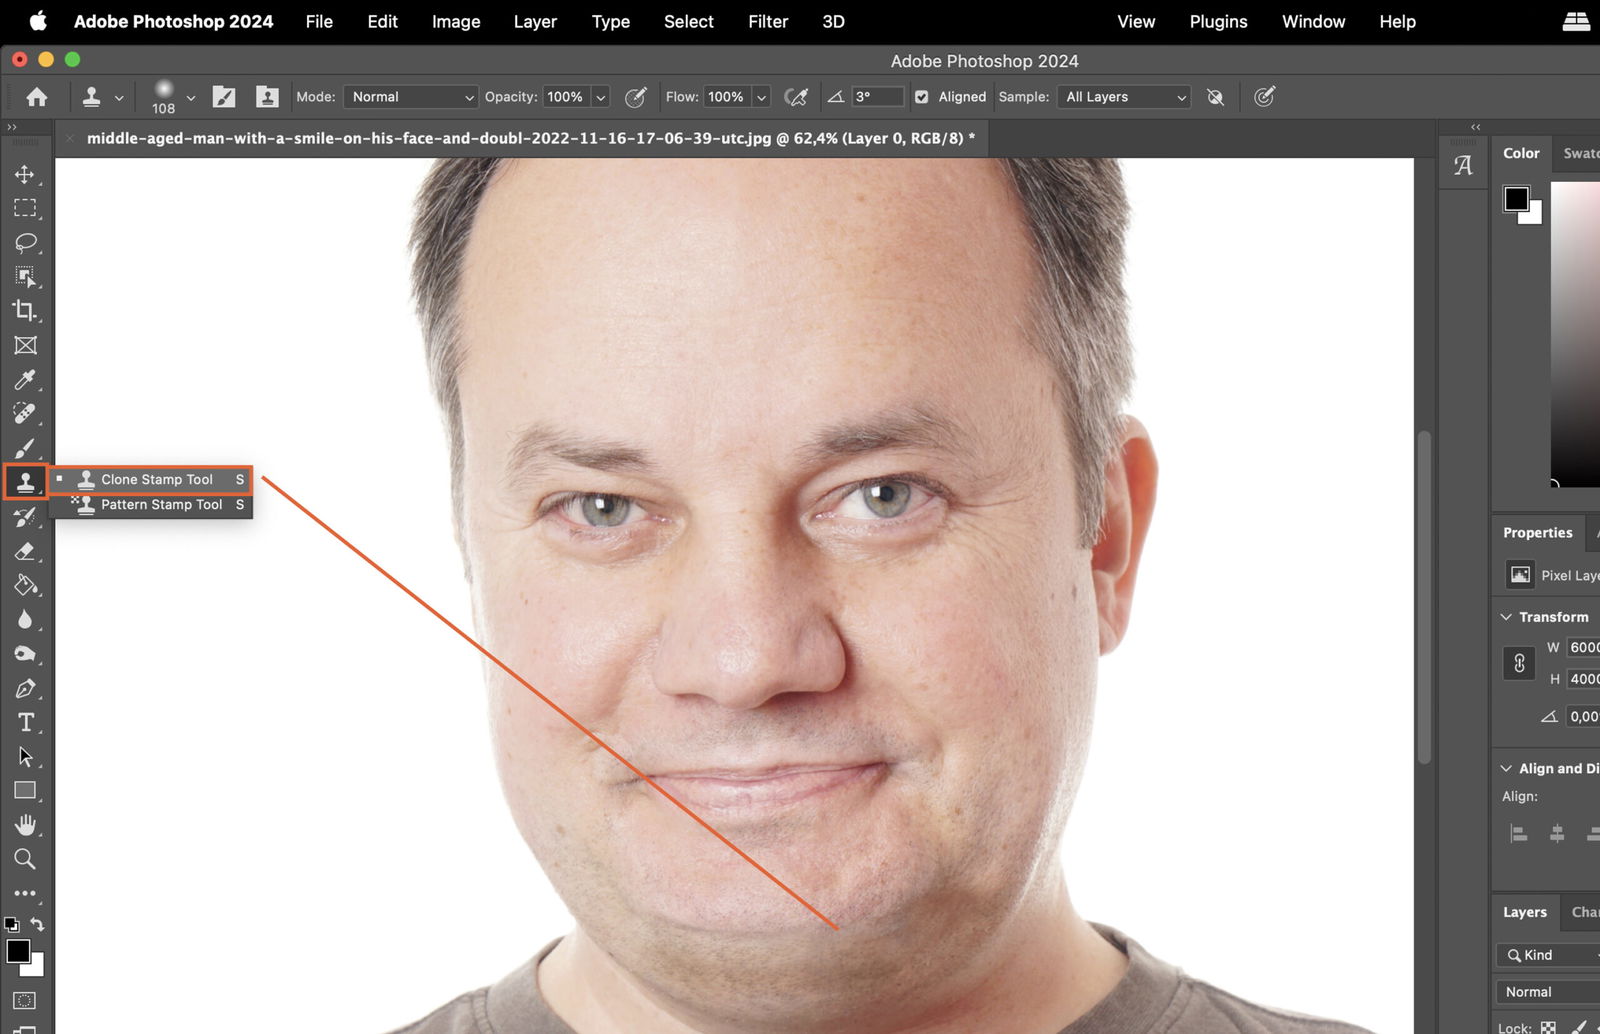
Finally, use the Clone Stamp Tool to sample and replicate the skin texture from the surrounding area. Apply it to the edited chin to make it look natural. You can use the ‘Burn Tool’ to create new shadows to make the chin more natural.