Struggling to remove lines in Photoshop? This article provides a step-by-step guide to help you navigate this process. Mastering these techniques can greatly enhance your digital editing skills and lead to cleaner, more professional images.
Different tools in Photoshop offer various ways to remove lines. The tool you choose depends on the complexity and location of the line you want to remove.
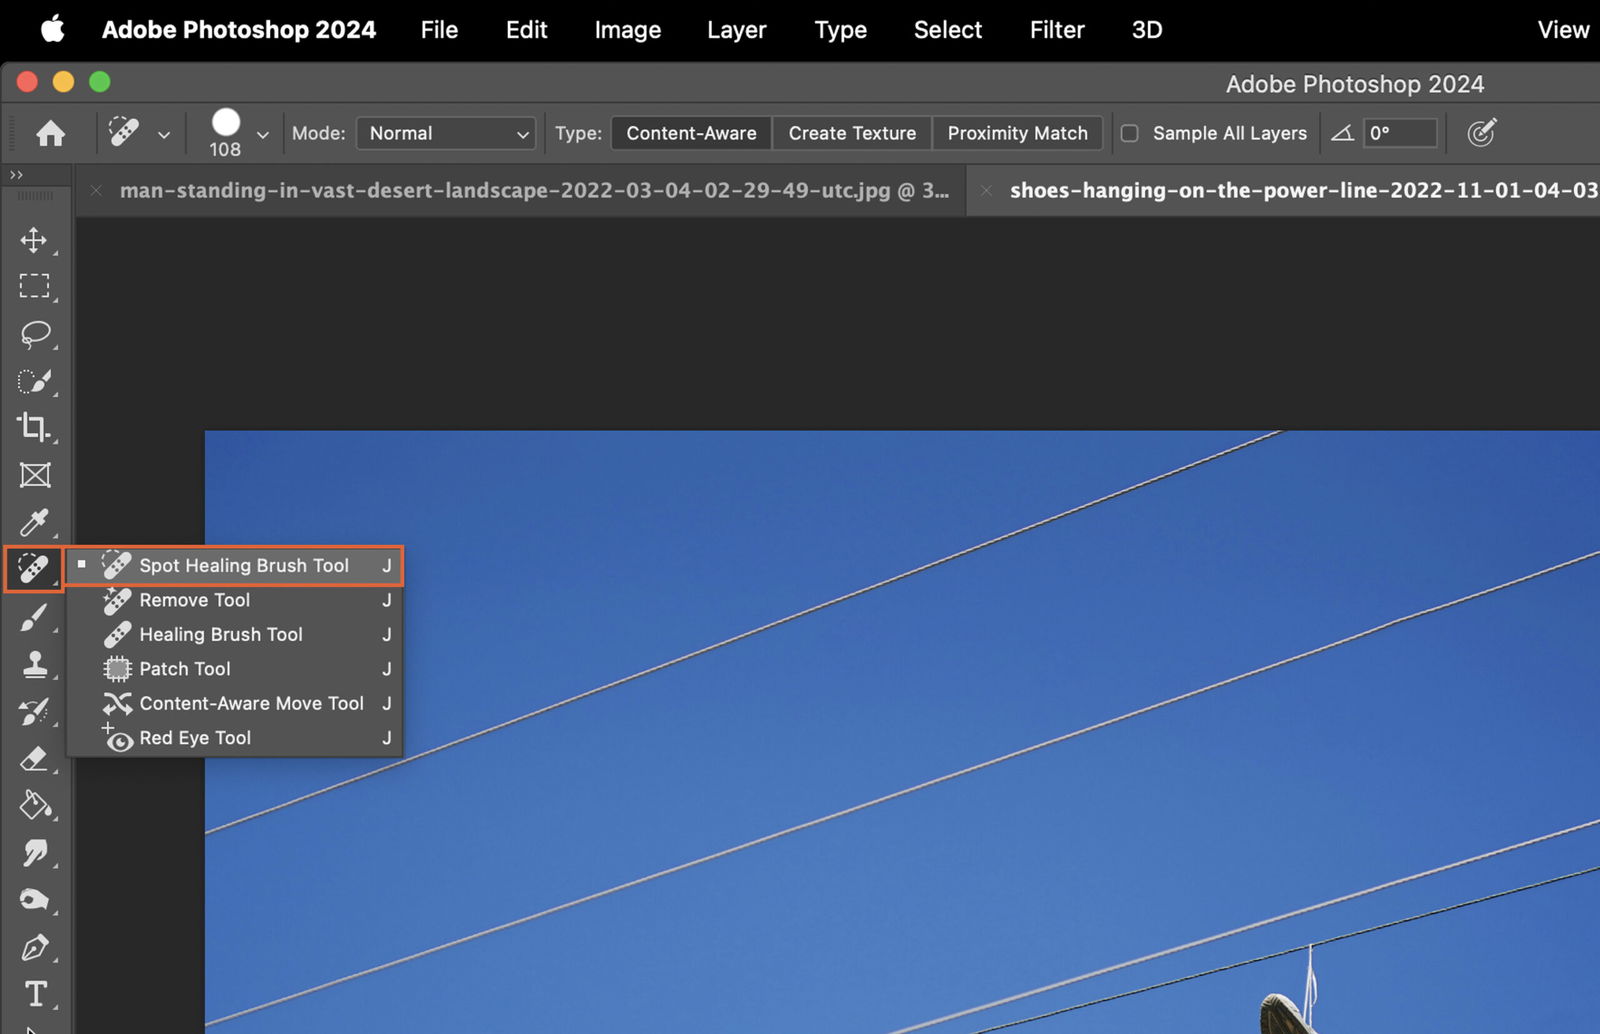
The Spot Healing Brush Tool is ideal for removing small lines or blemishes. It automatically samples from around the area to replace the selected line.
The Healing Brush Tool is more manual than the Spot Healing Brush. You choose the area to sample from, making it better for more complicated line removal.

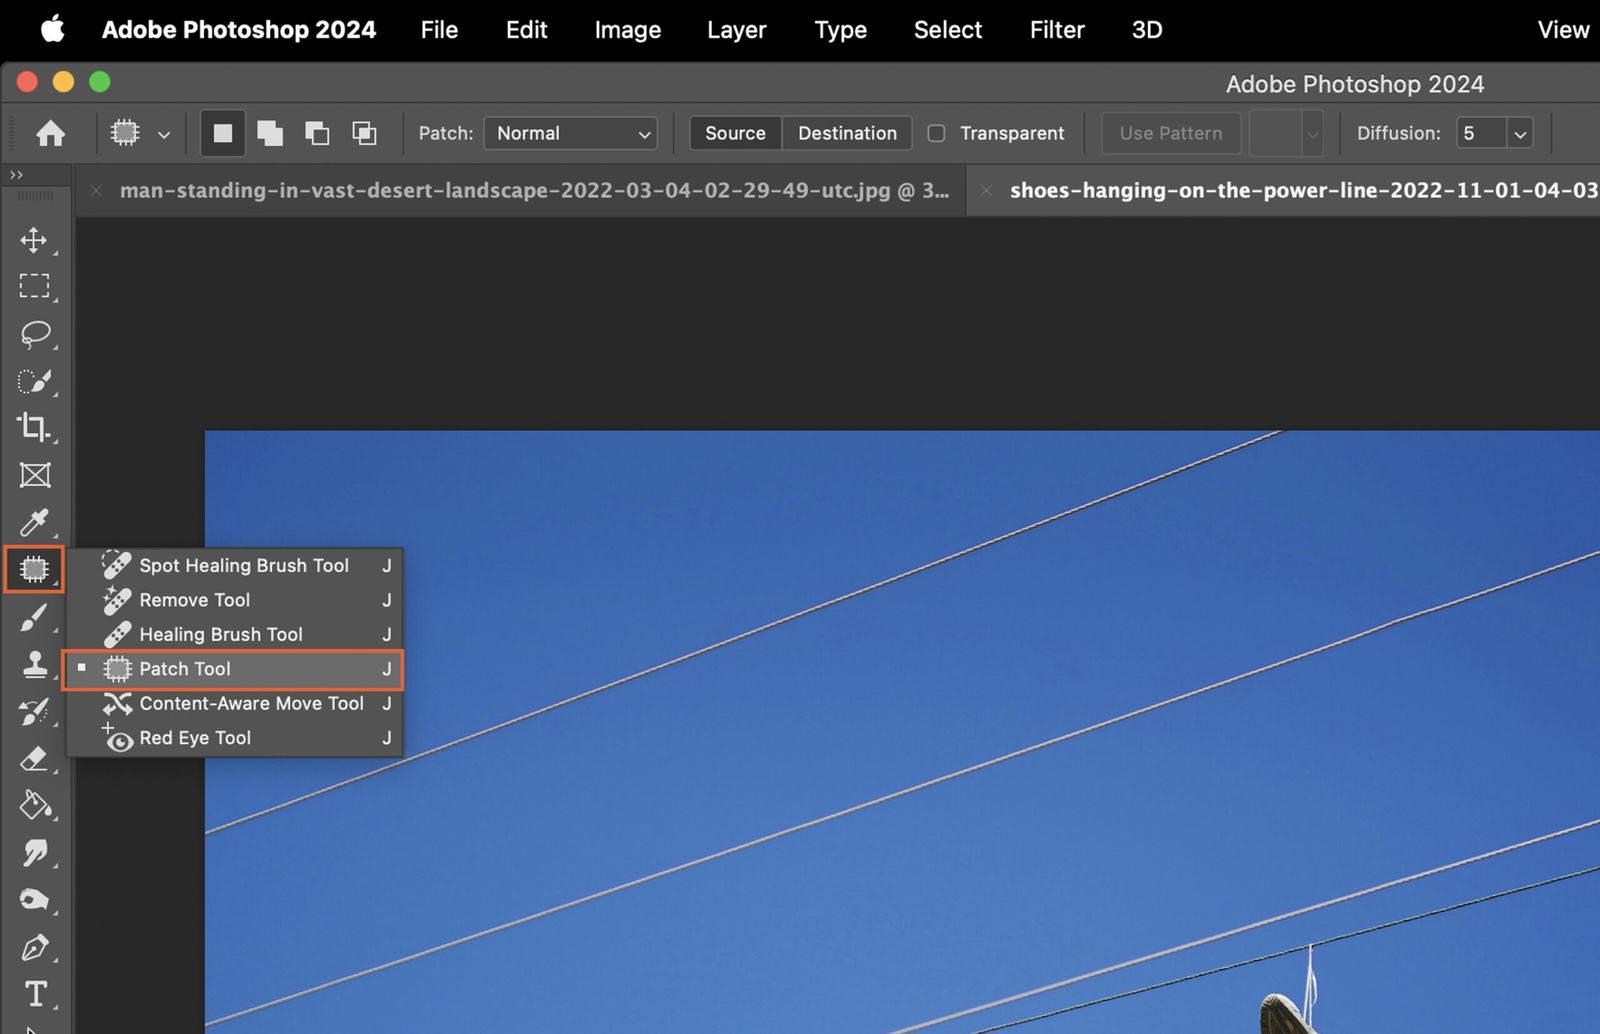
The Patch Tool is great for large lines or areas. You select the whole area you want to change and then select a sample area. It blends the two areas together to remove the line.
Setting your tool correctly is key to a smooth and natural-looking line removal.
Choose a brush size that matches the line thickness. This ensures you only affect the area you need to.

A lower hardness gives a more feathered effect, blending your changes into the original image. A higher hardness makes a more defined change.

Set your mode to ‘normal’ for standard line removal. ‘Replace’ mode can be useful if you need to preserve noise, texture, or pattern.

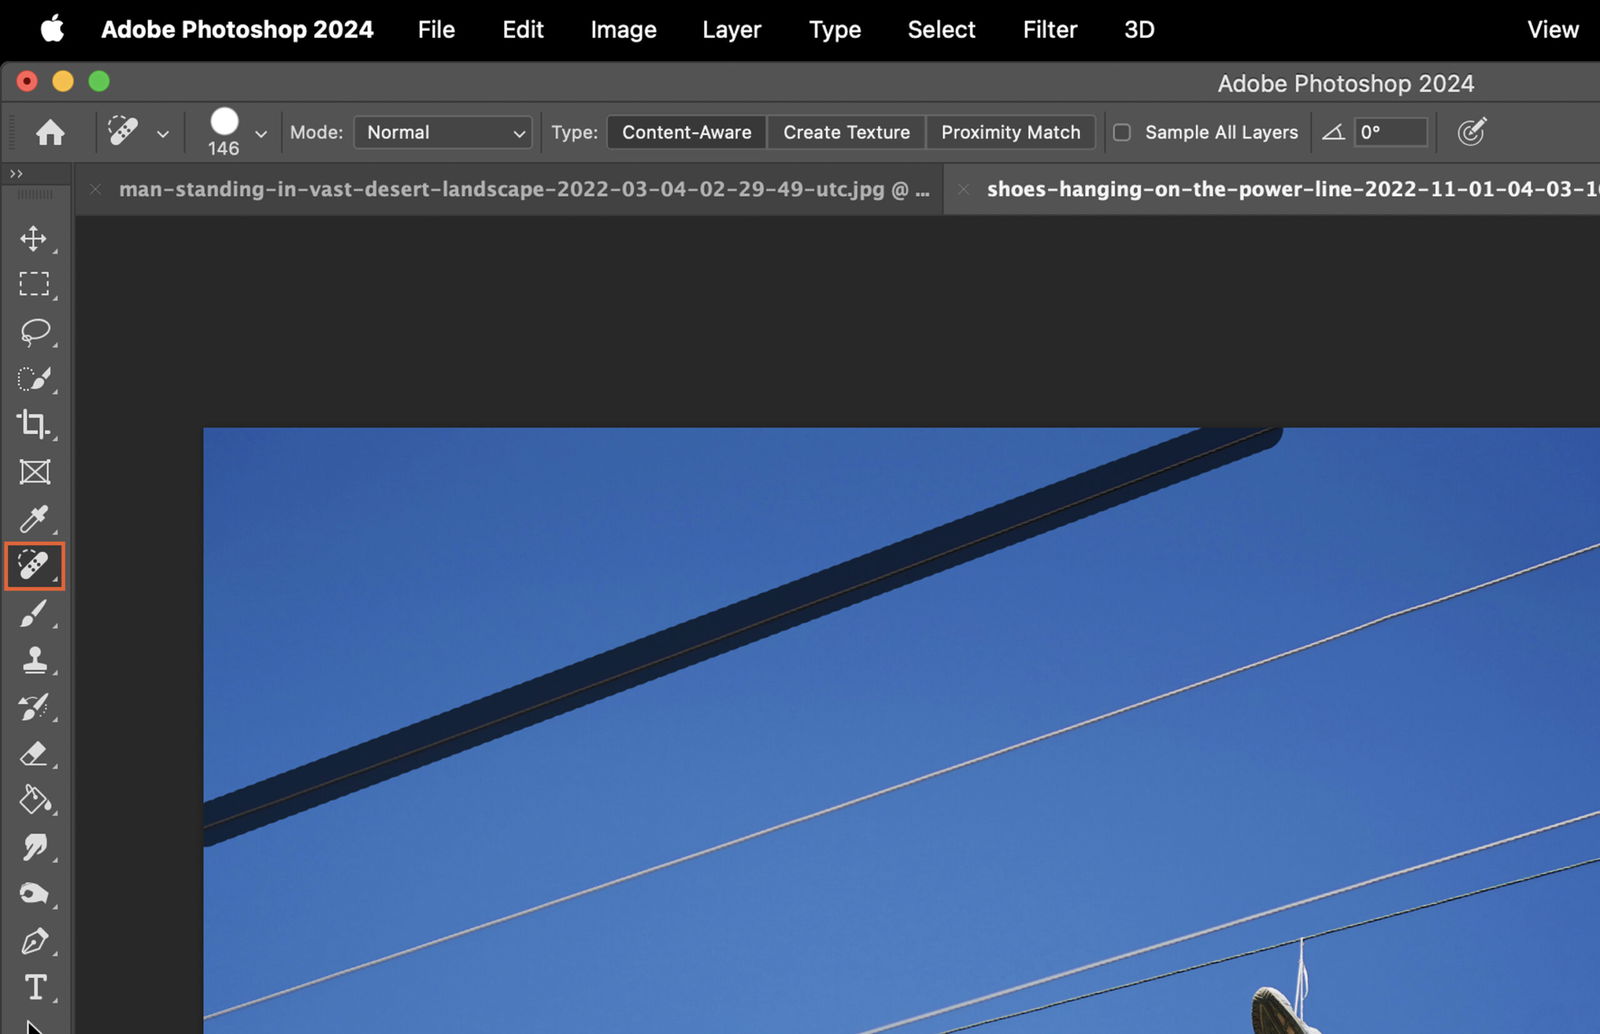
Once you’ve selected your tool and settings, it’s time to remove the line.
Click or click and drag over the line. Photoshop will automatically sample from around the line to replace it.
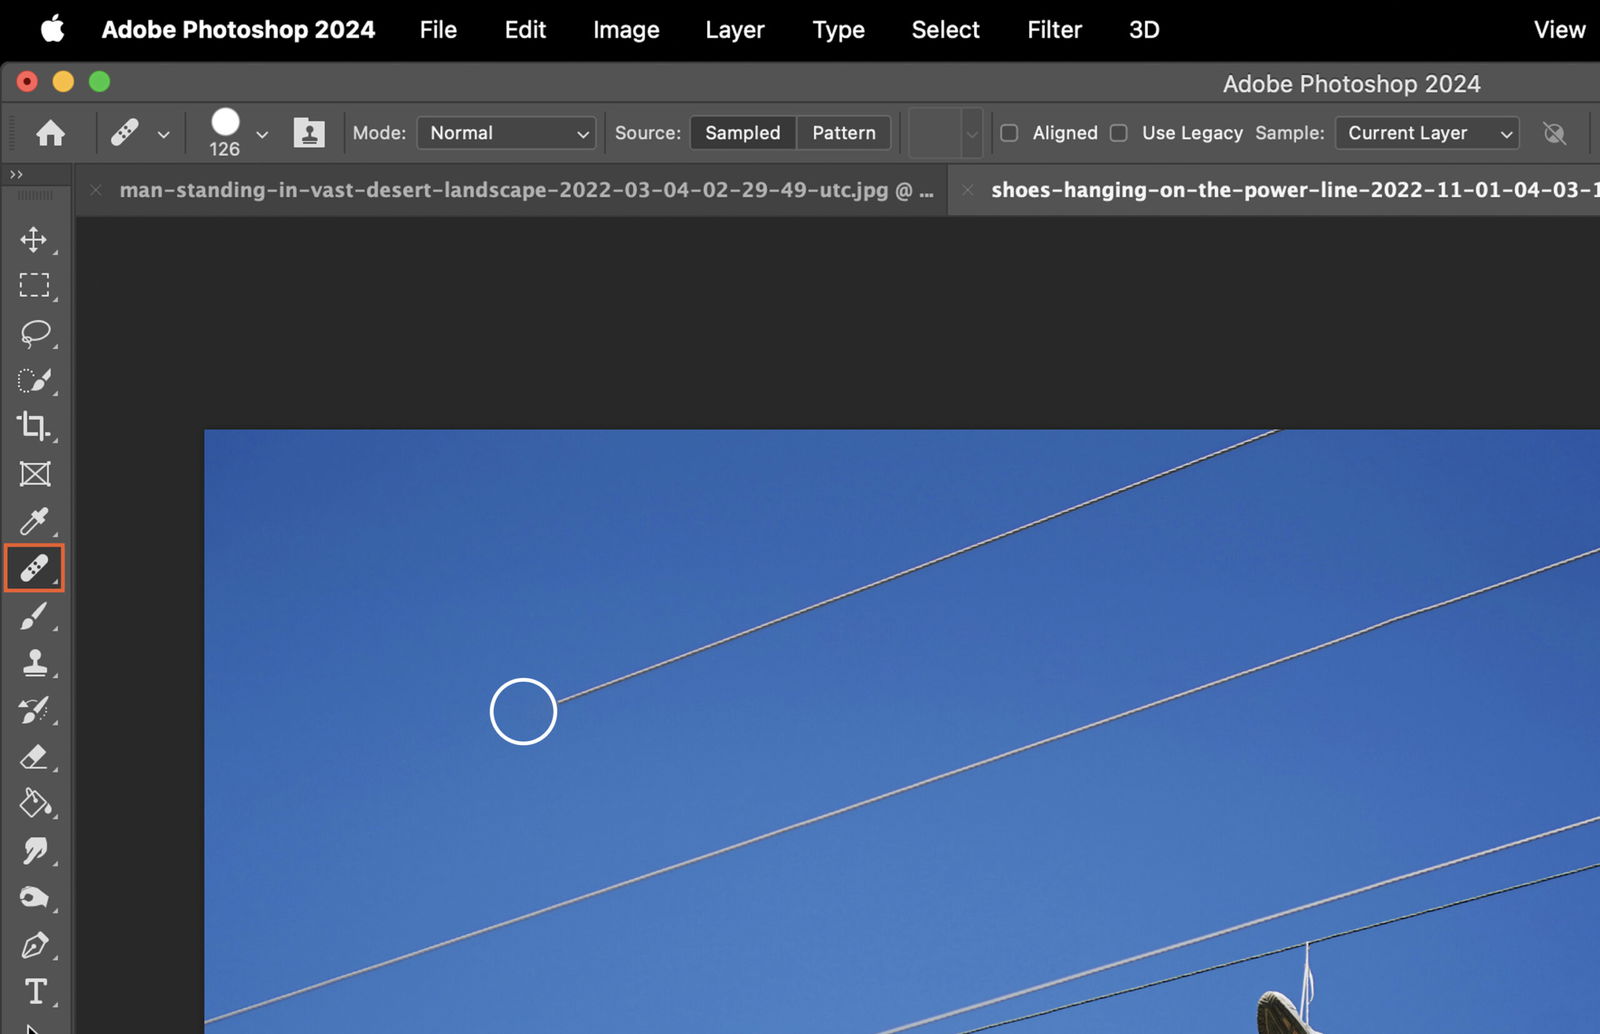
Alt-click to select your sample area, then click or click and drag over the line to replace it with your sample.
Click and drag to select the line or area, then drag this selection to your sample area. Photoshop will blend the two areas together.

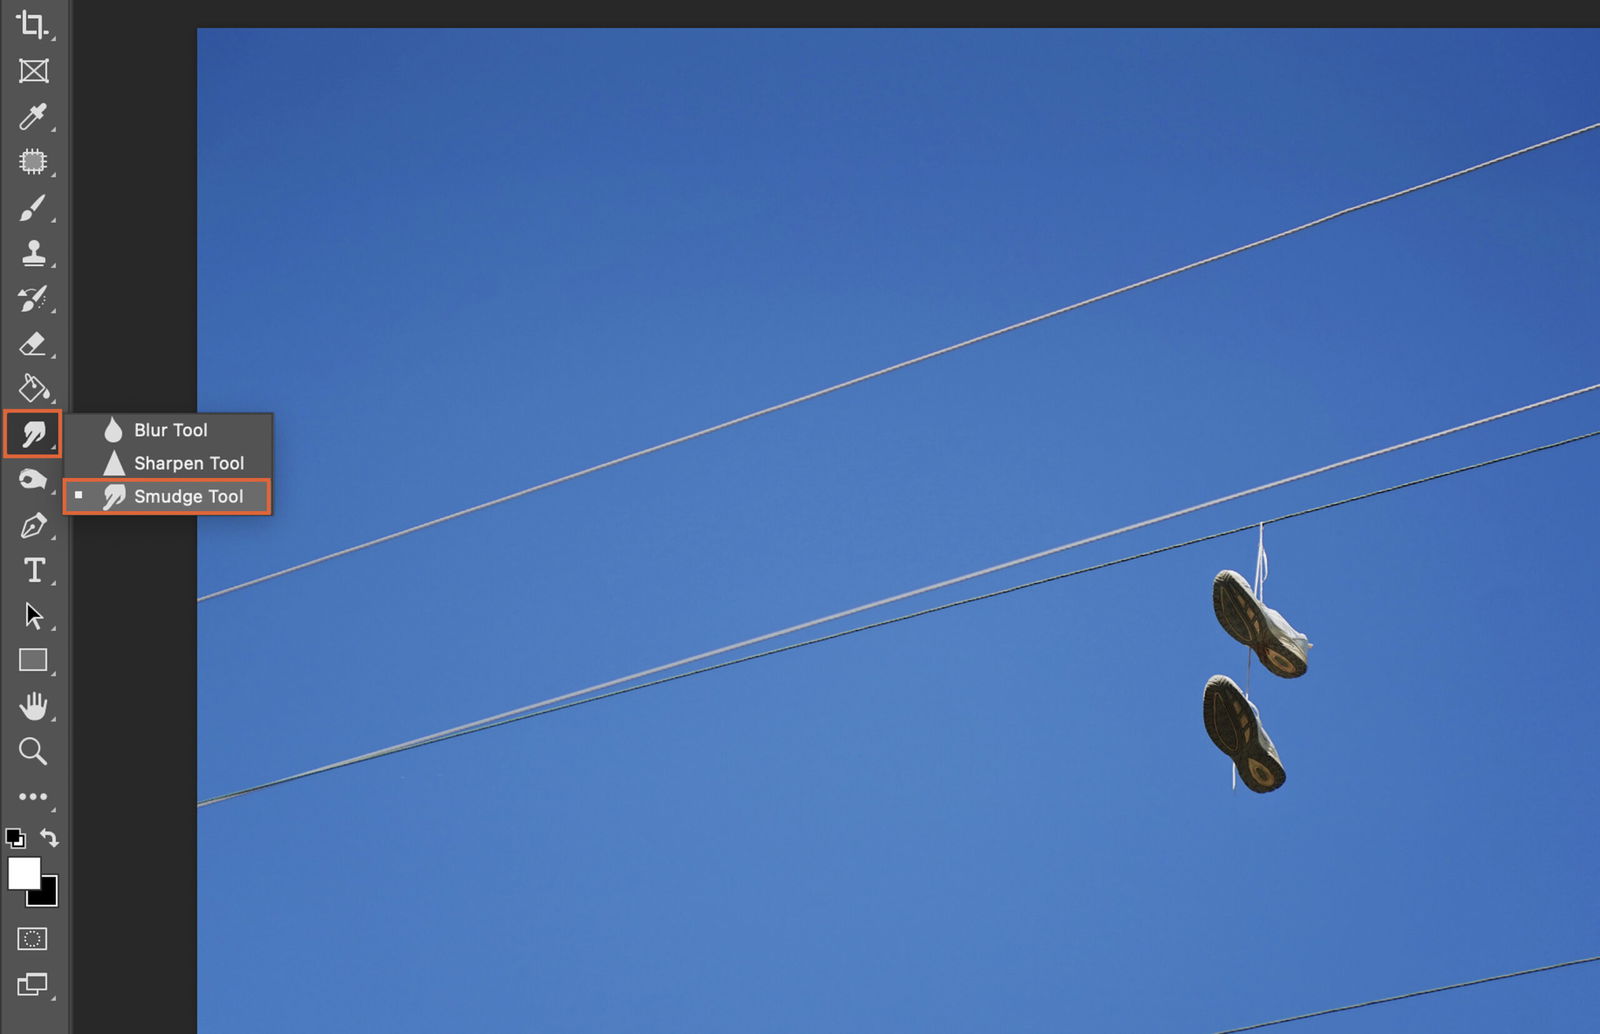
After line removal, edges may look unnatural. Use the Smudge Tool to gently blend your changes into the original image for a more natural look.
If there are still visible imperfections after using the healing tools, use the Clone Stamp Tool for detailed corrections. This tool directly copies the pixels from one area to another.

After removing the line, check the overall image for consistency. Use the Burn and Dodge tools to match the lightness and darkness of your changes to the rest of the image.


