When looking to remove objects in Photoshop, the process can often seem daunting. However, mastering this skill can transform your photos and design work. This article provides a step-by-step guide to simplify this often complex task.
First, identify the object you want to remove. This could be anything from a small blemish to a large unwanted object.
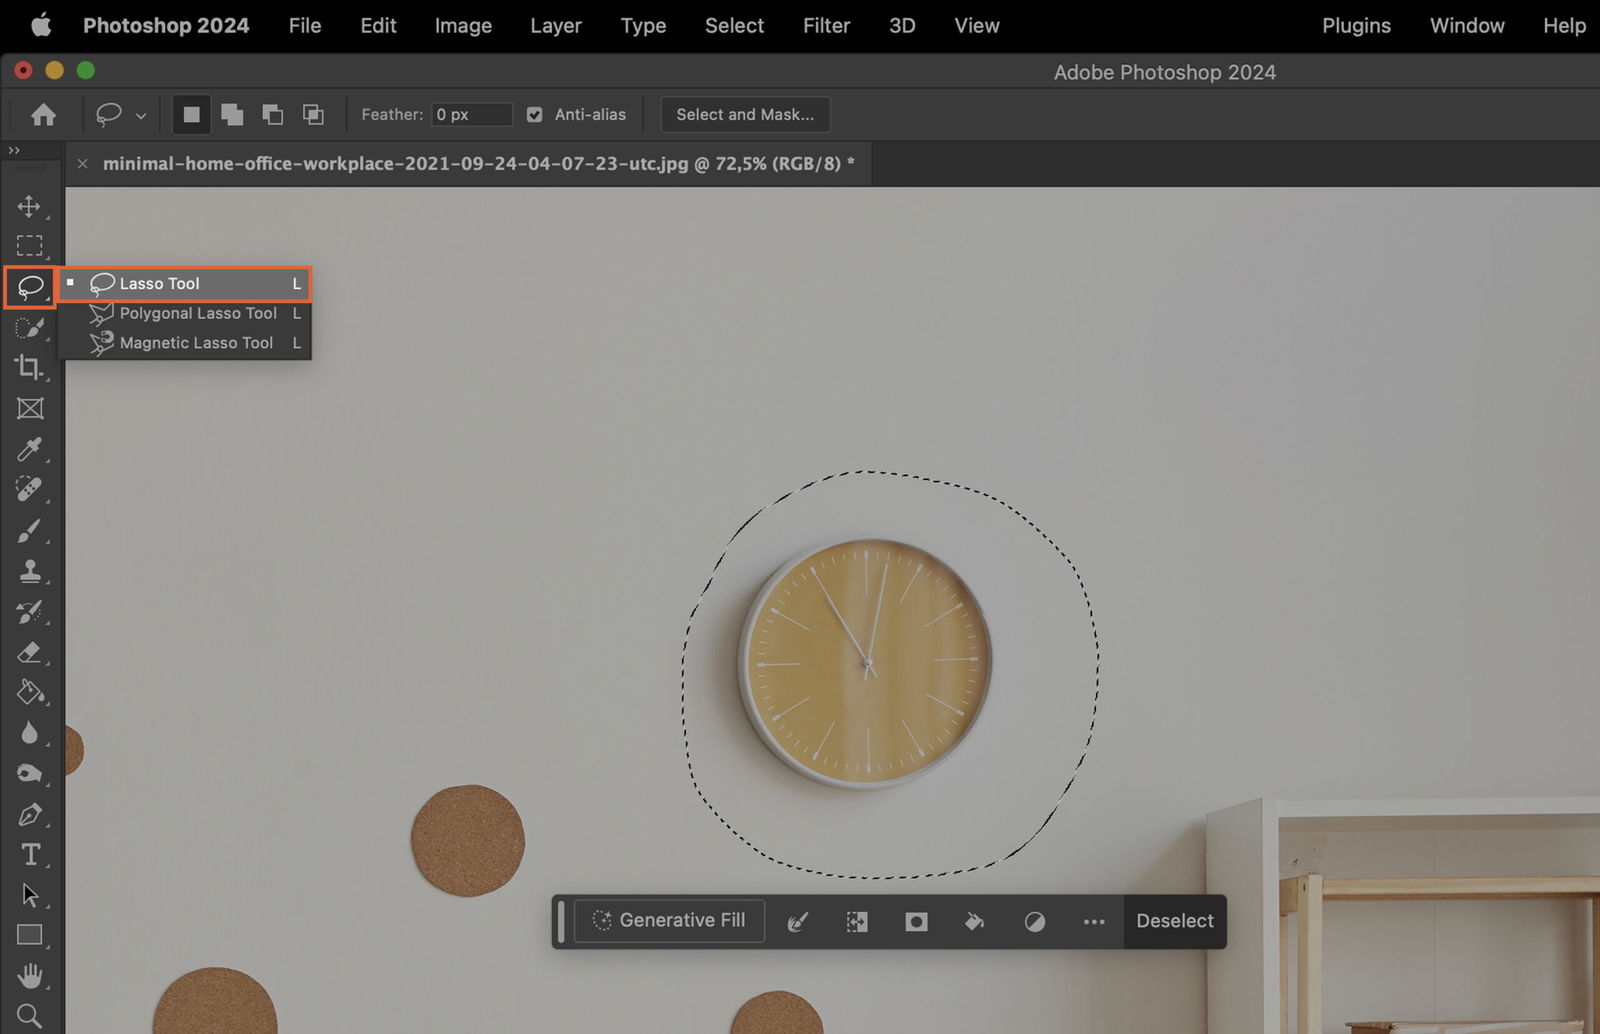
The Lasso Tool allows you to draw a freehand selection around the object. Simply click and drag around the object to select it.
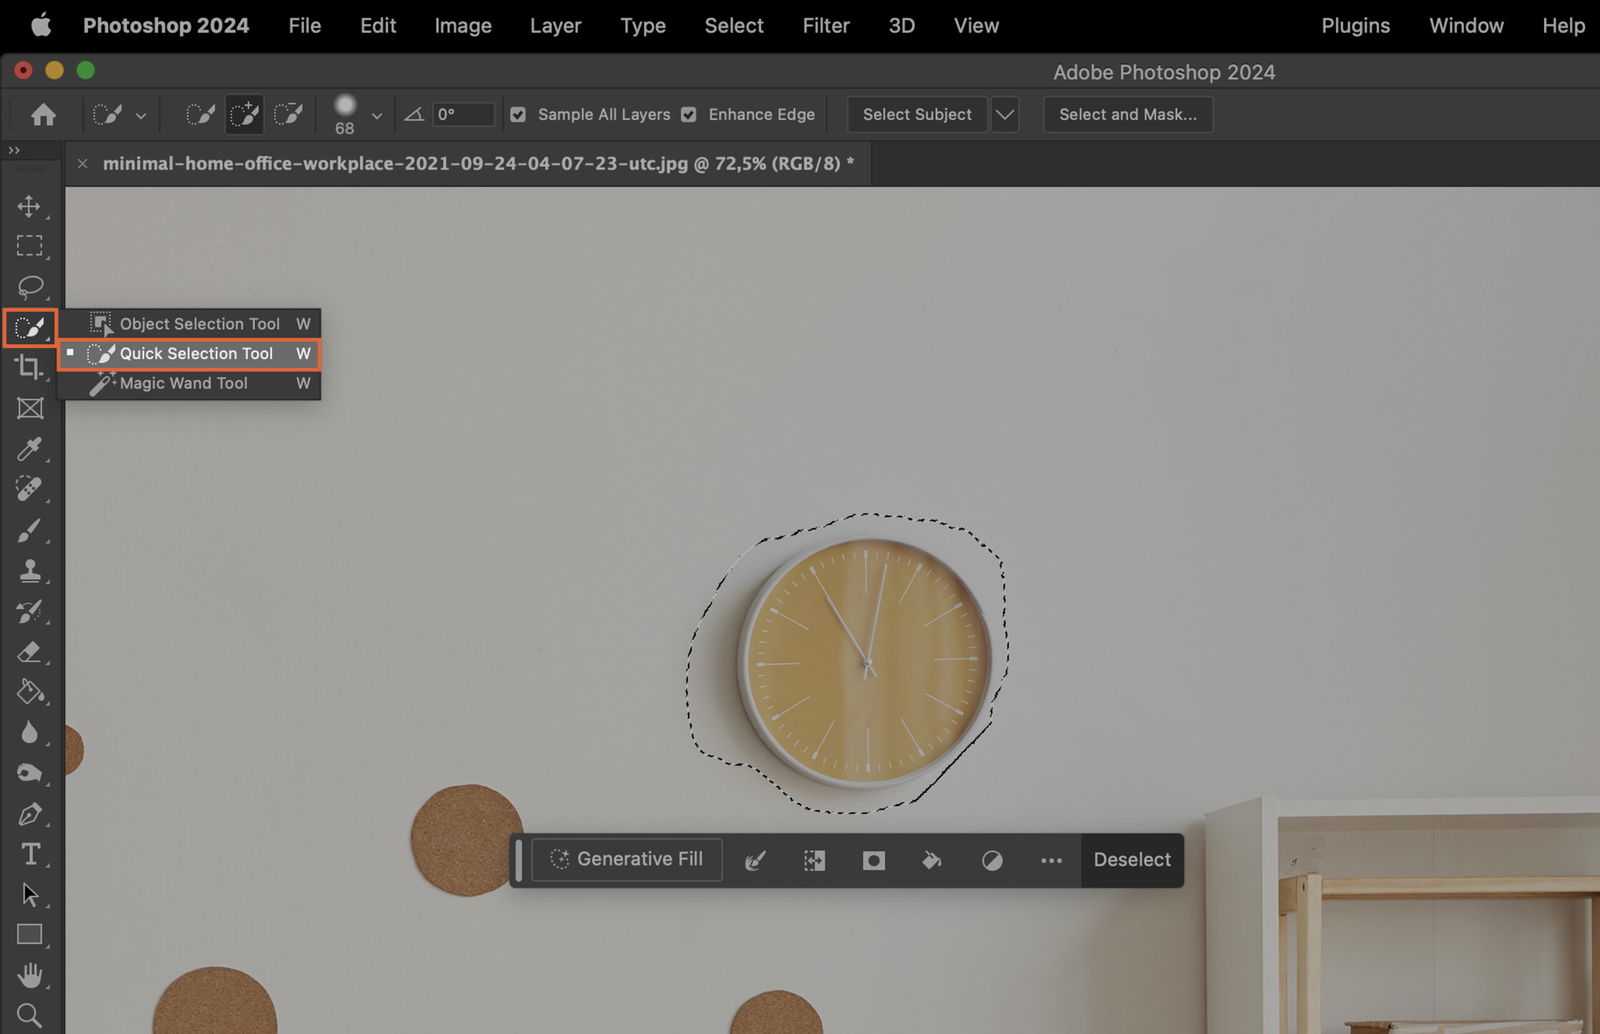
The Quick Selection Tool is best for objects with clearly defined edges. Click and drag across the object and Photoshop will automatically select it based on color and texture.
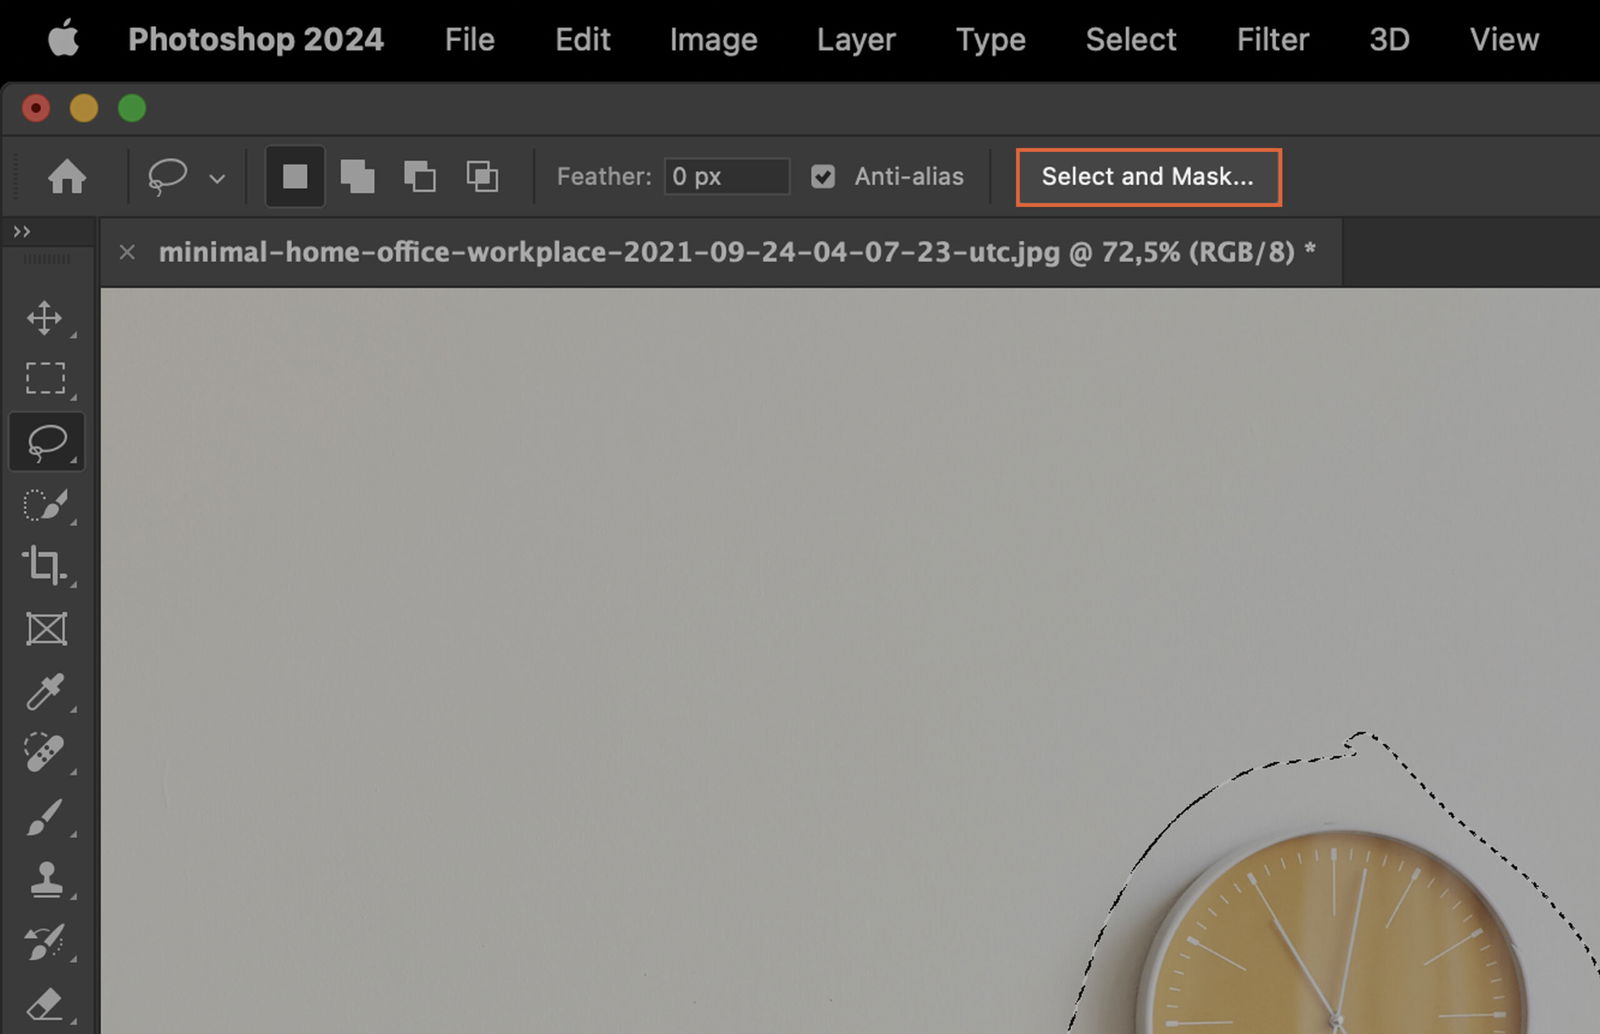
Once you’ve selected the object, refine the edges to ensure a clean removal.
The Select and Mask Workspace provides advanced tools for selection refinement. Use the tools in this workspace to perfect your selection.
After refining your selection, remove the object using one of the following tools.
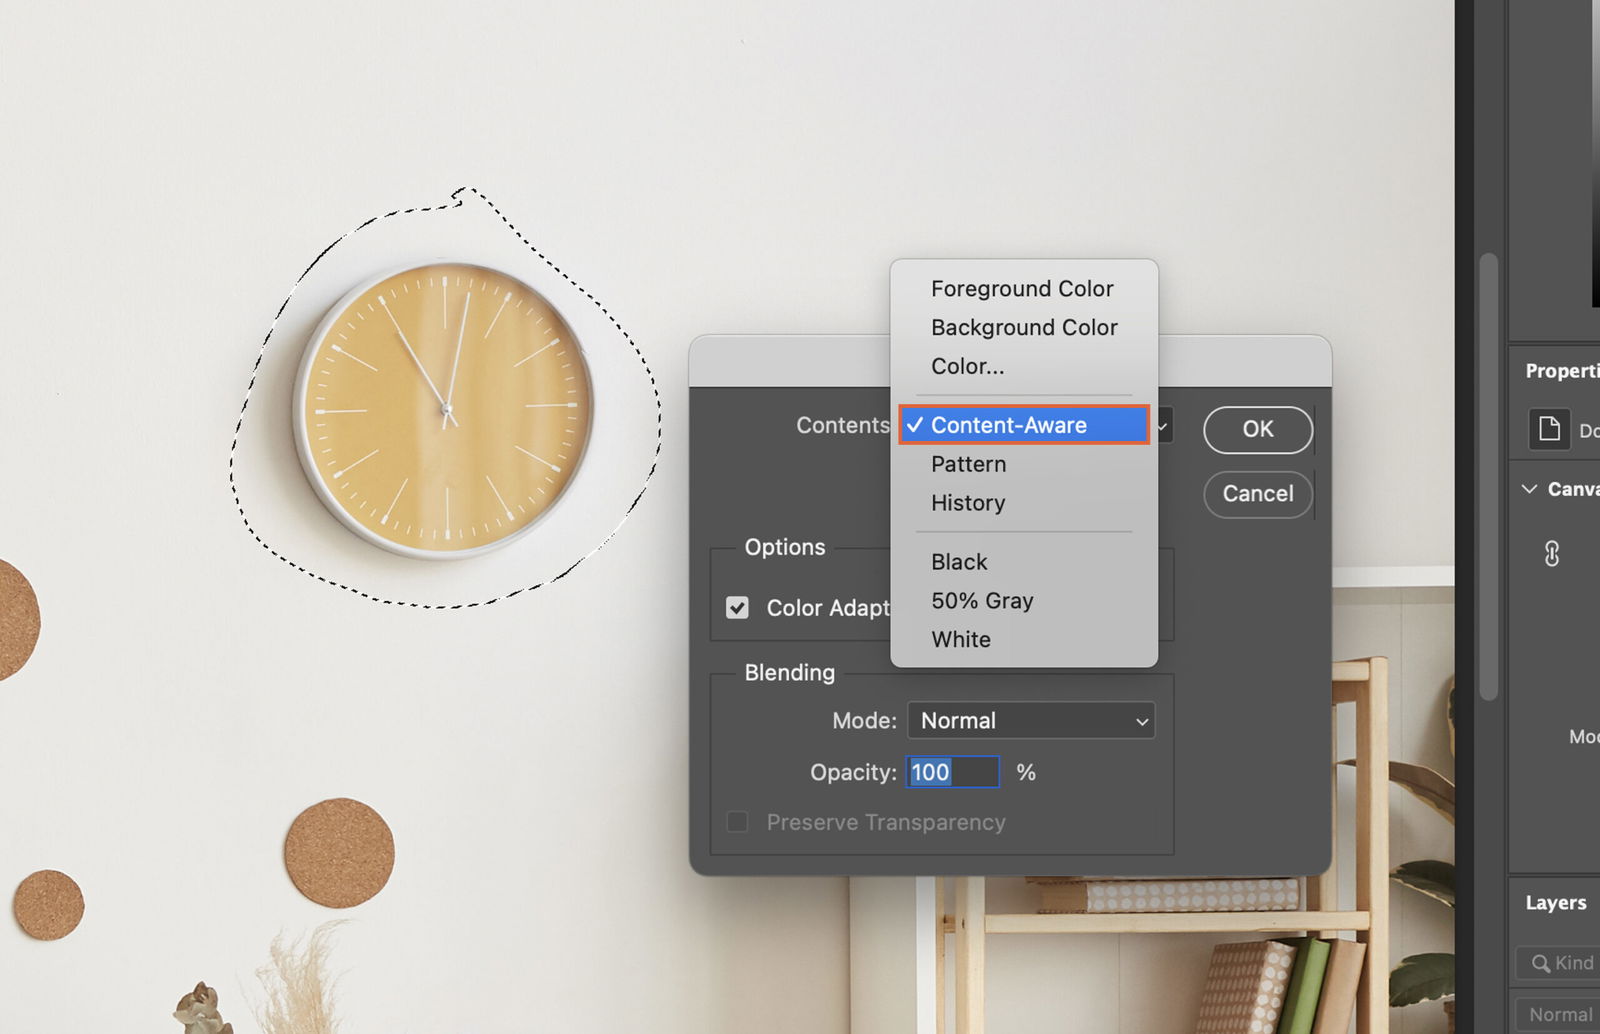
The Content-Aware Fill replaces the selected object with pixels that match the surrounding area. Simply hit delete and select “Content-Aware” in the pop-up box.
The Clone Stamp Tool copies pixels from one area and pastes them onto another. Alt-click to select your source area, then click on the object to replace it.

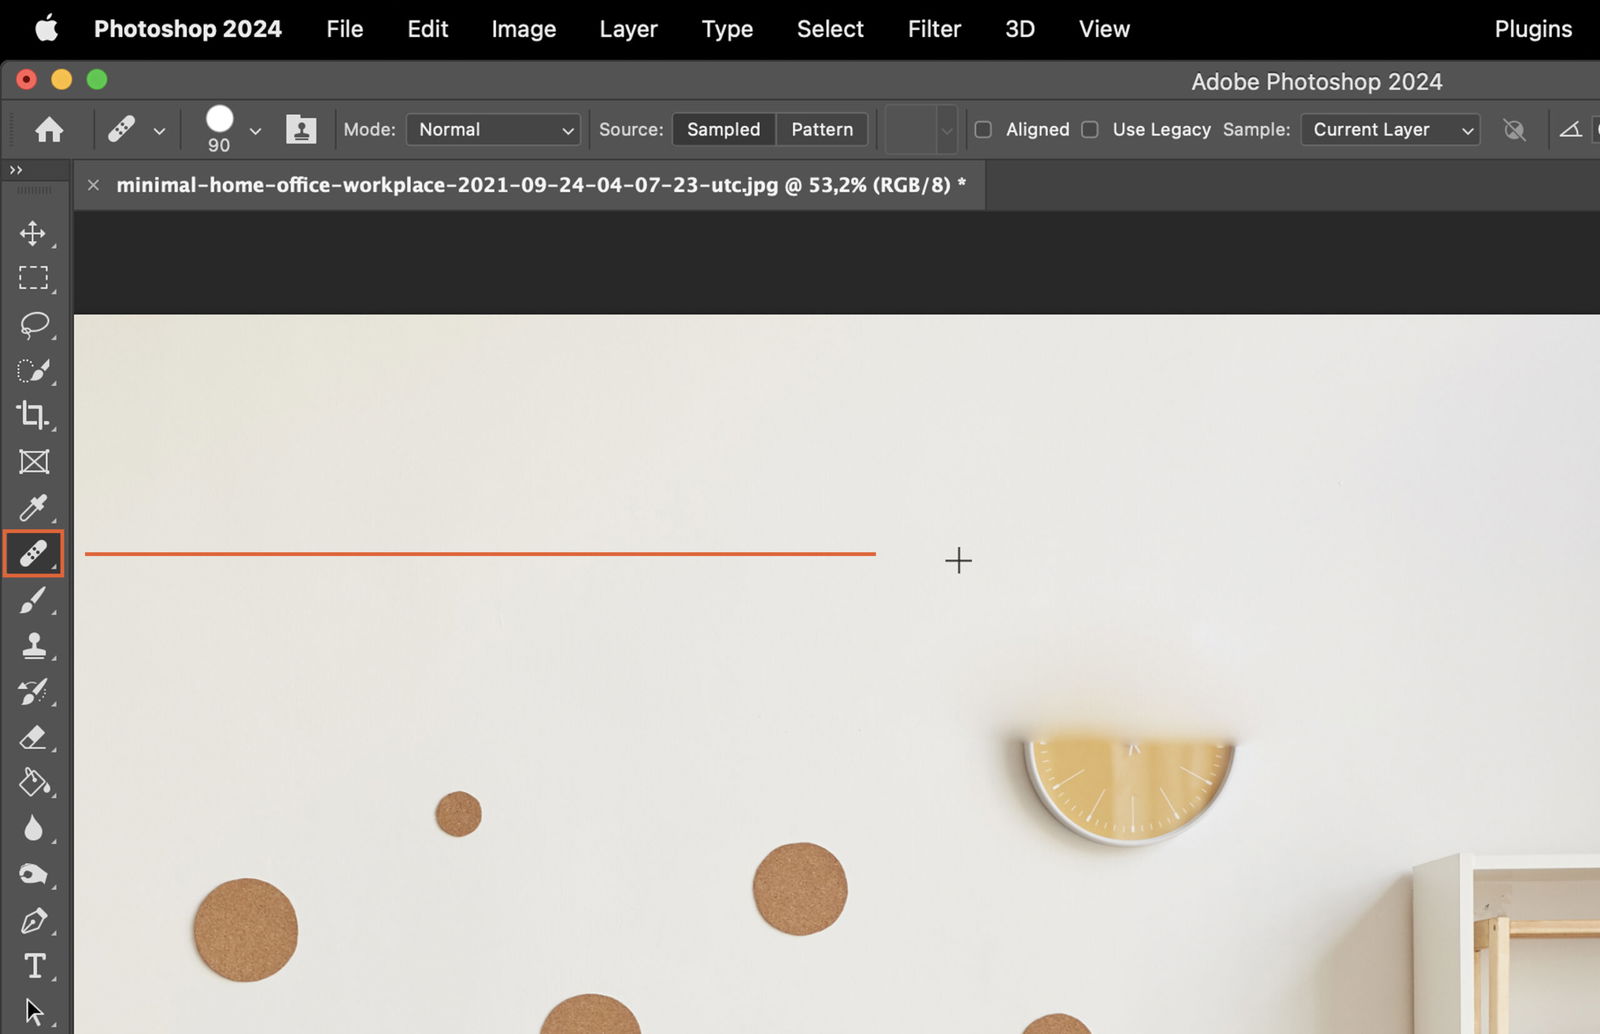
The Healing Brush Tool is similar to the Clone Stamp, but it also blends the pasted pixels with the surrounding area. This tool is best for smaller, detailed areas.
After removal, clean up the area to ensure it blends in with the rest of the image.
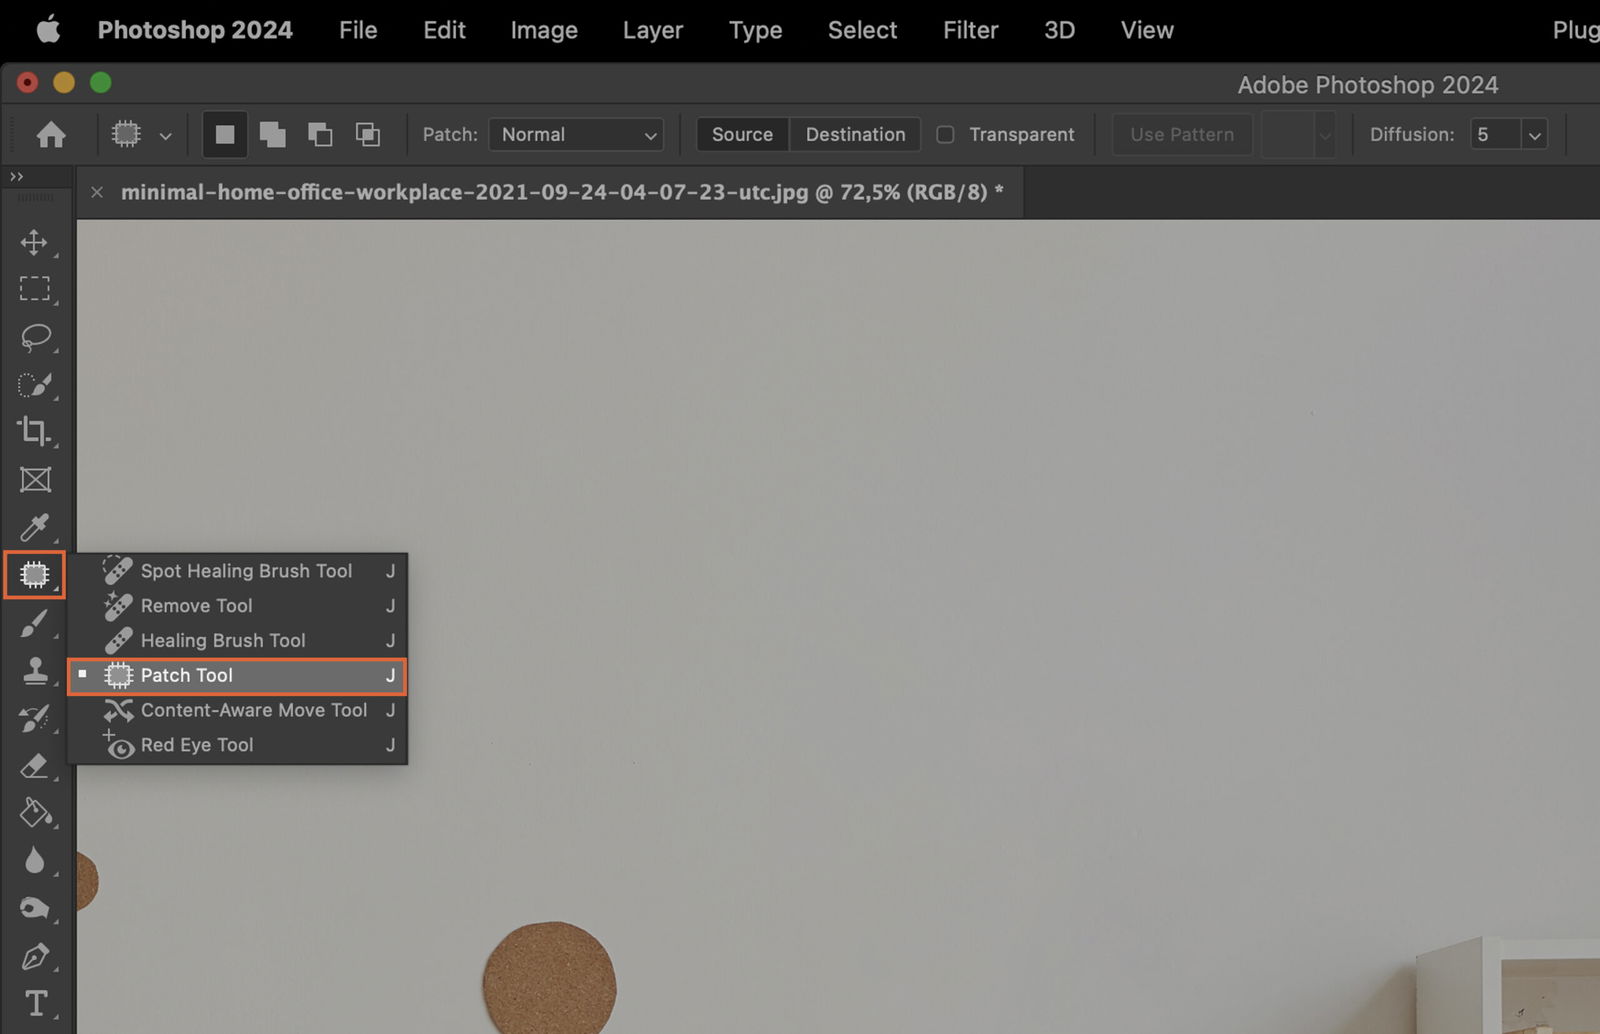
The Patch Tool is used to replace larger areas. Draw around the area you want to replace, then drag the selection to the area you want to copy.
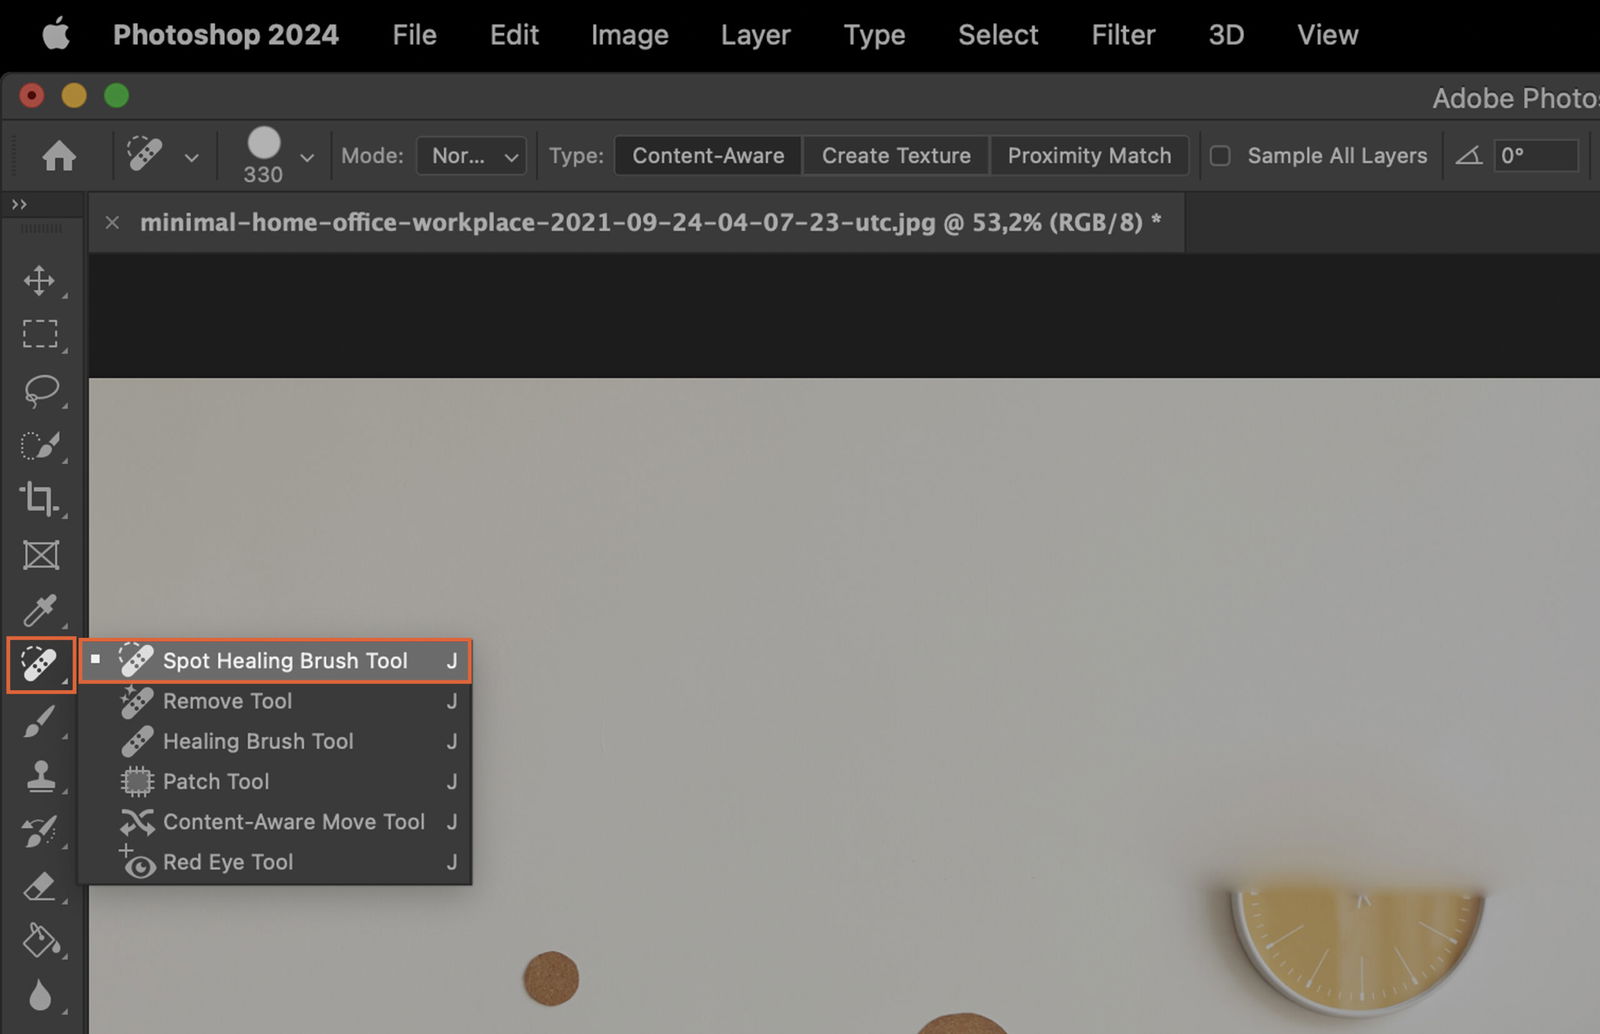
The Spot Healing Brush is best for small blemishes. Just click on the area you want to fix, and Photoshop will automatically replace it with matching pixels.