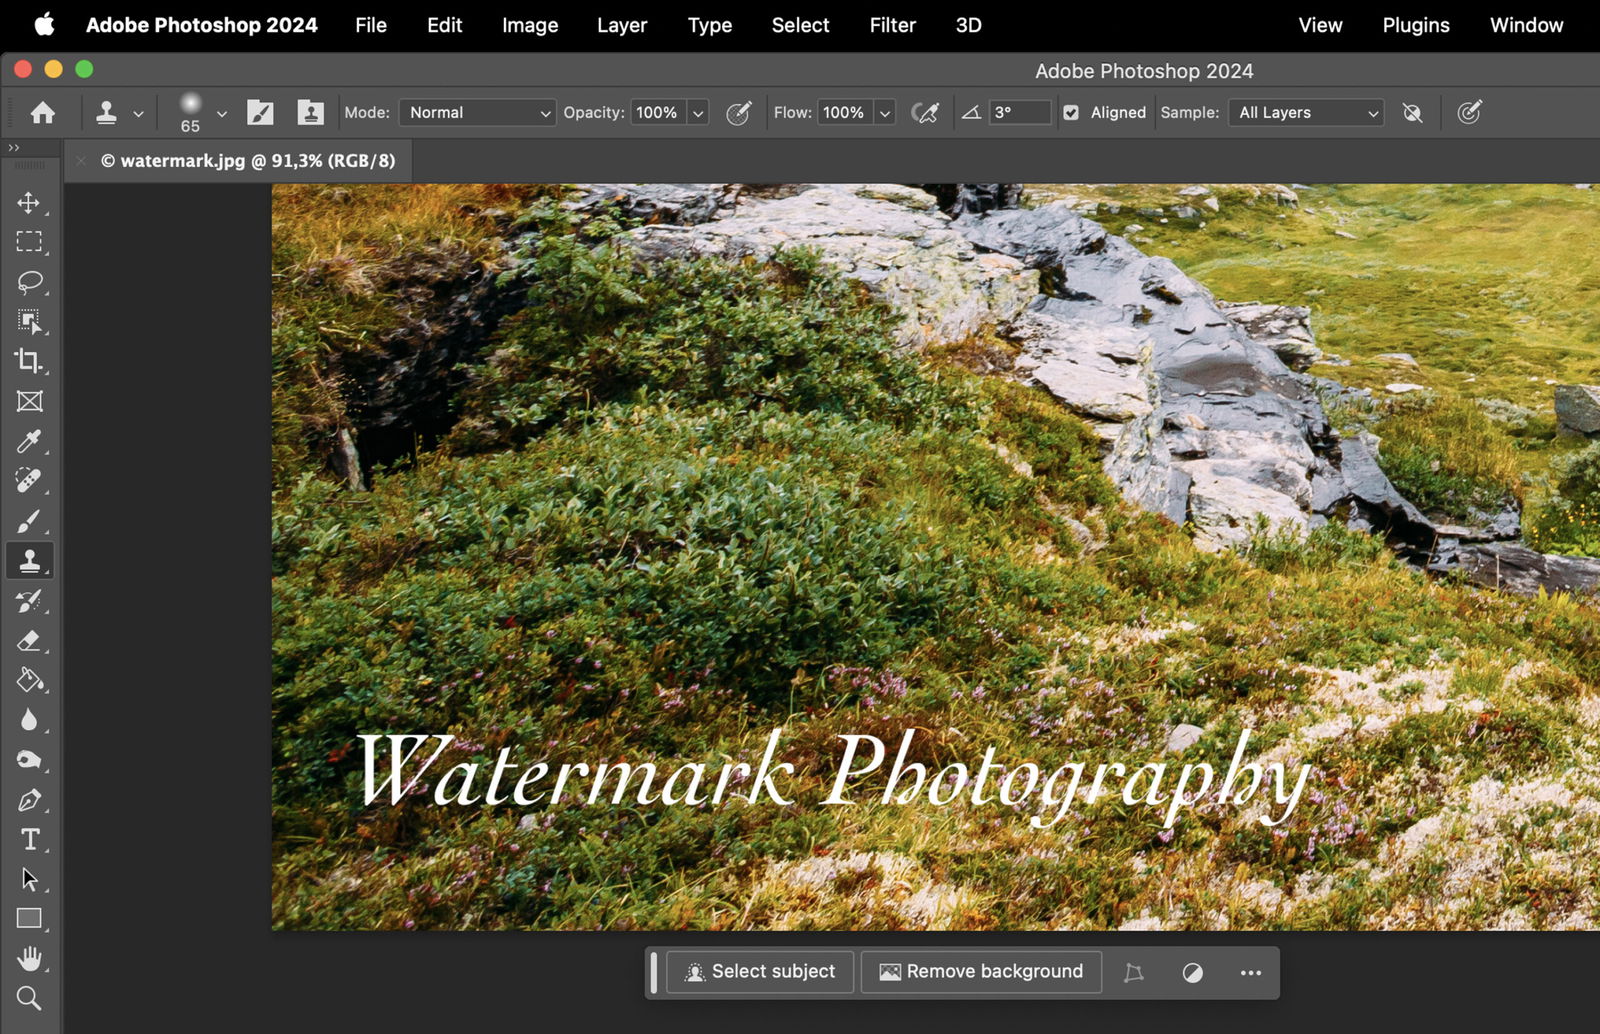
Need to remove a watermark in Photoshop but unsure how? This article provides a step-by-step guide to help you do just that. Mastering this process can enhance your image editing skills and save you from potential copyright issues.
To remove a watermark in Photoshop, you can choose from three main tools: the Spot Healing Brush, the Patch Tool, and the Clone Stamp Tool. Each tool has its unique strengths and the choice should depend on the complexity of the watermark and the background it’s placed on.
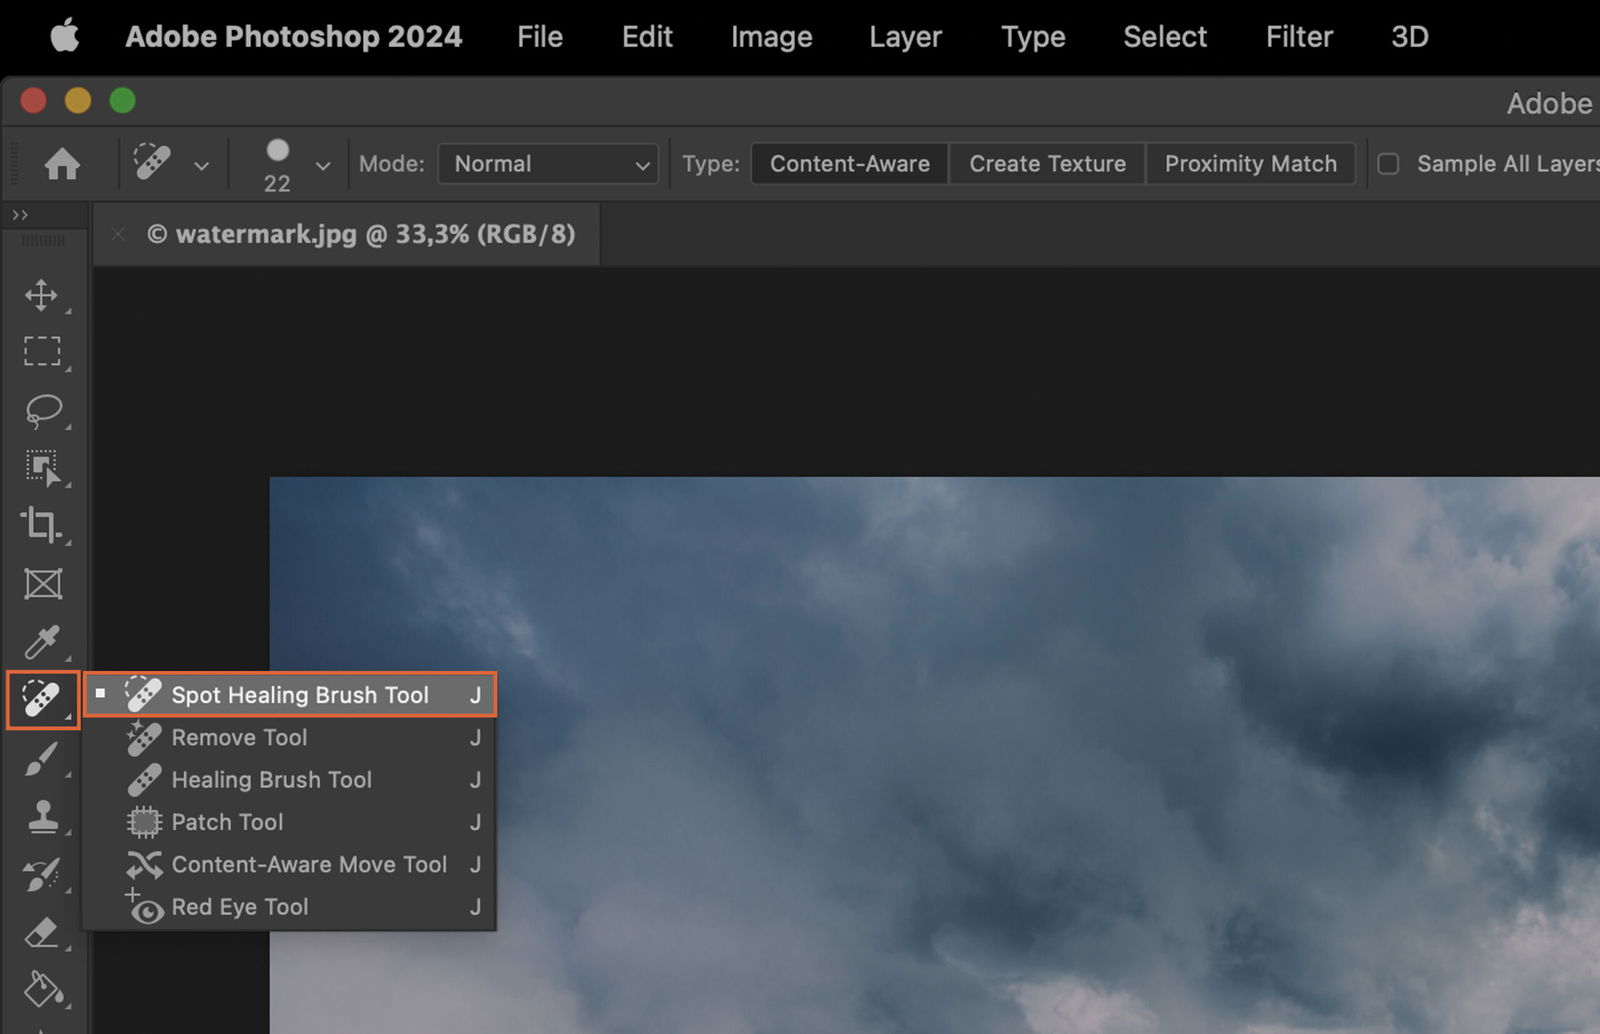
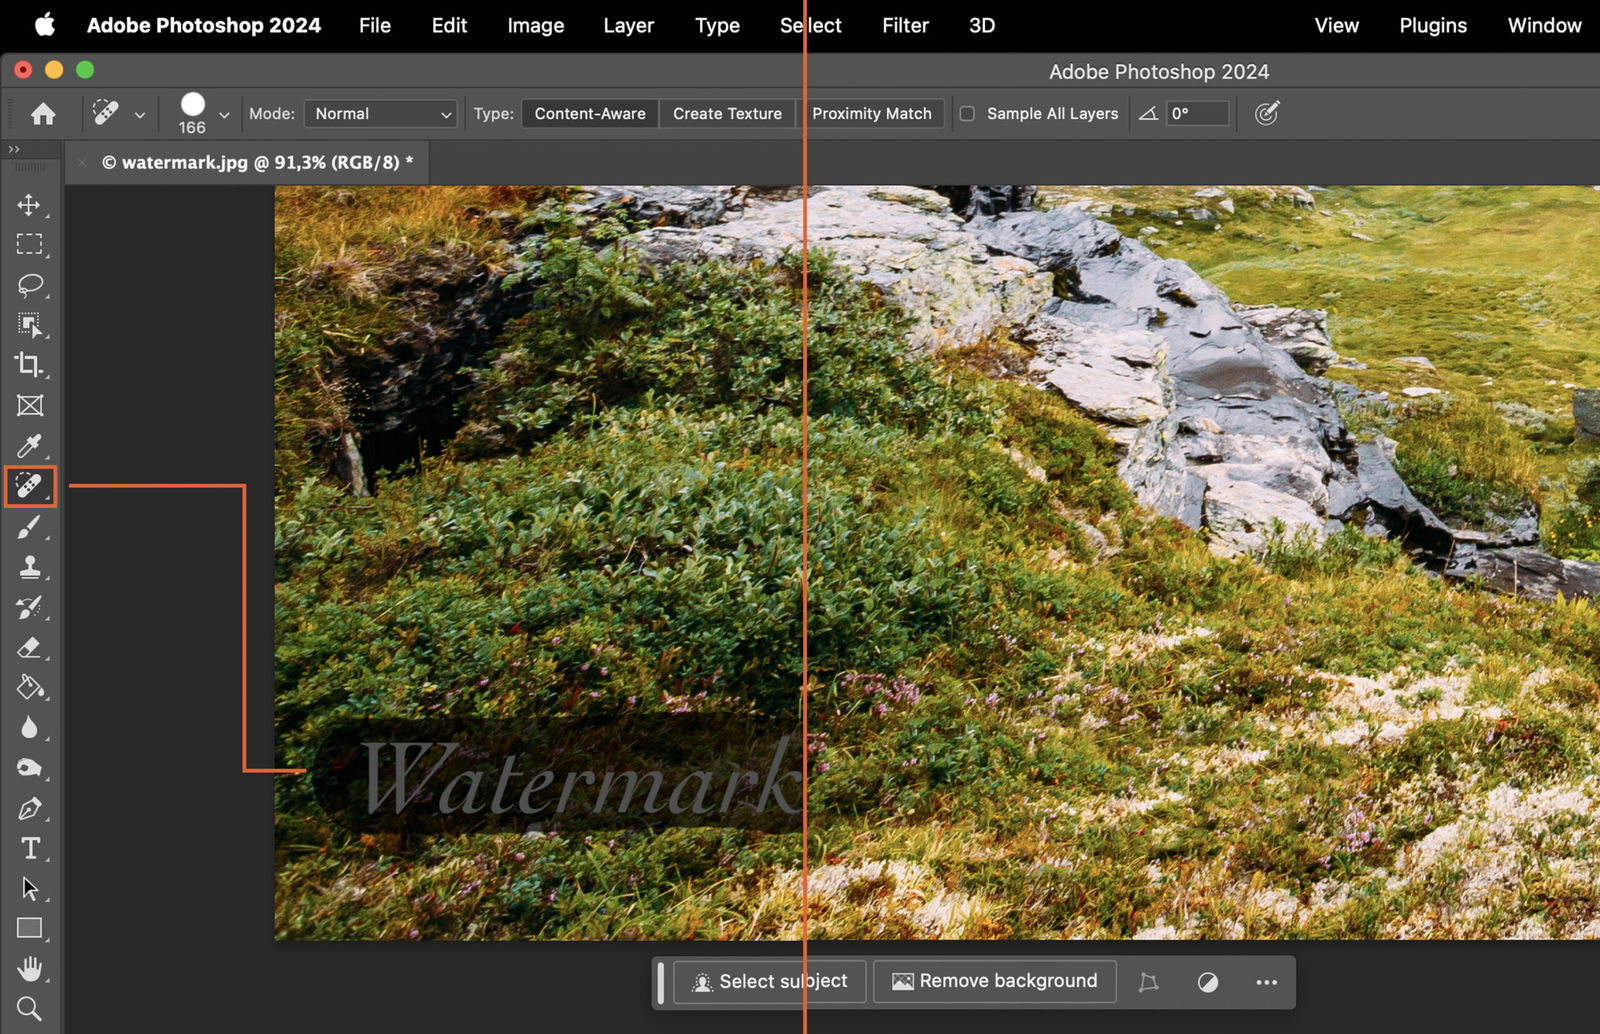
The Spot Healing Brush tool is ideal for watermarks on simple backgrounds or patterns. It automatically samples pixels around the watermark and blends them to create a seamless finish.
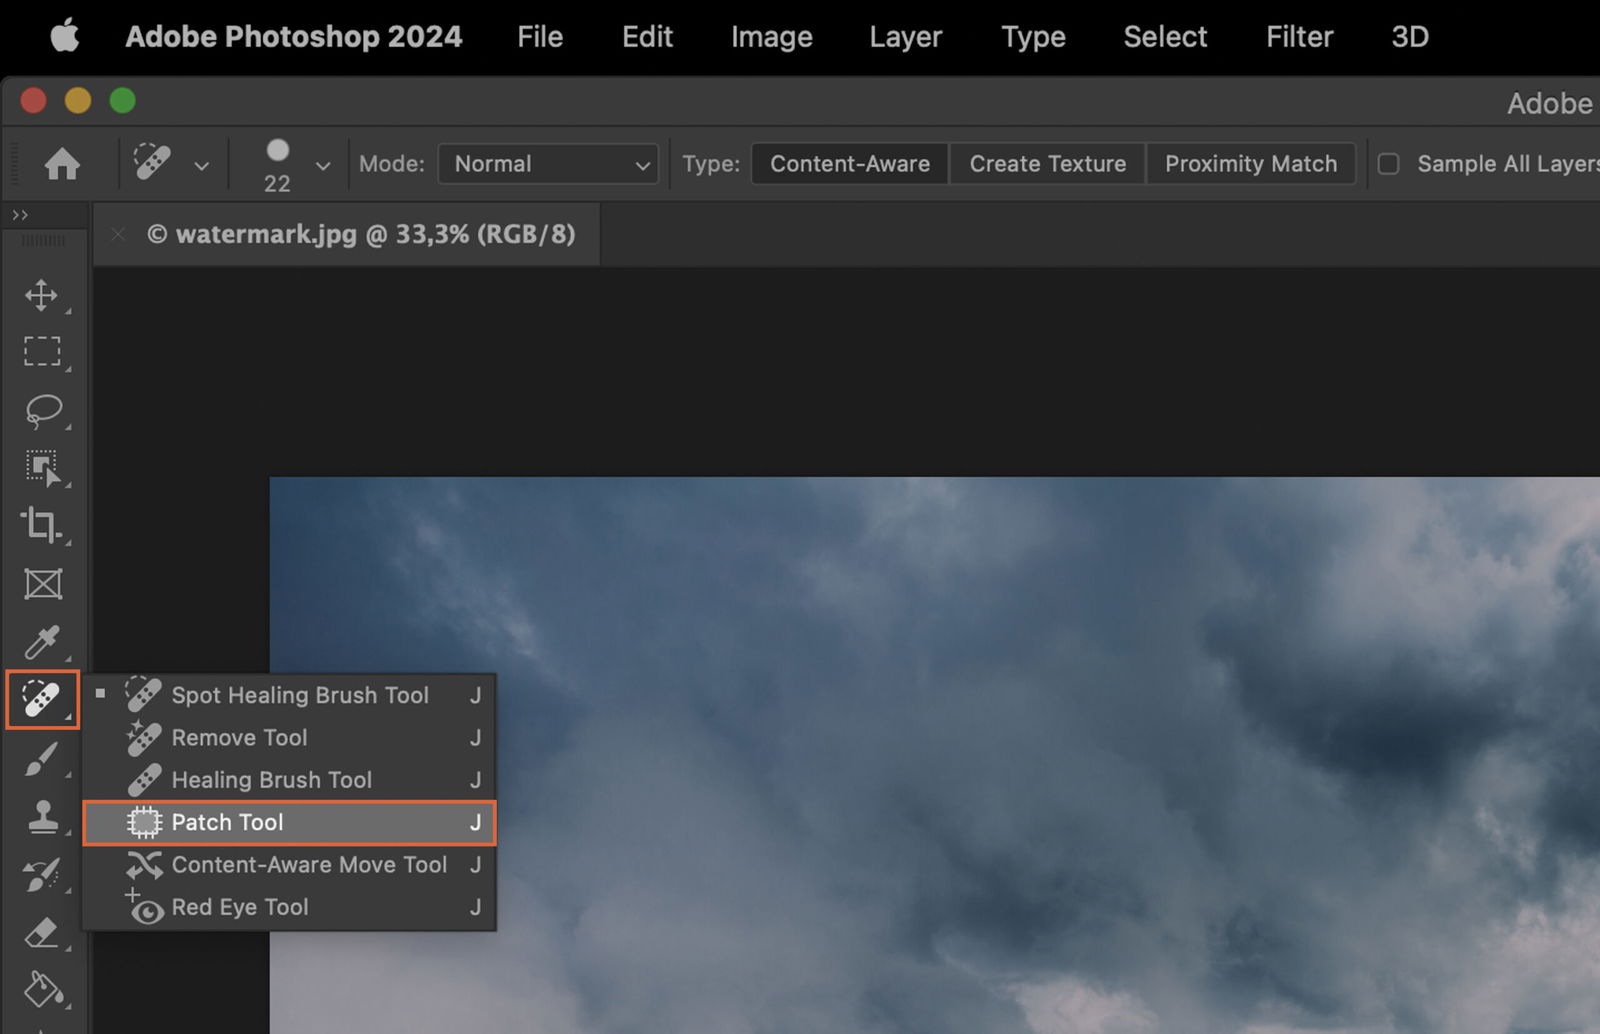
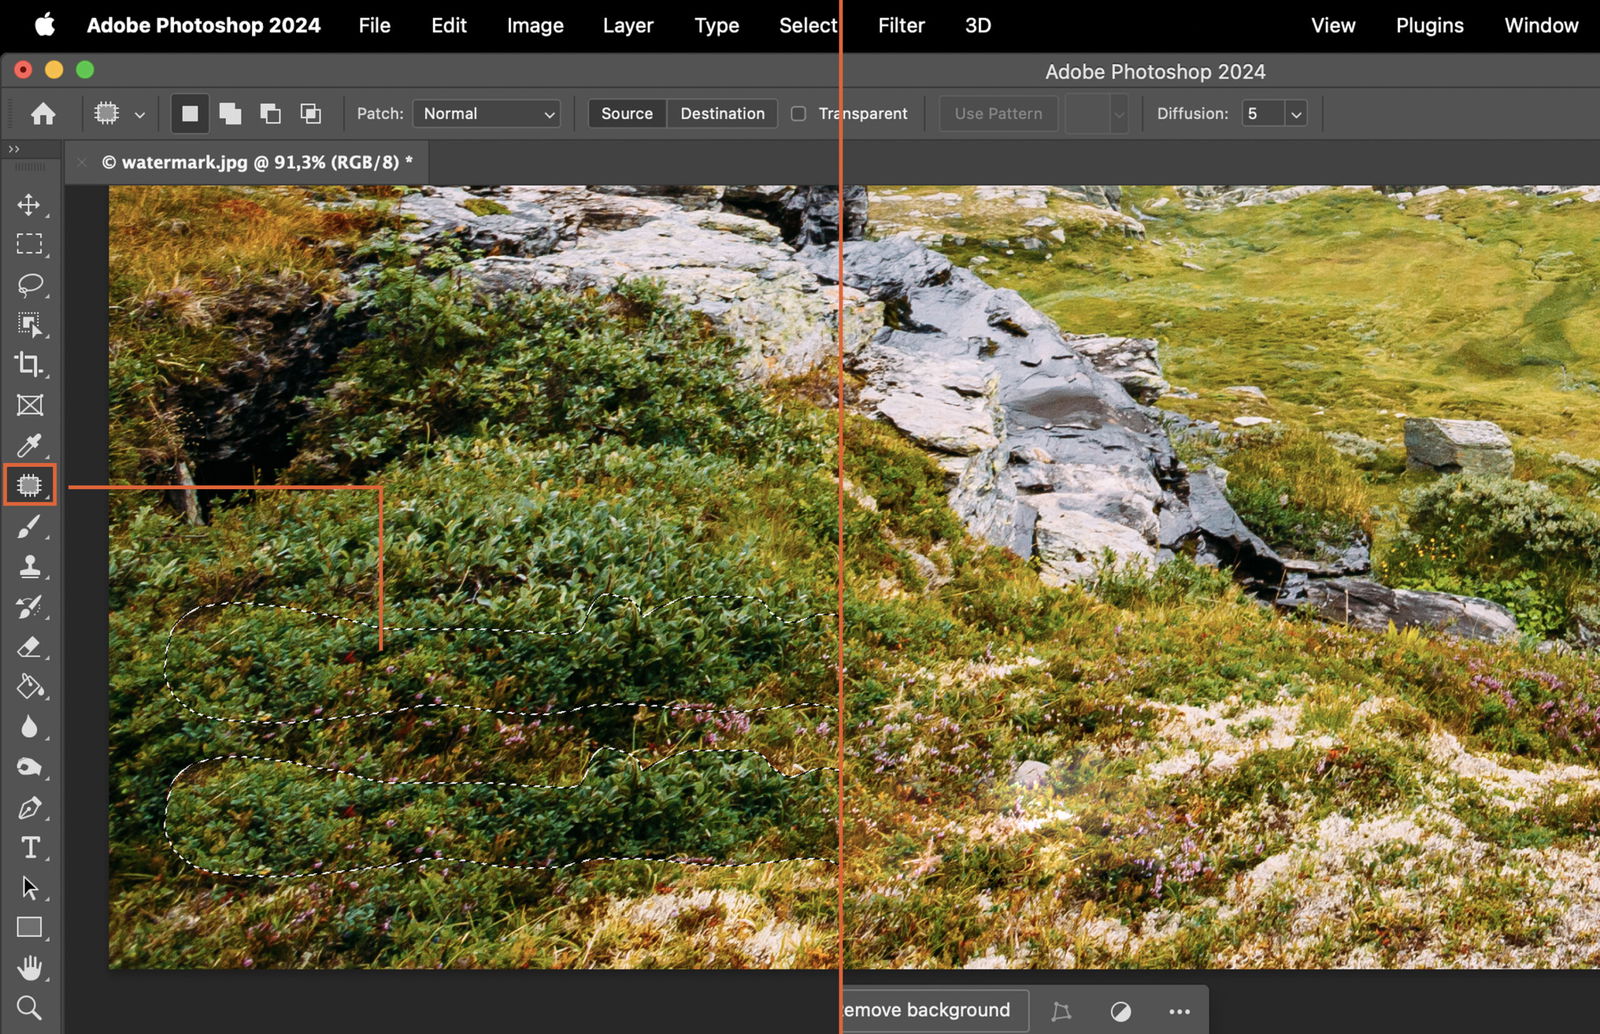
The Patch tool works by replacing the selected watermark area with a different spot from your photo. This tool is perfect for complex backgrounds where the Spot Healing Brush tool might falter.
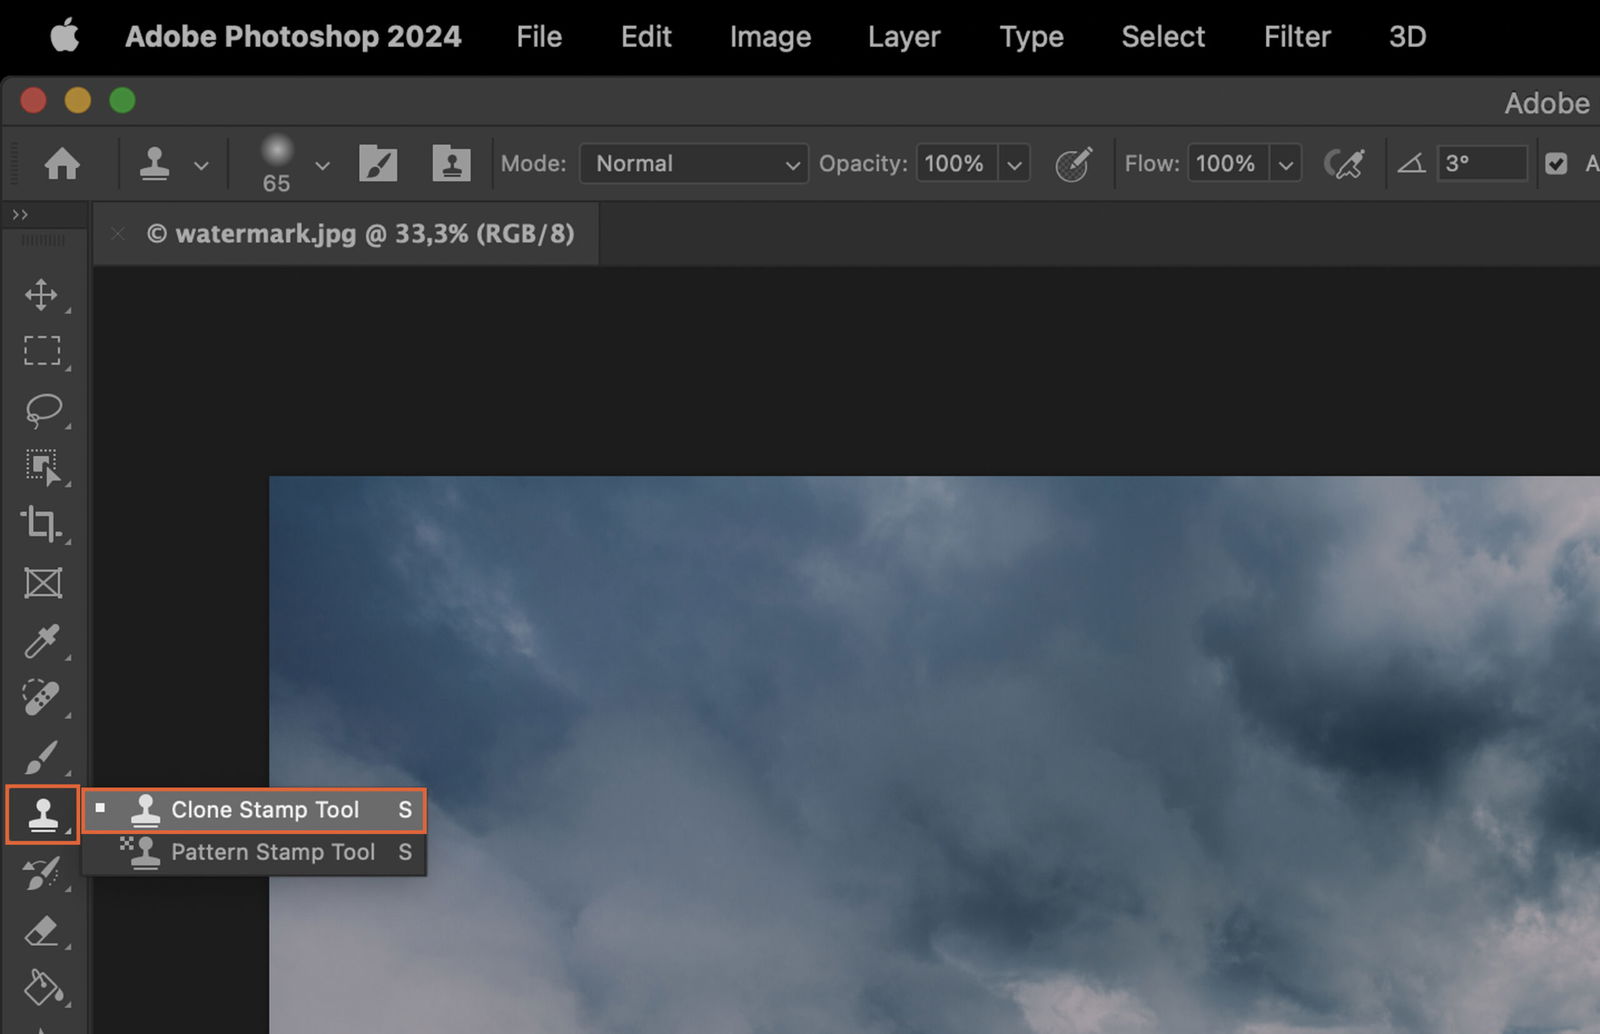
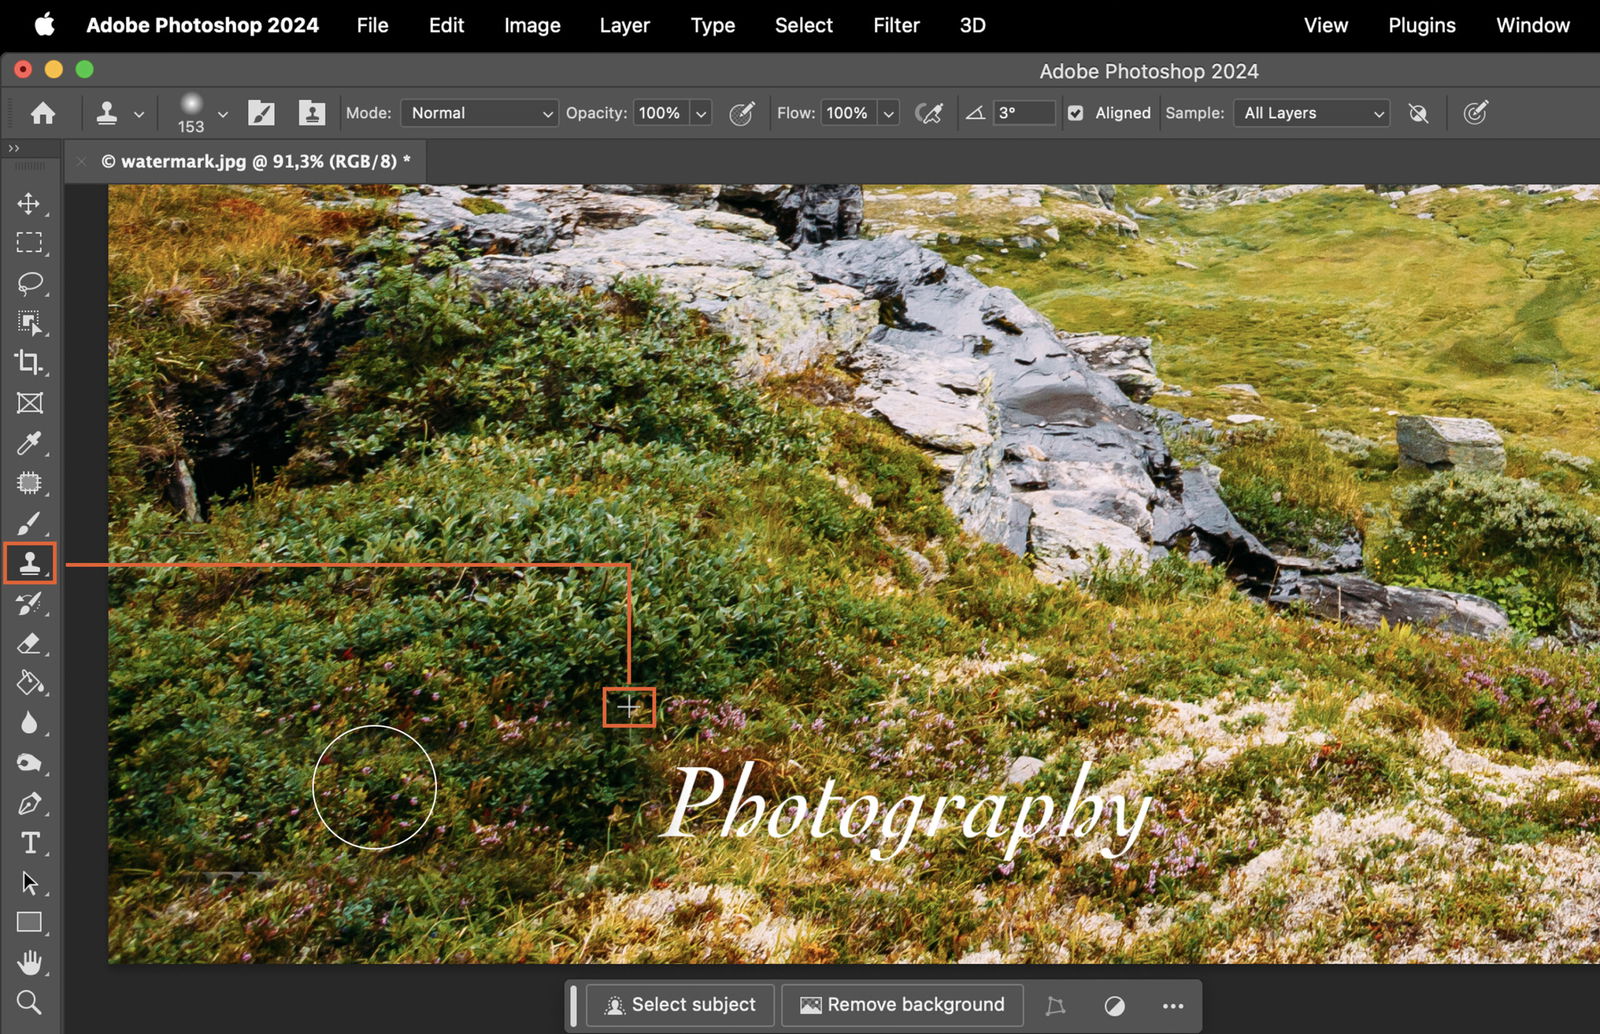
The Clone Stamp tool allows you to manually select the sample area which will replace the watermark. This tool offers more control and precision, making it suitable for intricate removal tasks.
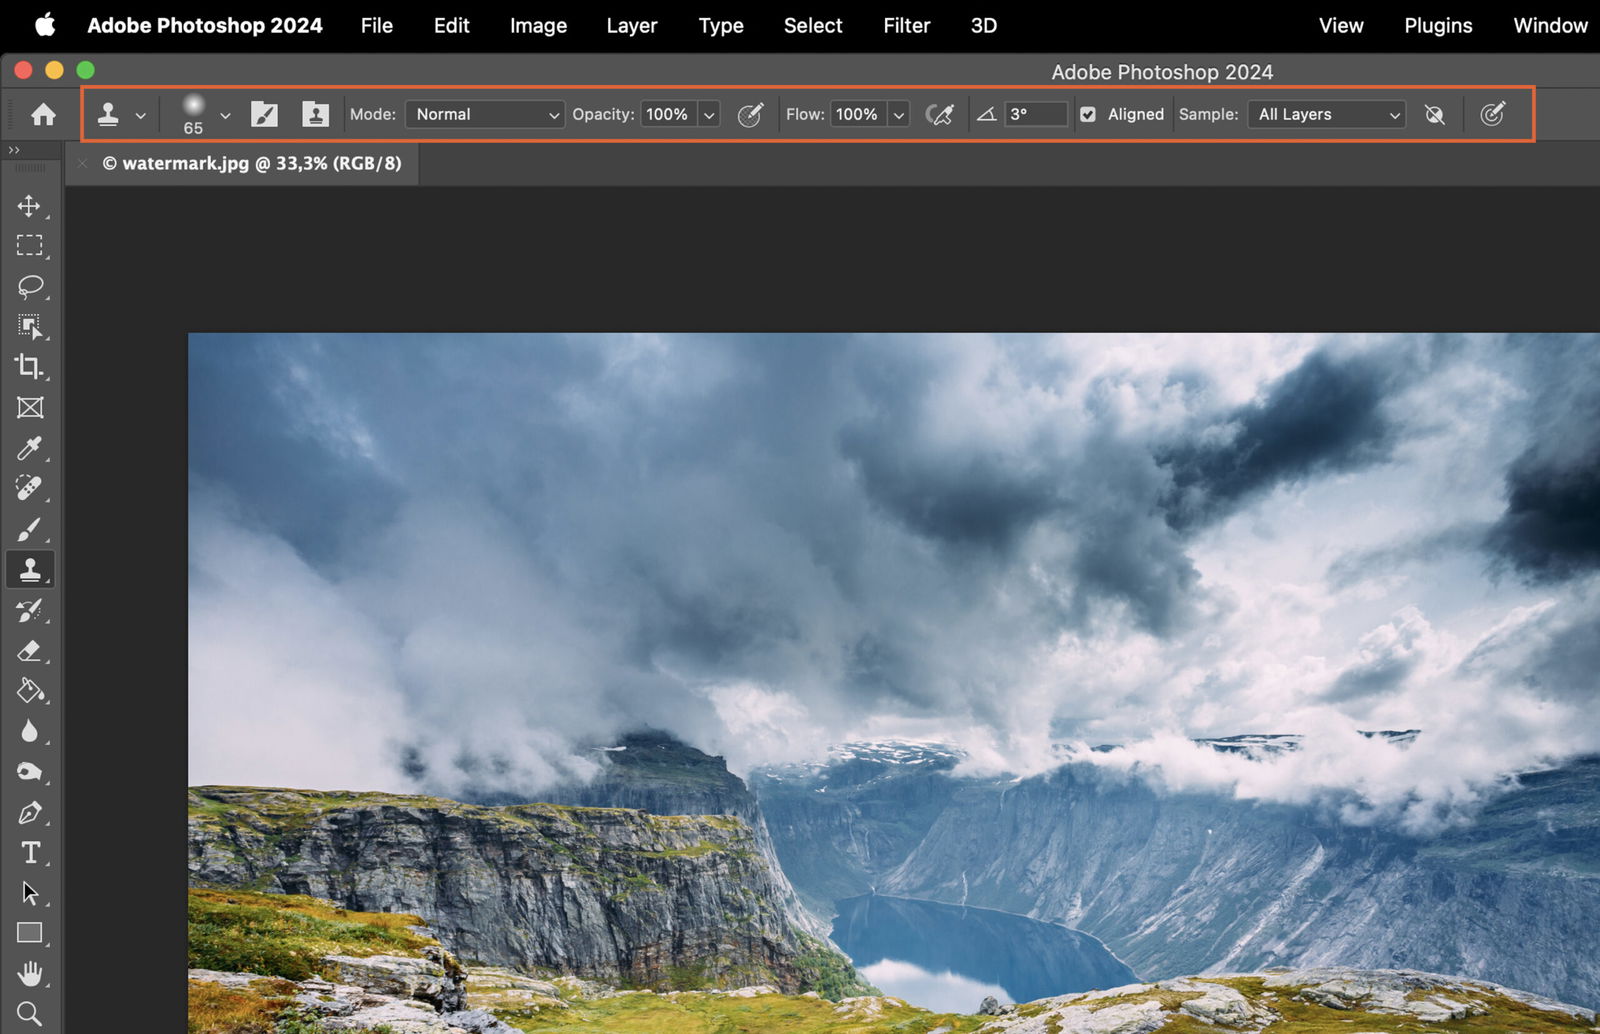
Once you’ve selected the appropriate tool, adjust its settings to match your needs. This might involve setting the brush size, hardness, and opacity for the Spot Healing Brush or Clone Stamp tool, or configuring the Patch tool’s mode and diffusion.
Zoom in on the watermark and carefully identify its boundaries. The more accurate your selection, the more seamless the removal process will be.
Now that you’ve configured your tool and identified the watermark, it’s time to start the removal process.
Click and drag the Spot Healing Brush over the watermark. Photoshop will automatically sample pixels from around the watermark and blend them to remove it.
Select the watermark using the Patch tool, then drag it to the area you want to sample. Release the mouse button and the watermark will be replaced with the sampled pixels.
Hold down the Alt key and click on the area you want to sample. Then, release the Alt key and click on the watermark to clone the sampled pixels onto it.
Zoom out and review your work. Make any necessary tweaks or adjustments to ensure the watermark removal is not noticeable.
Once you’re satisfied with the outcome, save your image. You can choose to save it in various formats depending on your requirements. Your image is now watermark-free and ready for use.


