ExpertPhotography
  • Articles
  • My Learning
  • Store
  • About
  • Contact
  • Photo Quiz
ExpertPhotography

Learn Photography
  • Quick Capture Cheat Sheets
  • Photography for Beginners
  • Intuitive Composition
  • Show more...
  • Effortless Editing With Lightroom
  • Epic Landscape Editing
  • The Preset Collection
  • Show more...
  • The Magical Photography Spellbook
  • Dreamy Childhood Portraits
  • The Creative Photography Cookbook
  • Show more...
  • Simply Stunning Landscapes
  • Infinite Exposures
  • Milky Way Mastery
  • Show more...
  • Products In Focus
  • Fairytale Portraits
  • Organic Marketing for Photographers
  • Show more...
Need Help?
Contact UsCookie PolicyPrivacy PolicyTerms of Use
Connect

ExpertPhotography is part of several affiliate sales networks. This means we may receive a commission if you purchase something by clicking on one of our links.

ExpertPhotography is a participant in the Amazon Services LLC Associates Program, an affiliate advertising program designed to provide a means for sites to earn advertising fees by advertising and linking to amazon.com.

As an Amazon Associate, I earn from qualifying purchases.

Expert Photography © 2011-2024. All Rights Reserved.

Privacy Policy Terms of Use

News and Interviews

How to Remove Wrinkles from Clothes in Photoshop

Szilard Kovacs
by Szilard Kovacs
Last updated: 21/10/2024-2 min read
ExpertPhotography is supported by readers. Product links on ExpertPhotography are referral links. If you use one of these and buy something, we make a little money. Need more info? See how it all works here.

Removing wrinkles from clothes in a photograph can drastically improve its overall quality. This article provides a step-by-step guide on how to accomplish this in Photoshop, offering you the ability to enhance your images and make your subjects look their best.

Step 1. Choose the Correct Tool

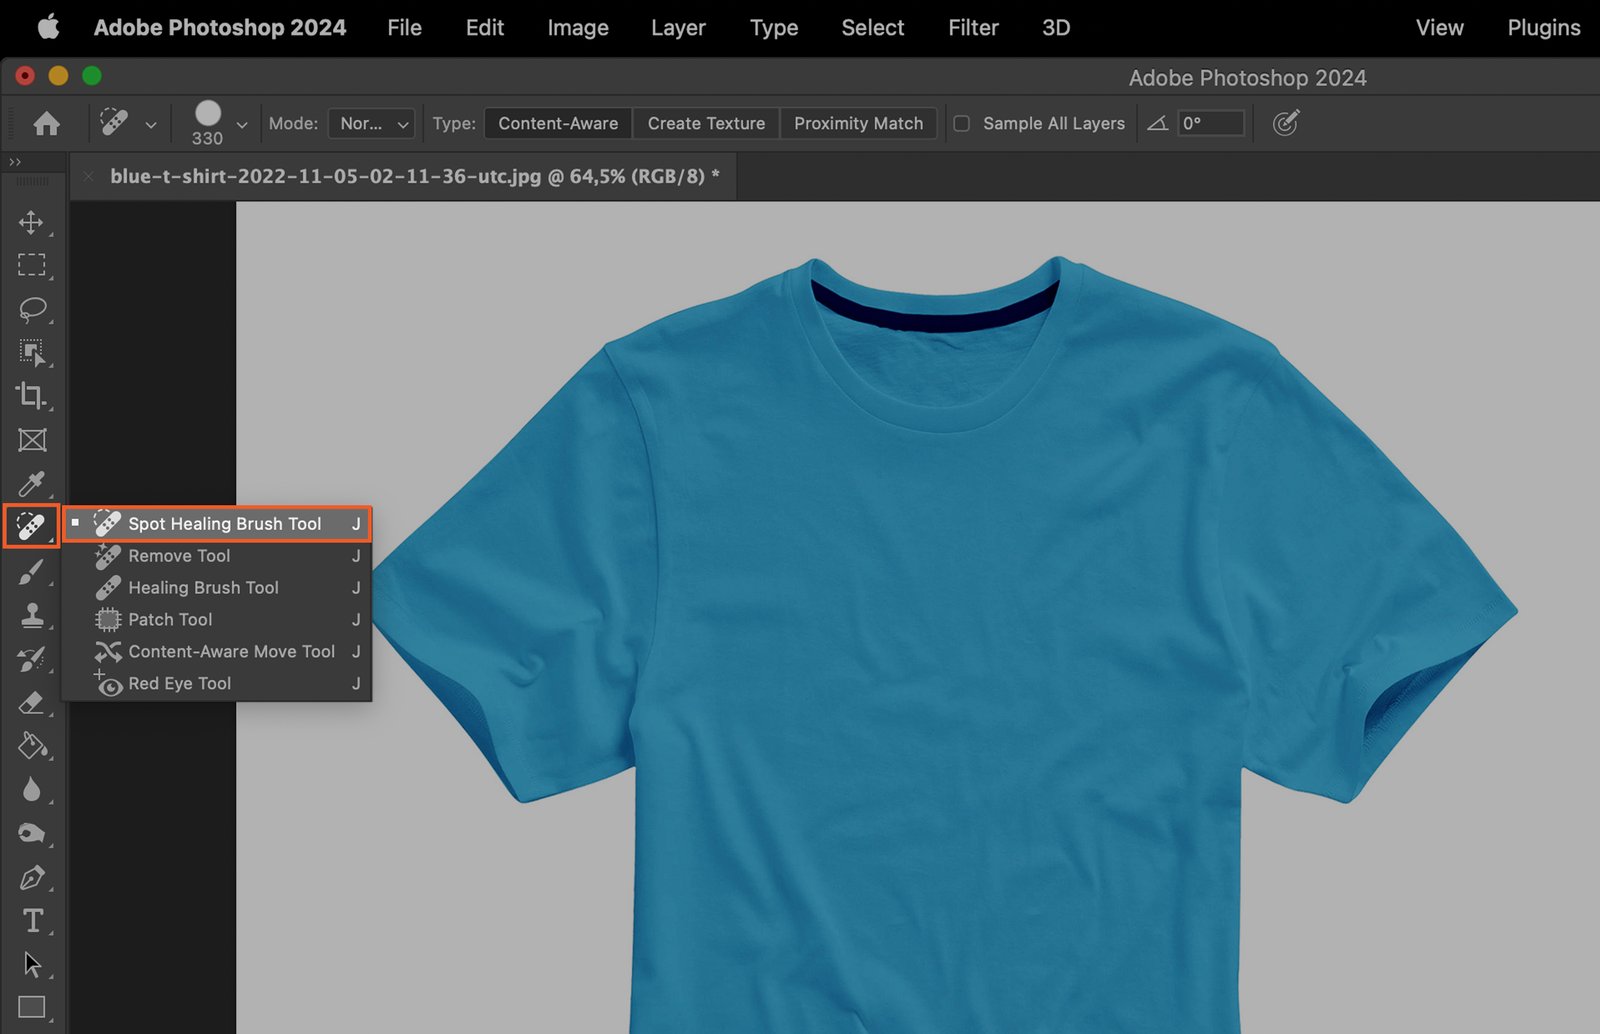
To remove wrinkles from clothes in Photoshop, you’ll need to choose the right tool. There are two primary tools you can use: the Spot Healing Brush Tool and the Patch Tool.

Step 1.1 Spot Healing Brush Tool

The Spot Healing Brush Tool is an excellent option for smaller wrinkles. It works by replacing the selected area with pixels from the surrounding area.
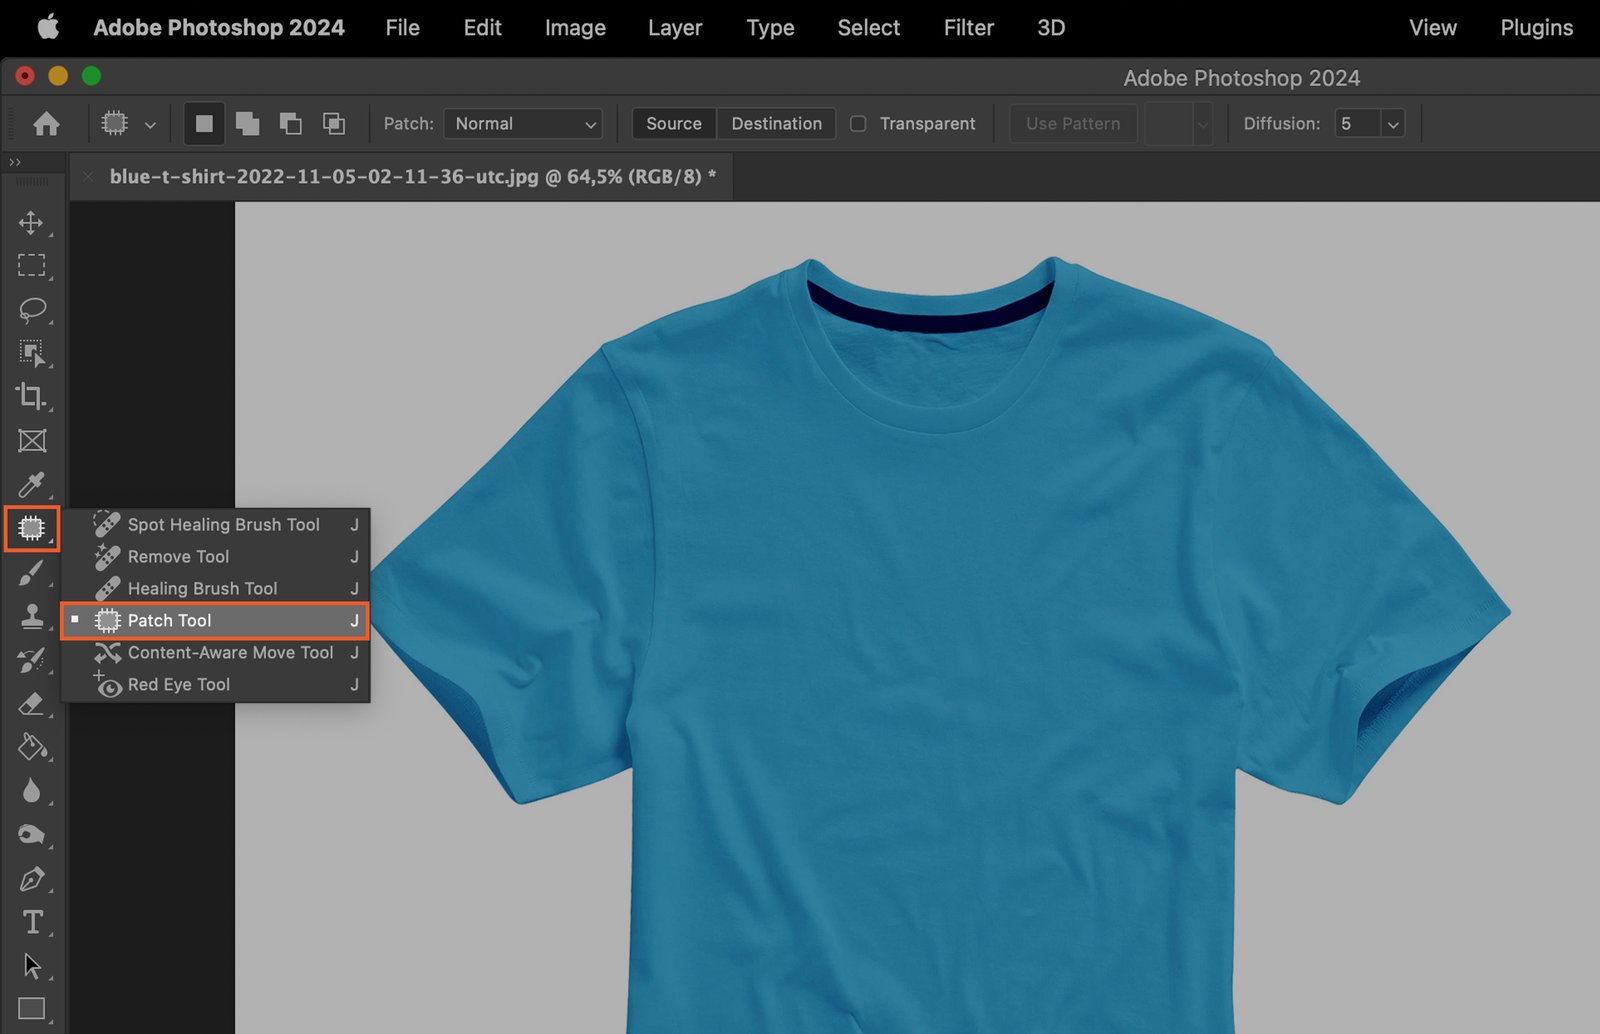
A blue t-shirt template with design tools and text, showcasing the creation process in a digital art program.

Step 1.2 Patch Tool

For larger wrinkles or more complex patterns, use the Patch Tool. This tool replaces a selected area with another area of your choice.

A virtual world, surrounded by software interface elements and measurements.

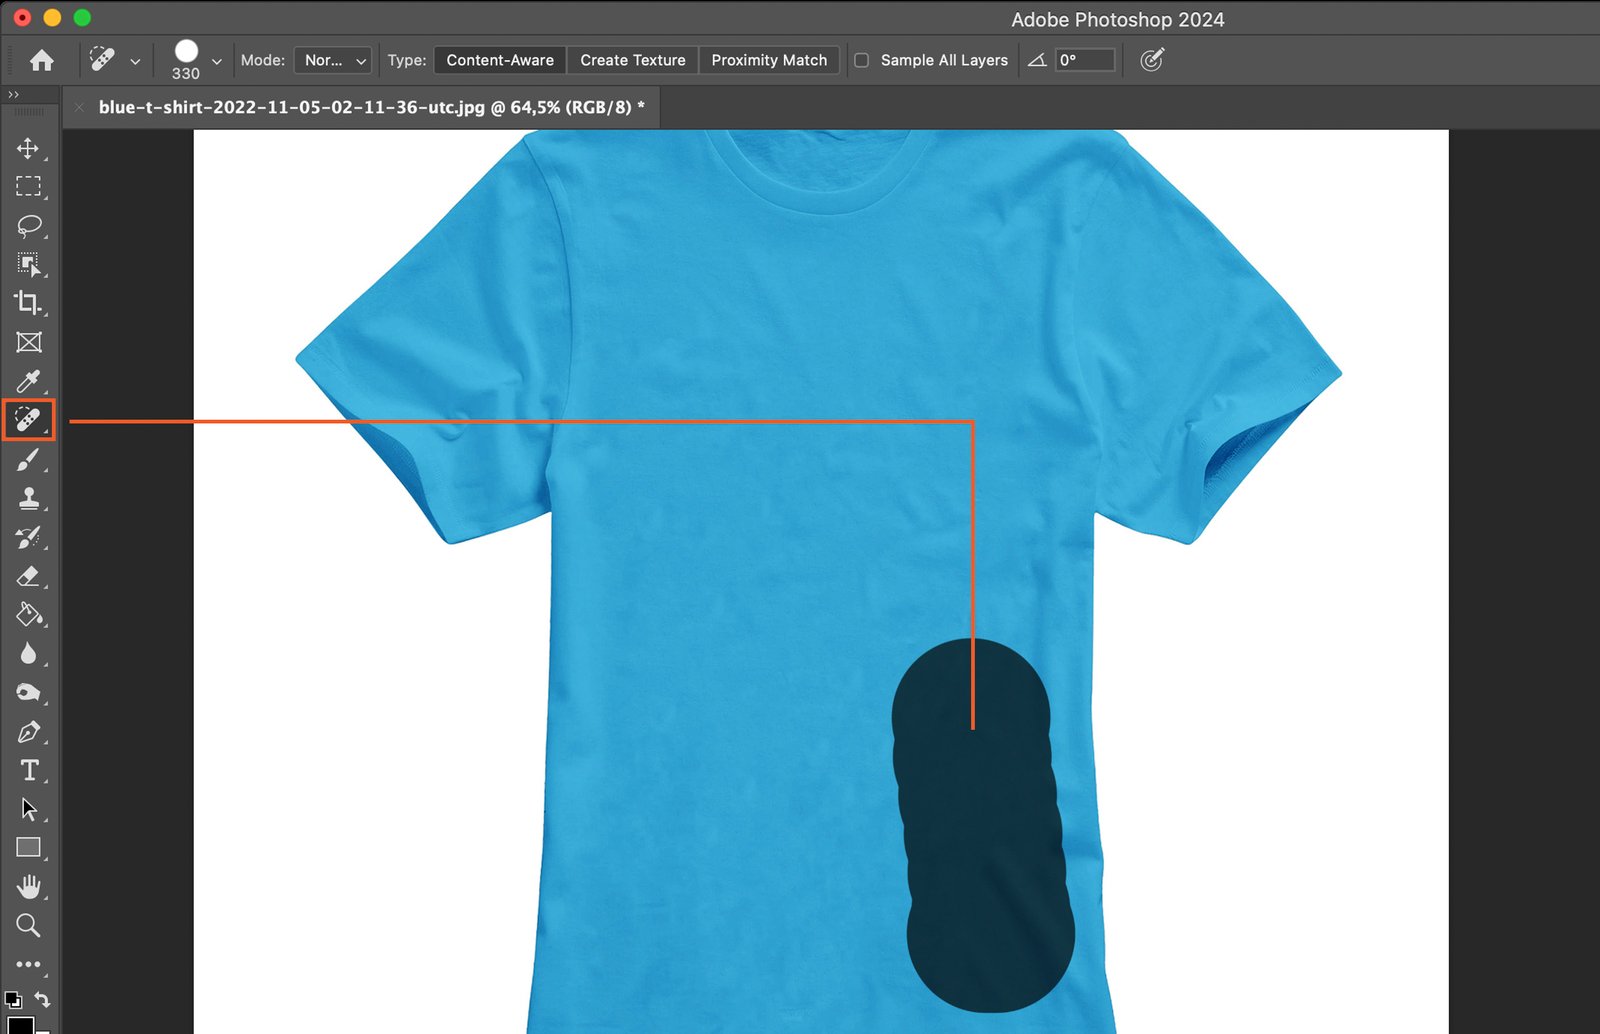
Step 2. Set the Tool Properties

Before you start, adjust the tool properties. Set the brush size to match the size of the wrinkle, and ensure the type is set to “Content-Aware” for best results.

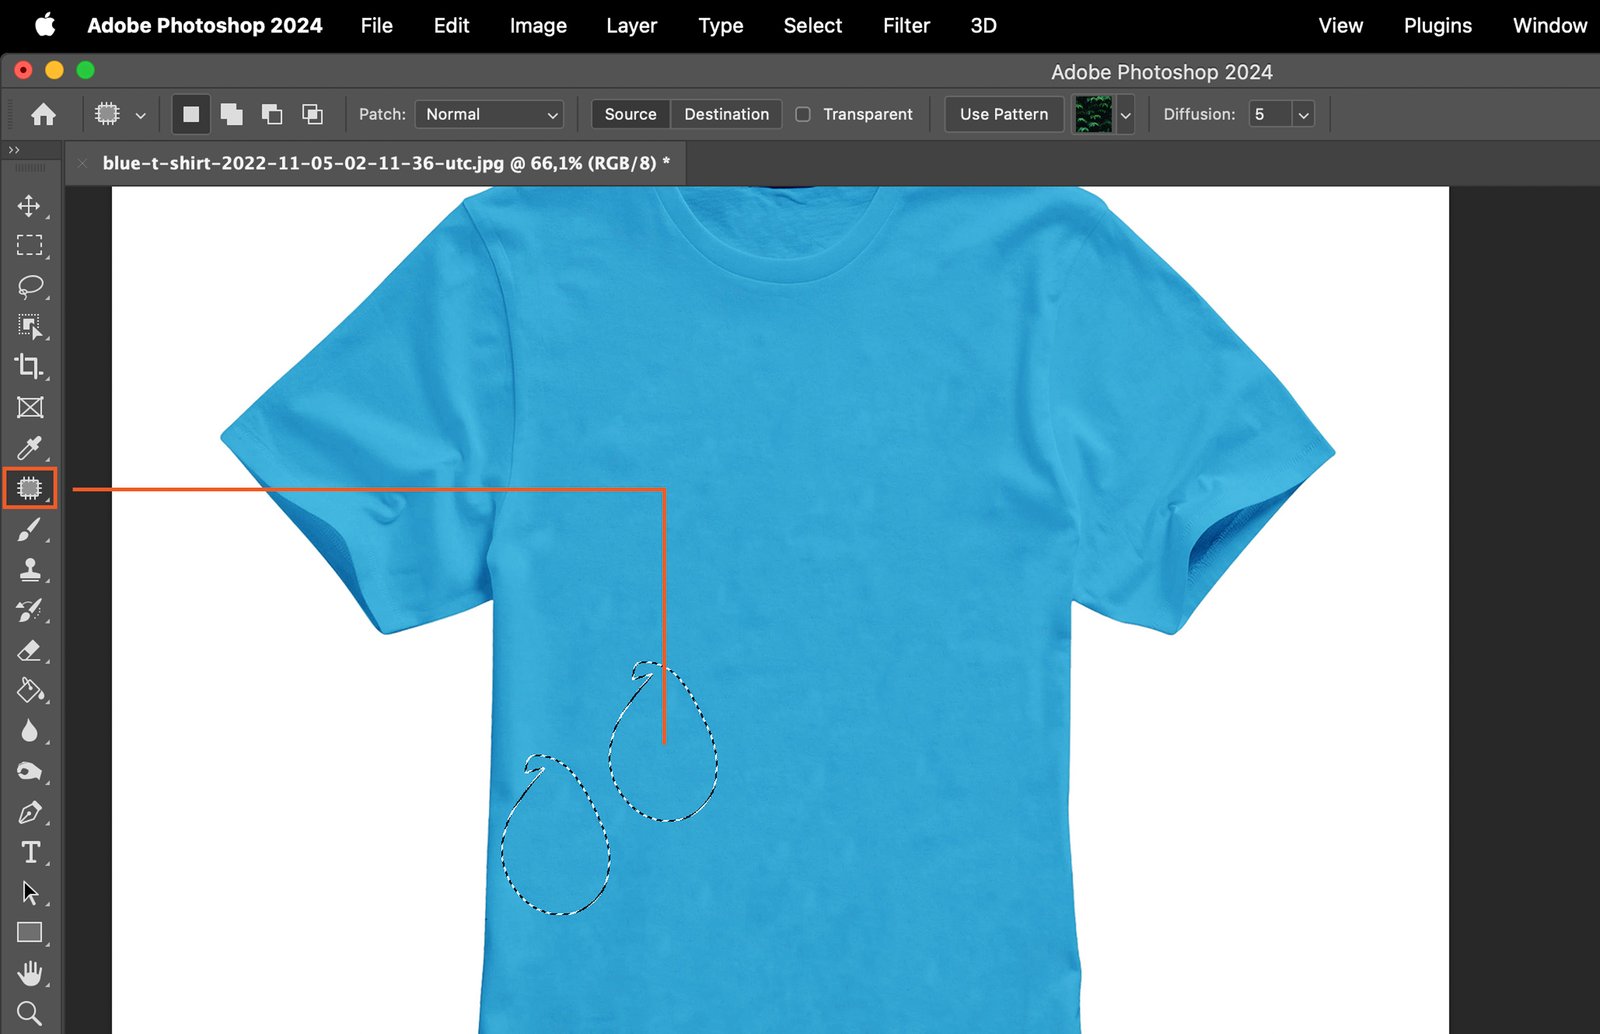
Step 3. Apply the Healing or Patch Tool

Once you’ve selected the area, apply the Healing or Patch Tool. Photoshop will automatically blend the selected area with the surrounding pixels, smoothing out the

wrinkles.

Patch Tool
Patch Tool
Healing Brush Tool
Healing Brush Tool

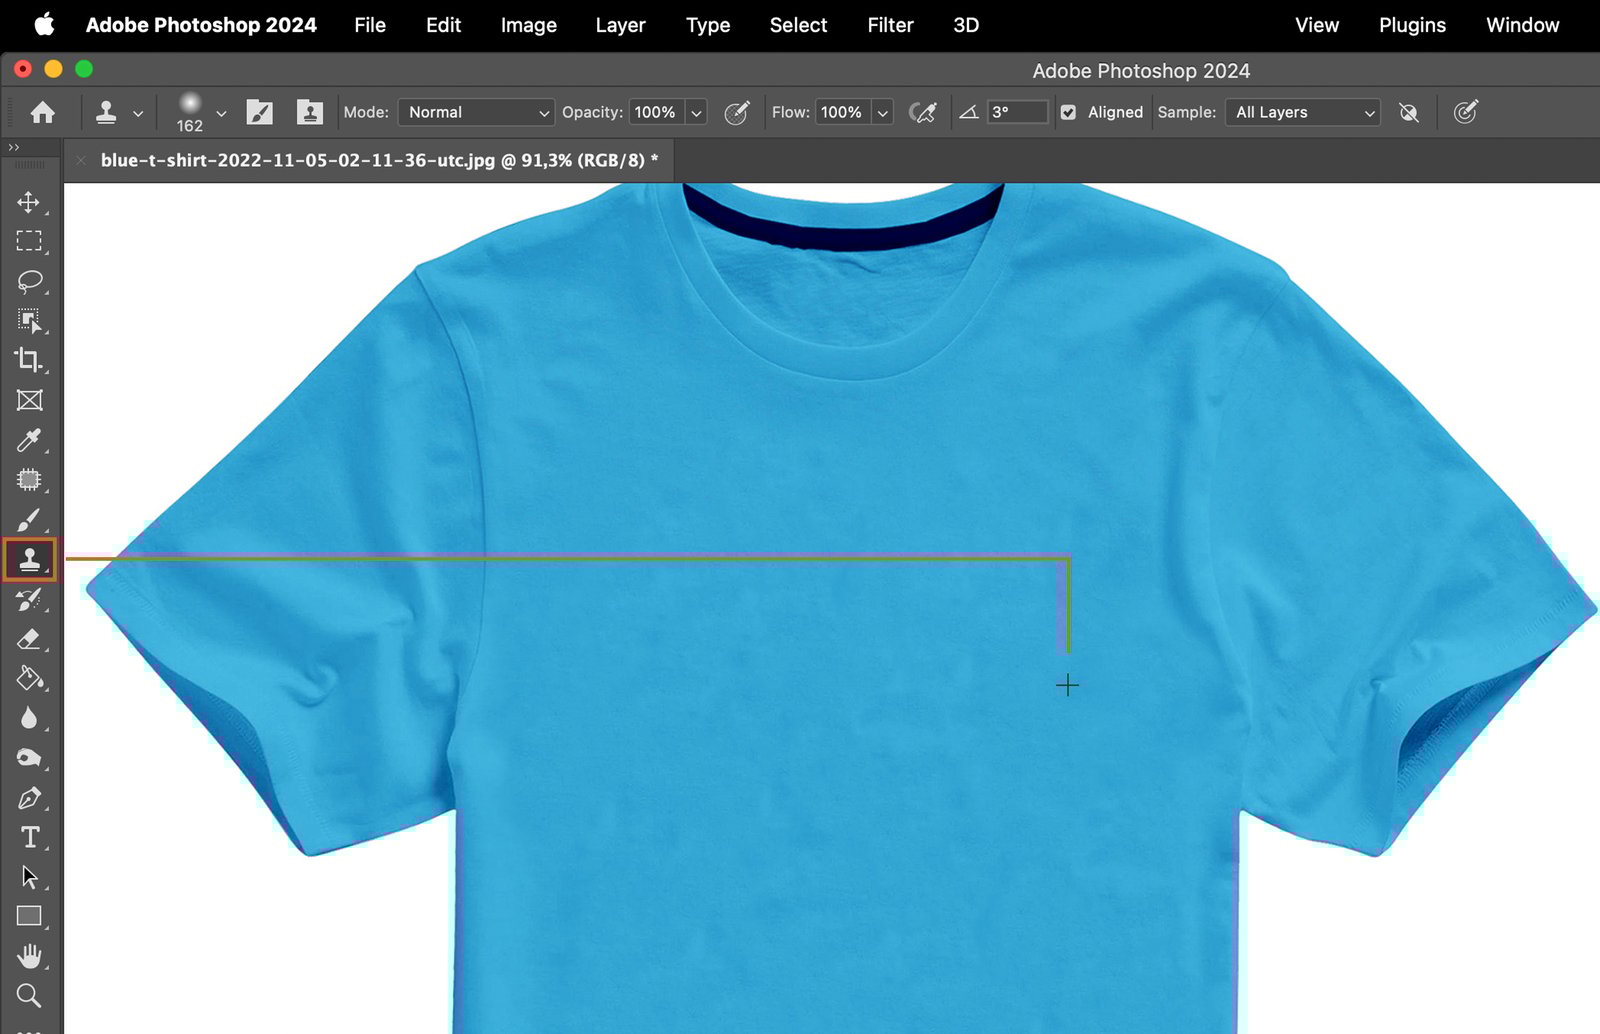
Step 4. Use the Clone Stamp Tool for Detailed Fixes

For detailed fixes, use the Clone Stamp Tool. This tool copies pixels from one area and pastes them onto another, allowing you to manually smooth out any remaining wrinkles.

A blue t-shirt with a white text and graphic design elements.

Step 5. Compare the Before and After Image

Finally, compare the before and after images. If there are any noticeable differences, go back and adjust your edits until you’re satisfied with the result.

Sidebar-ad_QCC_related-product
Sidebar-ad_QCC_free-sample_
Sidebar-ad_QCC_free-download_2-posters

Popular Content

Fujifilm X-T200 Review (Should You Buy This Camera in 2024?)

Read Article