Learning how to round the corners of an image in Photoshop can enhance your graphic design skills and increase visual appeal. This article provides a step-by-step guide to help you master this process with ease.
Step 1. Select the Rectangle Tool
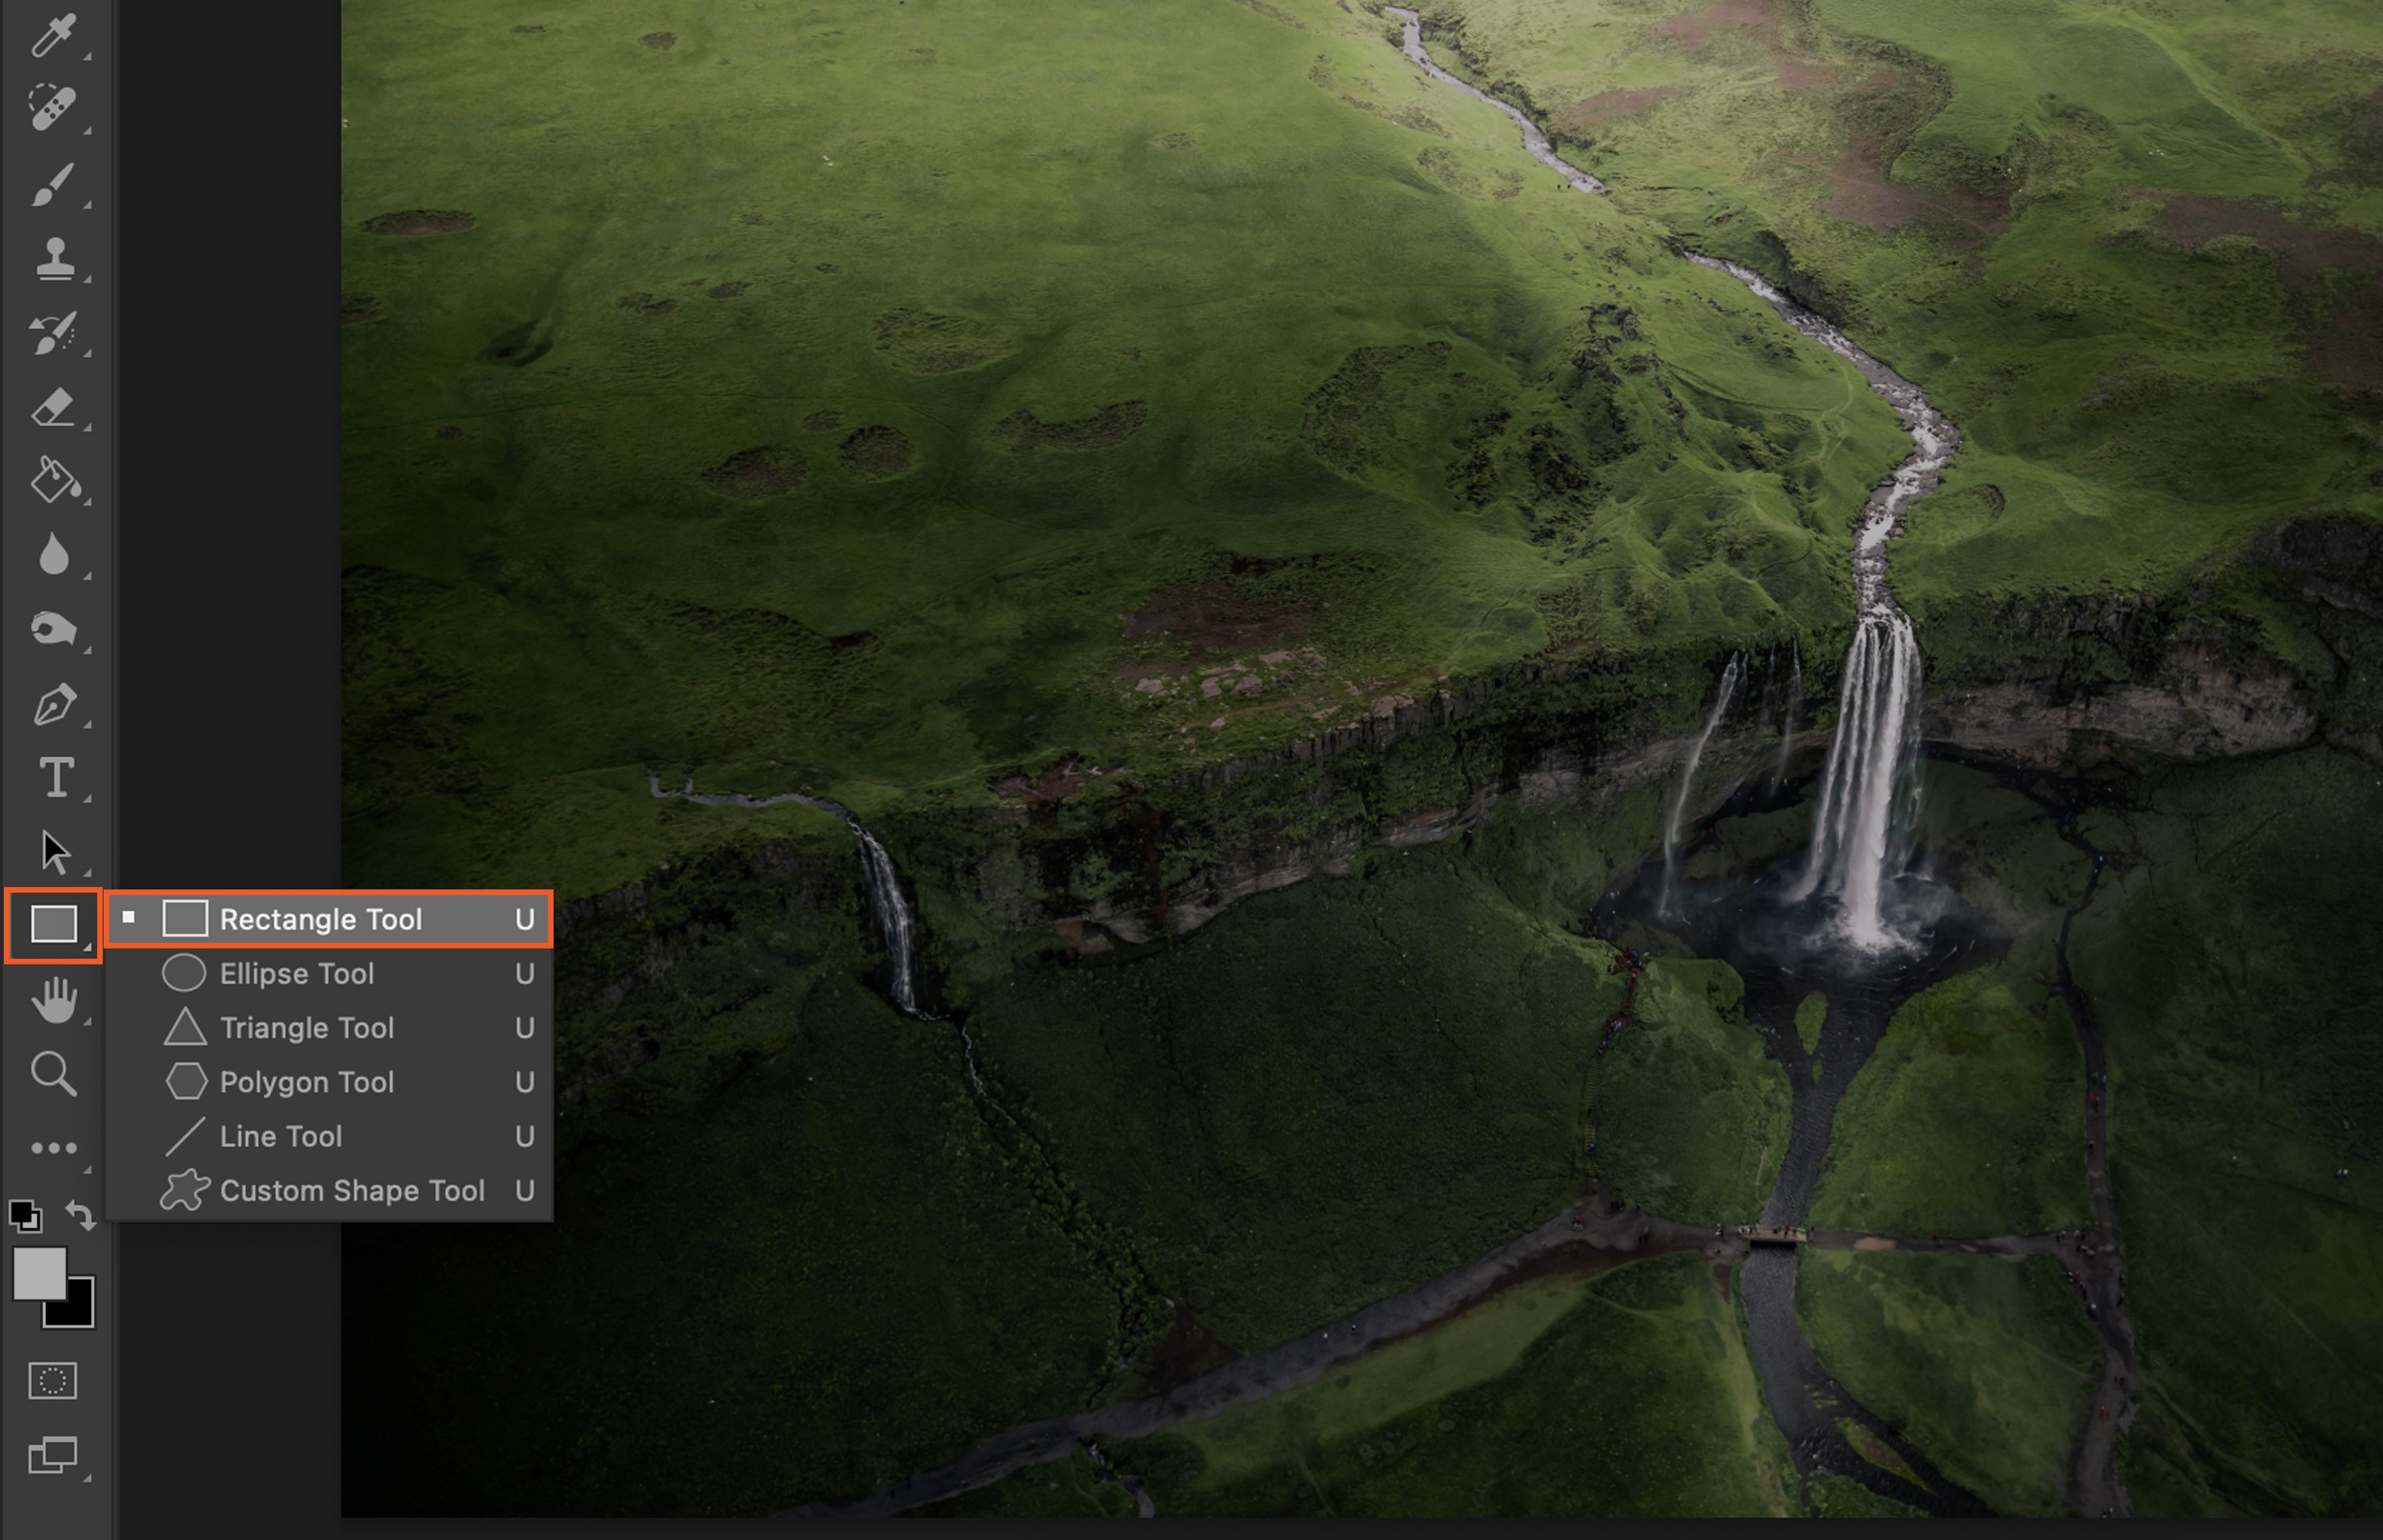
Kick off the process by selecting the Rectangle Tool from the Photoshop toolbar. This tool is usually located on the left side of your screen, resembling a small square.
Step 2. Draw a Rectangle Over the Image
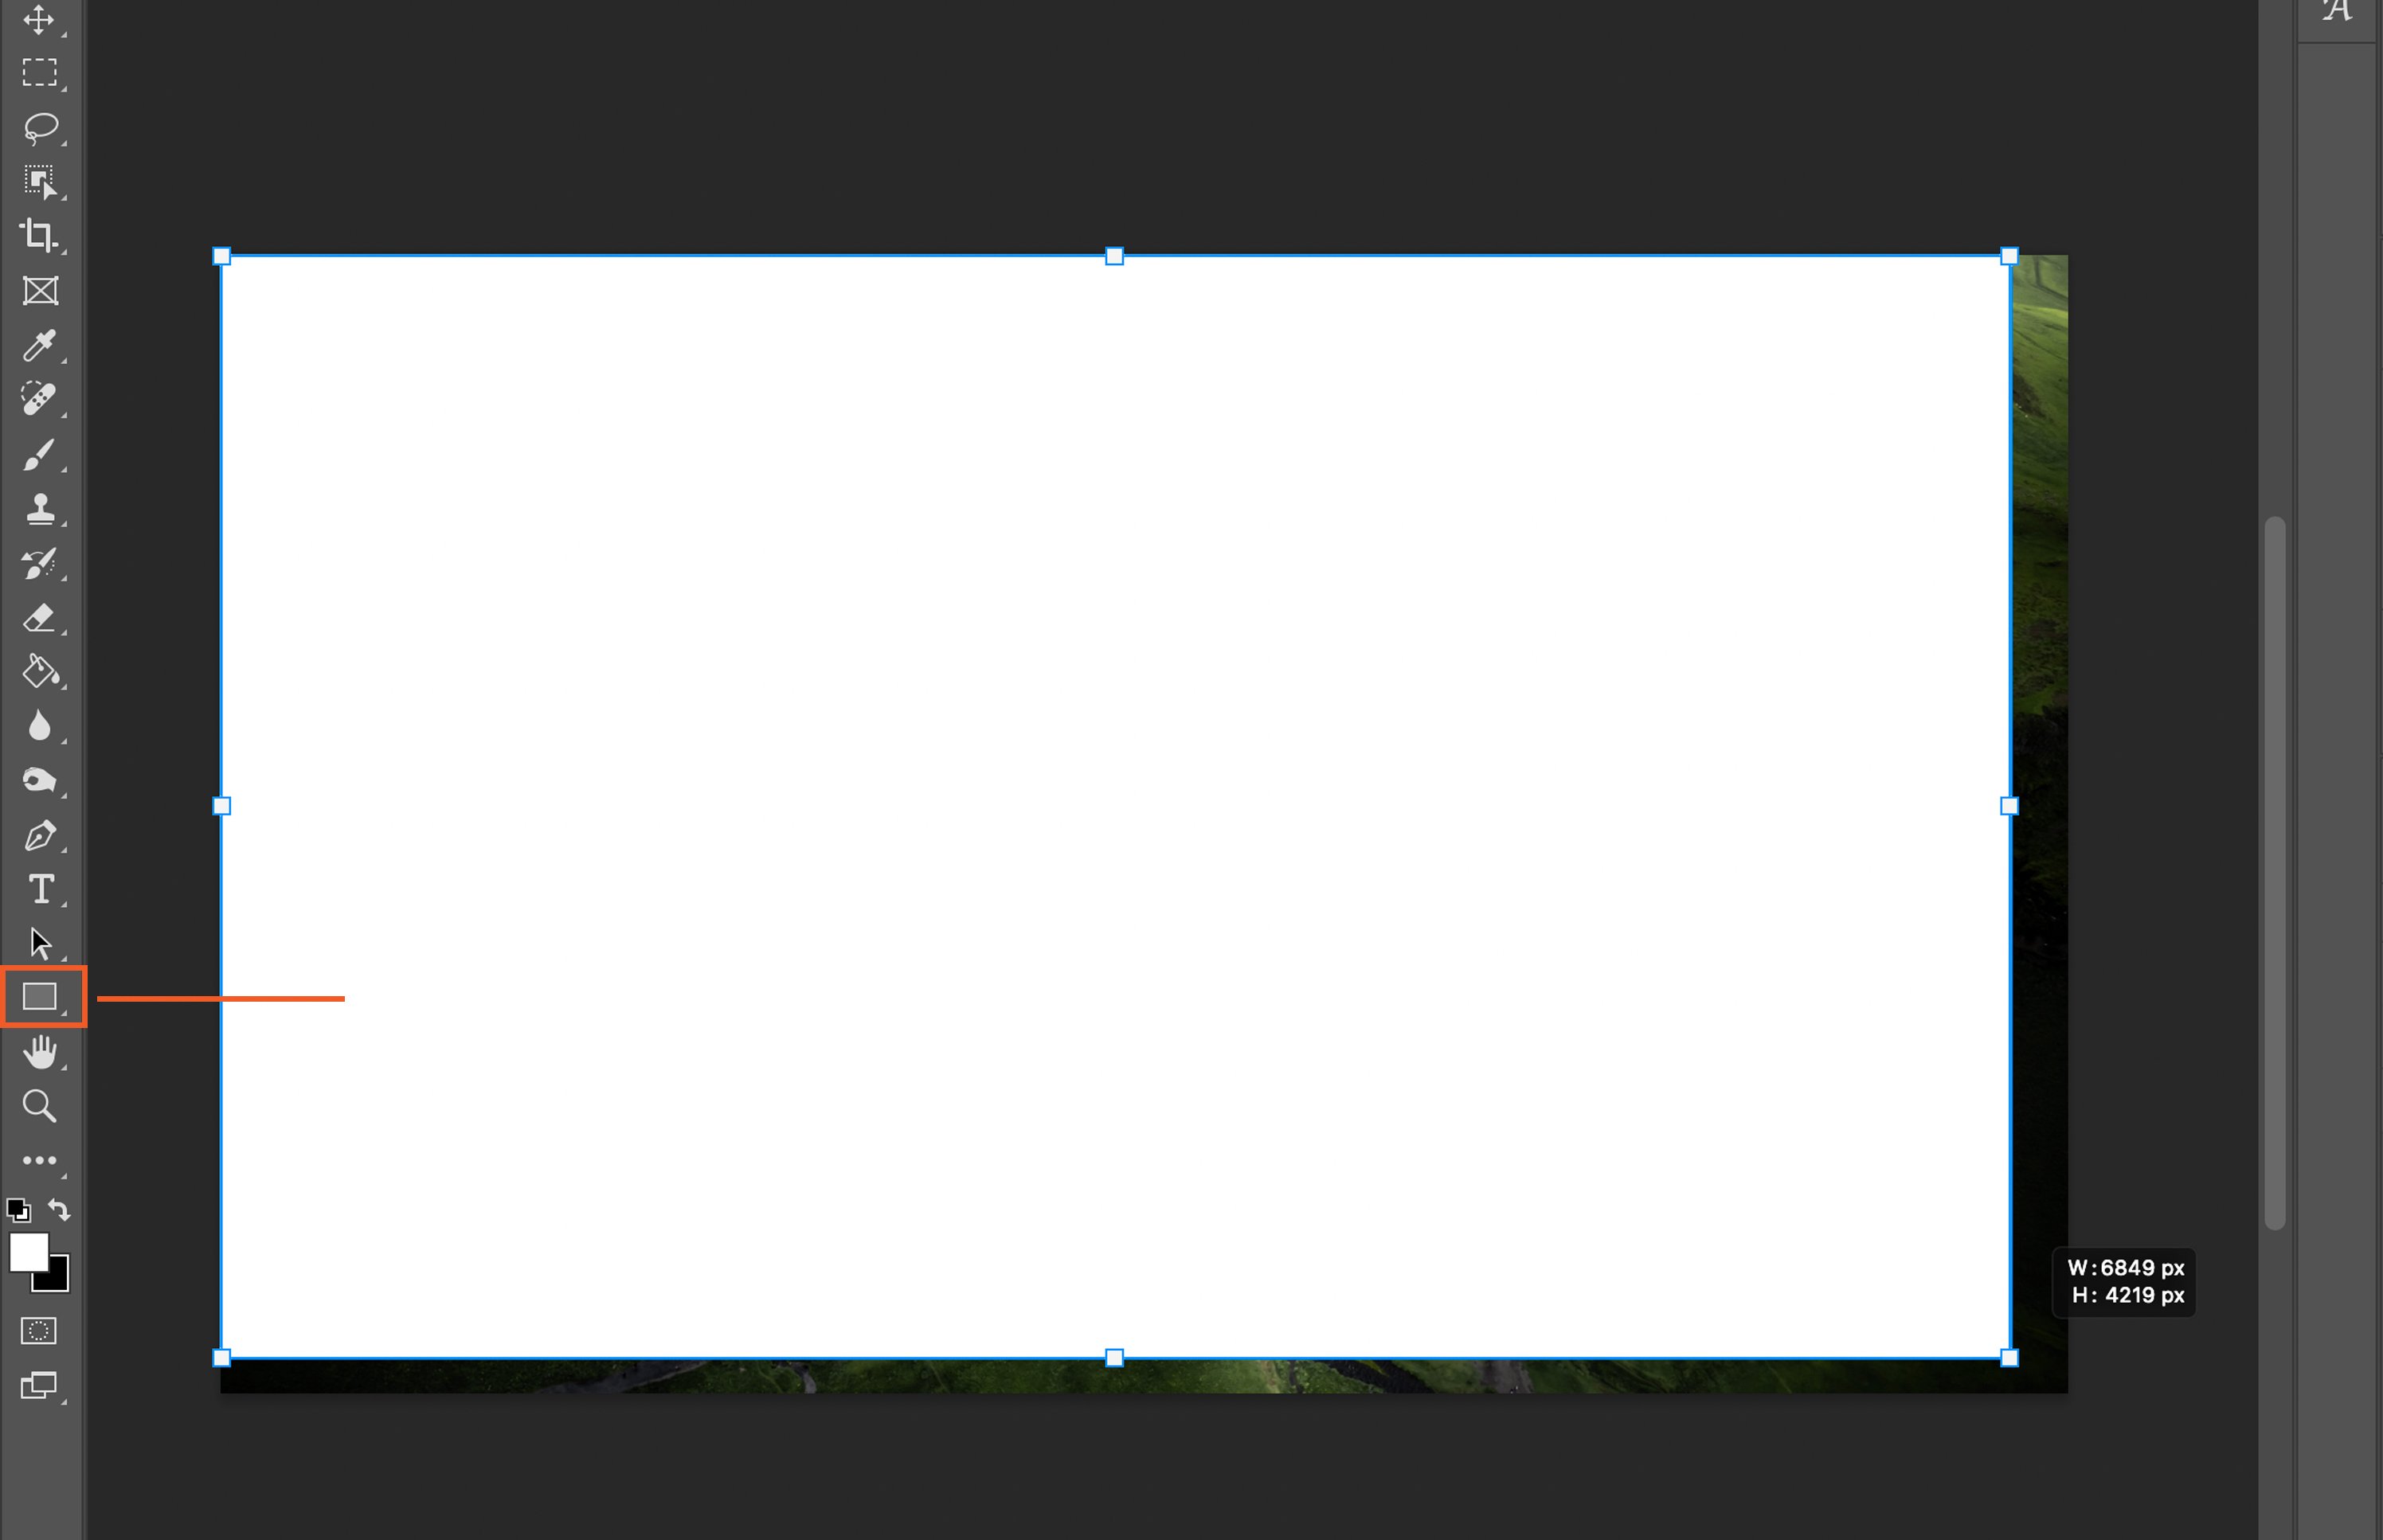
With the Rectangle Tool selected, draw a rectangle over your image. The shape should ideally cover the entire image. Don’t worry about the sharp corners yet; we’ll address that in the next step.
Step 3. Adjust the Radius of the Rectangle Corners
Now, it’s time to round the corners of your rectangle. There are two ways to do this: using the Properties Panel or the Live Shapes Options.
Step 3.1. Use the Properties Panel
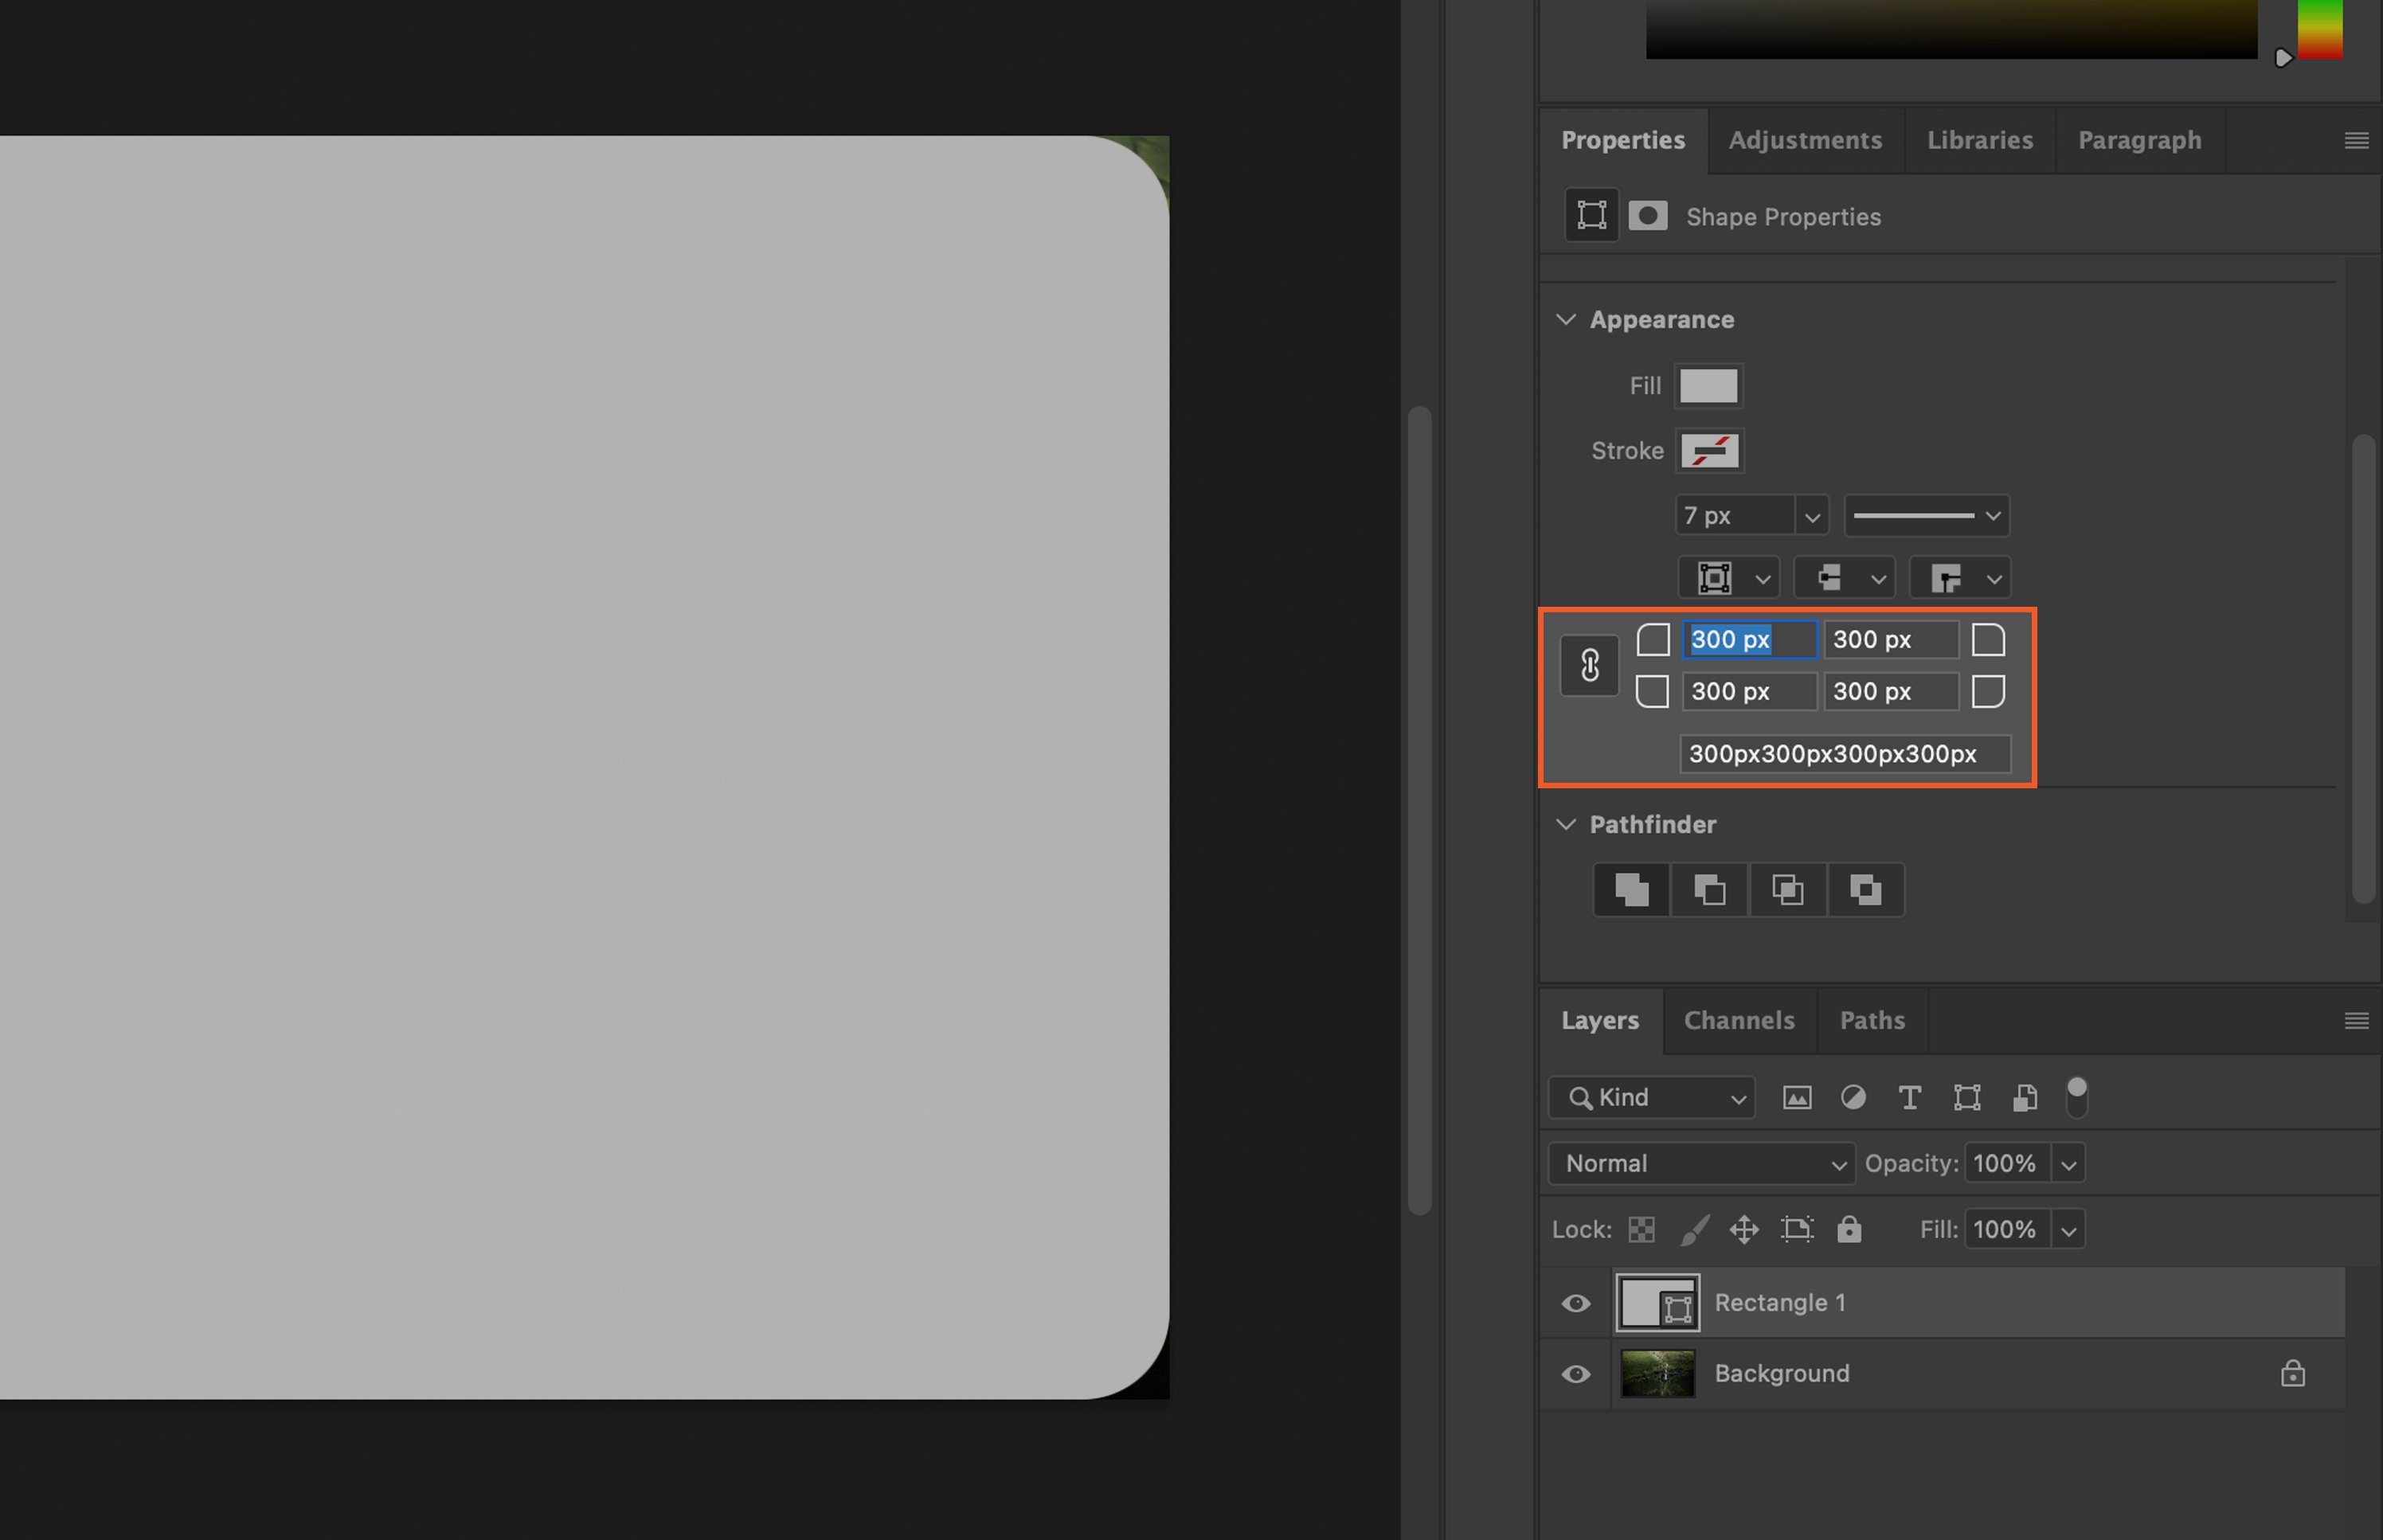
The Properties Panel is typically located on the right side of your screen. In this panel, you will find a ‘Radius’ option. Adjust the radius to your liking. The larger the radius, the rounder your corners will be.
Step 3.2. Use the Live Shapes Options
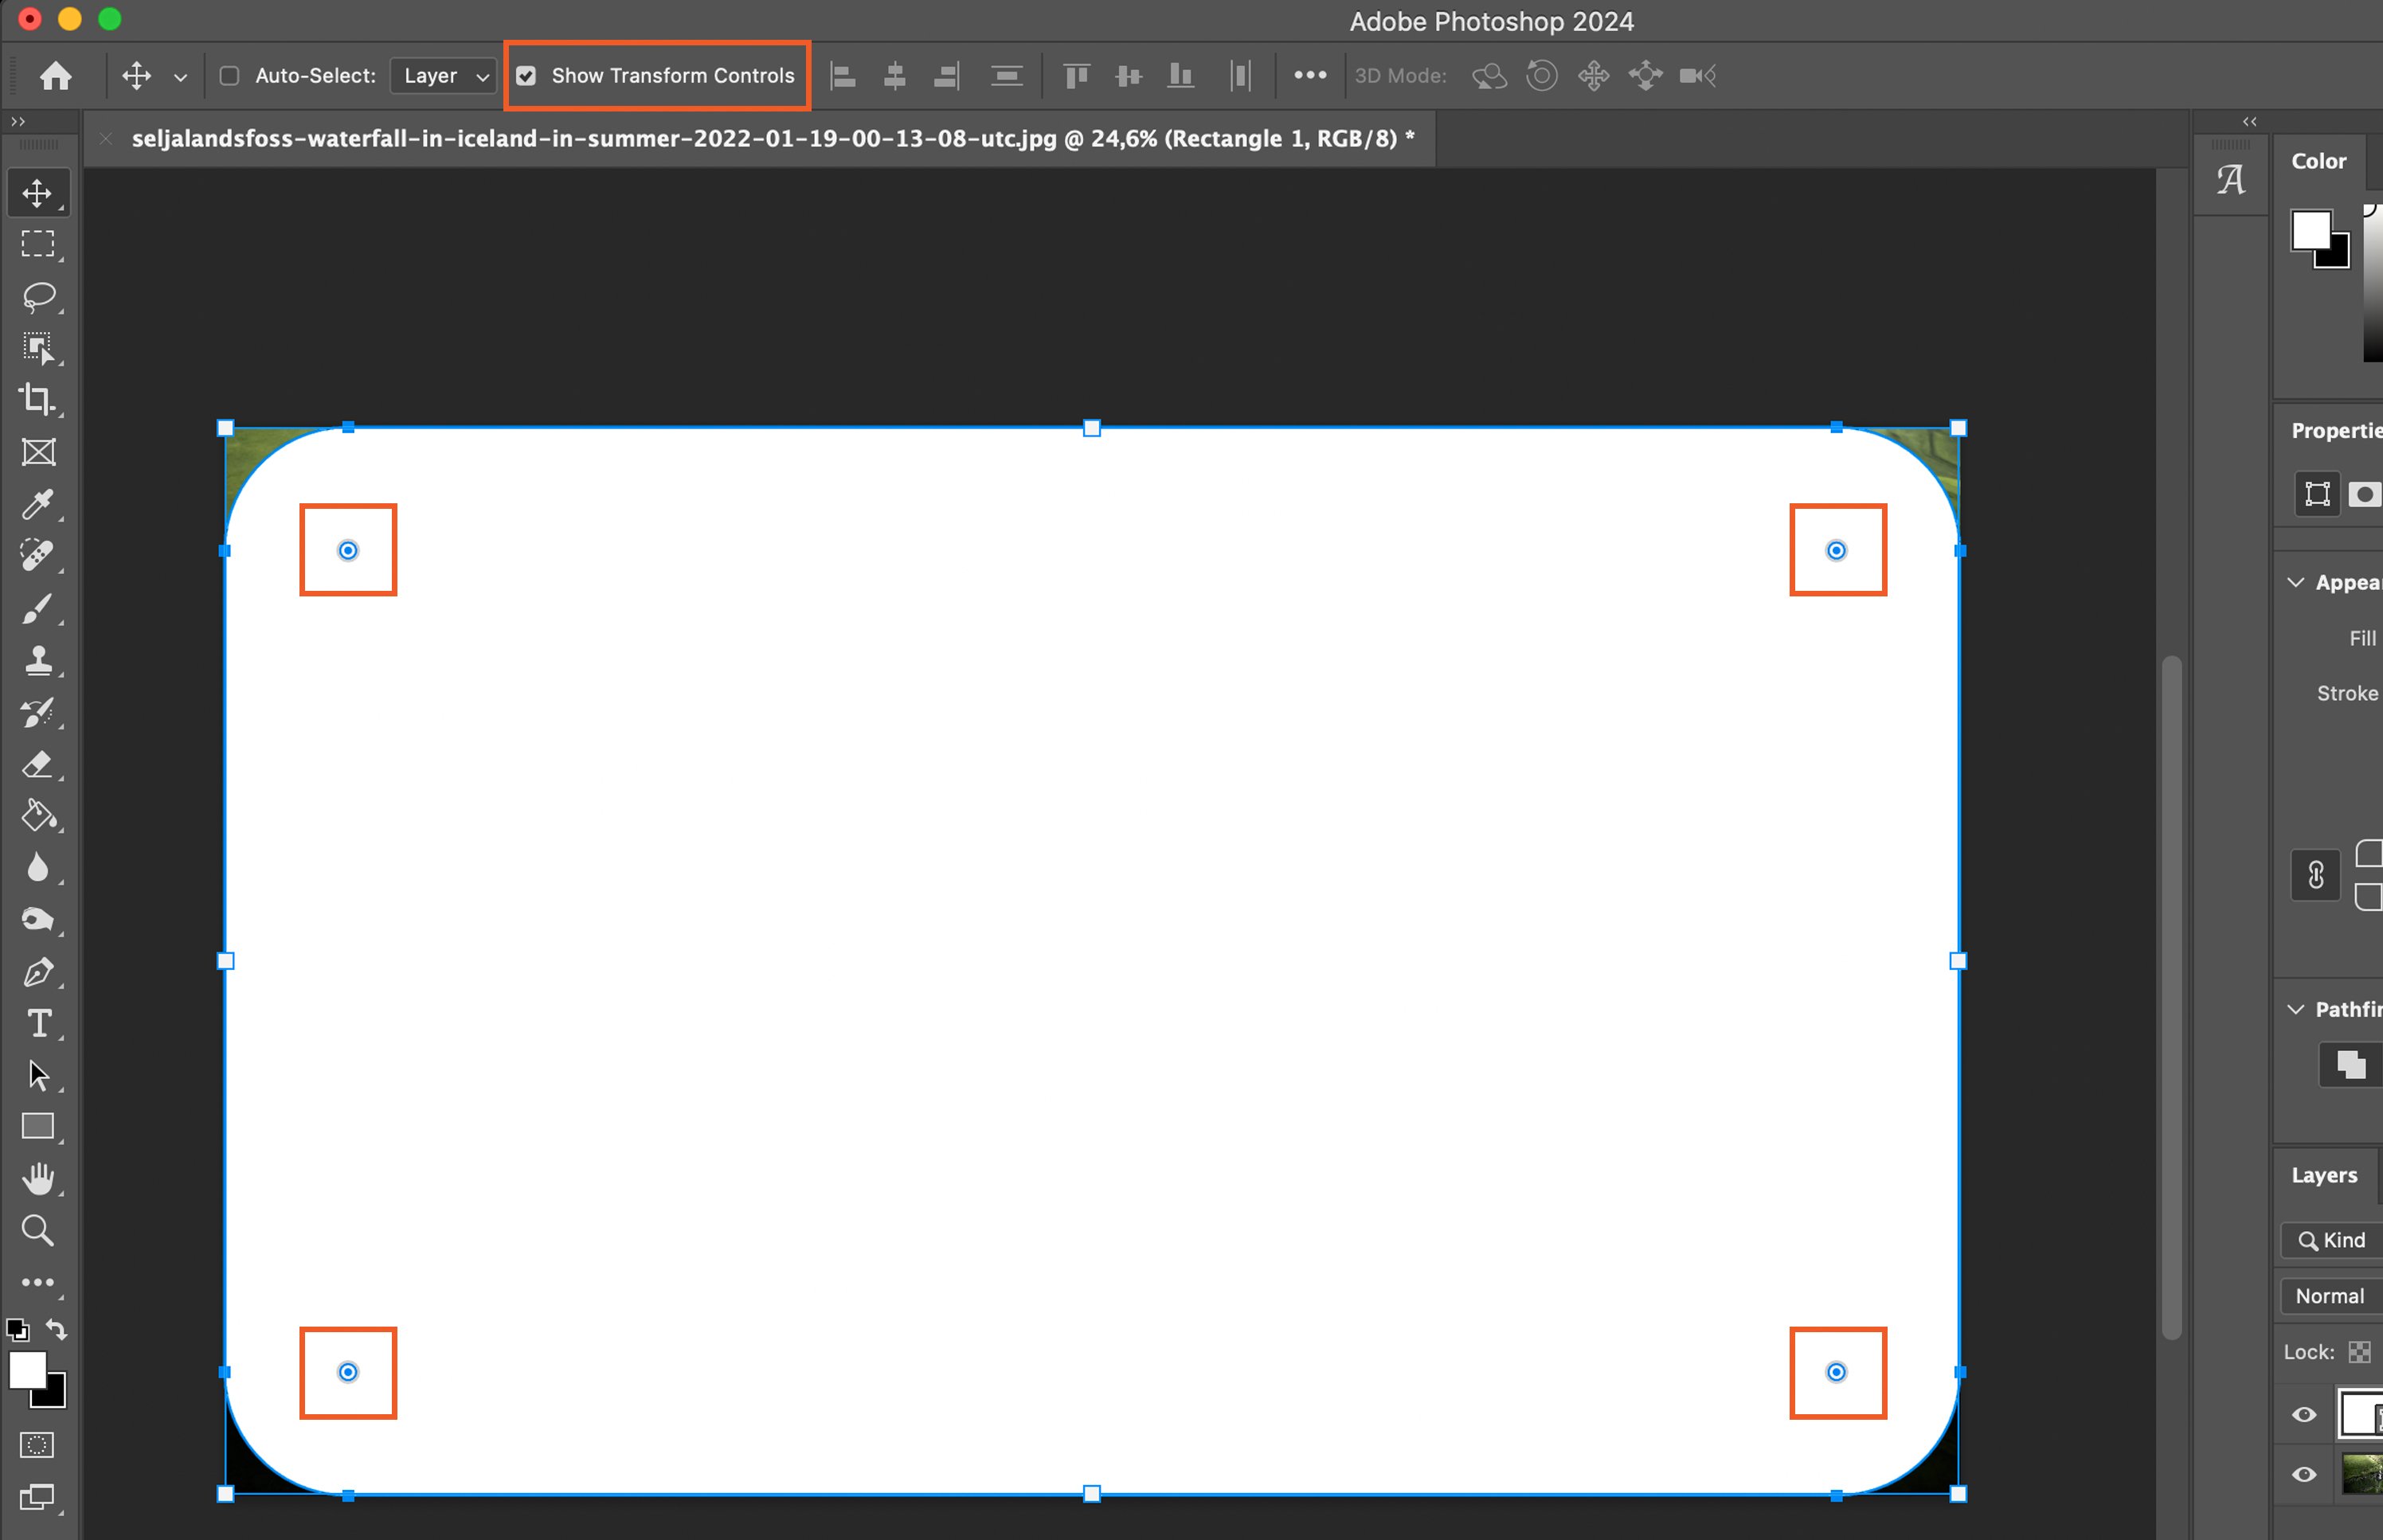
Alternatively, you can adjust the radius using the Live Shapes Options at the top of your screen. Simply select the rectangle, and adjust the corner radius in the options bar.
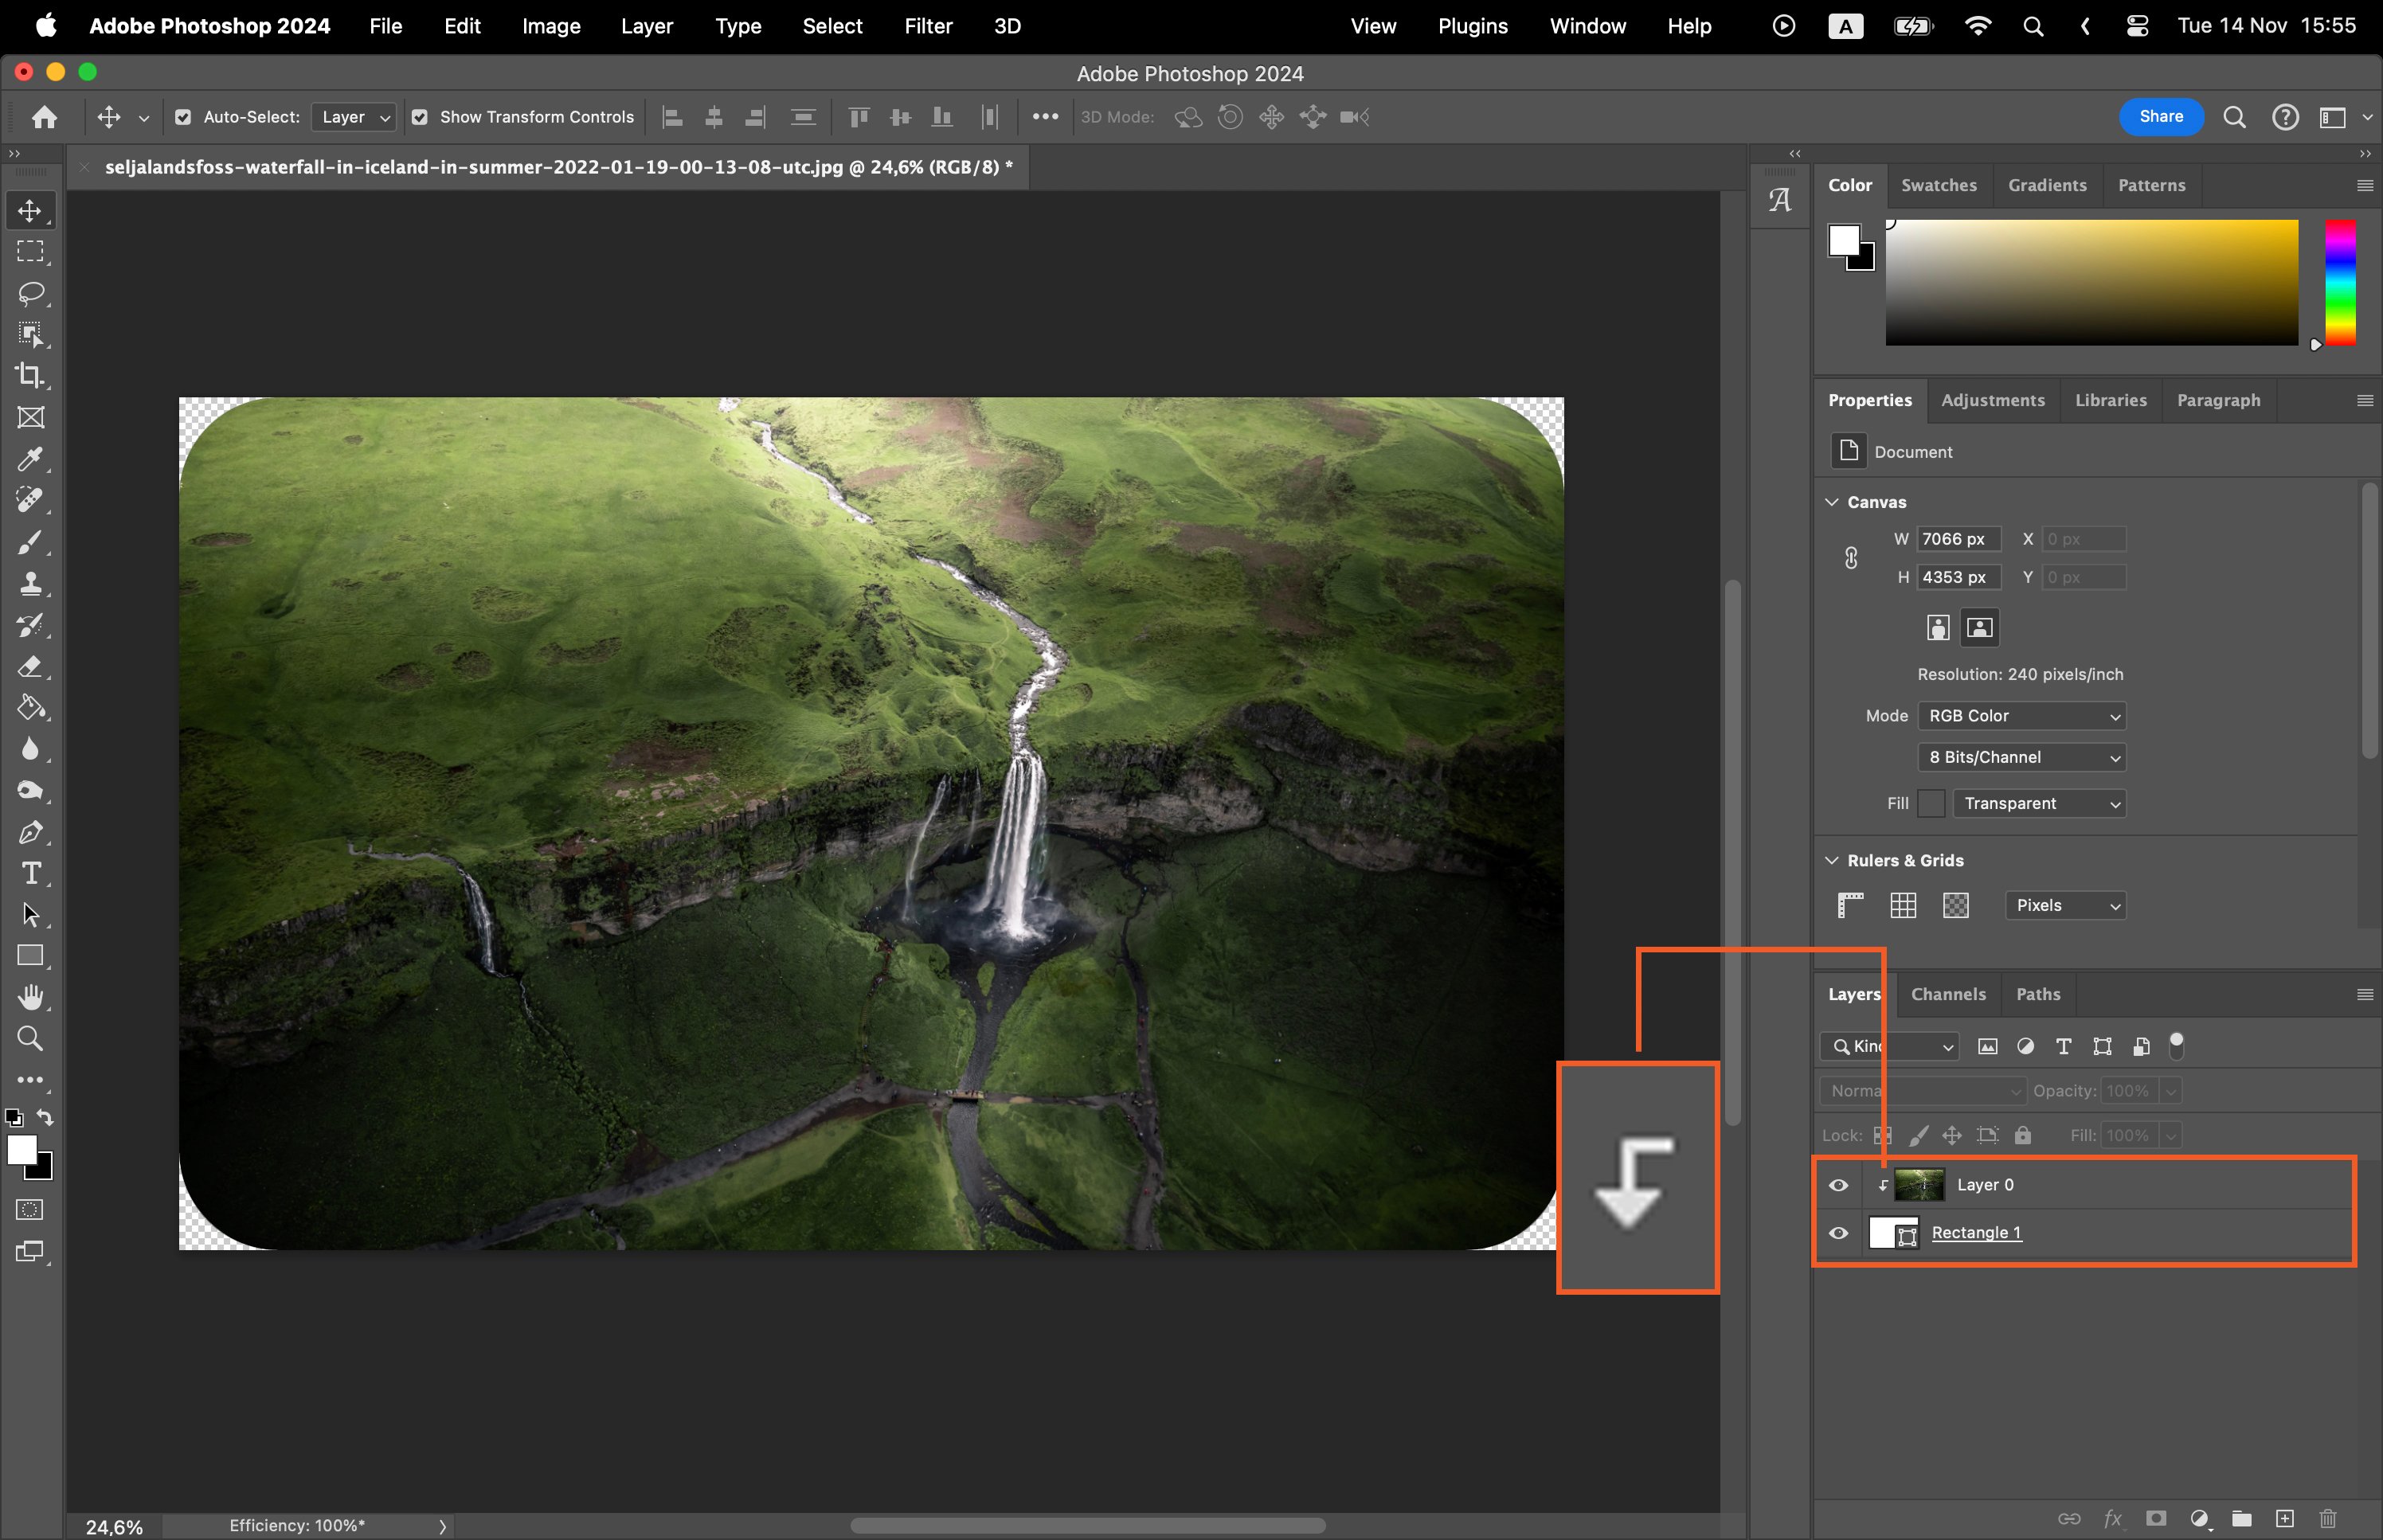
Step 4. Change layer order
Drag your image layer above the newly created rectangle layer.
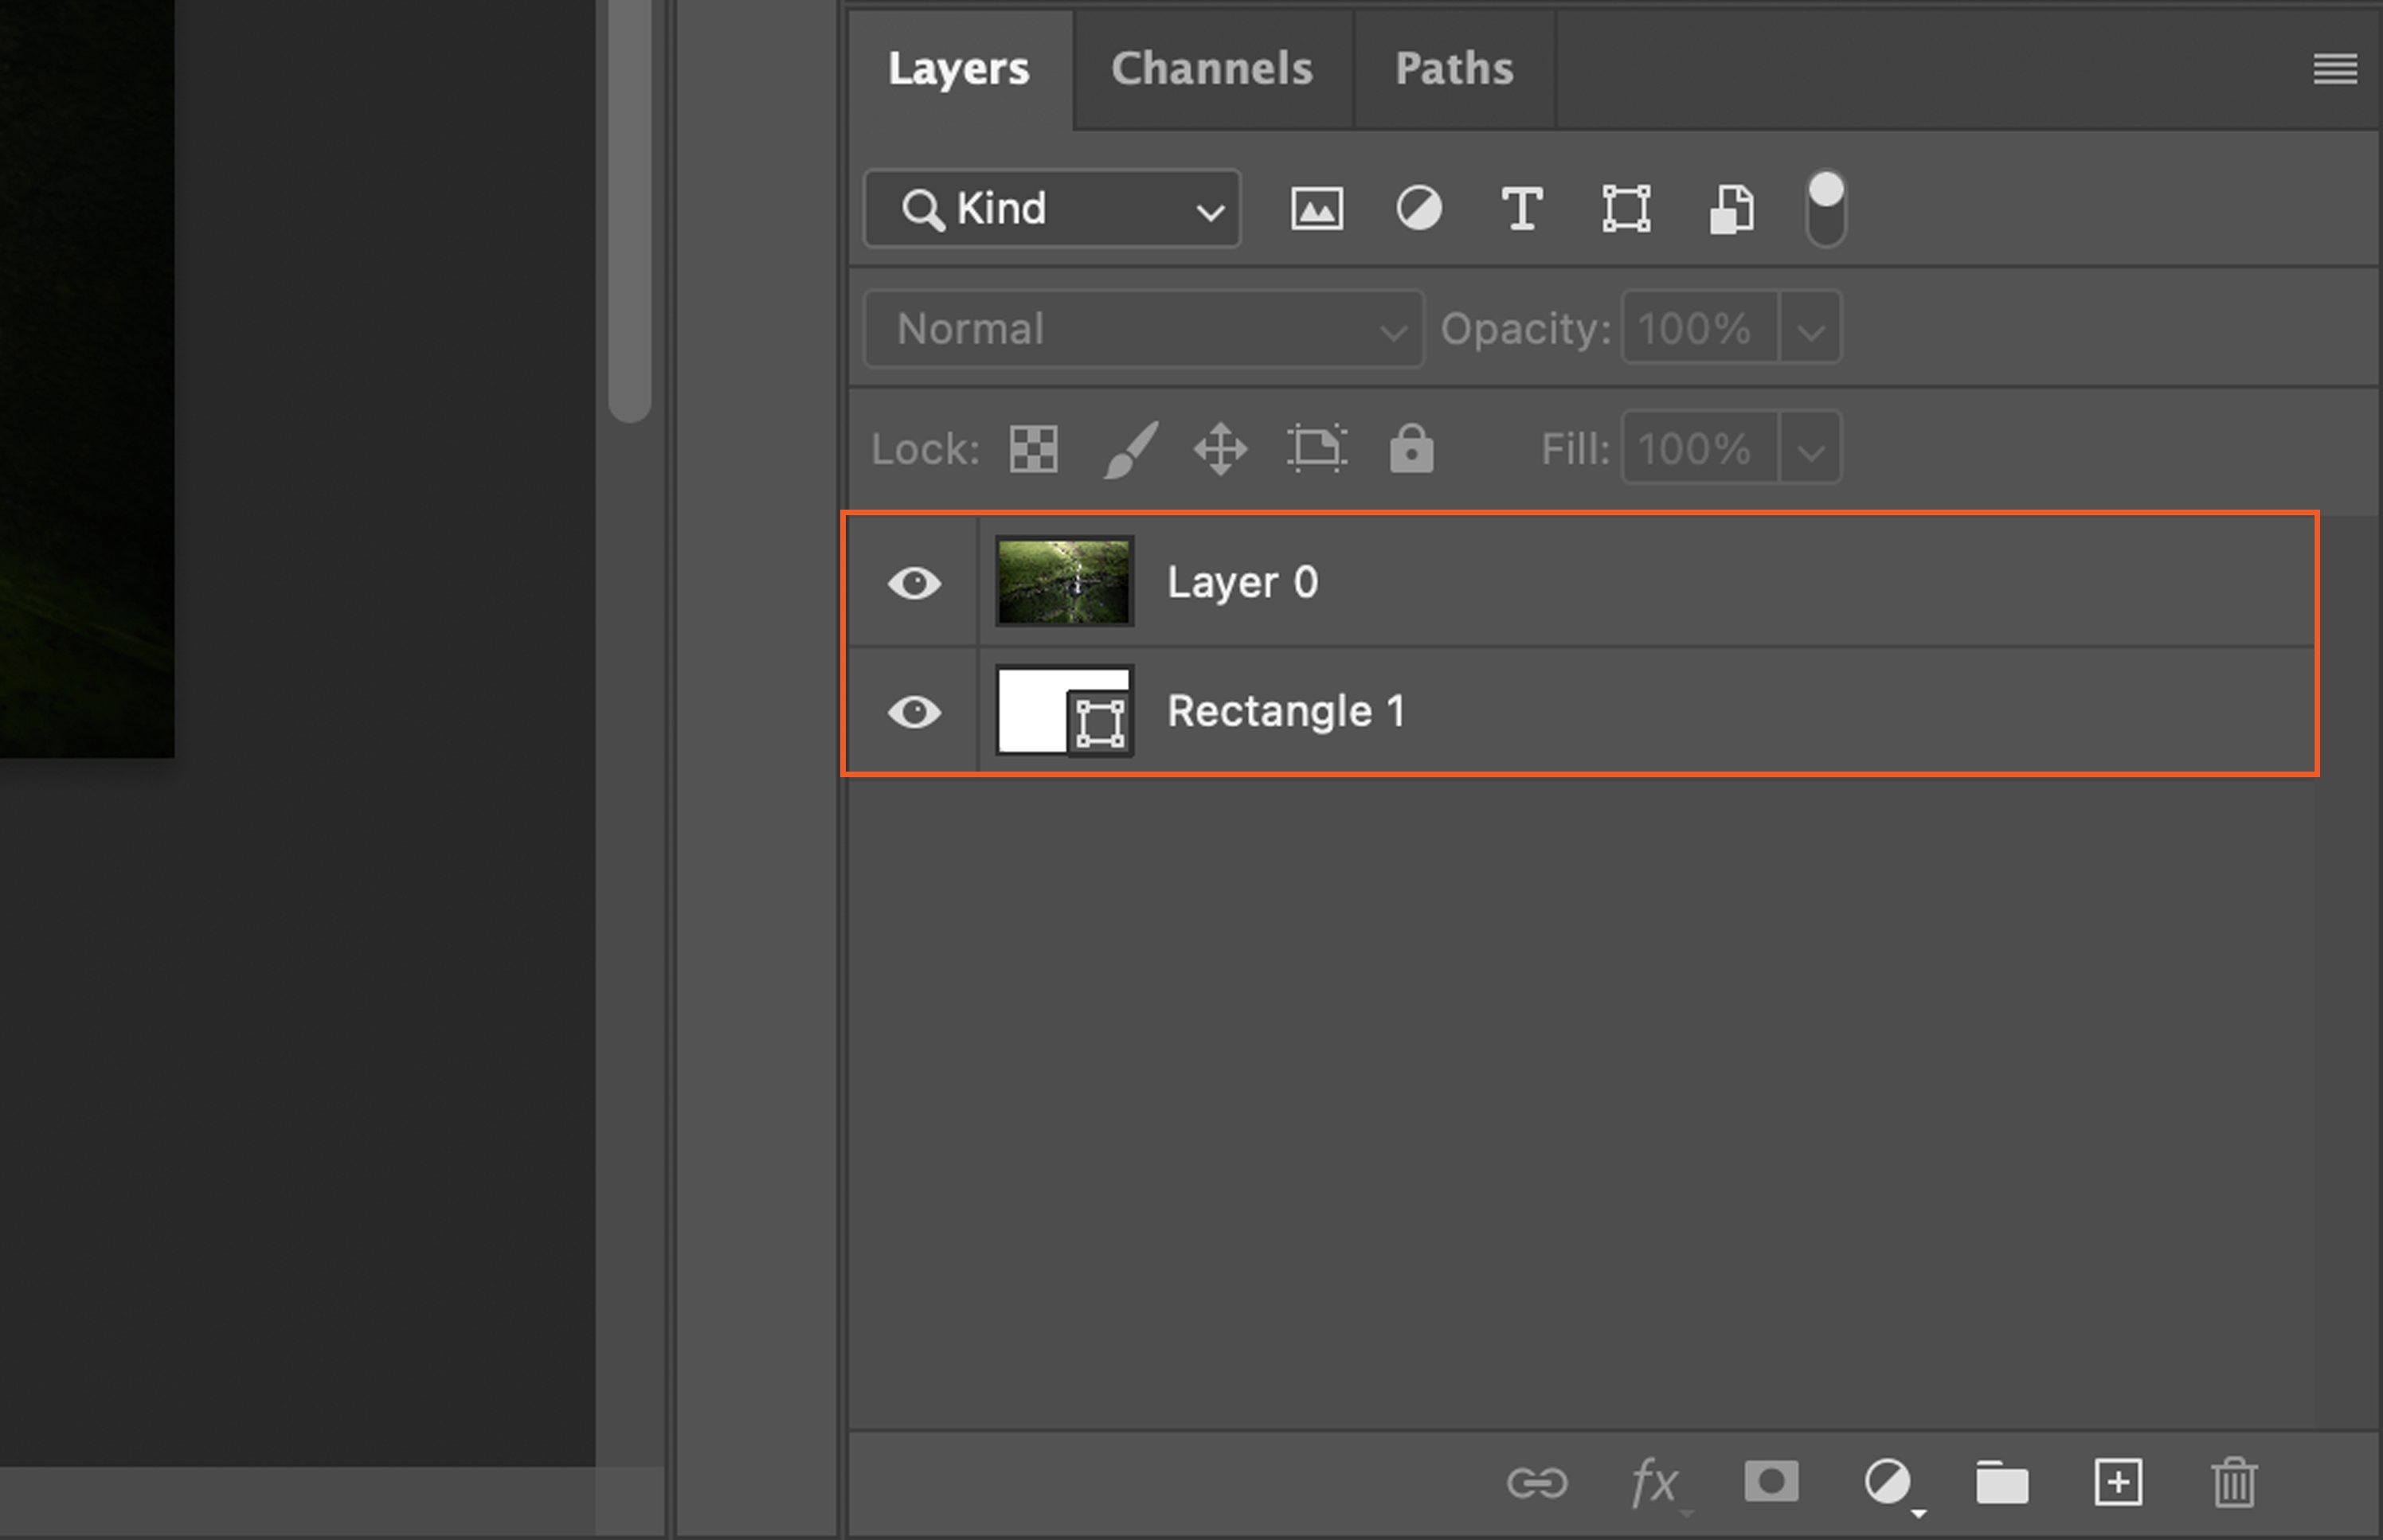
Step 5. Clip the layer
Hold ‘ALT’ or Option” and click between the two layer to clip them. You will se a little arrow with a triangle icon.
Step 6. Save the Rounded Image
Finally, save your newly rounded image. Go to ‘File’, then ‘Save As’, and select your preferred format. Your image is now ready to be used with its new rounded corners.


