Struggling to shrink an image in Photoshop without losing quality? This guide provides a simple, step-by-step process to help you achieve this. Mastering this technique can significantly improve your editing skills and ensure your images fit any size requirements without sacrificing their clarity.
Step 1. Navigate to the Image Menu
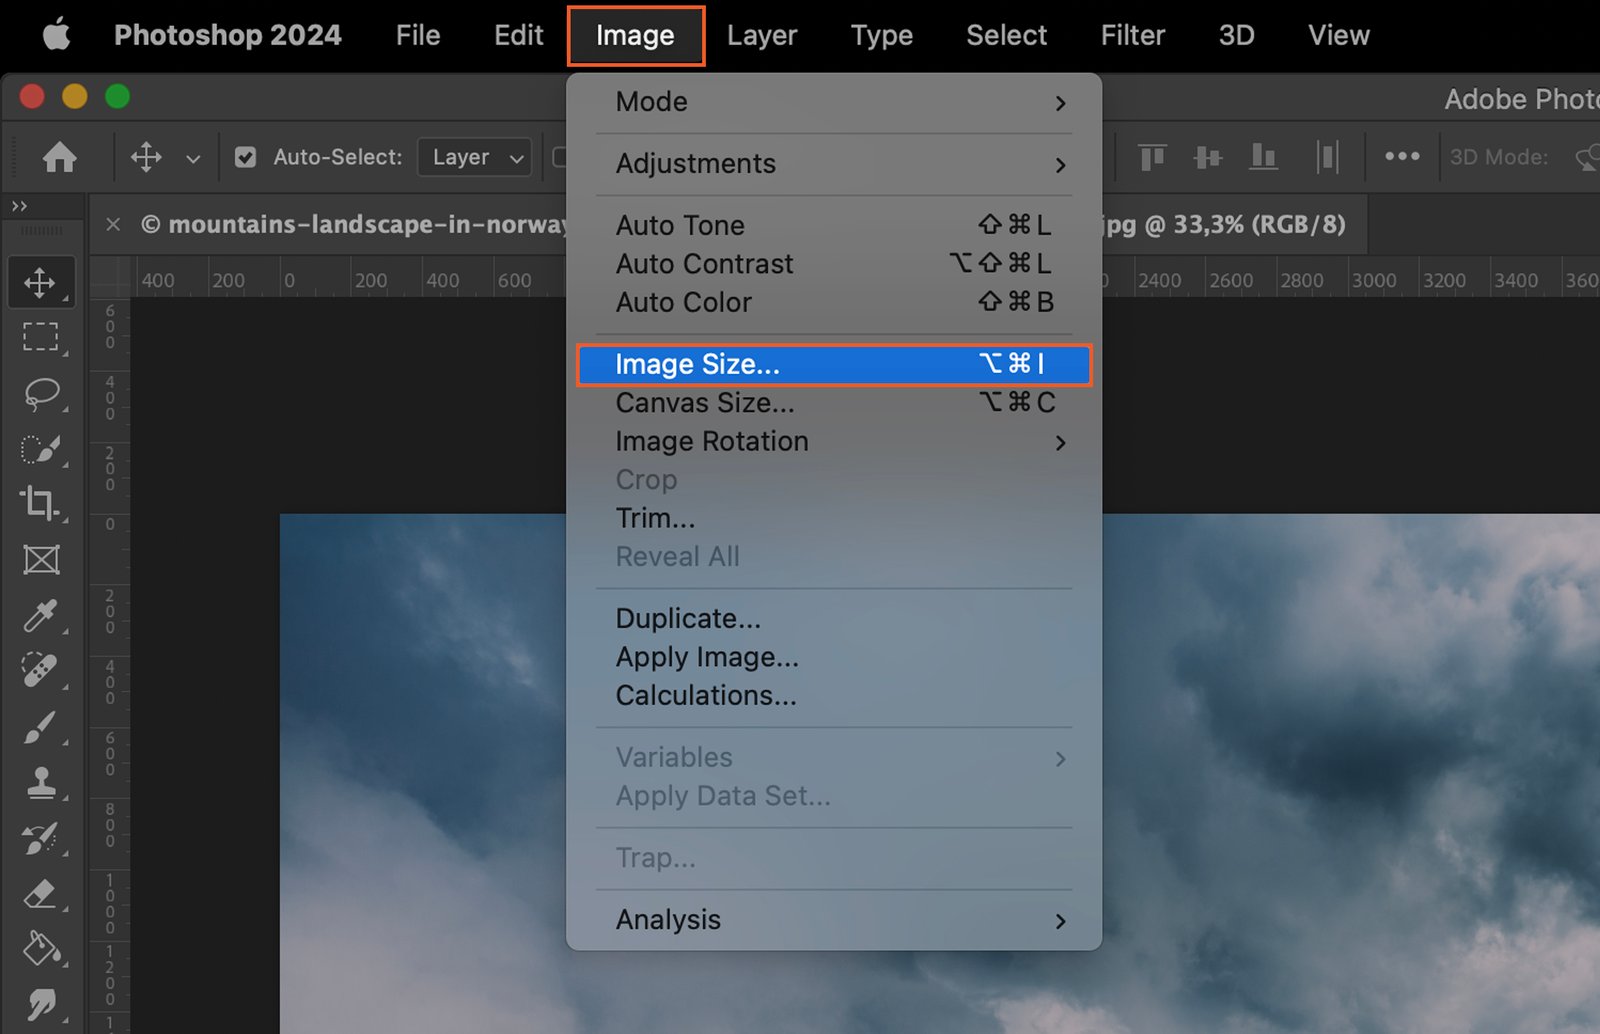
Open the Photoshop application and load the image you want to resize. Once your image is opened, find the “Image” menu at the top of the toolbar.
Step 2. Select the Resize Option
Under the “Image” menu, a dropdown list will appear. Look for the “Image Size” option and click on it. This will open a new dialog box where you can adjust the size of your image.
Step 3. Choose Image Size
Step 3.1 Use the Dialog Box
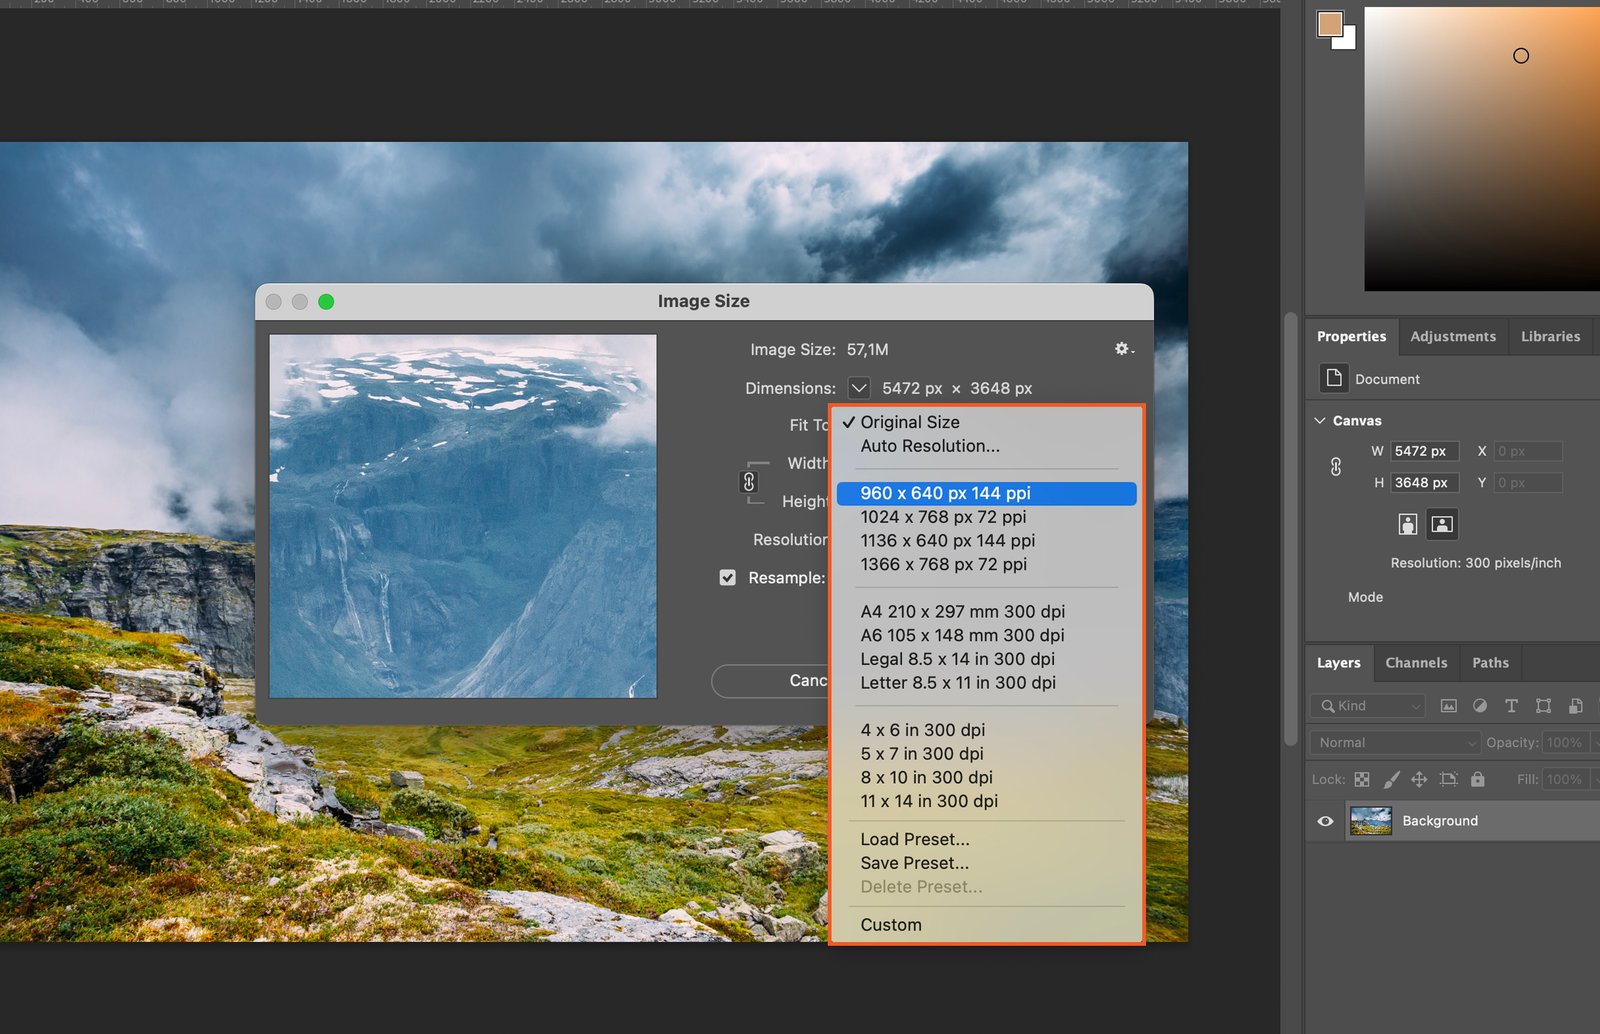
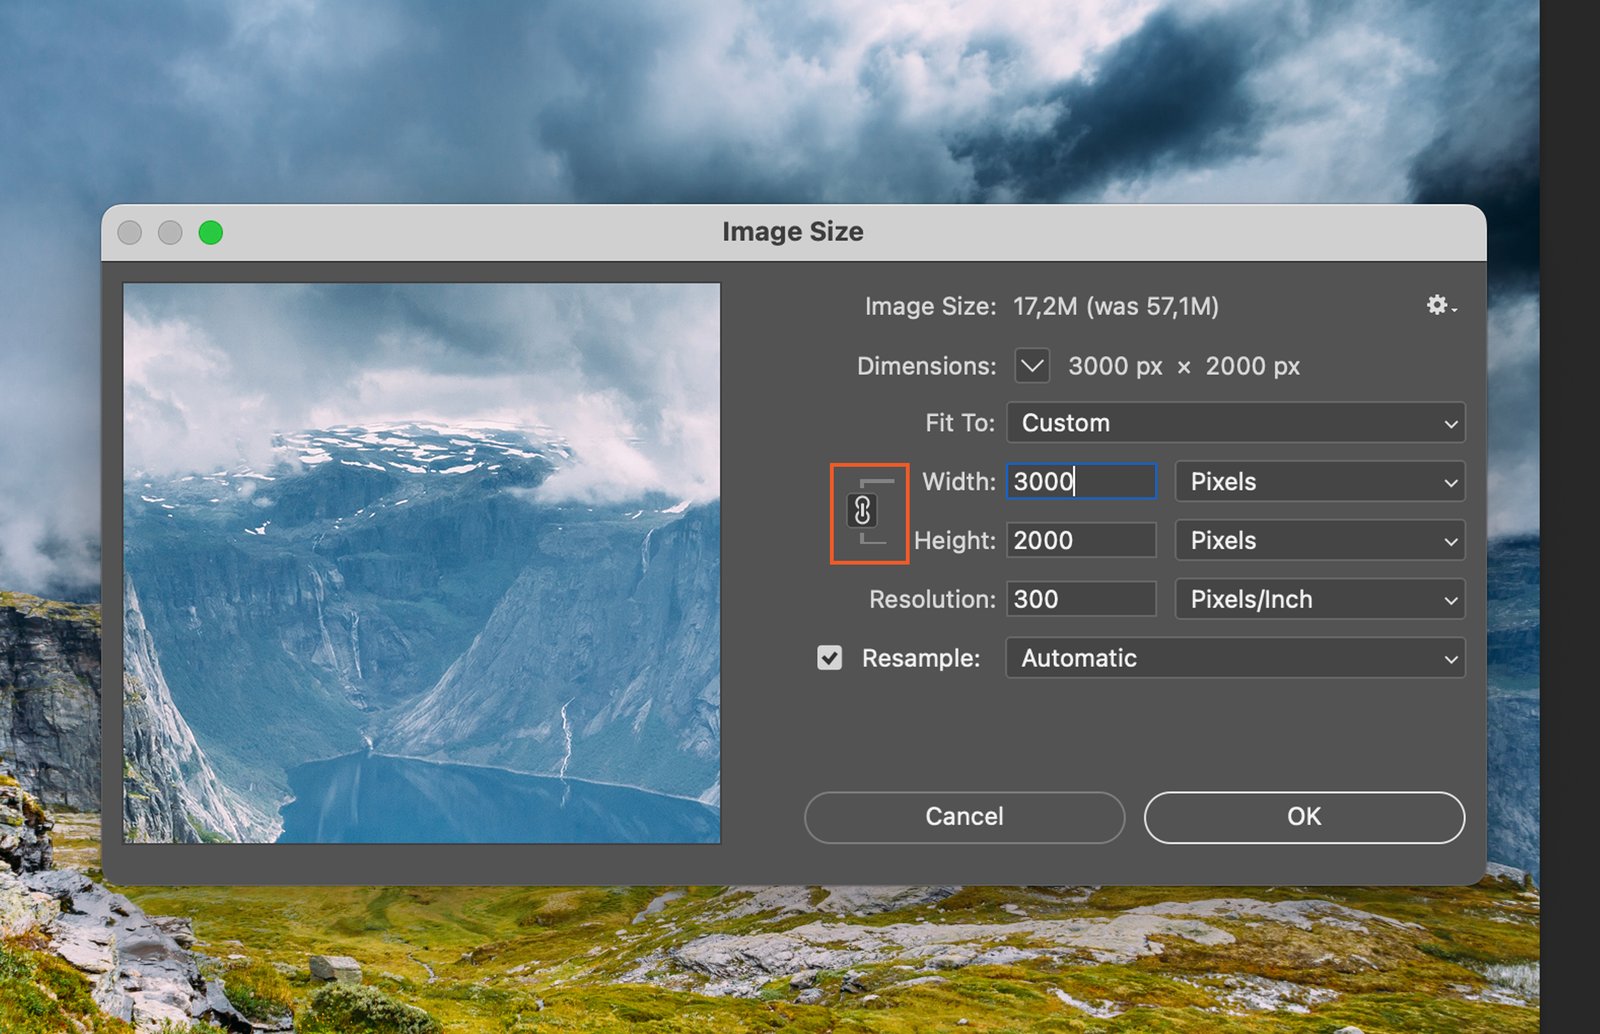
In the dialog box that appears, you’ll see two boxes for Width and Height. These represent the current dimensions of your image.
Step 3.2 Directly Input Dimensions
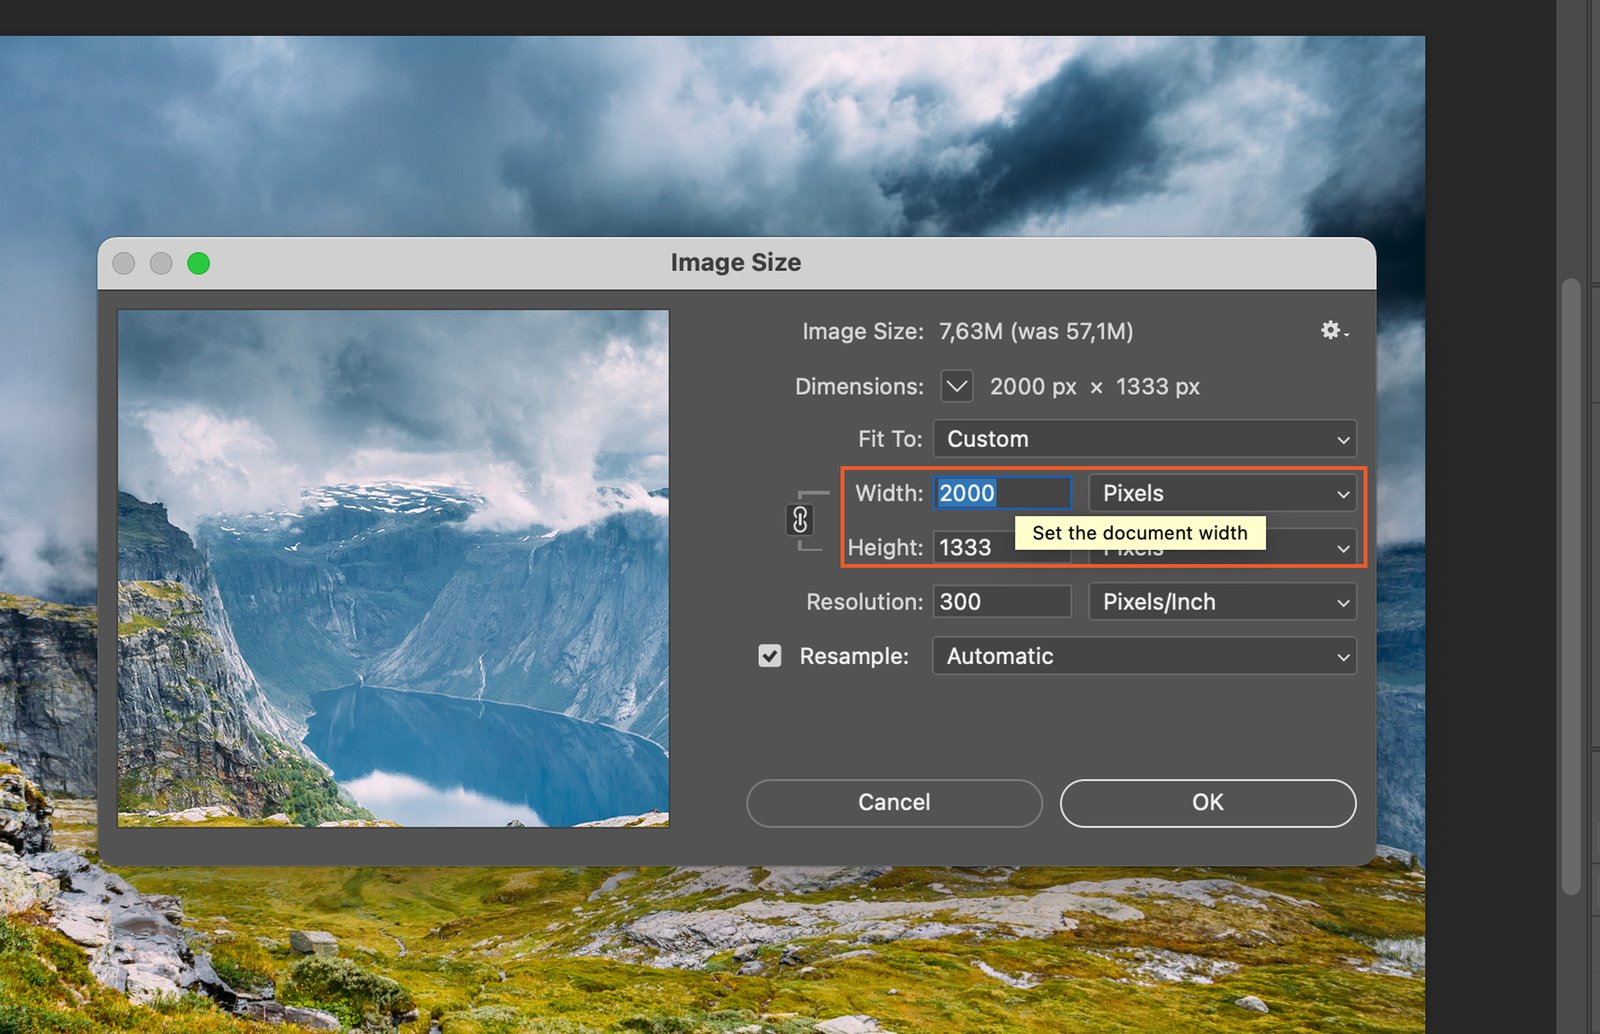
You can manually input the dimensions you want for your image in the Width and Height boxes. Make sure to choose the right measurement unit (pixels, inches, cm, etc.).
Step 4. Adjust Resolution
Step 4.1 Maintain Aspect Ratio
To maintain the quality of your image, ensure the “Constrain Proportions” checkbox is ticked. This maintains the aspect ratio of your image as you resize it.
Step 4.2 Customize Resolution
You can also adjust the resolution of your image in the “Resolution” box. Higher resolution will result in a larger file size but better quality.

Step 5. Use Resampling Options
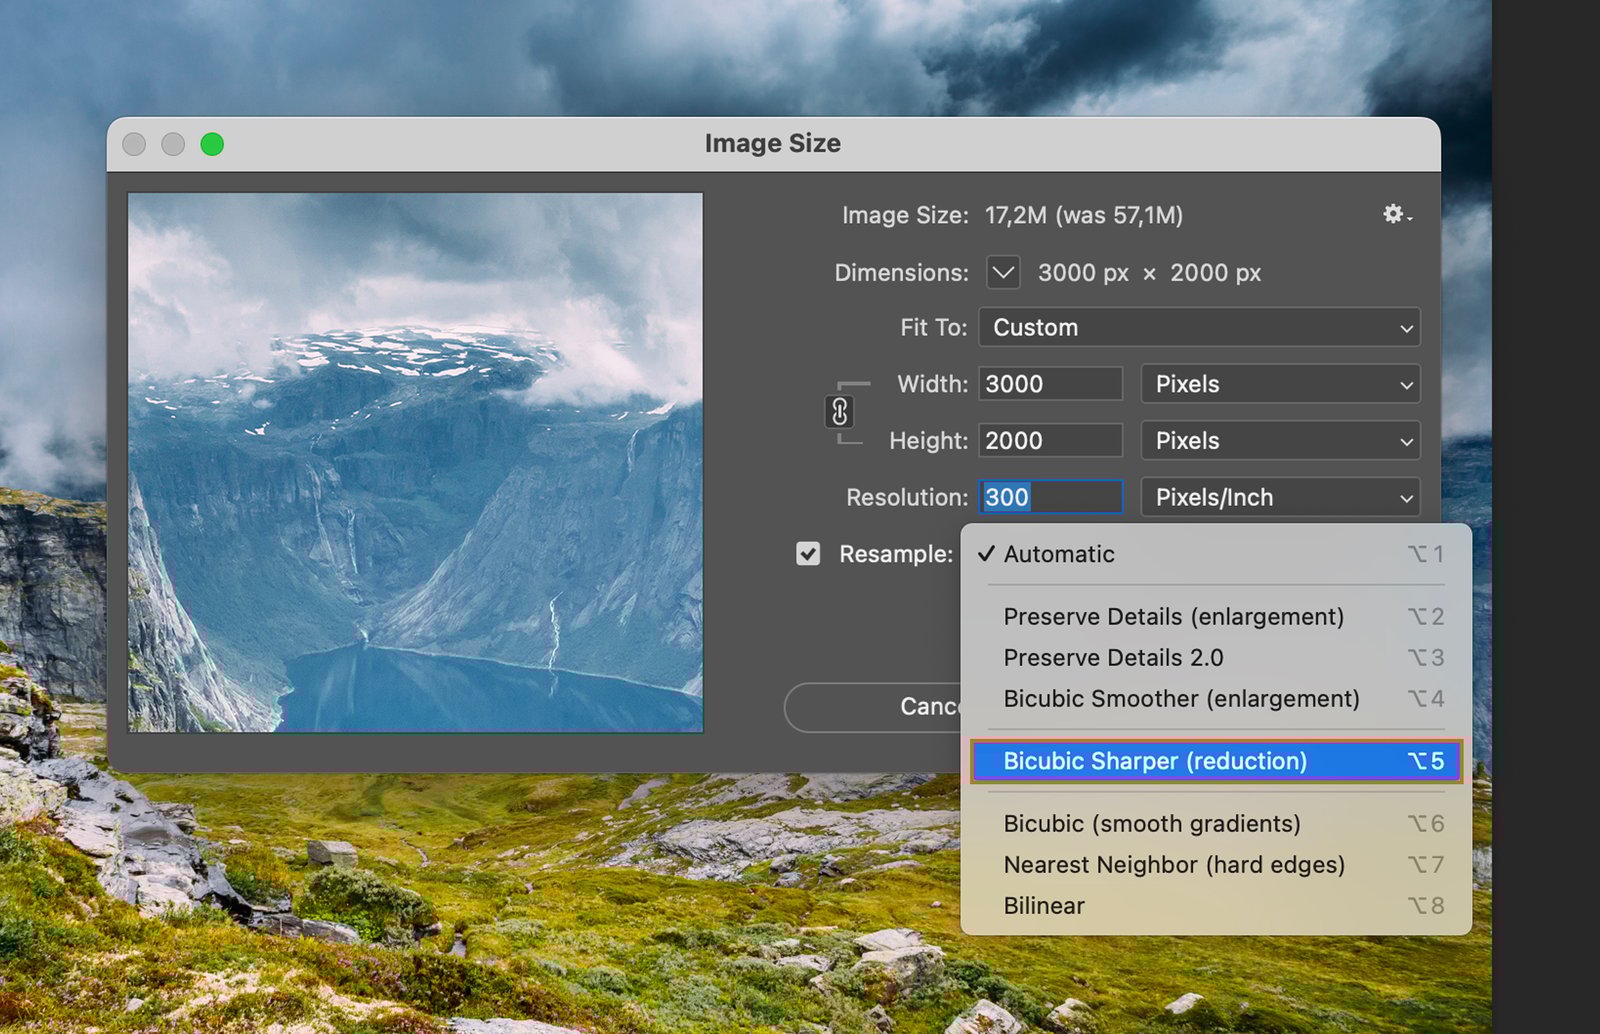
Step 5.1 Bicubic Sharper (Reduction)
If you’re reducing the size of your image, select the “Bicubic Sharper” option from the “Resample” dropdown. This option retains the sharpness of your image during reduction.
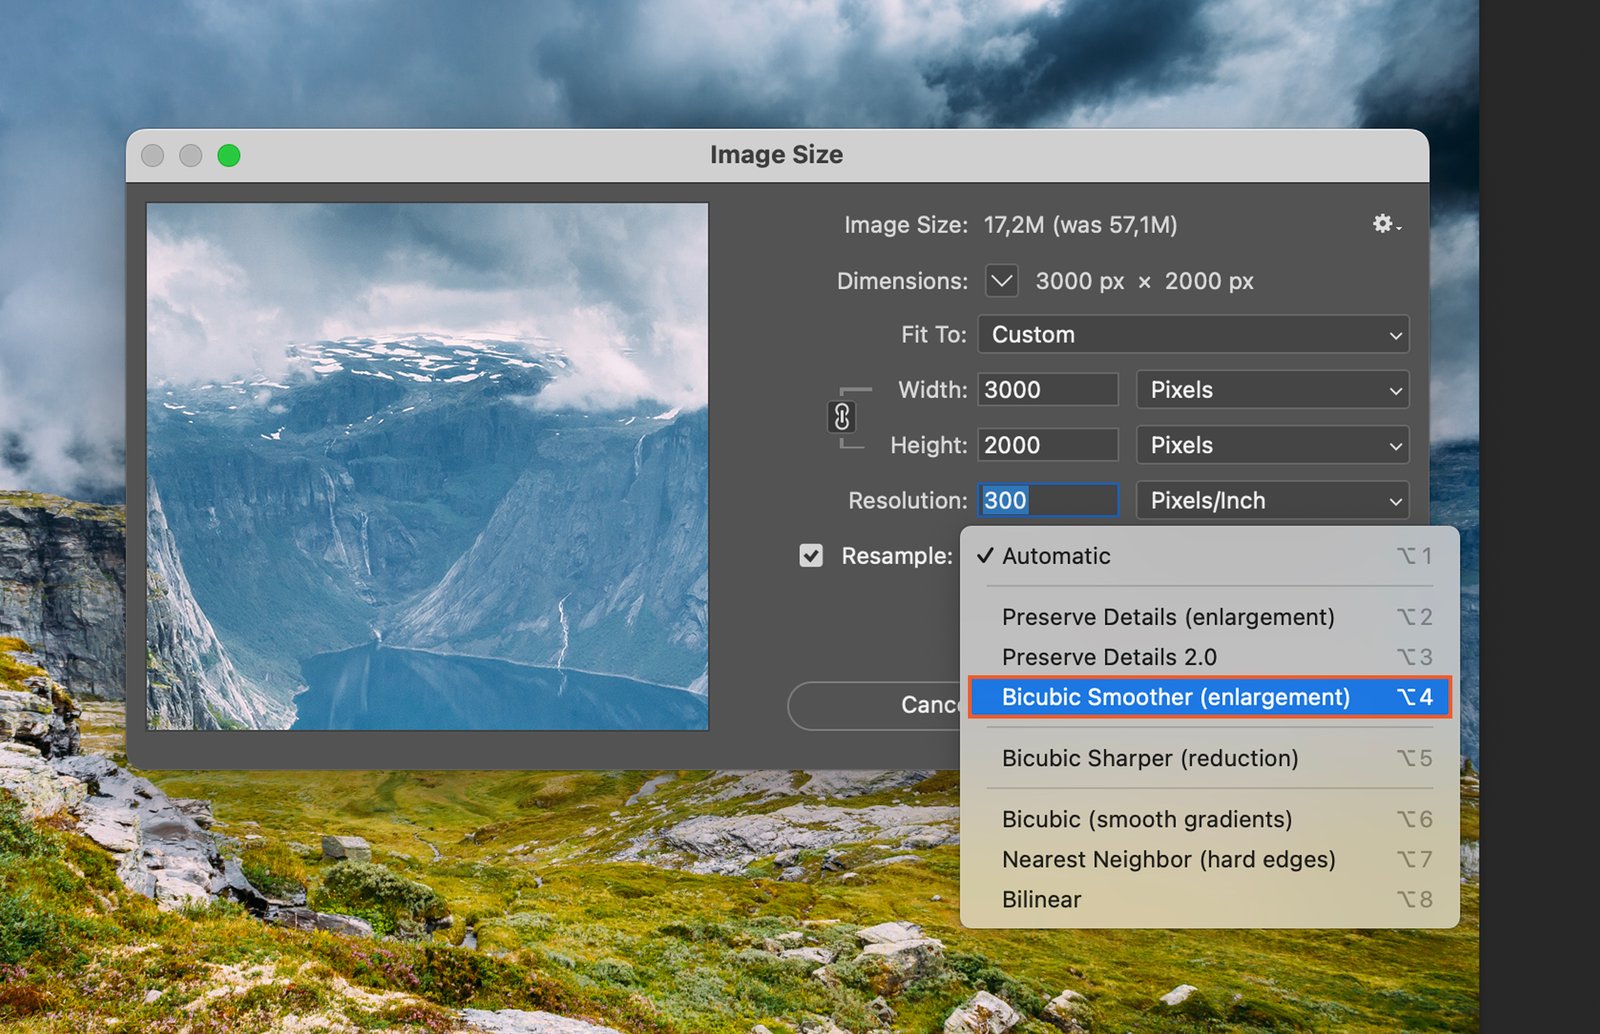
Step 5.2 Bicubic Smoother (Enlargement)
If you’re enlarging your image, choose the “Bicubic Smoother” option. This helps to smooth out any pixelation that might occur during enlargement.
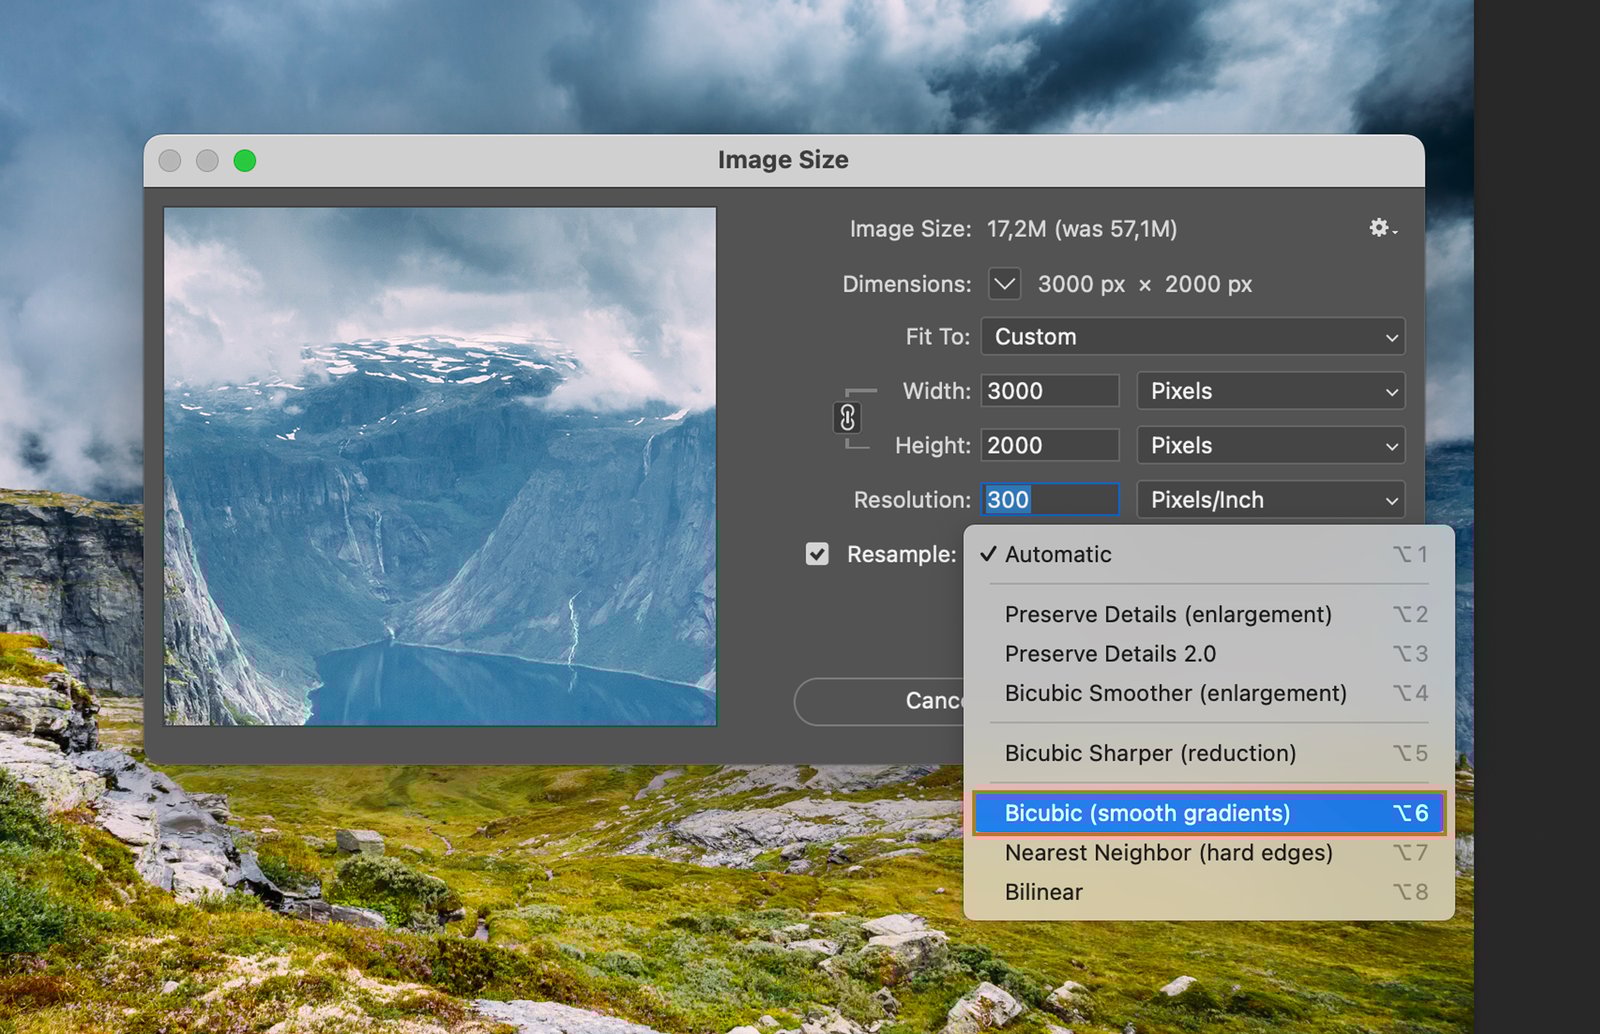
Step 5.3 Bicubic (Smooth Gradients)
For images with gradients, choose the “Bicubic” option. This maintains the smoothness of gradient colors during resizing.
Step 6. Confirm the Changes
After you’ve made all your adjustments, click the “OK” button to apply the changes to your image.
Step 7. Review the Shrunk Image
Take a moment to review your resized image. Ensure it’s the correct size and maintains the quality you need.
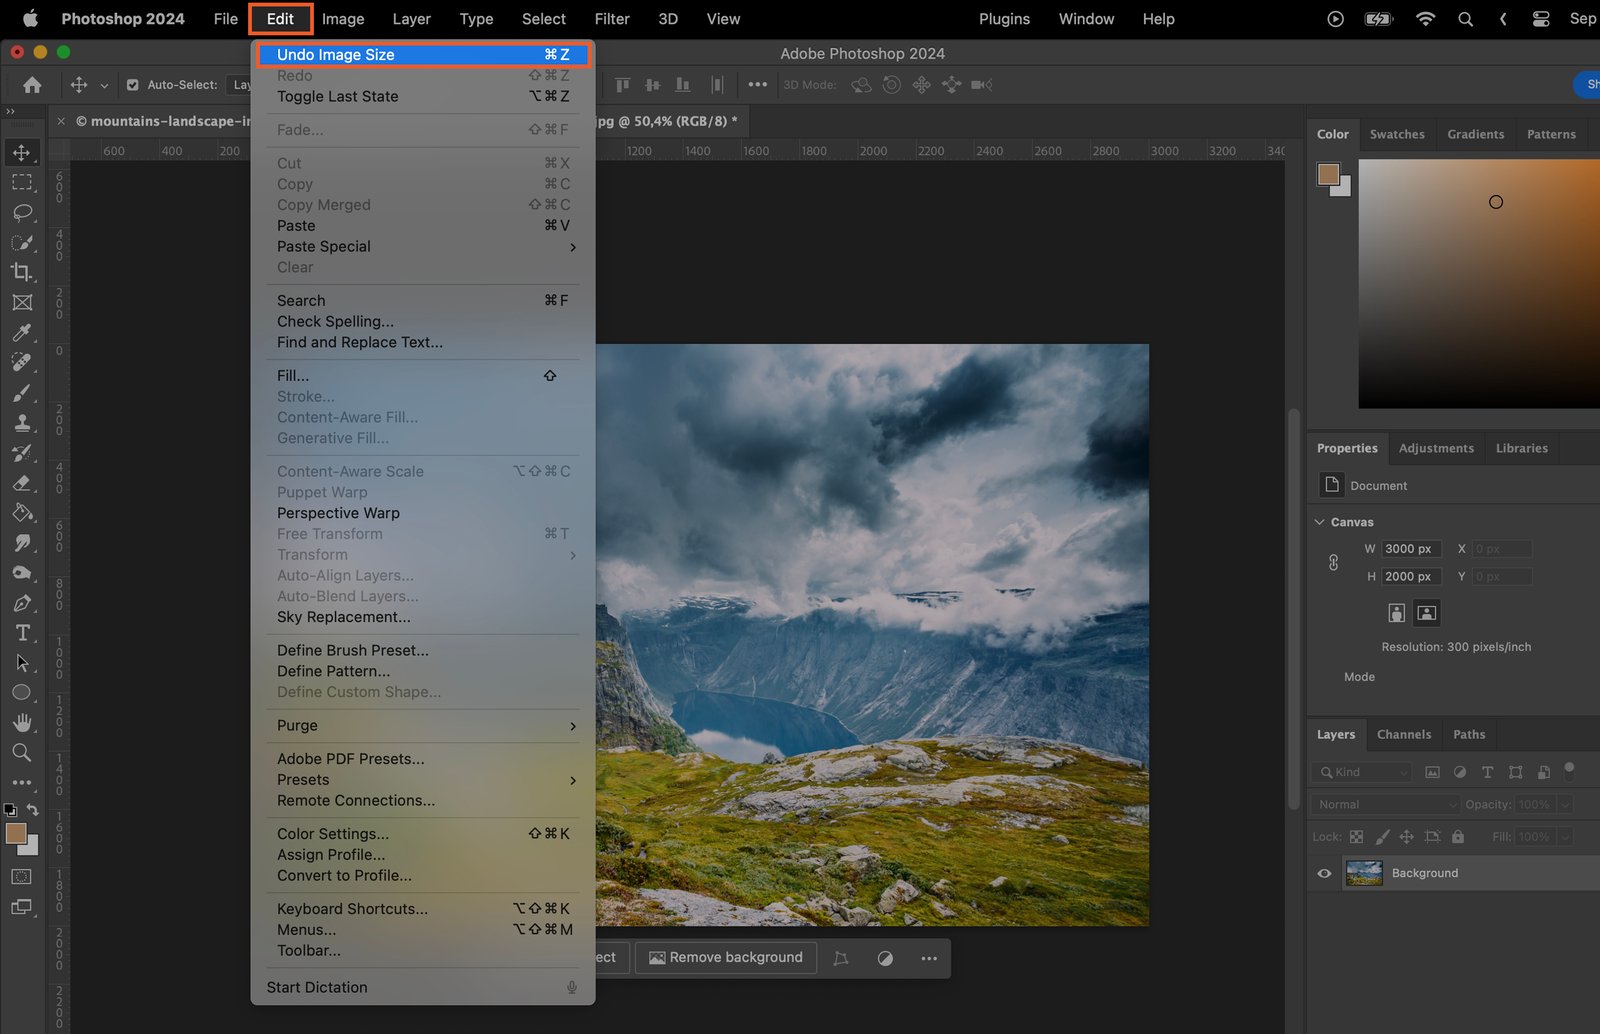
Step 8. Undo if Necessary
If you’re not satisfied with the result, you can undo the resizing by clicking “Edit” then “Undo”.
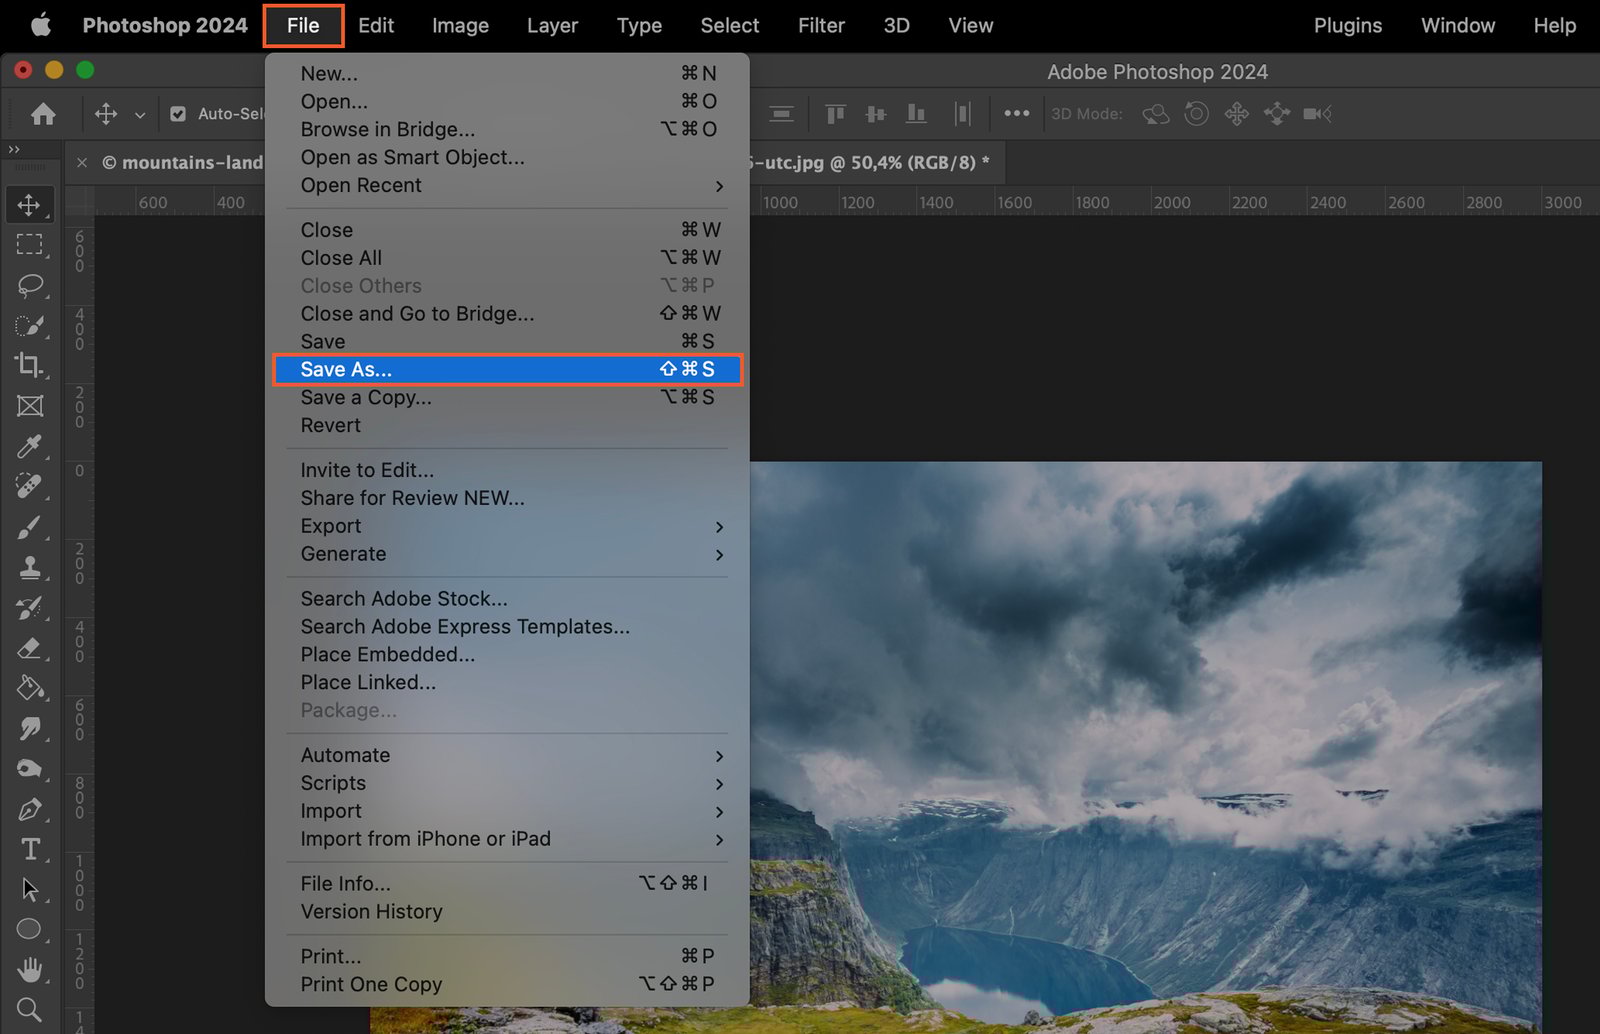
Step 9. Save the Resized Image
Once you’re happy with your resized image, remember to save it. Click “File”, then “Save As” to save the image with a new name or format without overwriting the original.