Struggling with a blurry image? This article will guide you on how to unblur an image in Photoshop, giving your photos a sharp and professional look. Mastering this process can enhance your photo editing skills and improve the quality of your images.
Step 1. Duplicate the Layer
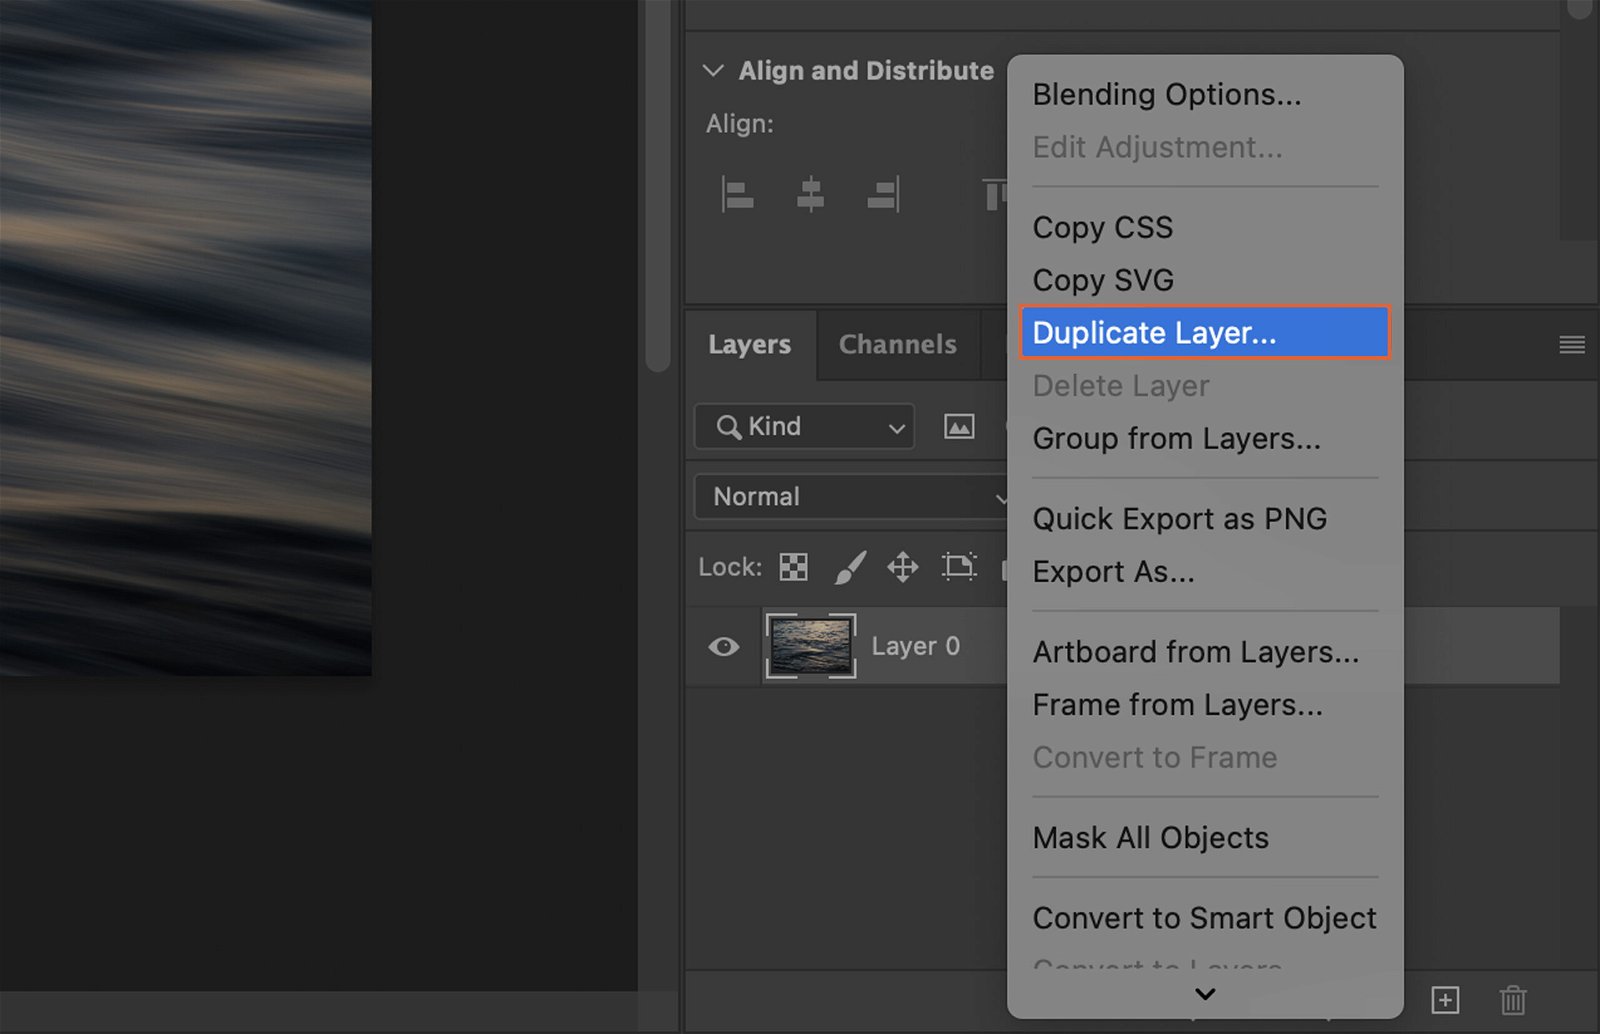
Start by duplicating the layer of the image you want to unblur. This will create a copy that you can work on without altering the original image. To duplicate the layer, right-click on the layer in the Layers panel and select “Duplicate Layer.”
Step 2. Apply High Pass Filter
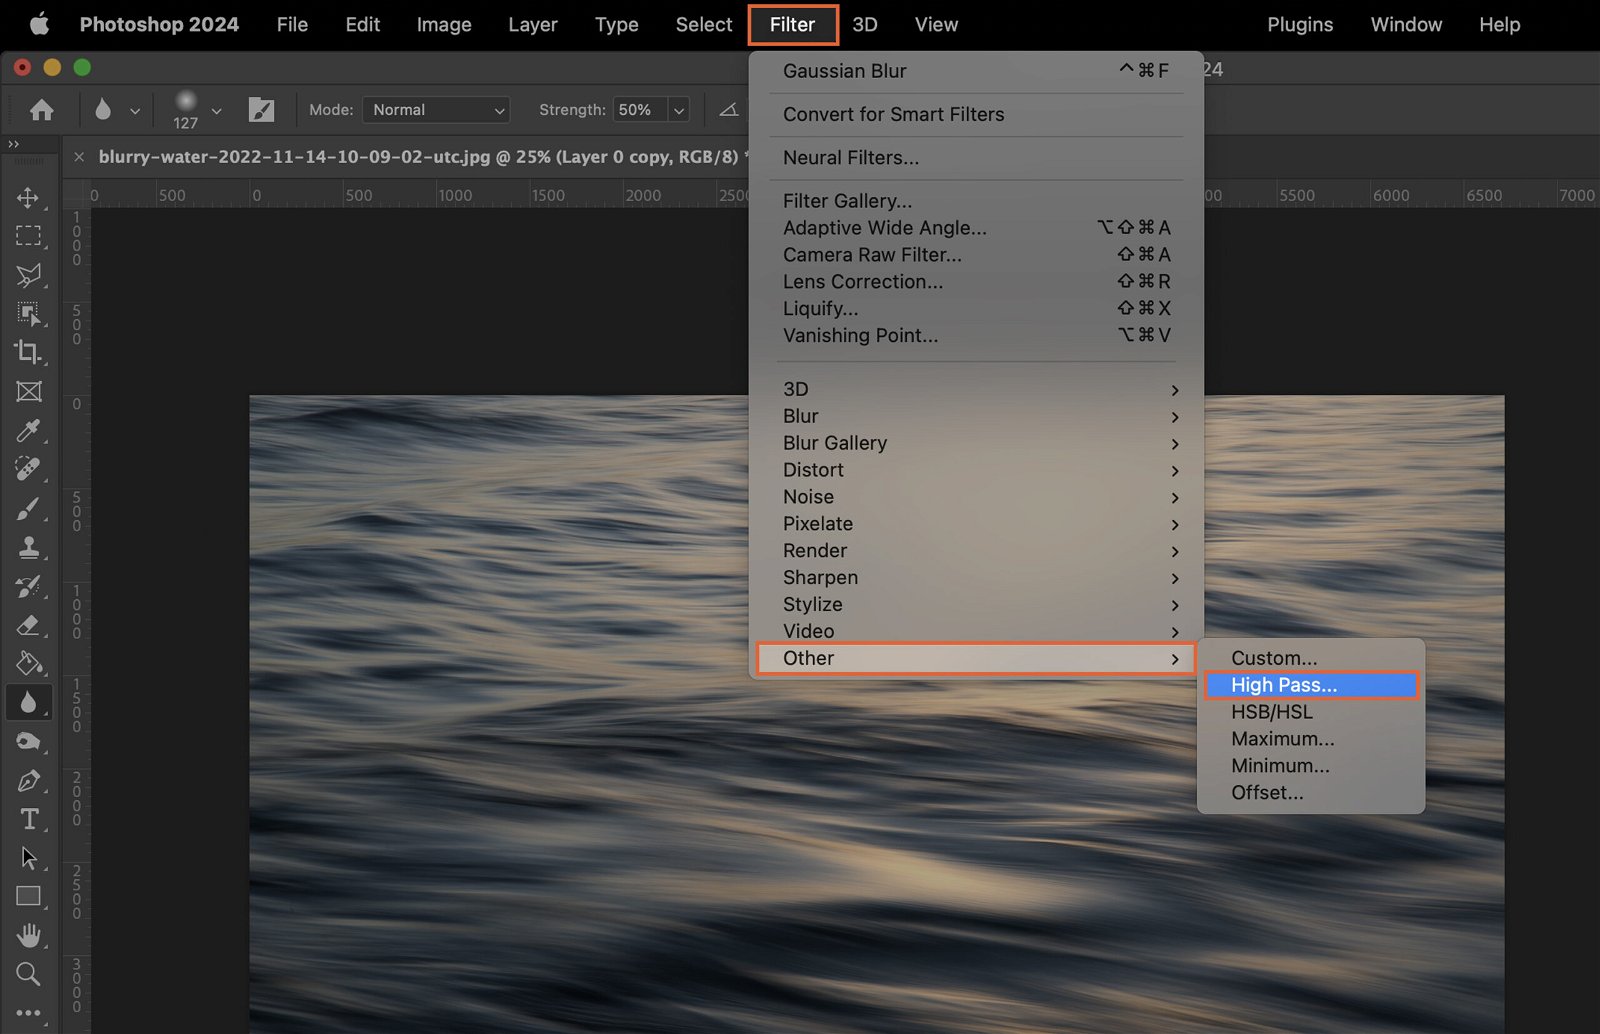
With the duplicate layer selected, go to the Filter menu at the top of the screen, hover over “Other,” then click on “High Pass.” This filter will highlight the edges of the image, which can help to bring out the details and make it appear sharper.
Step 3. Adjust High Pass Filter Settings
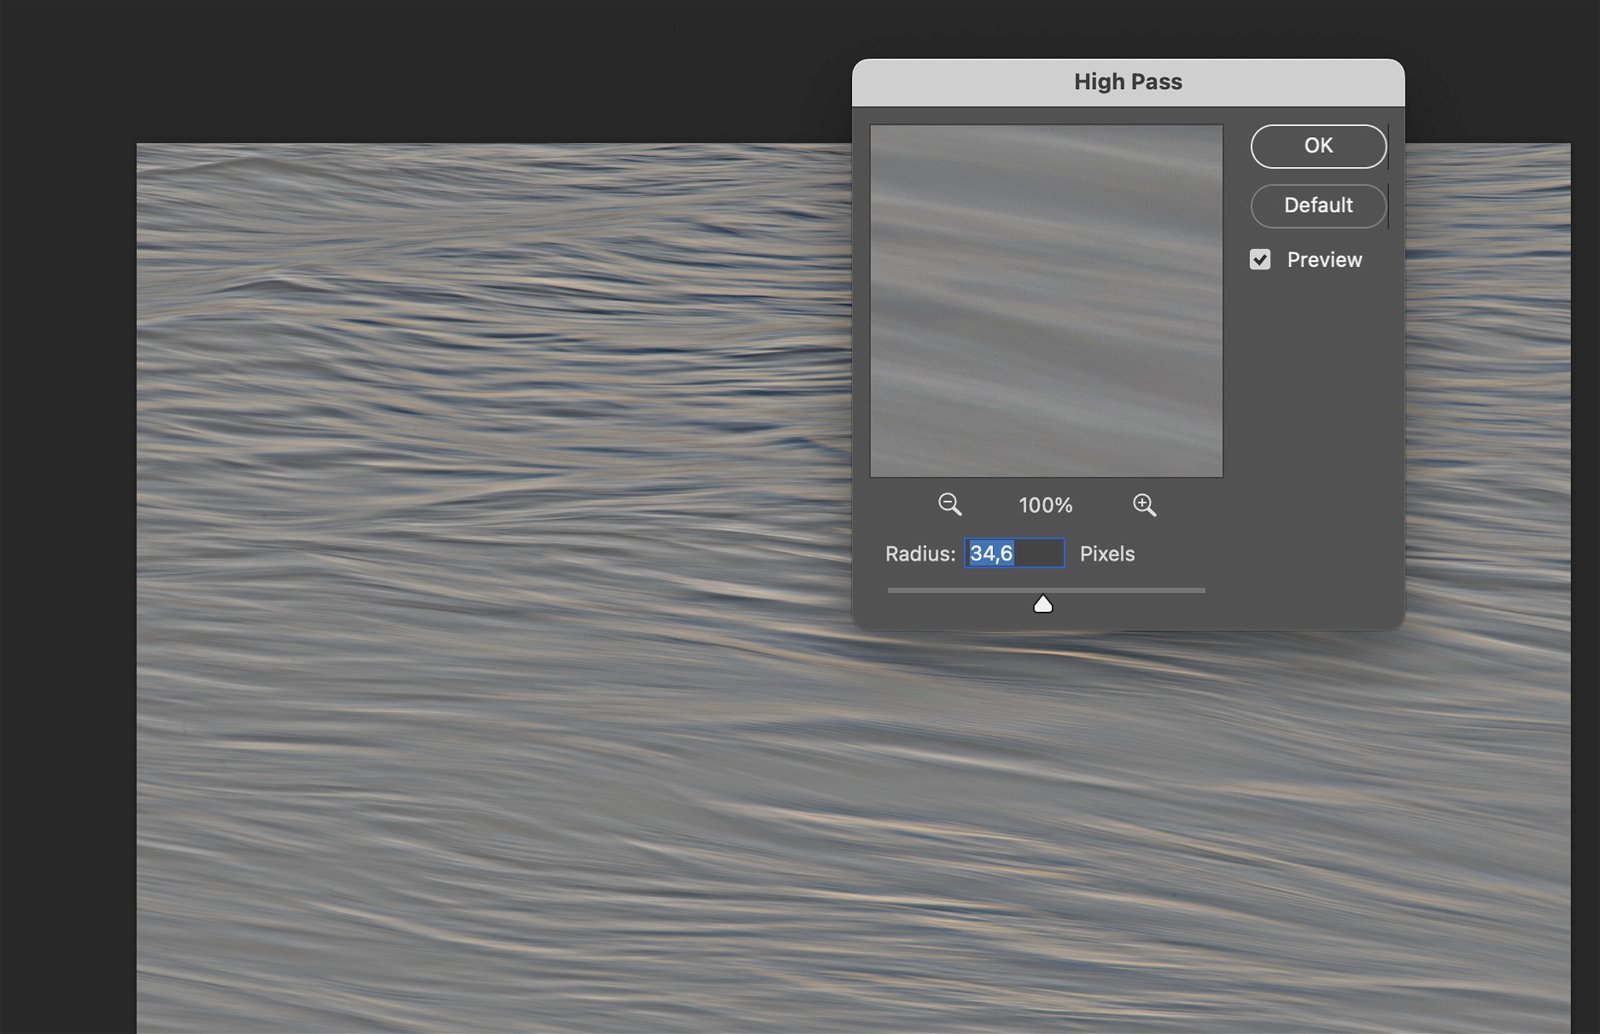
A dialog box will pop up with a slider to adjust the filter’s radius. Drag the slider until you notice the image’s details becoming clearer. Be careful not to overdo it; too high of a radius can make the image look unnatural.
Step 4. Change Layer Blend Mode
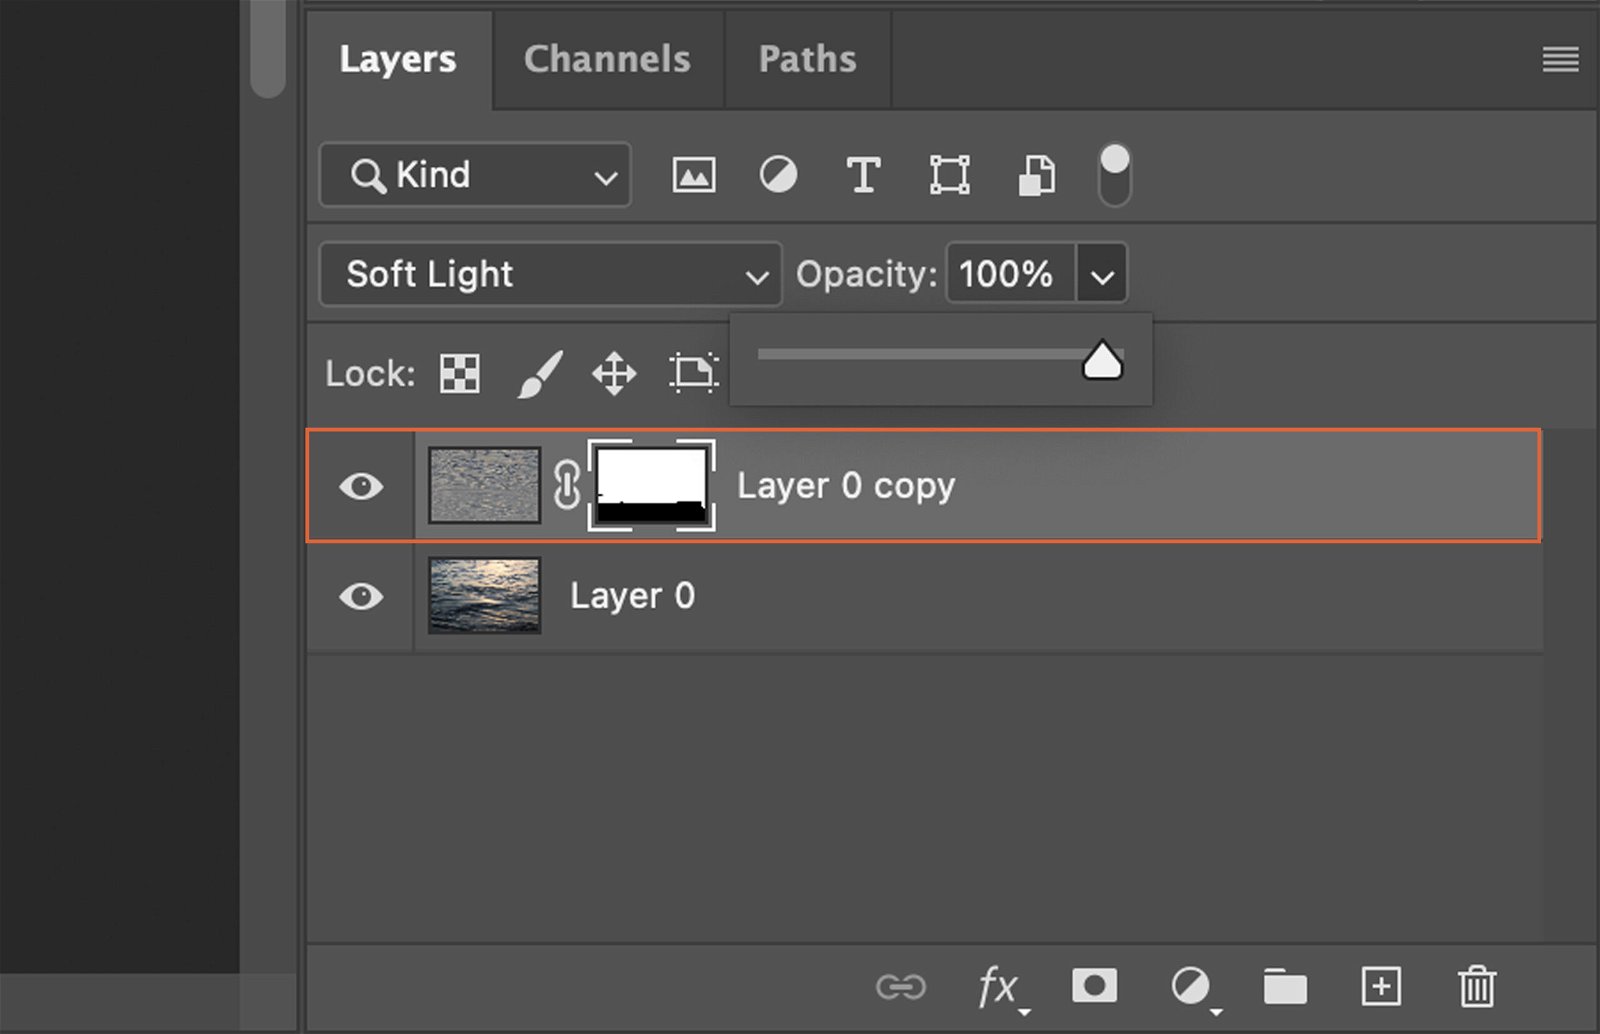
Next, you need to change the blend mode of the layer to enhance the sharpening effect. There are two blend modes you can use: Overlay and Soft Light.
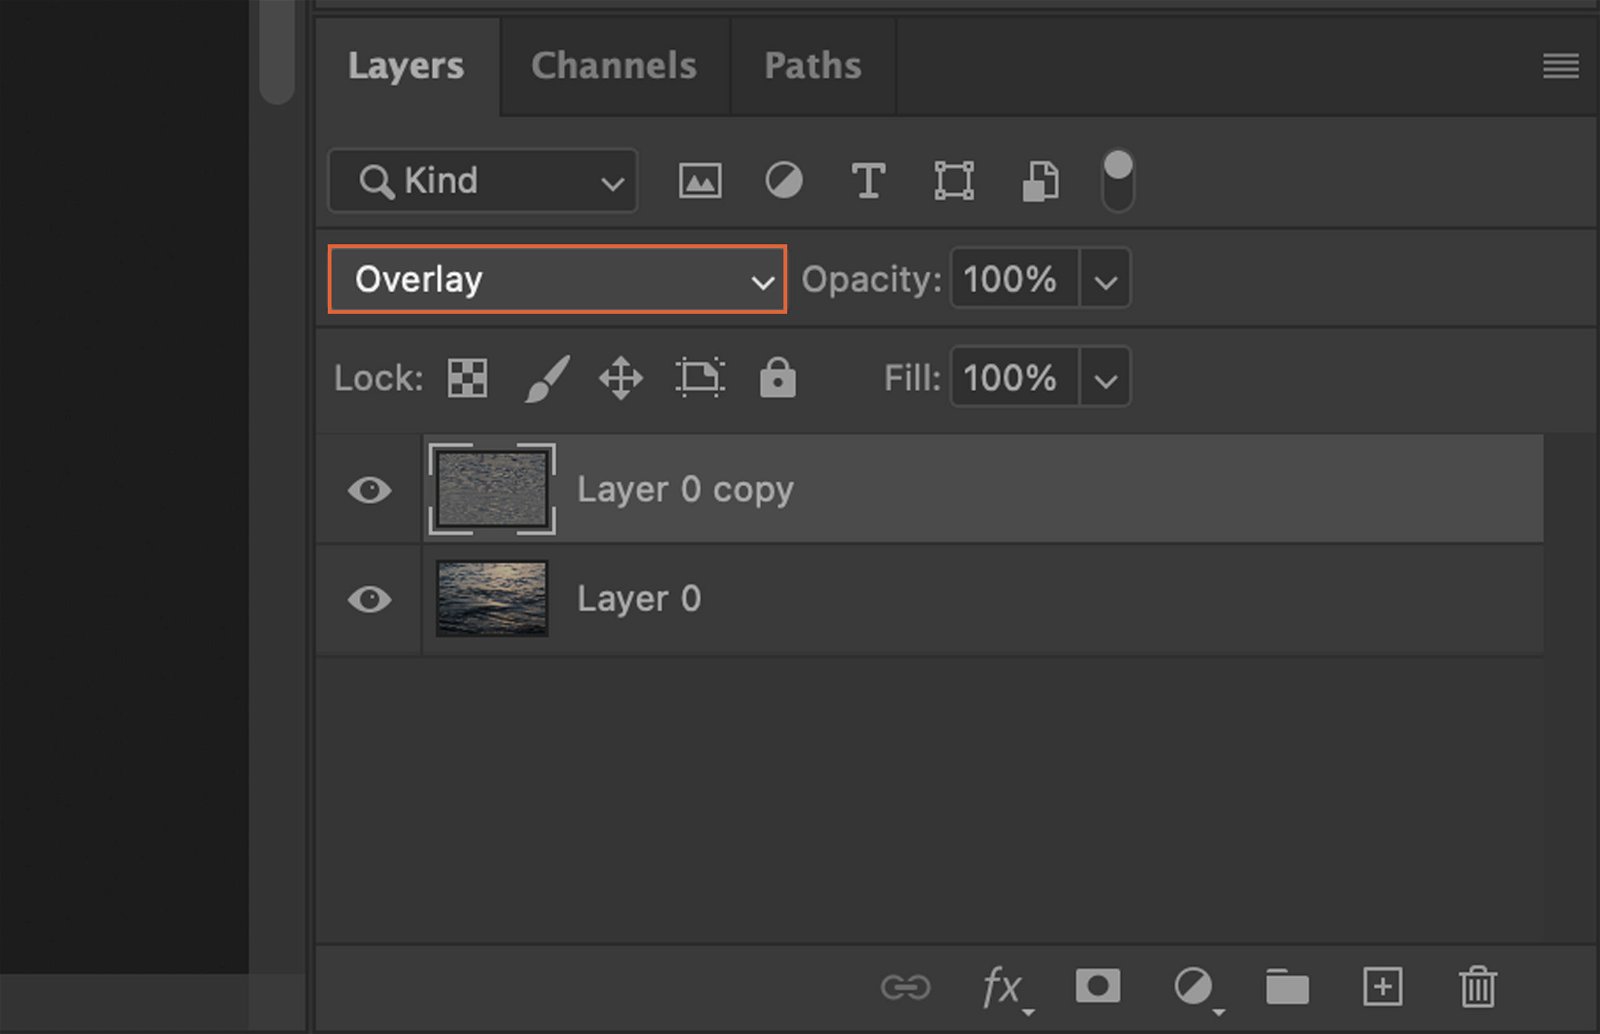
Step 4.1. Using Overlay Blend Mode
Overlay blend mode is more intense and can give a stronger sharpening effect. To apply it, select “Overlay” from the blend mode dropdown menu in the Layers panel.
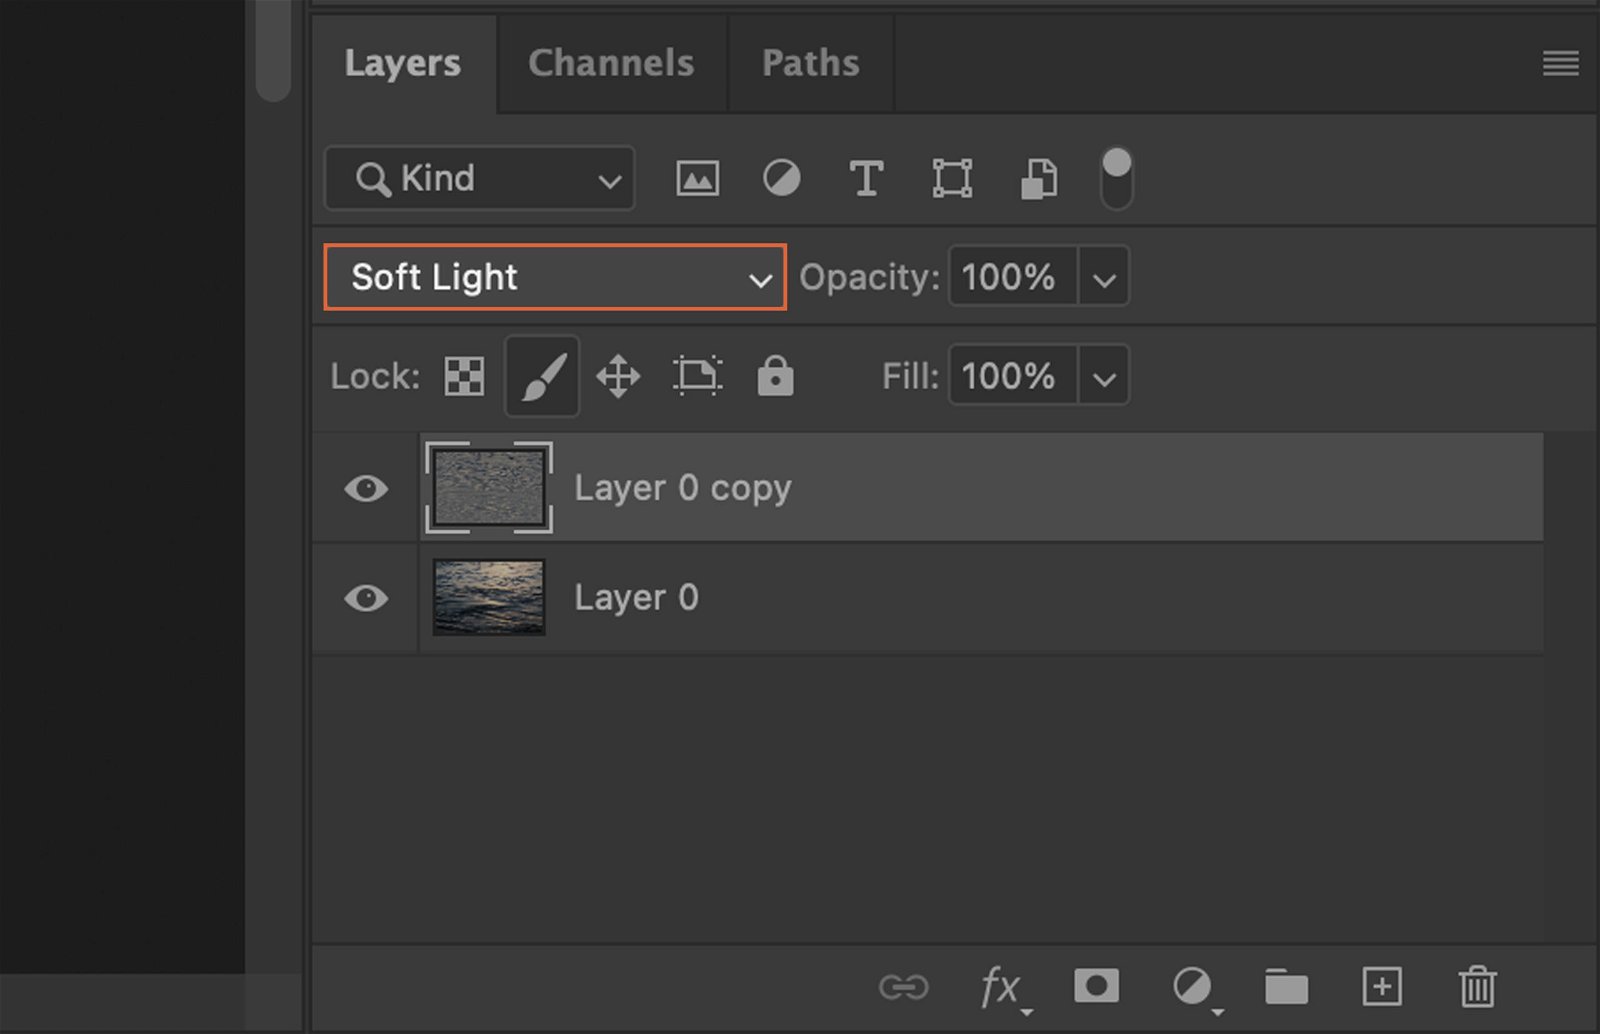
Step 4.2. Using Soft Light Blend Mode
Soft Light blend mode is less intense than Overlay and can provide a more subtle sharpening effect. To use it, select “Soft Light” from the blend mode dropdown menu.
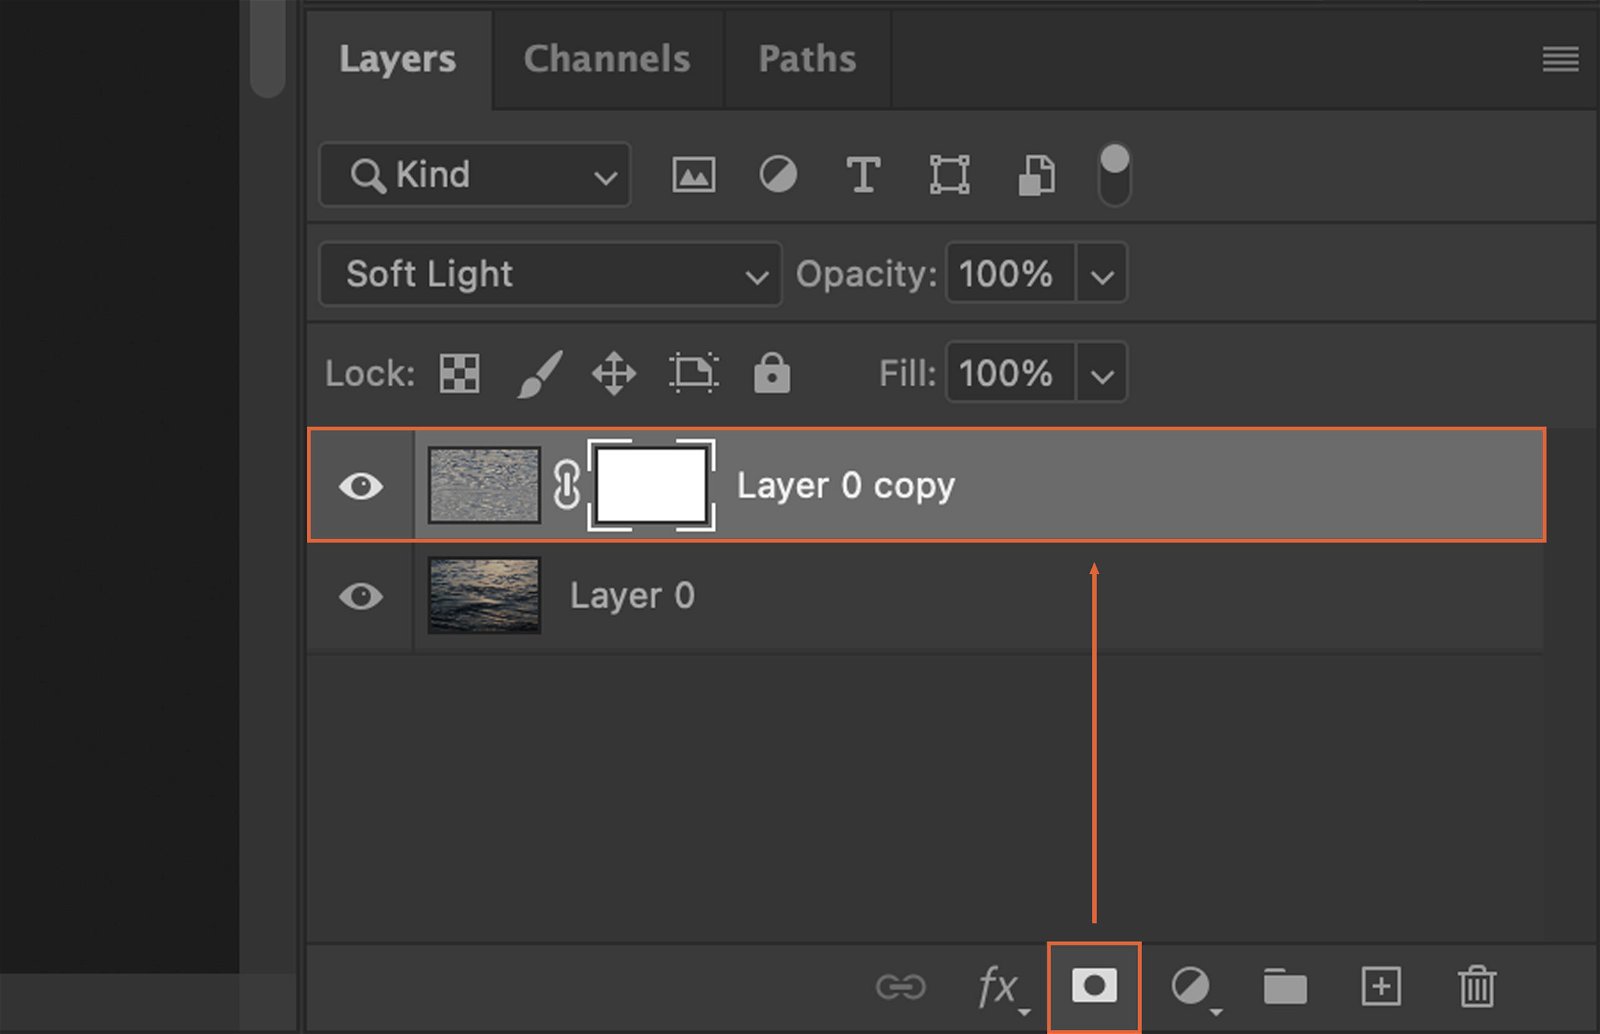
Step 5. Create a Layer Mask
Now, create a layer mask to control where the sharpening effect is applied. Click on the “Add a mask” icon at the bottom of the Layers panel. Your image should now have a white box next to it in the Layers panel.
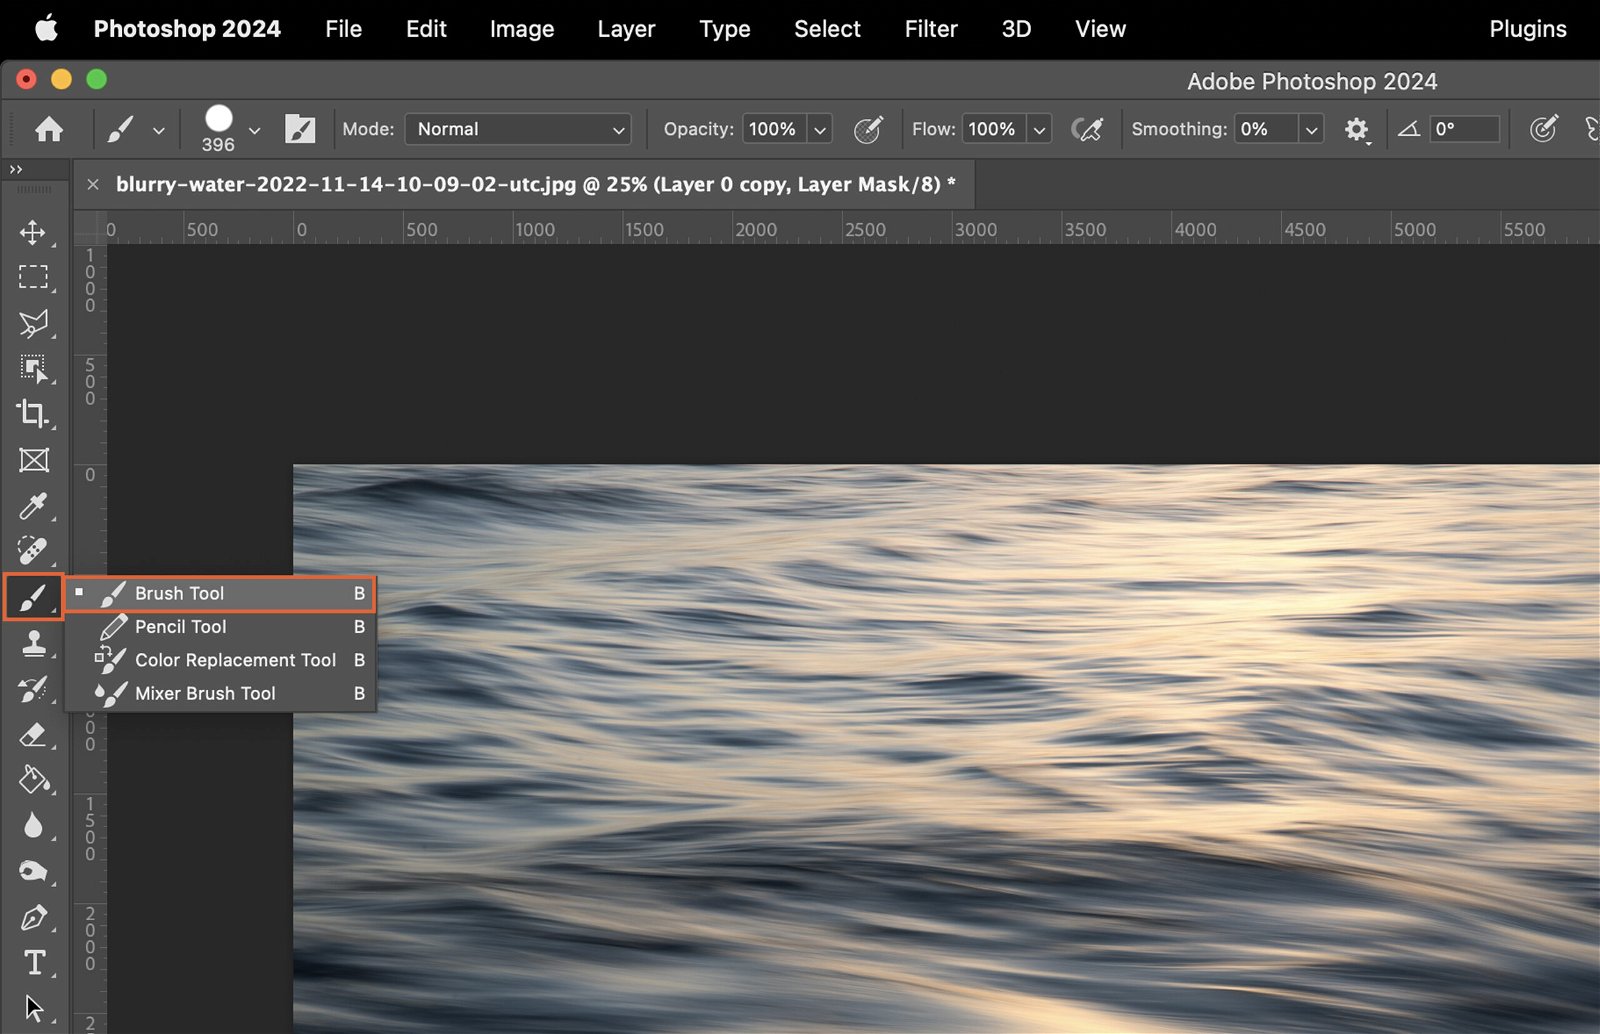
Step 6. Paint Over the Areas to Unblur
Using the Brush tool, paint over the areas you want to unblur. Make sure your mask is completely black (paint over it or use the Paint Bucket tool to make it black). Use a white Brush paint over the areas you want to sharpen.
Step 7. Adjust the Opacity
If the sharpening effect is too strong, you can adjust the layer’s opacity to lessen the effect. Simply use the Opacity slider in the Layers panel to find a level that works for your image.
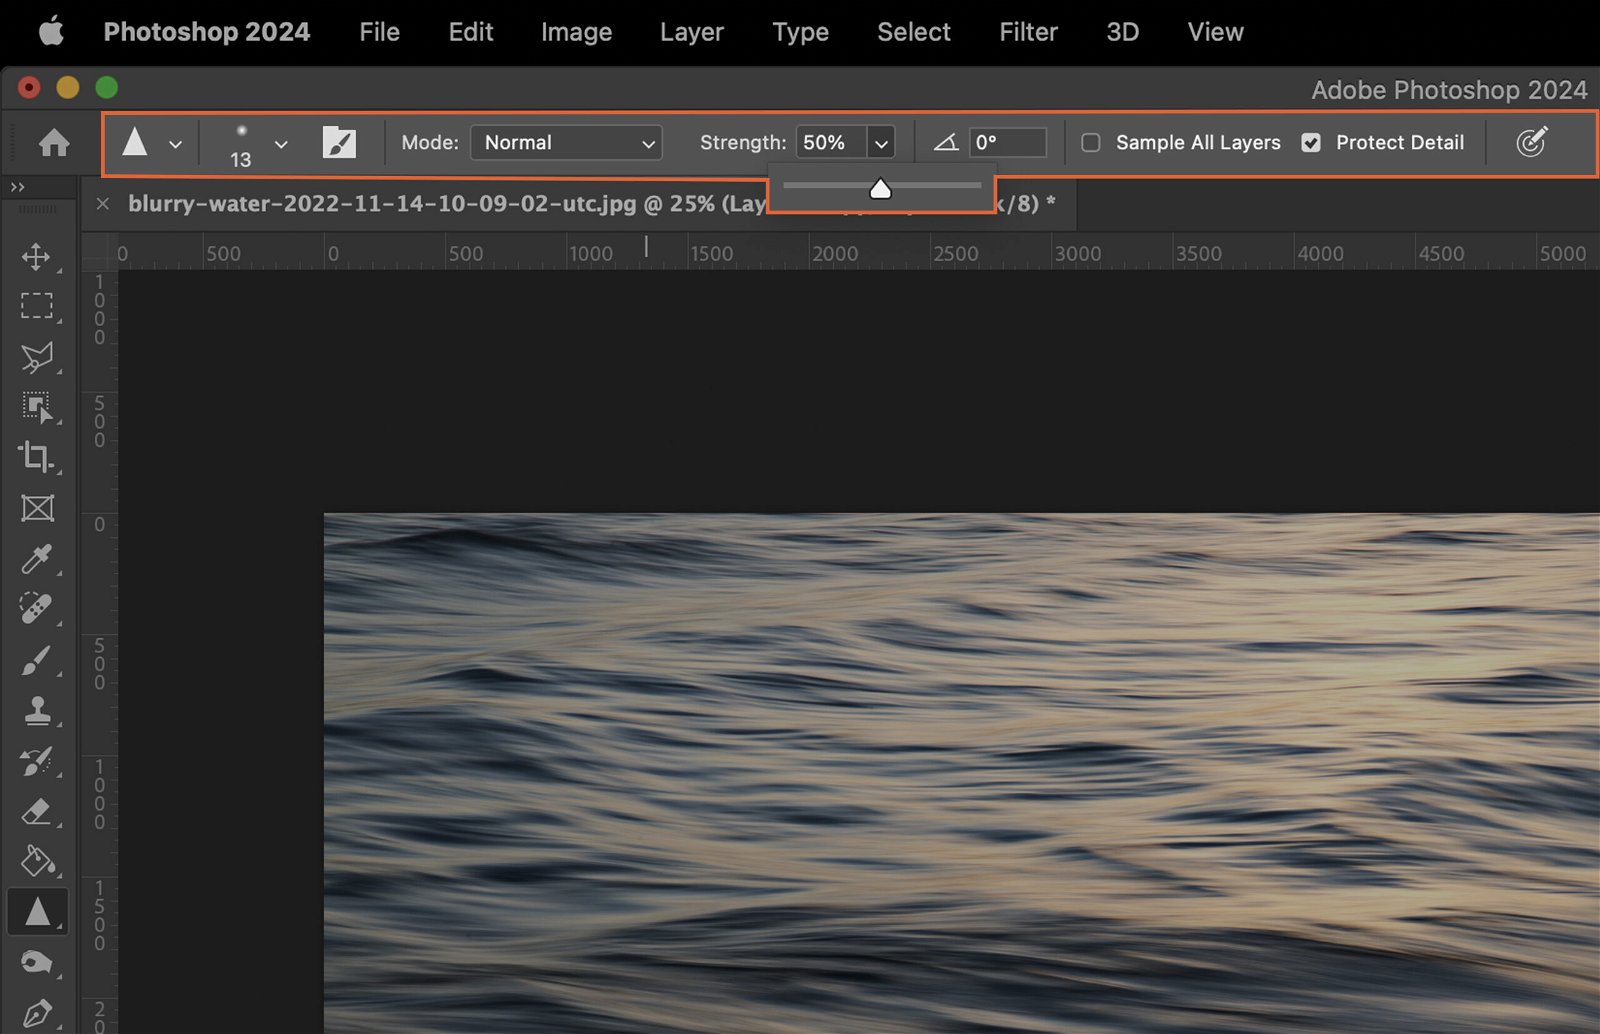
Step 8. Apply Sharpen Tool
For further enhancement, you can use the Sharpen tool. This tool can be used on specific areas or the entire image.

Step 8.1. Using Sharpen Tool on Specific Areas
To use the Sharpen tool on specific areas, select the tool from the toolbar and paint over the areas you want to sharpen.
Step 8.2. Using Sharpen Tool on Entire Image
To apply the Sharpen tool to the entire image, simply press “Ctrl+A” to select the whole image, then click and drag the Sharpen tool across the image.
Step 9. Adjust Sharpen Tool Settings
If needed, you can adjust the settings of the Sharpen tool to suit your image. This includes the tool’s strength and brush size, which can be adjusted in the options bar at the top of the screen.
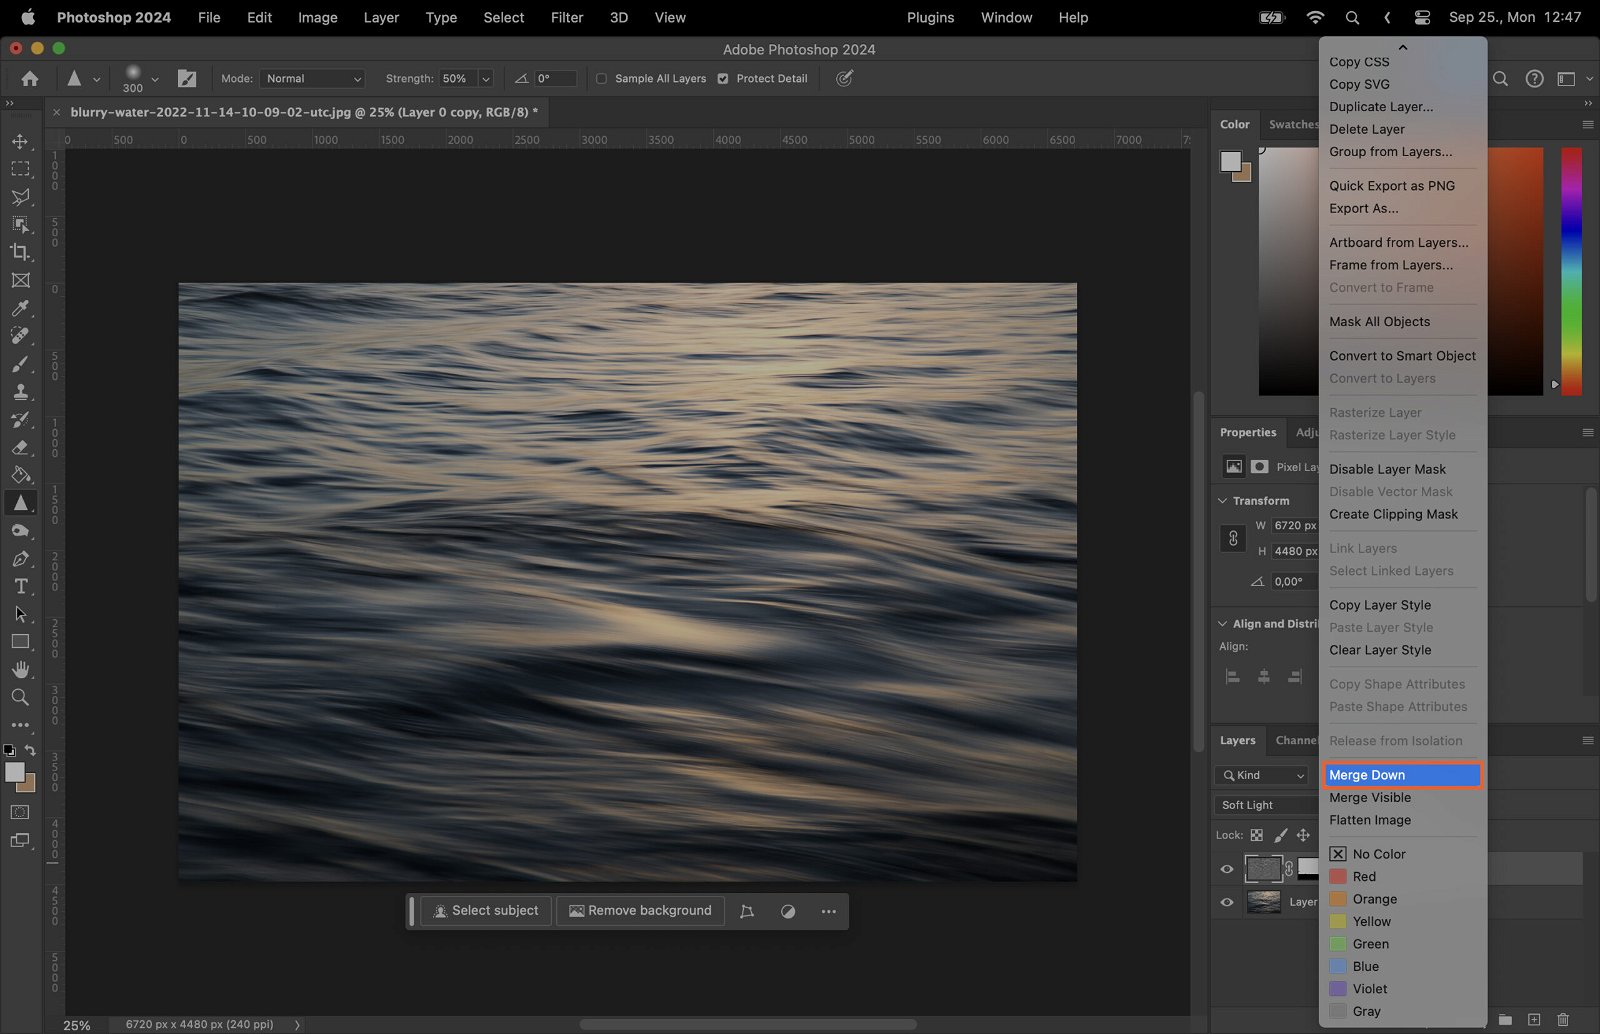
Step 10. Finalize and Merge Layers
Once you’re happy with the result, finalize your work by merging the layers. Right-click on the top layer in the Layers panel and select “Merge Down.” This will combine the top layer with the layer beneath it, completing the unblurring process.