Mastering the use of the Clone Stamp Tool in Photoshop can greatly enhance your photo editing skills. This article provides a step-by-step guide to effectively use this tool, enabling you to duplicate or erase elements in your images with ease and precision.
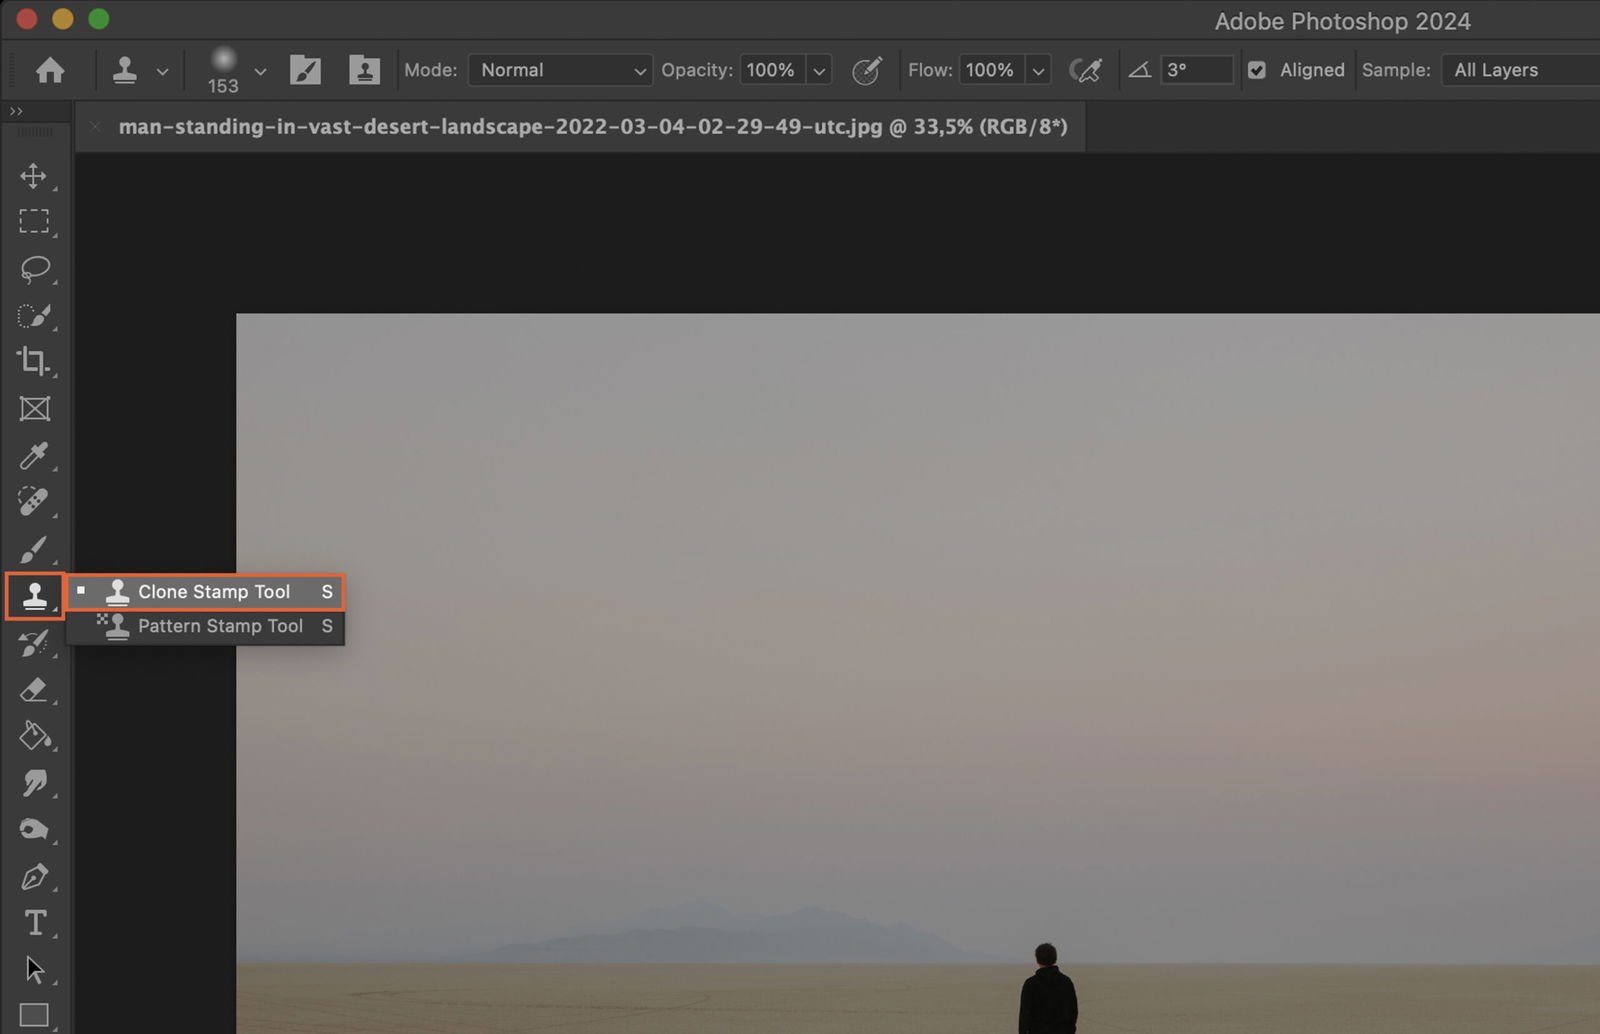
To start, locate the Clone Stamp Tool in the toolbar on the left side of your Photoshop screen. It’s icon resembles a stamp. Click on it to activate the tool.
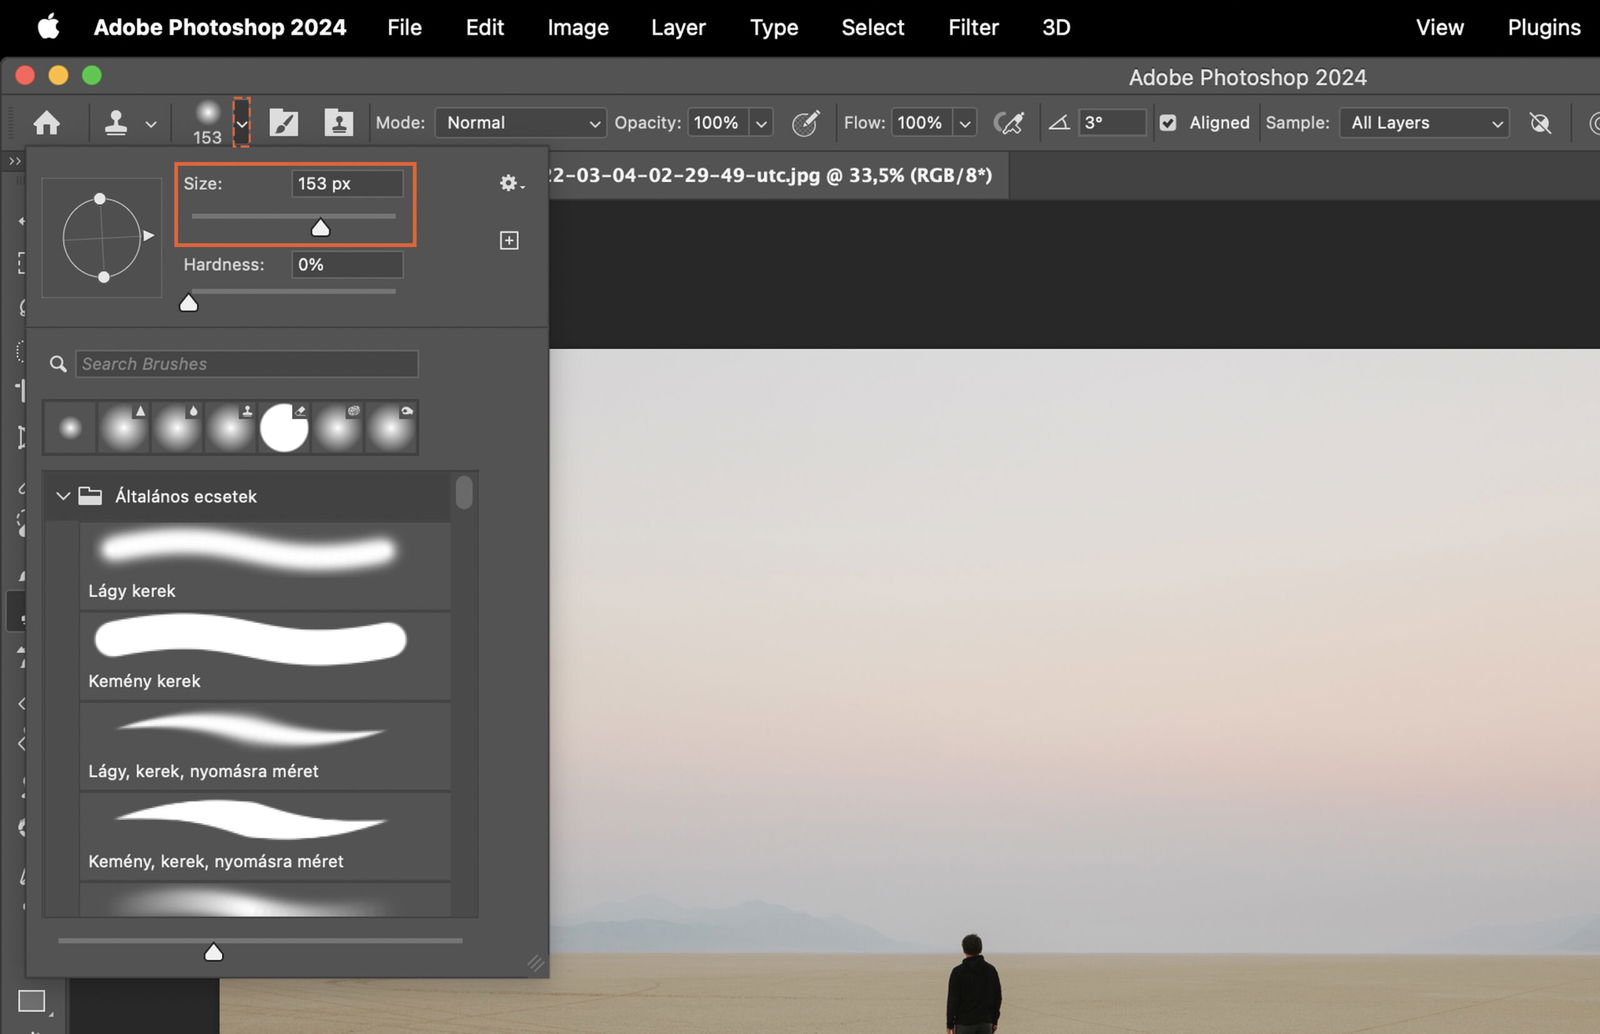
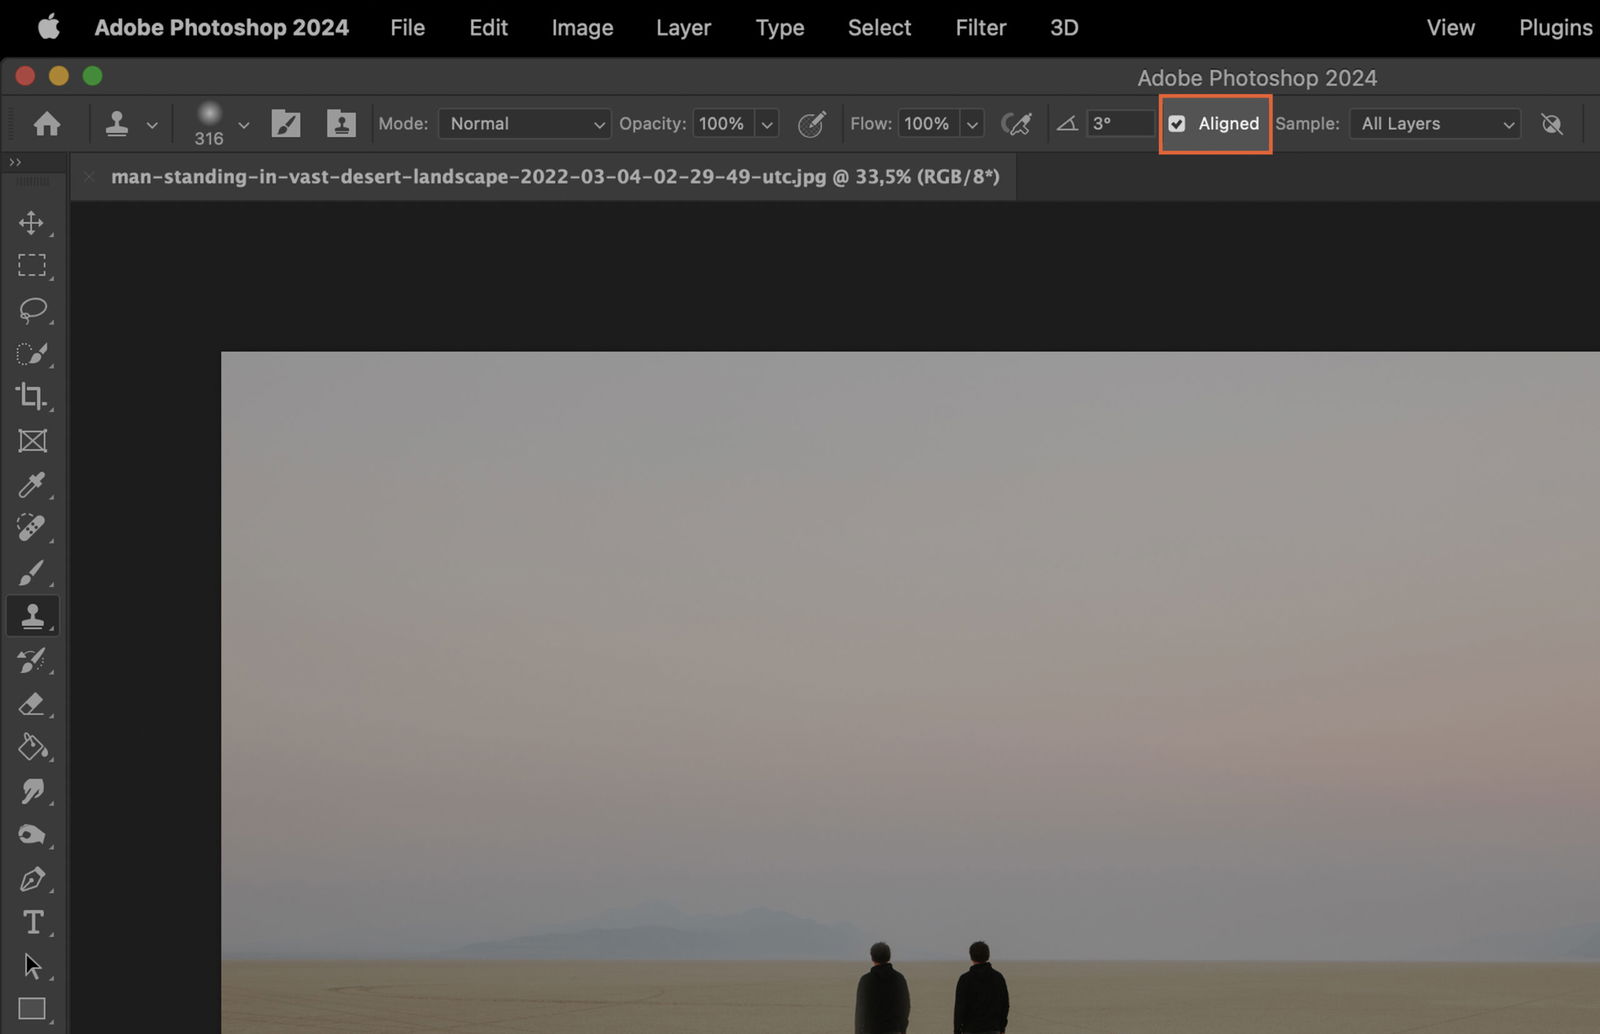
Once you’ve selected the tool, next is to adjust its settings. This is done in the options bar at the top of the screen.
In the options bar, adjust the brush size to fit your needs. Larger brush sizes cover more area but may lack precision, while smaller sizes offer more control.
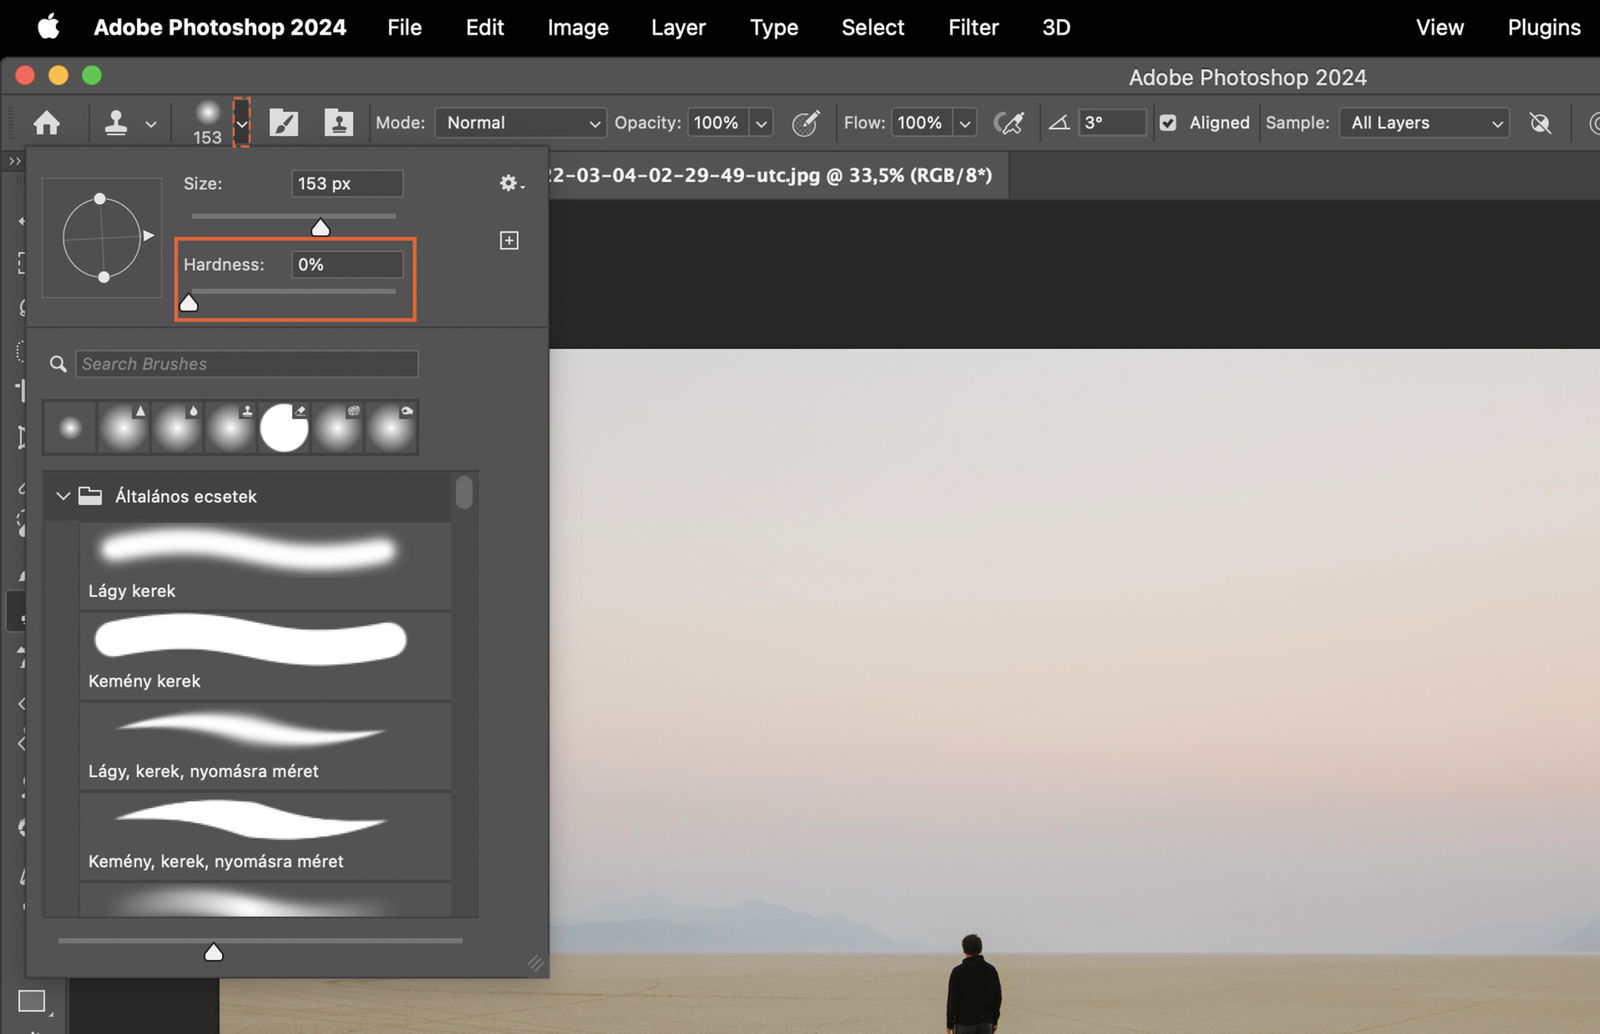
Next, adjust the brush hardness. A higher hardness creates a sharper edge, while a lower one results in a softer, more blended edge.
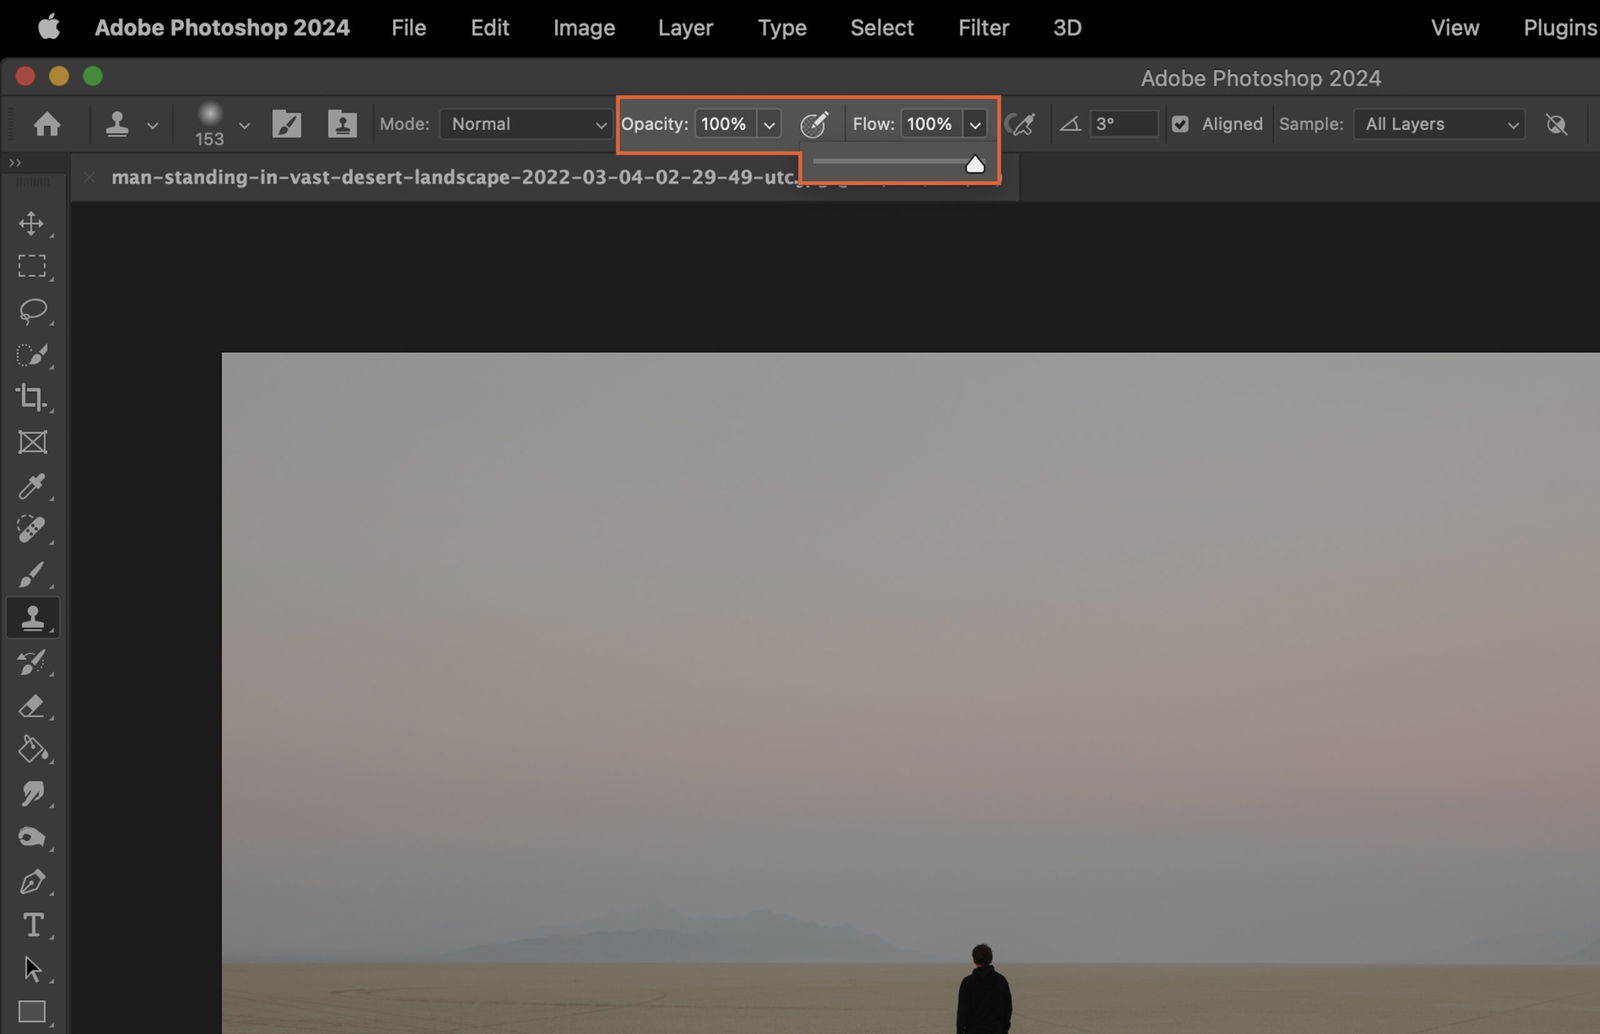
Lastly, set the opacity and flow. Opacity controls the transparency of the clone, while flow controls how quickly the clone is applied.
You need to choose an area of your image to clone. Hold down the Alt key (Option key on Mac) and click on the area you want to clone.
In Aligned mode, the relationship between the sample point and the clone point remains constant. This is useful for continuous cloning.
In Non-Aligned mode, the sample point returns to the initial sampled area each time you stop and restart painting.

After setting the sample point, simply brush over the area you want to clone. The sampled area will be copied to your chosen location.
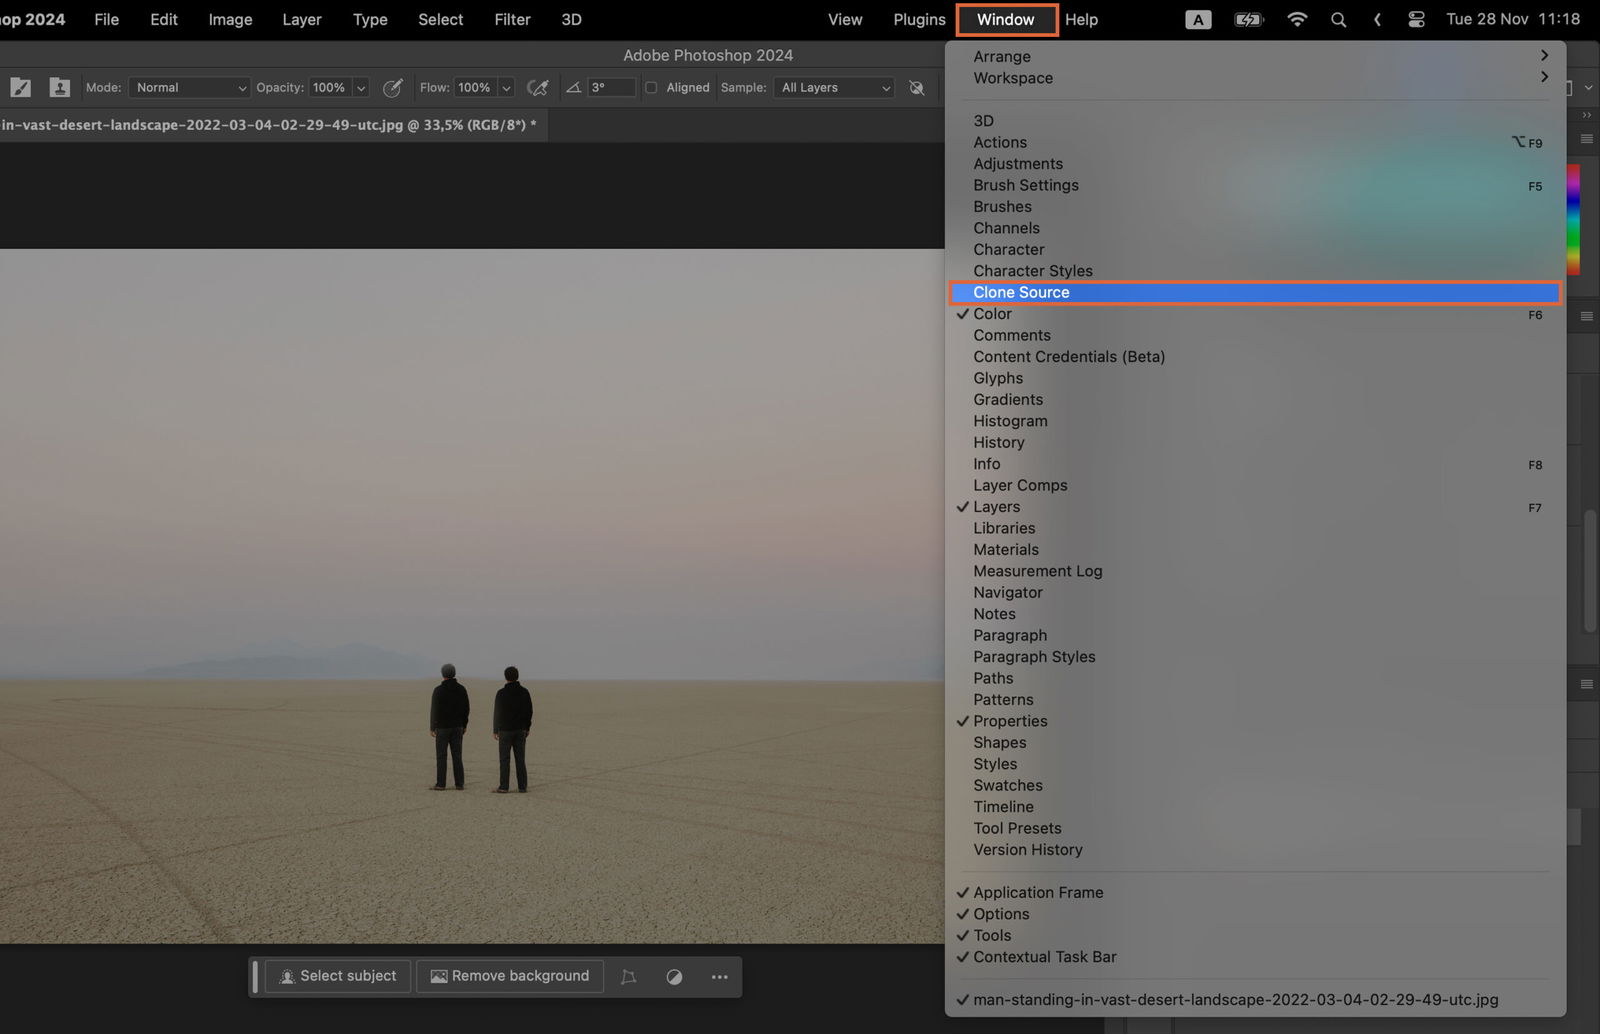
For advanced cloning, use the Clone Source panel. This allows you to clone from multiple sources or transform the clone source.
To set multiple clone sources, simply take samples from different areas of your image using the Clone Stamp Tool while the Clone Source panel is open.
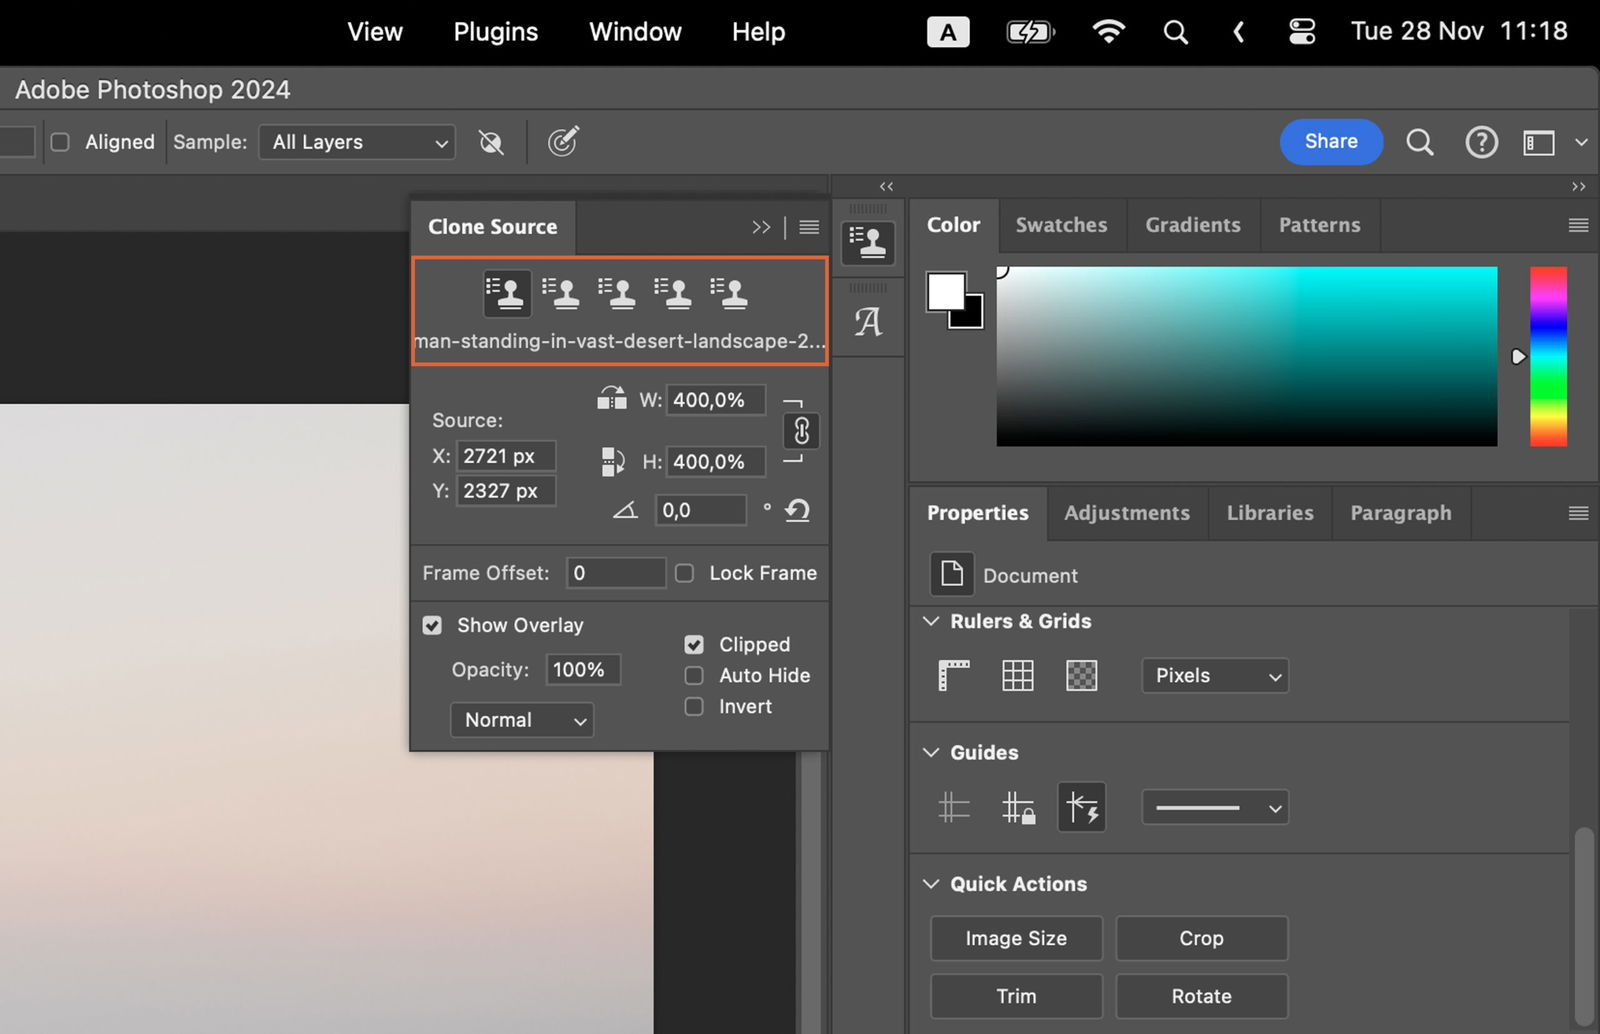
You can transform the clone source using the Clone Source panel. This allows you to scale, rotate, or mirror the clone source.

Don’t forget to save your work. Go to the File menu, select “Save As”, and choose your desired format and location.


