Speedlight modifiers are a great way to add versatility to your photography lighting setup. Using different modifiers, you can change the shape and direction of the light emitted from your speedlight.
This can create more interesting and creative effects in your photos. Our article looks at six different DIY speedlight modifiers you can make yourself. Note that the term “speedlight” comes from Nikon. Canon uses the term “speedlite,” but they both refer to compact camera flashes.
6 DIY Speedlight Modifiers (Speedlite Modifiers)
Here are six DIY speedlight modifiers you can easily convert from household items, make, or buy cheaply!
1. Silicone Kitchen Accessories as Color Filters and Snoots
Your local supermarket is full of useful things to turn into light modifiers! You just have to bypass their original purpose and find new ways to use them.
My favorite section for this is the kitchen accessories aisle. I often find useful items like these collapsible silicone cups with assorted colors and this silicone funnel.
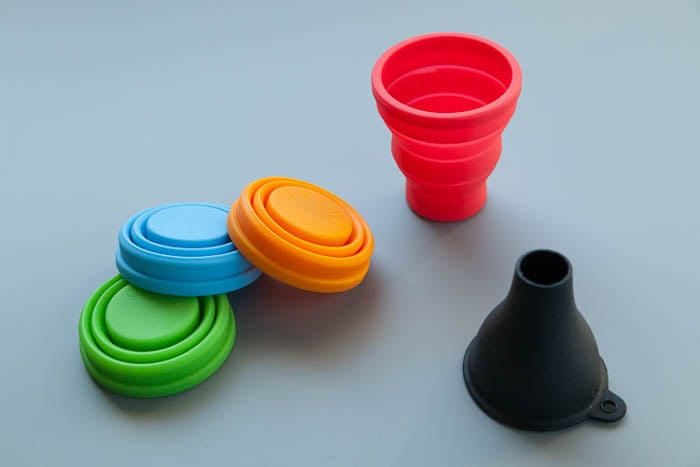
These silicone collapsible cups are stretchy and fit perfectly in front of my speedlight. They work great as color diffusers to create a tint effect on an image.
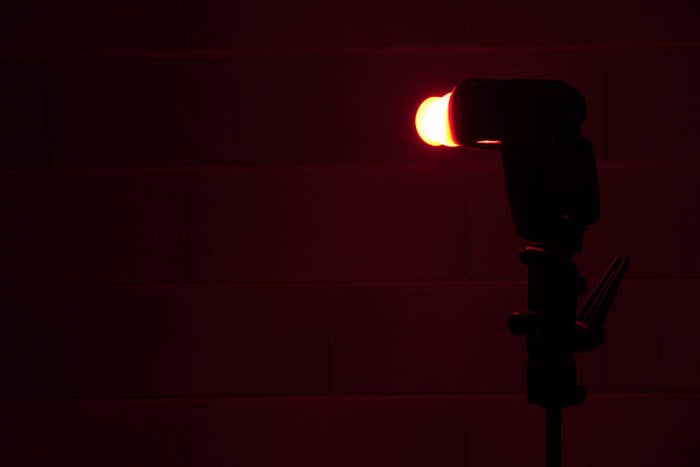
An orange silicone collapsible cup on a speedlight acts as a color diffuser
You can use the silicone funnel as a snoot. It creates a controlled spot of light that allows precise lighting on a specific image area.
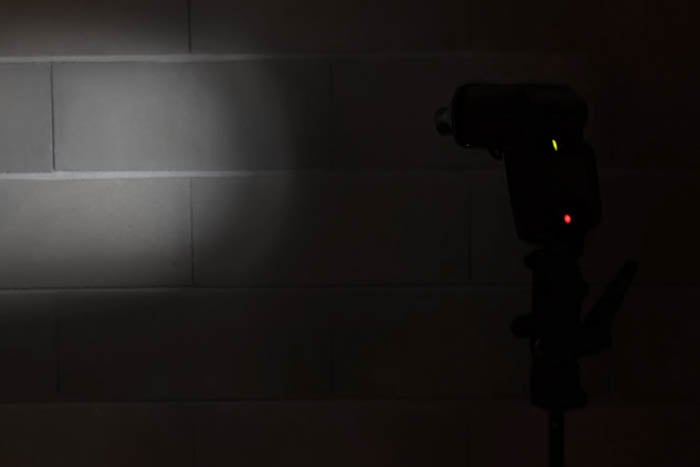
A black silicone funnel on a speedlight acts as a snoot
2. Baking Paper as a Light Softener
Another really useful item from the supermarket’s kitchen aisle is a roll of baking paper.
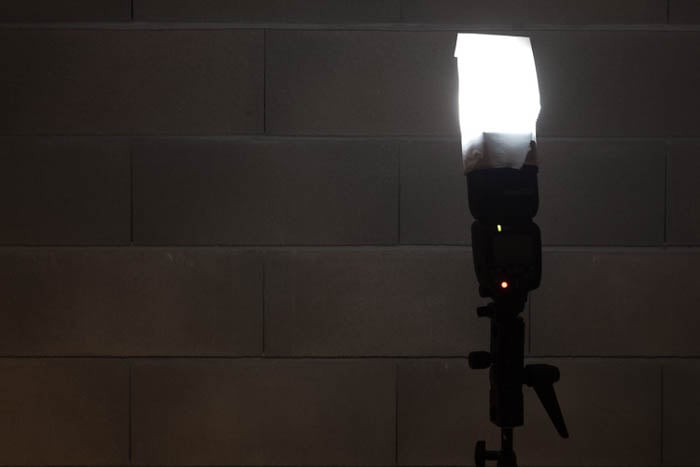
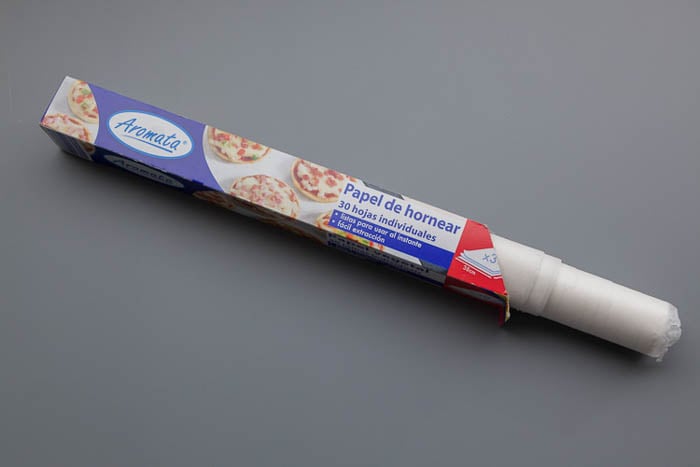 This is probably the fastest and easiest way to soften light. You just need to wrap the baking paper around the front of your speedlight to create a small dome. The more baking paper you use, the softer the light will be.
3. Steel Wool Diffuser
This time, steel wool is another great find from the supermarket’s cleaning supplies aisle. It might sound awfully strange. Why would somebody use steel wool as a light modifier? Well, I’ve been using it for years with fantastic results. So, here’s how you can start using it, too.
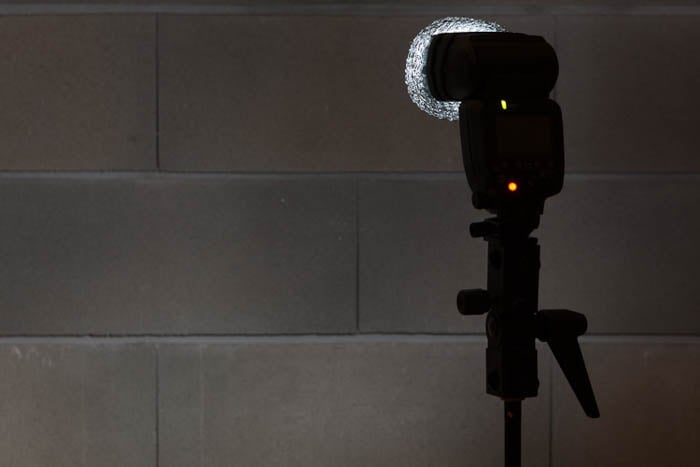
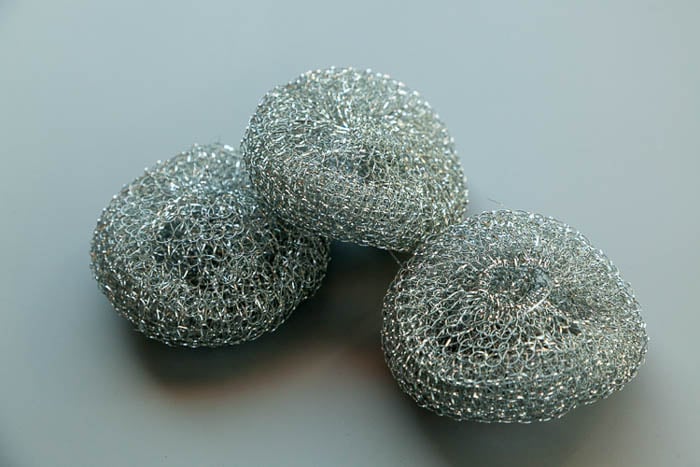 The mesh these steel wool balls have is perfect to work as a flash diffuser. You just have to place it in front of a speedlight. It scatters light, creating radial diffusion without a hotspot!
4. Pringles Chips Can Turned Into a Snoot
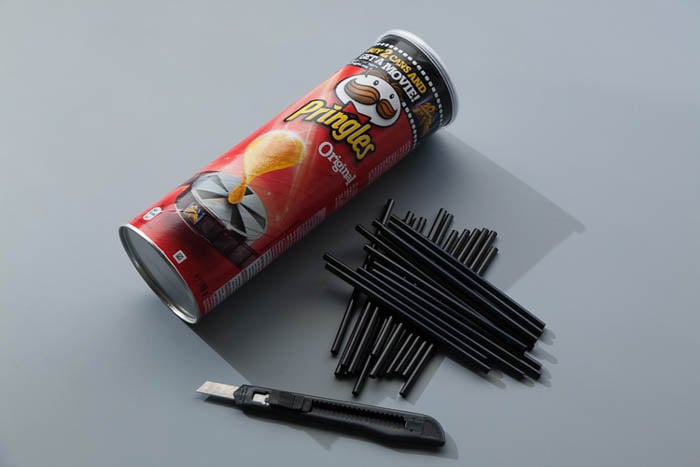
The supermarket’s snack aisle also has something to offer. Pringles cans’ shape, size, and silver interior make them perfect for making a few different DIY light modifiers. It’s amazing how they fit just right in front of most speedlights on the market.
 I will show you a couple of snoot and barn-door lighting projects. But there is a lot more you can do with these cans.
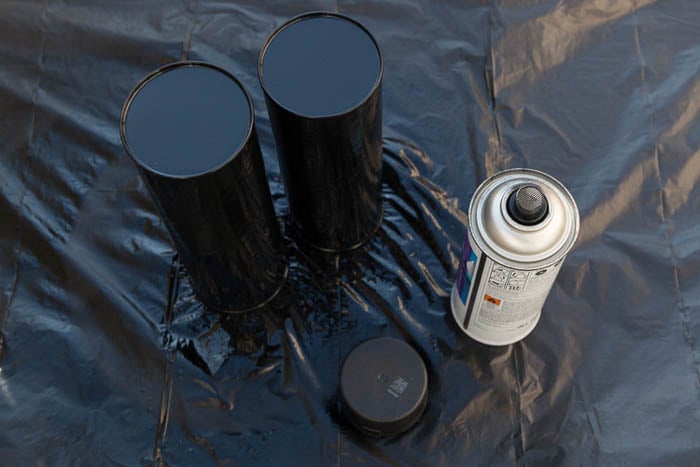
First, if you don’t want it to look too cheap and messy, you can start by painting the can matte black. This gives it a higher-end photography accessory look. Unless you mention it, no one will ever know they’re Pringles chips cans.
Wear gloves if you don’t want to get your fingers painted black like I did!
 Next, grab an X-Acto knife and cut off the bottom of the can to make a bottomless tube. Then, fit the tube to the front of your speedlight. This might require molding to adapt to the speedlight head shape, but it should fit.
Finally, place the plastic lid at the front of the tube to produce a soft spotlight with feathered edges.
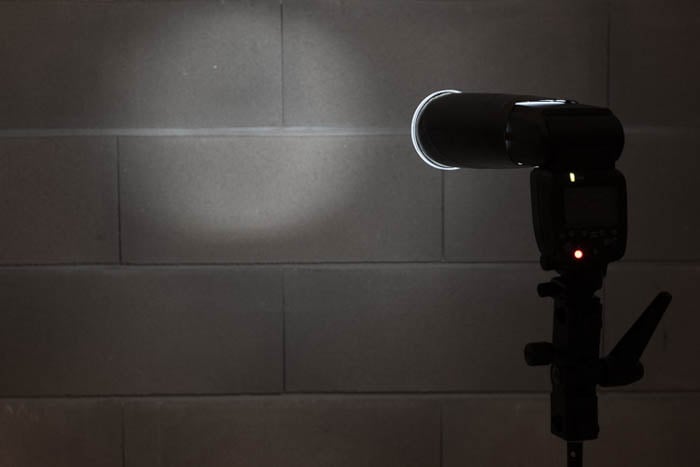
Pringles chips can and plastic lid attached to a speedlight for a soft spotlight
To narrow this spotlight, you can put black cocktail straws in the front of the tube.
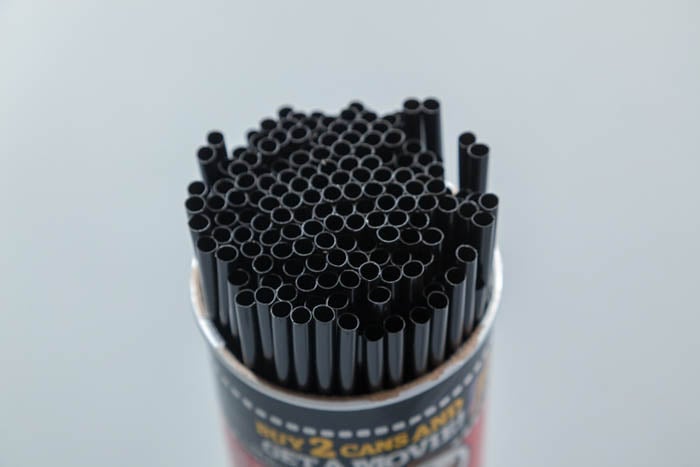 The straws force the light to go in only one direction. And this will produce a harder and more concentrated light spot.
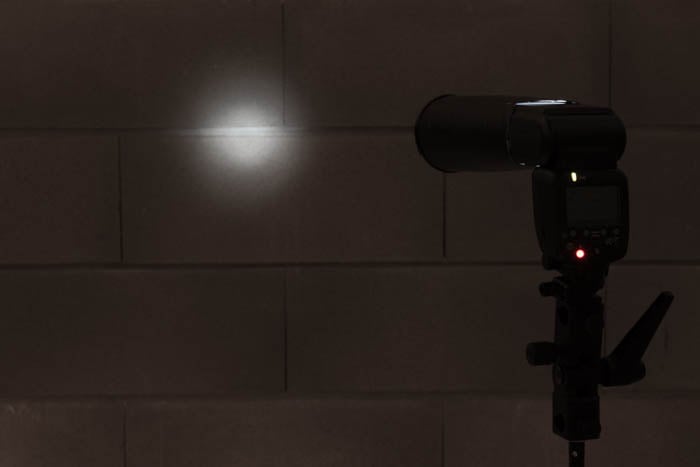
A more concentrated light spot made with straws in the Pringles tube
A different approach is not to cut the bottom of the can. Instead, cut two flaps in the side of the Pringles can that work as barn doors (pictured below). This offers a way to control light spills depending on the barn doors’ positions and your desired light effect.
Other variations include cutting different openings in the can to produce other lighting effects. I use a can with lots of poked holes to create a dispersed light effect on backgrounds. Or I cut shapes like stars or hearts to create fantasy light effects.
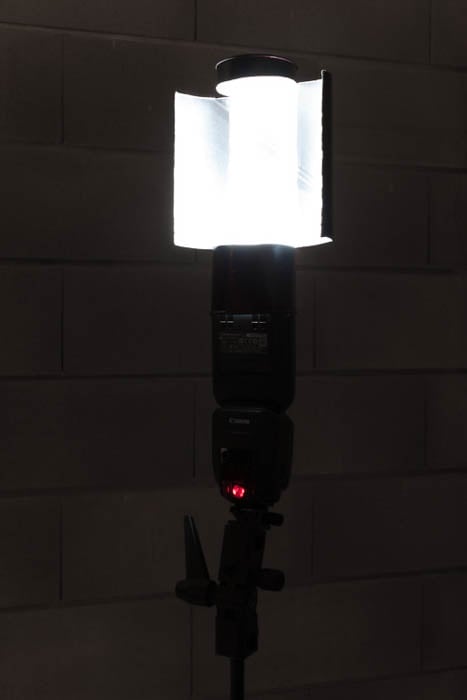
You can cut barn doors in the Pringles can
5. Poster Storage Tube as Light-Shaping Tools
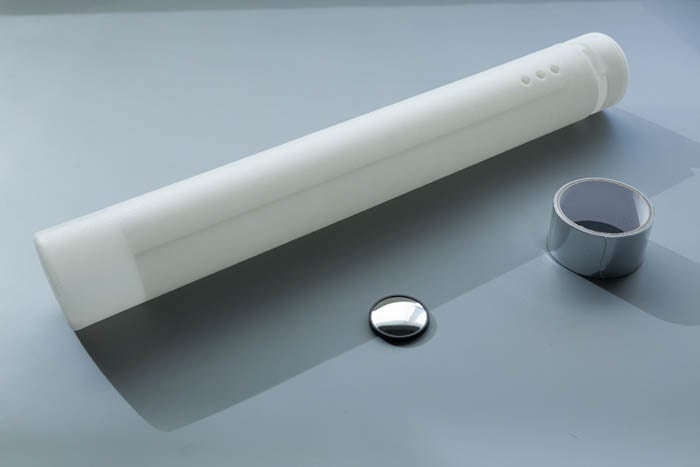
You can find these poster storage tubes in any arts-and-crafts store. It’s really easy to convert into a long light-shaping tool. Because the tube extends, it’s actually a smaller tube inside a slightly bigger one. This means you can build two “lightsabers” from one tube.
 It’s important to choose a translucent, white, lightweight tube. Otherwise, it might cause too much stress on the speedlight’s head and potentially damage its tilting mechanism.
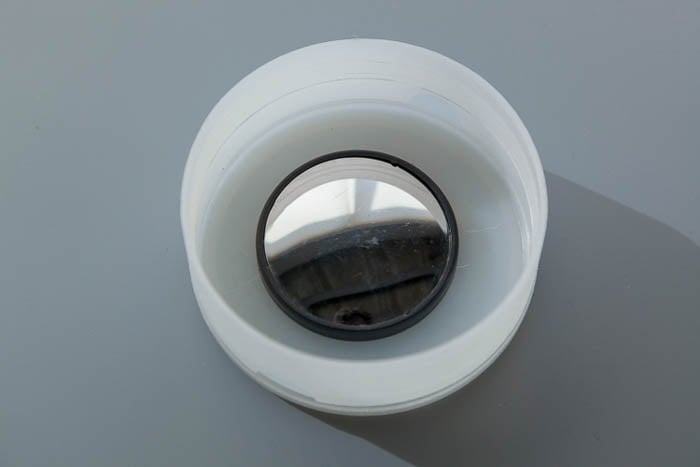
The idea is to turn the small light beam from the speedlight into a big, long light tube. You can spread light along the tube by taping a convex rearview mirror (for car blindspots) on the opposite side of the tube. This produces a big spread of soft, even light because the mirror reflects the light.
 You can also use aluminum foil to reflect the light. It does not give the same result as the convex mirror that reflects the light much better, but it’s an option.
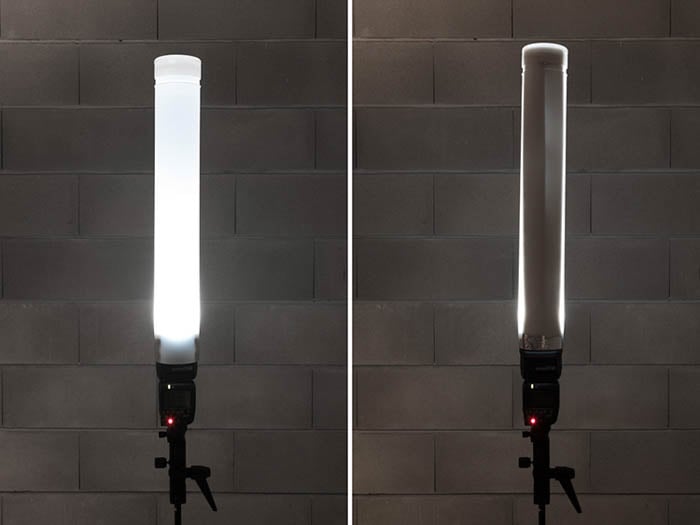
This light accessory lets you create a 360-degree light spread with the tube. Or you can spread a smaller degree of light using silver tape glued inside the tube. This makes the light reflect and creates a narrower spread.
6. Disposable Plastic Bowls as a Beauty Dish
Many DIY beauty dish projects are done with metal salad bowls. And most of them are really nice. But they tend to be complicated and time-consuming. This is because they involve metal cutting and grinding. Honestly, this is not for me.
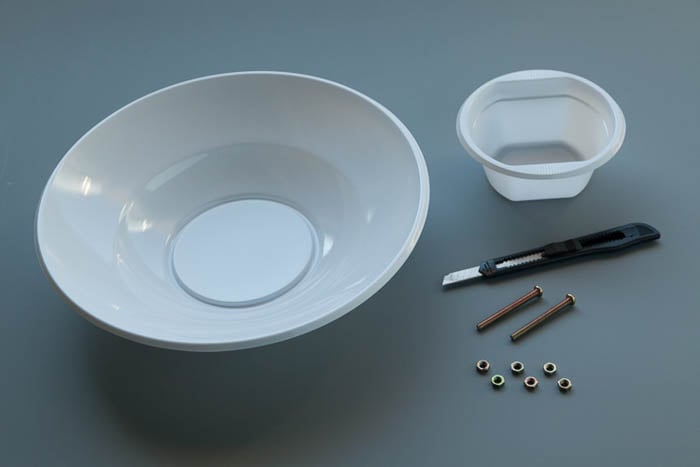
But I still wanted my own DIY beauty dish. So, here’s what I did. I decided to use simple plastic bowls. You can get them for next to nothing. Plus, plastic is a lot easier to cut and mold than metal. I used a deep plastic bowl, a smaller plastic salad bowl, two bolts, and six nuts.
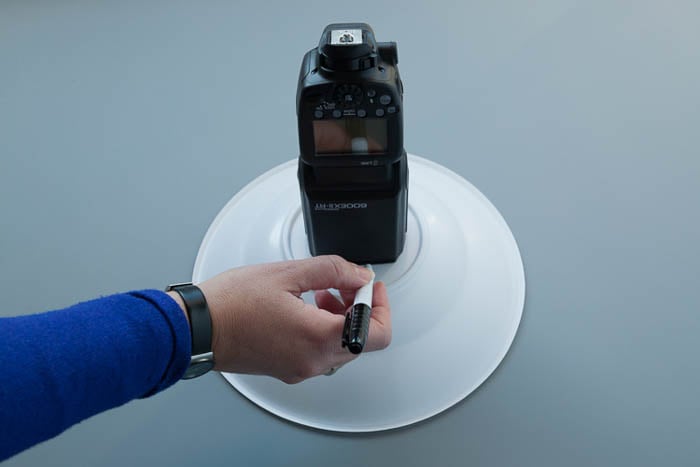
 I started by outlining the flash head shape with a Sharpie to know where to cut.
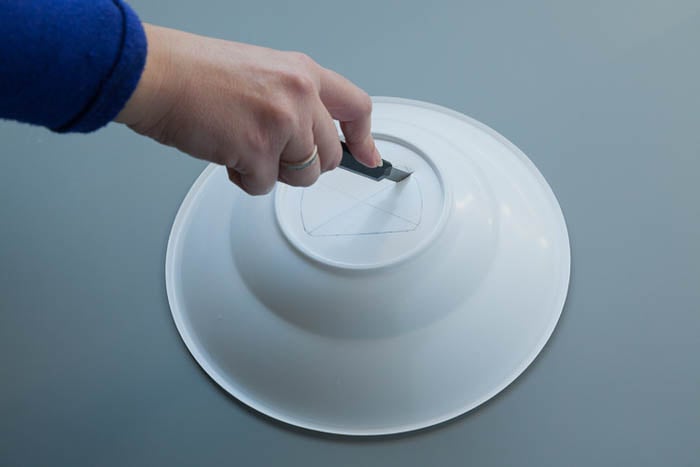
 Then, I cut an “X” in the center of the outlined shape.
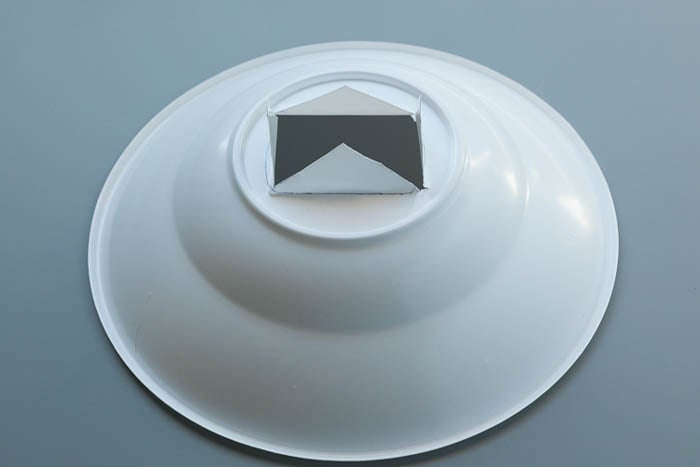
 I folded the four flaps back to use them as a support base for the attachment to the flash. You must do all this carefully as the plastic might break.
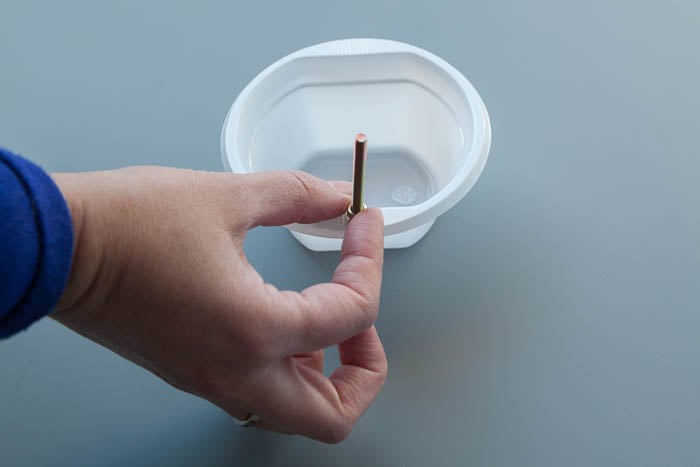
 Next, I made two holes on the top and bottom of the smaller salad bowl. The easiest way to make these holes is to use a hot nail to melt the plastic. Next, I placed the nut on the bowl and screwed the bolt through them.
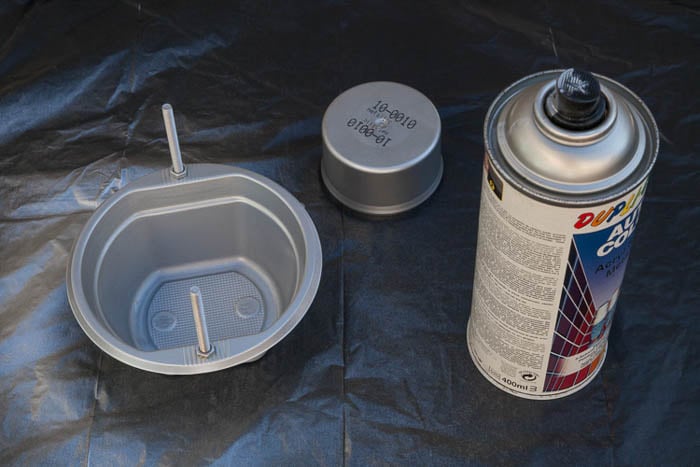
 I then painted the smaller bowl silver and the outside of the bigger one black. This is an optional step, but consider that the plastic used is thin and translucent. So, it’s a good idea to paint it so you won’t have “light spill.”
Painting it also makes it look more professional, not just two plastic bowls with a couple of screws. But it’s important to ensure your paint is appropriate for plastic. Otherwise, it might create a reaction and melt it.
 After it dries, it’s easy to make two holes in the big bowl and use the remaining four bolts to secure the smaller bowl to the bigger one.
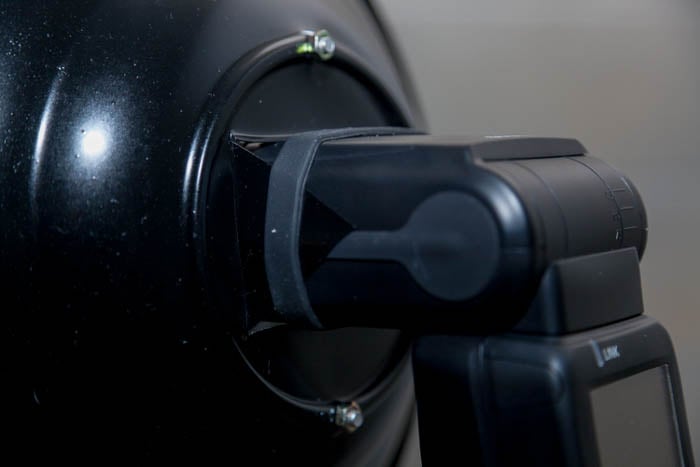
Many people like to use Velcro strips to secure lighting accessories to speedlights. I prefer to use tactical rubber bands. They’re easy to use and don’t require you to glue velcro to both parts. They also don’t come off with heat and hard use.
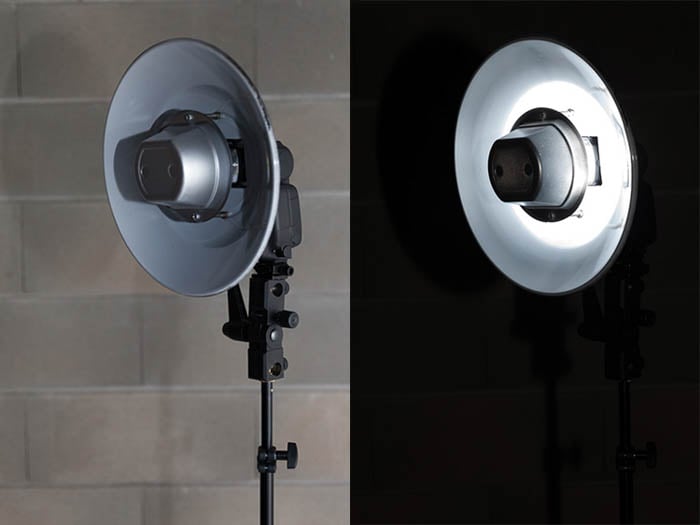
 The light produced by this simple DIY beauty dish is fantastic. It’s also not too far from the light produced highly expensive beauty dishes by big brands. I couldn’t ask for more from something that cost around $3 and took less than one hour to build!
You can build other variations to this beauty dish, too. Use a different bowl in the middle or paint the inside of the big bowl gold. This creates different light reflections, especially in skin tones.
Conclusion: DIY Speedlight Modifiers
Even if you are not necessarily looking to save money, these DIY speedlight light modifiers are still beneficial. You get to explore different speedlight modifiers compared to the ones created by commercial brands.
This type of ingenuity and creativity is what could set you apart from everybody else. It also moves you toward better photography lighting knowledge and image creation. It opens up your imagination! So, give these DIY photography lighting ideas a try. I’m sure you’ll find them useful!
Are you looking for more creative photography ideas? Read our post about making your own light box.