Have you ever wondered how people shoot those fantastic product shots in catalogs or online stores? Professional photographers usually use a light box to create an even illumination on the products. But the best options on the market can cost hundreds or even thousands of dollars.
So how do you make a DIY light box for photography if you don’t have enough budget? It’s quite easy! This tutorial will show three ways to build a DIY light box using repurposed materials.
How to Make a DIY Light Box With Available Light
This DIY light box will take about 15 minutes of your time. And you only need a few materials you probably already have around the house.
Materials Needed
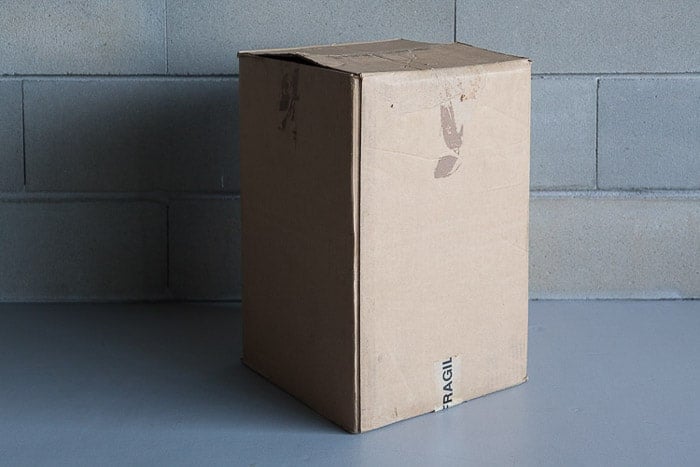
You will need the following:
- A medium cardboard box
- Two sheets of baking parchment or wax paper
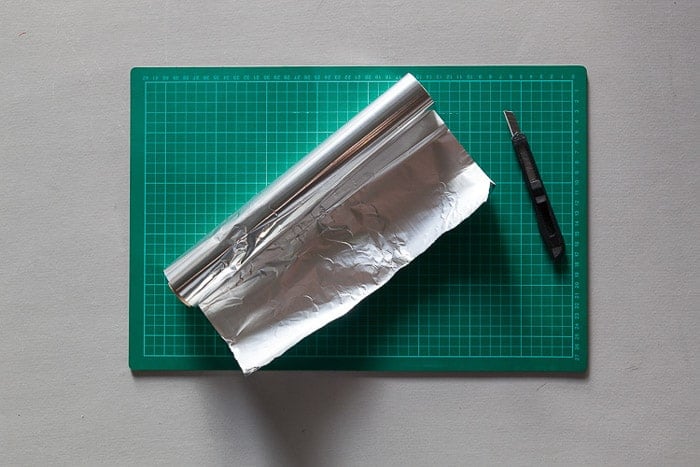
- Two sheets of aluminum foil
- A white sheet of paper
- Ruler
- X-Acto knife
- Glue stick or tape
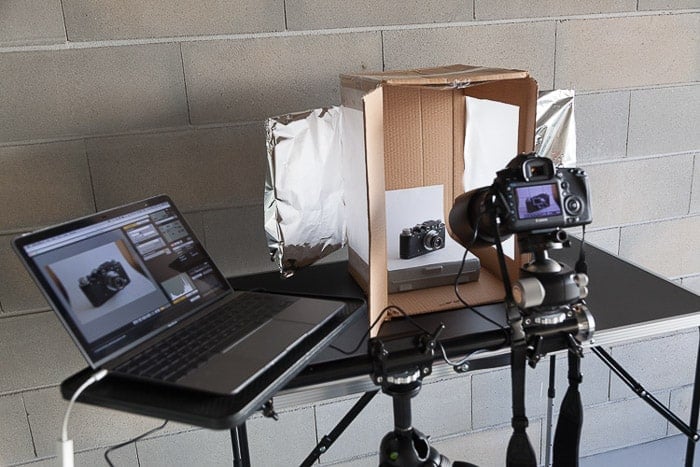
Step 1. Choose Two Sides of the Box to Work With
Start with a cardboard box. It doesn’t matter if you have a square or rectangular box as long as your products fit inside it.
Now, see which side will work the best as the front of your light box.
If your box is square, it won’t matter which sides you choose. But since mine was rectangular, I chose the longer side because it lets in more light.
Step 2. Leave Two Front Flaps as Barn Doors
Leave two open flaps on the front side of the light box. Those will work as barn doors. You can use them to control the light that reaches the inside of the box.
In a professional environment, you can find barn doors in front of camera lenses or lighting equipment. Each flap moves independently to help reflect the light.
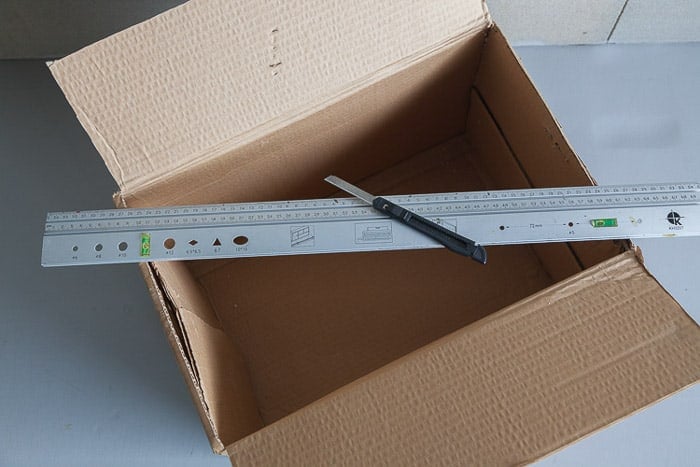
Step 3. Cut Out Two Sides of the Box
Next, use an X-Acto knife to cut rectangular holes into both sides of your opening. But leave a flap attached to the back for each one so that they remain attached like doors.
It helps to use a ruler and a marker to draw the parts you want to remove.
Make sure the cuts are precise and clean. That way, your box will produce even light from both sides. Not to mention, a clean box always looks more appealing.
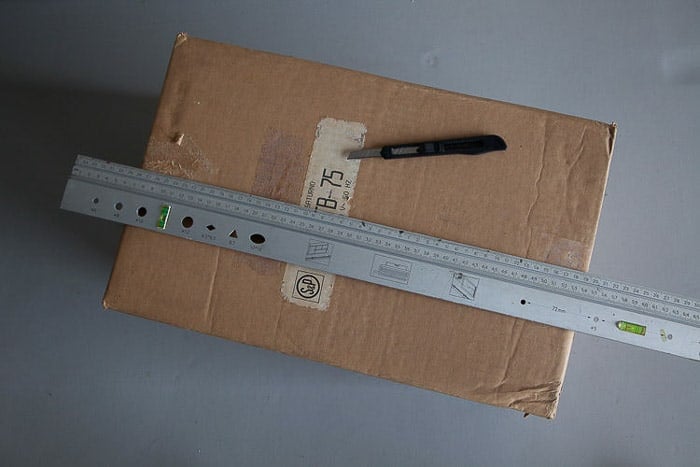
Step 4. Measure and Cut Wax Paper to Cover the Cutouts
Measure the box openings you cut out. Then cut wax paper to match their size, but leave about an inch or two so you have space to tape or glue the wax paper onto the box. Then glue the wax paper to the edges of the openings.
Wax paper can be delicate. So be careful not to tear it while taping it onto the box. Even minor tears can potentially affect the quality of your light box for photography.
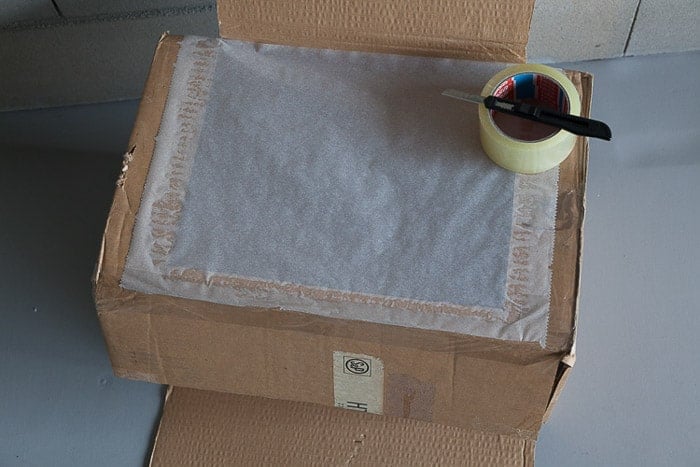
Step 5. Measure and Cut Aluminum Foil for the Barn Doors
Measure the flaps on the sides of the box and cut aluminum foil to match their size. These will act as reflectors to help direct the light into the box.
Feel free to add or aluminum foil to your front barn doors, too. These flaps will be especially useful if your location has uneven lighting.
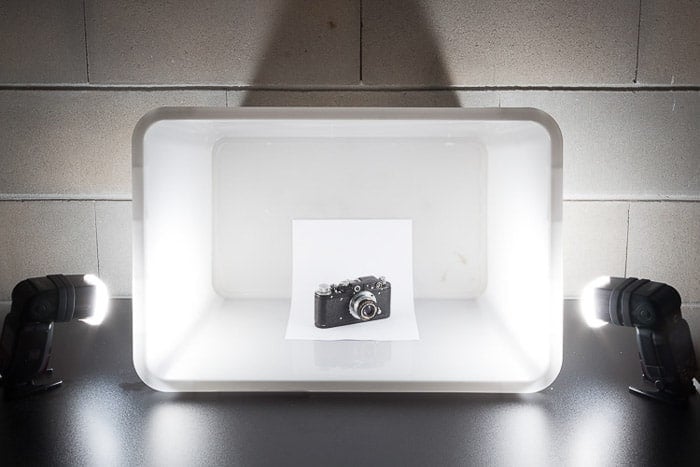
Step 6. Create a White Backdrop and Position the Product and Flaps
Place a white sheet of paper inside the box as the background. Then compose your product. Position the flaps to reflect most of the natural light you might have in the room.
Now your light box is ready, and you’re prepared to shoot.
It’s best to place your box next to a light source. For more even lighting, you can also shoot outside in direct sunlight. Just ensure the sun is not shining directly in front of the product.
Instead, let your light box filter the light and adjust the barn doors to create even illumination.
I shot this image at f/22, with 1/2 s shutter speed and 400 ISO. Notice the even lighting and color temperature. This was shot using a homemade light box.
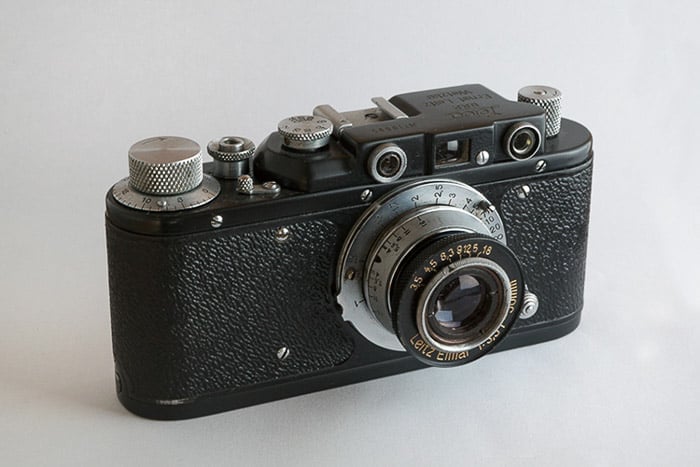
© Ivo Guimaraes f/22, 1/2 s, ISO 400
How to Make a Compact LED DIY Light Box
The first box we made is perfect for shooting in natural light. But you can’t always wait for the sun to shine with light box photography.
If you need to shoot at night, don’t worry. Our next project involves a light box with LED lights!
This method requires more time and energy, but it’s worth it, especially since LED lighting creates controllable exposure and color temperature.
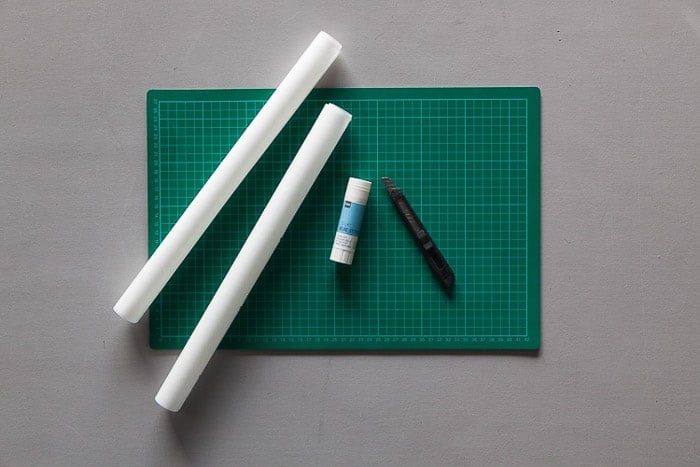
Materials Needed
You will need the following:
- A 1/8″ (3 mm) acrylic sheet or white cardboard
- X-Acto knife
- Two small Velcro strips or adhesive tape
- Glue stick
- An LED bar
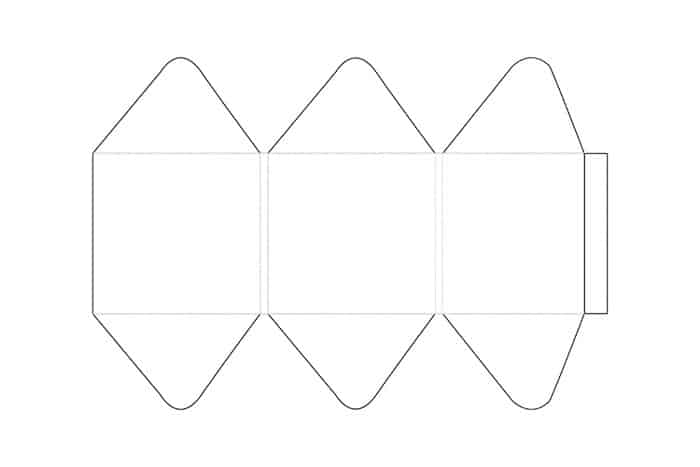
Cutout template for DIY light box
Step 1. Cut Out the Above Template on Acrylic or Cardboard
Cut this shape on a white, translucent 1/8-inch (3 mm) acrylic sheet. The lighter lines are folding marks and not cuts. The size of your DIY light box will be as big as the scale of your template.
As a reference, you can use the center square to calculate the size of one of the sides of the light box.
You could also use white cardboard instead of acrylic. But it won’t be as durable or resistant to the elements.
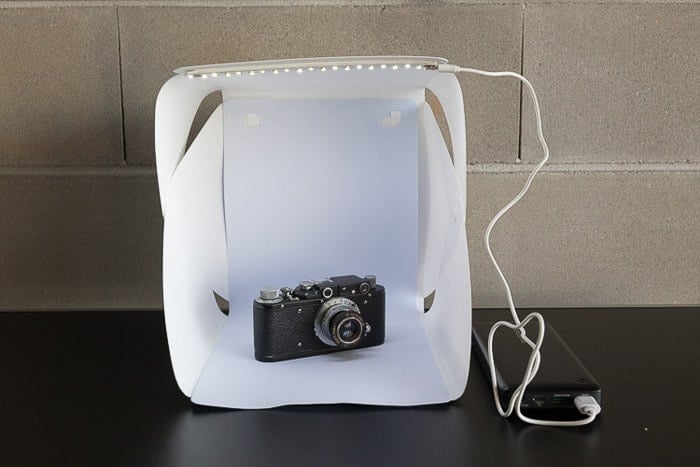
Step 2. Fold Your Box and Glue the LED Light
Now fold your box, overlapping the triangle-shaped flaps. Keep them in place with Velcro strips or adhesive tape. Using Velcro allows you to collapse the box for transportation and reassemble it easily.
Next, glue the 5-volt LED strip to the small flap on the top front of the box. If you have more lights to spare, consider adding more to cover all sides. Doing so helps create even illumination.
These lights are pretty inexpensive. They even come with a Micro USB connection that allows you to plug them into a portable power bank. You can do this with a simple cable, making this the ultimate on-the-go DIY light box.
Step 3. Set Up a White Background and Place Your Product
Use a white sheet of paper as a background. Then prepare your product, and you are ready to shoot your image.
I shot the image below at f/22, 1/4 s, and 400 ISO. Straight out of the camera, it has good overall exposure. However, the light is not as natural-looking as in the previous light box setup.
The color temperature is probably a little off. This is due to the blueish color cast of the LED. But you can easily correct that with a more precise in-camera white balance or in post-production.
But if you want to get everything perfect on your first try, consider buying daylight-balanced LED strips. They are a bit more expensive, but they produce more natural results.
© Ivo Guimaraes f/22, 1/4 s, ISO 400
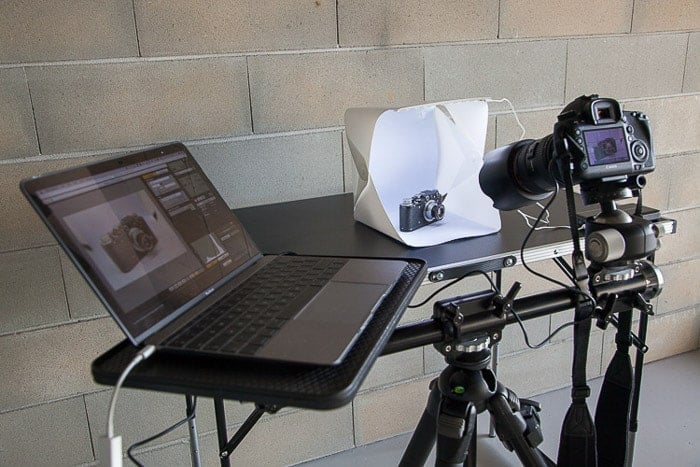
How to Make a White Box Flash Diffuser
If the LED light box seems too complicated, there is still one last project you can try. You won’t even need to have DIY skills.
This project involves materials you probably already have around your home. And the overall process is mostly the standard among many product photographers.
So how do you make a large light box? You don’t have to at all!
Materials Needed
You will need the following:
- A plastic, translucent white storage box
- A sheet of white paper
- Two speedlights and a speedlight transmitter
Step 1. Set Up the Storage Box, Background, and Product
Set your storage box on its side with the opening facing to the front. Place a white sheet of paper inside as your background.
Now arrange your product. Test the exposure of your speedlights and position the subject accordingly

Step 2. Sync Your Speedlights and Camera
Once you synchronize the transmitter with the speedlights and the camera, you are ready to shoot.
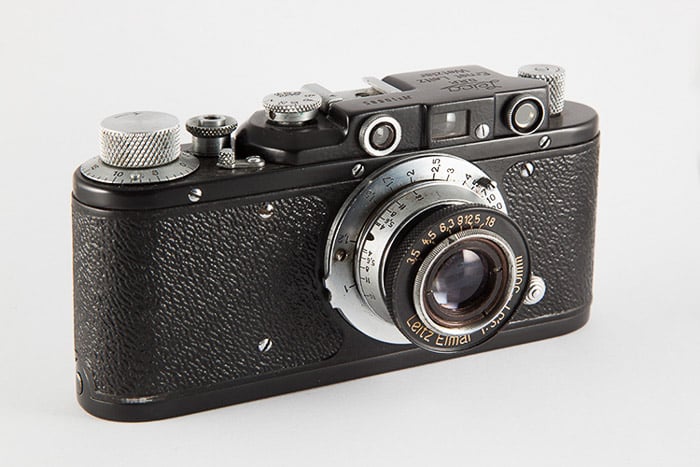
I photographed the image below at f/22, with a 1/60 s shutter speed and 200 ISO.
Looking at the result, I think it’s a pretty fantastic image straight out of the camera. The light is well-diffused and in the right spots.
The background appears lit and shadowless. And that is a huge plus if you need to isolate images when editing. The white balance seems to be spot on as well. I used the flash preset in the camera color temperature options.
The metal reflections are also great without glare or specular light hot spots. This type of lighting is sometimes hard to accomplish with this type of material.
Most photographers use a real light box instead of a storage box. However, they set up their flashes exactly as you would with this homemade setup. The main reason is that strobes produce powerful and consistent light, which you need when shooting hundreds of images.
It’s worth noting that some photographers also add an overhead light for even illumination. But for the most part, two strobes placed on the sides of the box work perfectly well.
© Ivo Guimaraes f/22, 1/60 s, ISO 200
Conclusion—How to Make a DIY Light Box
There are all sorts of uses for a DIY lightbox in photography. Apart from shooting products, it’s also an excellent tool for taking still-life photos. So consider building a light box if you want professional-looking results on a budget.
A little ingenuity will take you a long way when it comes to DIY photography. But remember that the most important thing is the image, not the tools you used to get it. Even if you have lots of money or normally stay away from DIY photography solutions, you can create your tools to get the results you want.