Good photos are the key to selling products. And these clever DIY product photography tips will make your life much easier.
Don’t let the thought of expensive photography gear hold you back with your product photography business! It’s unnecessary if you know a few DIY tricks.
12 DIY Product Photography Tips
Here are 12 helpful tips for how to do product photography at home. They will help you take your own product photos to entice consumers! You’ll see you don’t need much to start DIY product photography.
1. Use White Card Stock as a Versatile Tool
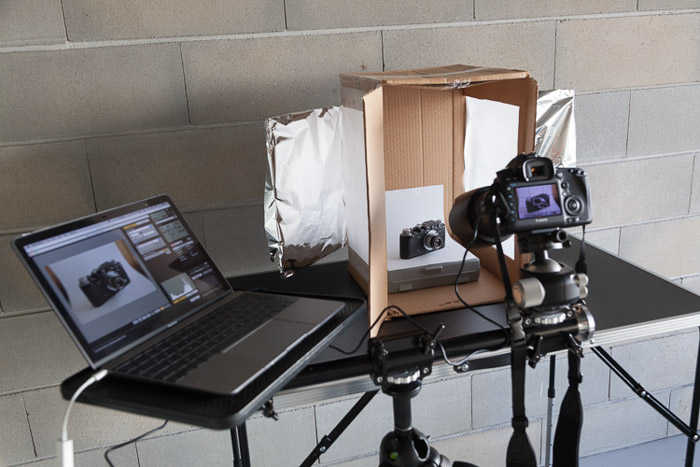
A sheet of white card stock or cardboard is a versatile tool for your DIY photo studio. First, it provides a clean, white background for your product shoot. Plus, if the sheet is big enough, you can use it as a DIY infinity curve.
You can even save some money and fashion your own bounce card for your flash. A sheet of white card stock is the main ingredient for a DIY version. And it also provides a perfect base if you decide to shoot from an overhead perspective.
White card stock is a great piece of equipment to have around. Just remember to keep it clean!
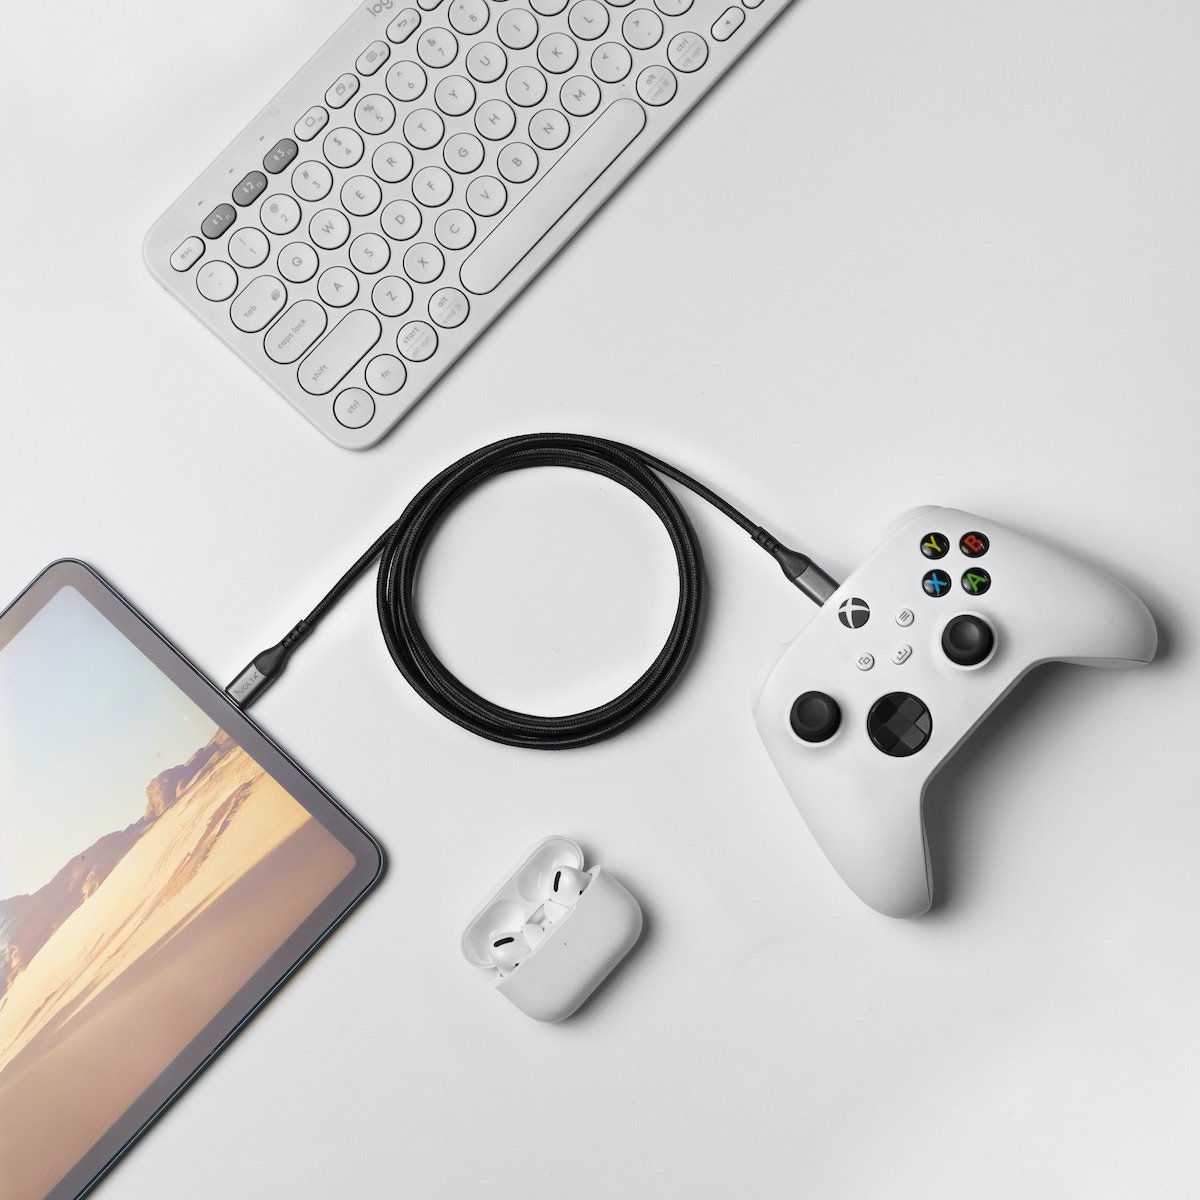
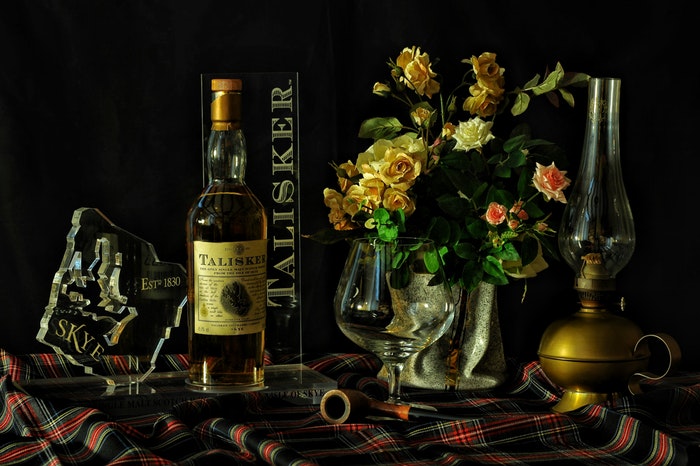
Photo by Sayan Majhi (Unsplash). A white side table can do the trick for a nice background as well.
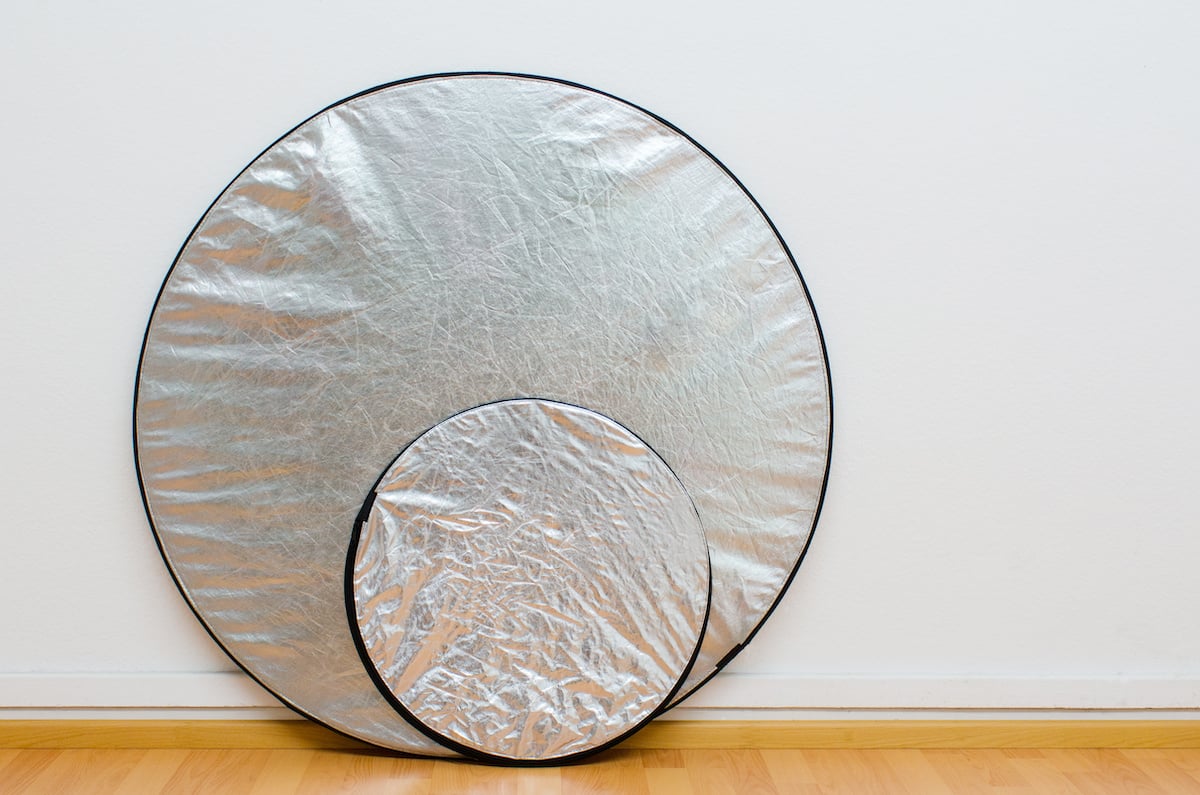
2. Make Reflectors for Perfect Fill Lighting
Do you lack a fill light? Reflectors are a helpful tool for using natural lighting or studio light.
If you are photographing a scene with one light, it can create harsh shadows. These are usually unwanted in a product photo, so you should use reflectors to bounce light back into the scene.
You can use cardboard or foam board as a base. And you can make a DIY reflector from other materials you can find at home, like tin foil.
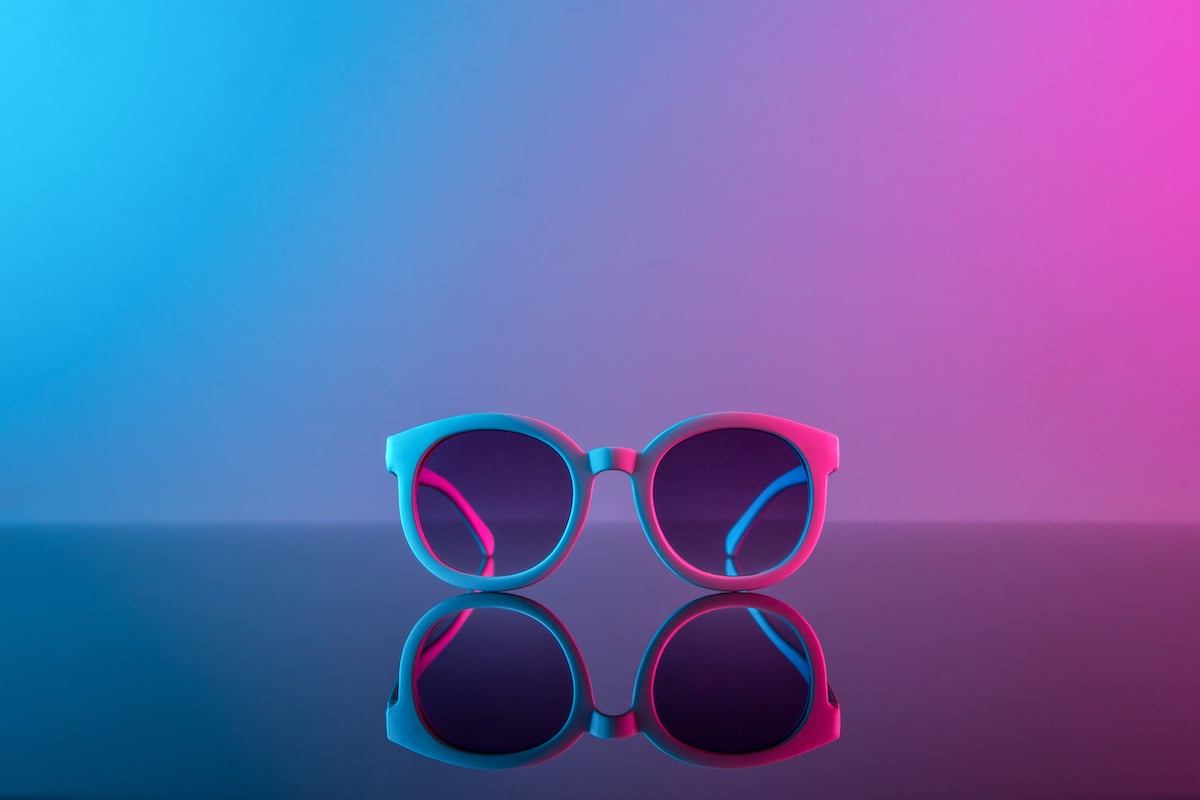
3. Use Glass for a Creative Backdrop
Are you looking for a creative product background? Use glass! It offers a reflective surface, adding more detail to your shot.
Glass is also very versatile. It works with almost any product photography shoot. And it works with any colored card, reflecting what’s in its surroundings.
You probably have sheets of glass you can use that you don’t even know about. Picture frames or old mirrors can work great for DIY product photos.
Experiment with different glass items you find around the house. You don’t need to spend money. And you can get quite creative results!
4. Use a Lazy Susan for 360 Product Shots
A 360 product image lets the viewer see the product from every angle. You can buy a commercial turntable that turns at precise intervals. But you can save some money and create your own.
A lazy Susan is a turntable used for distributing food. It’s also an amazing piece of DIY product photography equipment you can buy on Amazon.
For example, attach a cloth tape measure around the bottom of a lazy Susan. Then, you can place white card stock on the surface if needed.
Start at zero inches (or cm) facing the camera. And take a photo and spin it 0.2 inches (0.5 cm) for every shot. You can photograph the product from all angles and turn it into a 360-degree video!
This will give you a smooth-turning product shot people can’t take their eyes off. You can read our full 360 product photography article for a step-by-step guide!
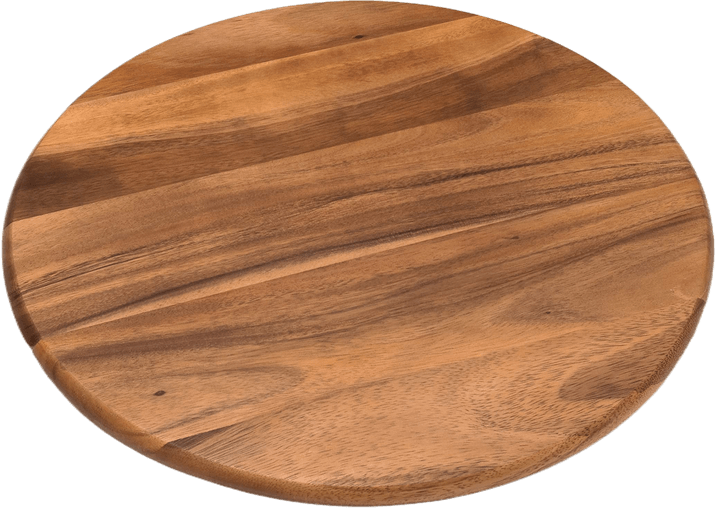
Example of a lazy Susan (turntable).
5. Use a Shower Curtain for DIY Lighting
A shower curtain is a low-cost item that can be used in many ways for DIY photography projects.
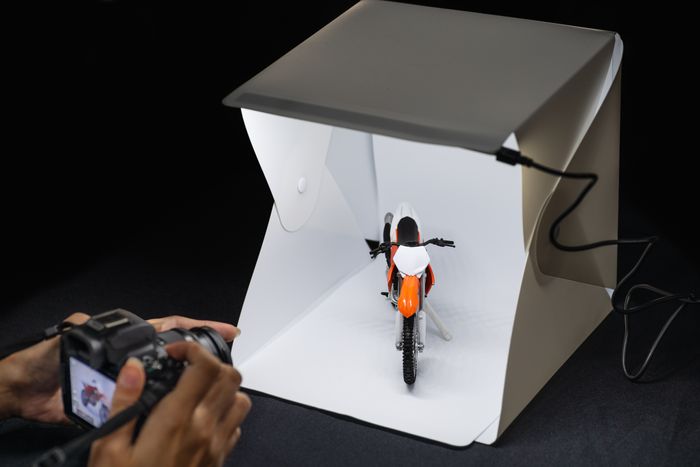
Do you need a DIY lightbox for your product photos? Turn a medium to small-sized table upside down. Then drape the PVC shower curtain over the top of the upturned legs, and you have a lightbox!
The PVC acts as a diffuser and creates a soft, even light when used with a daylight-balanced light source. For diffusing natural light, drape the shower curtain in front of a window. You can use it as an infinity curve, too.
Patterns and dirt can affect the light, giving you patterned shadows. So ensure the shower curtain is white and clean for perfect product images. Something like the Amazon Basics PEVA Shower Curtain Liner works very well.
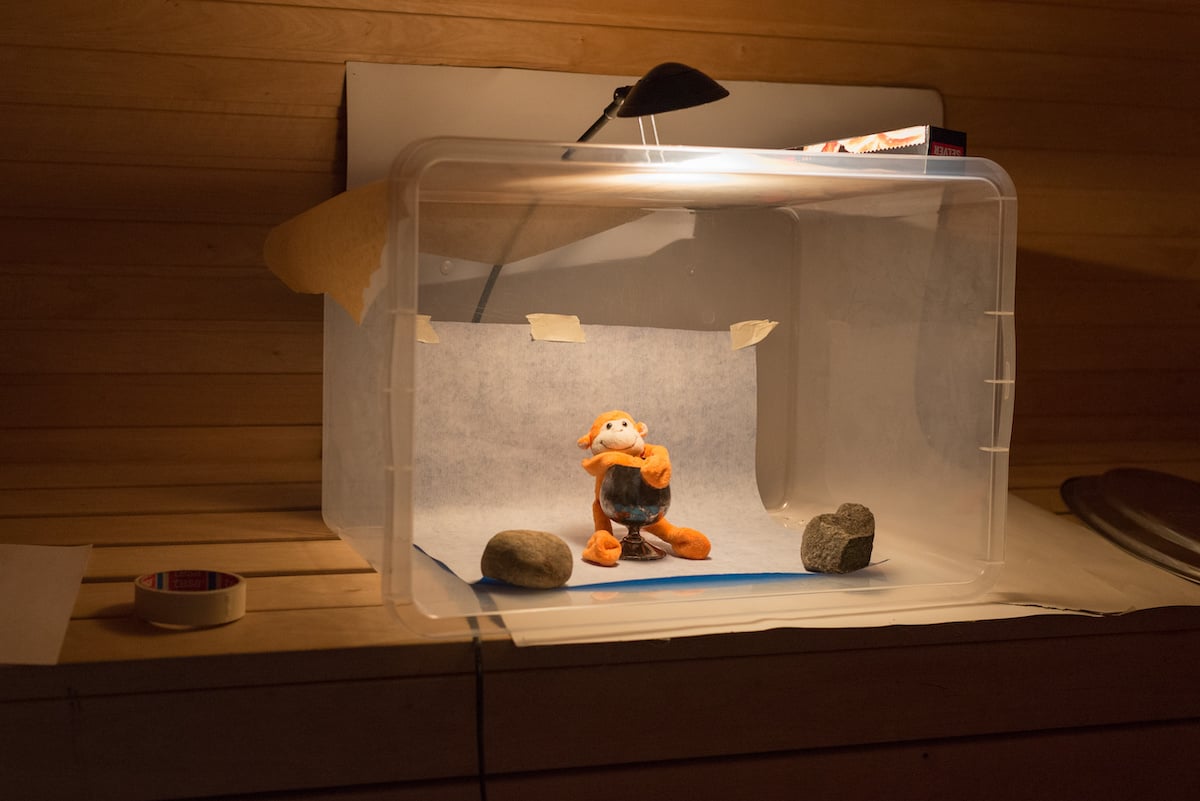
You can also use clear plastic storage bins to create a DIY lightbox. (Adobe Stock)
6. Use Window Lighting for Different Effects
Natural light is abundant and free. It’s also the best lighting source to use for product photography.
Photographing products at different times of the day will produce distinct effects. For a warm glow, take photos closer to the evening. For a cool tone, take pictures early in the morning.
Try using a window with frosted glass. The texture will add a diffused, softer light to your product photography. If you do not have textured glass, drape a shower curtain (Tip #5) to provide that diffused look.
If you want a clean look, set up your product shoot on a large white bedsheet or sheet of cardboard. (Instead of a pricey background sweep.)
Use the light coming through the window with the homemade DIY reflectors (Tip #2). These will bounce the light back into the scene, eliminating harsh shadows.
7. Go Outside for Natural-Looking Shots
Not all product photography needs a studio to take high-quality photographs. Sometimes, a natural environment is vital for lifestyle product images.
Many types of product photography work best with a more nature-inspired aesthetic. Healthcare products, outdoor items, and food products are a few.
The best thing is the outside world is free. You have a wide range of product photography backgrounds (you may need to scout a little beforehand). You have plenty of free, natural light. And you can take as much time as you need!
Finding the perfect location may need some time and energy. But it will do your product images a world of good.
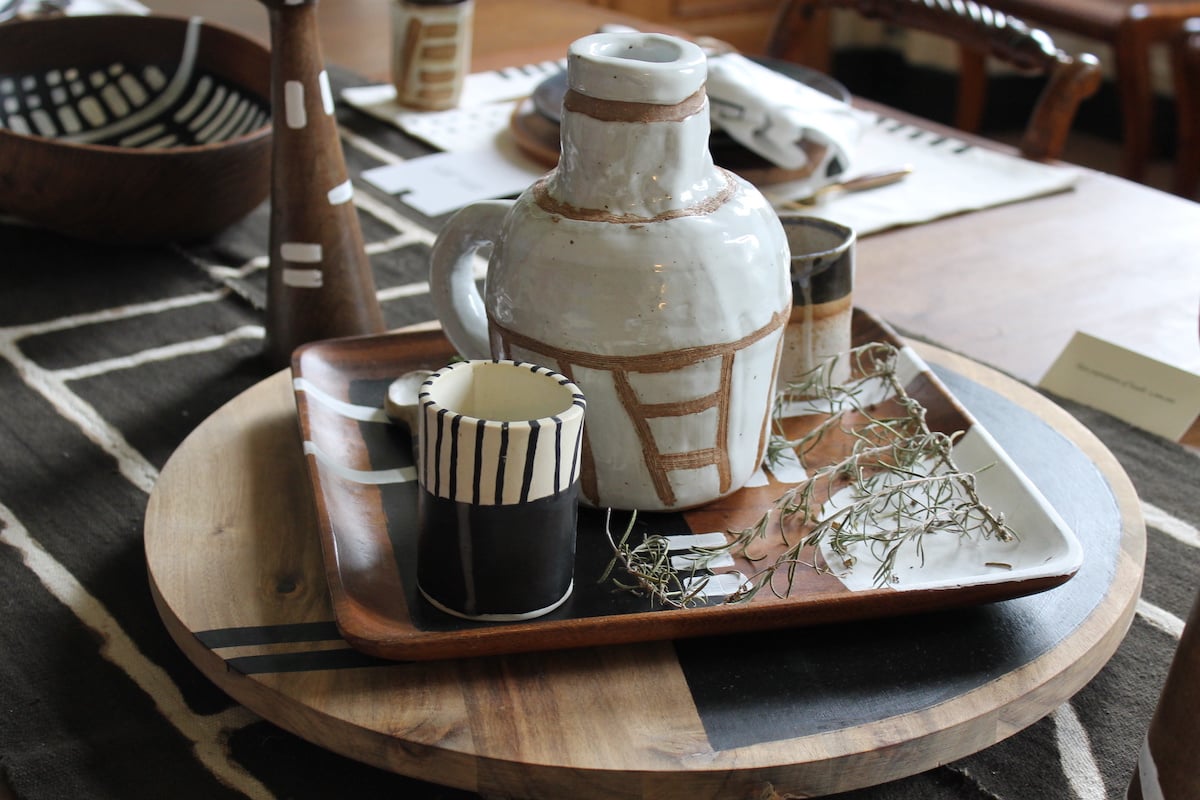
8. Fake a Marble Backdrop for Food Products
For food product images, a white background is less important. It’s more about setting up a realistic atmosphere.
A marble backdrop is popular for food products as it gives you the feeling of a kitchen worktop. You will probably have seen many images like this on social media or eCommerce store photos.
There are a few different ways to create a faux marble photo background. If you are a creative or DIY person, you may have old tins or tubes of paint in the attic. Mix shades of grey paint and create a marble look on a smooth white canvas.
There is also the option of a marble vinyl stickable sheet. These are generally cheap and work wonders.
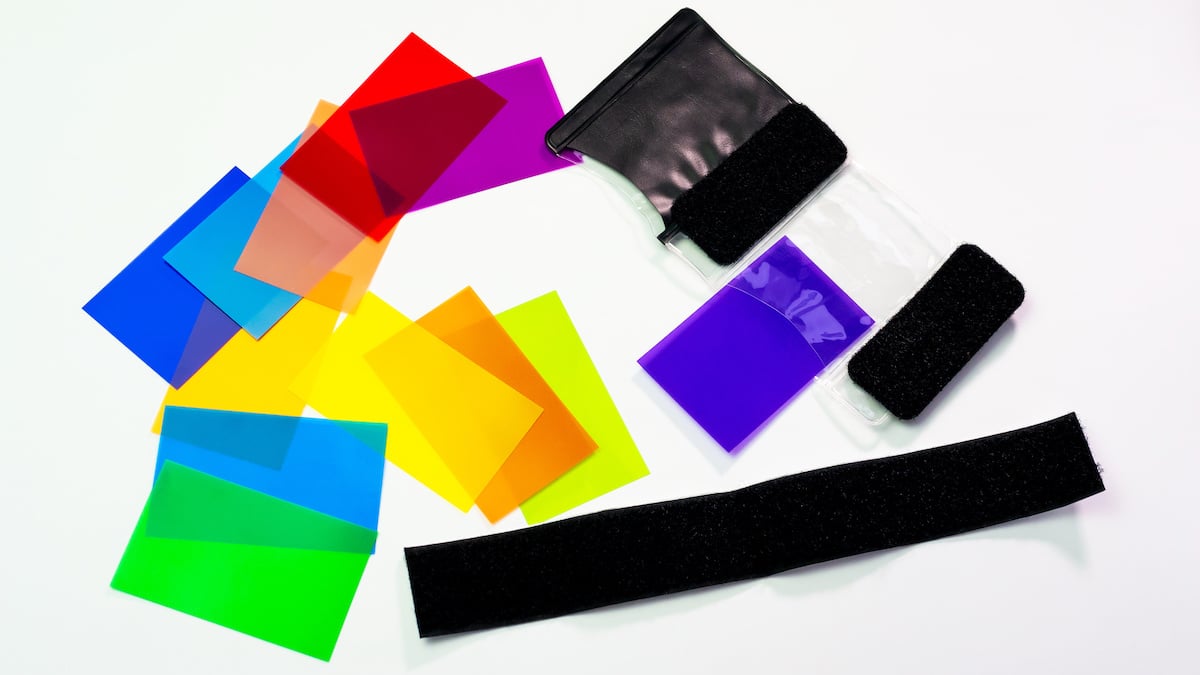
9. Use Gels For Speedlights (Speedlites)
If you own a speedlight (rather than a softbox), we have a great trick for you! Color gels change the color of the lighting. And you can use the same setup for many different photo effects. It’s an easy and inexpensive way to add more interest to your images.
Order some sample packs instead of buying huge sheets and cutting them down to size! The Rosco Lux Small Swatchbook gives you almost 100 different shades. It’s perfect for you to experiment with creative product photos.
It’s cheap and lets you add color to your scene easily. Using a stacking process, you can even create images with several colors.
10. Use Fishing Wire to Lift Small Products
Fishing wire is a product photographer’s best friend. It’s made from transparent nylon or fluorocarbon, so it will not ruin your image. It is durable, and you can find it for cheap in any fishing or craft store.
Use it to lift objects from the base of your infinity curve or the plastic container you use as a lightbox. You can even use it in natural surroundings. Get creative and suspend the products from unusual angles and places!
There may be a little visibility to the wire. So you can use editing software to edit it out later.
Photo by Till Kraus (Unsplash)
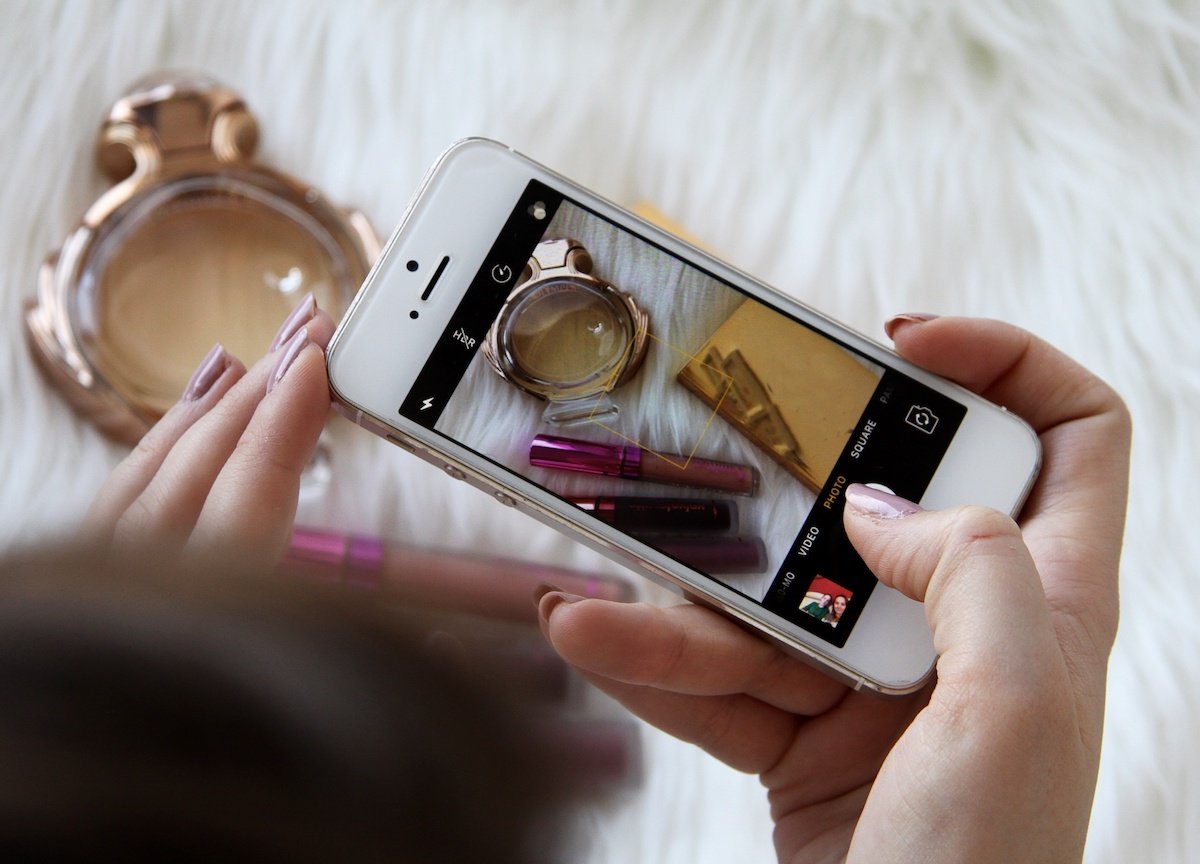
11. Use the Camera You Have
You don’t need to spend a fortune on a professional product photography camera to get started. You might not think so, but the camera you already own is good enough.
Maybe you don’t have a camera? Your smartphone’s camera will do fine for DIY product photography. You can even pair it with a free camera app for extra features.
A camera phone can capture an image good enough for social media, your blog, or your website. Most images are compressed when added to Facebook, Instagram, and other social media sites.
12. Use GIMP for Free Product Photo Editing
Finally, shoot in RAW if you can. And use GIMP or other free editing software to edit the photos for a professional look. GIMP is free, open-source photo editing software. It offers many features to assist a budding product photographer.
This program helps you correct white-balance issues, clean up the background of your image, or make other changes as needed. You can even add text if it’s called for in that product shot.
There are so many things GIMP software allows you to do. Regular updates help you keep your images high quality. You can even find plug-ins that other users have created and add them for a fast and smooth post-process.

Conclusion: DIY Product Photography
Start with the 12 tips above, and you will be shooting professional Amazon product shots at home in no time. We hope our tips have inspired you and save some cash, too!
Read our post about equipment for product photography if you want to invest more in your endeavors. Or, try out our Products in Focus course for more tips on capturing attention-grabbing product photos that sell.